
World of Final Fantasy Guide Main Story Walkthrough
Chapter 15: The Mako Reactor and the Black Mages
Reynn and Lann continue through the Underground Prison, nearing a connecting facility resembling some kind of power plant. They run into a woman they think is an agent of the League of S, but she becomes hostile and attacks the twins.
| Action Checklist |
|---|
|
1. Fight Shelke and regain Mirage abilities |
|
2. Solve Mako Reactor 0’s Zap puzzles |
|
3. (Optional) Obtain a dazzledisk |
|
4. Abort the reactor’s meltdown and repair its core |
New Miniventures
- The Battle for Teatime—I
- The Battle for Teatime—II
- The Battle for Teatime—III
- Picking up the Slacker’s Slack
Route through the Reactor
This chapter begins with a hostile Shelke attacking Reynn and Lann. The encounter is unwinnable, so don’t bother wasting your items trying to defeat her. After the party falls to her energy blade attacks, a cutscene plays where the twins regain their powers thanks to Shelke’s Countertek neutralization ability.
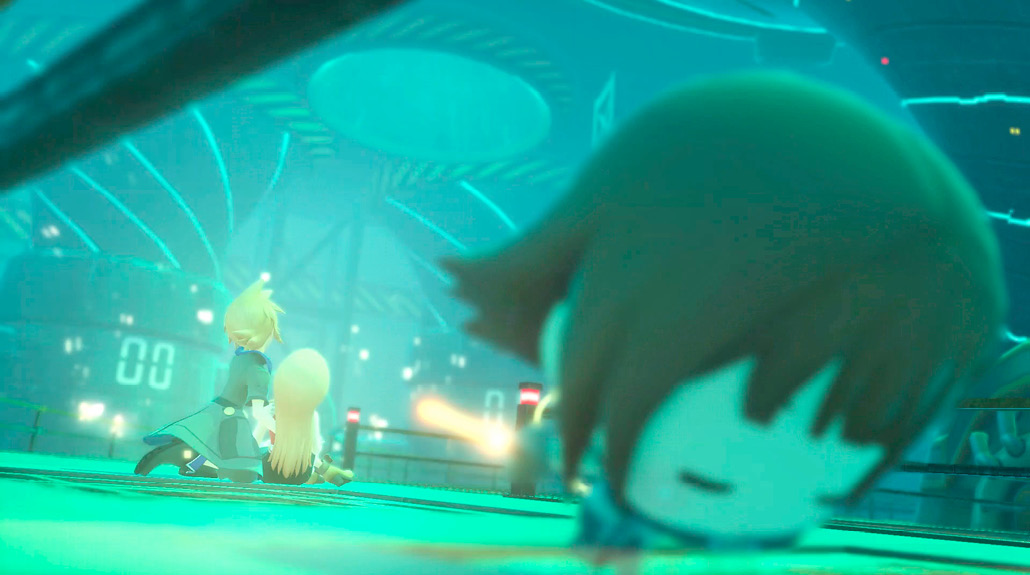
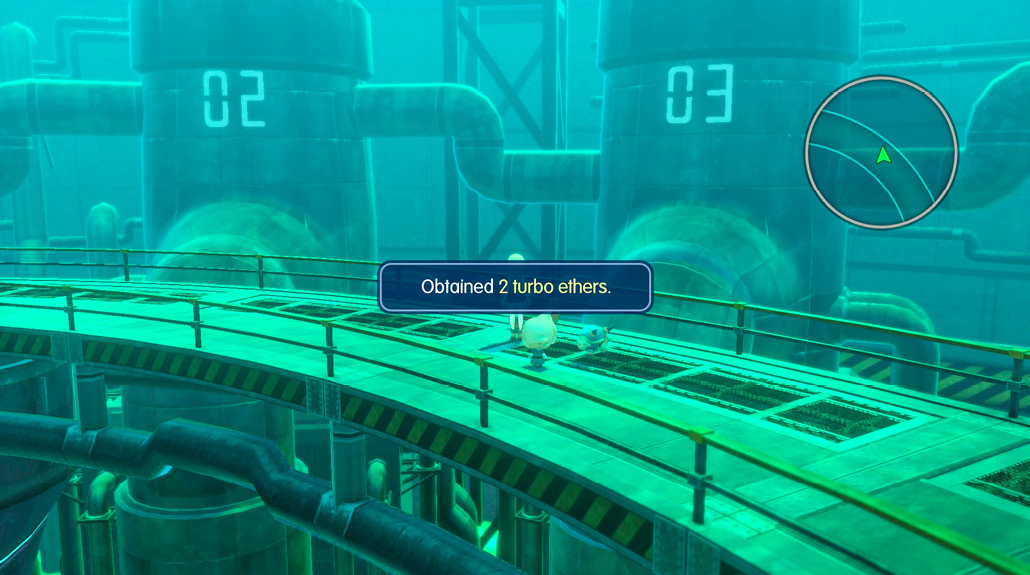
Now that the Mirage Keepers have recovered their abilities, Tama gets to rejoin the party. When the cutscene ends, you’re left in Ophion 5 of the Underground Prison, next to the entrance to Mako Reactor 0 (your next destination). Before you enter the reactor, open two treasure chests nearby. The first, containing two lightning spellstones, lies at the opposite end of the inner circular area (behind the Mako Reactor 0 entrance), and the other, holding two turbo ethers, is located along the outer circle. After collecting the last of the loot here, enter Mako Reactor 0.
Here in the Mako Reactor, you’re required to have the Zap support ability. Bring along either a searcher or a zapt Mirage. If you still need to imprism a searcher, you can do so here or in the Underground Prison. In the unlikely event that you’ve run out of eldboxes and still don’t have access to the Zap ability (maybe you used all of your eldboxes imprisming Magitek armors), you can transfigure one of your Magitek armors into a searcher.
There’s a Gate near the entrance if you want to take a break. If you haven’t done so, now is a good time to revisit prior dungeons and imprism their rare Mirages (such as a kupicaroon in Saronia Docks, a magic jar in Pyreglow Forest, and a phoenix in Valley Seven).
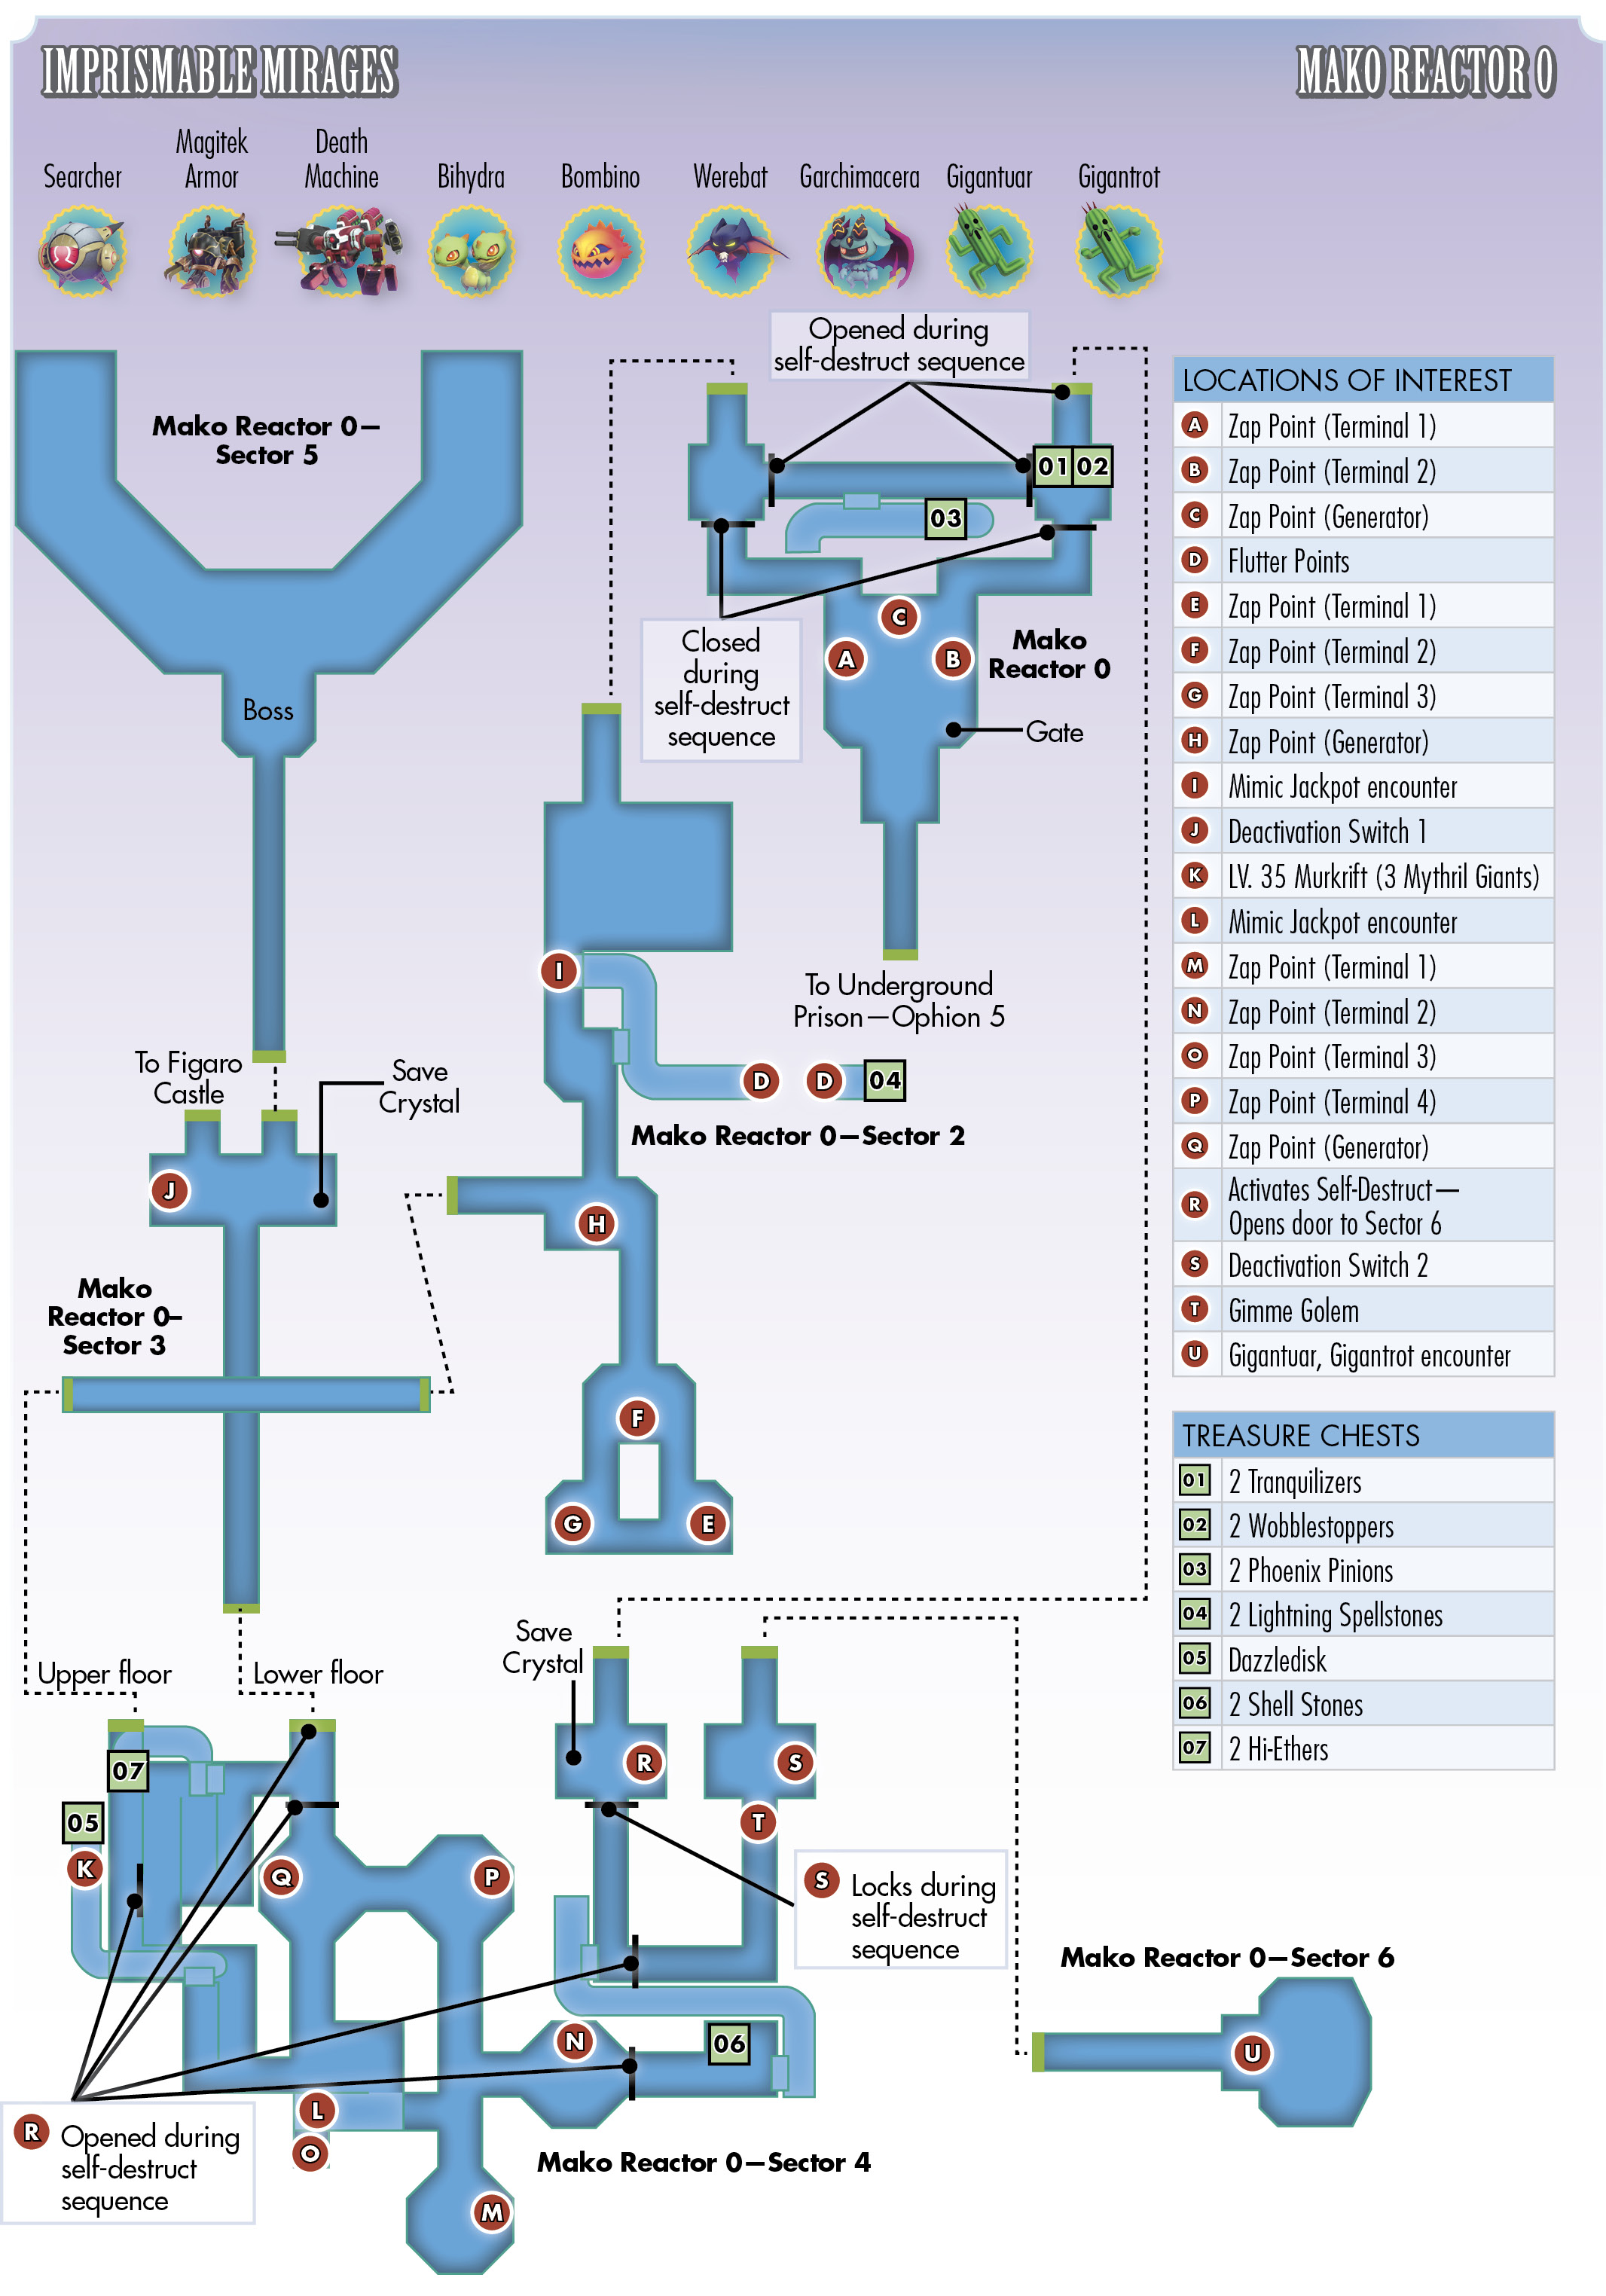
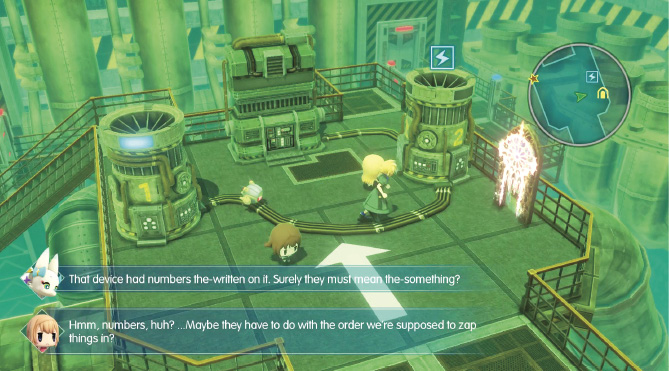
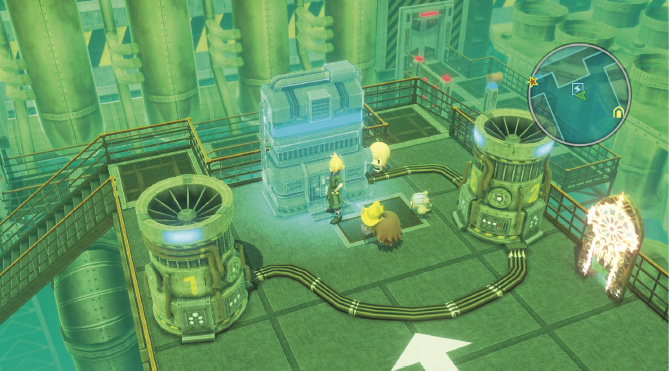
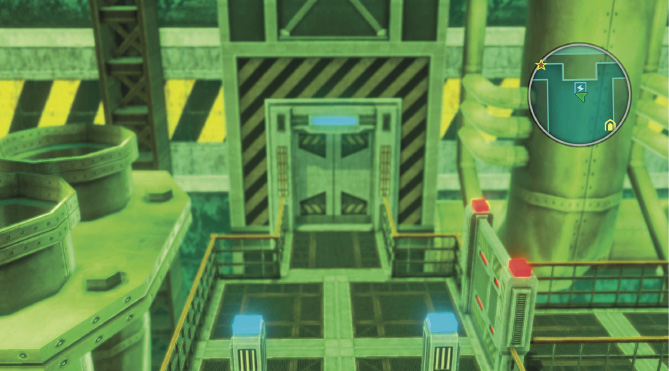
At the entrance of Mako Reactor 0, there’s a Zap puzzle that you must solve before you can progress. There are two terminals with Zap points that you can trigger. Here, the terminals are labeled with the numbers “1” and “2.” This gives you the order in which they need to be turned on, so go ahead and turn on the left terminal and then the right one to unlock access to the main generator in the center. Zapping the center panel reveals another unlock—a door in the northwest portion of the area. Now that it’s green, you can go through it and into Mako Reactor 0—Sector 2.
In Mako Reactor 0—Sector 2, head down the stairs until you reach an opening in the railing. Go through the opening onto the large pipe walkway, then go under the stairs to the right. There’s a hidden treasure chest here. Surprise! It’s a trap. Opening it springs an encounter with a mimic-type enemy called a mimic jackpot. At least it’s a new Mirage that you can imprism (reduce its HP to trigger its prismtunity).
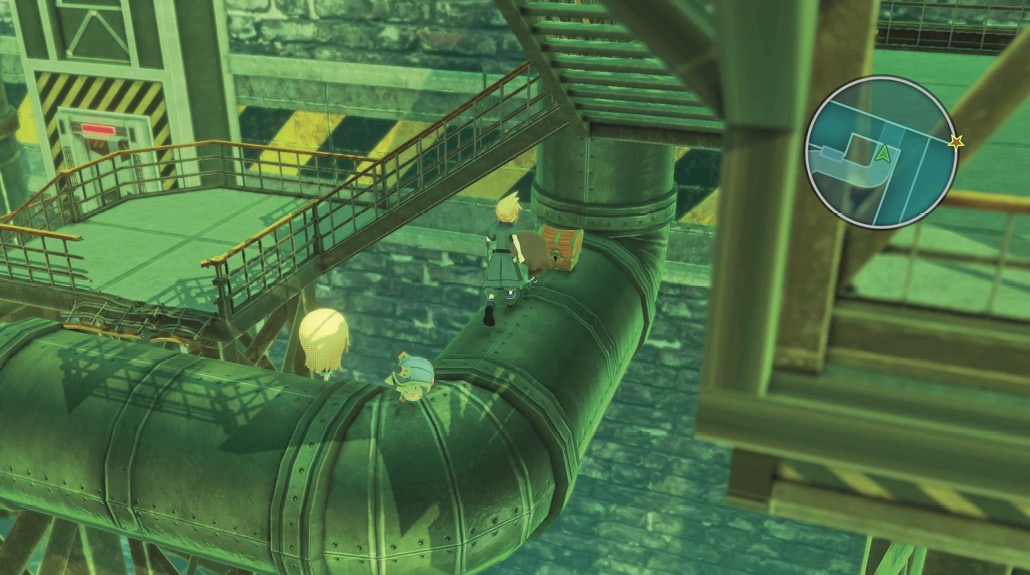
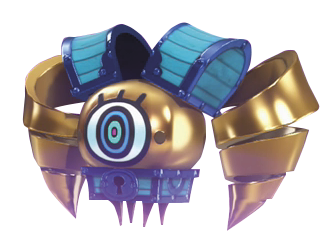
After dealing with (or skipping) the mimic jackpot, head toward the other end of the pipe to access a Flutter point. Ferry across with your moogle or floating eye to pick up two lightning spellstones from the treasure chest there. Now, go to the puzzle portion of the area at the south end of the map. There’s a locked door on the central platform that you must unlock. The puzzle’s terminals are on the floor below. Unlike the first generator puzzle, only one of these terminals is labeled. To solve it, the cables connecting the terminals give you an idea of the order you need to activate the generator (power travels from the last terminal through the cables, eventually to the generator).
Zap the leftmost terminal first, then the middle terminal, and finally, the one on the right (labeled “3”). This turns on the main generator switch, which unlocks the door nearby when activated.
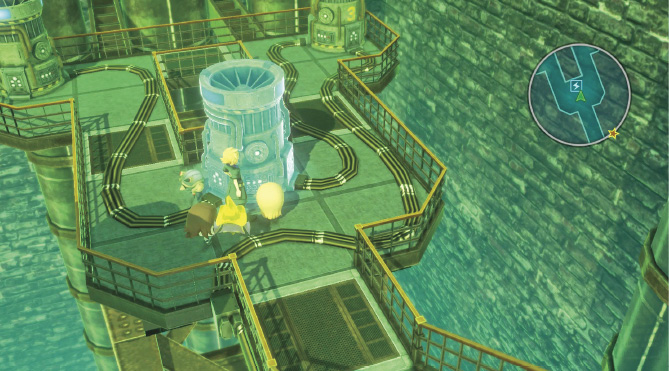
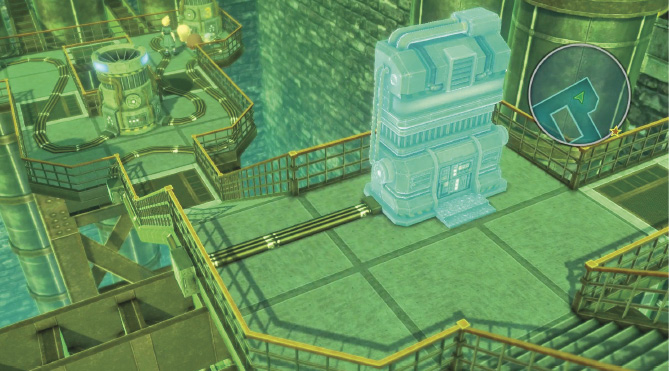
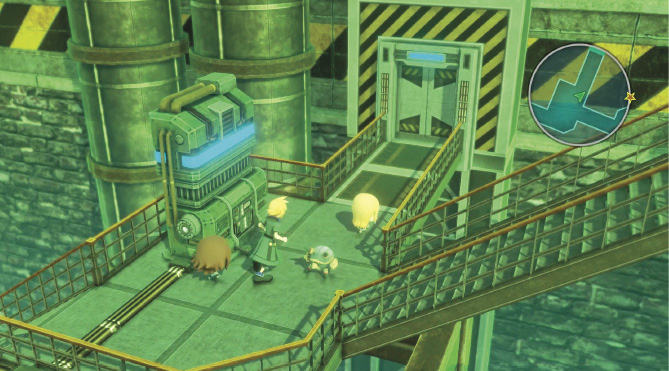
Go through the door, then pass through the next walkway and into Mako Reactor 0—Sector 4. Proceed by descending the staircase here. At the base of the stairs, a murkrift can be spotted off in the distance to the left, guarding a treasure chest on a pipe walkway.
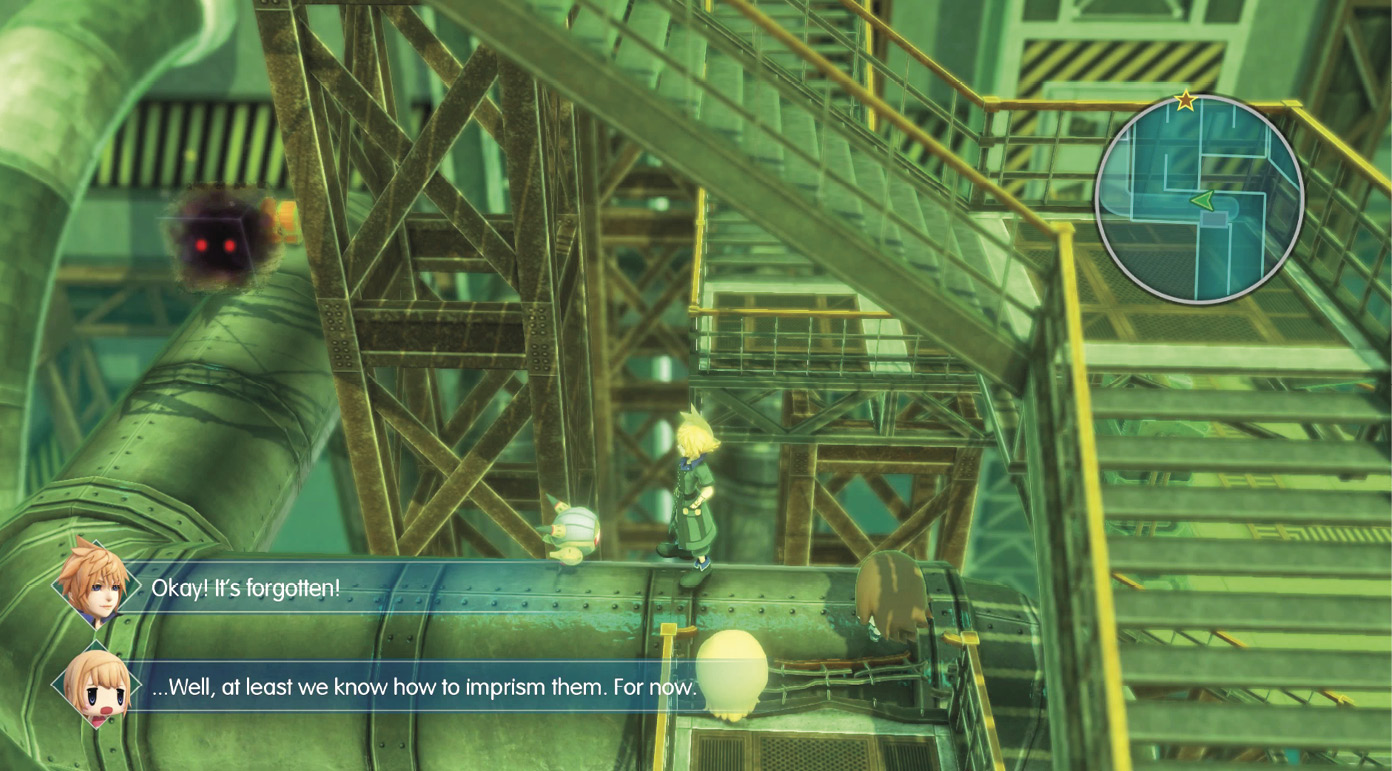
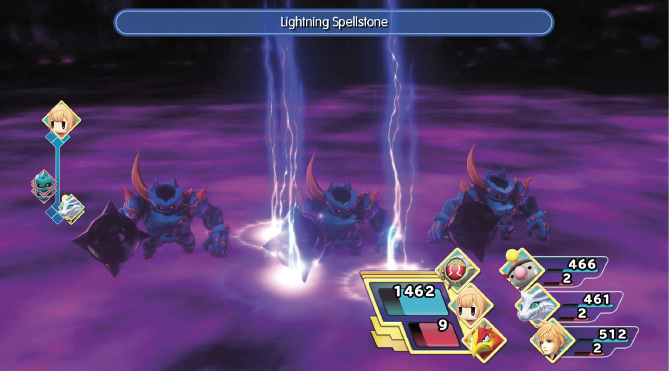
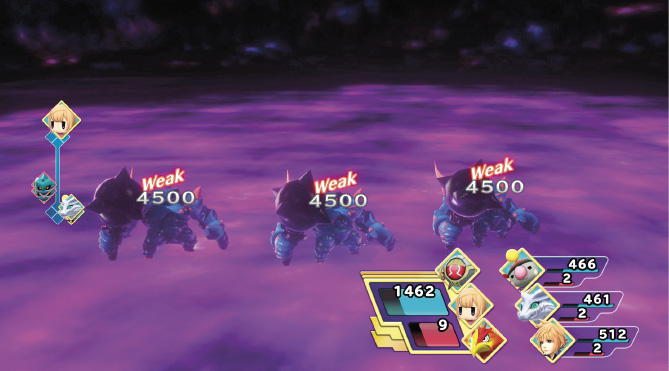
Defeating this Level 35 murkrift is the first step in unlocking the secret area of Mako Reactor 0, so it’s entirely optional. You can return later when you’re stronger to complete it, or you can get the first part out of the way now. If your average party level is at least 30, you can defeat the three mythril giants inside the murkrift with some preparation. If you’ve been following this guide and have gathered all of the treasure chests up to this point, you should have several lightning spellstones at your disposal. When used in battle, these elemental bombs deal a massive 4,500 points of damage to each of the mythril giants, thanks to their vulnerability to thunder. In conjunction with Snow’s Sovereign Fist, you should be able to clean up this murkrift with relative ease. If you’re having trouble, you can come back later (these giants can dish out the hurt if you’re unprepared). If you opt to slay them, open the treasure chest behind the murkrift to obtain a dazzledisk.
Next, continue toward the center of the area, heading to the right from the base of the initial staircase. You can see a chest in the foreground here. It’s a mimic jackpot encounter, so you can skip it (unless you want to imprism it).
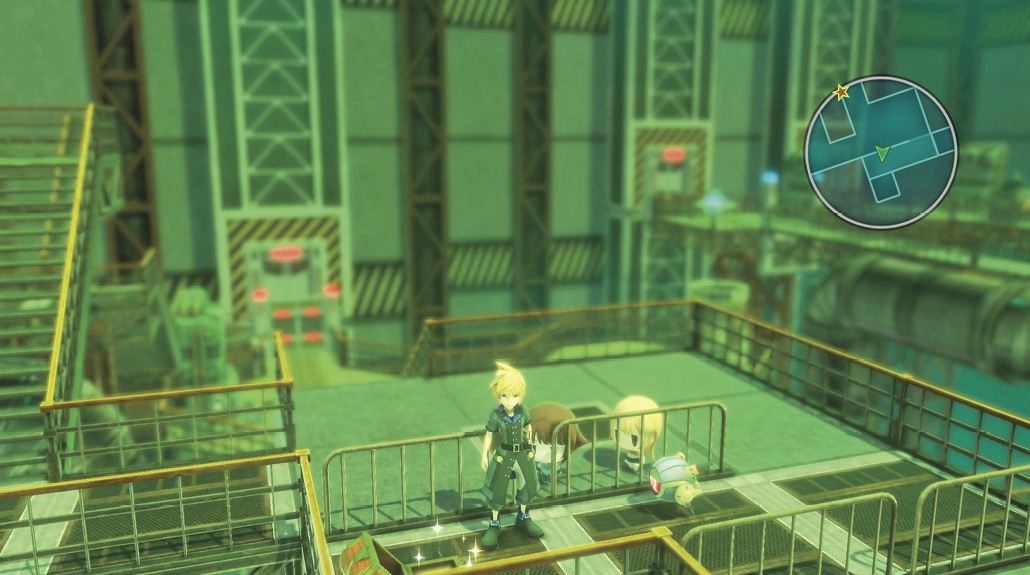
Now go downstairs, to the north. Here, there’s a main generator with a locked door nearby (indicated by the red light next to it). To the east of this door are three distinct terminals along the platforms that connect to the main generator switch. This puzzle can be tricky, so pay close attention. The terminal to the south is labeled “1.”
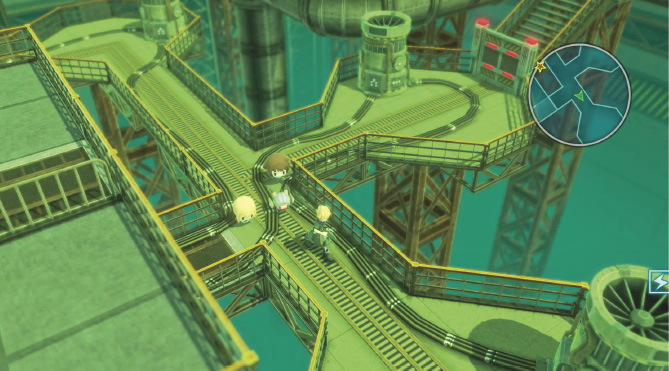
What you can’t see initially is a fourth terminal (labeled “3”), hiding from view to the west of terminal 1.
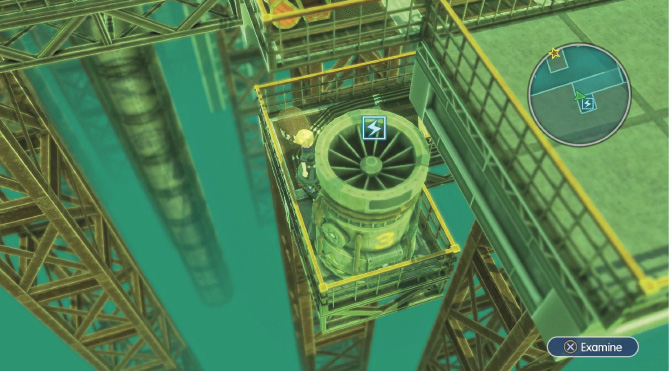
Since there are two blank terminals, this leaves two possible combinations. Zap the southern terminal first (“1”), then the eastern terminal, then the western terminal (“3”), and finally, the northern terminal. So the Zap order is: south, east, west, north. Completing the puzzle turns on the main generator here. Accessing this main terminal unlocks the nearby exit door (that you can’t get to quite yet) and opens up a path to the east of the four-terminal puzzle.
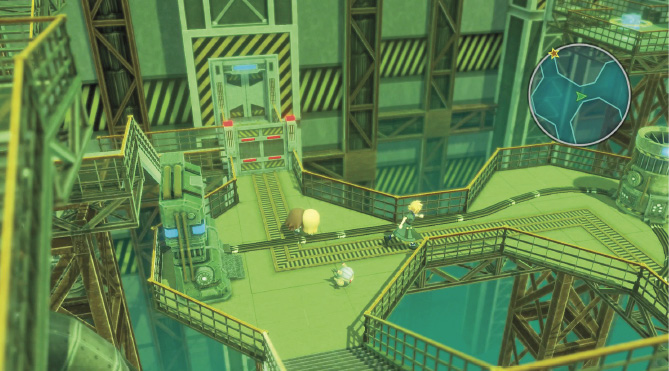
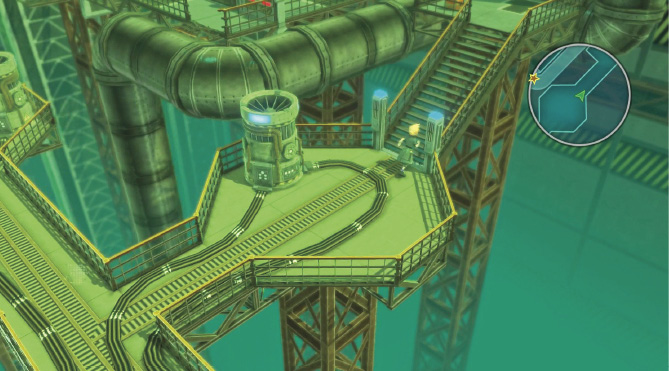
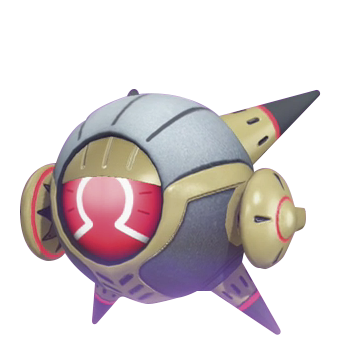
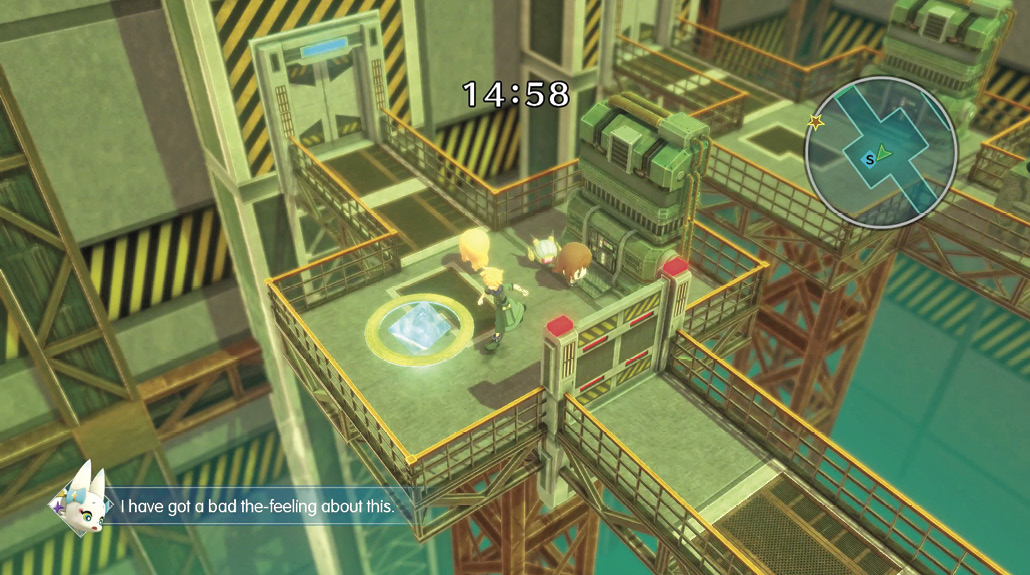
Continue up the new eastern path and up the stairs. Open up the chest along the way for two Shell stones, then traverse the pipe walkway up here to get to another platform with a Save Crystal and another generator switch. Save your progress, then examine the generator. This gives you access to the exit door you unlocked from the Zap puzzle earlier, but you can’t backtrack your way there. A timer appears on-screen. The only way forward is through the door ahead of the Save Crystal, which takes you to the first area of the reactor. You have 15 minutes (which should be plenty of time) to travel from the beginning of the reactor to either one of the two deactivation switches; “Deactivation Switch 1” is gated by a Gimme Golem in Sector 4 and “Deactivation Switch 2” is located in Sector 3, near the Save Crystal. See the map preceding this text to find the exact locations of these switches. Failing to reach these switches within the alotted time ends in a game over.
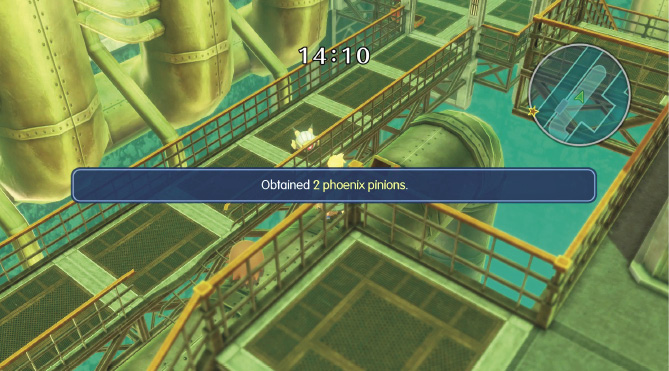
Back at the first area, you start at the northeast doorway, which was previously inaccessible. Open two treasure chests nearby to obtain two wobblestoppers and two tranquilizers. Then, continue west along the north path until you reach a breach in the railing to the south. On the pipe walkway, open a treasure chest here for two phoenix pinions.
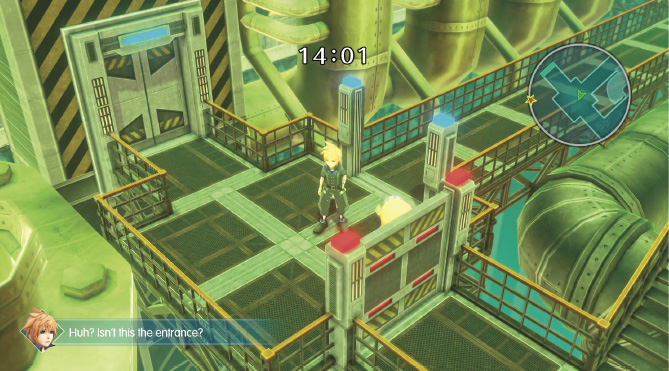
Now, go west and enter the familiar entrance to Sector 2. Since you’ve already completed the puzzle here, you can simply continue through toward Sector 3. After you cross the catwalk of the third area and you’re in Sector 4, take the new path that’s open here (it’s marked by green lights, just before the staircase).
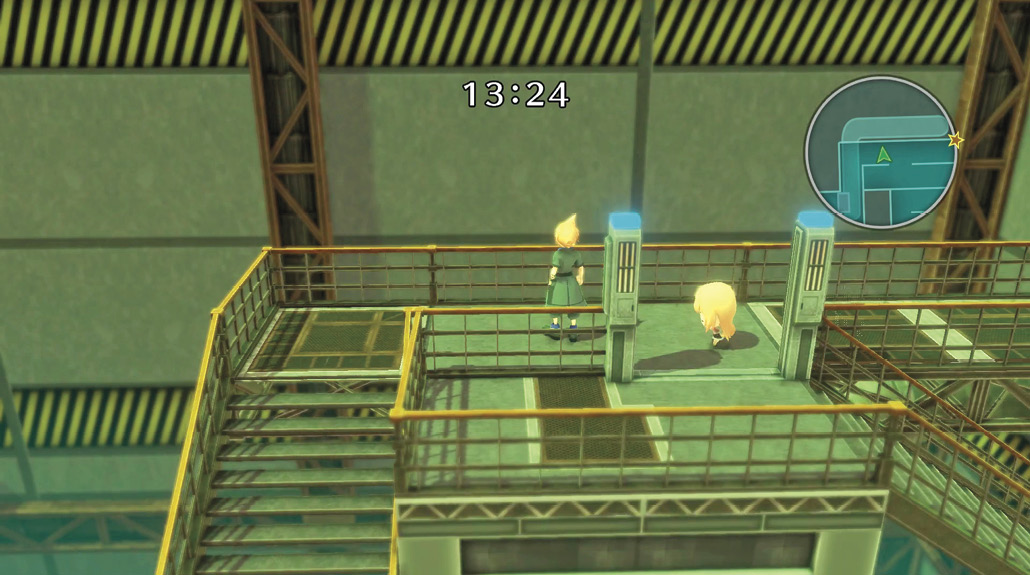
Climb down the set of stairs. When you reach the bottom, take the pipe walkway to the left and pick up two hi-ethers from a chest there.
What you do next depends on whether you picked up the dazzledisk from before. You can either proceed to the main story boss (through the door near the two hi-ethers chest), or you can first unlock the hidden area with the dazzledisk. If you have the dazzledisk, you should go to the east part of the map to appease the Gimme Golem and toggle Deactivation Switch 2 behind it to shut off the reactor’s meltdown sequence indefinitely. The exit near this switch leads to the secret area of the reactor, but it’s highly recommended that you avoid the Mirage encounter in there until you’re prepared with an average party level of at 60 to 65 (see the tip section at the end of this chapter for details).
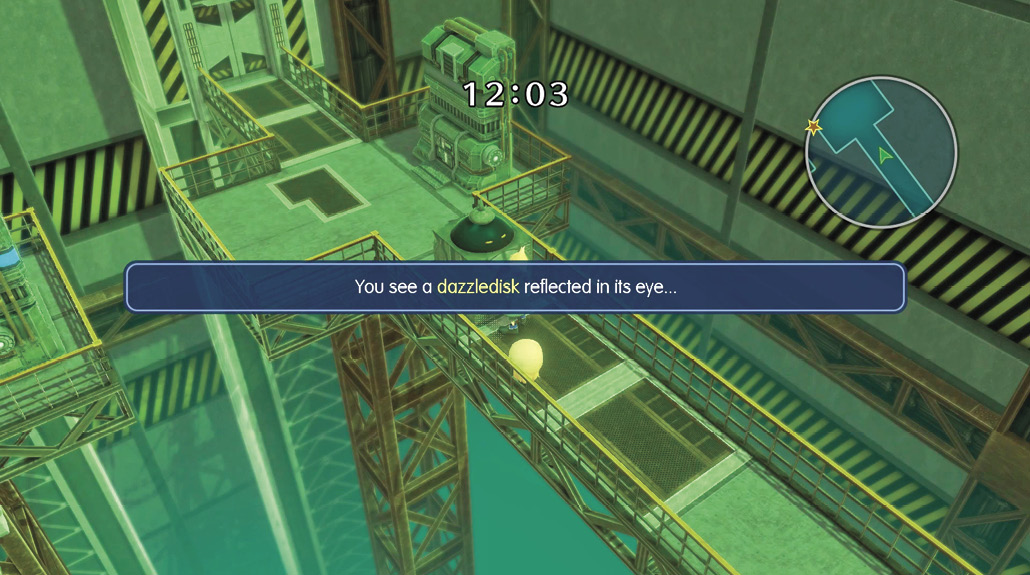
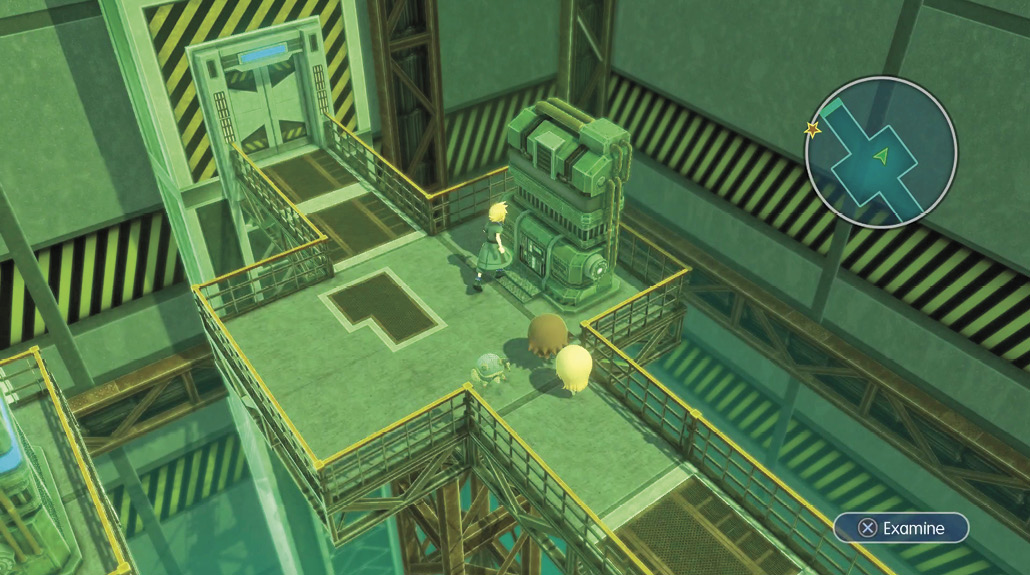
Now, make your way to the boss area by returning to the ground level (where the terminals and generator are), and follow the floor cables to the door leading to the south entrance of Sector 3. If the reactor meltdown sequence is ongoing, you can shut it off at Deactivation Switch 1 switch near the Save Crystal here. Note that if you use this generator to shut down the meltdown (as opposed to the generator in Sector 4), you will need to redo the meltdown sequence again through the Mako Reactor’s initial entrance (the hatch entrance from Figaro Castle is rendered useless until you use the generator next to the Secret Sector entrance, since you’re essentially locked in the boss room).
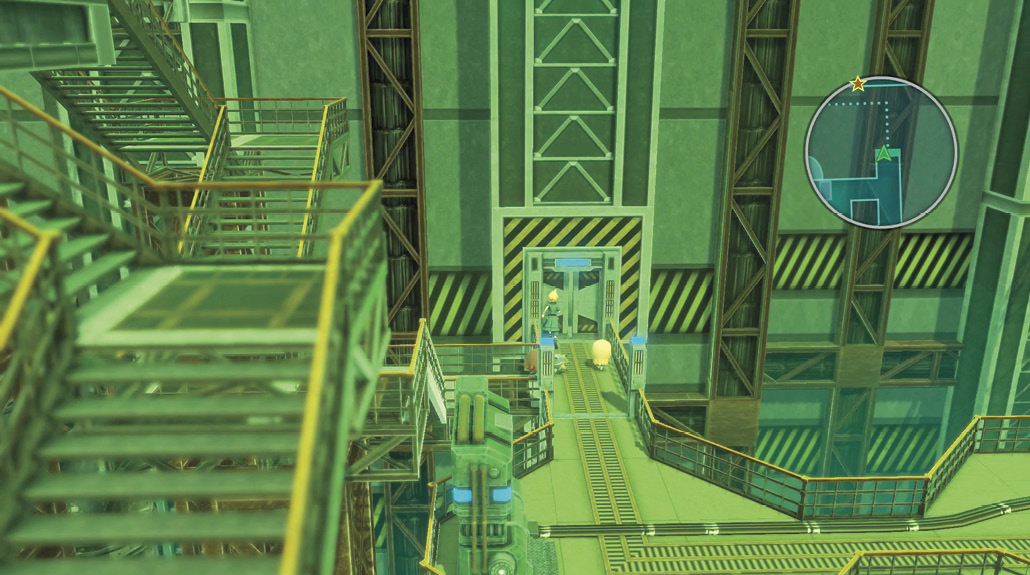
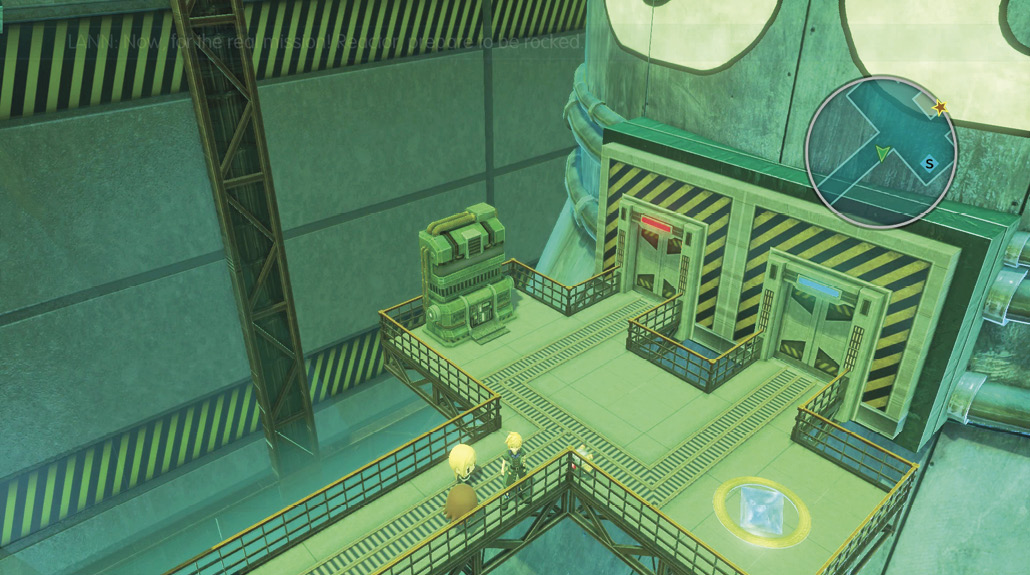
Now that the meltdown has been aborted, it’s time to prepare for a boss battle. Proceed by going through the door to the right (the left door is unlocked later, upon returning to the area).

Boss Battle: Vivi and Friends
You find a horde of black mages surrounding the core of the reactor. When they notice your party’s arrival, they approach with a zombie-like gait, triggering a boss encounter.
The enemy Mirages here include Vivi and five black mages. Casting Libra on Vivi shows that unlike other bosses, he can be imprismed (by reducing his HP to less than 20%).
Since the mages generally attack with spells, it’s advisable to cast Shell (which halves all magic damage taken) on your stacks for survivability before you go on the offensive.
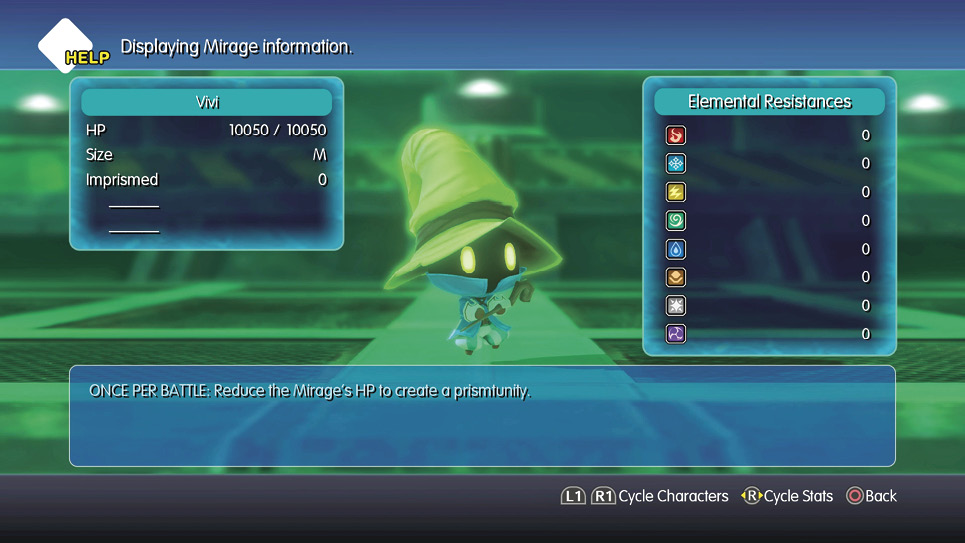
When you’re ready to go on the offensive, your best approach is to attack with high-damage spells that target all enemies. Abilities like Firaga, Blizzaga, Snow’s Sovereign Fist, and Holy Ray (a holy dragon ability) are all effective, considering these mages don’t have any sort of elemental resistances. Summoning Cerberus here is also a strong strategy, since it has access to three different all-targeting spells and a high amount of HP. Alternatively, you can use Cerberus’ high fire/ice/thunder resistance to simply assault Vivi with physical attacks, then imprism him when his HP is low enough, avoiding having to take out his friends.
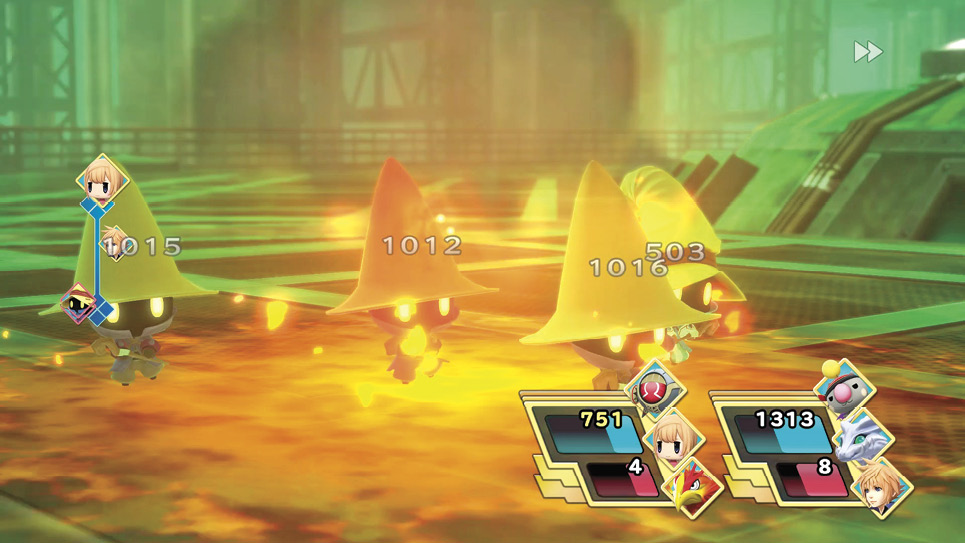
When you’ve vanquished the five black mages, your next step is to imprism Vivi. This is obligatory because you can’t kill him off, no matter how hard you try. Successfully imprisming Vivi doesn’t lock him inside a prismarium, but it does knock some sense into him.
With the help of his doppelganger Mirages, an elated Vivi repays the Mirage Keepers by repairing the reactor. Thanks to Vivi, the twins now have the second of the four keys required by the prophecy. You can speak to Edgar after the cutscene for a history lesson about Figaro Castle and the Underground Prison (which happens to actually be a facility called “Midgar”).
Before ending the chapter, you can accept two Miniventures from a couple of inhabitants on Castle Figaro. A guard near the Gate gives you the Picking Up the Slacker’s Slack quest, while a woman on top of the castle’s watchtower gives the The Battle for Teatime—I Miniventure.
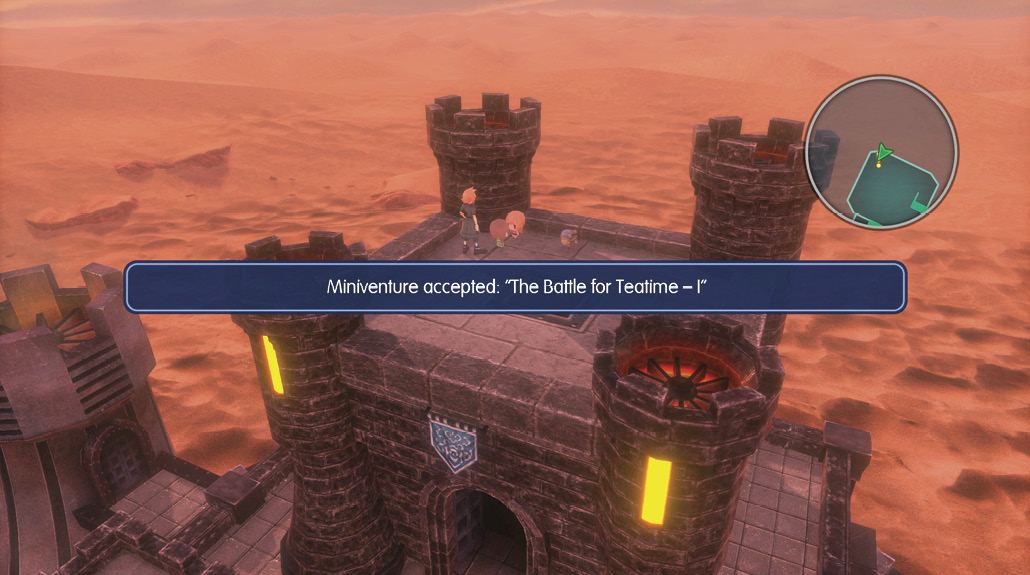
Leave the castle through the front entrance to conclude the story chapter.