
World of Final Fantasy Guide Miniventures & The Coliseum
Coliseum Battles: First Team Wave
In this batch of battles, you’ll fight stacks of Mirages that all fit different themes. You can either attack the stacks directly, or topple the stacks and take on each Mirage one-by-one. For teams that are weaker than you, go for the former tactic. For stronger teams or Mirages that you want to imprism, go for the latter.
FF Mascots 1
| Team Level | Enemies | Reward (1st Win) | Reward (Subsequent Wins) | Battle Unlock Conditions |
|---|---|---|---|---|
|
11 |
Chocobo Stack (Chocobo, Moogle) x3 |
Phoenix Pinion |
Phoenix Down x2 |
Clear Chapter 4 |
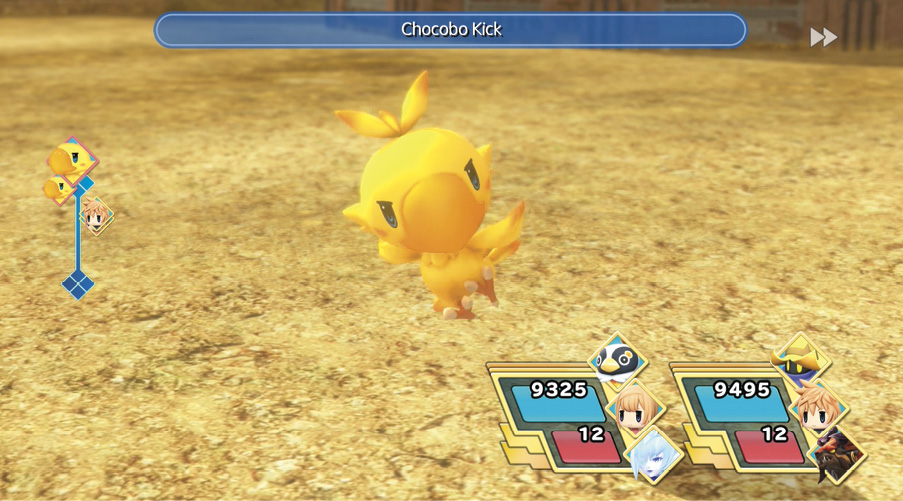
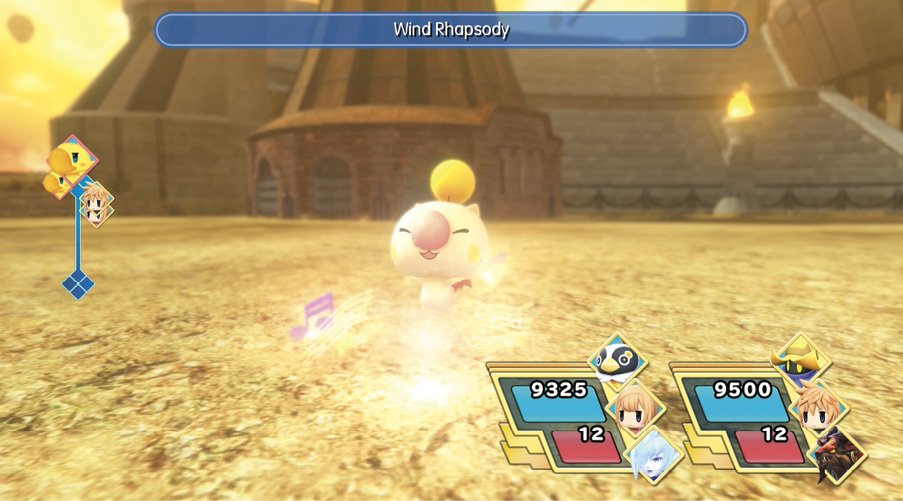
While neither of these little guys presents much of a problem, the moogles do come with a couple of spells that can prolong the fight if you let him use them. If you have the raw power, bash them with everything you’ve got—otherwise, topple the stacks, then conquer.
Forest Fauna 1
| Team Level | Enemies | Reward (1st Win) | Reward (Subsequent Wins) | Battle Unlock Conditions |
|---|---|---|---|---|
|
14 |
Valefor Stack (Mu, Cockatrice, Valefor) x2 |
Cure Seed |
Potion x2 |
Clear Chapter 5 |
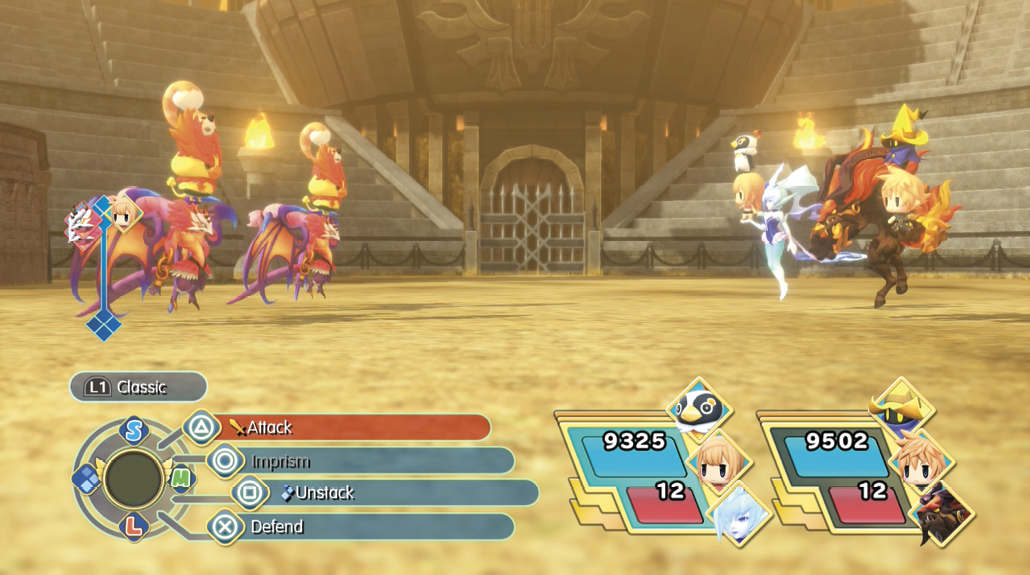
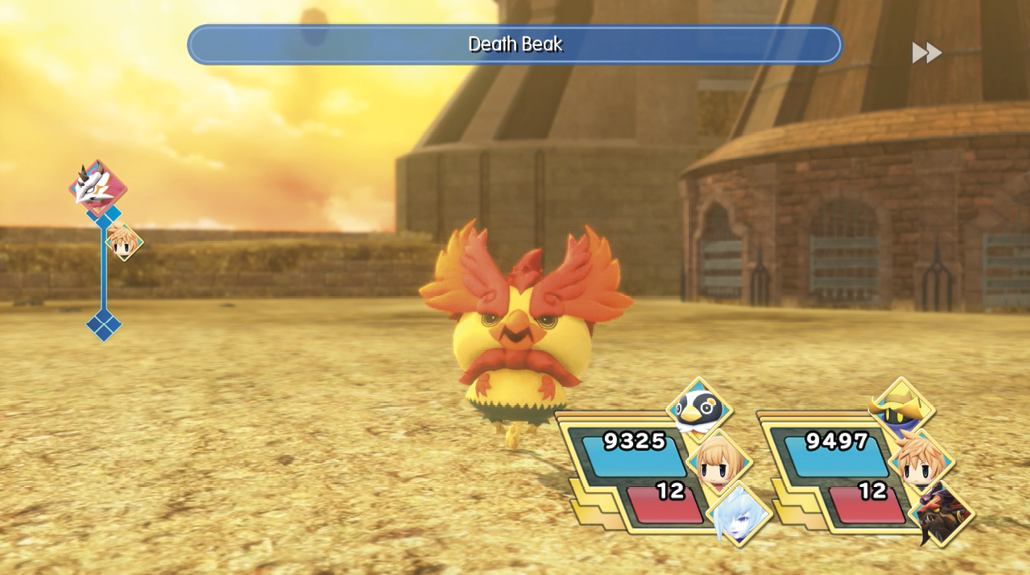
Dark magic works best against these stacks, but water, ice, or thunder will work, as well. Watch out for wind and fire attacks, as well as the cockatrice’s one-hit-KO Death Beak!
Beastly Burden 1
| Team Level | Enemies | Reward (1st Win) | Reward (Subsequent Wins) | Battle Unlock Conditions |
|---|---|---|---|---|
|
17 |
Fenrir Stack (Reaver Mu, Babyhemoth, Fenrir) x2 |
Blizzard Seed |
Frigicite x2 |
Clear Chapter 6 |
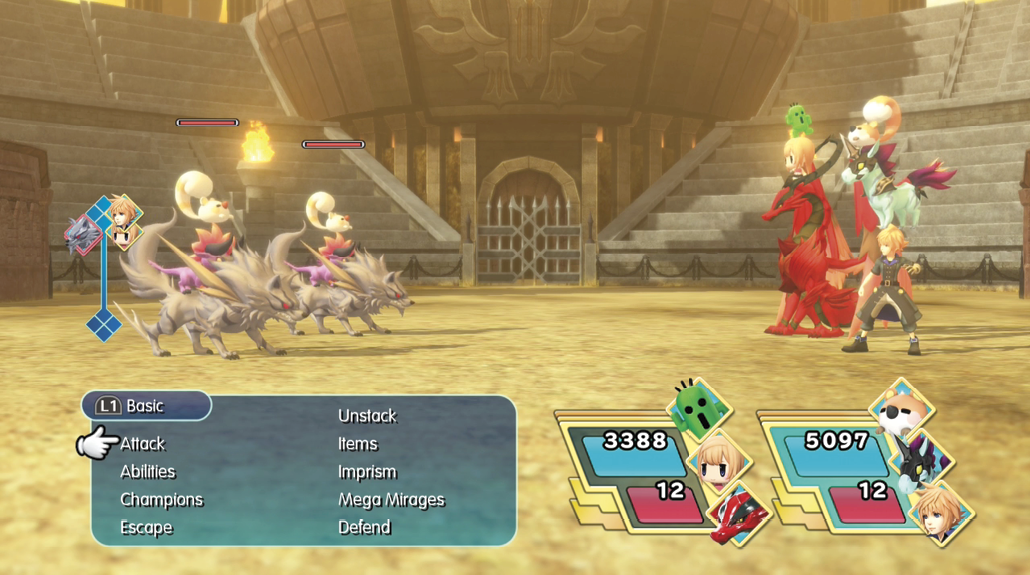
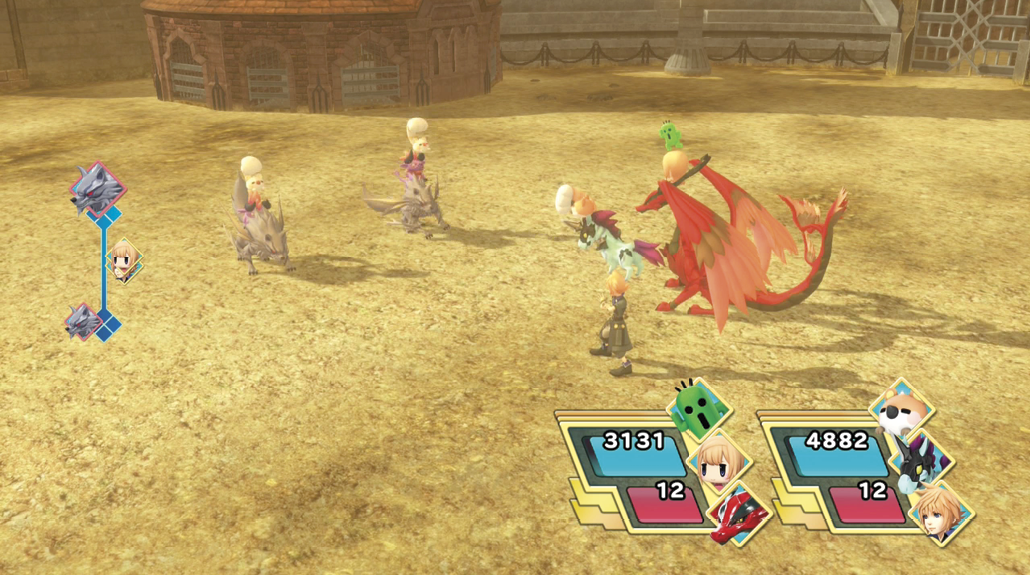
Get ready for a gauntlet of hard-hitting physical attacks. Bring fire or dark abilities.
Catch of the Day 1
| Team Level | Enemies | Reward (1st Win) | Reward (Subsequent Wins) | Battle Unlock Conditions |
|---|---|---|---|---|
|
17 |
Mega Sharqual Stack (Quacho, Sharqual, Mega Sharqual) x2 |
Water Seed |
Fish Scale x2 |
Clear Chapter 8 |
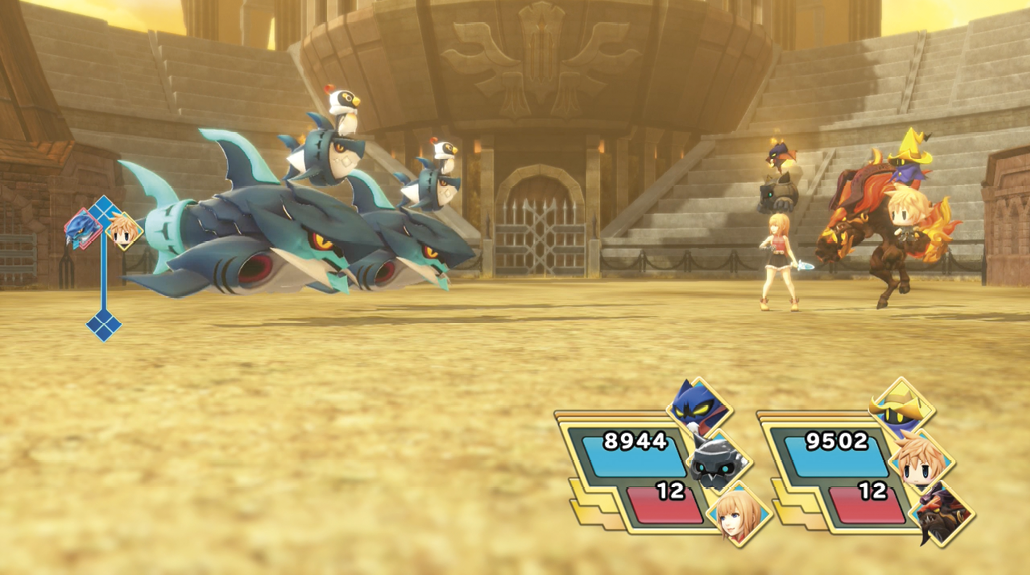
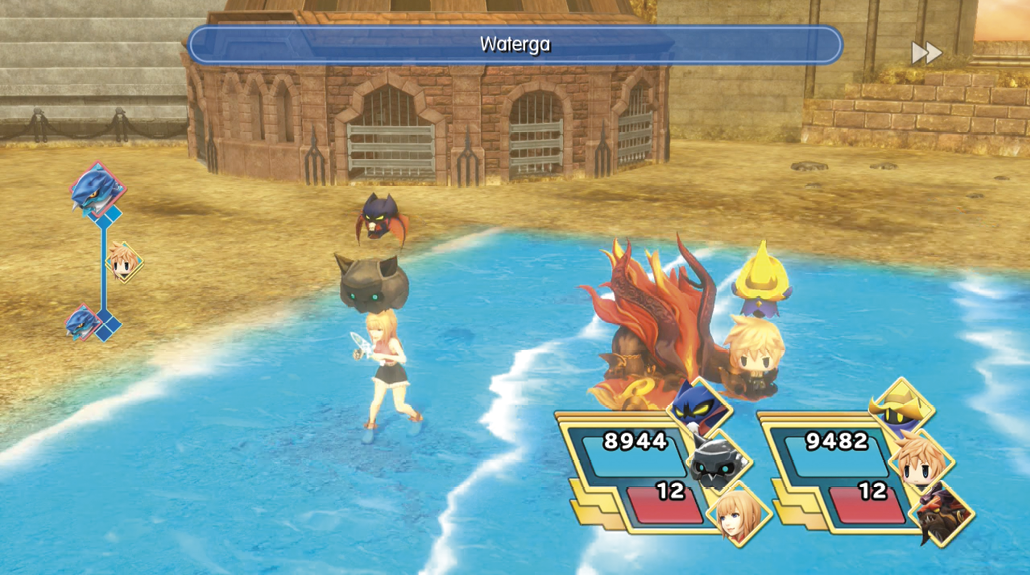
A litany of water attacks will be headed your way. Use thunder, wind, or dark magic to counter.
Mountain Mirages 1
| Team Level | Enemies | Reward (1st Win) | Reward (Subsequent Wins) | Battle Unlock Conditions |
|---|---|---|---|---|
|
20 |
Mythril Giant Stack (Mini Golem, Copper Gnome, Mythril Giant) x2 |
Balance Seed |
Potion x5 |
Clear Chapter 9 |
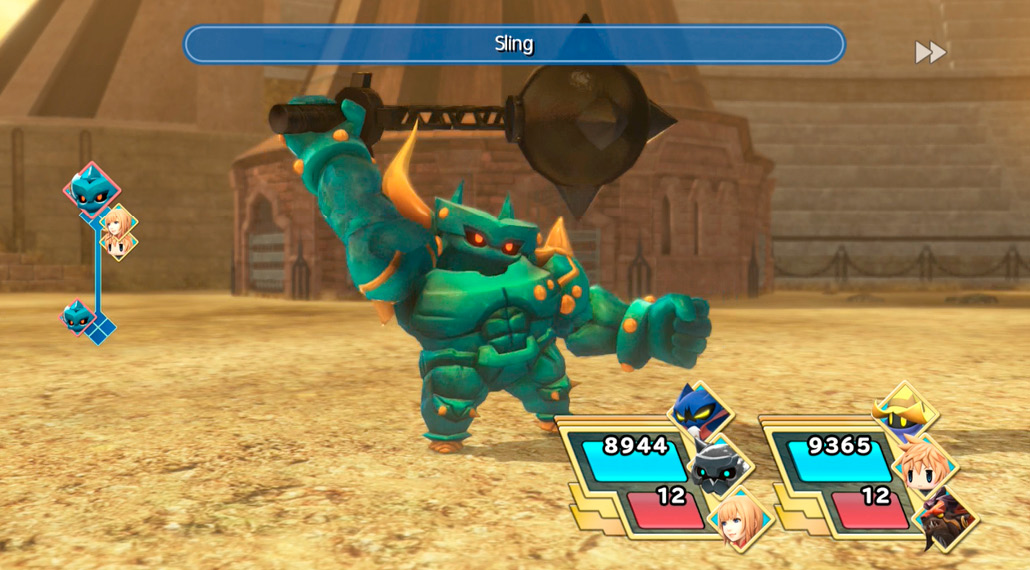
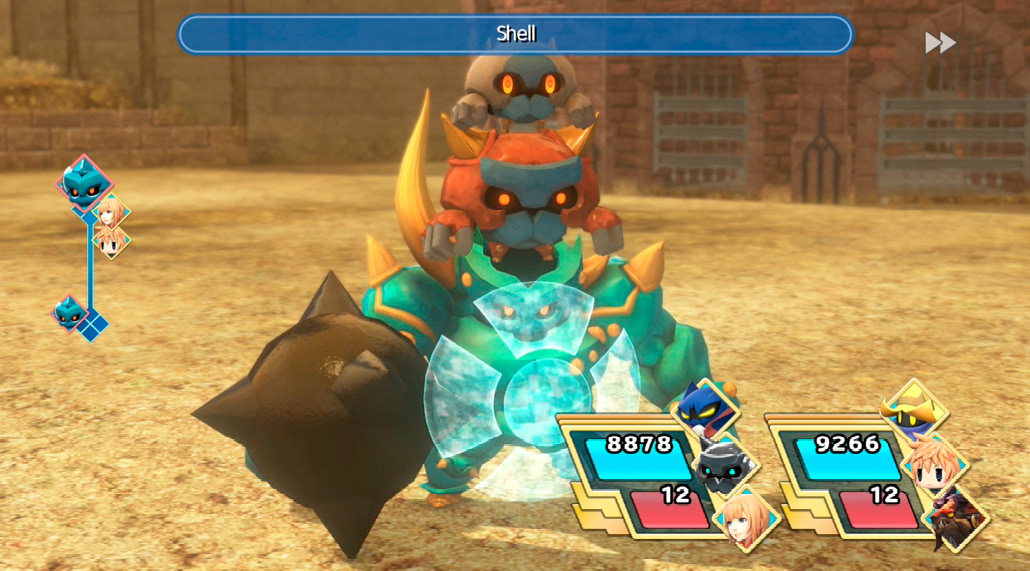
These guys dole out hard-hitting earth and physical attacks. Counter with thunder and wind.
Team Red 1
| Team Level | Enemies | Reward (1st Win) | Reward (Subsequent Wins) | Battle Unlock Conditions |
|---|---|---|---|---|
|
24 |
Red Dragon Stack (Flammantoise, Blood Eye, Red Dragon) x2 |
Fire Seed |
Bomb Fragment x2 |
Clear Chapter 10 |
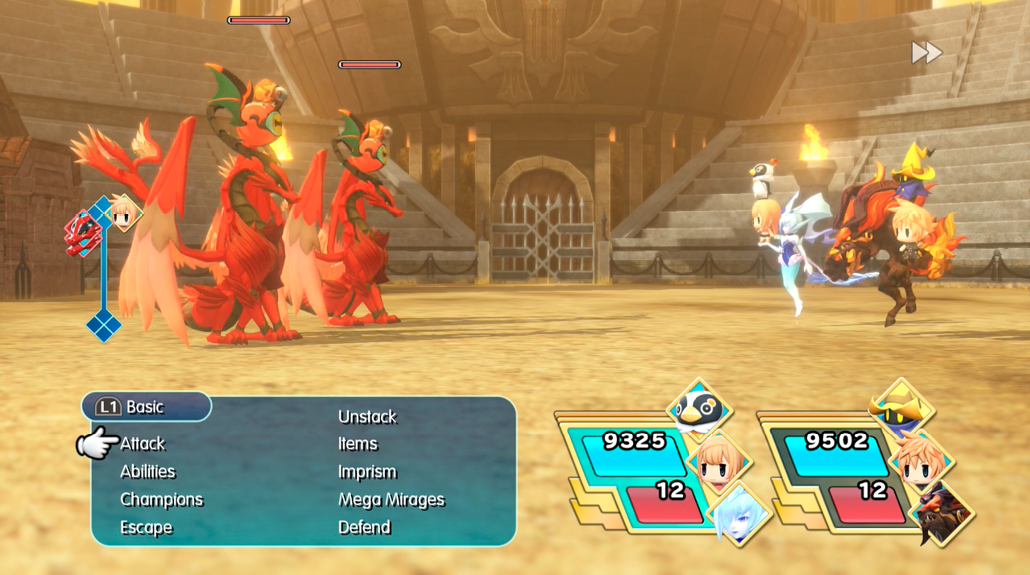
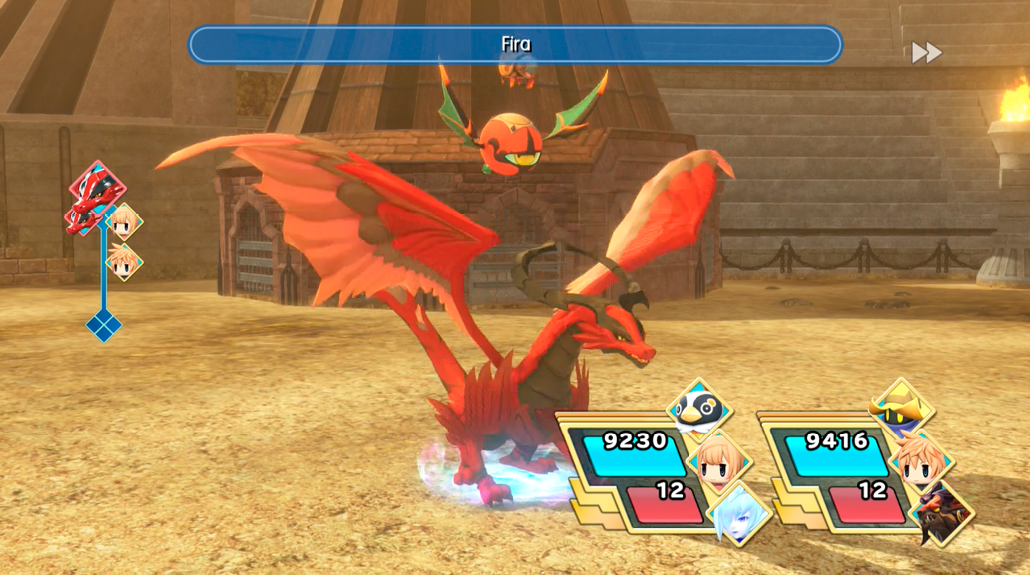
You’ll see a lot of fire in this fight. Bring thunder, ice, water, or light abilities. You can also Blind these stacks or put them to Sleep fairly easily.
Bombs Away 1
| Team Level | Enemies | Reward (1st Win) | Reward (Subsequent Wins) | Battle Unlock Conditions |
|---|---|---|---|---|
|
26 |
King Bomb Stack (Bombino, Bomb, King Bomb) x2 |
Bomb Core x3 |
Bomb Fragment x2 |
Clear Chapter 11 |
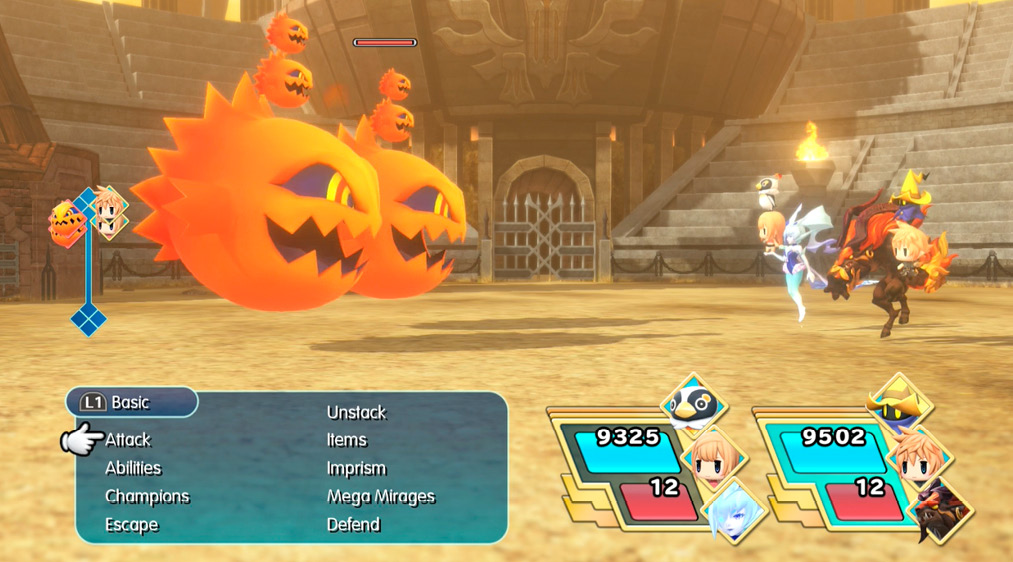
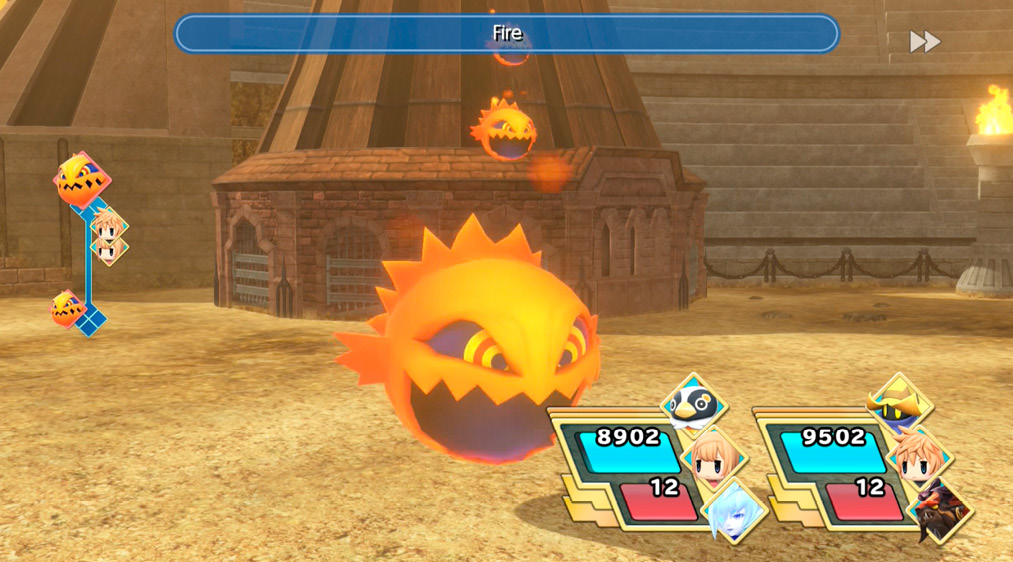
Bombs, bombs everywhere, and fire magic right behind! Douse these guys with as much water as you can, and move on.
The Usual Nuisances 1
| Team Level | Enemies | Reward (1st Win) | Reward (Subsequent Wins) | Battle Unlock Conditions |
|---|---|---|---|---|
|
29 |
Malboro Stack (Mini Flan, Goblin, Malboro) x2 |
Turbo Ether |
Hi-Ether x2 |
Clear Chapter 12 |
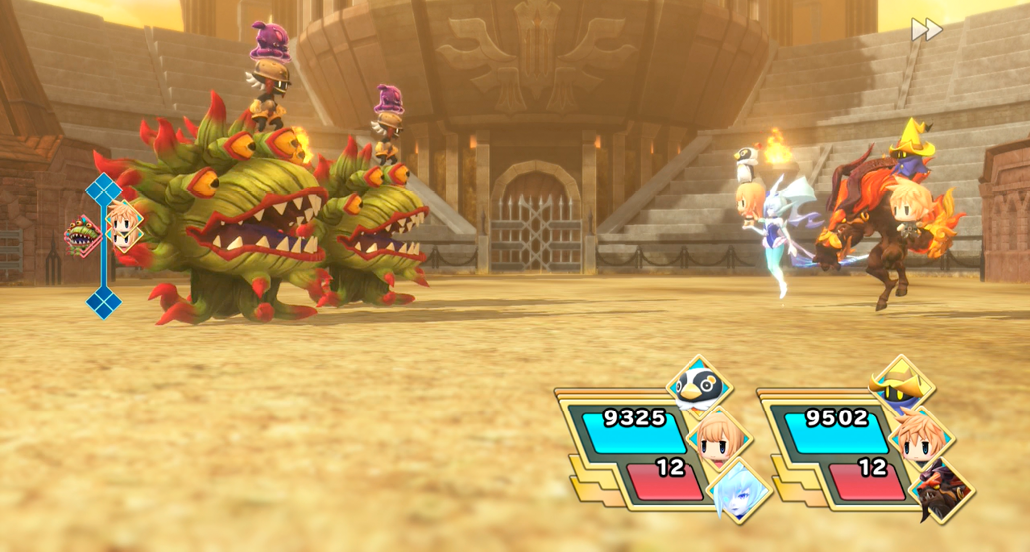
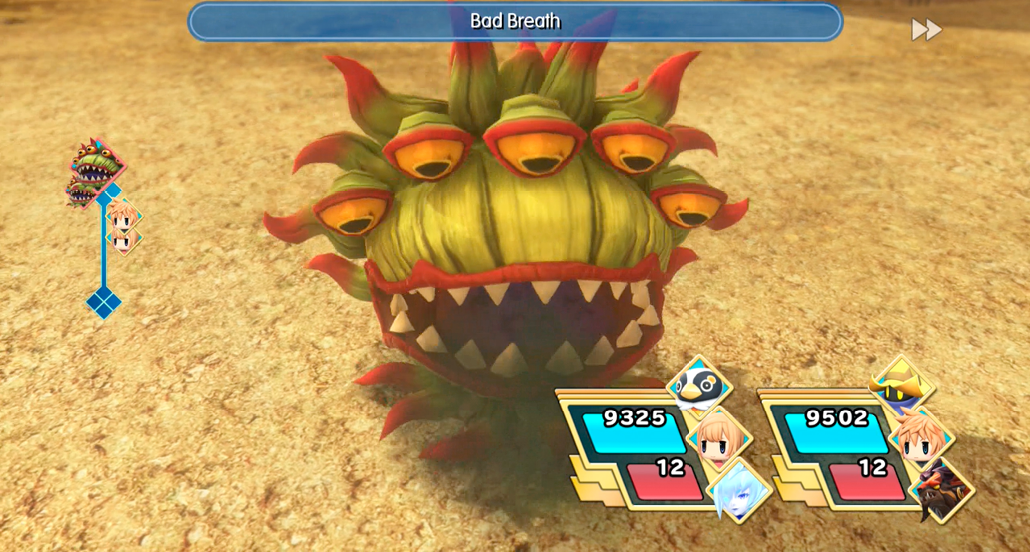
Fire (and to a lesser extent, water or light) is your easiest path to victory against these status ailment manipulators. You can also Confuse them or cast Doom to make the fight easier or end it even more quickly. And you’ll want to end things quickly, before Bad Breath gets launched and you’re hit with so many ailments you can’t think straight.
Team Brown 1
| Team Level | Enemies | Reward (1st Win) | Reward (Subsequent Wins) | Battle Unlock Conditions |
|---|---|---|---|---|
|
30 |
Sand Worm Stack (Sandicore, Cocadrille, Sand Worm) x2 |
X-Potion |
Hi-Potion x2 |
Clear Chapter 13 |
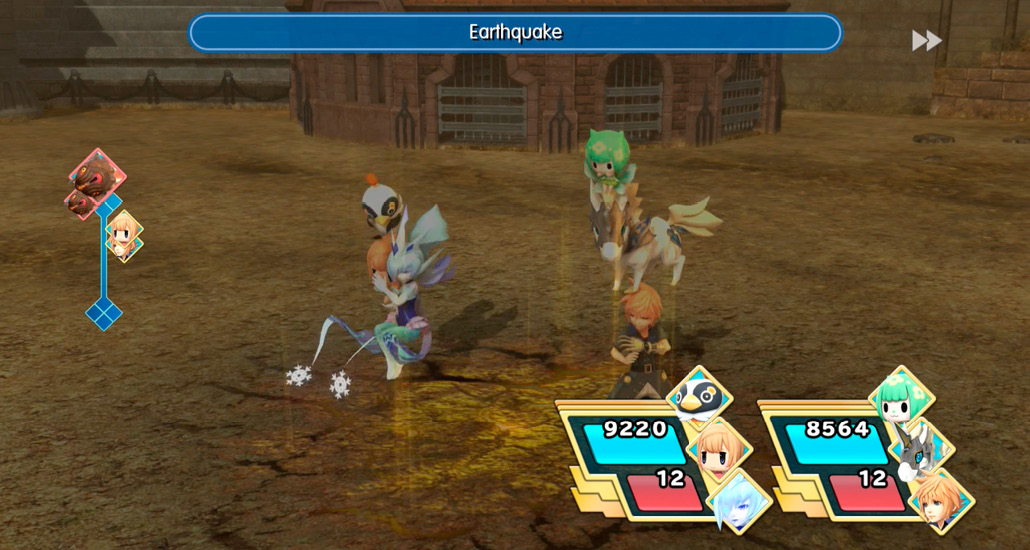
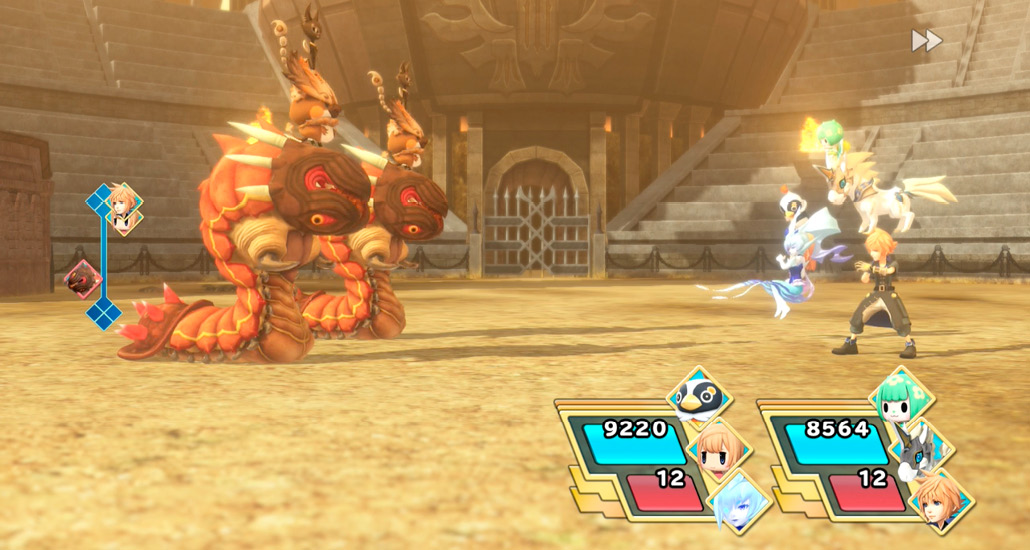
Wind and water abilities are these stacks’ biggest weaknesses. If you don’t have those, ice and dark abilities can be effective. Bring a team that can stand against physical and earth abilities.
The Reactor Pack 1
| Team Level | Enemies | Reward (1st Win) | Reward (Subsequent Wins) | Battle Unlock Conditions |
|---|---|---|---|---|
|
33 |
Death Machine Stack (Searcher, Bihydra, Death Machine) x2 |
Thunder Seed 1 |
Electro Marble x2 |
Clear Chapter 14 |
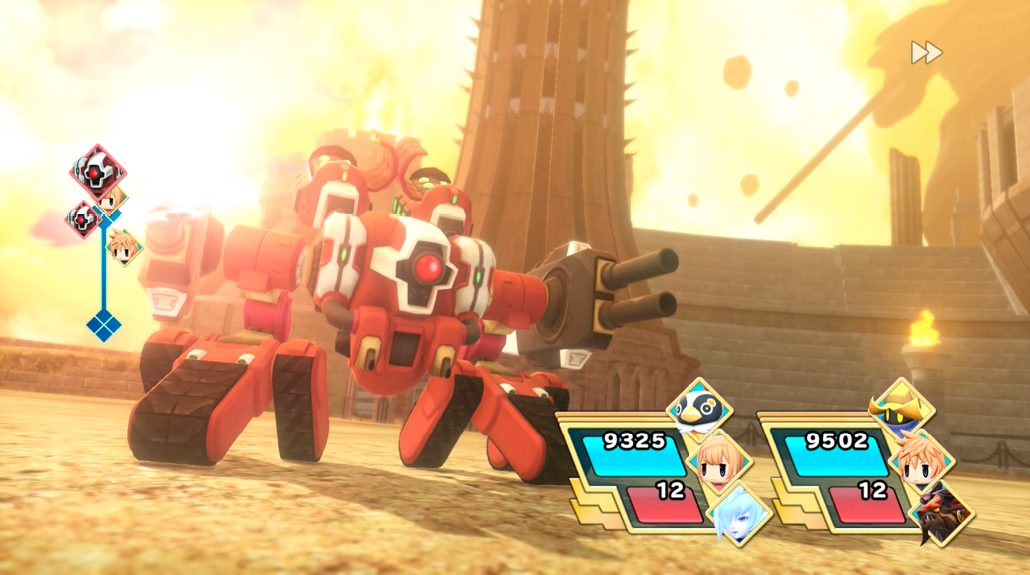
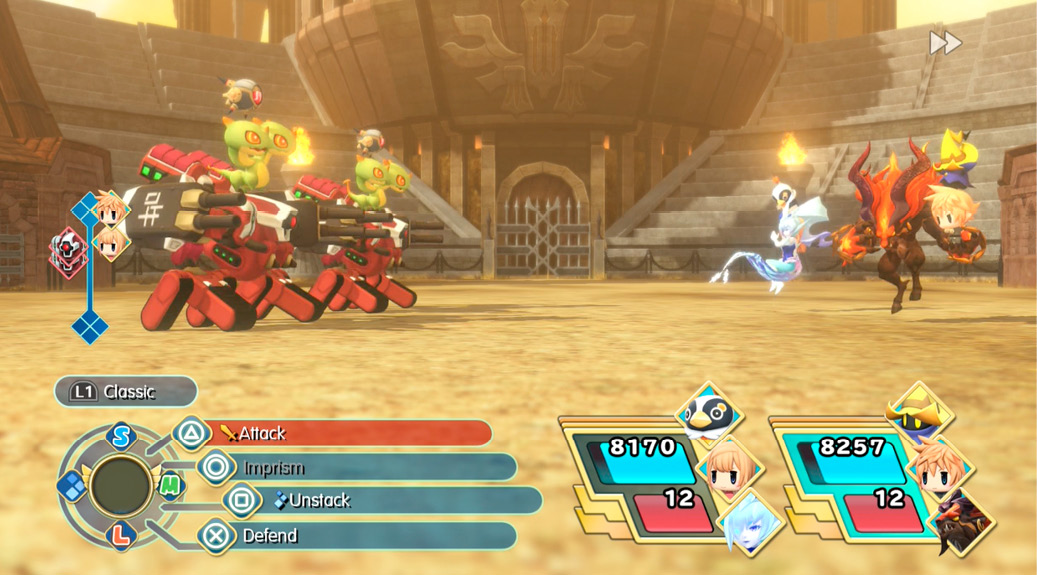
Water will short out the stacks most easily, and thunder is almost as effective. As always, guard against their heavy artillery. Watch out for counterattacks from the death machines, as well. The searcher can use Cure, so be sure to hit hard.
Team Black 1
| Team Level | Enemies | Reward (1st Win) | Reward (Subsequent Wins) | Battle Unlock Conditions |
|---|---|---|---|---|
|
36 |
Magitek Armor Stack (Korrigan, Deathskull, Magitek Armor) x2 |
X-Potion |
Hi-Potion x2 |
Clear Chapter 15 |
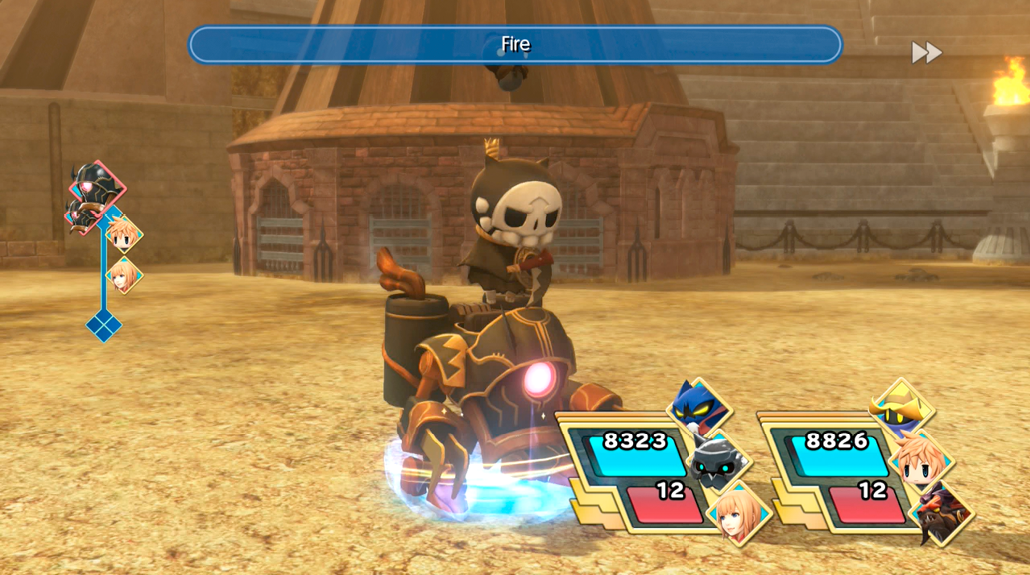
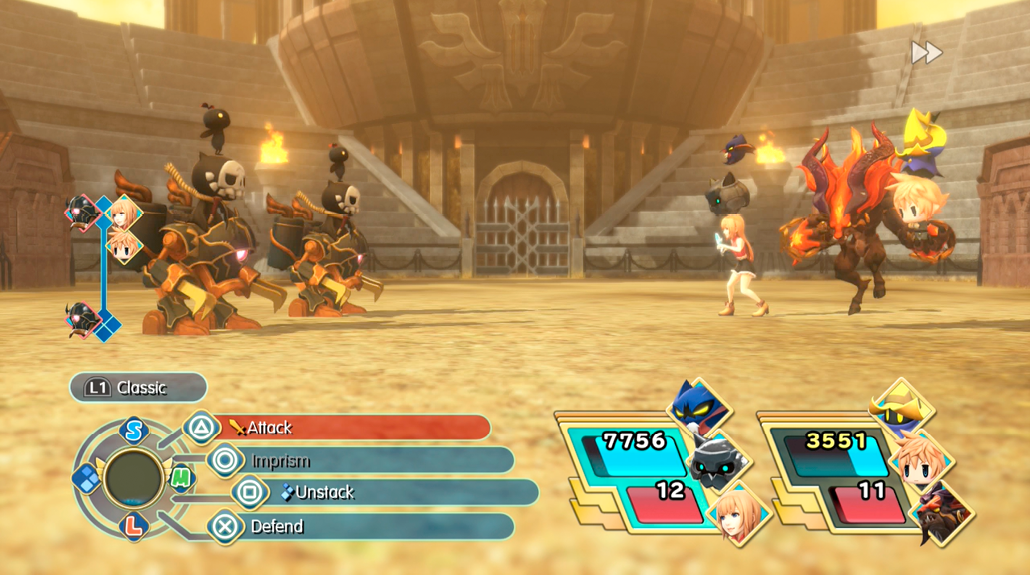
Fire, light, and thunder abilities work best here. While launching them, you’ll have to deal with Magitek armor beams, and the enemies’ ability to drain your AP!
Team Yellow 1
| Team Level | Enemies | Reward (1st Win) | Reward (Subsequent Wins) | Battle Unlock Conditions |
|---|---|---|---|---|
|
40 |
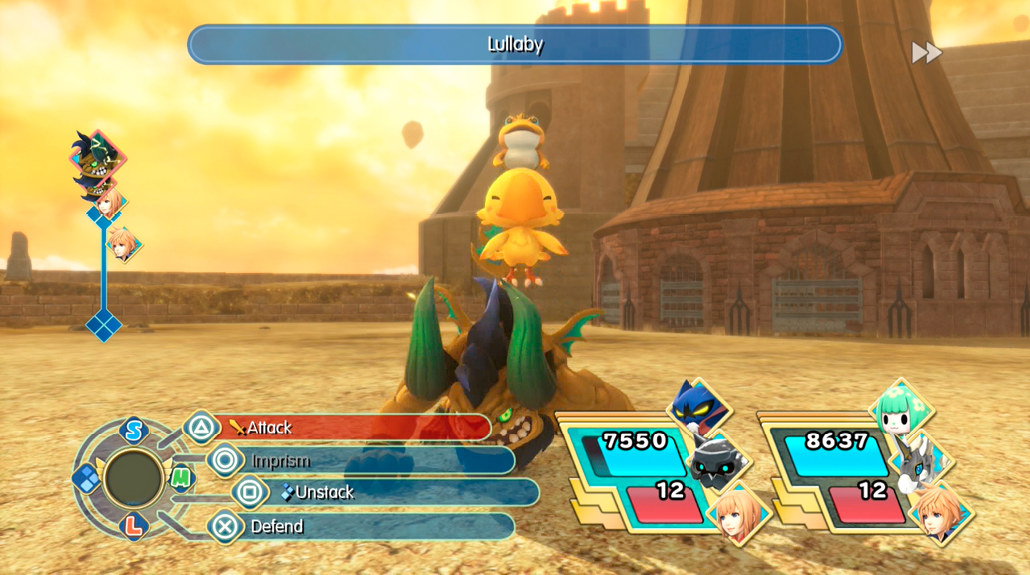
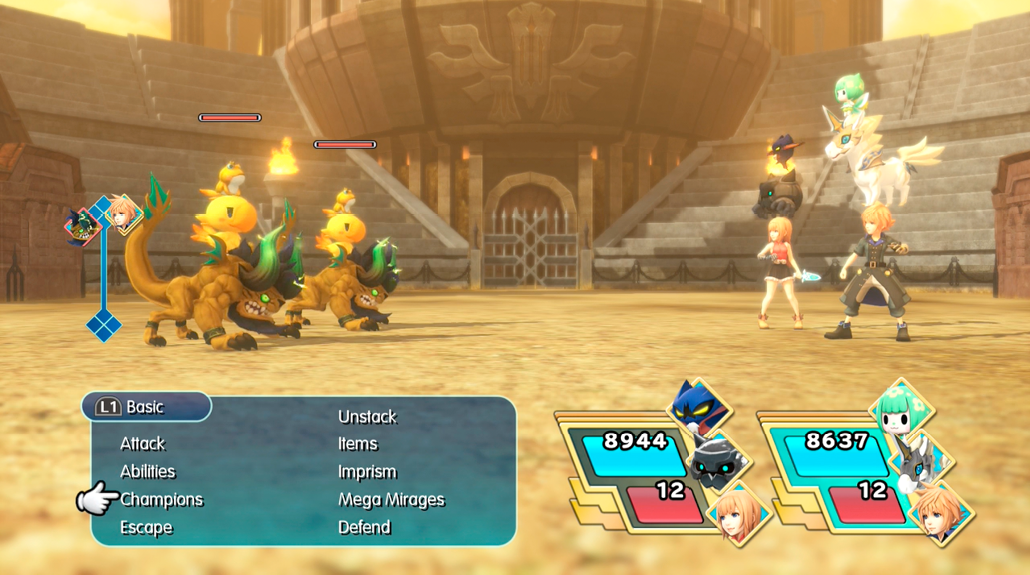
Kuza Beast Stack (Lucky Toad, Chocobo, Kuza Beast) x2 |
Lightning Spellstone x2 |
Lightning Marble |
Clear Chapter 16 |
Light abilities will cut into these stacks like a hot knife through butter. That said, they can do the same to you with Sleep spells and thunder attacks. They can also heal themselves! Stay vigilant.
Vampire Pedigree 1
| Team Level | Enemies | Reward (1st Win) | Reward (Subsequent Wins) | Battle Unlock Conditions |
|---|---|---|---|---|
|
43 |
Vampire Prime Stack (Werebat, Vampire, Vampire Prime) x2 |
Dark Resistance+ Seed |
Hi-Ether x2 |
Clear Chapter 17 |
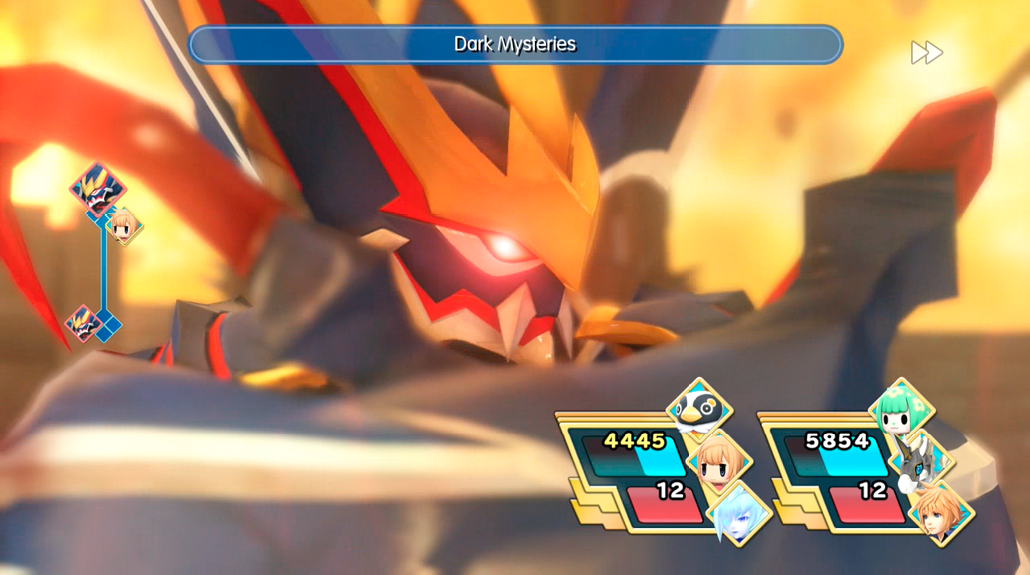
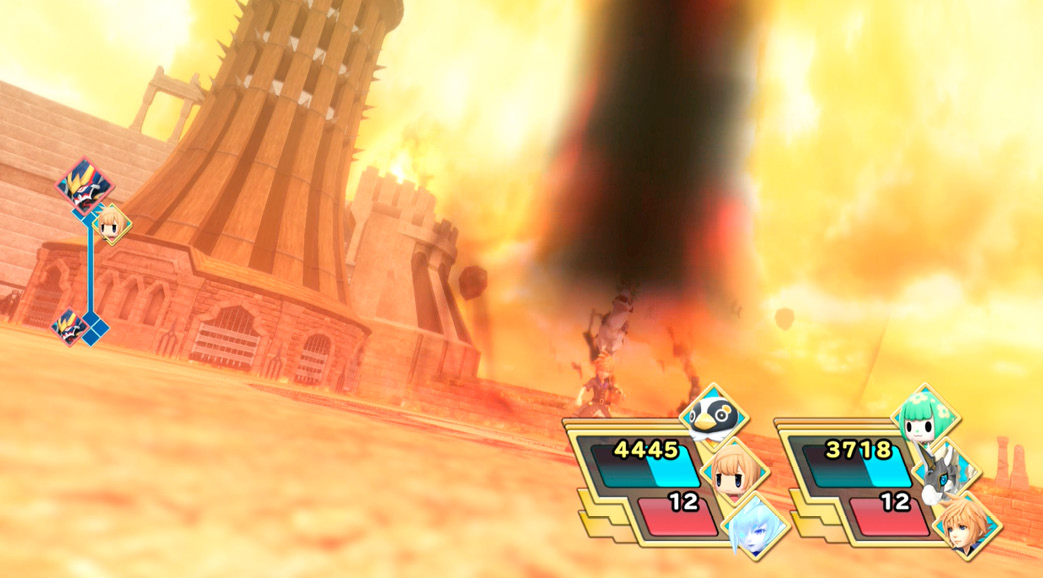
Between their relentless dark magic and constant health siphoning, these guys are bad news! Vanquish them with light abilities—or water in a pinch—as quickly as possible. Keep in mind that the werebats can use “Evade and Counter” on physical attacks, so attacking with magic is best.
Tonberry Tribe 1
| Team Level | Enemies | Reward (1st Win) | Reward (Subsequent Wins) | Battle Unlock Conditions |
|---|---|---|---|---|
|
49 |
Tonberry King Stack (Baby Tonberry, Tonberry, Tonberry King) x2 |
Accuracy+ Seed |
Hi-Potion x2 |
Clear Chapter 18 |
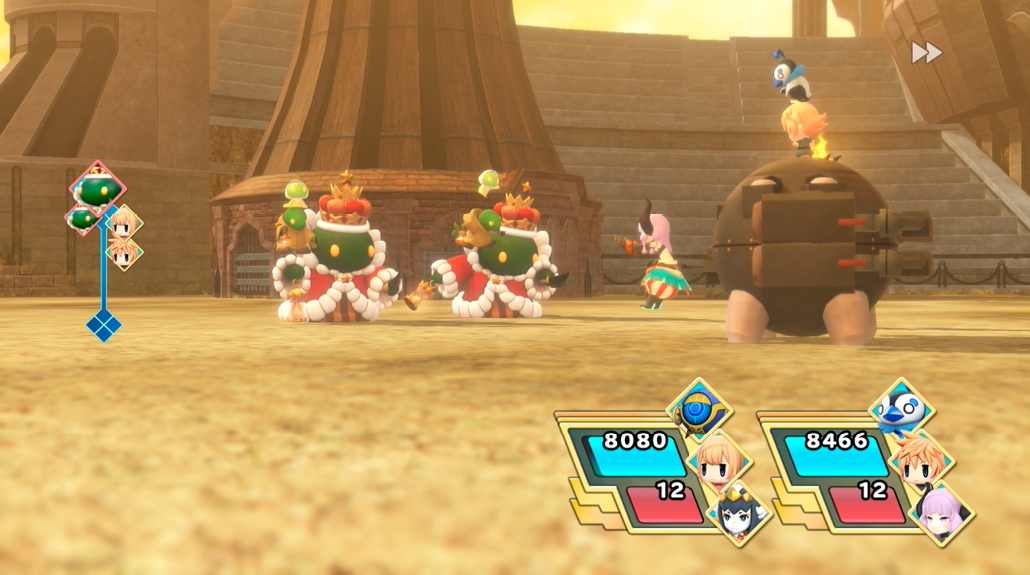
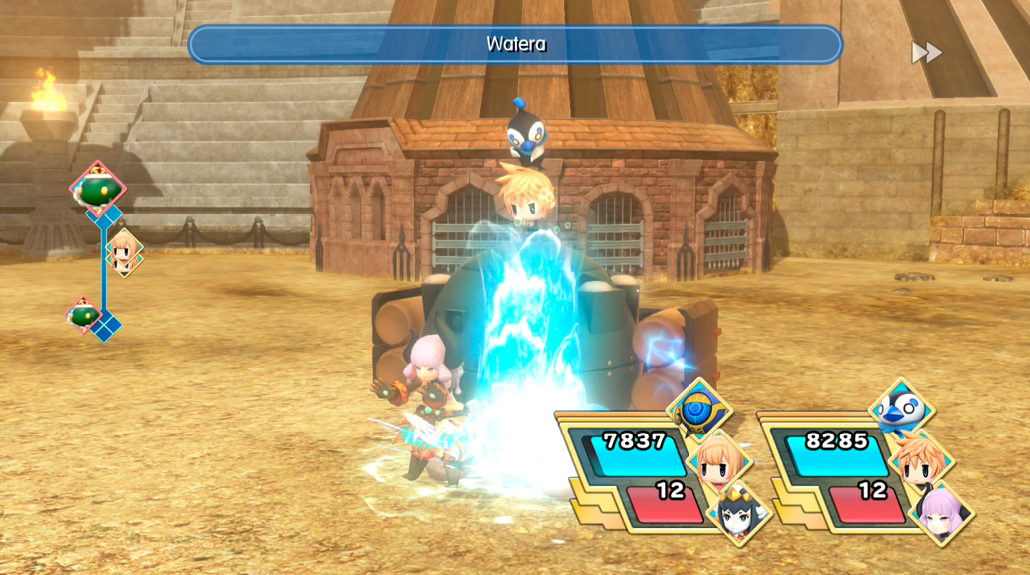
Tonberries are absolutely deadly with their physical attacks. Watch out for water magic, as well. Light and thunder abilities are your best allies. Try to beat these foes quickly, as they’ll sometimes counter for lots of HP once you defeat a few of them.
FF Classics 1
| Team Level | Enemies | Reward (1st Win) | Reward (Subsequent Wins) | Battle Unlock Conditions |
|---|---|---|---|---|
|
50 |
Red Dragon Stack (Cactuar, Tonberry, Red Dragon) x2 |
Agility+ Seed |
Hi-Ether x2 |
Clear Chapter 19 |
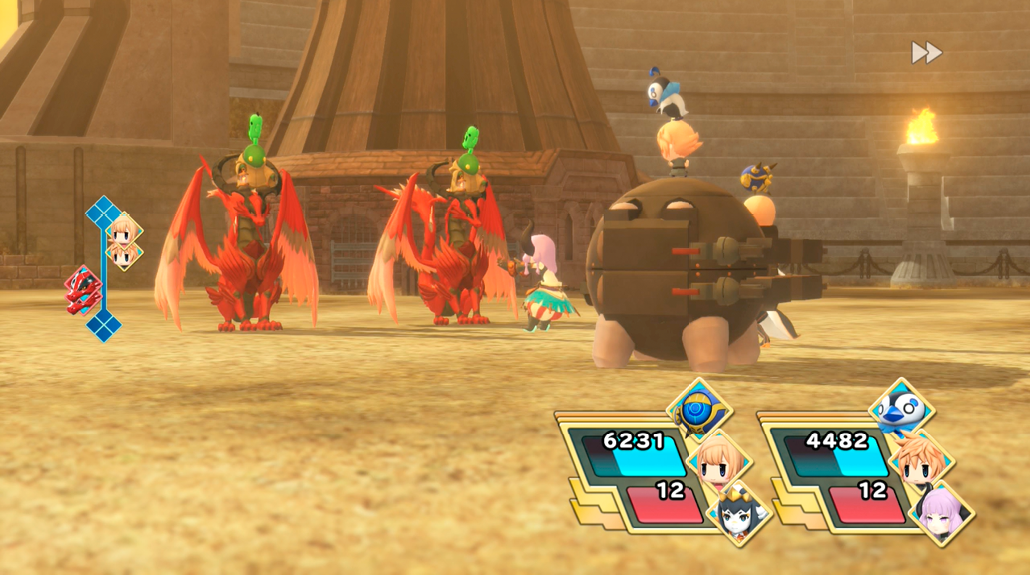
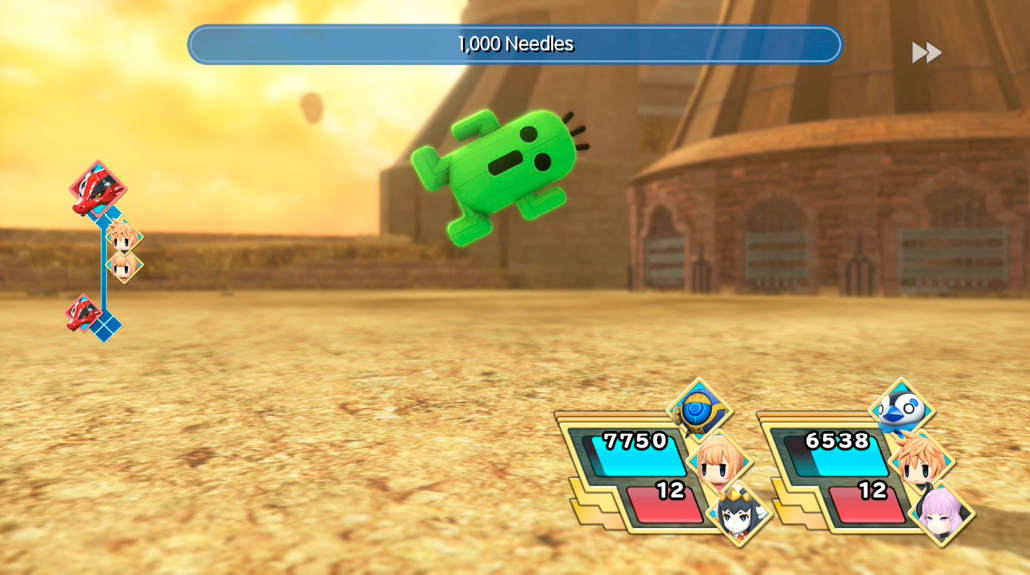
These stacks bring a balanced blend of fire abilities, water abilities, and physical attacks. Cast ice or thunder magic for the quickest battle.
High Fliers 1
| Team Level | Enemies | Reward (1st Win) | Reward (Subsequent Wins) | Battle Unlock Conditions |
|---|---|---|---|---|
|
53 |
Ahriman Stack (Imp, Spark Dragon, Ahriman) x2 |
X-Potion |
Hi-Potion x2 |
Clear Chapter 20 |
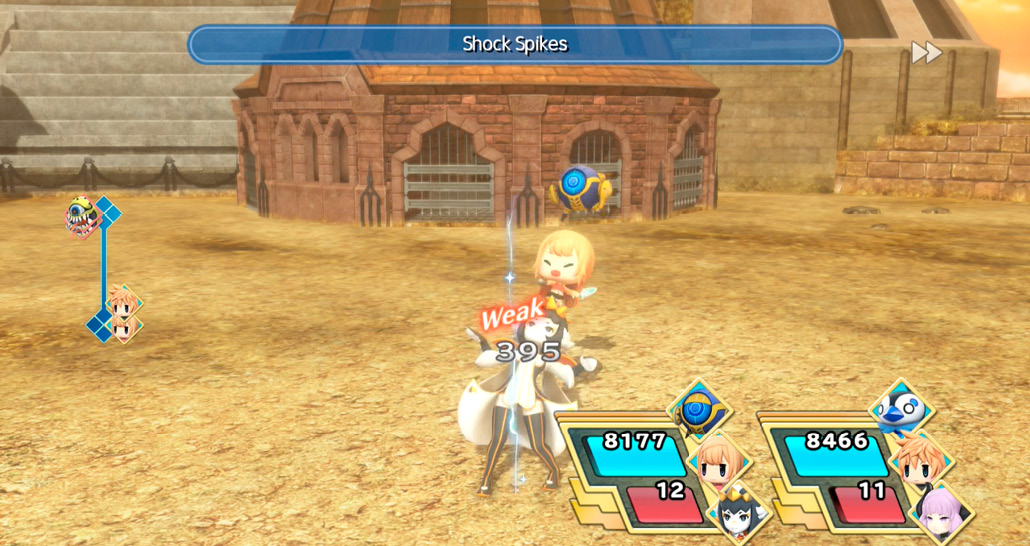
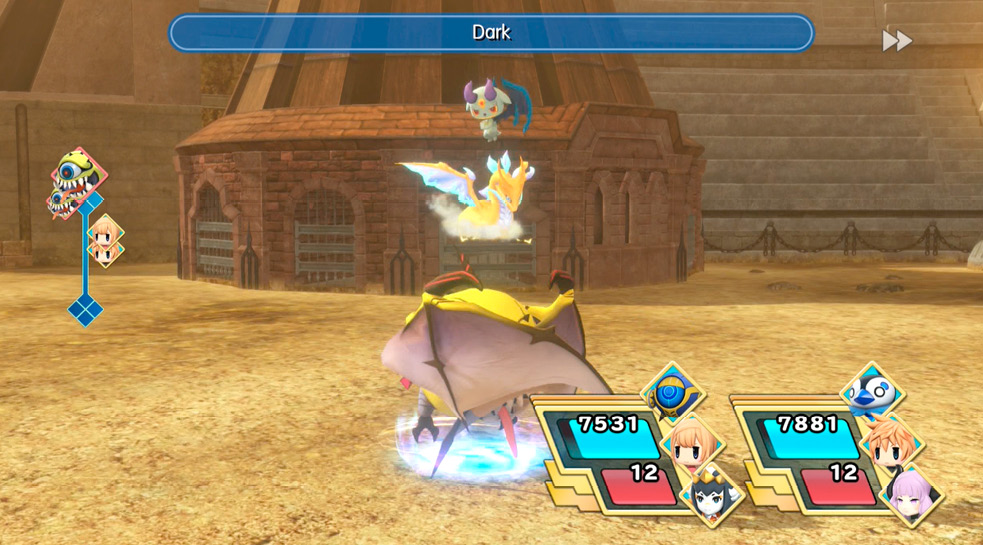
You’ll have to guard against thunder, dark, and stack-topping physical attacks. Counter with wind, water, earth, or your own light abilities.
Team Blue 1
| Team Level | Enemies | Reward (1st Win) | Reward (Subsequent Wins) | Battle Unlock Conditions |
|---|---|---|---|---|
|
57 |
Trihyde Stack (Water Toad, Paleberry, Trihyde) x2 |
Water Spellstone x2 |
Dragon Scale x2 |
Clear Chapter 21 |
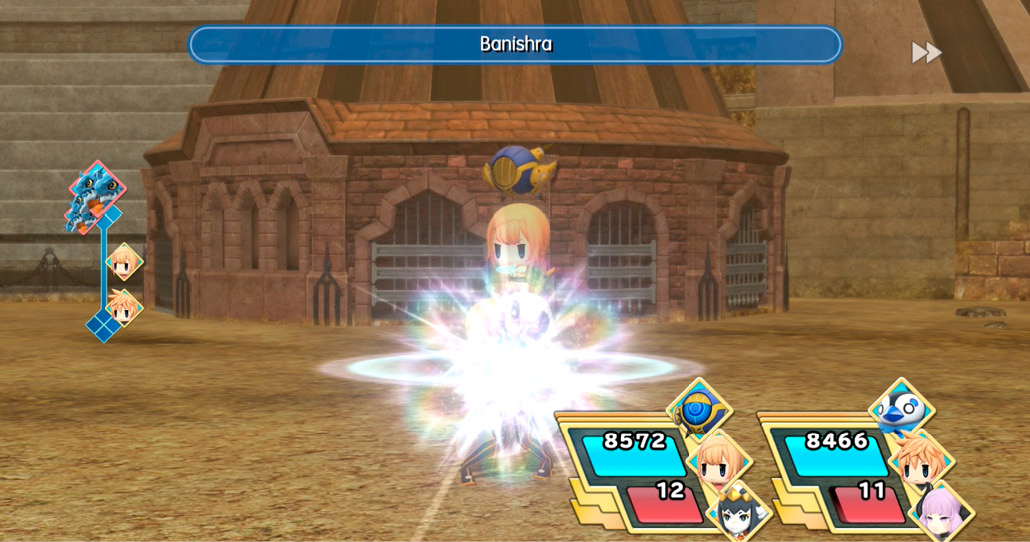
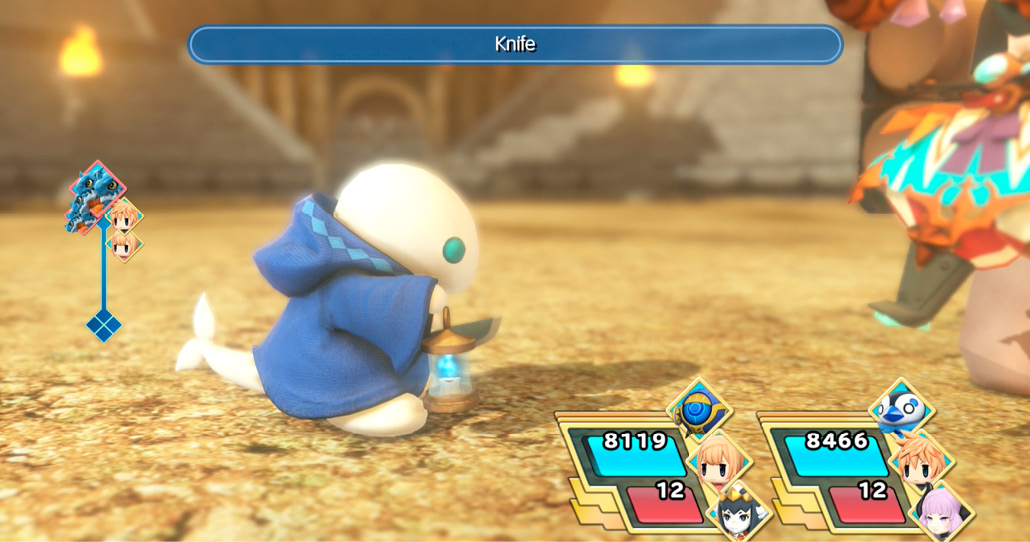
Prepare for light, water, and physical attacks, including the paleberry’s painful Knife. Counter with fire or thunder for best results.
Team White 1
| Team Level | Enemies | Reward (1st Win) | Reward (Subsequent Wins) | Battle Unlock Conditions |
|---|---|---|---|---|
|
62 |
Quacho Queen Stack (White Nakk, Demivampire, Quacho Queen) x2 |
Mega Phoenix |
Phoenix Pinion x3 |
Clear Chapter 22 |
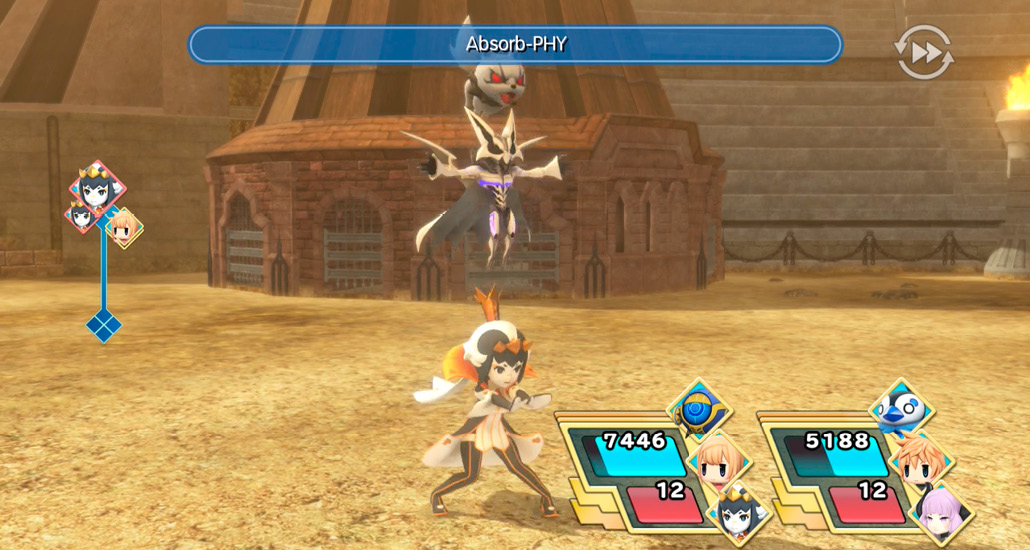
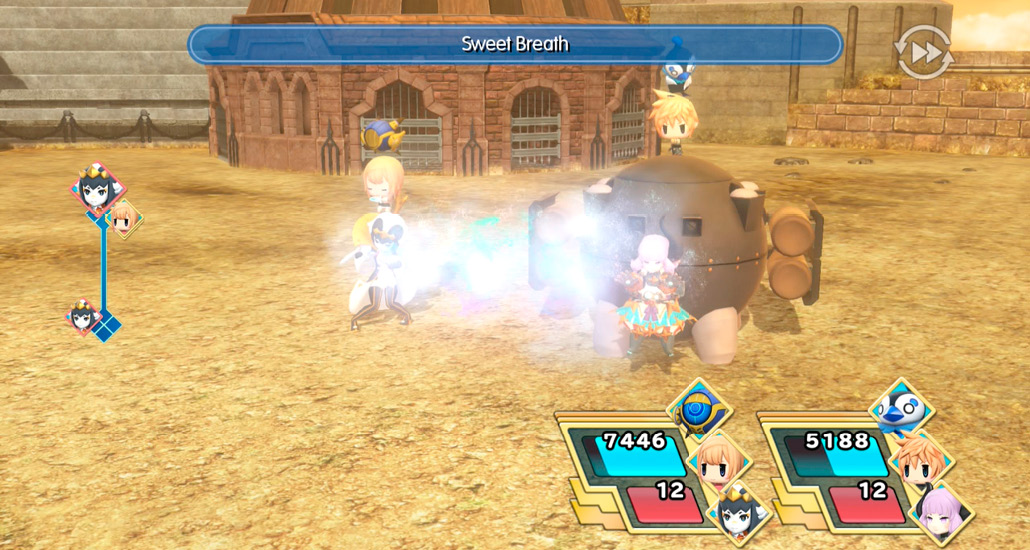
The Quacho Queen is a water mistress and can drain your strength. Meanwhile, the demivampire can steal your HP and AP! Power through these tactics, stay healed, and counter with fire and thunder attacks for best results.
The Finishing Touch 1
| Team Level | Enemies | Reward (1st Win) | Reward (Subsequent Wins) | Battle Unlock Conditions |
|---|---|---|---|---|
|
62 |
Sand Worm Stack (Minimantoise, Carbuncle, Sand Worm), Behemoth Stack (Mini Flan, Skull Eater, Behemoth) |
Mega-Ether x2 |
Turbo Ether |
Clear Chapter 22 |
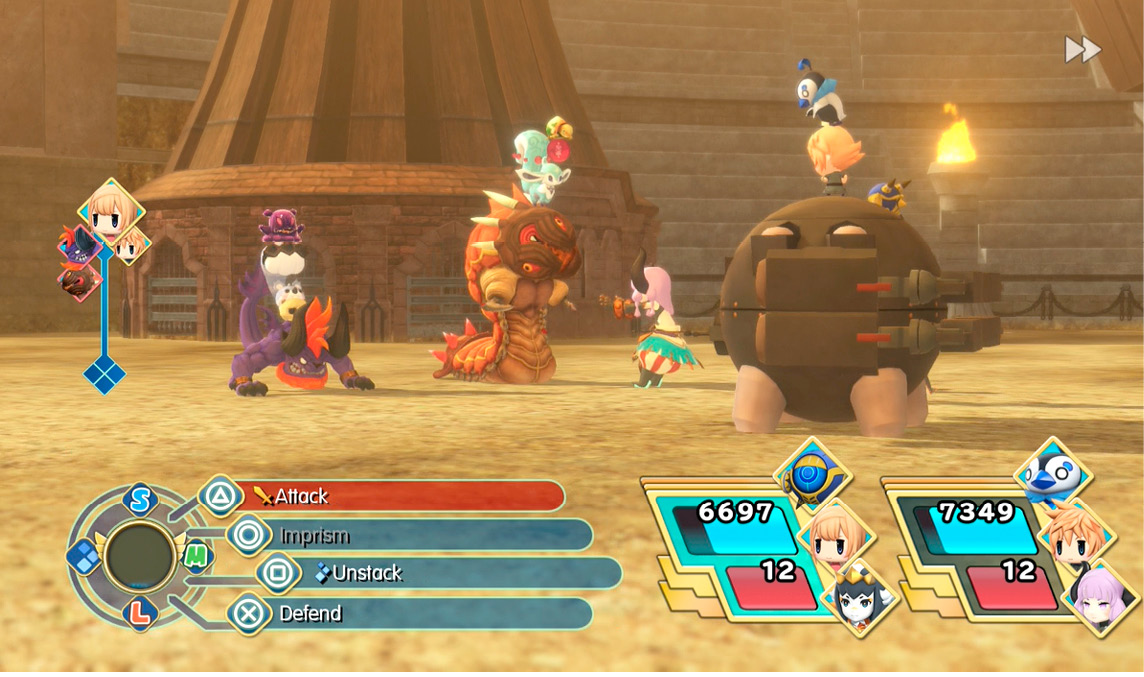
All six Mirages together can construct an unstoppable offense and impregnable defense if you let them last too long. The sand worm stack is weakest to ice and dark magic, and the behemoth stack is weak to fire and dark magic.
A better strategy is to try to divide and conquer if you can by toppling the stacks. Bring your best stack-toppling abilities to accomplish this. Once the stacks are broken, here are the elemental weaknesses of each individual Mirage:
- Minimantoise: Ice and thunder
- Carbuncle: Dark
- Sand Worm: Ice, wind and water
- Mini Flan: Fire
- Skull Eater: No resistances or weaknesses
- Behemoth: Dark
Unlikely Alliance 1
| Team Level | Enemies | Reward (1st Win) | Reward (Subsequent Wins) | Battle Unlock Conditions |
|---|---|---|---|---|
|
62 |
Left Claw Stack (Floating Eye, Left Claw), Right Claw Stack (Blood Eye, Right Claw) |
Megalixir |
X-Potion |
Clear Chapter 22 |
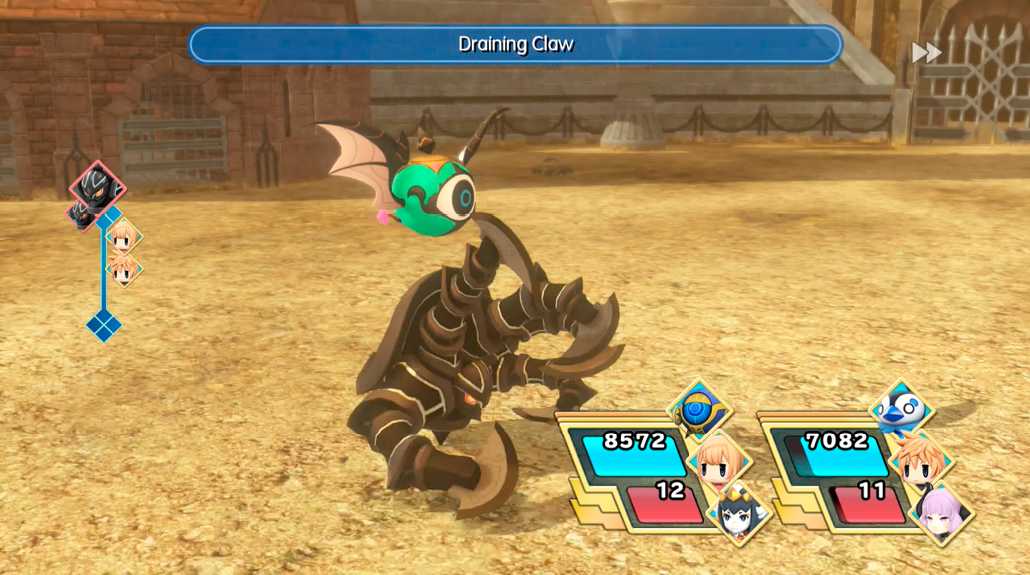
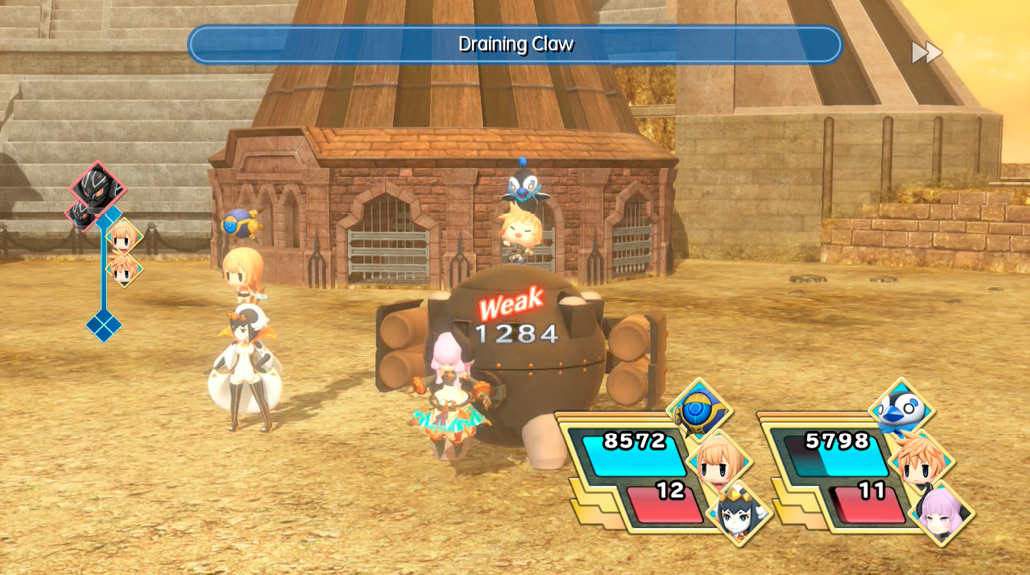
The claw Mirages are great all-rounders, with dangerous physical and status ailment attacks, and their companions provide similar backup. Wind and light magic are your best modes of offense for the left claw stack, and water will aid you for the right claw stack. Toppling and imprisming the claws will make your job even easier.