
World of Final Fantasy Guide Main Story Walkthrough
Chapter 17: Naught but Nightmares
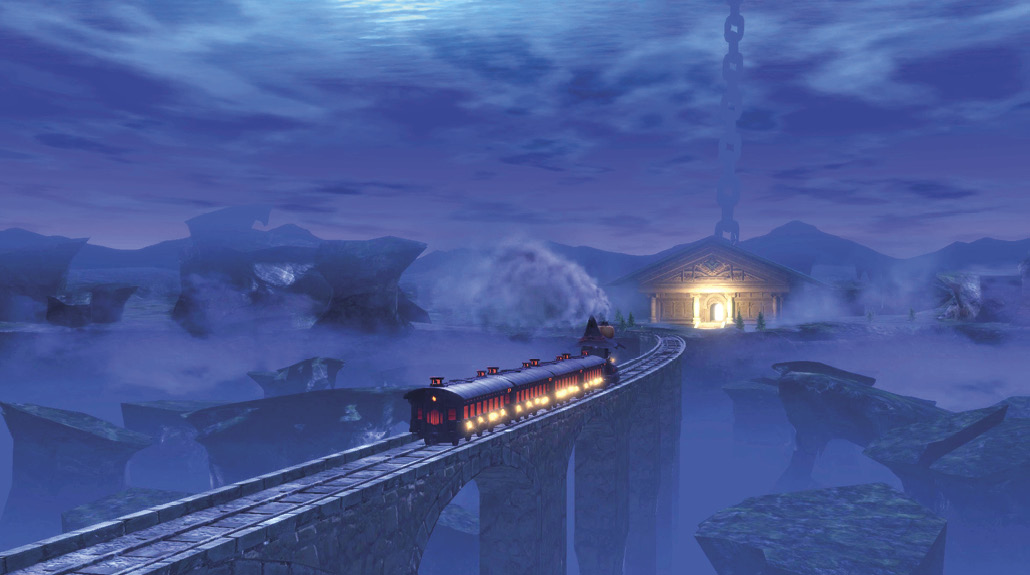
The prophesied Jiants from the Hills arrive to a “land naught but night” after an arduous journey over Big Bridge. They notice an eerily decorated train up ahead and a dimly lit town farther off in the distance. They investigate the town, hoping to find clues of the third key’s whereabouts.
| Action Checklist |
|---|
|
1. Take the train to Tometown of the Ancients |
|
2. Meet Cloud, Celes, and Cid |
|
3. Find and slay Vampire Prime |
New Intervention Quests
- Ifrit Meets His Match
- The Black Chocobo
One-Way Ticket to Tometown
From the entrance of the Eclipsed Region, walk toward the Halloween-themed train up ahead to trigger a humorous exchange between Reynn and a familiar train conductor.
Since you have semi-lifetime passes, talk to the conductor for a train ride over to the town across the moonlit land. At the other end is a Gate you can go through to get back home if you want to refuel on supplies, return to previous dungeons, or complete Intervention Quests (a couple of new ones are now available).
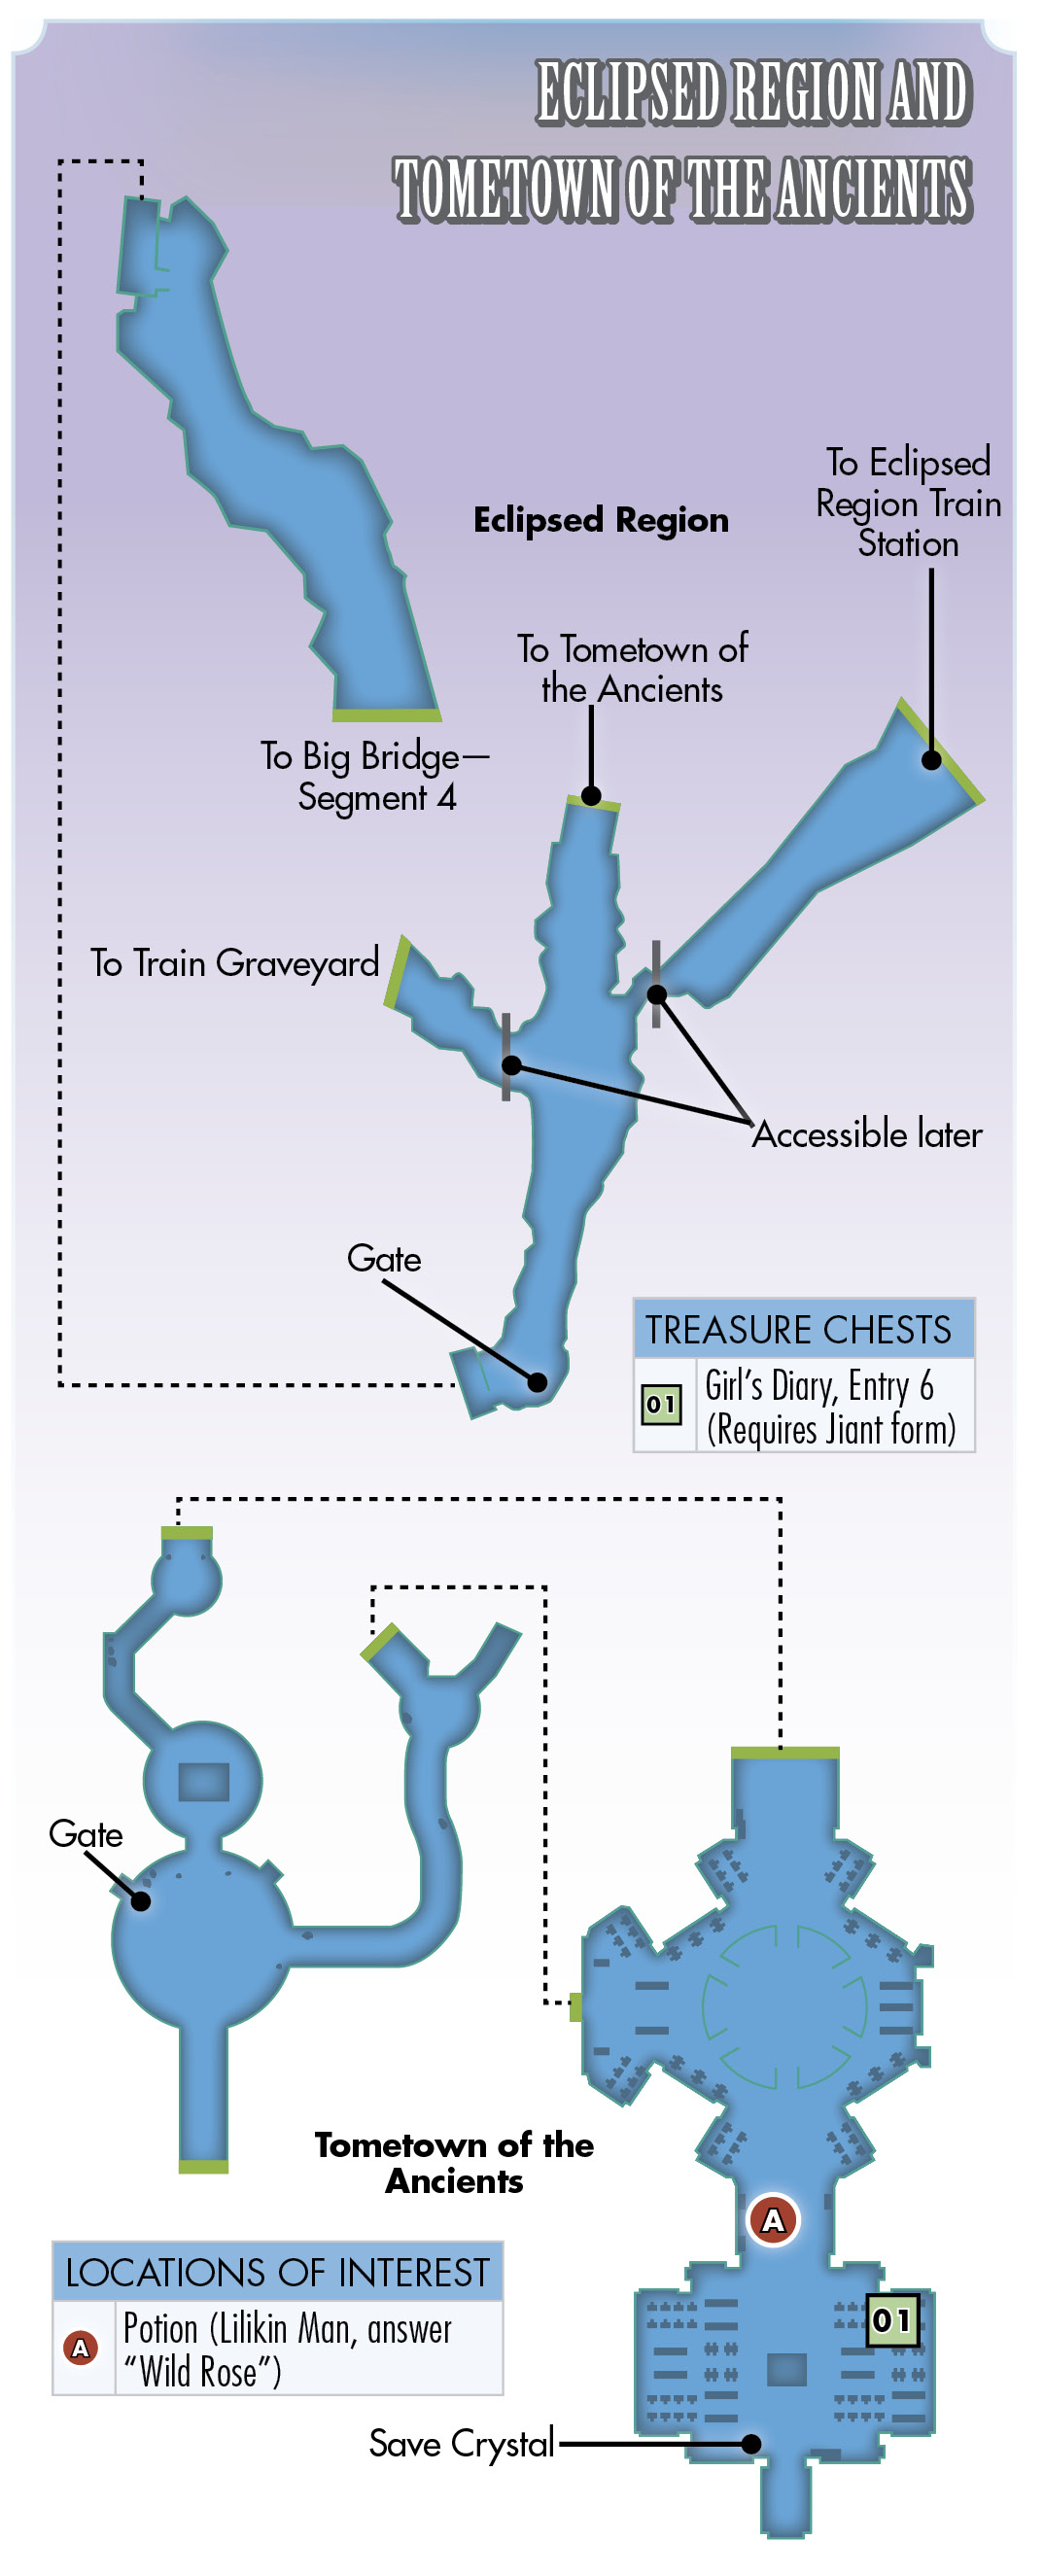
When you’re ready, enter Tometown of the Ancients, north of the Gate in the Eclipsed Region.
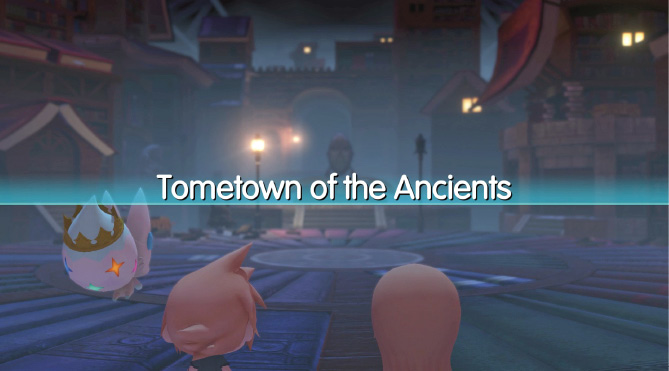
It appears there’s something off about the town’s inhabitants… Everyone’s turned into vampires! As Lann is viciously attacked by one of the undead monsters, a spiky-haired man intervenes and saves him.
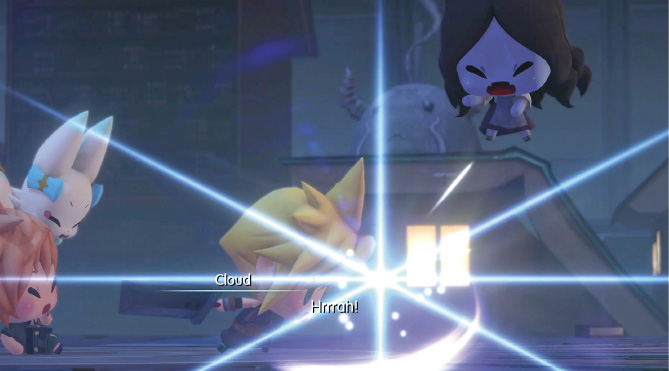
Here you meet Cloud, who beckons the twins to follow him. Go through the library’s aisles and meet up with Cloud in the northeast portion of the area, triggering an encounter with two werebats and two vampires. These Mirages are weak to light-based attacks, so abilities like Holy and the holy dragon’s Holy Ray are extremely effective here.
If you want your own vampire, you can trigger its prismtunity by attacking it with a dark-based ability like Dark, Syphon, or Drain. Vampires are powerful Mirages with access to useful HP-stealing abilities (especially when transfigged into their large variants).
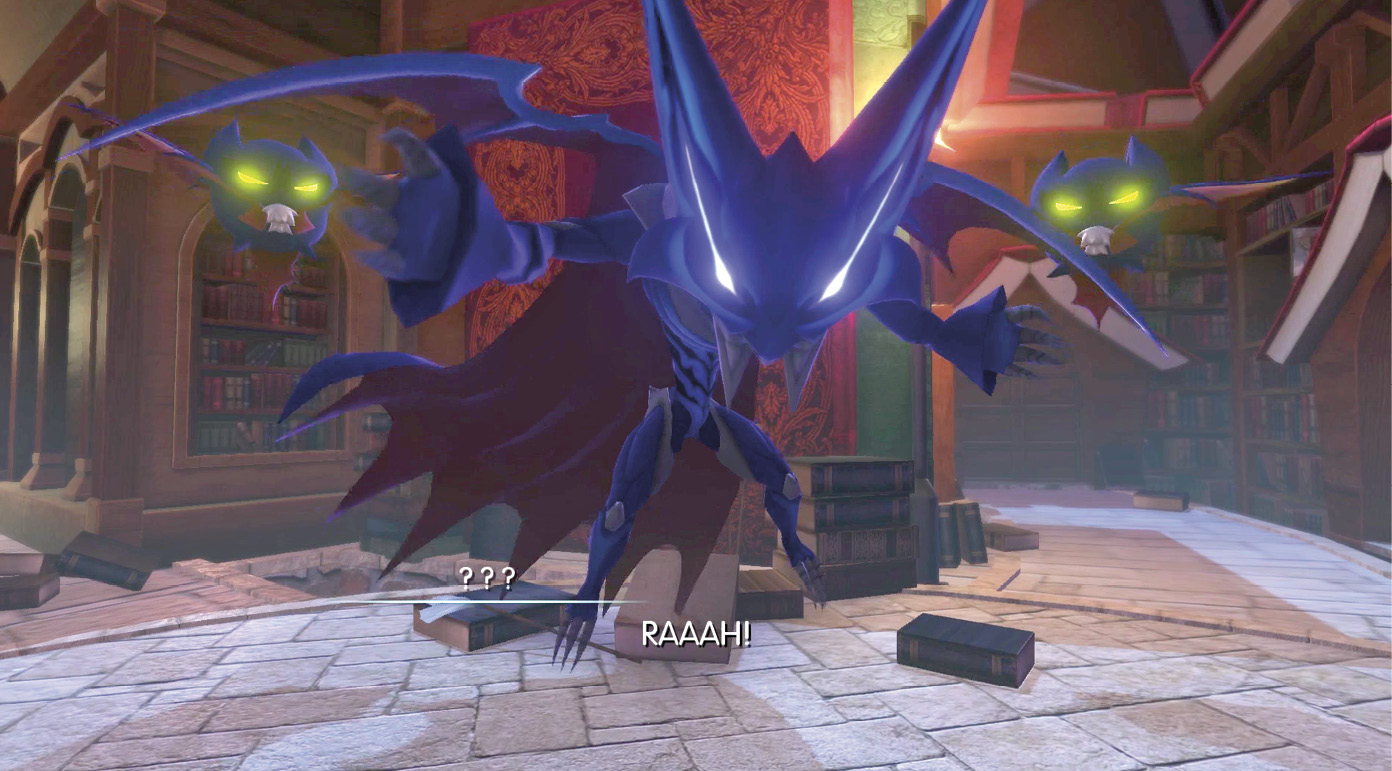
After you defeat the bloodsuckers, another cutscene plays. It seems as if Cloud has been expecting the Mirage Keepers and welcomes them into Tometown’s main library. Here, you’re introduced to two more members from the League of S, Cid and Celes.
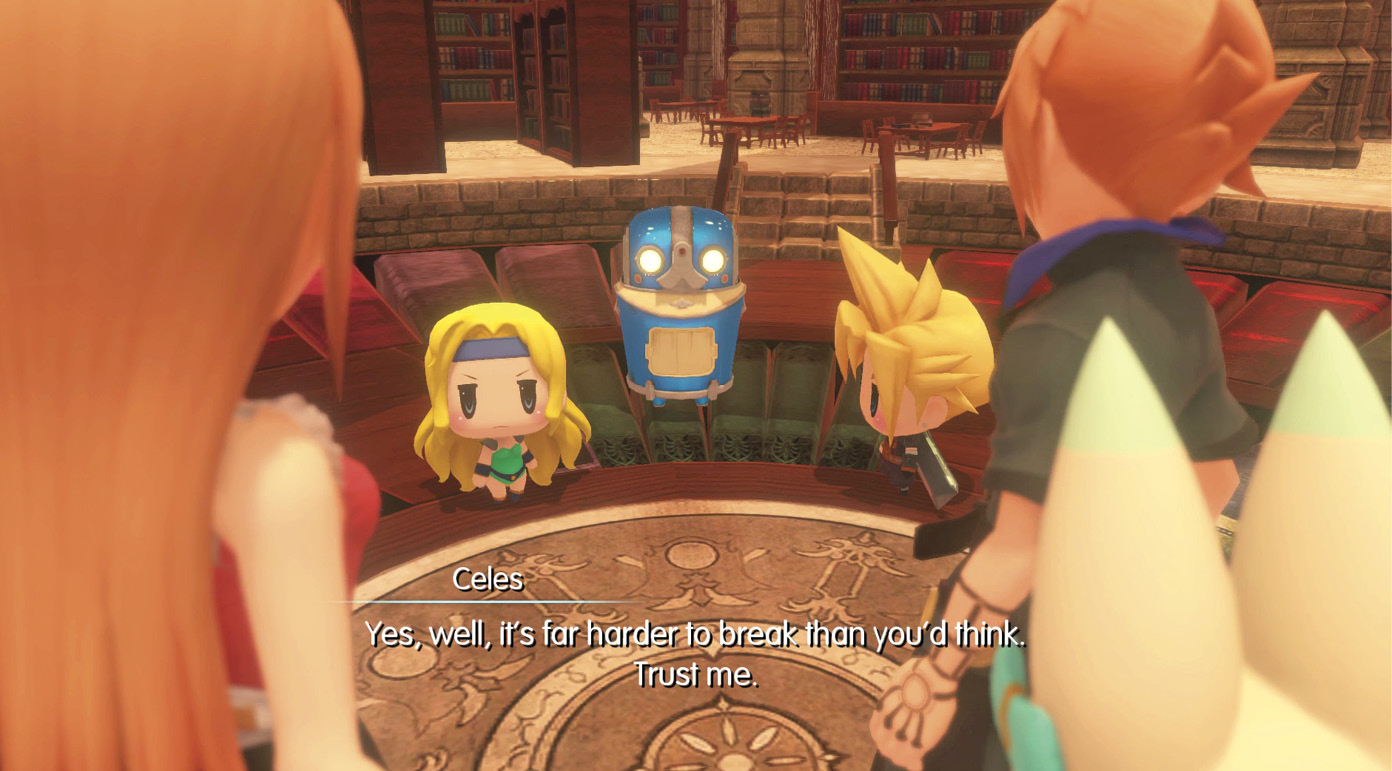
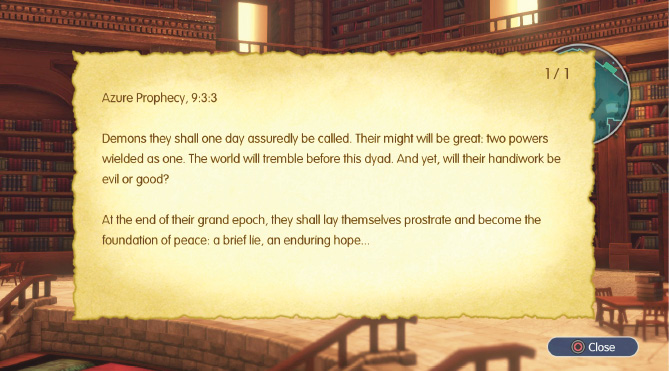
Cloud was sent to investigate the anchor and chain attached to Tometown and discovered it had been overrun with vampires. After some brainstorming, Cloud deduces that defeating the “Prime” vampire should cure everyone. Since they’re essentially Mirage experts now, the twins volunteer to hunt down the master vampire. After the deliberation scene, you can explore the library to read excerpts from the prophecy. Before leaving the main library, open the chest to get Girl’s Diary, Entry 6 in the southern section of the room (slightly northeast from the Save Crystal). Your party leader needs to be in Jiant form to reach this chest.
Vampire Hunting
When you’re ready, talk to Cloud for an escort to the Train Graveyard.
Like in Mako Reactor 0, you need to have the Zap support ability here to progress, so take a searcher or zapt Mirage with you. You also need to have the Smash ability available to get through this dungeon. (If you don’t have access to Smash yet, go back to Big Bridge and imprism a mythril giant.)
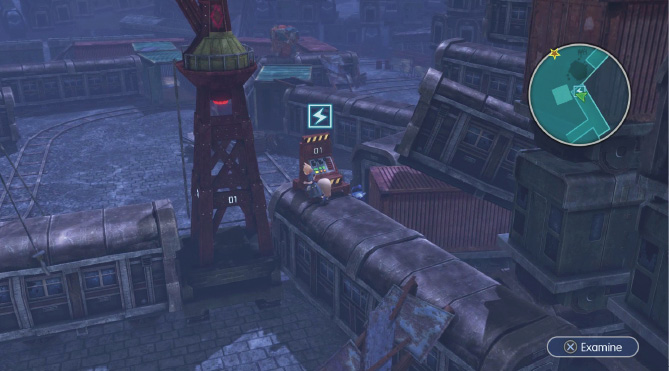
Start the journey through the Train Graveyard by going up the makeshift ramp to the south, leading up to the top of a train cart. There’s a Zap point here that controls a construction lift. Activate it to raise the train cart blockade below, opening up a path.
Head east through the newly created passage until you reach an open storage container. Now, go through the open storage container and make a right to find a treasure chest (it may be slightly hidden depending on your camera’s position).
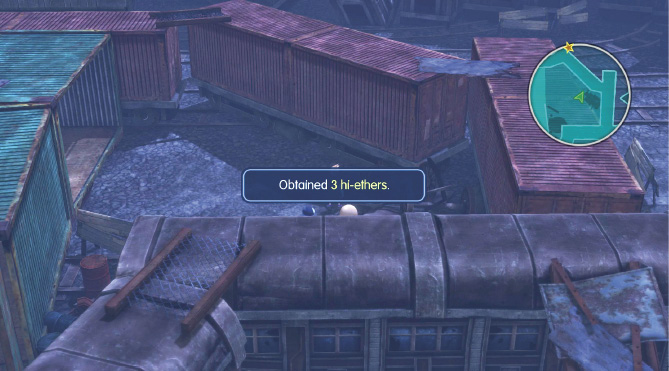
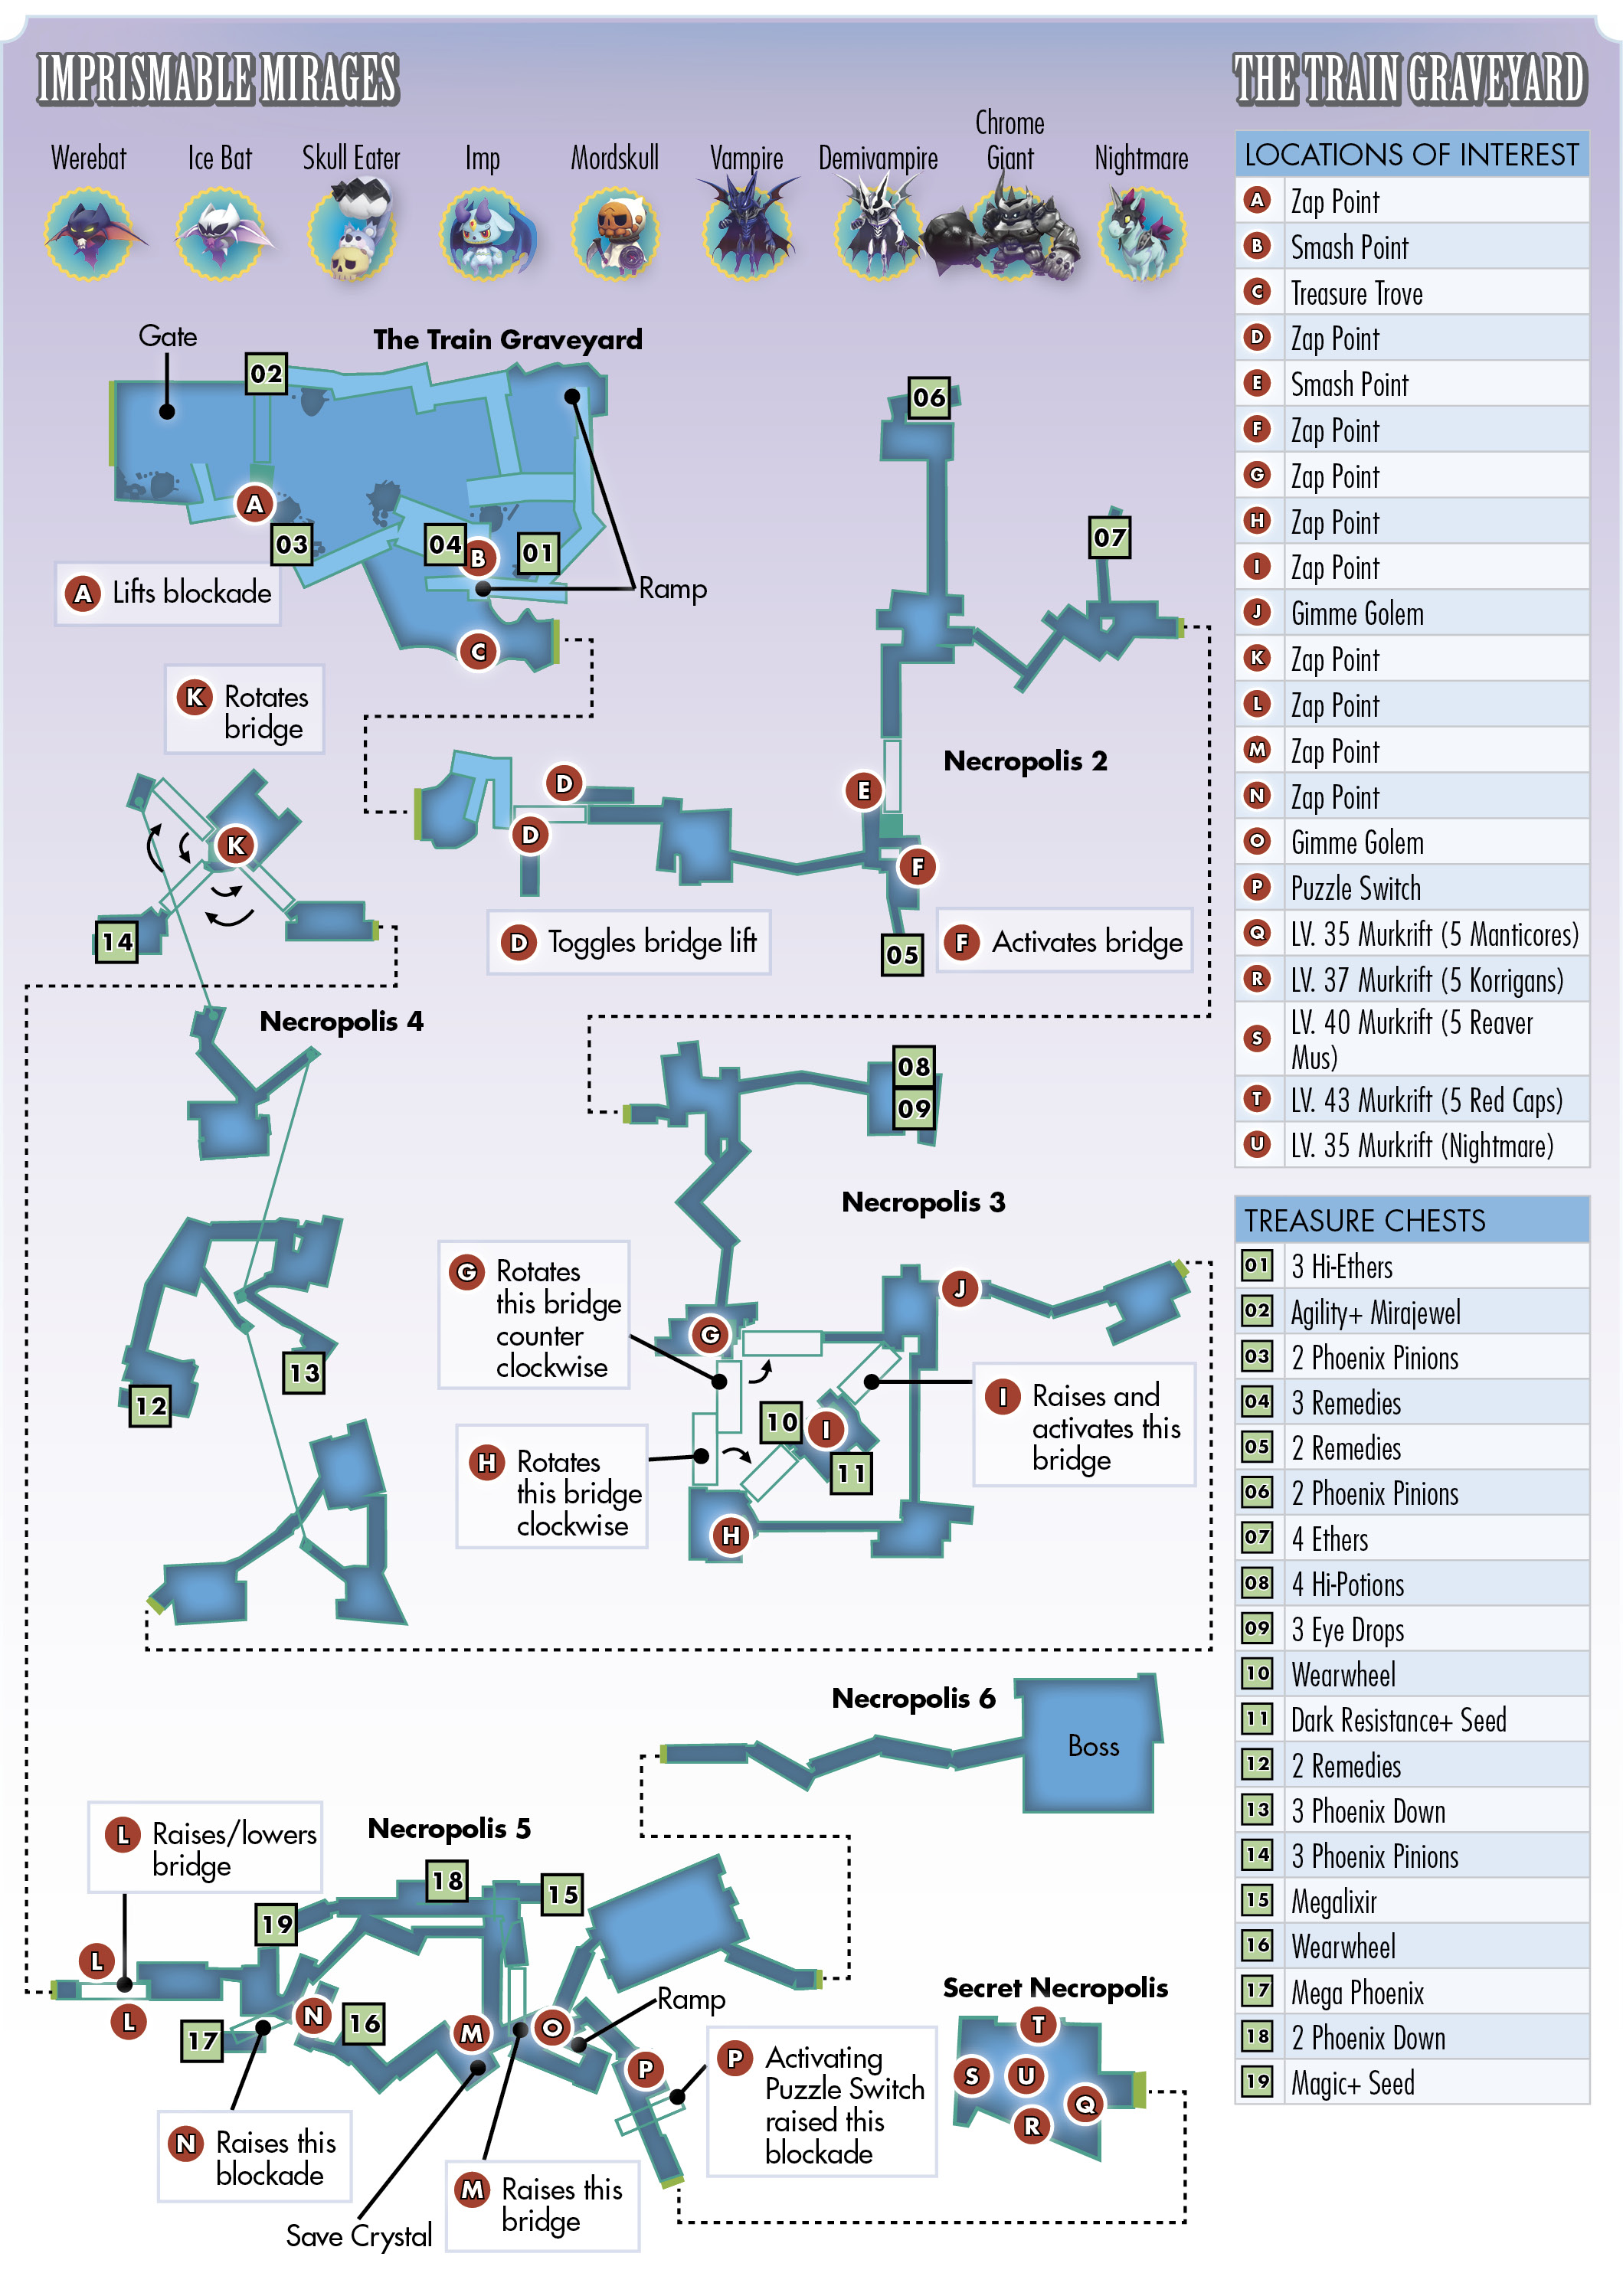
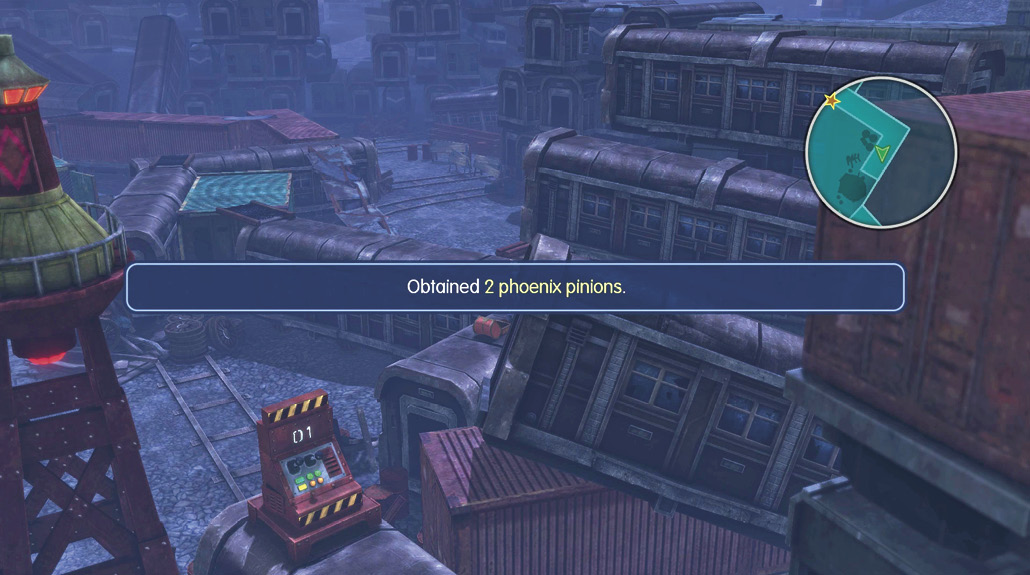
Open it to pick up three hi-ethers, then continue to the northeast portion of the area and go up the ramp onto the top of the storage units. From the upper “floor” on top of the carts and storage units, find your way to the northwest portion of the map to find a chest containing an Agility+ mirajewel. Then, head to the southeast section until you reach a Smash point blocking the path north. Find and destroy the blockade, then follow the path leading west to open up a chest holding two phoenix pinions.
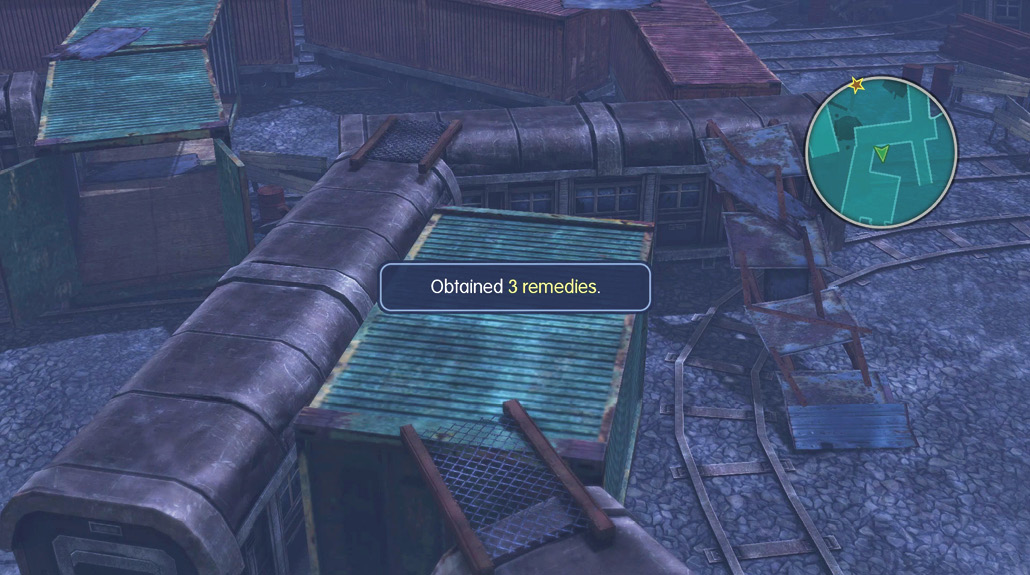
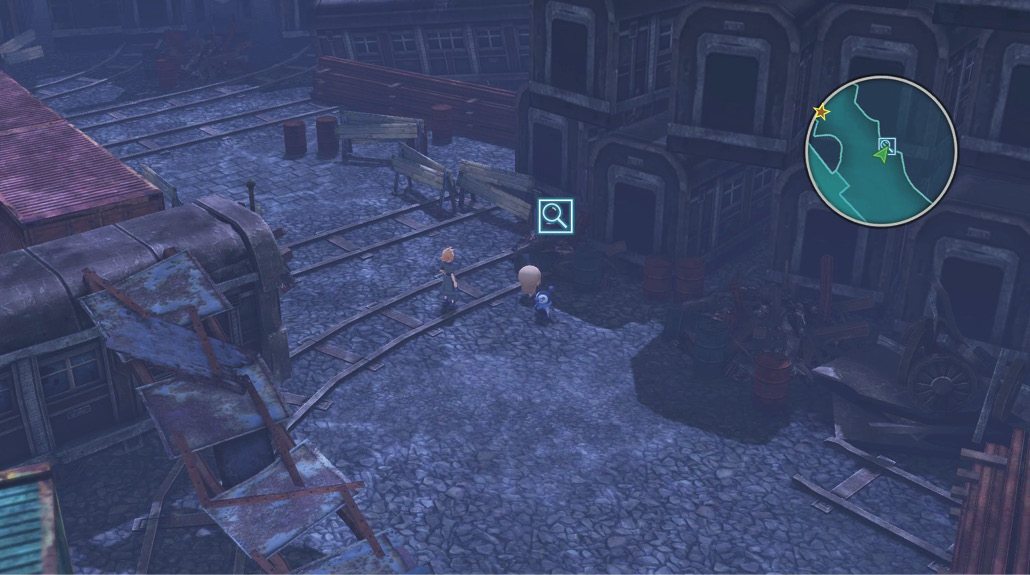
Turn around and go down the ramp near the southeast area to get to ground level. There’s a hidden chest to the left of the ramp, blocked from view. Move around the area until you see the “Examine” prompt at the bottom-right of the screen. Open the chest to obtain three remedies.
There’s a Treasure Trove by the exit to the southeast here. Discover it, then leave the area and enter the Train Graveyard—Necropolis 2.
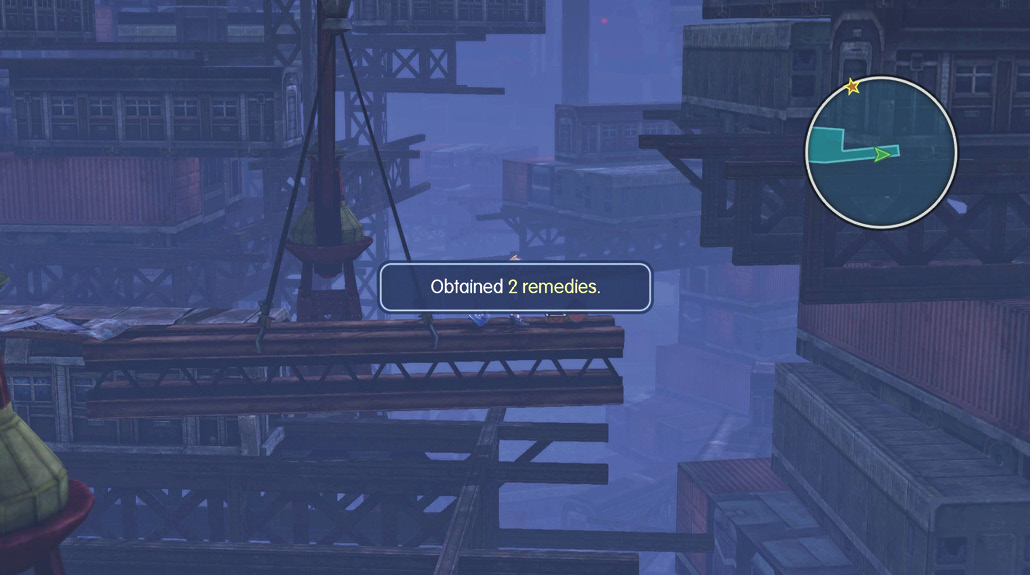
In the second area, head east along the linear path until you reach a Zap point. Activate it to trigger the lift up, taking you to another control panel. You can ignore this one and continue east along the top of the train cars. Keep going until you get to a Smash point blockade near another control panel. This one isn’t optional, so hopefully you’ve brought along a large dragon or mythril giant. Walk down the path to the right of the control panel, and open the chest at the end of the construction beam to obtain two remedies.

Return and activate the Zap control lift, lowering a train car to serve as a bridge across to the north end of the map. Proceed all the way north, crossing another train car bridge to a dead end. Grab two phoenix pinions from a treasure chest there, then return and take the east path across the ramp formed by construction beams.
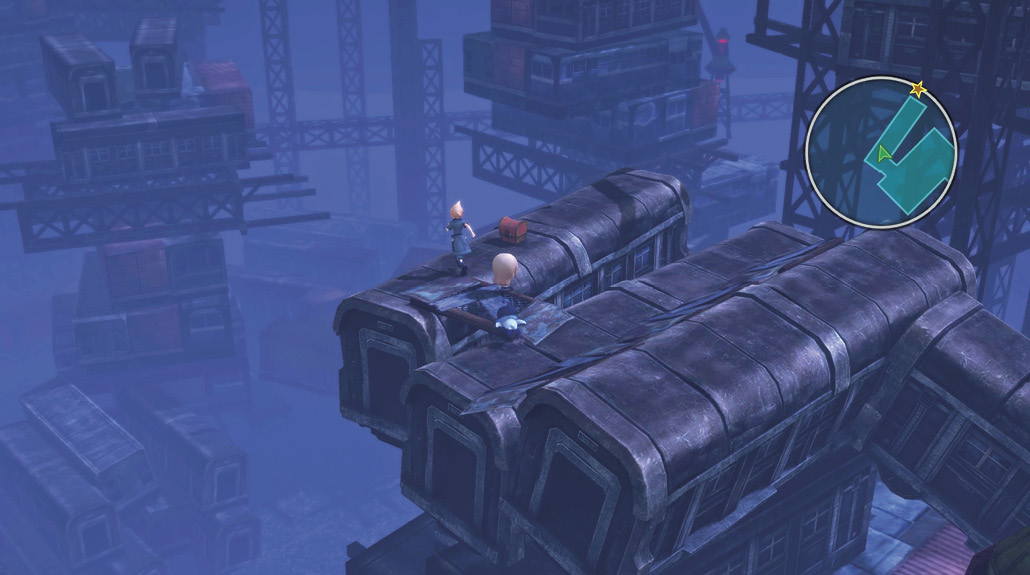
There’s one more chest here in the northeast section of the map. Open it for four ethers, then proceed to Necropolis 3 to the east.
Cross the long beam bridge to the east to find two treasure chests. Open them and find four hi-potions and three eye drops. Return across the beam bridge, then follow the south path until you get to a control lift. Activate it to move the train car bridge, aiming it to the east. Cross it to the next platform, where there’s a Gimme Golem blocking the exit. From the golem, follow the construction beam bridge directly south, eventually leading to another control panel. Activate it to move a nearby train car. Use this as a ramp to reach the center platform with another Zap point and two treasure chests. Open the chests for a wearwheel and a Dark Resistance+ seed, then activate the lift controls to create a bridge to the northeast. Cross it to get to the Gimme Golem, and give it the wearwheel to proceed to Necropolis 4.
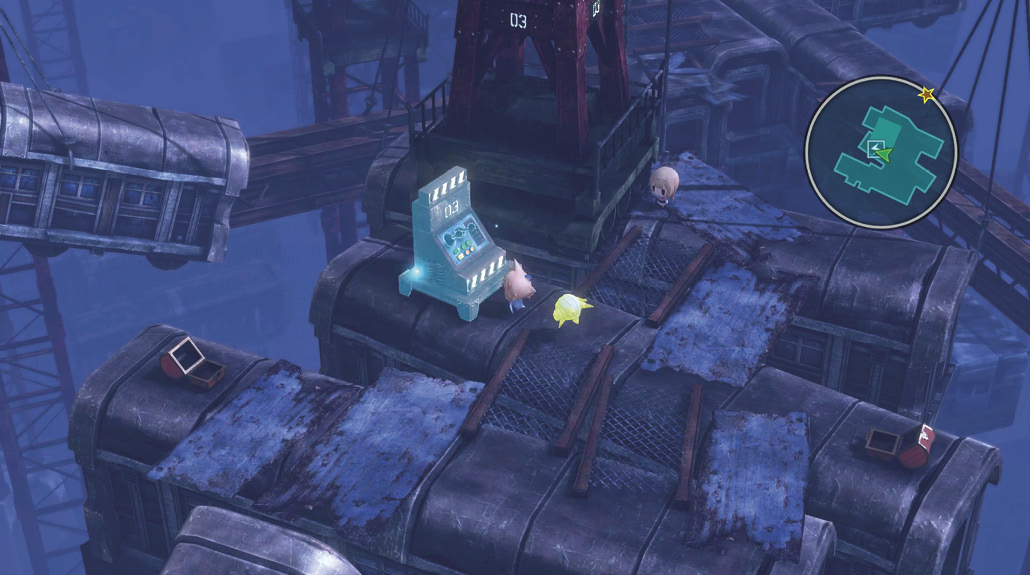
Continue east from the starting point here. After you cross three bridges, make a left (heading south on the map) to reach a treasure chest with two remedies inside. Grab them, then turn around and take the up ramp to the northeast.
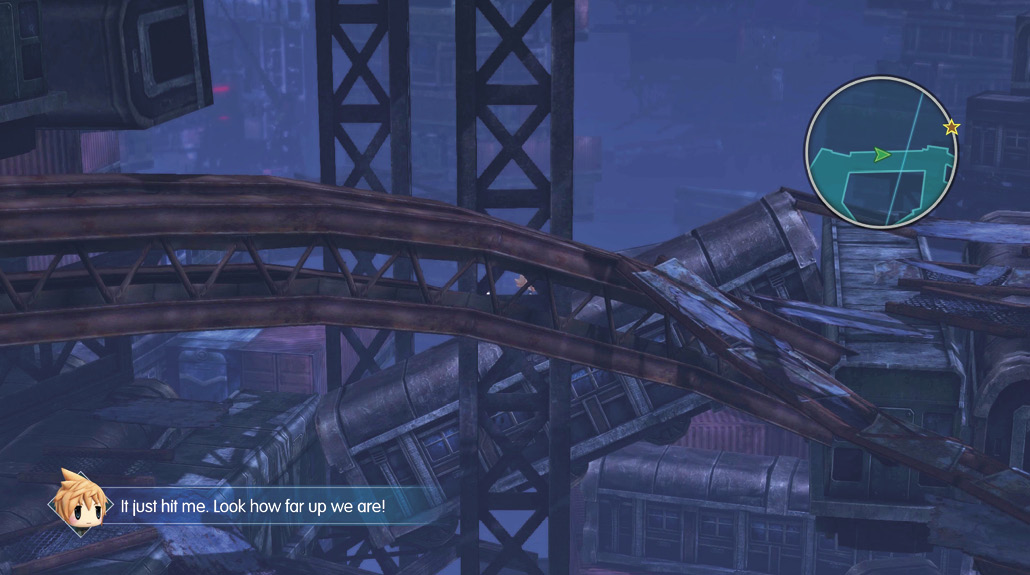
On the next construction beam, there’s a makeshift bridge protruding to the southeast. Cross it to find three phoenix down in a treasure chest at the end. Go back and continue climbing, making your way north on the map. At the pinnacle, activate the Zap control panel to move the train car that you just crossed. Cross the bridge again to reach a treasure chest to the southwest. Open it to obtain three phoenix pinions, then return to the control panel and activate it one more time to move the bridge, giving you access to the exit into Necropolis 5.
From the starting point here, activate the nearby control panel to descend. Proceed east, following the linear path until you reach an opening inside a storage container to the left. Go through it and follow the bend to the east to find and open a hidden treasure chest containing a megalixir. Now, return to the storage unit opening and go right (south), where there’s a control panel and a Save Crystal.
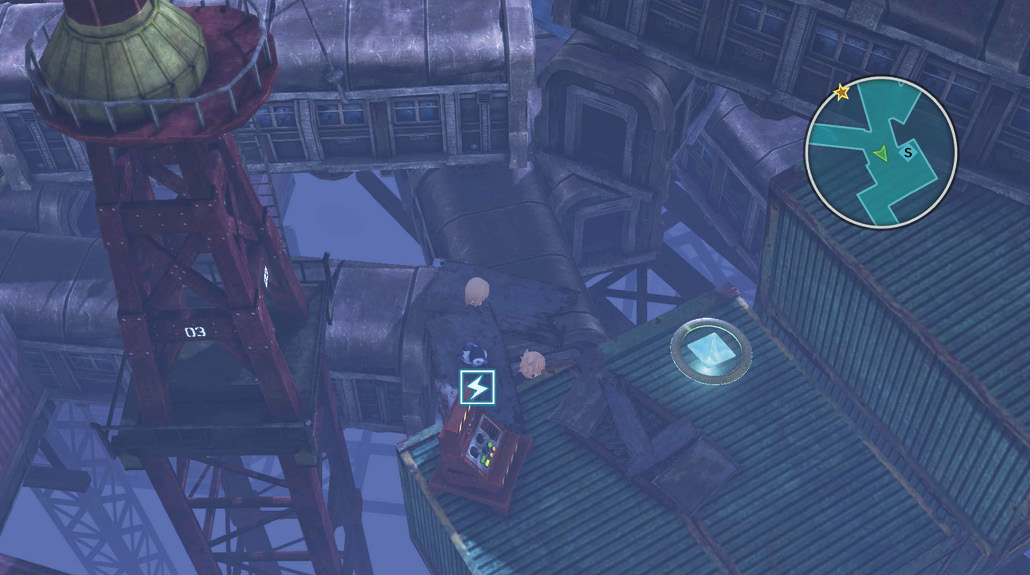
Save your progress, then activate the panel, revealing a Gimme Golem. You need to find another wearwheel around here somewhere, so head west from the Save Crystal. Along the path is a treasure chest with the wearwheel that you need inside. Open it, then activate the control panel up the nearby ramp to lift one of the train cars near the beginning of the area. Backtrack to that chest and pick up the mega phoenix inside.
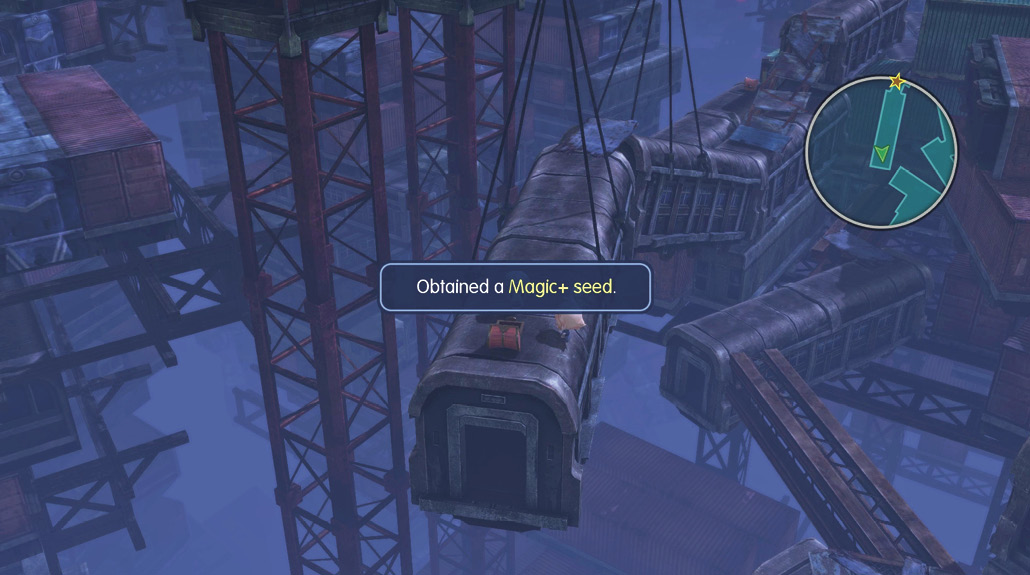
Return to the Gimme Golem to give it what it needs, then climb the ramp to the right to get to the upper area. Up here, travel along the train cars north, leading to the last two treasure chests here, which contain a Magic+ seed and two phoenix down.

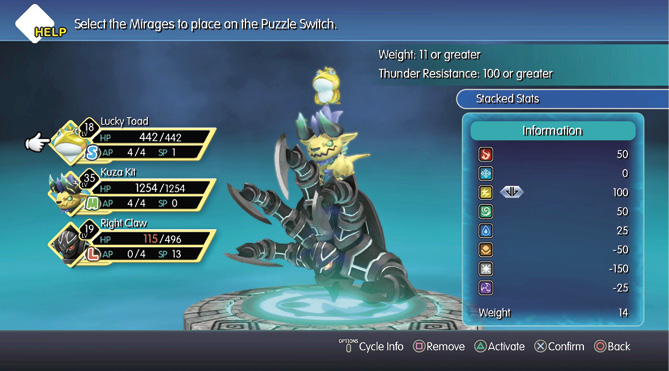
The Train Graveyard’s Secret AreaTo access the hidden area and secret Mirage in the Train Graveyard, you must complete a Mirage stack puzzle switch at the southeast end of Necropolis 5. Toggling the switch requires making a Mirage stack with at least 11 weight and 100 thunder resistance. This can prove difficult if you don’t have a zapt prismarium. 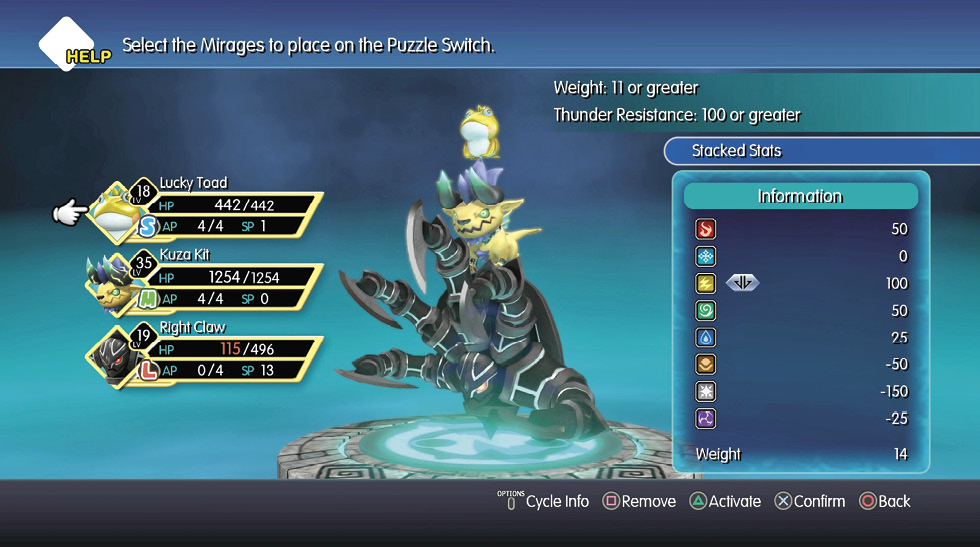
If you didn’t choose Ramuh in the Nether Nebula boss encounter, you may have to go out of your way to find thunder-resistant Mirages like the kuza kit and magic jar. Make sure you can fulfill the switch’s conditions before making the climb up the Train Graveyard since it’s a long trek up! Successfully completing the puzzle switch opens up a path to the south leading to the Secret Necropolis. Here, you find four murkrifts. Completing them reveals another murkrift that houses the rare nightmare Mirage. It’s recommended that your average party level is at least 40 before you take on these murkrifts. You should also come prepared with plenty of curatives and access to all-targeting water- and fire-based attacks. 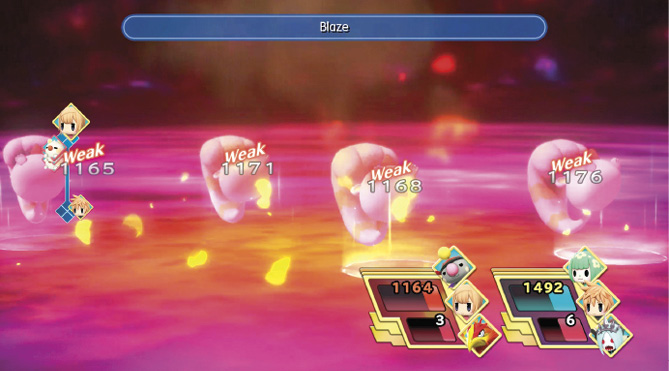
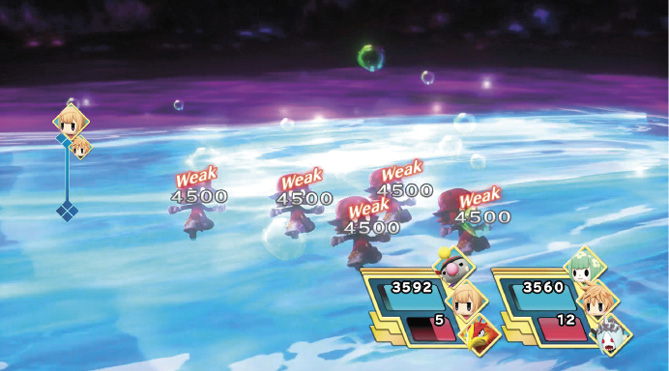
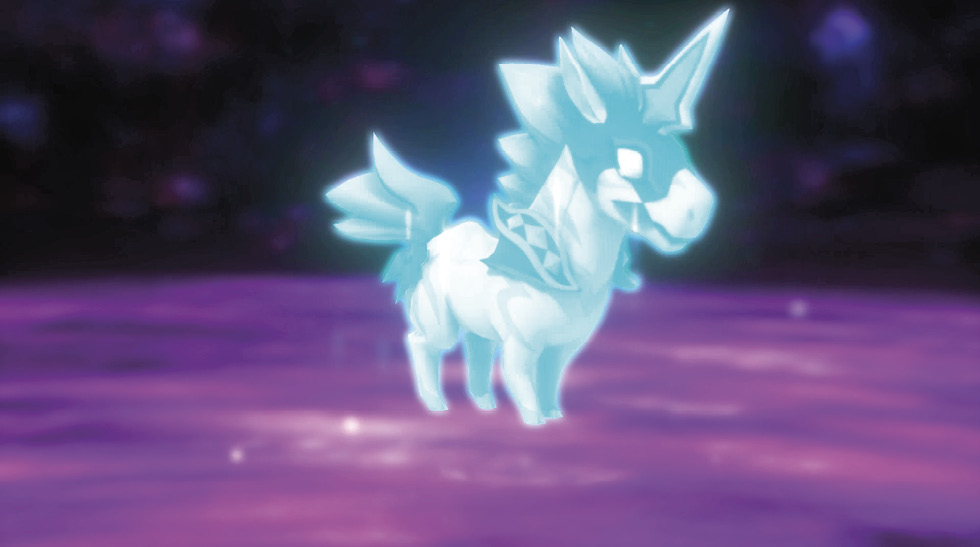
The southeast murkrift (Level 35) contains five manticore Mirages. These are weak to water, so having a Water spellstone or access to an all-targeting spell like Waterga helps tremendously here. They have a poison-inflicting attack, so try to dispatch them as quickly as possible. You may also want to imprism one of these, since it’s a rare species and won’t be seen again for some time. The southern murkrift (Level 37) consists of five korrigan Mirages. These are weak to fire, so like the manticores, you can annihilate them with a fire spellstone if you have one. Blaze or Firaga work, as well. Like the manticore encounter, it’s imperative that you defeat them quickly because they primarily attack with Sleep Leaves, severely incapacitating your party. It’s highly recommended you set up your party to be resistant to the Sleep effect before attempting this encounter, so consider returning to the previous area to access your Prism Case and saving your progress before entering this murkrift. The western murkrift (Level 40) houses five reaver mus. These are weak to fire but attack with an Oblivion-inflicting ability called Lethean Punch. If both of your stacks are afflicted by Oblivion, it can make the encounter extremely difficult. Bring plenty of rememb herbs, and try to obliterate the reaver mus as quickly as you can. The northern murkrift (Level 43) has five red cap goblin Mirages inside it. These are weak to water, so hopefully you have either a Water spellstone or access to Waterga in one of your stacks. Complete all four murkrifts to spawn the final murkrift (Level 35). Before you enter the final murkrift, save your progress at the Save Crystal in Necropolis 5, and make sure that you bring a dark-based attack like Drain or Dark. Although defeating the nightmare Mirage inside is relatively easy, you only get one shot at imprisming it (since murkrifts don’t respawn). Trigger its prismtunity with your dark attacks, then imprism it to obtain its prismarium and memento. 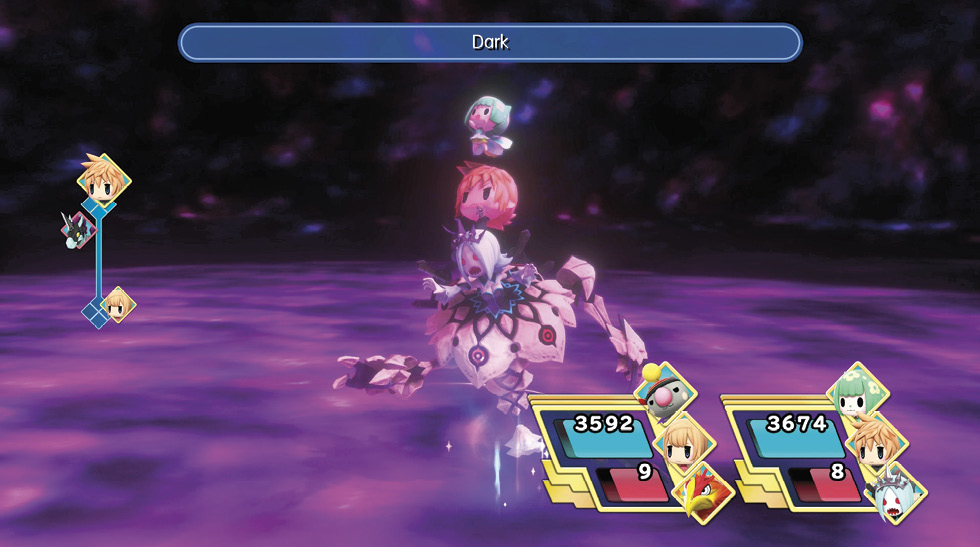
|
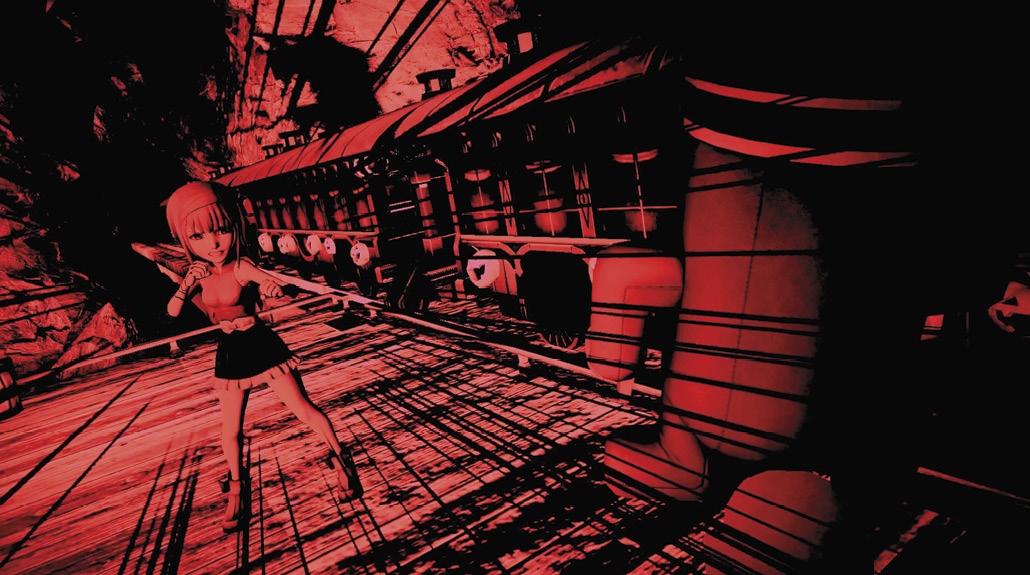
Now for the final stretch of the Train Graveyard. Head to the large platform, northeast of the Save Crystal. A cutscene plays out here, with the Vampire Prime kidnapping Reynn. As Lann, enter the next area to the east, and follow the path until you reach a fallen Reynn.
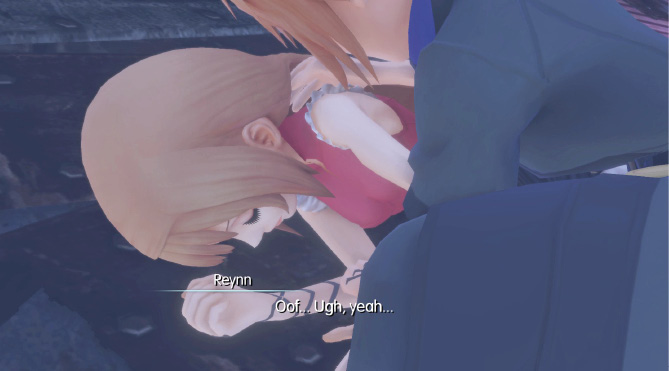
Boss Battle: Vampire Prime
Reynn joins the battle with the master vampire, although she seems a bit off…
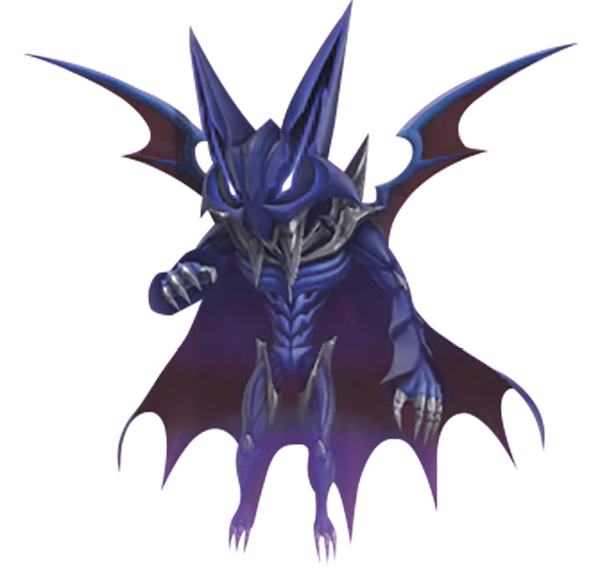
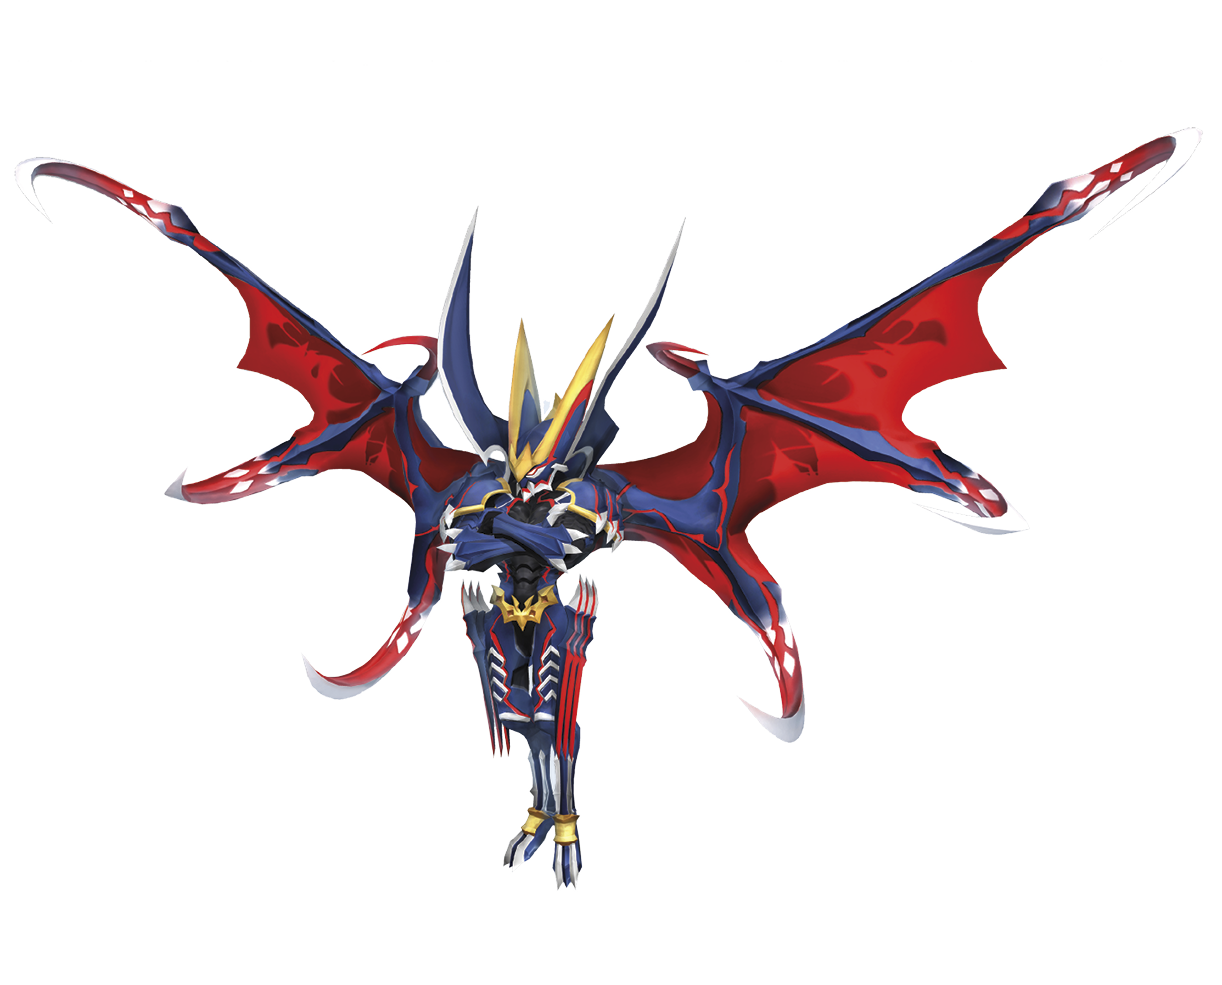
Vampire Prime is a much stronger version of the vampires you’ve been facing, but it also retains the same weakness to light-based attacks. Holy is extremely effective against it, so having the holy dragon is a huge boon for this encounter.
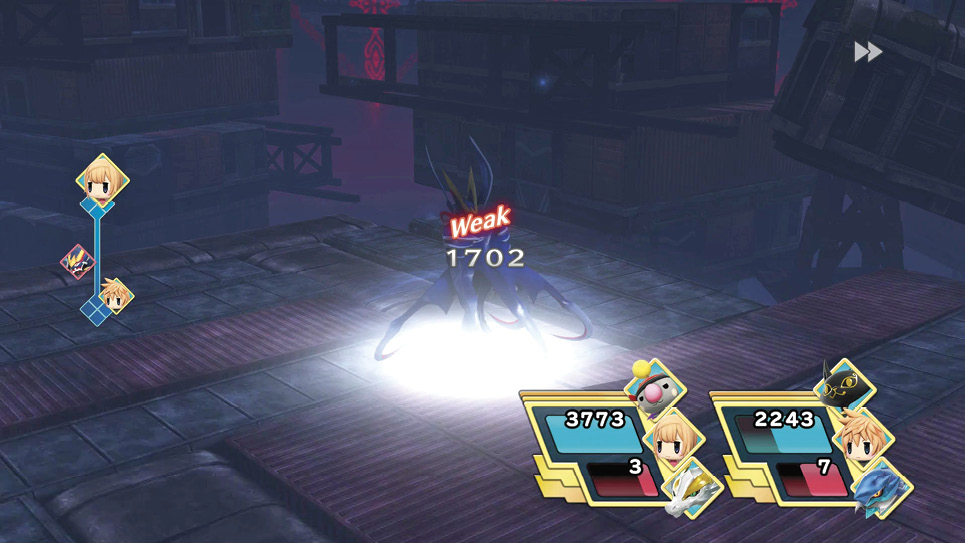
As you would expect from a vampire, Vampire Prime regenerates its HP every turn, as well as drains HP with its physical attacks. It also has access to an ability called “Call For Help,” which summons three werebats to fight alongside it. You can prevent Vampire Prime from using this ability if you defeat all of his minions except one. Focus all of your damage on the master vampire, using your Champion Gauge if you have to. Its defenses aren’t too impressive, especially if you’re blasting it with the Holy spell. Once it’s down, you can take out the remaining werebat (or werebats) without issue, though it turns out vampires are immortal.
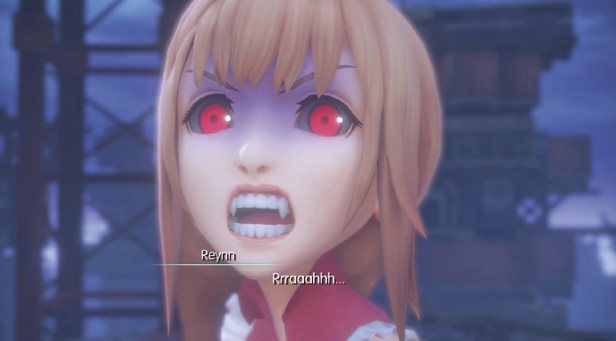
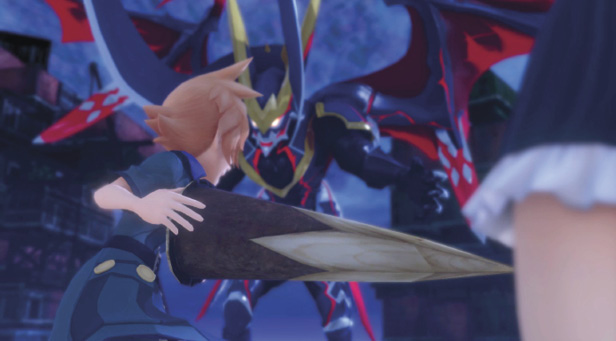
Reynn’s been turned, but Cloud intervenes with impeccable timing, providing a large wooden stake for Lann to finish off the vampire with. With the Prime vanquished, Reynn and the people of Tometown are purged of the vampirism disease. Additionally, you find the Key of Shadows, apparently dropped by the Vampire Prime.
After the cutscene, save your progress, then return to Nine Wood Hills through the Exit Gate. Take the Gate from Sylver Park to the Eclipsed Region, then return to the main library in Tometown of the Ancients to check in with Cid. He gives the twins their next destination, a continent called Besaid. You can talk to Cid and Celes a few more times for additional backstory, as they have interesting tidbits to tell you. Before leaving Tometown, you can pick up two Miniventure quests from the locals: The Spellstone Scholar and Mirage Pandemonium. You can find them by the Gate in Tometown. Note that additional Miniventures are unlocked here later on in the story, so feel free to return to Tometown for a breather!
Enter the Eclipsed Region to conclude the chapter.
New Miniventures
- The Spellstone Scholar
- Mirage Pandemonium