
World of Final Fantasy Guide Miniventures & The Coliseum
Coliseum Battles: Mirage Bouts
This final set of battles involves fighting notable Mirages you’ve met in the story and on Intervention Quests. Can you defeat them in the Coliseum, where they’re leveled up and allowed to go all out?
In some cases, it might be easier to imprism Mirages instead of winning with brute force. Use Libra to check out their prismtunity conditions and act accordingly. You can also look up Mirage prismtunity conditions in the Mirage Manual.
The Nebula Nitwits
| Team Level | Enemies | Reward (1st Win) | Reward (Subsequent Wins) | Battle Unlock Conditions |
|---|---|---|---|---|
|
40 |
Shiva |
Fire Spellstone x2 |
Bomb Core |
Win at least three Coliseum battles. Afterward, there is a 30% chance of this battle replacing the next one you choose. NOTE: During the Postscript (Chapter 22), when you’re in your background quest to round up the seven Pleiad, you have a 100% chance to enter this battle without having won three prior battles. Be sure to view the rumor about them from Serafie! |
 , Ifrit
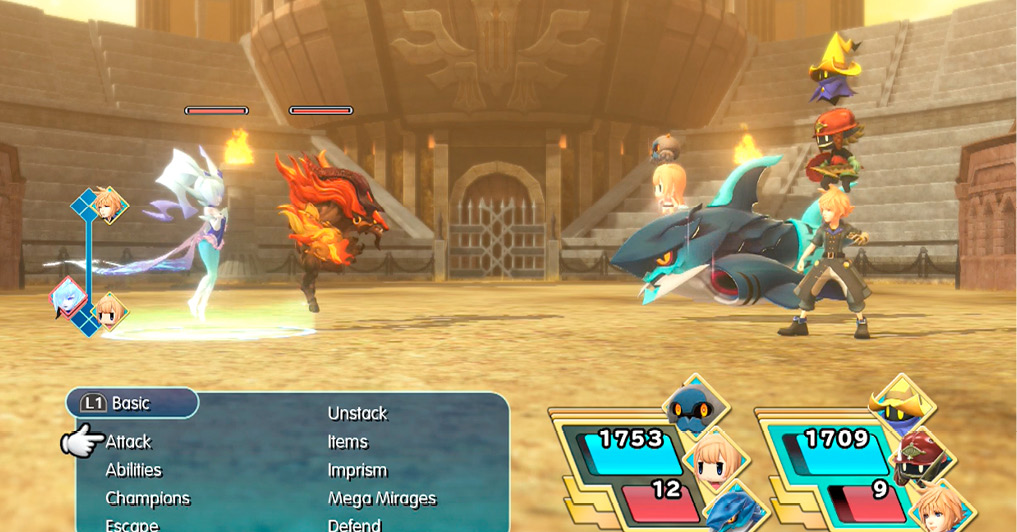
If you just want to defeat Shiva and Ifrit
 quickly, use fire or dark abilities on Shiva
 , and ice or water on Ifrit
 . Odds are, however, that you want to imprism them, especially if you’re at low levels. For that, use ice on Shiva and fire on Ifrit
 to create prismtunities and bag yourself two of the Pleiad’s Seven. They’ll prove quite helpful down the road!
Hunters of the Ridge
| Team Level | Enemies | Reward (1st Win) | Reward (Subsequent Wins) | Battle Unlock Conditions |
|---|---|---|---|---|
|
37 |
Fenrir, White Nakk x4 |
Blizzara Seed |
Solid Frigicite x2 |
Defeat grandfenrir in the story |
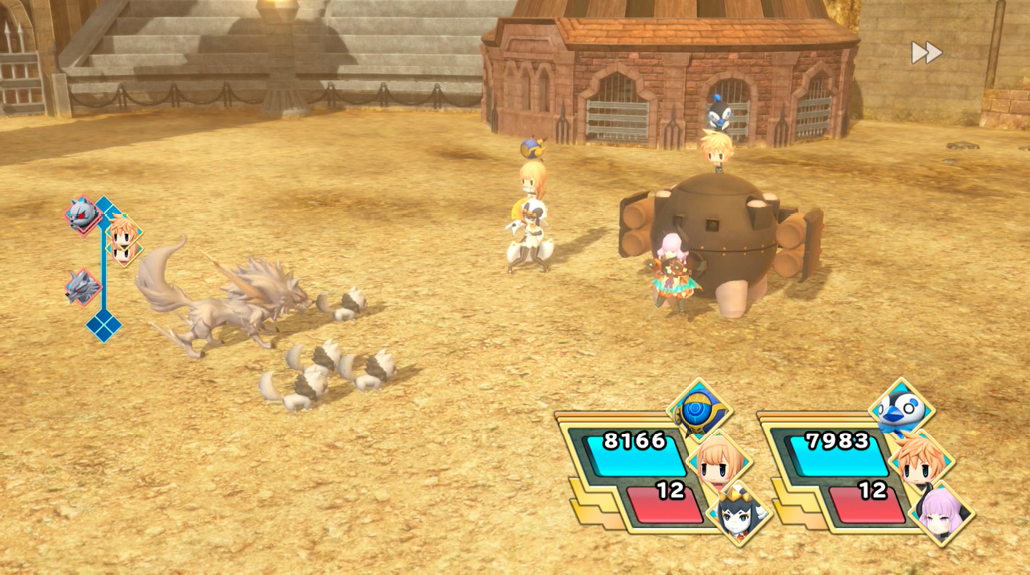
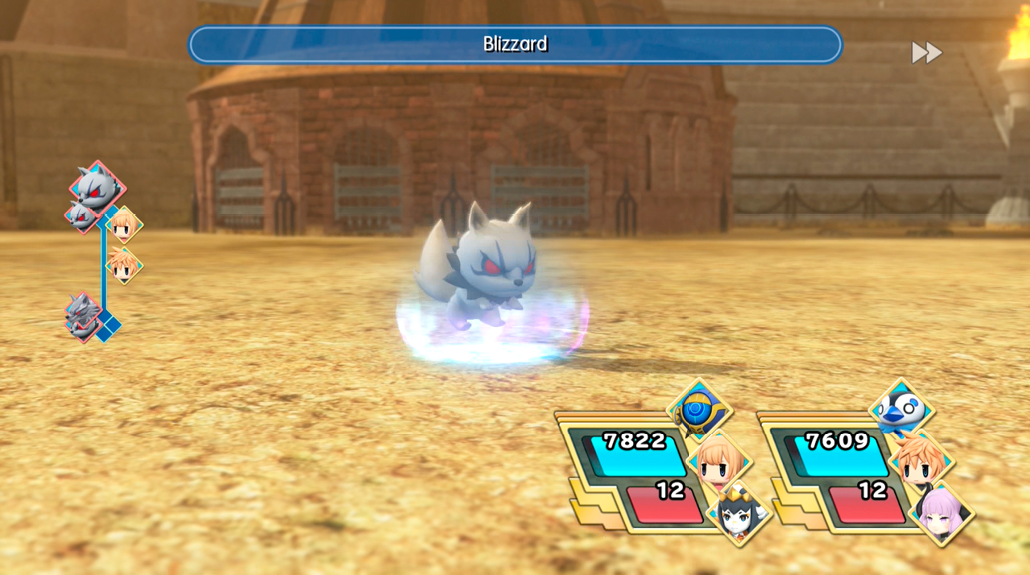
This fenrir and his pack will gnaw at you with their teeth and assault you with ice magic. Send them running with fire.
Kupirate Krisis
| Team Level | Enemies | Reward (1st Win) | Reward (Subsequent Wins) | Battle Unlock Conditions |
|---|---|---|---|---|
|
40 |
Kupirate x6 |
Turbo Ether |
Hi-Ether x2 |
Fight Faris in the story |
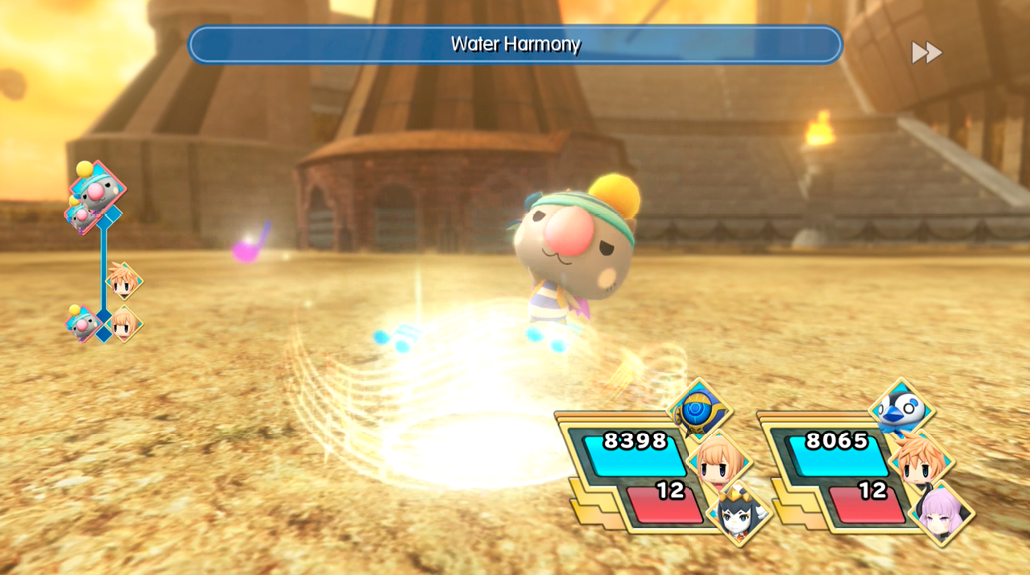
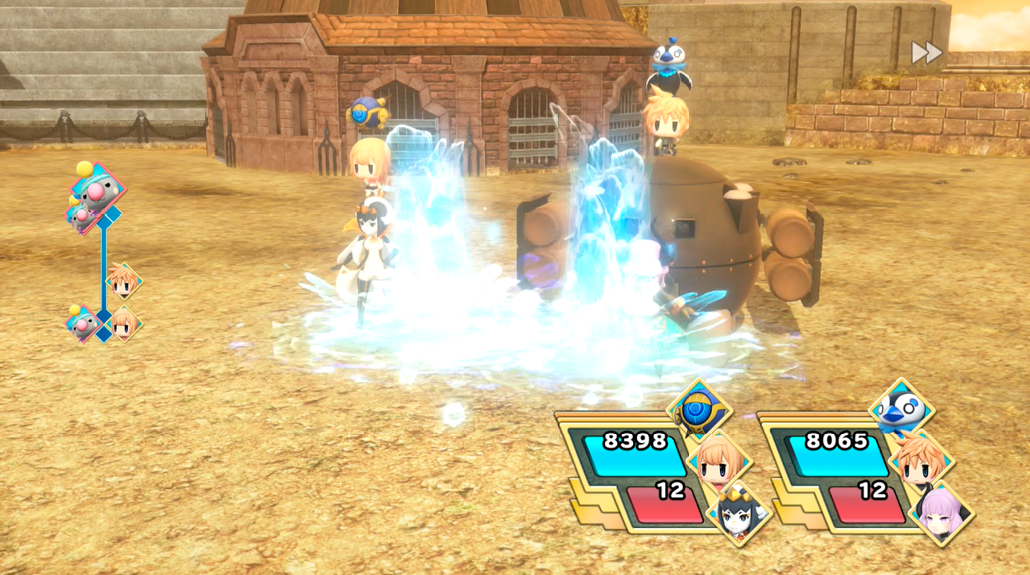
These swabbies from the high seas will repeatedly send water spells at you. Wind and thunder abilities send these puny pirates scattering.
Lord of the Kaboom
| Team Level | Enemies | Reward (1st Win) | Reward (Subsequent Wins) | Battle Unlock Conditions |
|---|---|---|---|---|
|
47 |
King Bomb |
Fira Seed |
Bomb Core x2 |
Defeat the king bomb Mirage in the story |
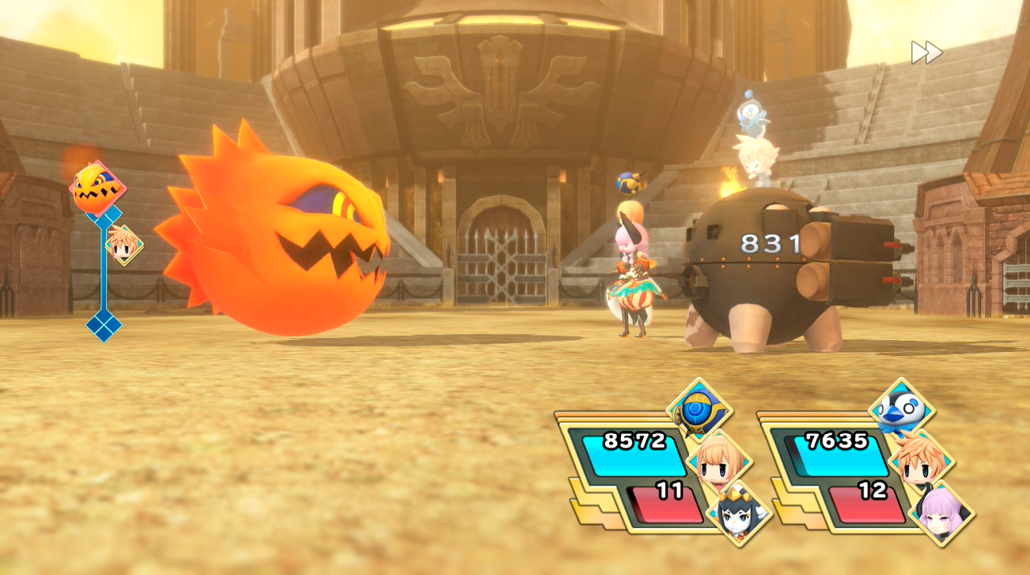
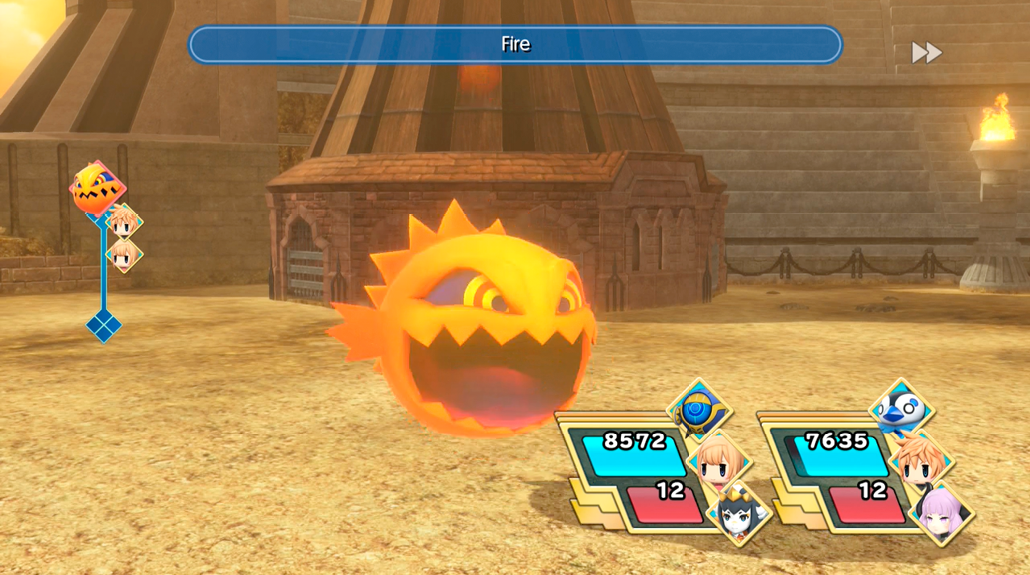
As long as you’re properly leveled, a single king bomb should prove little problem. Launch water magic at it to take out its spark.
Just Another Day on the Sands
| Team Level | Enemies | Reward (1st Win) | Reward (Subsequent Wins) | Battle Unlock Conditions |
|---|---|---|---|---|
|
52 |
Sand Worm x3 |
Quake Seed |
Earth Hammer x2 |
Defeat the sand worm Mirages in the story |
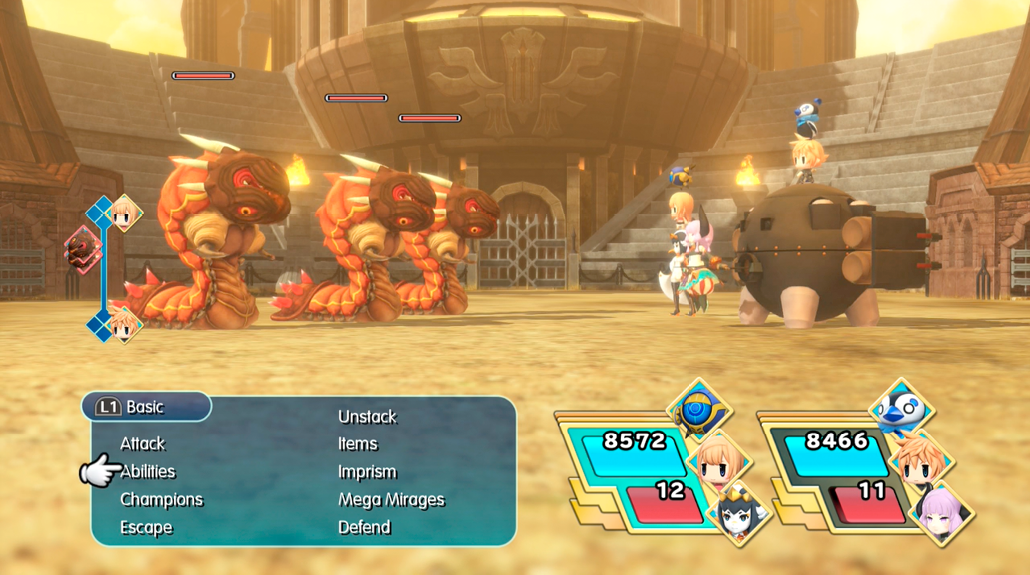
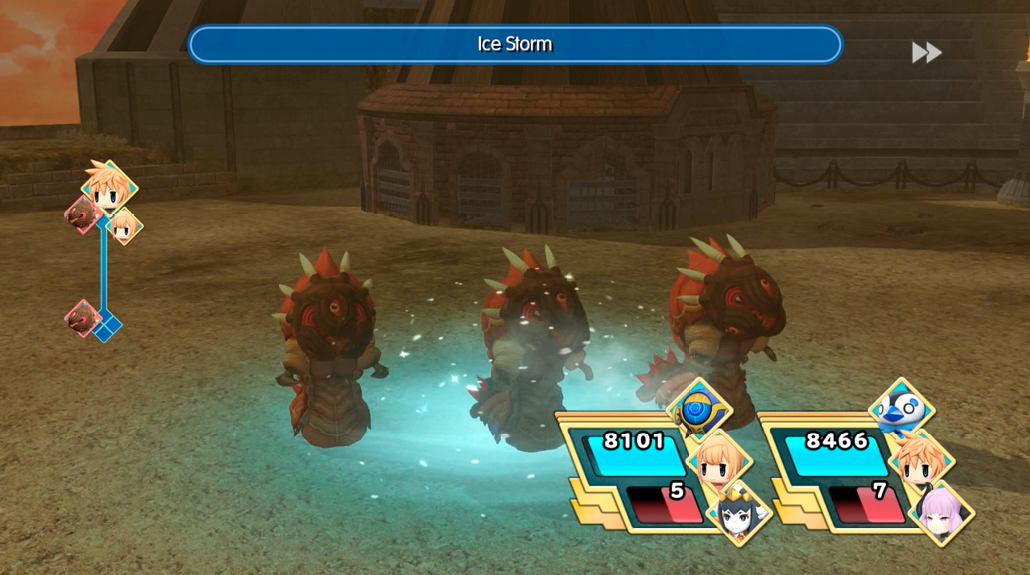
Multiple sand worms mean multiple earth and physical attacks. Water, wind, and ice are your best line of defense.
Shinra’s Mechanical Mistake
| Team Level | Enemies | Reward (1st Win) | Reward (Subsequent Wins) | Battle Unlock Conditions |
|---|---|---|---|---|
|
53 |
Death Machine |
Strength+ Seed |
Hi-Potion x2 |
Defeat the death machine Mirage in the story |
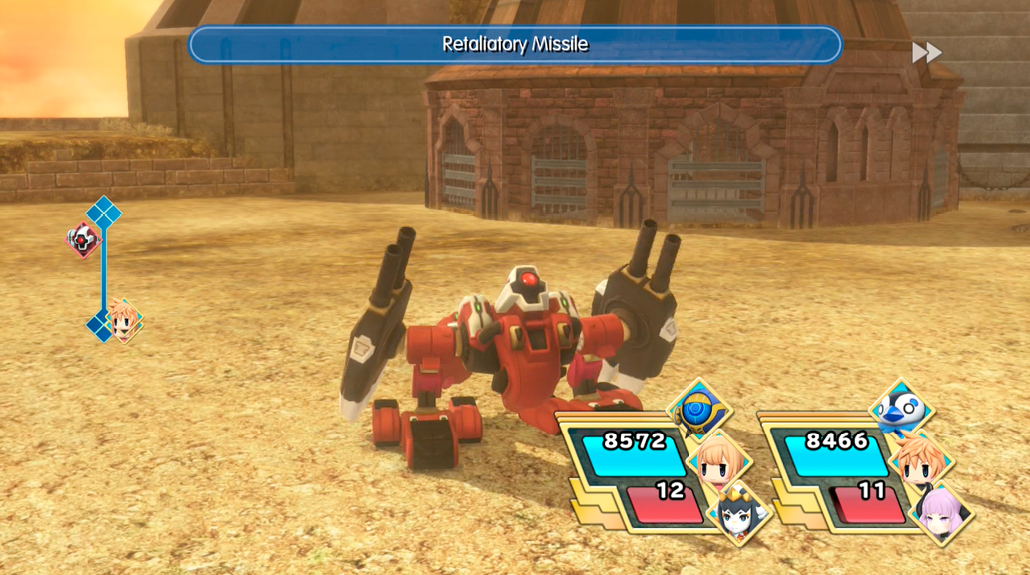
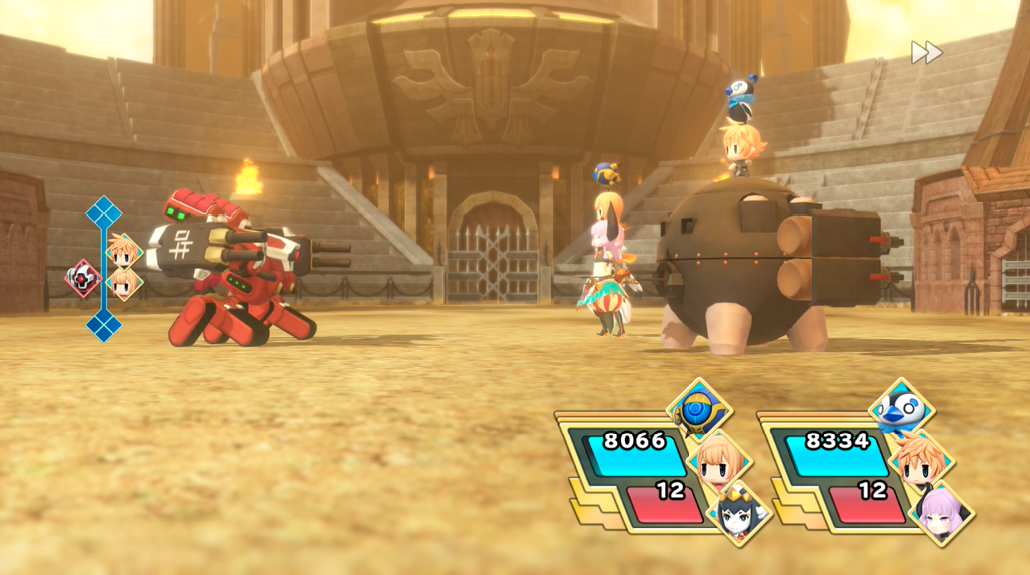
It may be just one death machine, but it throws everything it has at you—missiles, counterattacks, shells, the works. Throw thunder and water back at it.
Hot Temper, Warm Heart
| Team Level | Enemies | Reward (1st Win) | Reward (Subsequent Wins) | Battle Unlock Conditions |
|---|---|---|---|---|
|
55 |
Ifrit |
Ifrit Memento |
Bomb Core x2 |
Clear “The Nebula Nitwits” Coliseum battle; be sure to imprism- both Shiva Then read “More Coliseum Whisperings” from Serafie’s Rumor Radar, and come back to the Coliseum. A new cutscene will trigger to unlock this quest. |

 and Ifrit
 .
.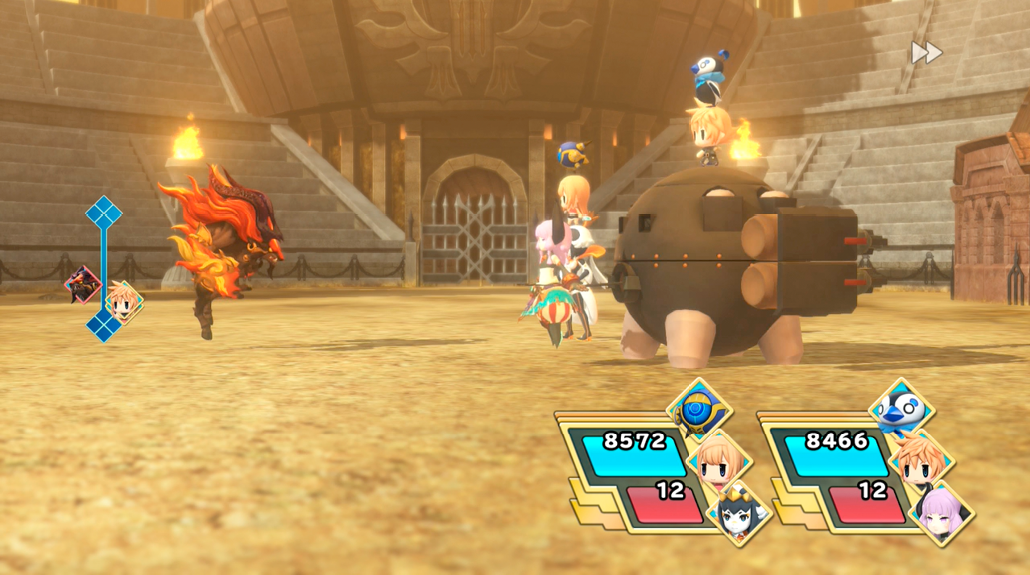
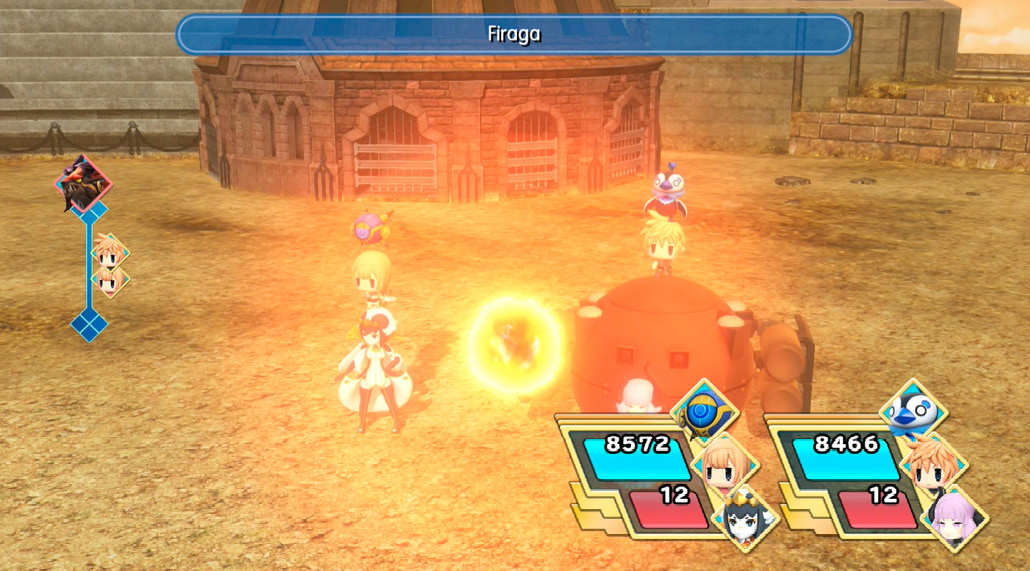
Use fire attacks to create a prismtunity. Use water or ice magic to defeat Ifrit in this battle.
The Ice Sculpture Collector
| Team Level | Enemies | Reward (1st Win) | Reward (Subsequent Wins) | Battle Unlock Conditions |
|---|---|---|---|---|
|
55 |
Shiva |
Shiva Memento |
Solid Frigicite x2 |
Clear “The Nebula Nitwits” Coliseum battle; be sure to imprism both Shiva Then read “More Coliseum Whisperings” from Serafie’s Rumor Radar, and come back to the Coliseum. A new cutscene will trigger to unlock this quest. |

 and Ifrit
 .
.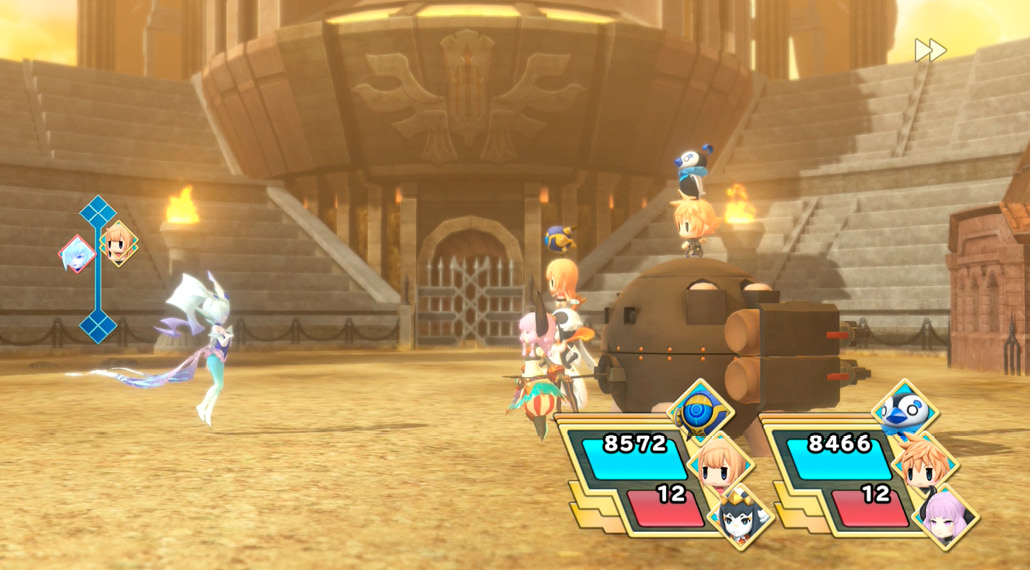
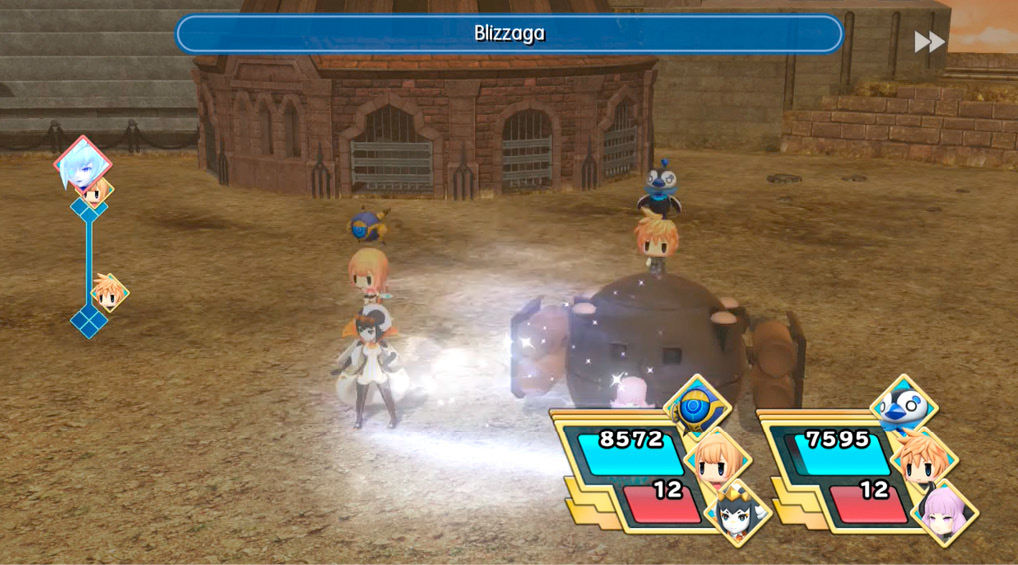
Use ice attacks to create the prismtunity. Use fire or dark magic to defeat Shiva in this battle.
The Responsible One
| Team Level | Enemies | Reward (1st Win) | Reward (Subsequent Wins) | Battle Unlock Conditions |
|---|---|---|---|---|
|
55 |
Ramuh |
Ramuh Memento |
Lightning Marble x2 |
Clear “The Nebula Nitwits” Coliseum battle; be sure to imprism both Shiva Then read “More Coliseum Whisperings” from Serafie’s Rumor Radar, and come back to the Coliseum. A new cutscene will trigger to unlock this quest. |

 and Ifrit
 .
.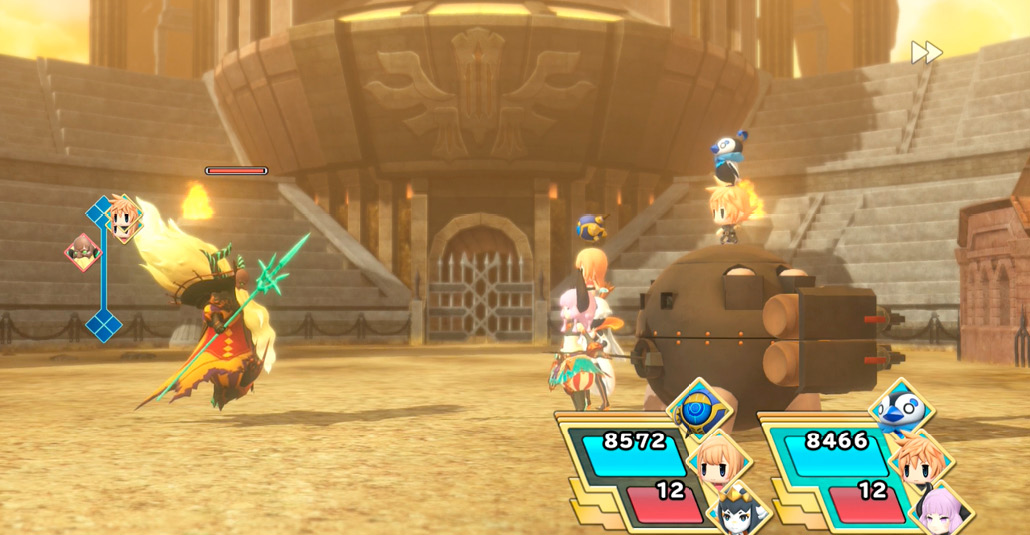
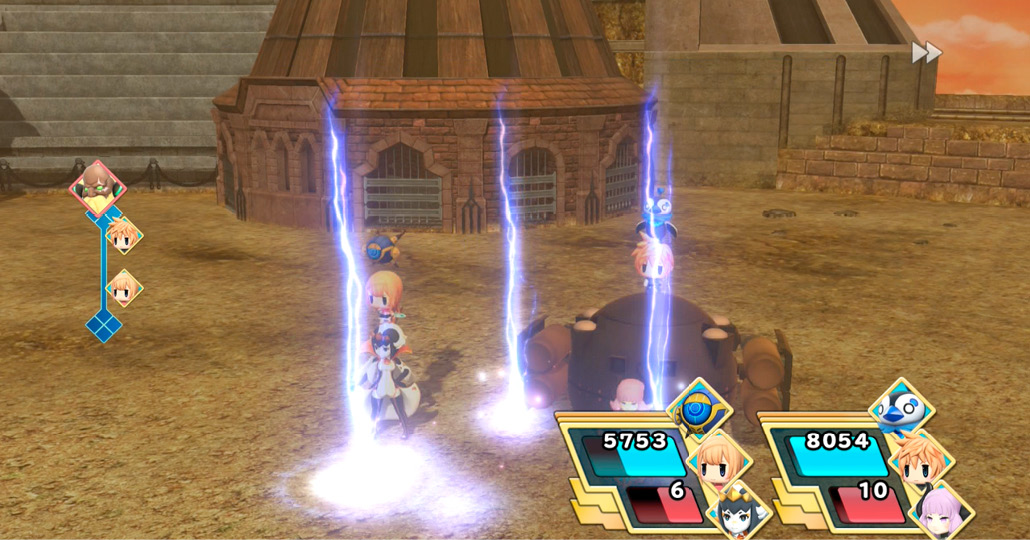
To imprism Ramuh , use (of course) thunder abilities. Otherwise, use earth or dark abilities to seal the victory.
Exdeath’s Kooky Kabuki
| Team Level | Enemies | Reward (1st Win) | Reward (Subsequent Wins) | Battle Unlock Conditions |
|---|---|---|---|---|
|
59 |
Gilgamesh |
Elixir |
X-Potion |
Defeat Gilgamesh in the story |
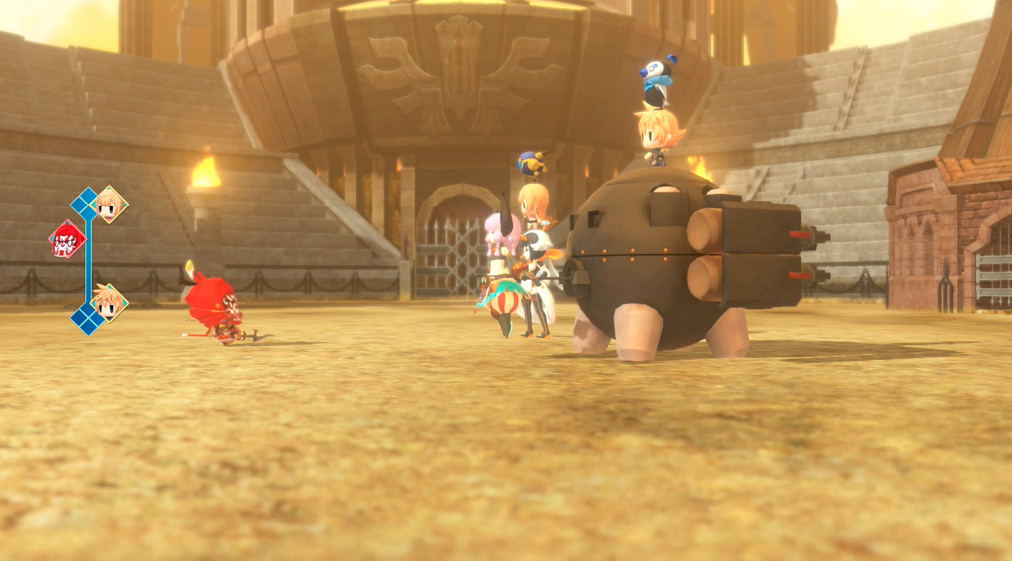
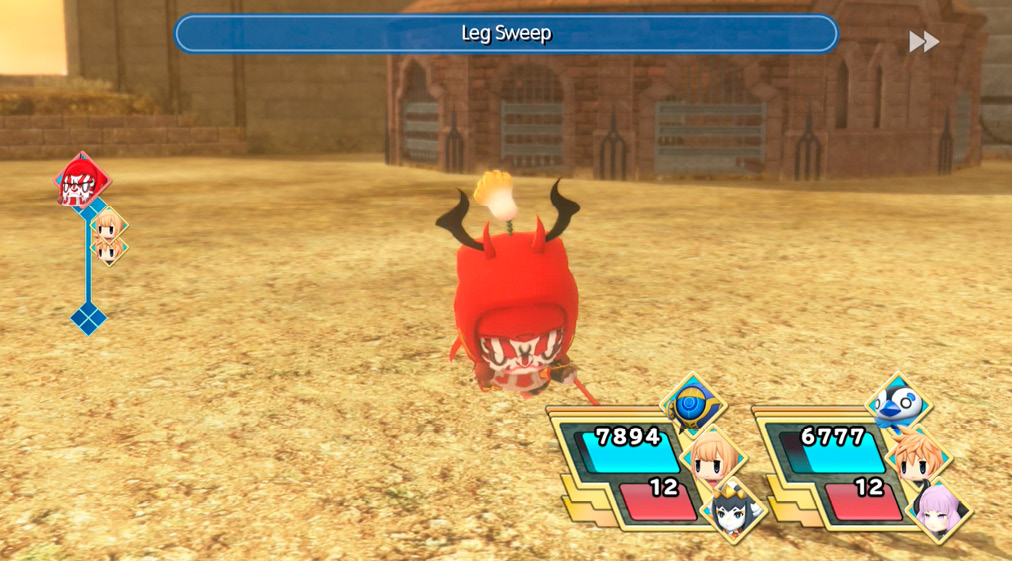
Gilgamesh has no real resistances or weaknesses, but he doesn’t have much of a battle plan, either. Whack him with your weapons more than he whacks you with his—or better yet, inflict Berserk on him and imprism him.
The Bitees’ Biters’ Biter
| Team Level | Enemies | Reward (1st Win) | Reward (Subsequent Wins) | Battle Unlock Conditions |
|---|---|---|---|---|
|
63 |
Vampire Prime, Werebat x3 |
Resist Berserk Seed |
Turbo Ether |
Defeat Vampire Prime in the story |
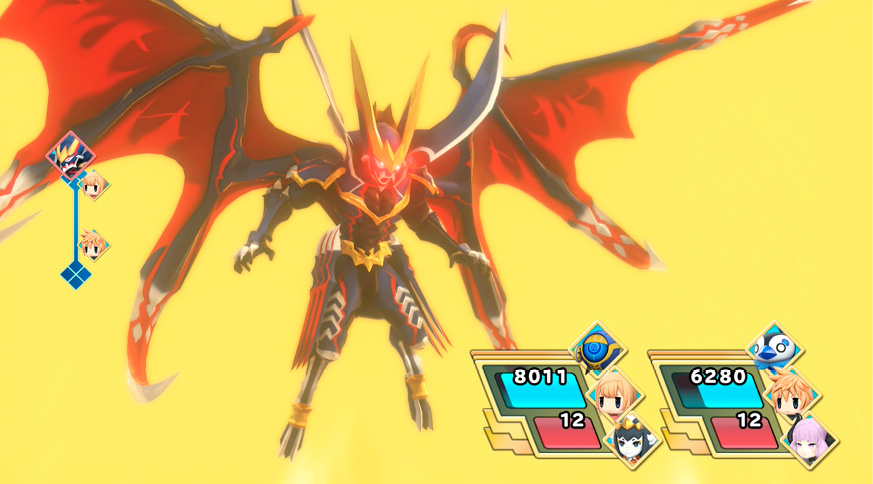
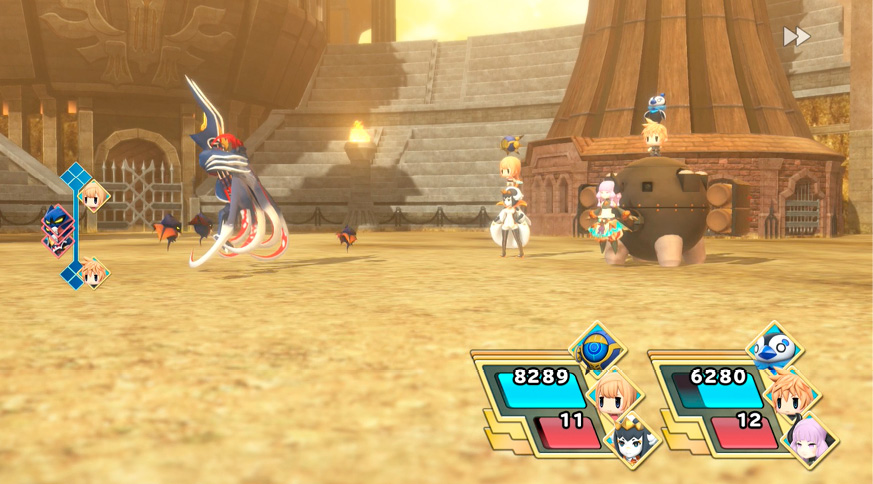
Like the stacks that involved these enemies, you’re looking at a whole lot of dark magic and HP siphoning. Go in with light magic spells like Banishra for best results. You can also cast Confuse or Sleep on the werebats.
King of the Tonberries
| Team Level | Enemies | Reward (1st Win) | Reward (Subsequent Wins) | Battle Unlock Conditions |
|---|---|---|---|---|
|
66 |
Tonberry King, Tonberry x4 |
Critical+ Seed |
Turbo Ether |
Defeat tonberry king in the story |
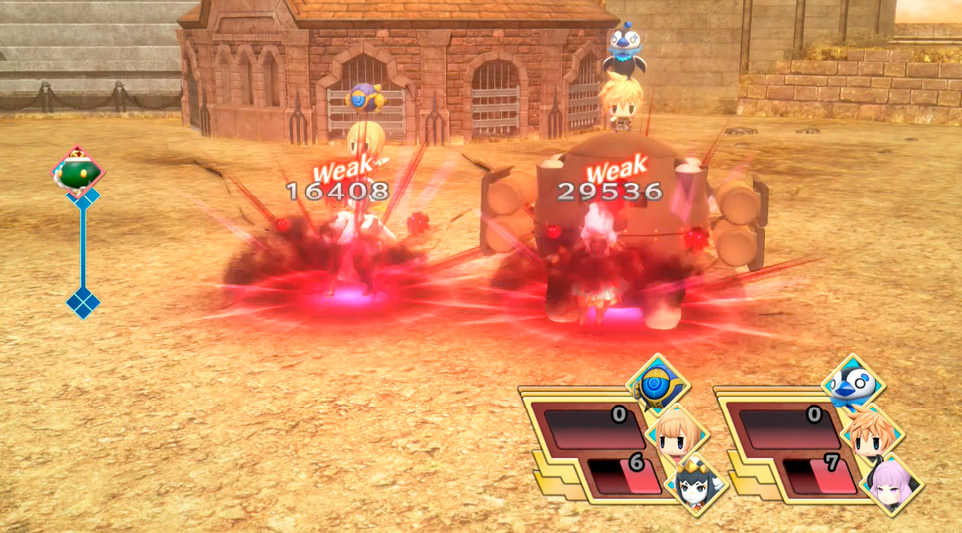
Light and thunder attacks work best against this tonberry posse, but be warned—take out the small fry, and the king will immediately let loose with Everyone’s Grudge, which will likely one-shot your party. You have options, however; let a Mega Mirage take the hit, or leave one or two of the tonberries alive while going for the king. Either way, stay healed!
You can also try taking out the king first, so that even if he uses Everyone’s Grudge, it won’t do as much damage.
A well-leveled cerberus Mega Mirage can be great here. It’ll have lots of HP for the tonberries to waste hits on, and lets you cast thunder abilities on all enemies at once.
Guardians of Fire and Water
| Team Level | Enemies | Reward (1st Win) | Reward (Subsequent Wins) | Battle Unlock Conditions |
|---|---|---|---|---|
|
72 |
Kraken, Buer |
Waterga Seed |
Dragon Scale x2 |
Defeat kraken and buer in the story |
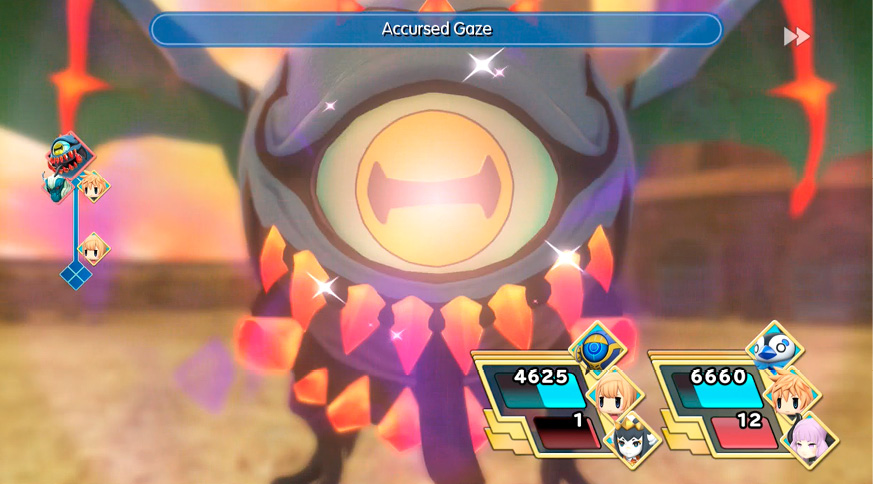
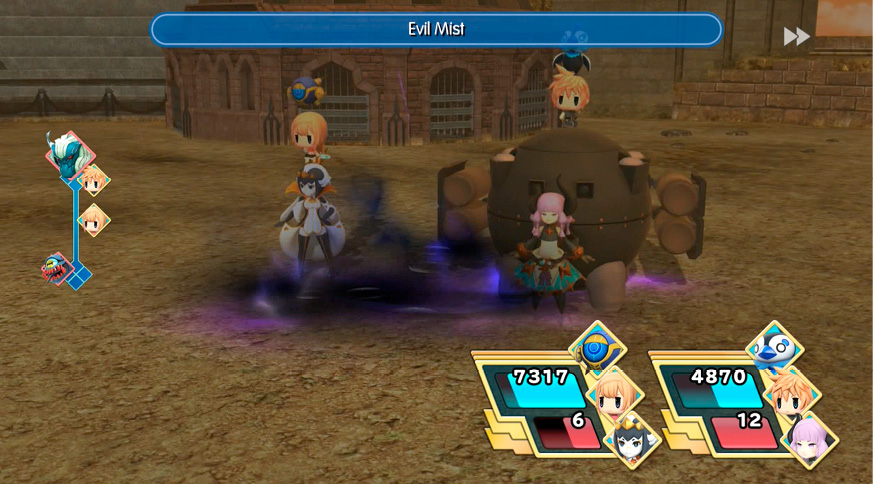
Light attacks is effective against both of the guardians. Buer is additionally weak to water, and kraken is additionally weak to thunder. Kraken, meanwhile, casts Reflect early into the fight, so roast him early. Both Mirages will hit you with high-level magic and status ailments like Poison and Slow. Bring Esuna or remedies if you can.
Guardians of Earth and Wind
| Team Level | Enemies | Reward (1st Win) | Reward (Subsequent Wins) | Battle Unlock Conditions |
|---|---|---|---|---|
|
72 |
Tiamat, Asterius |
Aeroga Seed |
Dragon Wing x2 |
Defeat tiamat and asterius in the story |
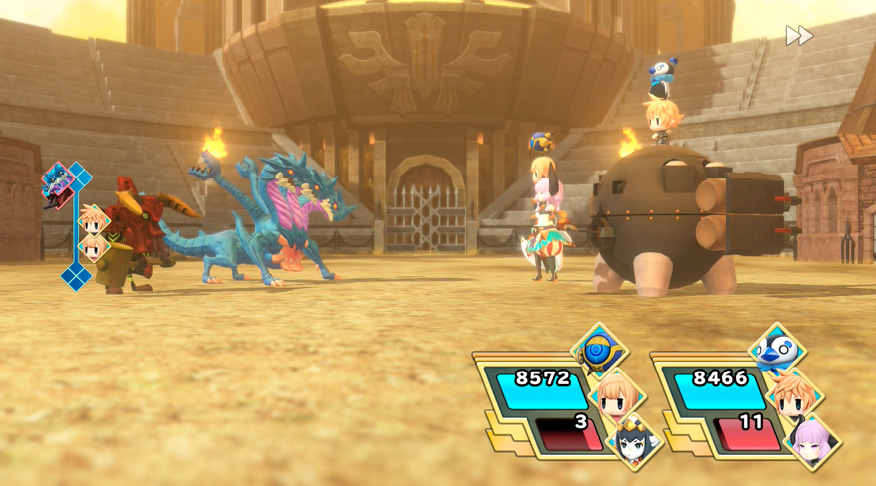
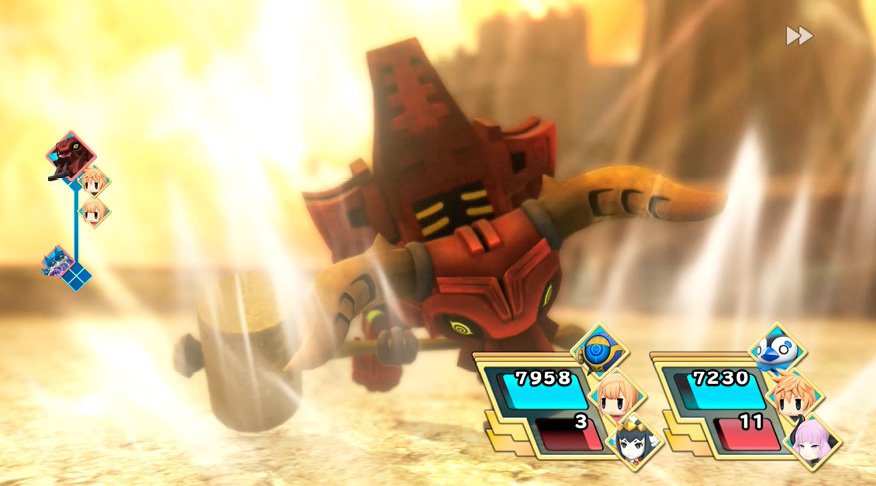
Tiamat is weak to ice and water, whereas asterius is weak to wind, dark, and water. If you want to make the fight go quicker, inflict Oblivion on tiamat and Berserk on asterius to create prismtunities. Otherwise, pelt them with their weaknesses while watching out for area-of-effect magic and stack-toppling attacks.
Local Ghoul
| Team Level | Enemies | Reward (1st Win) | Reward (Subsequent Wins) | Battle Unlock Conditions |
|---|---|---|---|---|
|
37 |
Metalliskull x3 |
Turbo Ether |
Hi-Ether x2 |
Clear the “A Grudge That Won’t Budge” Intervention Quest |
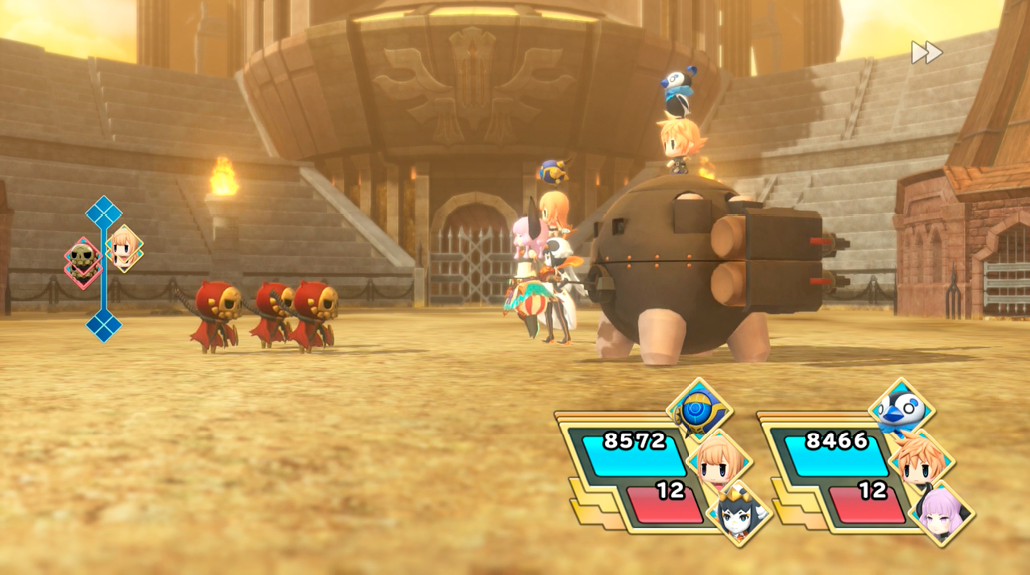
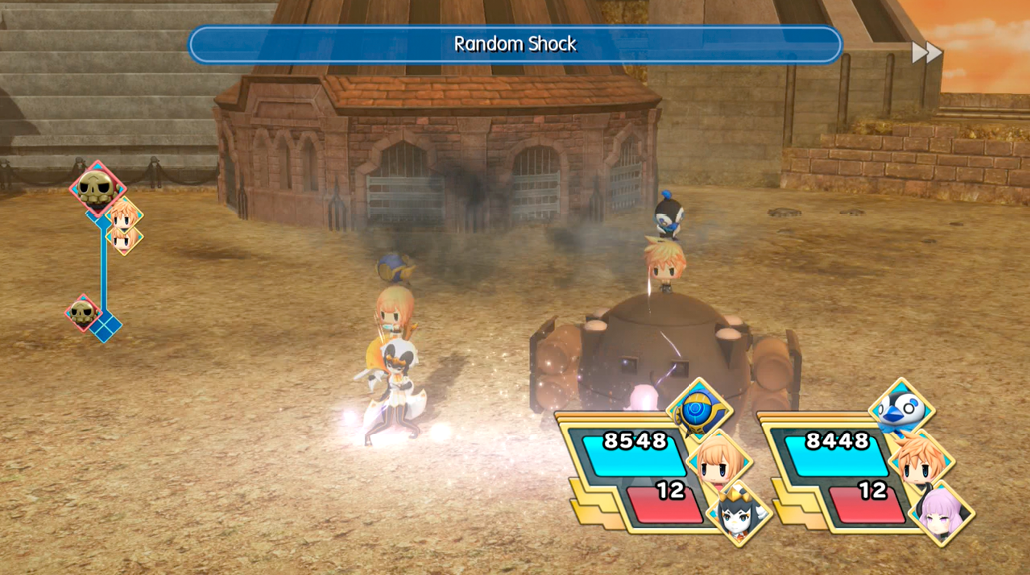
Go into this battle with thunder-resistant Mirages, and these foes are easily vanquished. That said, wind, fire, and light magic are their weaknesses.
Preying Mantoise
| Team Level | Enemies | Reward (1st Win) | Reward (Subsequent Wins) | Battle Unlock Conditions |
|---|---|---|---|---|
|
44 |
Adamantoise |
Watera Seed |
Dragon Scale x2 |
Clear the “Treasure Island, Ahoy!” Intervention Quest |
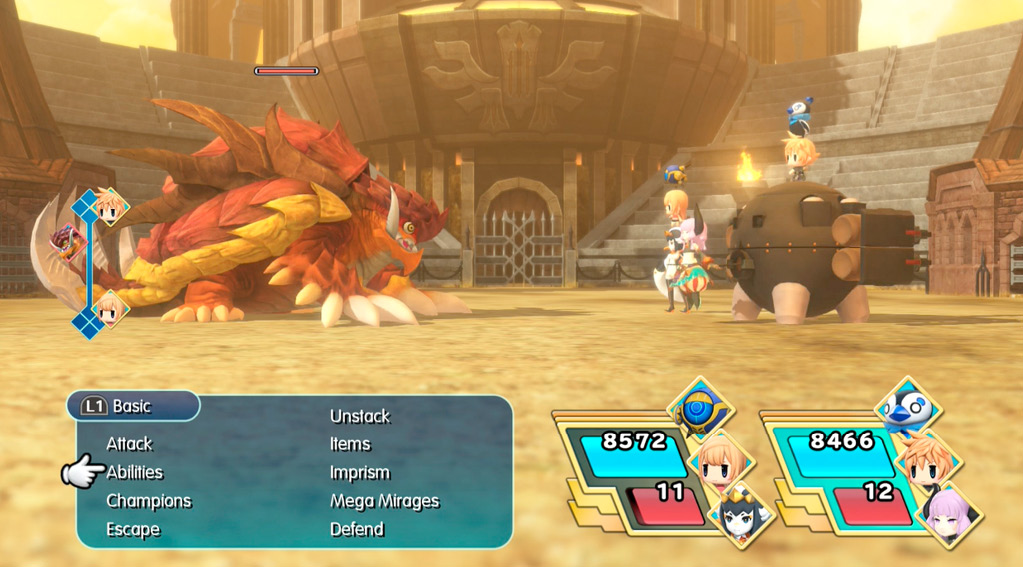
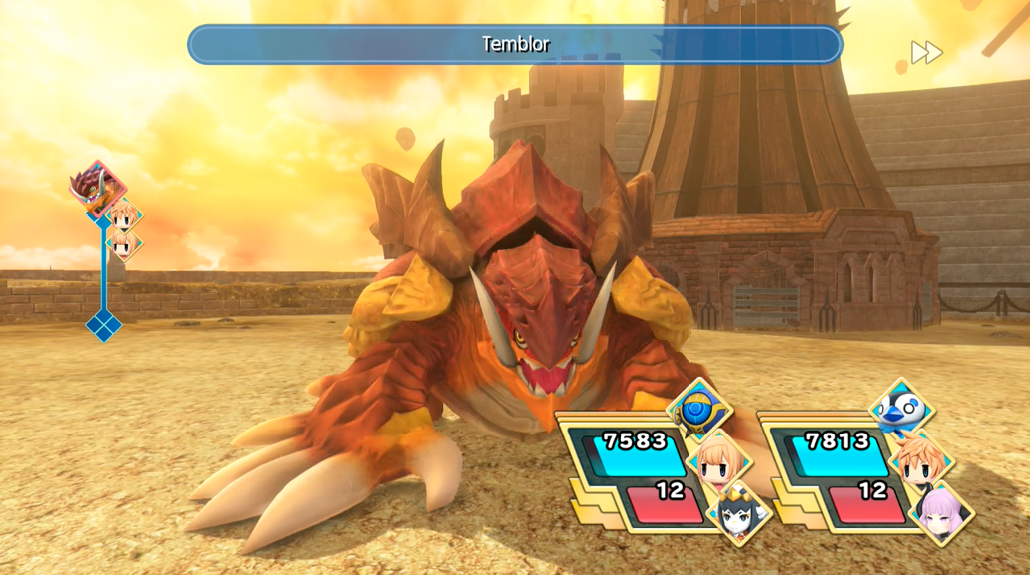
Adamantoise is a tank of a Mirage—with the physical power to match—but ice abilities will shatter him in short order.
Robosquawk Redux
| Team Level | Enemies | Reward (1st Win) | Reward (Subsequent Wins) | Battle Unlock Conditions |
|---|---|---|---|---|
|
60 |
Mecha Chocobo |
Dispel Seed |
Turbo Ether |
Clear the “Chocolatte’s Master” Intervention Quest |

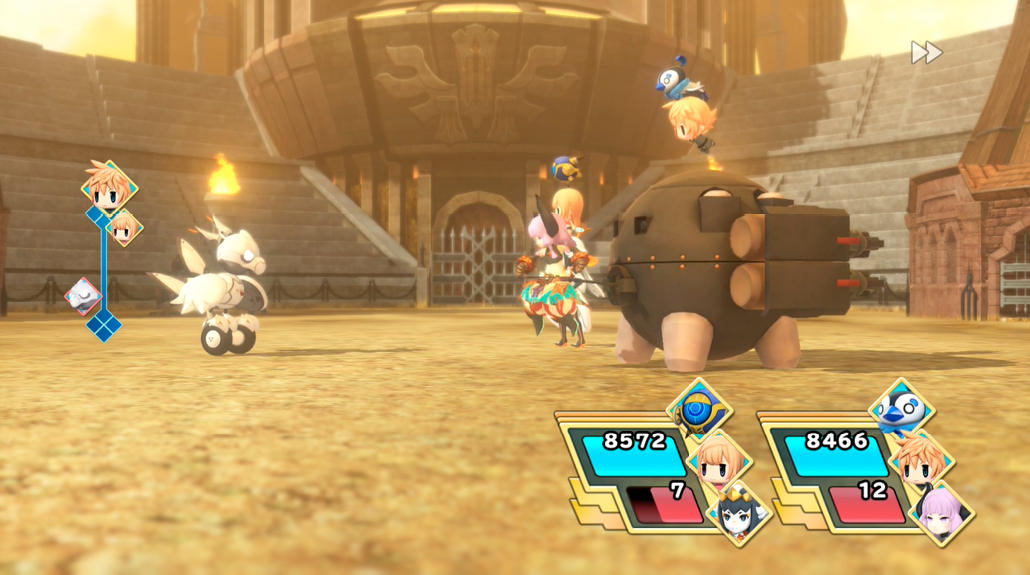
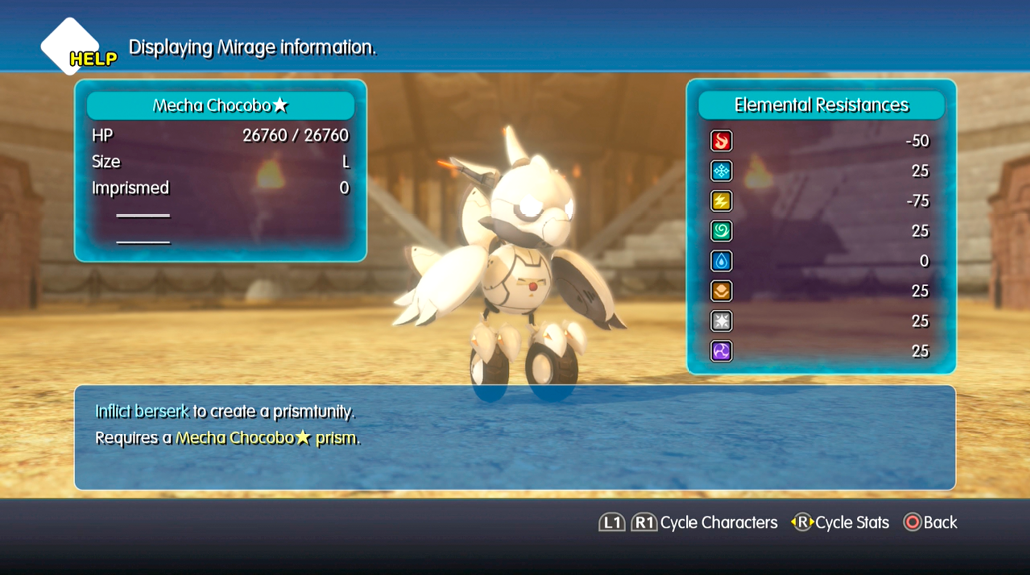
Mecha chocobo falls easily to thunder and fire. He also attacks as much here as he did in the Intervention Quest you met him in—which is to say, not much at all. Inflict Berserk, and go for the imprism.
Ramuh’s Pride and Joy
| Team Level | Enemies | Reward (1st Win) | Reward (Subsequent Wins) | Battle Unlock Conditions |
|---|---|---|---|---|
|
69 |
Ramewl |
Thundaga Seed |
X-Potion |
Clear the “The Five Cogna Lords: Cornelia, Part I” Intervention Quest |

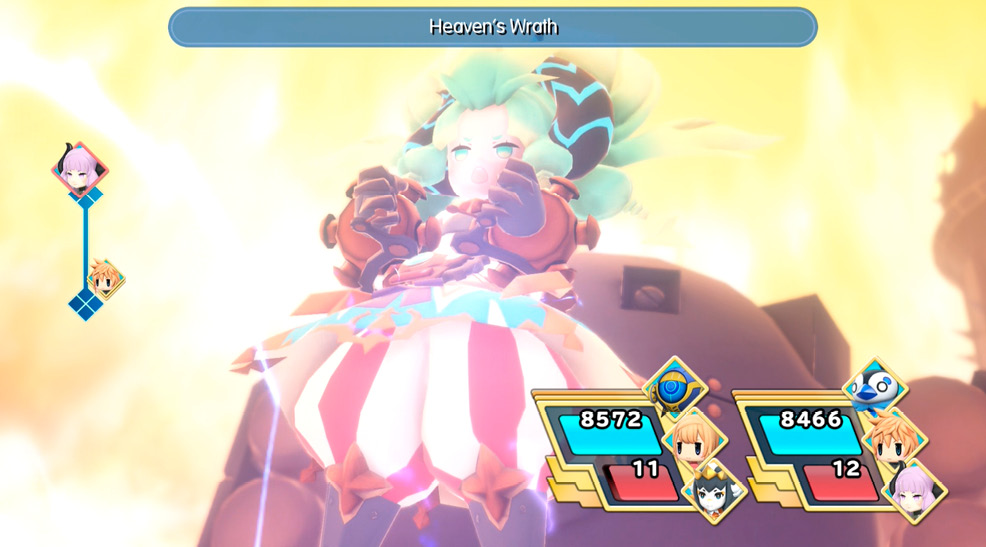
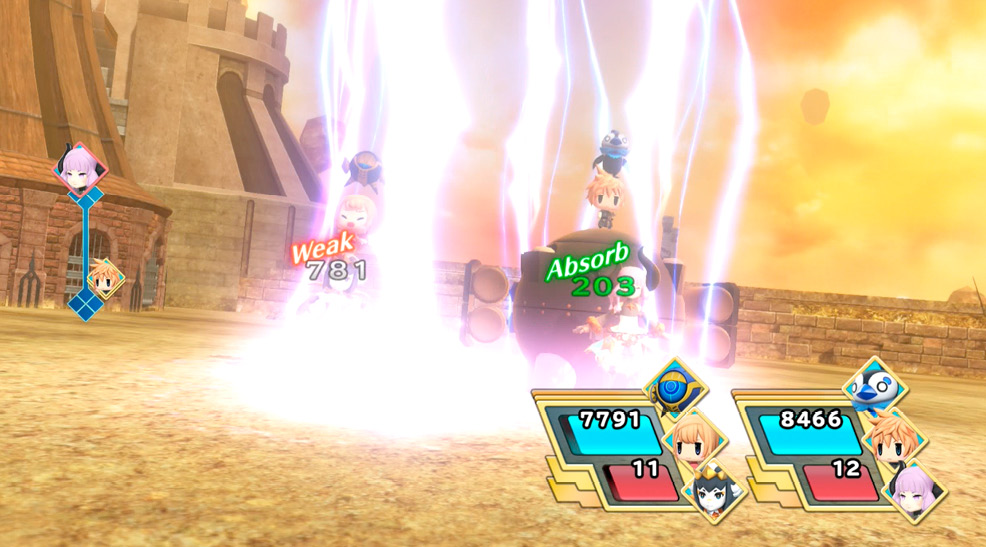
Ramewl ’s big weaknesses are earth and dark magic, or you can use thunder to go for the imprism. Otherwise, just like her grandfather, prepare for thunder spells aplenty.
Calamari Time Bomb
| Team Level | Enemies | Reward (1st Win) | Reward (Subsequent Wins) | Battle Unlock Conditions |
|---|---|---|---|---|
|
73 |
Cenchos |
Banishra Seed |
Turbo Ether |
Clear the “The Sunken Temple’s Secret” Intervention Quest |
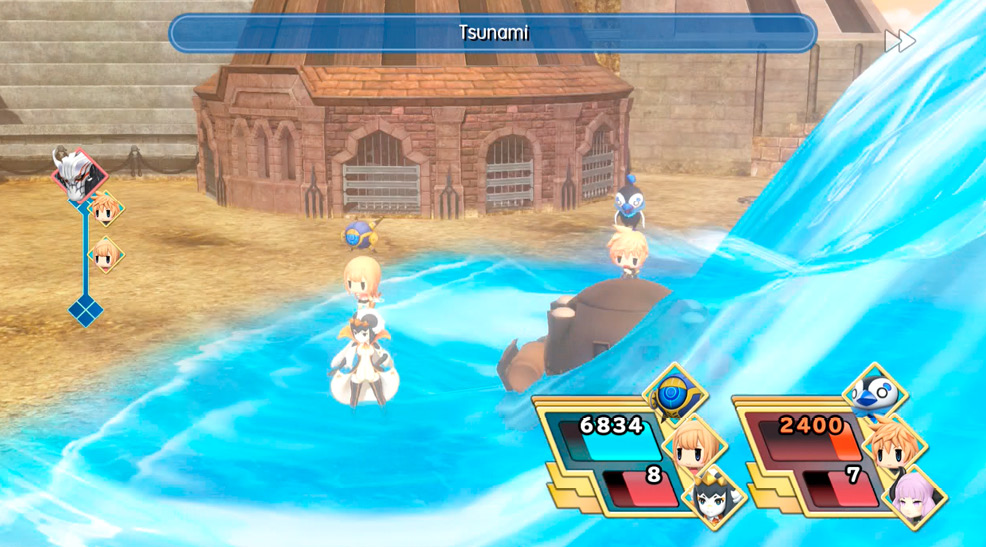
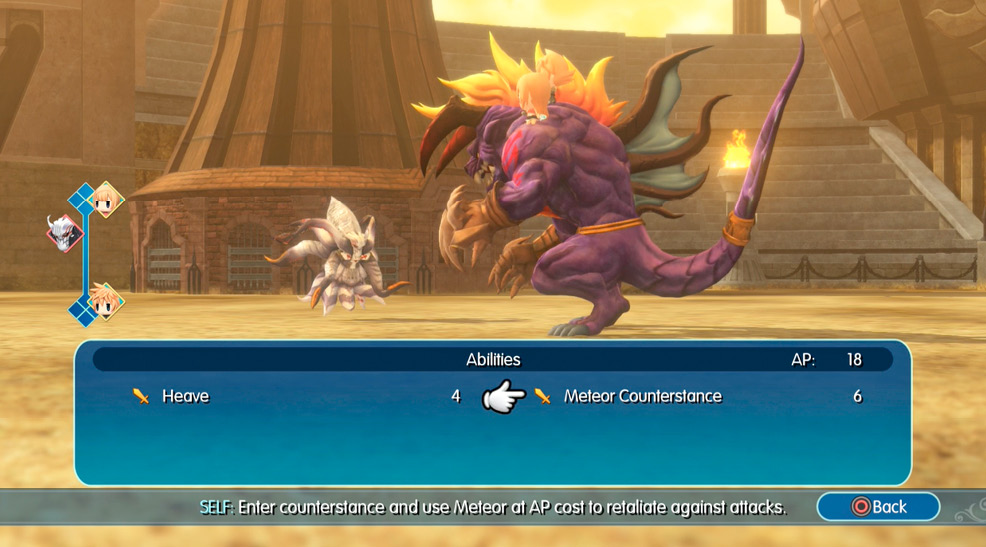
Roast cenchos with fire attacks, or cast Reflect and bounce one of his spells—mainly water magic—back at him for a quick prismtunity.
Bad Fox! Bad Fox!
| Team Level | Enemies | Reward (1st Win) | Reward (Subsequent Wins) | Battle Unlock Conditions |
|---|---|---|---|---|
|
73 |
Kyubi |
Safety Bit Seed |
X-Potion |
Clear the “Vestiges of Life” quest |
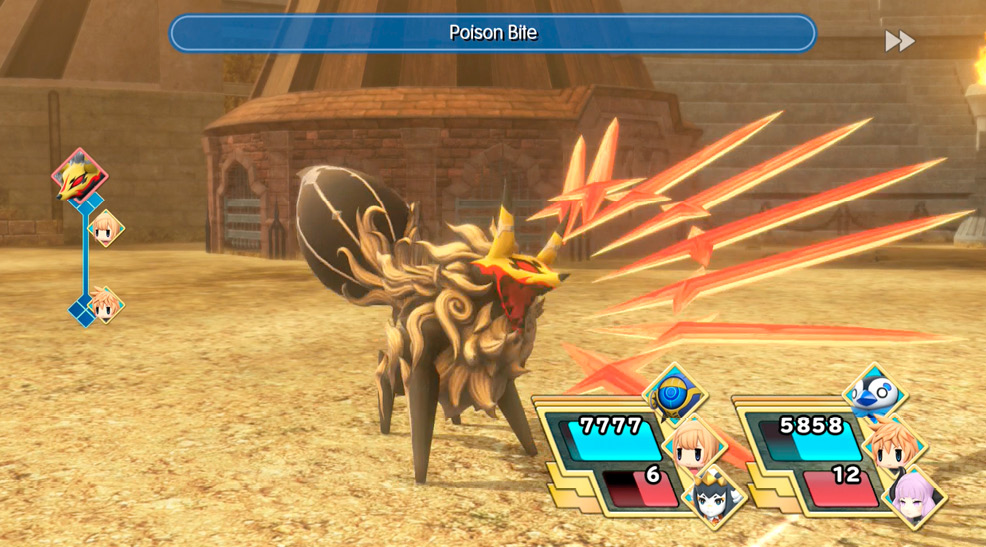
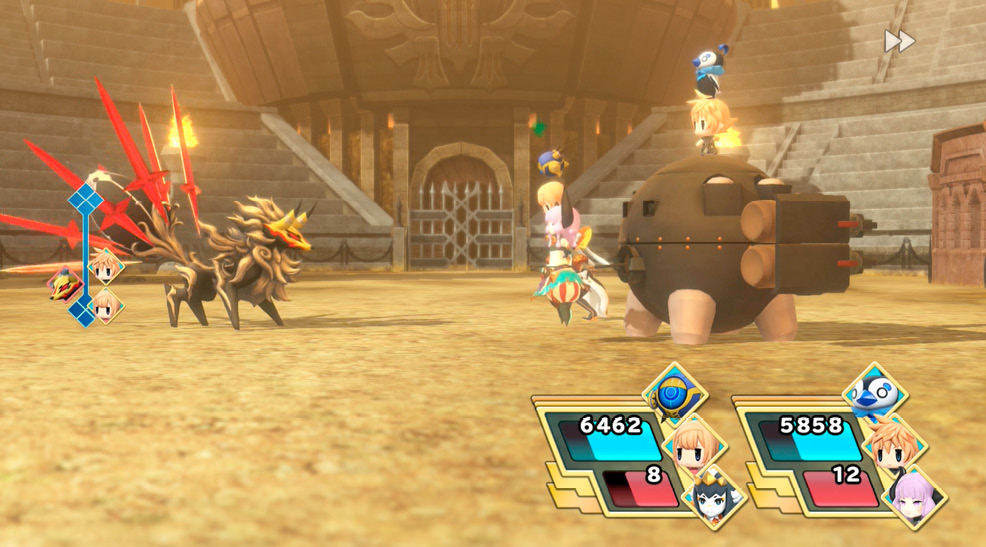
Kyubi has no elemental resistances or weaknesses. You can, however, cast Sleep on him. If you manage to inflict Doom, you can imprism him, as well. Otherwise, he hits hard, and his Poison Bite is exactly what it says on the tin.
Shmup to No Good
| Team Level | Enemies | Reward (1st Win) | Reward (Subsequent Wins) | Battle Unlock Conditions |
|---|---|---|---|---|
|
76 |
Einhänder |
Evasion+ Seed |
Turbo Ether |
Clear the “The Five Cogna Lords: Port Besaid” Intervention Quest |
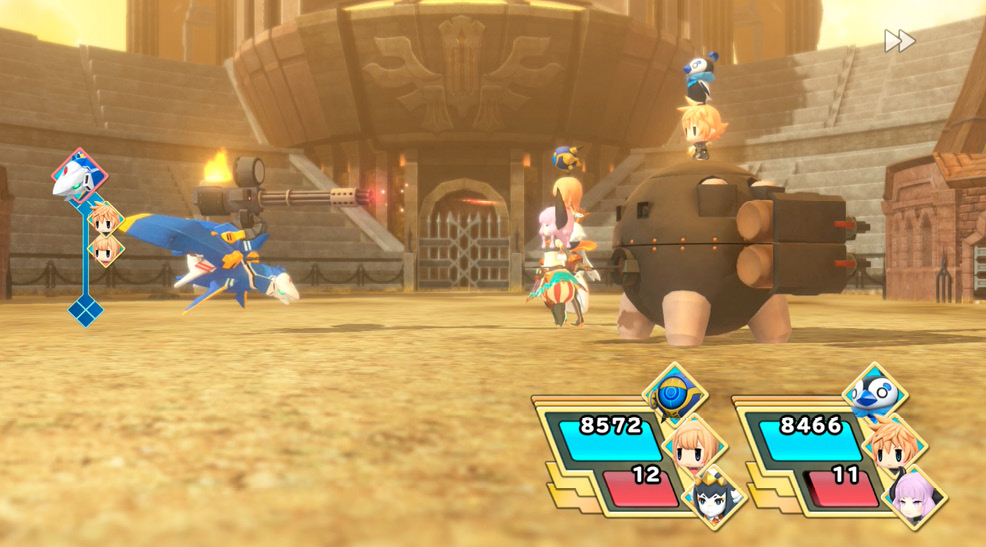
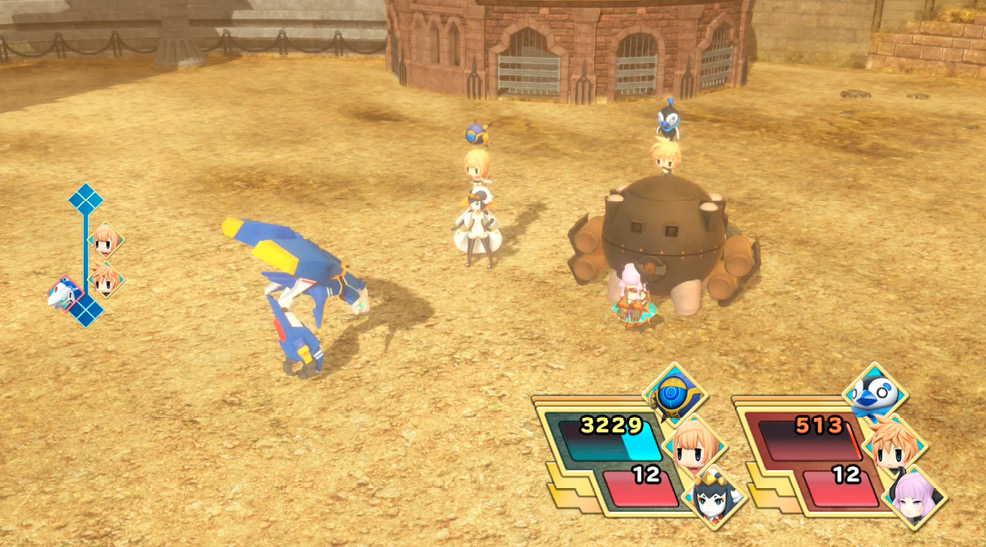
Einhänder has exactly zero new tricks since the last time you met him. Use water or thunder and go to town. If you’re able to inflict Evasion Down on him, you can try for an imprism.
Golem Destroyer
| Team Level | Enemies | Reward (1st Win) | Reward (Subsequent Wins) | Battle Unlock Conditions |
|---|---|---|---|---|
|
76 |
Golem Head x3 |
Aerora Seed |
X-Potion |
Clear the “No One’s Tools” Intervention Quest |
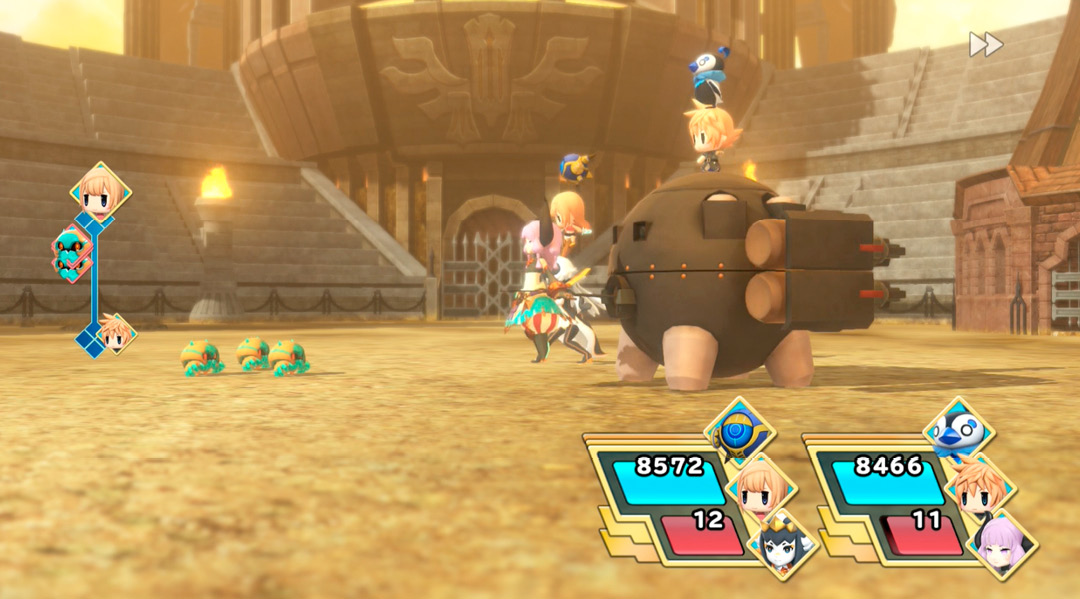
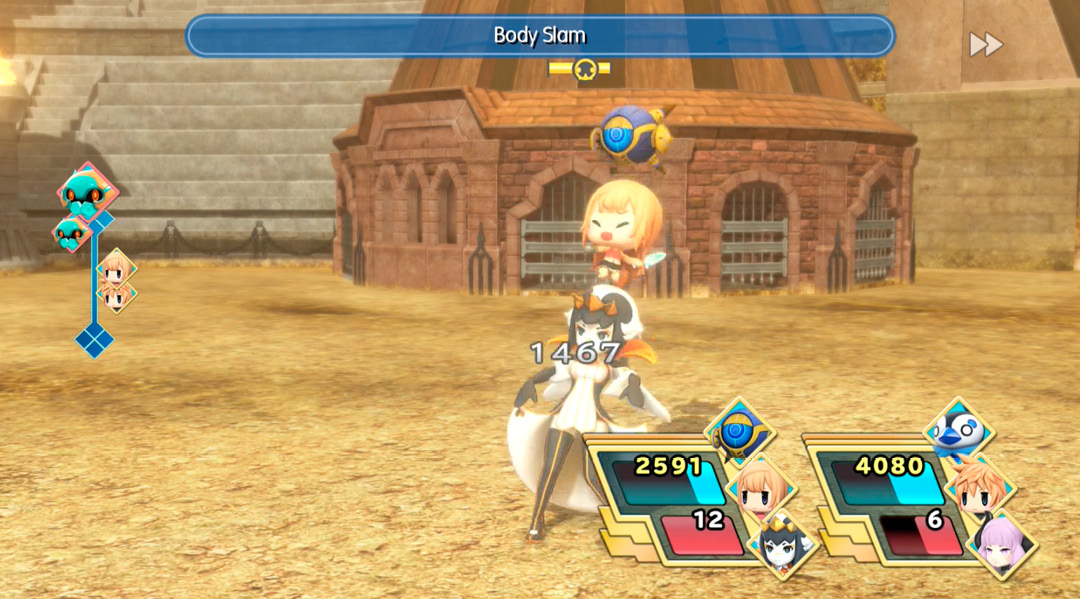
While boasting a bit of a power boost, these little guys are just as straightforward a battle as they were in Vivi’s Intervention Quest. Wind abilities will take care of them, or you can inflict Defense Down for a prismtunity. Watch out for their stack-toppling Body Slams!
A Not-so-Sweet Ifrit
| Team Level | Enemies | Reward (1st Win) | Reward (Subsequent Wins) | Battle Unlock Conditions |
|---|---|---|---|---|
|
76 |
Ifreeta |
Firaga Seed |
Bomb Core x2 |
Clear the “Fire Drill” Intervention Quest |

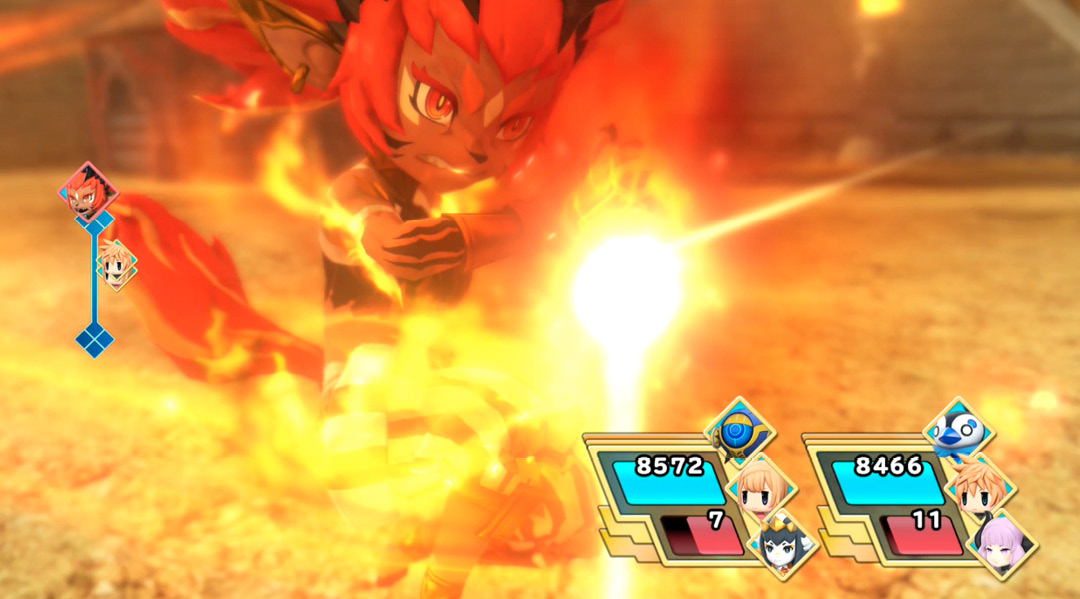
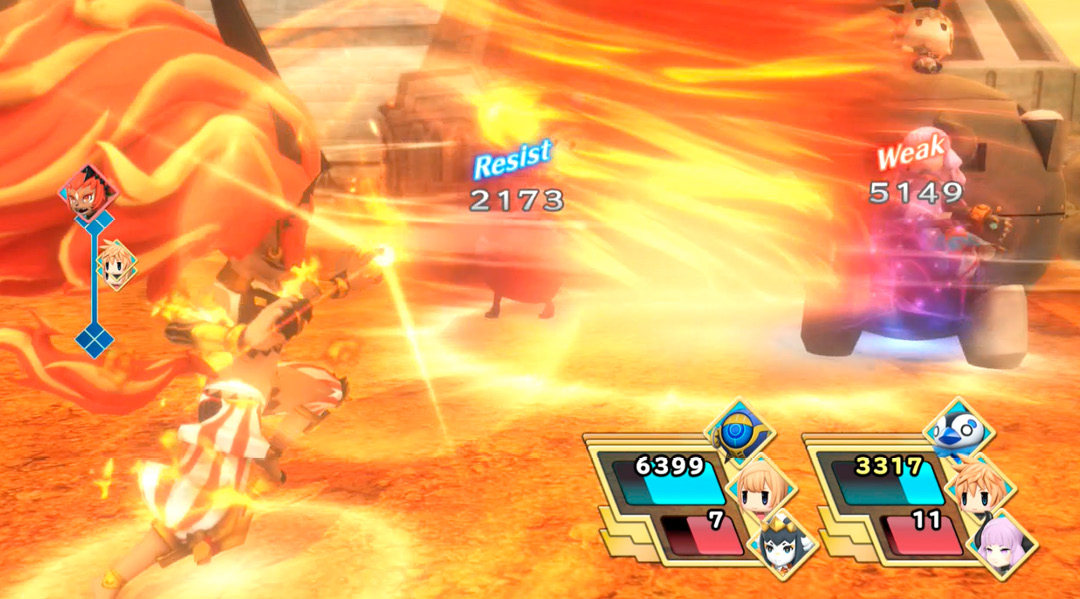
Ifreeta fights in the same manner as last time, so bring your flame-retardant Mirages, and douse her with water and ice. Crimson Cyclone is even more dangerous than before, so keep your guard up! Go ahead and hit her with fire if you want to imprism her.
Say No to Muscleheads
| Team Level | Enemies | Reward (1st Win) | Reward (Subsequent Wins) | Battle Unlock Conditions |
|---|---|---|---|---|
|
76 |
Ultros |
Critical++ Seed |
Turbo Ether |
Clear the “Freak of Nature” Intervention Quest |

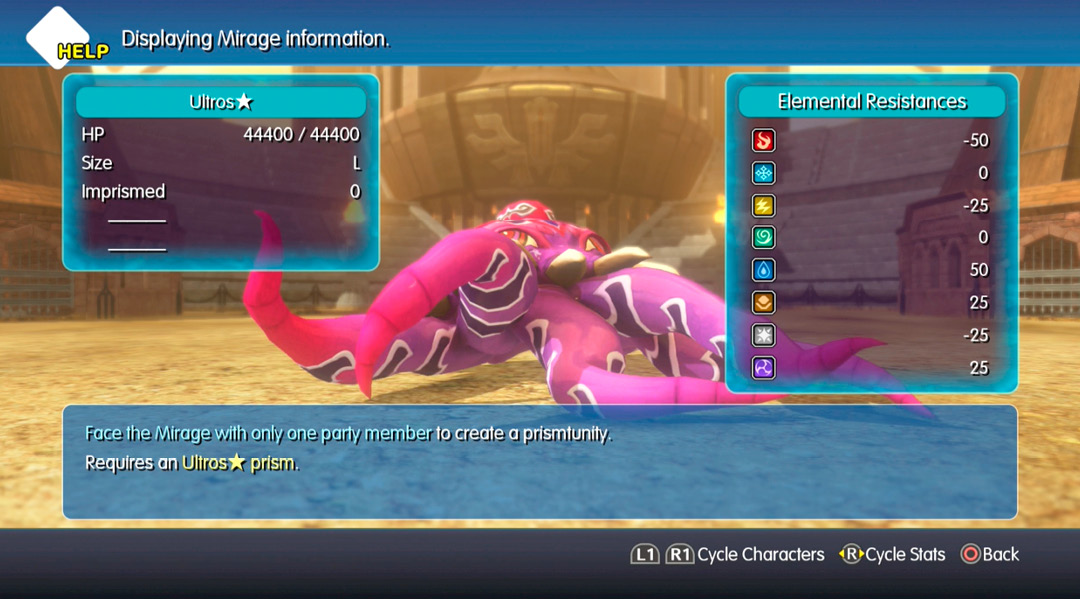
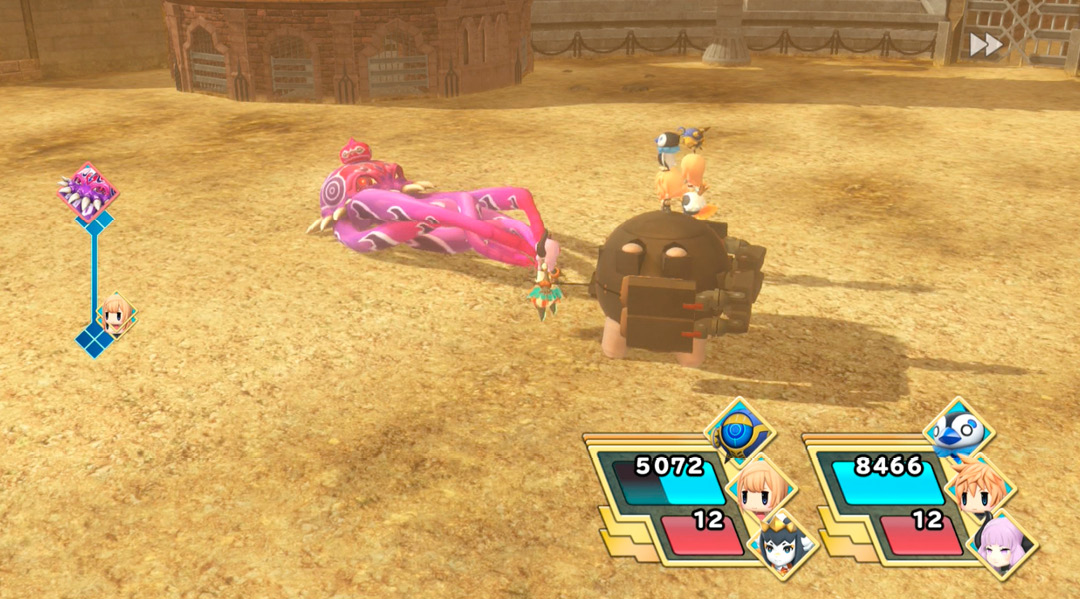
Fire, thunder, and light magic will put Ultros down. He’s not tough to battle strategically, though he can still inflict physical combo attacks, Confuse your party, and summon water magic. He’s also a real damage sponge this time around. Use standard battle tactics, but be ready to endure.
Vanguard of Destruction
| Team Level | Enemies | Reward (1st Win) | Reward (Subsequent Wins) | Battle Unlock Conditions |
|---|---|---|---|---|
|
76 |
Elite Entom |
Megalixir |
X-Potion |
Clear the “Steel That Forges Destinies” Intervention Quest |
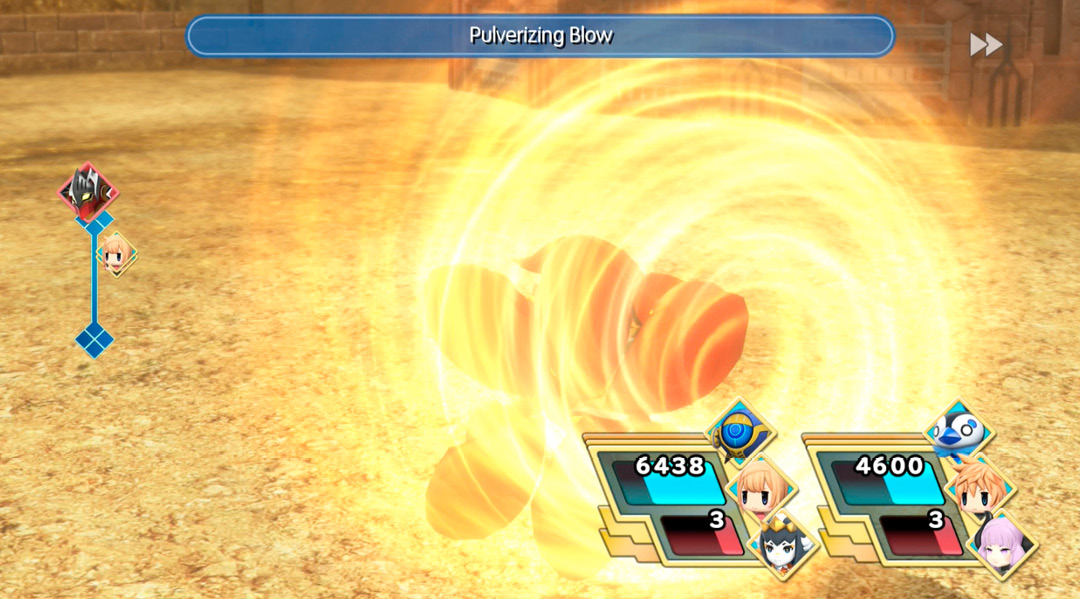
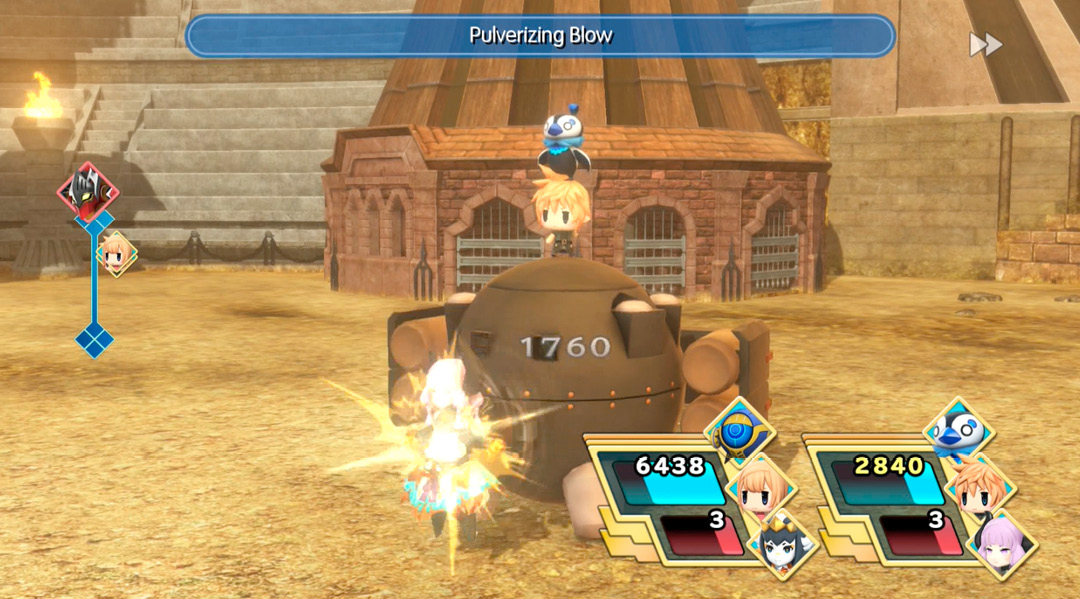
Like most of the machines, elite entom is weak to thunder and water. It also won’t put up much of a fight—that is, until it does. Watch out for Pulverizing Blow in particular, as getting hit by a few of those can end the fight in a hurry.
Sovereign of the Sea
| Team Level | Enemies | Reward (1st Win) | Reward (Subsequent Wins) | Battle Unlock Conditions |
|---|---|---|---|---|
|
76 |
Bismarck |
Resist Blindness Seed |
Turbo Ether |
Clear the “Finger-whistle Crisis” Intervention Quest |
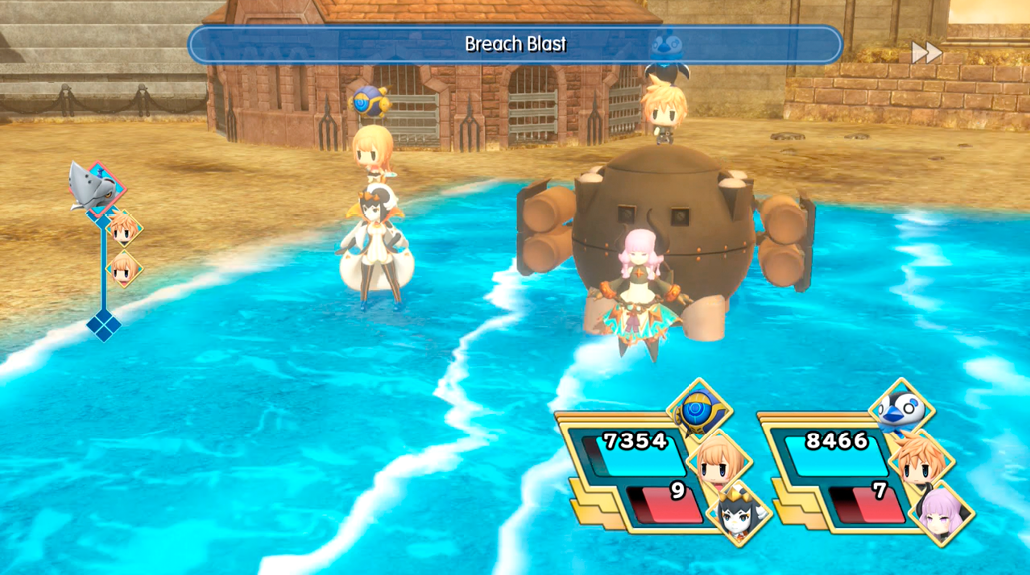
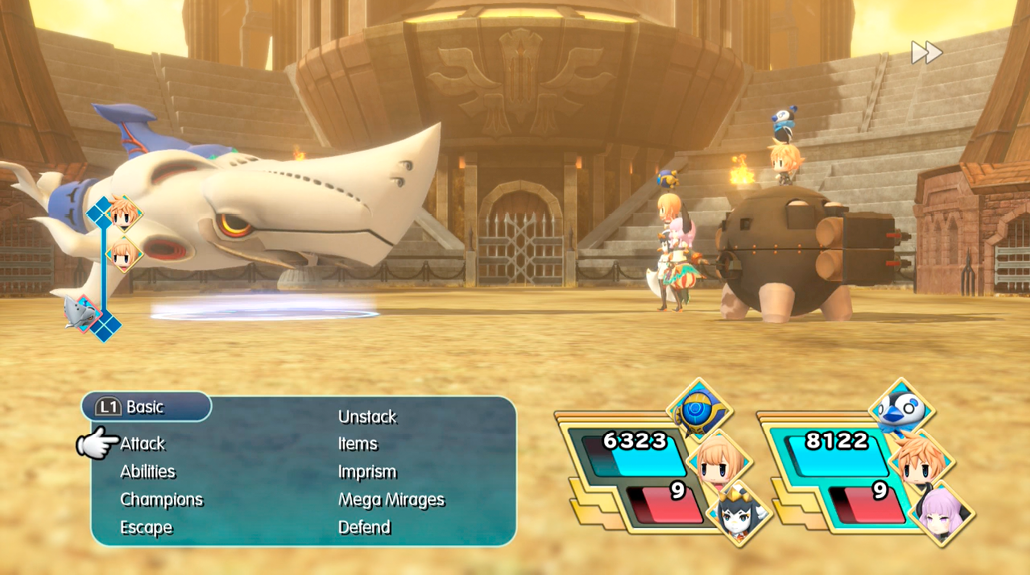
You’ve likely fought bismarck before and know exactly what to expect—hard physical attacks and relentless water abilities. Counter with thunder or wind, or pelt him with physical attacks if you don’t have this Mega Mirage in your arsenal yet.
Succulent Succotash!
| Team Level | Enemies | Reward (1st Win) | Reward (Subsequent Wins) | Battle Unlock Conditions |
|---|---|---|---|---|
|
76 |
War Machine |
Magic Defense++ Seed |
X-Potion |
Clear the “The Five Cogna Lords: Tometown, Part II” Intervention Quest |
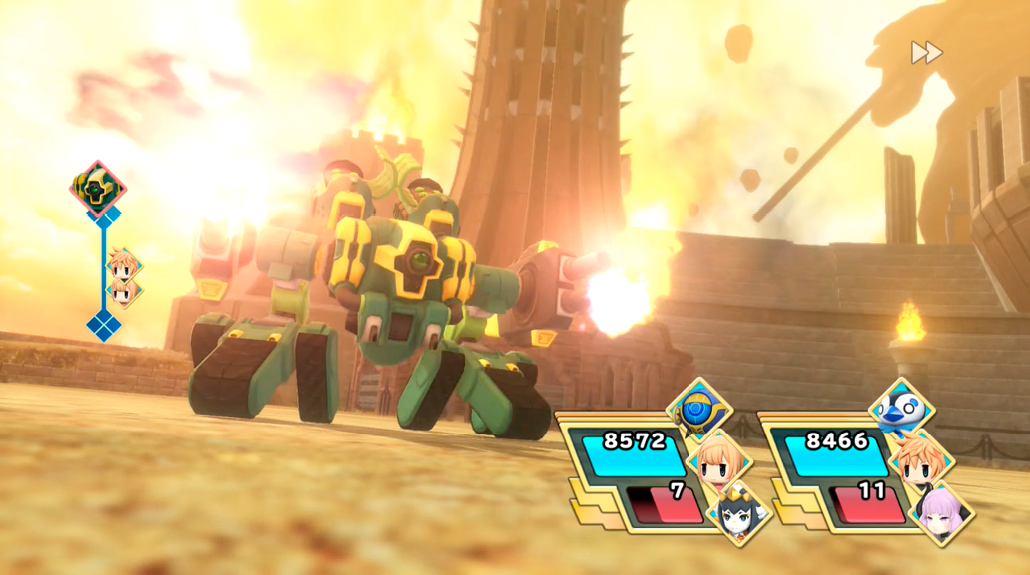
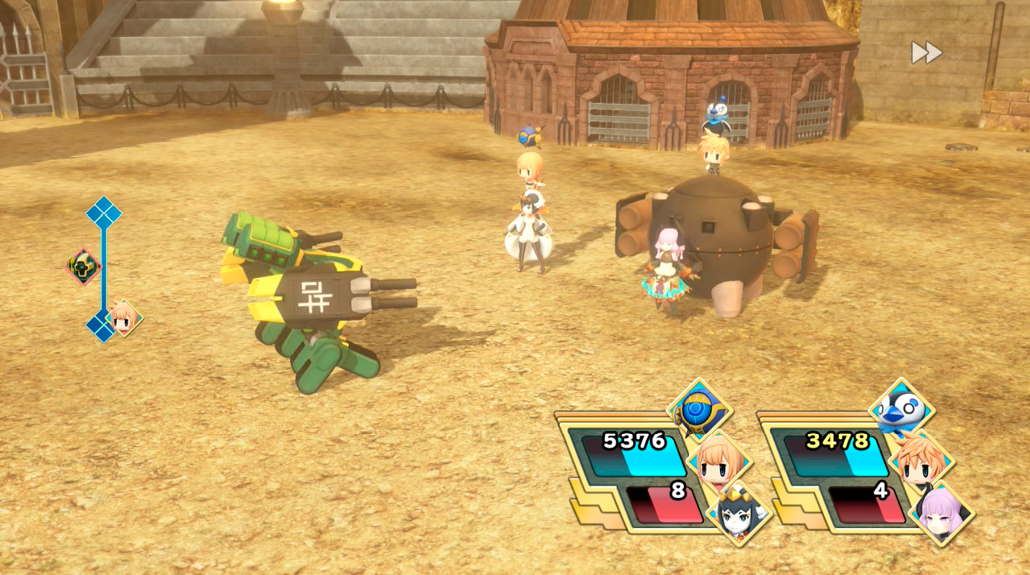
War machine is a bit more trigger-happy than its brethren, but the strategy for defeating it is routine. Machine, thunder, water, you know the drill. Like bismarck, go for physical attacks or Subdue if you want a prismtunity—their animations are quicker when fishing for critical hits.
Justice Misserved
| Team Level | Enemies | Reward (1st Win) | Reward (Subsequent Wins) | Battle Unlock Conditions |
|---|---|---|---|---|
|
79 |
Shivalry |
Blizzaga Seed |
Solid Frigicite x2 |
Clear the “Cold, Hard Justice” Intervention Quest |

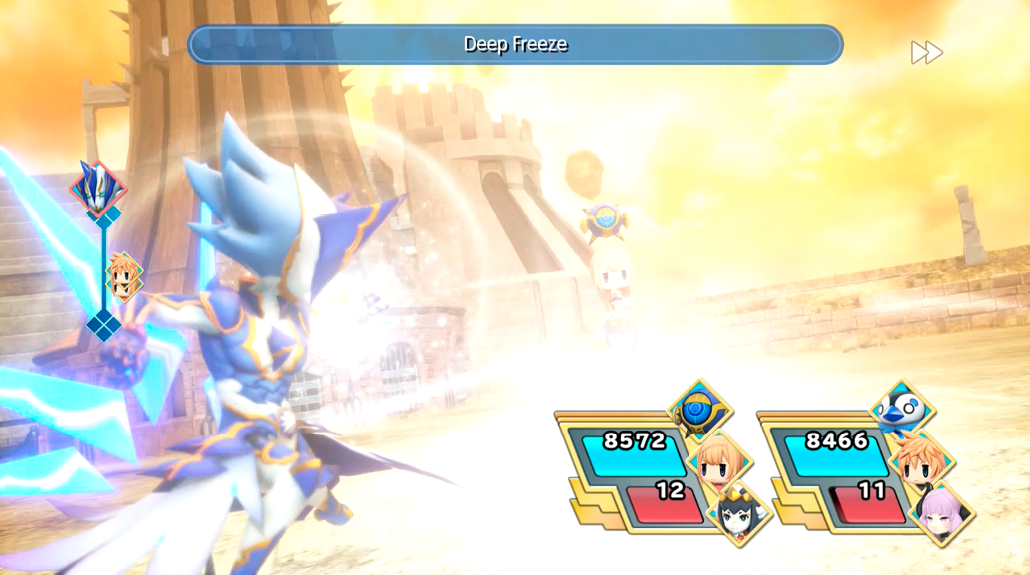
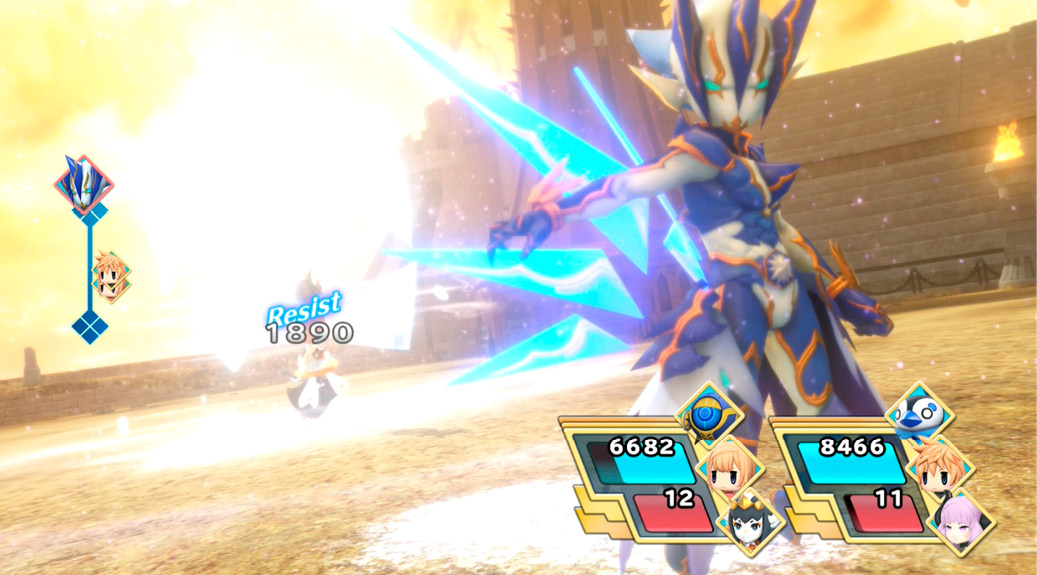
This hero of icy justice is back and at full power! Hit him with ice to go for the imprism, or go with fire or dark magic if you want to take him down. Deep Freeze hits harder than before, so stay healed up!
Master of Ceremonies
| Team Level | Enemies | Reward (1st Win) | Reward (Subsequent Wins) | Battle Unlock Conditions |
|---|---|---|---|---|
|
85 |
Master Tonberry |
Doga’s Artifact |
Turbo Ether |
Clear the Postscript |
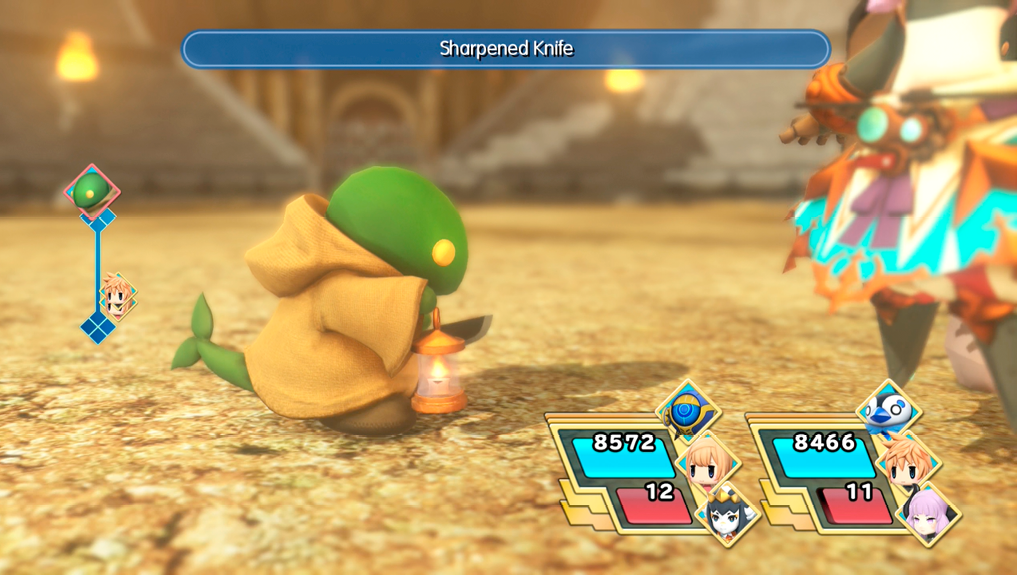
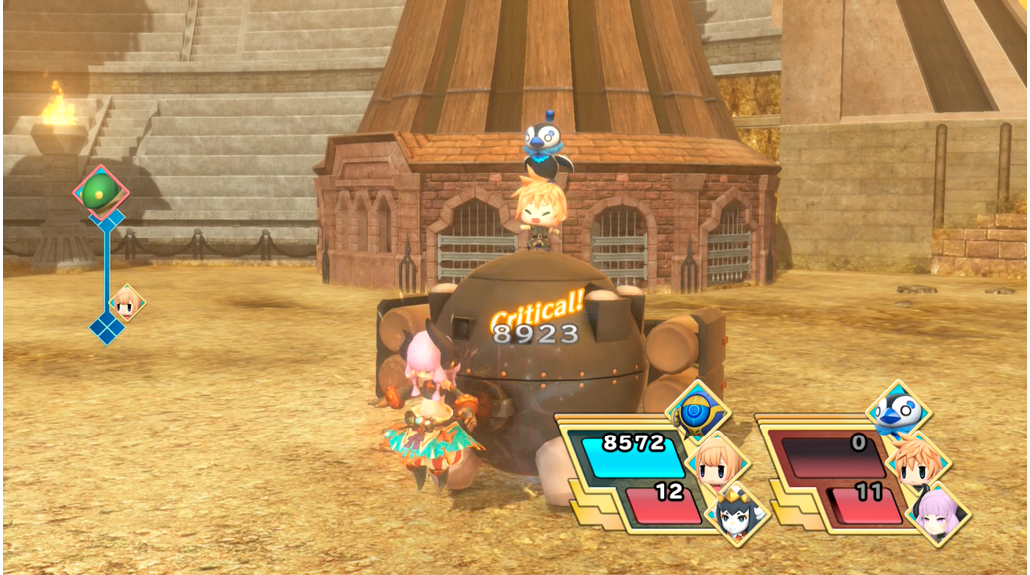
Master tonberry is far stronger than any other tonberry in the game, including the tonberry king. Let that sink in. You want to toast this guy with earth abilities, and fast, before he one-shots you with pretty much anything he can dish out! Failing that, land a full-power Megaflare with bahamut for a good chance at creating a prismtunity.
The Cranberry Knights
| Team Level | Enemies | Reward (1st Win) | Reward (Subsequent Wins) | Battle Unlock Conditions |
|---|---|---|---|---|
|
85 |
Master Moogle |
Rat Tail |
X-Potion |
Clear the Postscript |
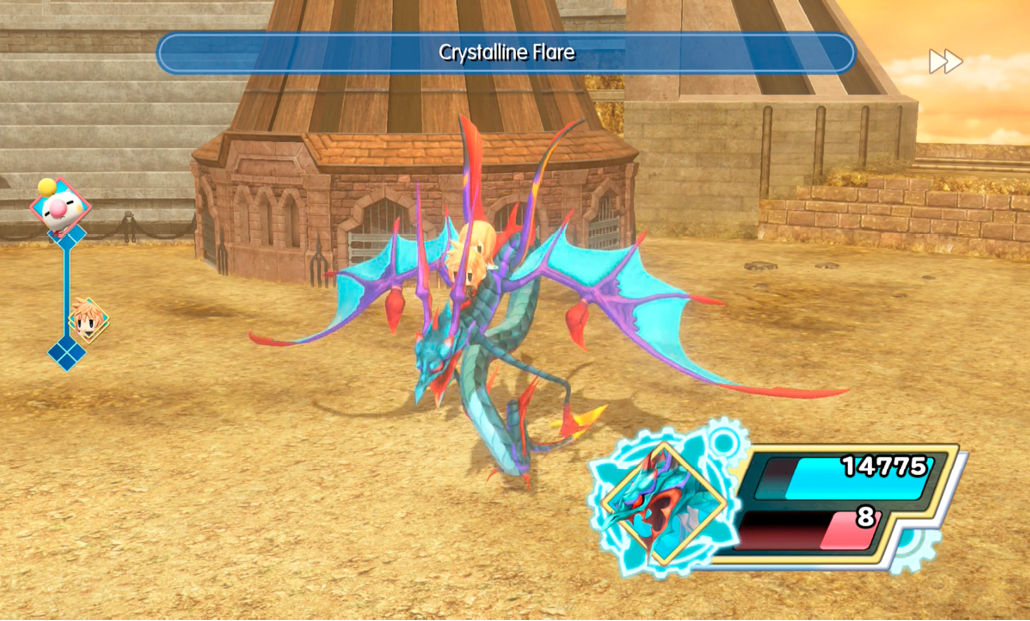
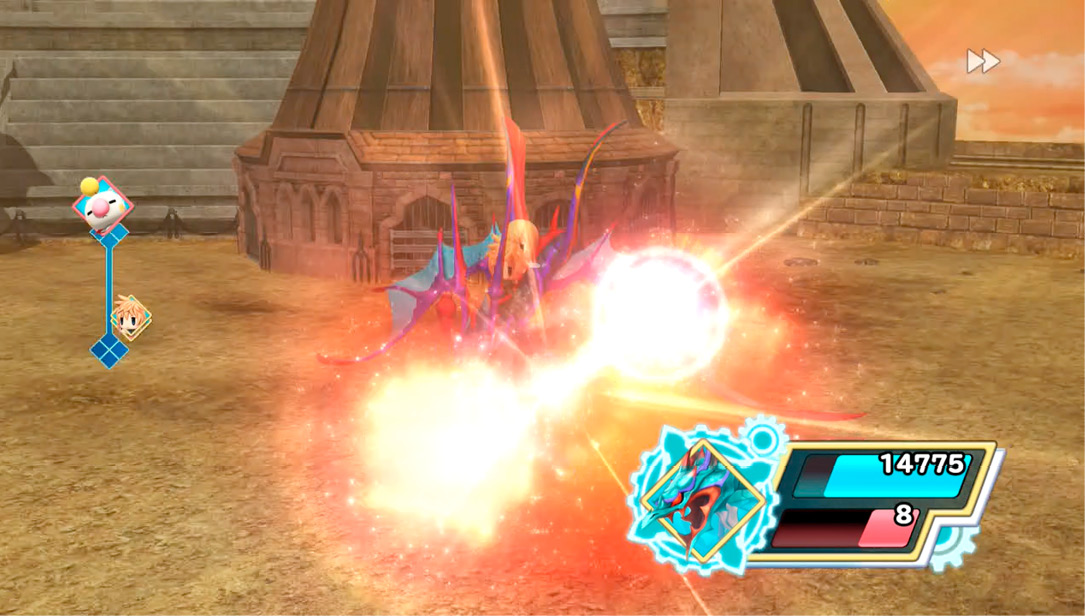
Master moogle’s big weakness is water magic. If you want to give him a magical enhancement for imprisming purposes, go for Protect since physical attacks aren’t a big part of battling him. Otherwise, prepare for high-level magic attacks and status ailments. He loves to spam Crystalline Flare, which hits for massive damage and blinds your party member if they survive it. He also packs Banishra, just because. Joy.
The Evasion Persuasion
| Team Level | Enemies | Reward (1st Win) | Reward (Subsequent Wins) | Battle Unlock Conditions |
|---|---|---|---|---|
|
85 |
Master Cactuar |
Evasion++ Seed |
Turbo Ether |
Clear the Postscript |
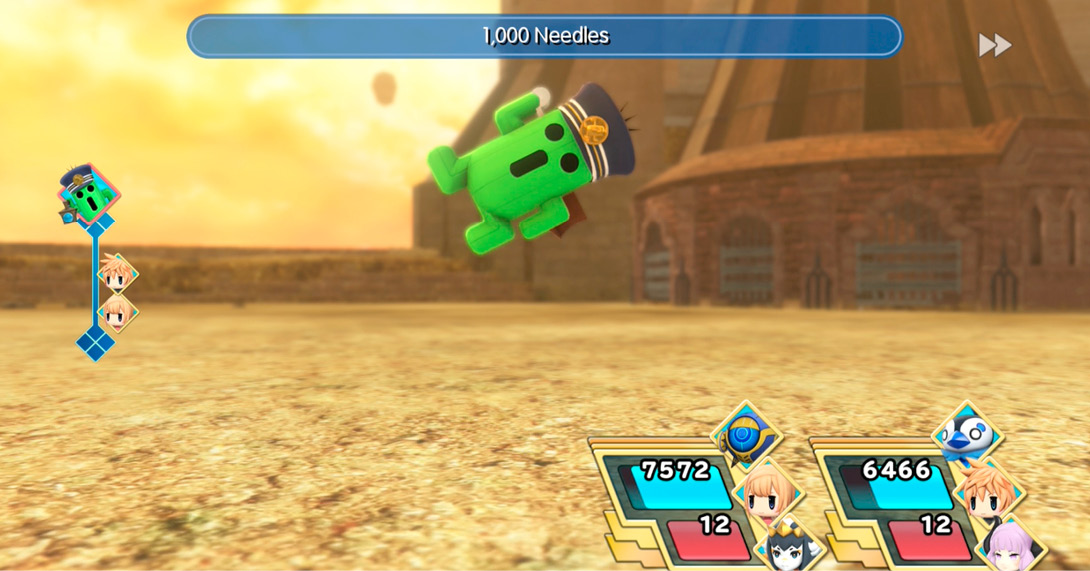
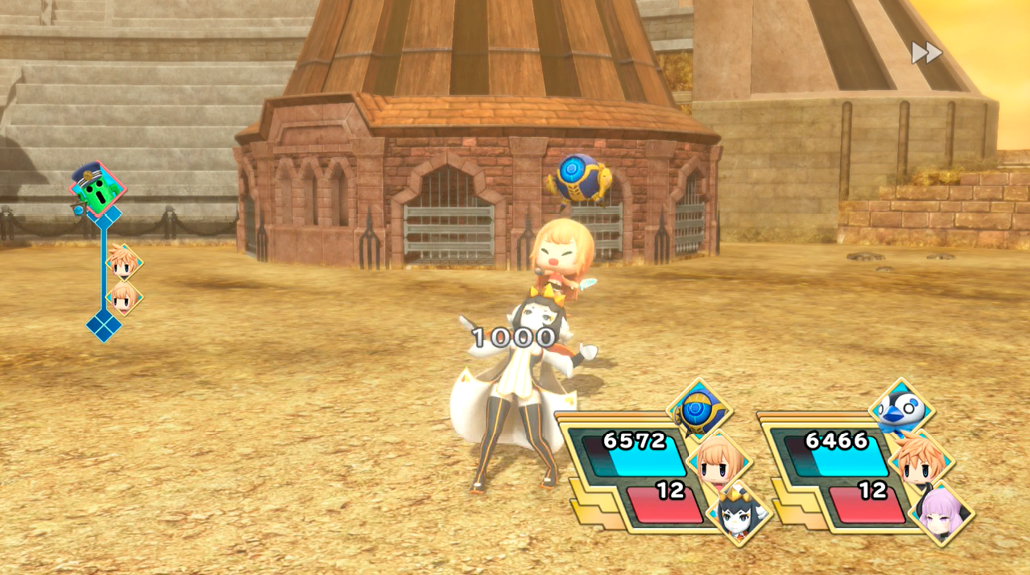
Fifteen seconds fighting master cactuar, and you’ll plainly see why Reynn had trouble tagging this guy. His evasion and speed stats are off the charts (without Haste, mind), and he does nothing but spam 1,000 Needles for 1,000 damage a pop no matter what. If you can inflict Evasion Down, you can go for an imprism; other than that, don’t try physical attacks at all, because they’ll just whiff. Pelt him with fire magic instead, or just smack him with something like Megaflare if you don’t want to be bothered.
Legacy of Ancient Ronka
| Team Level | Enemies | Reward (1st Win) | Reward (Subsequent Wins) | Battle Unlock Conditions |
|---|---|---|---|---|
|
85 |
Omega |
Defense++ Seed |
Elixir |
Clear the “The Five Cogna Lords: Cornelia, Part II” Intervention Quest |
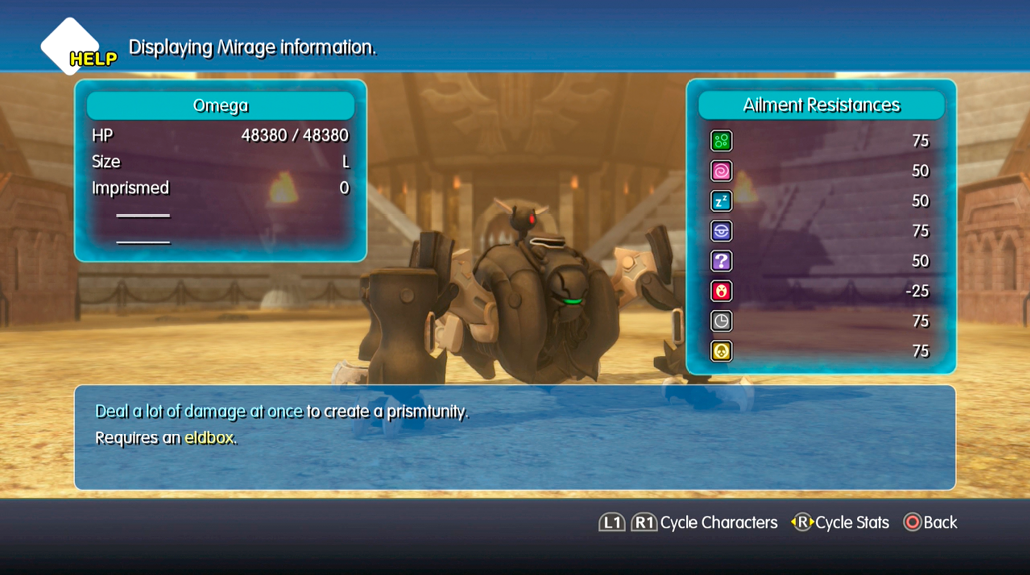
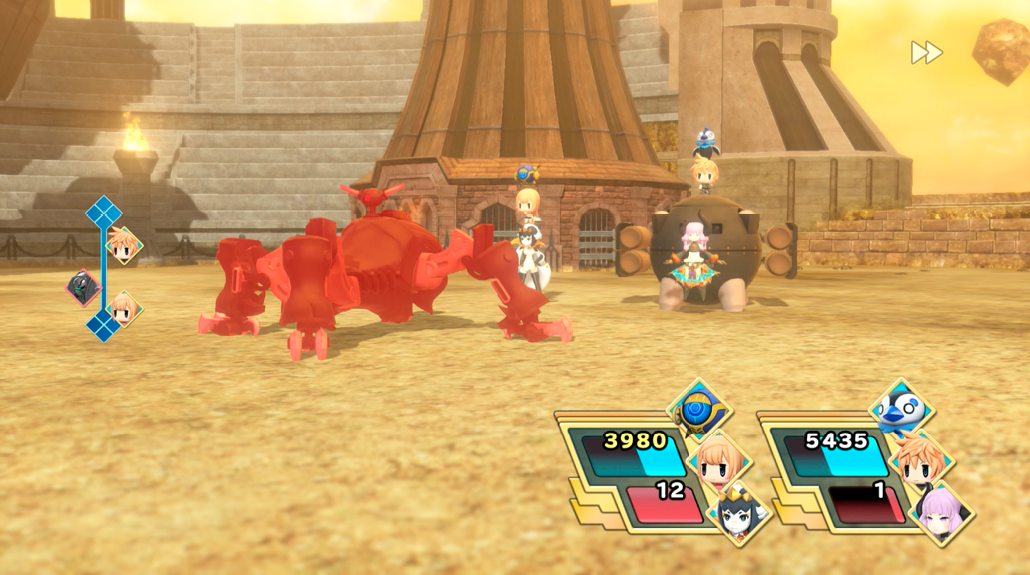
Thunder works best against this machine, although you can use water if you don’t have electricity handy. This guy is a total damage sponge that packs wind magic, Reflect, Berserk, and Haste, just like last time. If you don’t have Dispel, then prepare for a long and tricky battle. On second thought, just bring Dispel.
The Bane of Organic Life
| Team Level | Enemies | Reward (1st Win) | Reward (Subsequent Wins) | Battle Unlock Conditions |
|---|---|---|---|---|
|
90 |
Omega Bane |
HP++ Seed x2 |
Elixir |
Clear the “The Eye of the Desert” Intervention Quest |
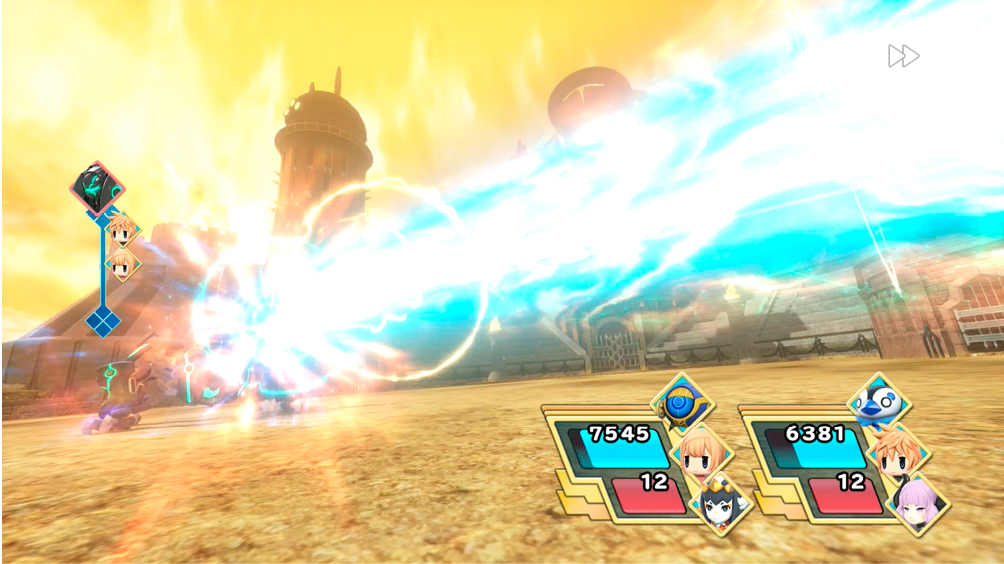
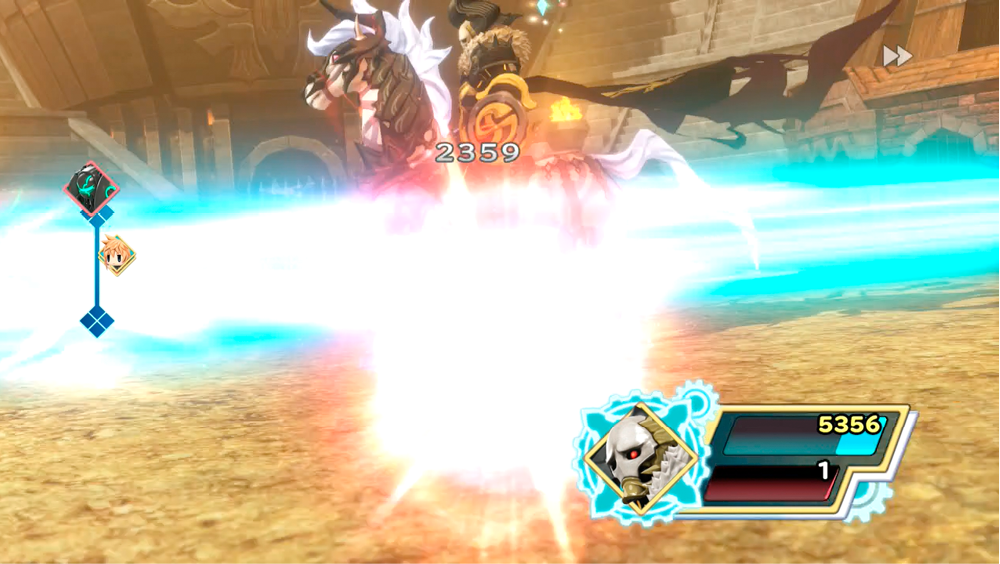
Omega bane takes just as much damage against thunder and water as vanilla Omega does. Omega bane also packs a spammable Wave Cannon to let you know it means business. Stay on guard always.
The Ultimate Weapon
| Team Level | Enemies | Reward (1st Win) | Reward (Subsequent Wins) | Battle Unlock Conditions |
|---|---|---|---|---|
|
90 |
Ultima Weapon |
Agility+++ Seed |
Elixir |
Clear the “The Sad Spiral” Intervention Quest |
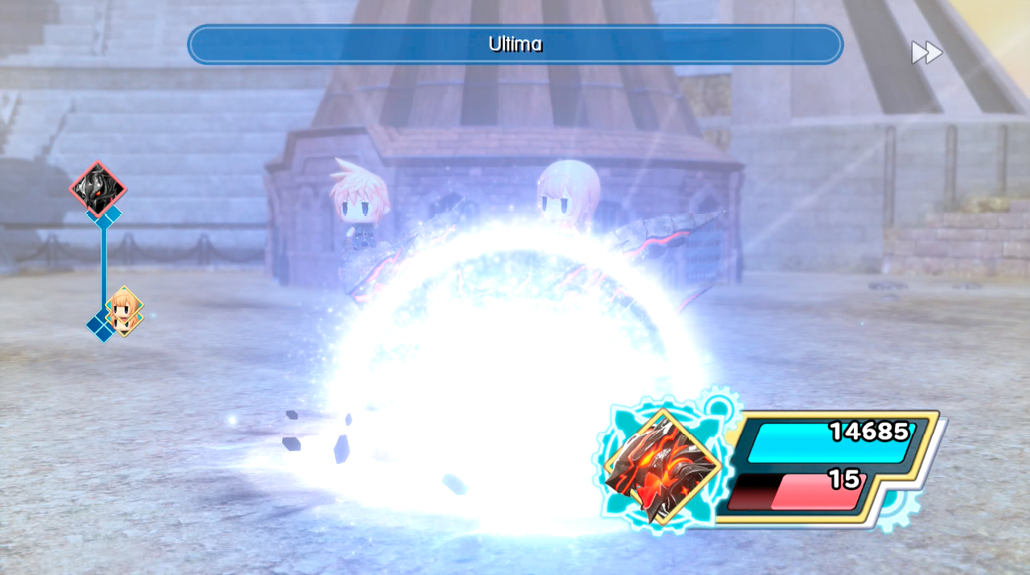
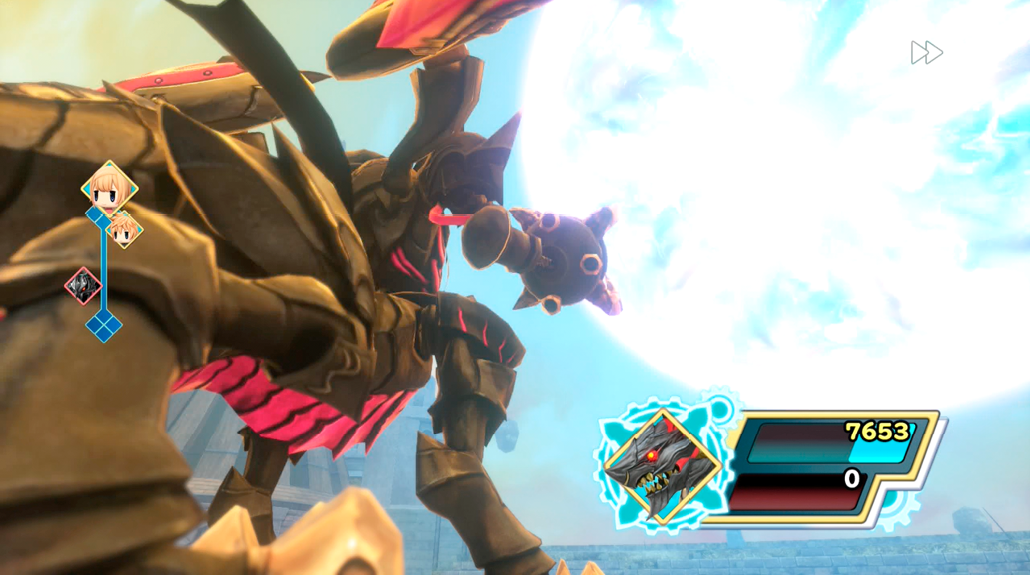
This final battle will require all of your strength, wits, and endurance. You’ve run up against ultima weapon and its attacks before, but this time, you’ll have to deal with them—including repeated Ultimas whenever it bats an eye—at Level 90! Hit it hard and fast with your strongest attacks and Mega Mirages, and don’t give up!