
World of Final Fantasy Guide Main Story Walkthrough
The Final Battle
Now for the final confrontation with the Exnine Knights. After completing “Vestiges of Life,” along with obtaining the prismariums of the seven Pleiad, a cutscene triggers upon entering Plaza 99, with Serafie asking if you’re ready for the final battle.

The final battle is difficult, and you should prepare as well as you can before agreeing. Answer “No” if you want to gather more Mirages or level up your party a bit more. Answer “Yes” for a rematch with the Exnine Knights.
As with many Final Fantasy titles, the ultimate encounter in World of Final Fantasy consists of multiple back-to-back battles without time for rest in between. Preparation is key here, particularly when it comes to status ailment resistances.
Make Preparations
The rematch with the Exnine Knights can be difficult, but you can make your life much easier if you go in prepared with the proper equipment and Mirages.
The level of your Mirage Keepers and Mirages should be around 65 to comfortably defeat the Exnine Knights. This is also around the level that most of your Mirages can unlock their Mirage Board Masteries. Unlocking these Masteries boosts your combat effectiveness immensely (especially ones like Strength+++ and Magic+++). The fastest way to level your party at this point in the game is by defeating enemies in Icicle Ridge—Slip ? ? ? (where you fought the kyubi).
For battle items, you should visit the Chocolatte Mart before heading out. Bring at least 5-10 of the following: hi-potions, hi-ethers, and wobblestoppers. You should also try to get your hands on a couple of phoenix pinions and remedies (and remedy+, obtained by defeating Diabolos in “When the Past Still Haunts”), along with a few elemental bombs (if you have spellstones saved, even better). Instead of casting Protect and Shell, you should buy a couple of Protect stones and Shell stones so that you can reserve your AP for combat abilities.
You should also have access to at least one restorative Champion Medal (Yuna, Shelke, or Refia) and a single-target damage-dealing one, like Shantotto’s Magic Burst! or Tifa’s Final Heaven. Make sure that your Champion Gauge is maxed before attempting the encounter, too.
For mirajewels, it’s recommended that you have at least Resist Confusion (lucky toad Mirage Board) and Resist Oblivion (Undead Princess Mirage Board). Both of these should be equipped on one of the twins. Other mirajewels to consider, but not as necessary, are Slow (left claw Mirage Board), Bravery (war machine Mirage Board), and Critical++ (elefenrir Mirage Board).
For Mirages, you can choose from a vast variety that can get the job done, but some are much more effective than others. Three that are highly recommended for this final encounter are elefenrir, kupicaroon, and carbuncle. Elefenrir provides a massive amount of dark elemental resistance and a powerful critical hit ability, kupicaroon has access to the most efficient physical damage ability (against single-enemy encounters), and carbuncle provides excellent defensive enhancements.
Once you’ve decided which Mirages you want to take into battle, you can start adding proper ability seeds to the Blank Spaces on their Mirage Boards. Consider adding Curaga, Dispel, and Slow, if you don’t have these readily available in your stacks.
A sample ideal stack setup would be:
- Kupicaroon, Lilikin Reynn, elefenrir
- Black chocochick, carbuncle, Jiant Lann
Reynn’s mirajewels should include ones like Critical++, Critical+, Agility+, Strength+, and Libra (this is extremely helpful).
Lann’s mirajewels should include Resist Oblivion, Resist Confusion, Banishra or Holy, Magic++, and Dark Resistance+. Resist Confusion and Resist Oblivion mirajewels here are extremely vital for this strategy—obtaining these or building enough resistance to these effects should be your priority when preparing for the Exnine Knights!
Essentially, Reynn’s stack primarily focuses on dealing physical damage using Kuparrr! and Eclipse Bite, whereas Lann’s stack focuses on magic enhancements, healing, and dealing light-based magic damage.
If you’ve having trouble with any of the encounters, consider returning to Icicle Ridge—Slip ? ? ? to continue leveling up your party. You can do so relatively quickly with the help of the fast-forward function (R1 in battle).
Once you’re all ready to go, speak to Serafie in Plaza 99 to begin the execution of the twins’ plan to take down the Exnine Knights.
Boss Battle: Exnine Knights
Segwarides
| HP | Size | Drops | Abilities |
|---|---|---|---|
| 25720 | L | — | Disaster (SINGLE: Inflict Confuse, Blind, Doom, Oblivion), Magic Shield (ALL: Bestow Shell / magic defense  ), Blade Dance (multi-hit physical damage), Eerie Soundwave (SINGLE: Inflict Oblivion.), Blast Wave (SINGLE: Inflict neutral physical damage. TOPPLE STRENGTH: High) ), Blade Dance (multi-hit physical damage), Eerie Soundwave (SINGLE: Inflict Oblivion.), Blast Wave (SINGLE: Inflict neutral physical damage. TOPPLE STRENGTH: High) |
| Fire Resistance | Ice Resistance | Thunder Resistance | Wind Resistance | Water Resistance | Earth Resistance | Light Resistance | Dark Resistance |
|---|---|---|---|---|---|---|---|
| 0 | 0 | 0 | 0 | 0 | 0 | -50 | 50 |
| Poison Resistance | Confuse Resistance | Sleep Resistance | Blind Resistance | Oblivion Resistance | Berserk Resistance | Slow Resistance | Death Resistance |
|---|---|---|---|---|---|---|---|
| 100 | 100 | 100 | 100 | 100 | 100 | 100 | 100 |
The first battle is between Lann’s stack and Segwarides. Segwarides has access to all of the abilities he had the first time you fought him on Castle Exnine, with the addition of a new devastating attack called Disaster. Disaster causes several status ailments, with Doom being the most devastating one. There are a couple of ways to deal with this. You can either go the offensive route, quickly destroying Segwarides with light-based spells, or you can use a remedy+ (or Shelke’s Countertek) to dispel the Doom effect.
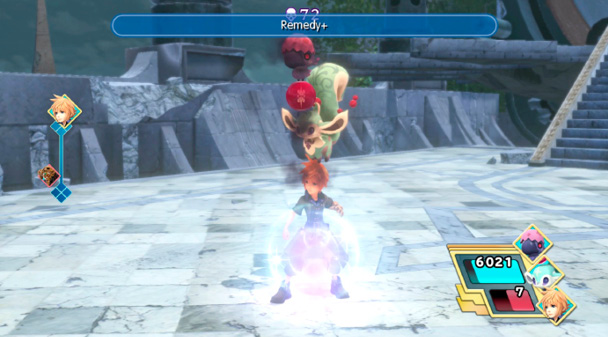
The Doom counter is relatively long, so it’s entirely possible to defeat Segwarides with Holy and Banishra before your Death timer is up, but it’s likely safer to just remove the ailment if you can. He has about 26,000 HP, so it may take three to four Holy casts to defeat him. His Eerie Soundwave attack can be problematic if you don’t have the Resist Oblivion mirajewel, so use a rememb herb if you need to.
Note that whether he casts Disaster or not depends entirely on random chance, so this encounter either can be simple or it can be a struggle (if you don’t have a way to remove Doom). Additionally, consider restoring your stack’s HP and AP since there are no rest periods from this point on!
Once you defeat Segwarides, you’re thrown into another “one on one” between Reynn’s stack and the Plumed Knight.
Plumed Knight
| HP | Size | Drops | Abilities |
|---|---|---|---|
| 25720 | L | — | Freezing Dust (ALL: Inflict magical ice damage / Slow.), Fira, Blizzara, Thundara, Bloody Claw (SINGLE: Inflict physical dark damage, absorbs HP.), Firaga, Blizzaga, Thundaga, Quake |
| Fire Resistance | Ice Resistance | Thunder Resistance | Wind Resistance | Water Resistance | Earth Resistance | Light Resistance | Dark Resistance |
|---|---|---|---|---|---|---|---|
| 25 | 50 | 25 | 0 | -50 | 0 | 0 | -50 |
| Poison Resistance | Confuse Resistance | Sleep Resistance | Blind Resistance | Oblivion Resistance | Berserk Resistance | Slow Resistance | Death Resistance |
|---|---|---|---|---|---|---|---|
| 100 | 100 | 100 | 100 | 100 | 100 | 100 | 100 |

Reynn’s battle against the Plumed Knight is mainly about surviving magic damage. The Plumed Knight is proficient in fire, ice, and thunder spells. She also has access to Freezing Dust, although it’s not too devastating as long as Reynn’s stack isn’t particularly weak to ice.
Since most of the Plumed Knight’s damage is magic-based, start off the fight by using a Shell stone, then cast Haste on Reynn’s stack if you have it. Her alternate physical attack is called Bloody Claw, which is a dark elemental drain. Interestingly, if you’ve boosted the dark resistance of Reynn’s stack beyond 100, not only do you absorb the damage from Bloody Claw, but you reflect it back to the Plumed Knight.
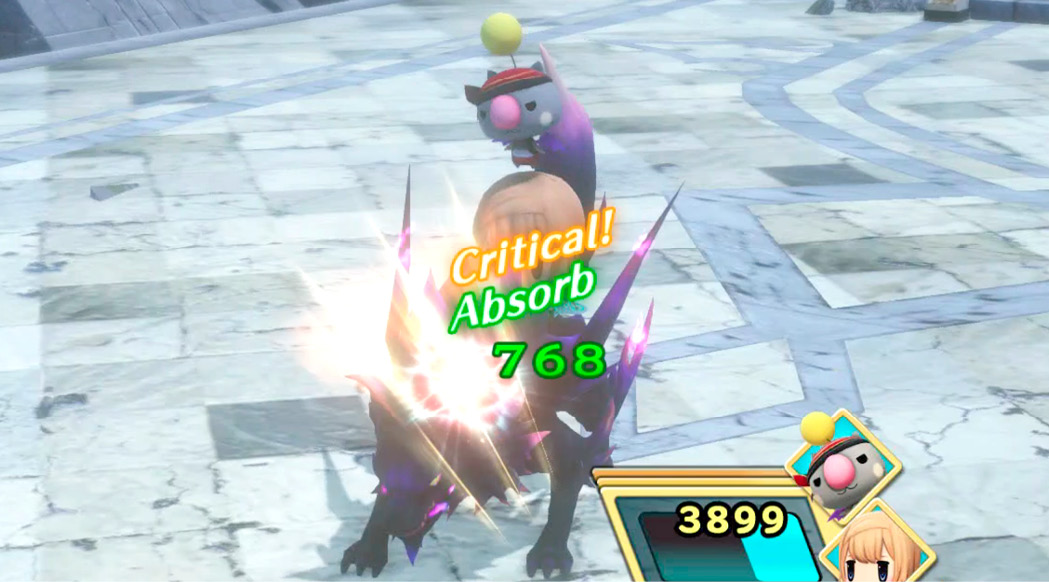
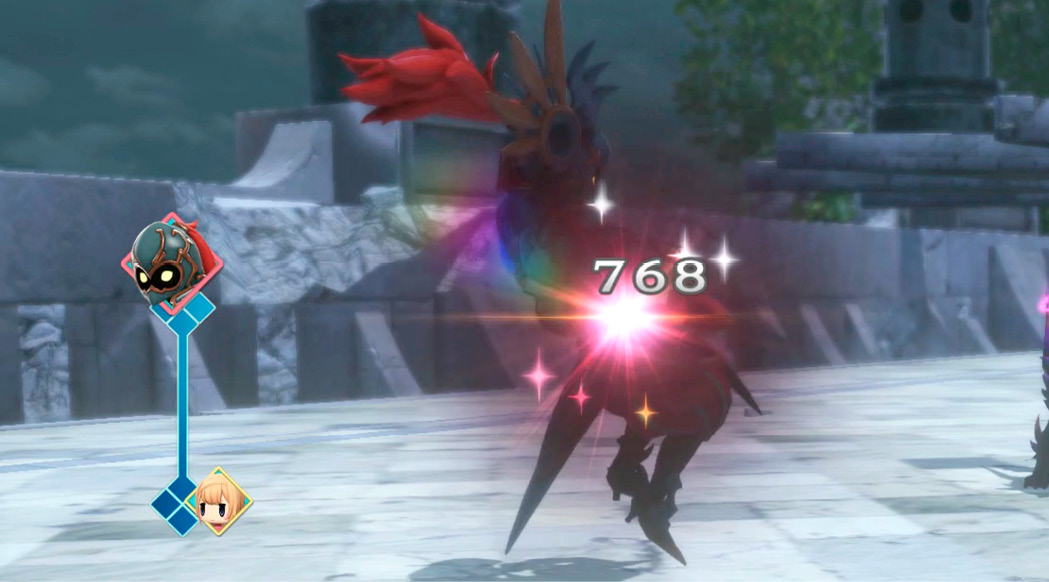
If you’ve set up her stack with an elefenrir, you can deal a massive amount of damage to the Plumed Knight with a critical-hitting Eclipse Bite, as she’s weak to the dark element. Otherwise, you can use water spellstones, Watera, or Abyss to effectively deal damage magic damage. She has around 26,000 HP, so keep at it while keeping Reynn healthy and protected with Shell.
Once you’ve defeated the Plumed Knight, a cutscene plays, revealing another variation of the knight. For the next encounter, Reynn and Lann regroup to finish off Pellinore.
Pellinor
| HP | Size | Drops | Abilities |
|---|---|---|---|
| 30864 | L | — | Freezing Dust (ALL: Inflict magical ice damage / Slow.), Tri-Disaster (ALL: Inflict fire, ice, and thunder magical damage), Bloody Claw (SINGLE: Physical dark damage, absorbs HP.), Firaga, Blizzaga, Thundaga |
| Fire Resistance | Ice Resistance | Thunder Resistance | Wind Resistance | Water Resistance | Earth Resistance | Light Resistance | Dark Resistance |
|---|---|---|---|---|---|---|---|
| 25 | 50 | 25 | 0 | -50 | 0 | 0 | -50 |
| Poison Resistance | Confuse Resistance | Sleep Resistance | Blind Resistance | Oblivion Resistance | Berserk Resistance | Slow Resistance | Death Resistance |
|---|---|---|---|---|---|---|---|
| 100 | 100 | 100 | 100 | 100 | 100 | 100 | 100 |
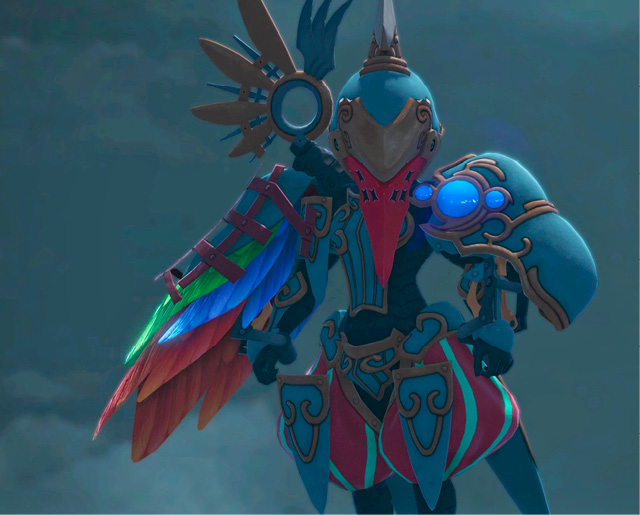
Pellinore is very similar to the Plumed Knight. She has slightly more HP (at roughly 31,000) and access to an additional magical attack called Tri-Disaster. Tri-Disaster is a high-damage, ALL-targeting spell comprised of fire, ice, and thunder elements. While it’s not entirely practical to prepare your resistances to handle all three, you can at least halve its damage with the Shell effect.
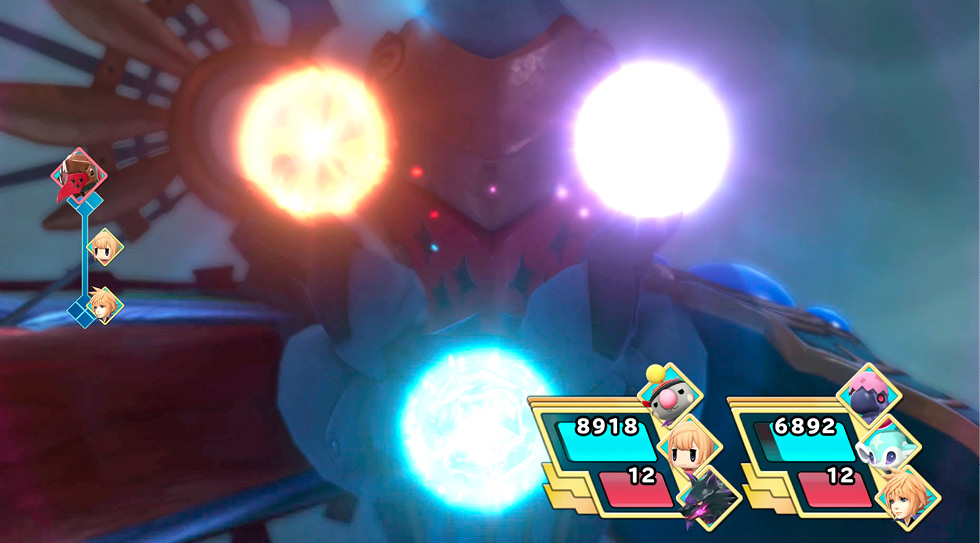
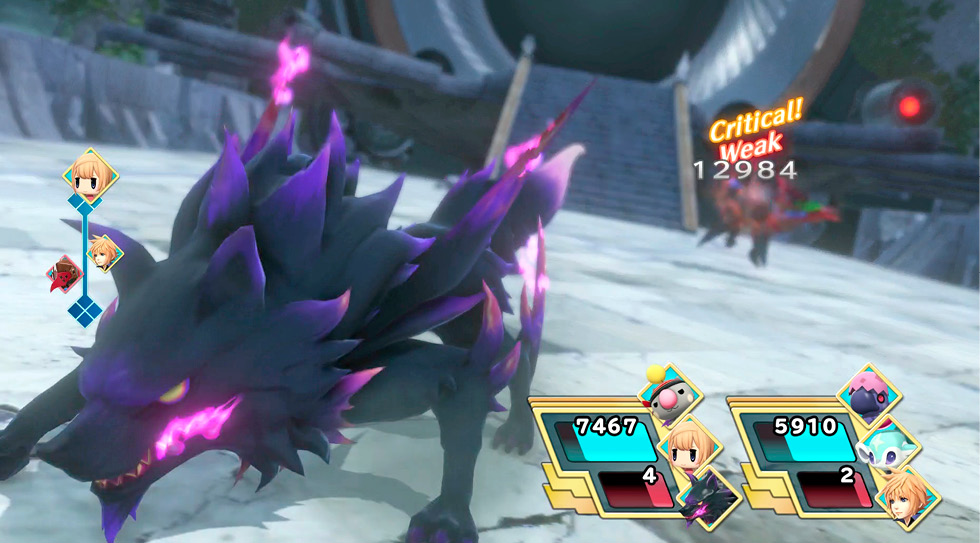
Fortunately, you have access to both Reynn and Lann now, so this encounter should be entirely manageable as long as you can heal through Pellinore’s elemental damage. If you have plenty of hi-potions and x-potions, you can use a Reflect strategy to mitigate her “–ga” line of spells. Once you’ve stabilized, start dishing out water- or dark-based damage.
Before you finish her off, you should restore any lost HP and AP since there’s no time to rest before the next fight with Brandelis’s true form, Exnine Bahamut. From this point forward, consume hi-ethers and x-potions liberally. This is the final battle, after all!
Exnine Bahamut, First Form
| HP | Size | Drops | Abilities |
|---|---|---|---|
| 26970 | L | — | Arcarmament 2-8-10 (ALL: Inflict fire magical damage), Flare, Arcarmament 5-7-9 (ALL: Neutral physical damage. High critical chance.), Abyss, Arcarmament 3-11-12(ALL: Inflict earth magical damage / Blindness), Banishra, Double Cut, Arcarmament 1-4-6 (ALL: Inflict light physical damage.) |
| Fire Resistance | Ice Resistance | Thunder Resistance | Wind Resistance | Water Resistance | Earth Resistance | Light Resistance | Dark Resistance |
|---|---|---|---|---|---|---|---|
| 0 | 0 | 0 | 0 | 0 | 0 | 0 | 0 |
| Poison Resistance | Confuse Resistance | Sleep Resistance | Blind Resistance | Oblivion Resistance | Berserk Resistance | Slow Resistance | Death Resistance |
|---|---|---|---|---|---|---|---|
| 100 | 100 | 100 | 100 | 100 | 100 | 50 | 100 |
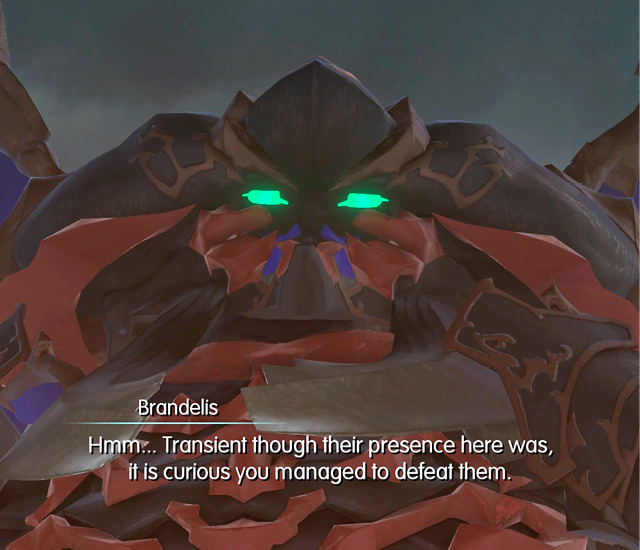
Exnine Bahamut has around 27,000 HP, and while that’s not as impressive as the other bosses you’ve fought (like the actual Bahamut), Exnine Bahamut possesses a plethora of offensive abilities. He can practically inflict any type of damage and any ailment with his impressive arsenal. His “arcarmament” attacks are a combination of several elements, ailments, and even self-enhancements. Essentially, you can’t avoid everything, but you can at least prevent certain ailments if you’ve prepared your resistances well (which is why you want Resist Confusion and Resist Oblivion mirajewels).
Like your previous encounters with Brandelis, Exnine Bahamut isn’t weak to any particular element, but he can be slowed, mitigating much of his damage. If you’re not going for a Champion Medal burst strategy (outlined in the accompanying tip), you should aim to keep the boss slowed and your party members enhanced with both Shell and Haste. If you have a carbuncle in your stacks, applying Shining Ruby three times is a huge boon, as well.
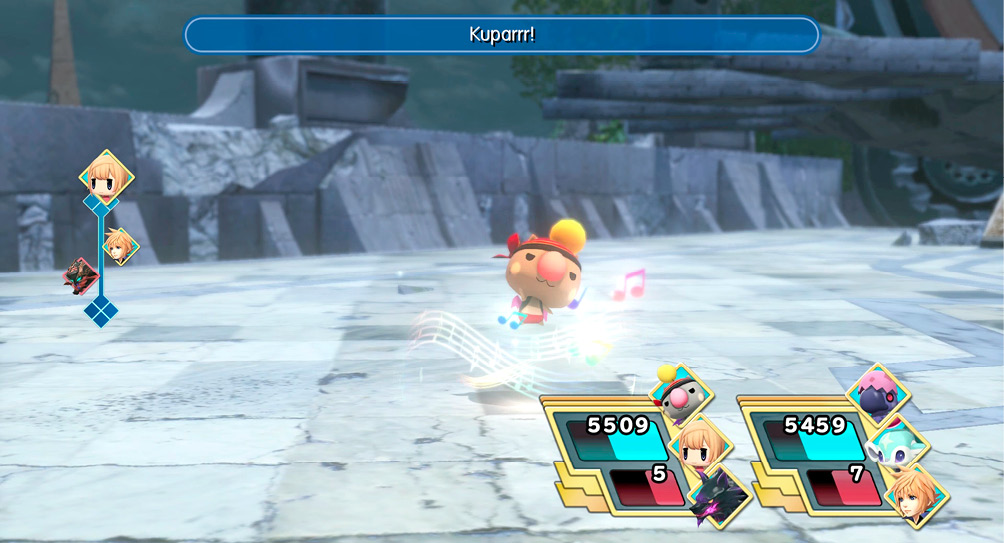
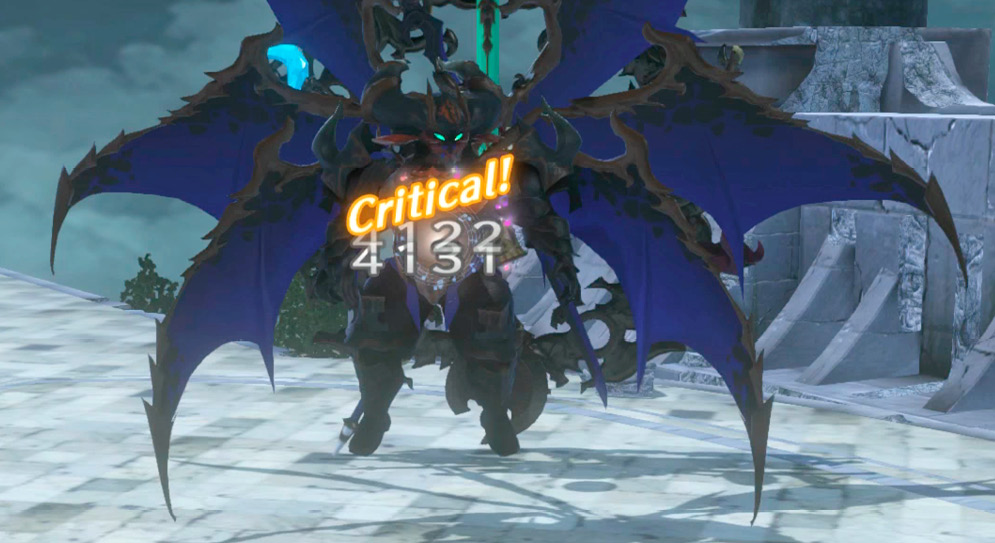
Since Exnine Bahamut has no elemental vulnerabilities, your strongest attacks against him are most likely physical (depending on your ability repertoire). If you’re going with the kupicaroon strategy, the Kuparrr! attack is enormously powerful for this encounter (especially boosted with Bravery). With some luck, you can deal more than 20,000 points of damage (depending on how many hits connect and if they hit critically), essentially trivializing the encounter!
Before finishing off Exnine Bahamut, try to restore as much HP and AP as possible in order to start the final fight fully loaded.
Exnine Bahamut, Final Form
| HP | Size | Drops | Abilities |
|---|---|---|---|
| 51243 | L | — | Chaotic Impulse (ALL: Inflict dark physical damage.), Dark Revels (ALL: Inflict dark magic damage / Poison, Confuse, Oblivion), Megaflare Cannon (ALL: Inflict high magic damage. High topple strength.), Chaos Pulse (SINGLE: Inflict dark physical damage. High topple strength.), Dispelga, Firaja, Blizzaja, Thundaja, Aeroja, Quake, Blizzaga, Thundaga, Firaga |
| Fire Resistance | Ice Resistance | Thunder Resistance | Wind Resistance | Water Resistance | Earth Resistance | Light Resistance | Dark Resistance |
|---|---|---|---|---|---|---|---|
| 0 | 0 | 0 | 0 | 0 | 0 | 0 | 0 |
| Poison Resistance | Confuse Resistance | Sleep Resistance | Blind Resistance | Oblivion Resistance | Berserk Resistance | Slow Resistance | Death Resistance |
|---|---|---|---|---|---|---|---|
| 100 | 100 | 100 | 100 | 100 | 100 | 100 | 100 |
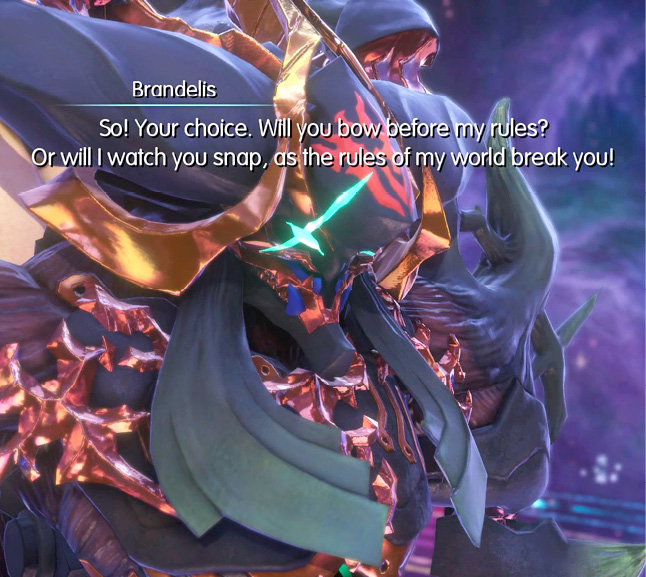
Unsurprisingly, Brandelis’s final form is one of the most difficult battles in the entire game. Not only are your Champion Medals disabled, but this transfigured Exnine Knight boasts a couple of new mechanics up his sleeve that may not be entirely obvious at first glance.
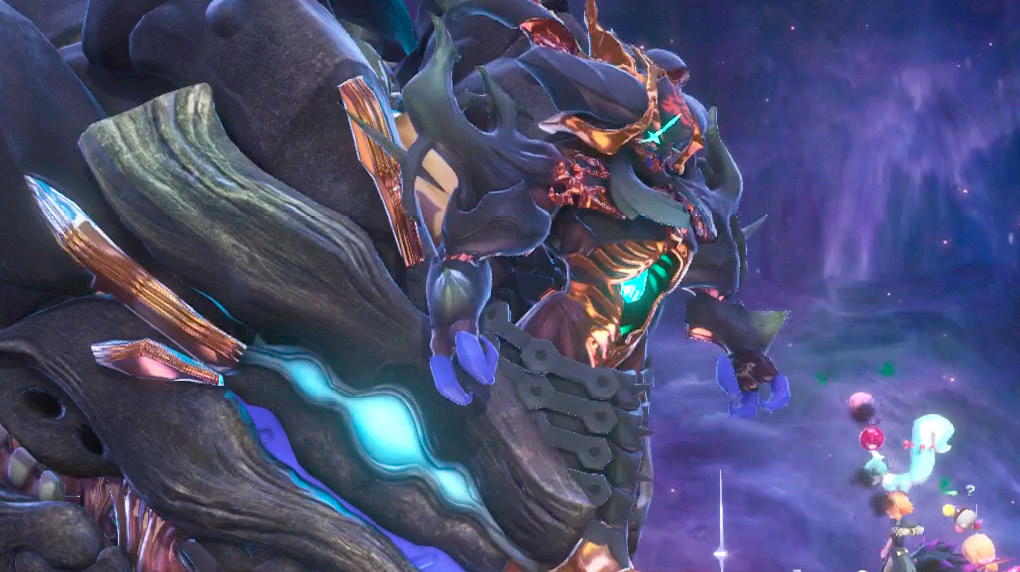
This form has just over 50,000 HP and access to essentially every elemental form of damage and most debilitating status ailments. Defensively, he’s immune to all status ailments while not possessing any elemental vulnerabilities—at least not initially. He also becomes more powerful the more you damage him; the less HP he has, the higher his Agility becomes, so much so that he eventually takes two to three turns per one of yours
At around 75% HP, Exnine Bahamut chooses a random element, indicated by the color of the gem inside his abdomen as well as the creature’s eyes (the large ones below his waist). This signals which element he’s currently absorbing and what kind of spell he’s likely to cast next. Hitting him with that element type heals him, so be careful in choosing your offensive spells. Red is fire, blue is ice, yellow is thunder, green is wind, dark blue is water, and brown is earth.
You can also check his Libra information if you need help determining what his current element is.
In addition to having every type of “–ga” and “–ja” elemental spell in his arsenal, Exnine Bahamut can also inflict dark-based damage accompanied by several detrimental status ailments. The one to look out for most is Dark Revels. This attack inflicts some dark damage, along with inflicting Poison, Confuse, and Oblivion. This is why it’s important to set up one of your twins with a Resist Confusion mirajewel and a Resist Oblivion mirajewel (especially Confusion). If both of your stacks become Confused, this can potentially end the battle as your stacks attack each other randomly. It’s essential that one stack is immune to Confuse so they can be free to use a remedy or elixir on the other stack.
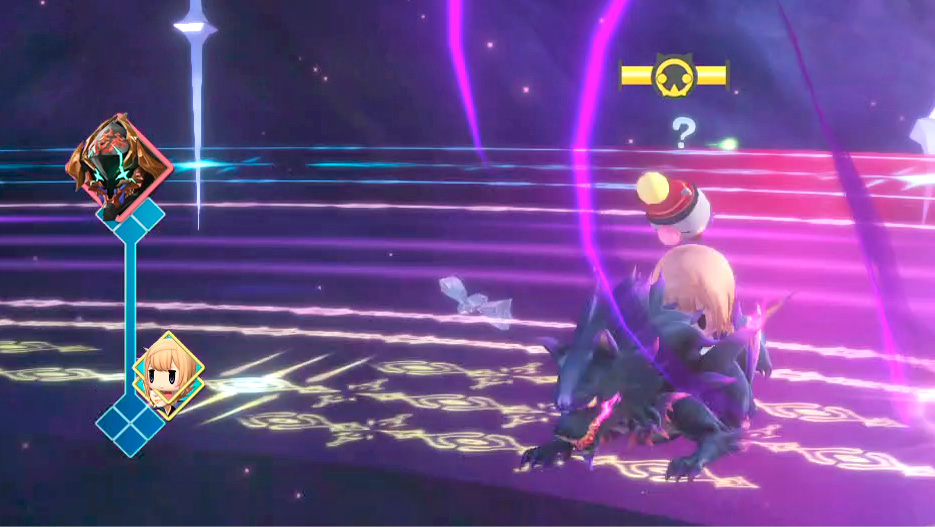
The other attack to be wary of is Chaos Pulse. It’s a dark-based physical attack that inflicts a high-strength topple effect. Use a wobblestopper on afflicted stacks immediately. Needless to say, getting toppled here can result in a lost fight, especially if Exnine Bahamut’s HP is low.
Last but not least of his abilities, Exnine Bahamut can perform Megaflare Cannon. Like Bahamut’s Megaflare, this begins with a countdown of five turns. Megaflare Cannon is a high-damage magic attack with a significant toppling strength. Although this sounds like a death sentence, it’s more often than not a blessing in disguise. It gives you breathing room to stabilize with x-potions, elixirs, and hi-ethers. It also opens up a huge weakness for Exnine Bahamut: during the countdown, he becomes extremely vulnerable (-200% resistance) to every element besides the one he’s currently absorbing.
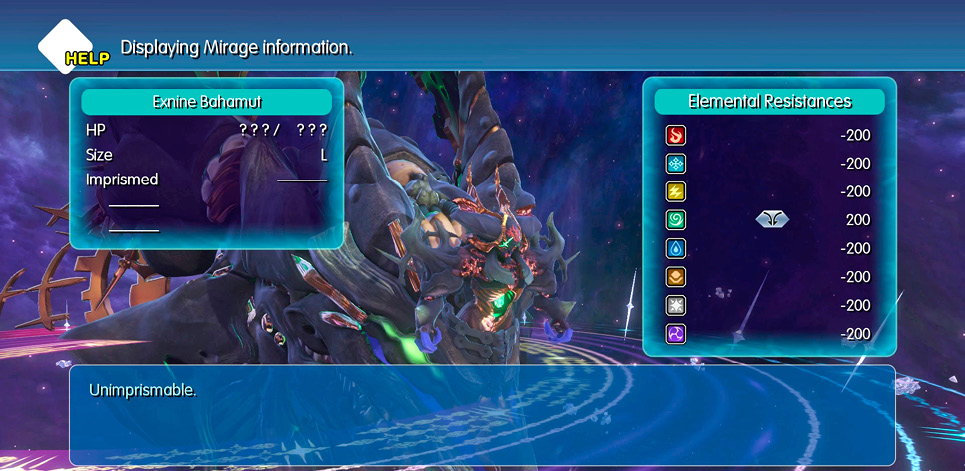
With proper timing, you can put him out of his misery while he’s charging his Megaflare Cannon. However, this can be harder than it sounds, considering how quickly he acts in the latter portions of the battle. Also, note that when he’s below 25% HP, his Megaflare Cannon countdown is reduced to three turns instead of five. This can mean assured death for your party, considering that it’s paired with his insane Agility bonus at these low HP points.
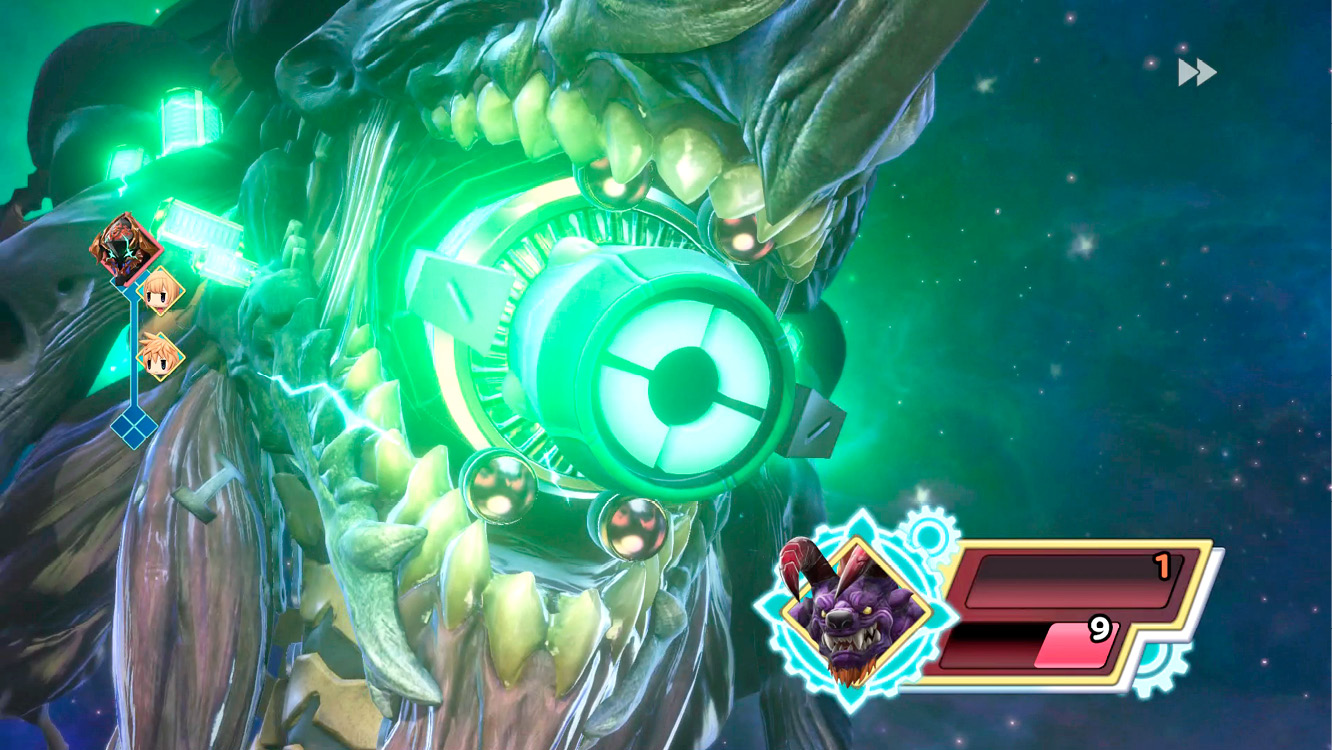
With all of these facets of the encounter in mind, your main concern is timing your damage output with your defensive enhancements. Basically, you don’t want to deal too much damage to him straightaway unless you have Shell and Haste on. Otherwise, his bonus Agility can quickly snowball into an unrecoverable state for you as he executes back-to-back “–ga” spells and status effects on your non-Shelled and non-Hasted stacks.
A failsafe method is to slowly whittle away at his HP with normal attacks, conserving AP for Haste and Shell. This way, his turn speed increases gradually, and you can adapt to his attacks accordingly. If he hits your party with Dark Revels, the last thing you want to do is decrease his HP further. Your priority should be to recover from the status ailments and heal up your HP and AP while waiting for him to start his Megaflare Cannon countdown, then striking him with your hardest elemental attack, annihilating his remaining HP.
It’s possible to completely destroy him from about 50% HP (around 25,000 damage) as long as you’re patient and ready to throw your strongest abilities at him when he starts his countdown (so it’s important to have a healthy AP ready). A well-placed critical attack like Eclipse Bite while he’s in Megaflare Cannon mode can utterly decimate him. Alternatively, you can throw several elemental spellstones at him for 9,000 damage each. This method is even more effective if your party is unstacked (since each individual Mirage and character can use a spellstone), although it can be dangerous if you don’t time it properly.
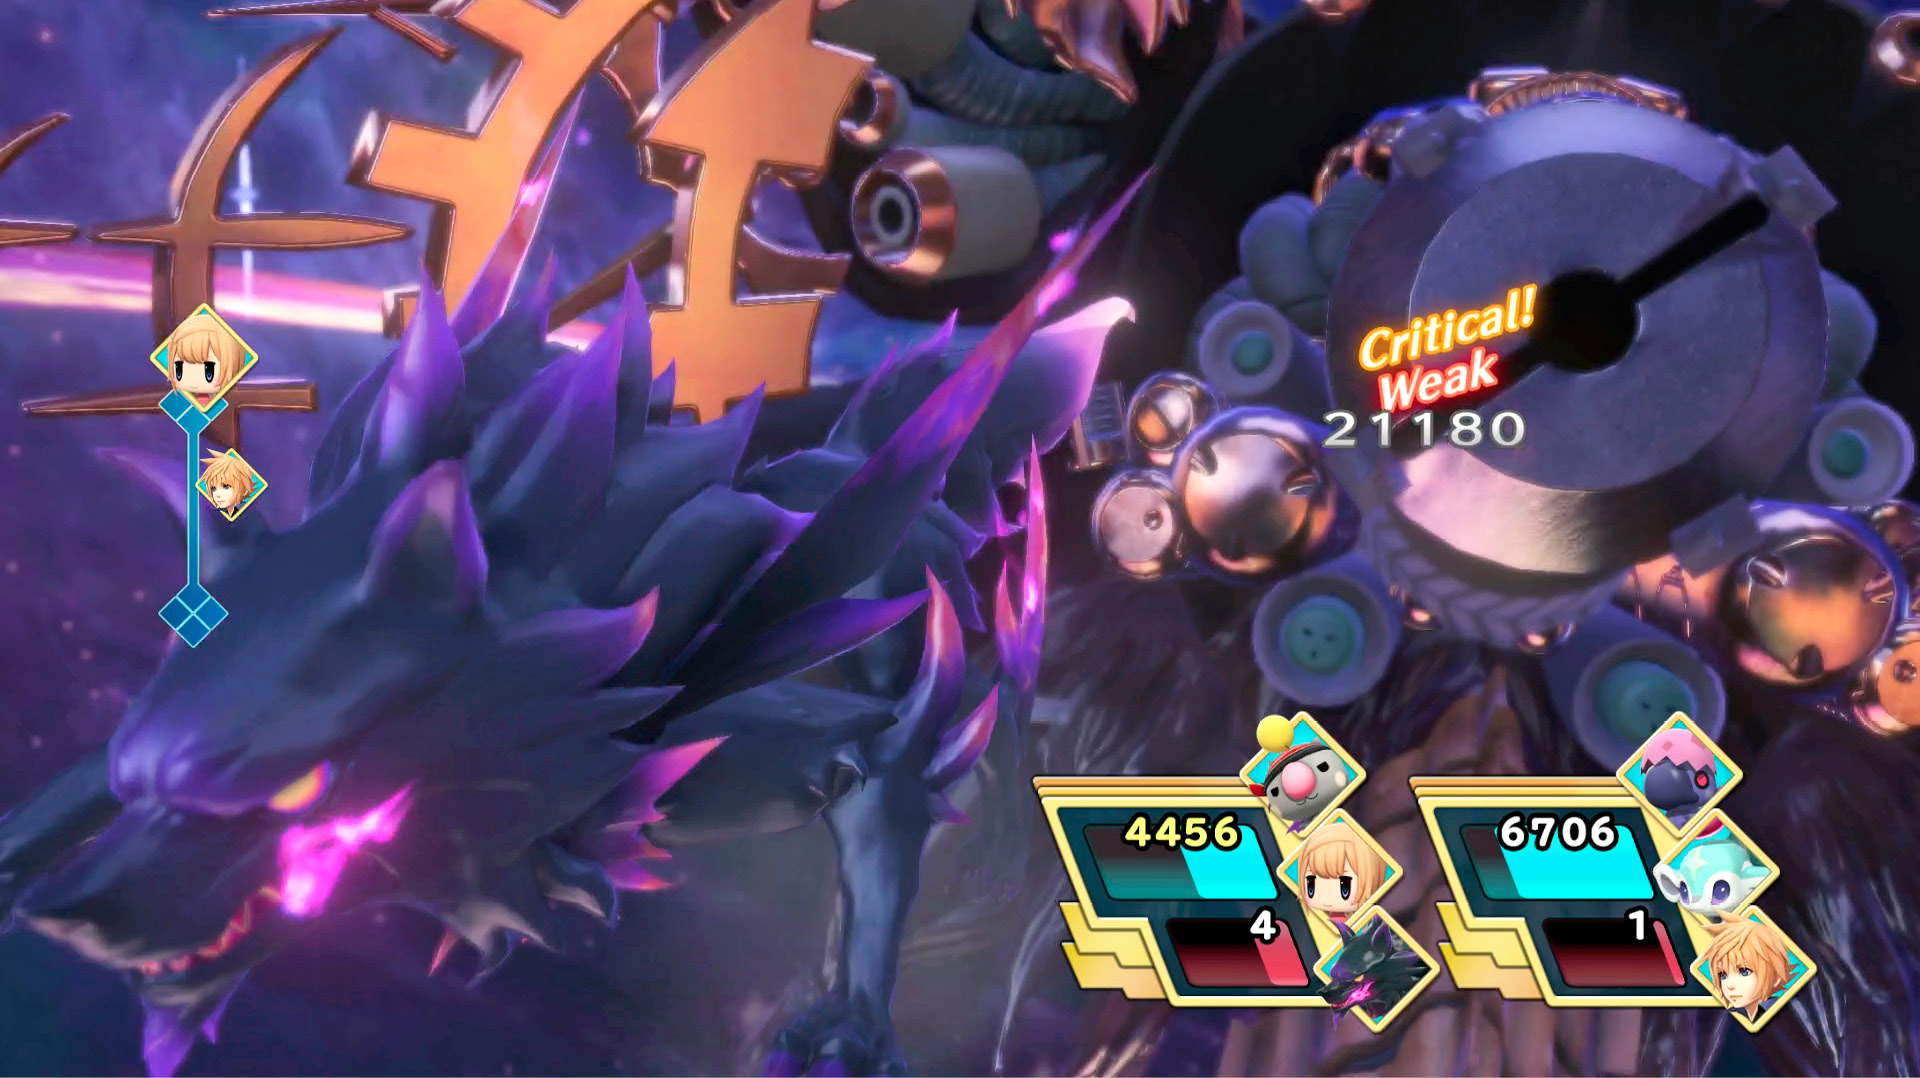
In summary: chip away at his HP, conserve your AP while keeping your party healthy, wait until Exnine Bahamut readies his Megaflare Cannon, check his Libra status weaknesses, then demolish him with your most powerful elemental attack.
Congratulations on completing the main story! You can stay until after the credits to save your progress.