
World of Final Fantasy Guide Main Story Walkthrough
Postscript: Turn Those Corners Up
The story continues with Reynn and Lann being gifted another chance, thanks to the sacrifice of a mysterious—yet familiar—fox. Lann’s memories are derived from a new timeline, whereas Reynn has a complete recollection of the somber events that transpired in the previous one on Castle Exnine. This motivates her to try even harder and become even more powerful in order to stop history from repeating itself.

| Action Checklist |
|---|
|
1. Load your “complete” save file |
|
2. Talk to Hauyn in Balamb Garden |
|
3. Talk to Serafie and check her Rumor Radar |
|
4. Imprism Ifrit |
|
5. Complete Pleiad Intervention Quests |
|
6. Banish the Exnine Knights |
 , Shiva
 , and Ramuh
 through their Coliseum battles
Chocolatte Mart—New Wares
| Items | Price |
|---|---|
| Firaga Seed | 50000 |
| Blizzaga Seed | 50000 |
| Thundaga Seed | 50000 |
| Waterga Seed | 50000 |
| Aeroga Seed | 50000 |
| Banishra Seed | 30000 |
| Curaga Seed | 50000 |
| Balancega Seed | 50000 |
Second Chances
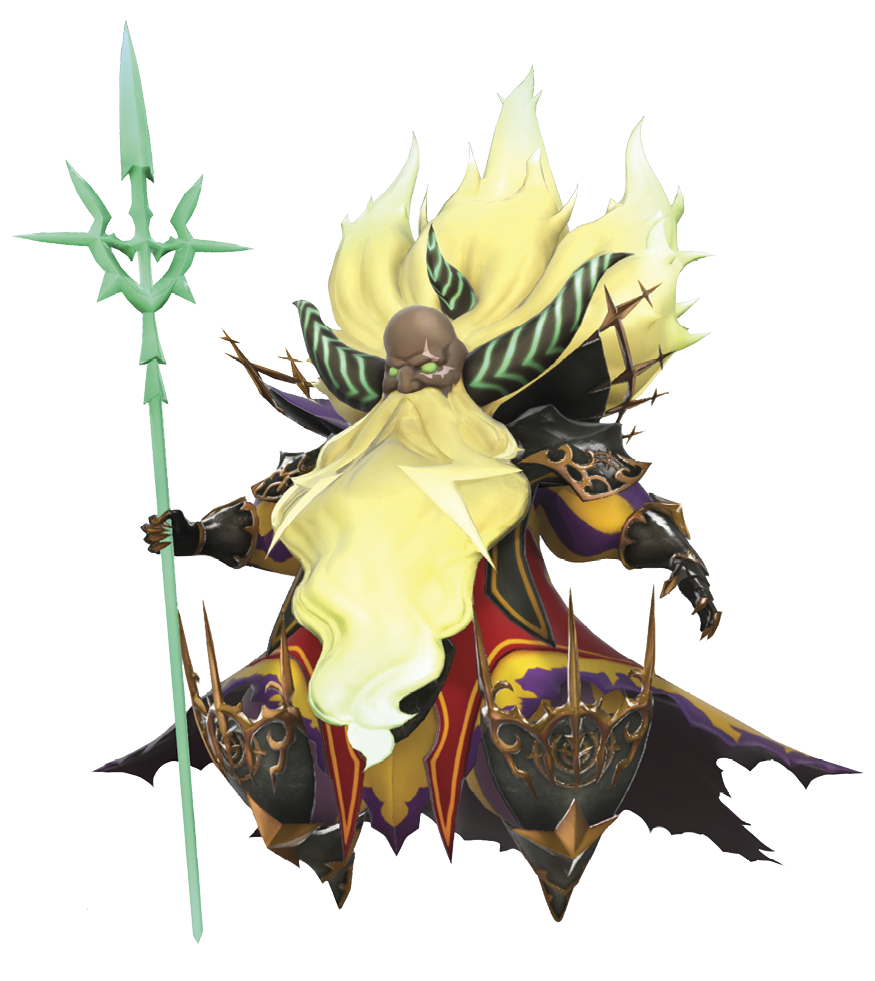
Upon pressing a button from the title screen with a “completed” save file, you’re presented with a button prompt that allows you to alter history by denying the tragic events on Castle Exnine (thanks to a certain Girl).


The new timeline starts off before the twins climb the Chainroad. Tama is nowhere to be found, and Serafie has replaced her as the twins’ helpful companion.

Reynn convinces Lann that they need to abort their current mission of climbing the Chainroad and repeating the events on Castle Exnine. You assume control of the party aboard Balamb Garden. Your next objective is to meet with Hauyn on the Balamb Garden Deck. Enter the deck to view a cutscene between the twins and their sister, who are devising a plan to use the Ultima Gate in order to banish the Exnine Knights. However, they’ll need all the help they can get, including Hauyn and the other summoners. After the cutscene, you’re free to return to Nine Wood Hills. New wares are available at the Chocolatte Mart, too, including the “–ga” series of seeds. Banishra and Curaga are particularly useful even if you already have the Curaga mirajewel, since it lets you free up one of your valuable mirajewel slots.
The Pleiad
Returning to Plaza 99 in the Nine Wood Hills triggers a cutscene with Reynn mentioning the Pleiad. She deduces that there are four other powerful Mirages similar to Ifrit , Shiva
 , and Ramuh
 , making up a total of seven entities known as the Pleiad. Reynn and Lann agree to find and recruit these seven before they can execute their plan against the Exnine Knights.
Next, talk to Serafie, who confirms that she’s (obliviously) taking on the duties of the alternate timeline’s Tama. In addition to her Prism Case duties, she also has new Rumor Radar headlines for you to check out. Read these for clues on potential quests to undertake. For instance, if you haven’t faced Ifrit or Shiva
 in the Coliseum yet, she has a rumor for you to check out there.
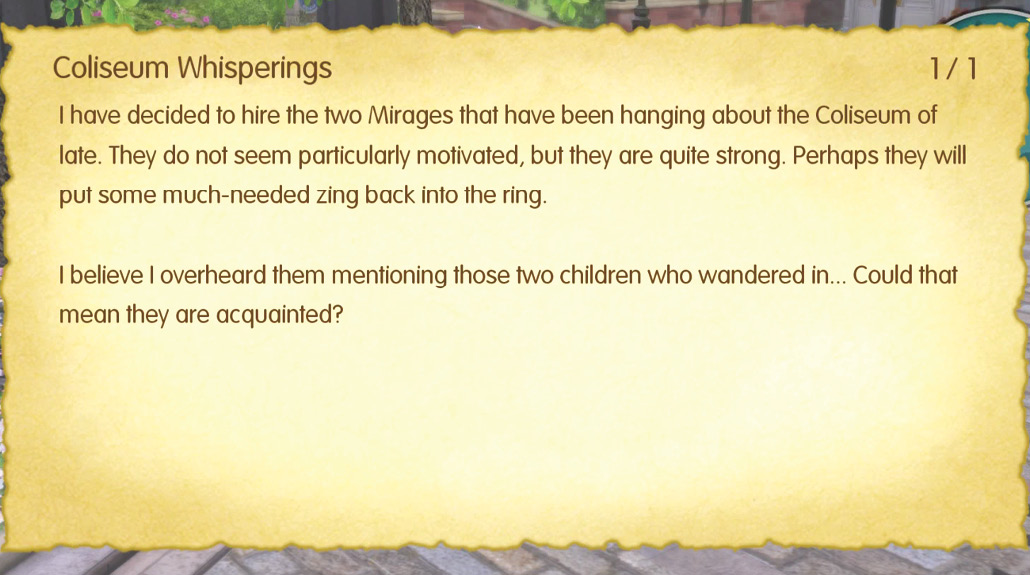
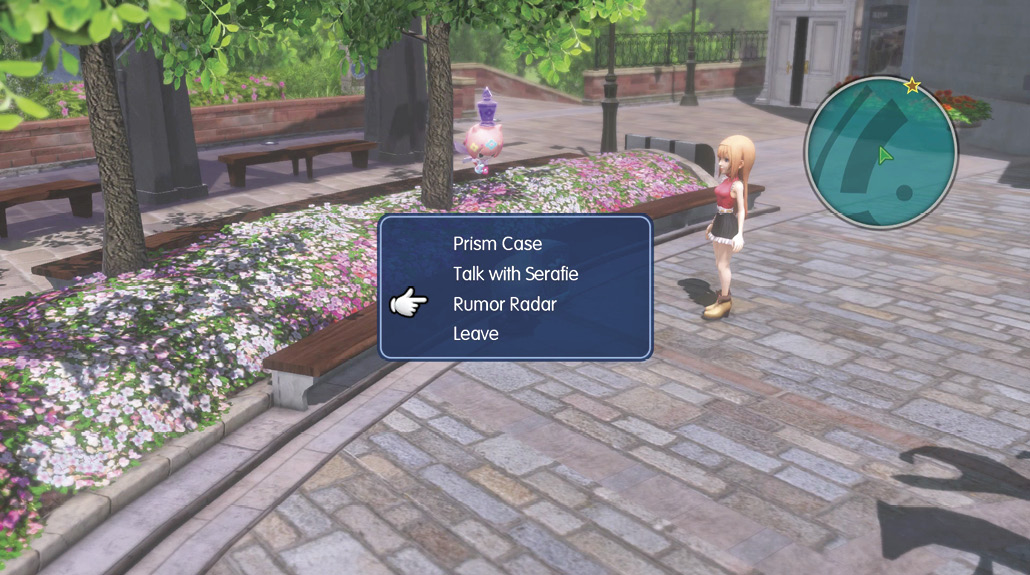
The other four Rumor Radar reports each coincide with a required Intervention Quest that must be completed before the confrontation with Brandelis and his lieutenants. You can complete these in any order, but some are much more difficult than the others if you’re not prepared properly.
Based on average party level, the recommended order of completion for this group of Intervention Quests is:
1. Ancestral Acrimony (Leviathan )
)
2. When the Past Still Haunts (Diabolos )
)
3. A Clash of Swords (Odin )
)
4. The Demon Dyad Revealed (Bahamut )
)


Ancestral Acrimony—Leviathan
| HP | Size | Drops | Abilities |
|---|---|---|---|
| 68640 | XL | Water Spellstone | Aqua Spikes, Tsunami (ALL: Inflict water magic damage.), Tidal Wave (ALL: Inflict water magic damage.), Reaper (ALL: Inflict physical water damage.) |
| Fire Resistance | Ice Resistance | Thunder Resistance | Wind Resistance | Water Resistance | Earth Resistance | Light Resistance | Dark Resistance |
|---|---|---|---|---|---|---|---|
| 50 | 50 | -150 | 0 | 150 | 0 | -50 | -50 |
| Poison Resistance | Confuse Resistance | Sleep Resistance | Blind Resistance | Oblivion Resistance | Berserk Resistance | Slow Resistance | Death Resistance |
|---|---|---|---|---|---|---|---|
| 100 | 100 | 100 | 100 | 100 | 100 | 100 | 100 |
The “Ancestral Acrimony” Intervention Quest is the least demanding of the four requisite quests and can be comfortably completed with an average party level of around 50 to 55. While Leviathan is the least threatening out of the four Pleiad encounters, she can still dish out a large amount of damage, especially if your party includes fire-based Mirages (which generally adds a weakness to water to your stack). Building an entirely water-absorbing stack (such as with a kraken and a water toad) can make this encounter somewhat trivial as the stack will soak up and heal almost all of Leviathan
 ’s damage.
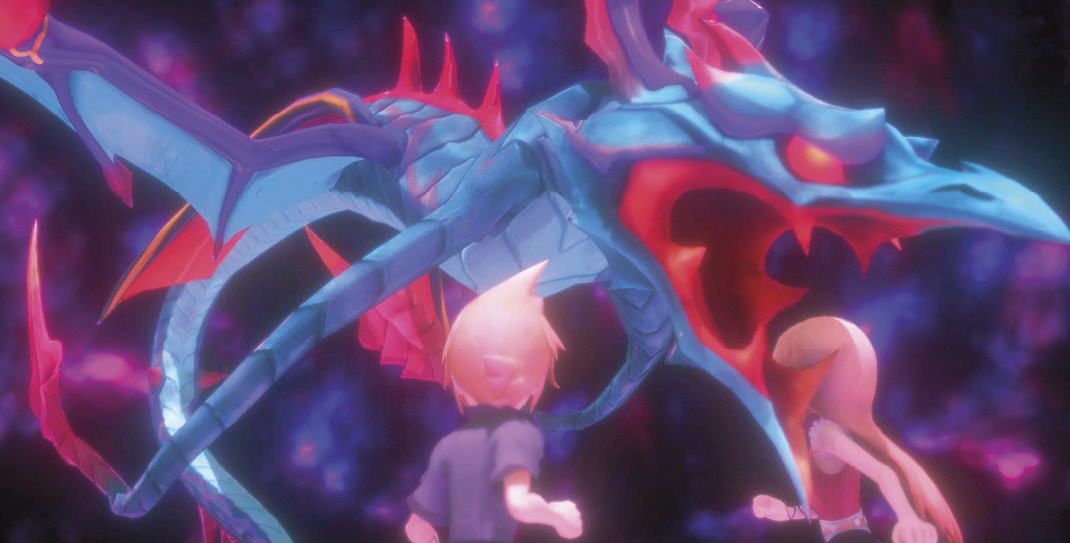
All of her special attacks target all of your party members, and of course, she specializes in water-based spells like Tsunami and Tidal Wave. Having some water resistance and access to an ALL healing spell like Curaga is vital.
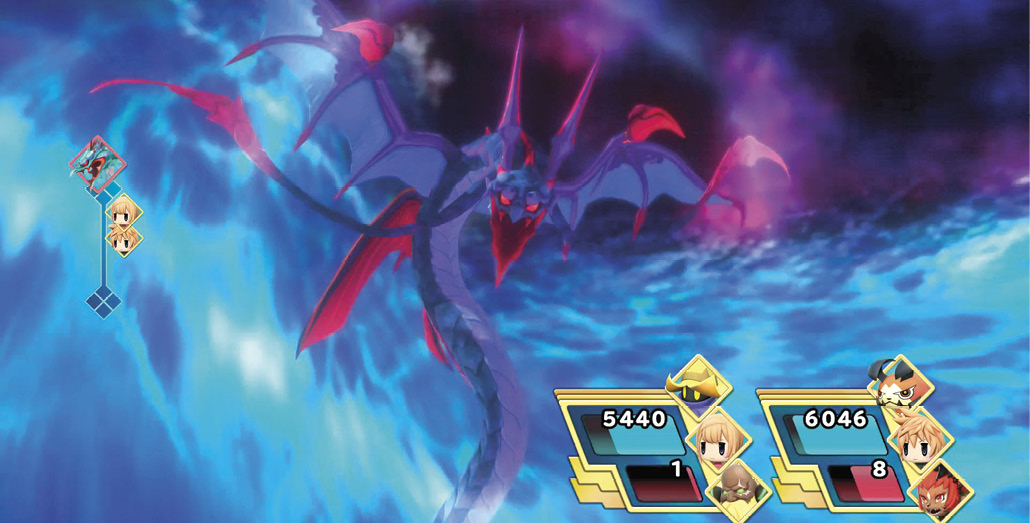
She casts Tidal Wave every 11th turn, so be ready to take on a large amount of water damage as the battle proceeds. A strong strategy against her is to count her turns: before she casts Tidal Wave on the 11th turn, ensure that all of your stacks are healed up fully and buffed with the Shell enhancement. You can use the Defend command if you want to further mitigate this damage, but that shouldn’t be necessary in most cases.
As long as you can stabilize after a Tidal Wave, you should be able to withstand her follow-up offense. As with most sea monsters in the Final Fantasy universe, she’s extremely vulnerable to thunder. Consequently, having Thunder or Thundara can make the encounter much more manageable, as you should be able to take her down before she casts a second Tidal Wave. If you have access to a ramewl Mirage, you can deal a massive amount of thunder damage with her Heaven’s Wrath attack.
Upon completing this quest, you’re rewarded with the Leviathan prismarium and Girl’s Diary, Entry 9.
When the Past Still Haunts—Diabolos
| HP | Size | Drops | Abilities |
|---|---|---|---|
| First: 38004 Second: 69170 | XL | Remedy+ | Nightmare (ALL: Inflict Sleep. Ignores resistance.), Sleep, Poison Nails (Poison), Dark, Gravija (ALL: Eliminate 1/4 of the target’s remaining HP.) |
| Fire Resistance | Ice Resistance | Thunder Resistance | Wind Resistance | Water Resistance | Earth Resistance | Light Resistance | Dark Resistance |
|---|---|---|---|---|---|---|---|
| 0 | 0 | 0 | 0 | 0 | 0 | -100 | 100 |
| Poison Resistance | Confuse Resistance | Sleep Resistance | Blind Resistance | Oblivion Resistance | Berserk Resistance | Slow Resistance | Death Resistance |
|---|---|---|---|---|---|---|---|
| 100 | 100 | 100 | 100 | 100 | 100 | 100 | 100 |
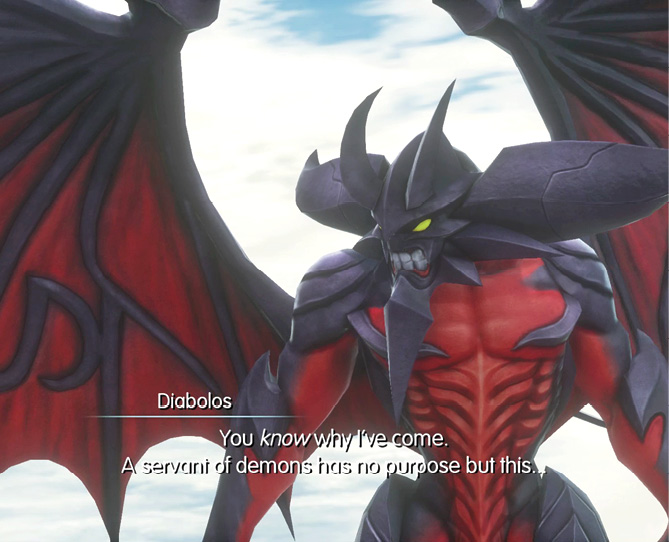
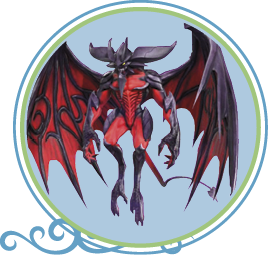
This Intervention Quest consists of two encounters with Diabolos . In the first encounter, Diabolos
 fights alone, has around 38,000 HP, and isn’t too much of a threat. In the second encounter, his HP increases to around 70,000, and he brings two imps to fight alongside him. Your average party level for this encounter should be around 55. Make sure to bring plenty of antidotes and eye drops, too.
Diabolos primarily attacks with Dark, Poison Nails, Sleep (single target), or Nightmare (all party members). While Diabolos
 is weak to light, he has exceptionally high magic defense, so even Holy and Banishra won’t deal much damage if your Magic rating is relatively low. Focus on physical attacks instead while ensuring that your party members receive eye drops when blinded. Heavenly Wrath (used by holy dragon) is a particularly powerful attack here since it’s a light-based physical attack.
Diabolos ’s Sleep-inflicting abilities can be a nuisance, so bringing pick-me-ups is highly recommended (and preferable to attacking your own party members!). Additionally, you can trivialize both Nightmare and Sleep if you have access to a nightmare Mirage (obtained in the Train Graveyard—Secret Necropolis). This aptly named Mirage comes with 100 Sleep resistance, making it a highly effective Mirage against the Sleep spell. More importantly, you can unlock a Resist Sleep mirajewel on the nightmare’s Mirage Board, granting full immunity to Sleep (which differs from having a 100 Sleep resistance rating).
For instance, Diabolos ’s Nightmare ability is extremely potent and is guaranteed to sleep its targets unless that stack is fully immune, which means that having even 100 Sleep resistance won’t deter the effect. However, having the Resist Sleep mirajewel equipped on one of the twins does ensure resistance to Nightmare’s effect. This allows at least one of your stacks to keep consciousness in order to use a pick-me-up on the slept stack. An alternate method of obtaining Sleep immunity is by placing a Resist Sleep seed into one of your Mirage’s Blank Spaces. Resist Sleep seed is a reward from the Coliseum battle, “Team Red 2” (LV. 44).
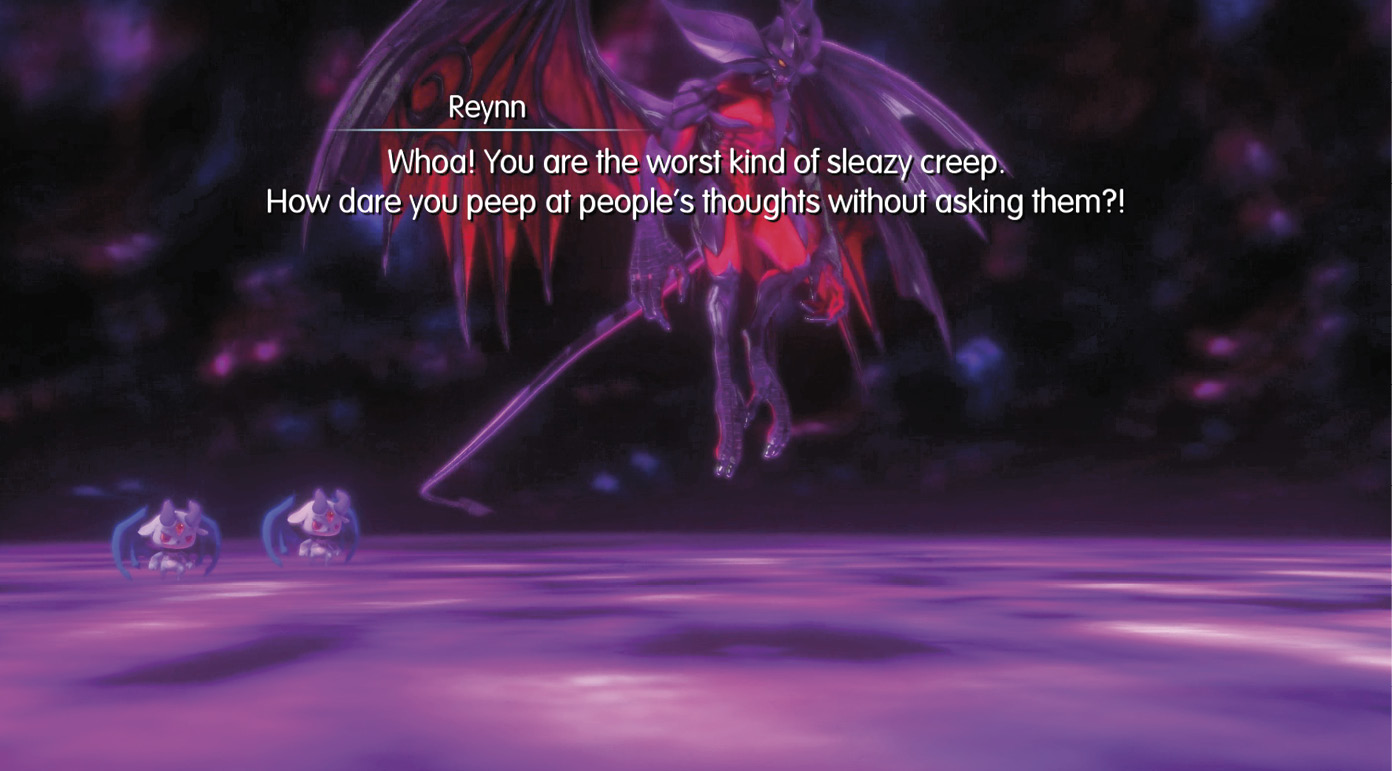
The only thing left to worry about from Diabolos is his Poison effect, which you can easily remedy with antidotes or simply heal through.
The second battle with Diabolos is a bit more difficult than the first. He invites two friends to fight you and has much more HP. Focus the two imps down first (they only have around 5,000 HP each), as Diabolos
 does not resummon them. He also gains the Gravija spell, but it’s not much more powerful than most boss attacks since it’s limited to dealing only a quarter of your current HP (so it can never be a finishing blow).
If you have the Gravity spell available (from a nightmare Mirage, for instance), you can cast it to inflict around 17,000 damage to Diabolos . Otherwise, continue beating him down with physical attacks and use eye drops when necessary.
Defeating Diabolos rewards you with the Diabolos
 prismarium and Girl’s Diary, Entry 8.
A Clash of Swords—Odin

| HP | Size | Drops | Abilities |
|---|---|---|---|
| 73120 | XL | Elixir | Double Cut, Zantetsuken (ALL: Inflict Death. Ignores resistance.), Gungnir (ALL: Inflict physical damage.), Slash |
| Fire Resistance | Ice Resistance | Thunder Resistance | Wind Resistance | Water Resistance | Earth Resistance | Light Resistance | Dark Resistance |
|---|---|---|---|---|---|---|---|
| 25 | 25 | -200 | 25 | 25 | 0 | 50 | 50 |
| Poison Resistance | Confuse Resistance | Sleep Resistance | Blind Resistance | Oblivion Resistance | Berserk Resistance | Slow Resistance | Death Resistance |
|---|---|---|---|---|---|---|---|
| 100 | 100 | 100 | 100 | 100 | 100 | 100 | 100 |

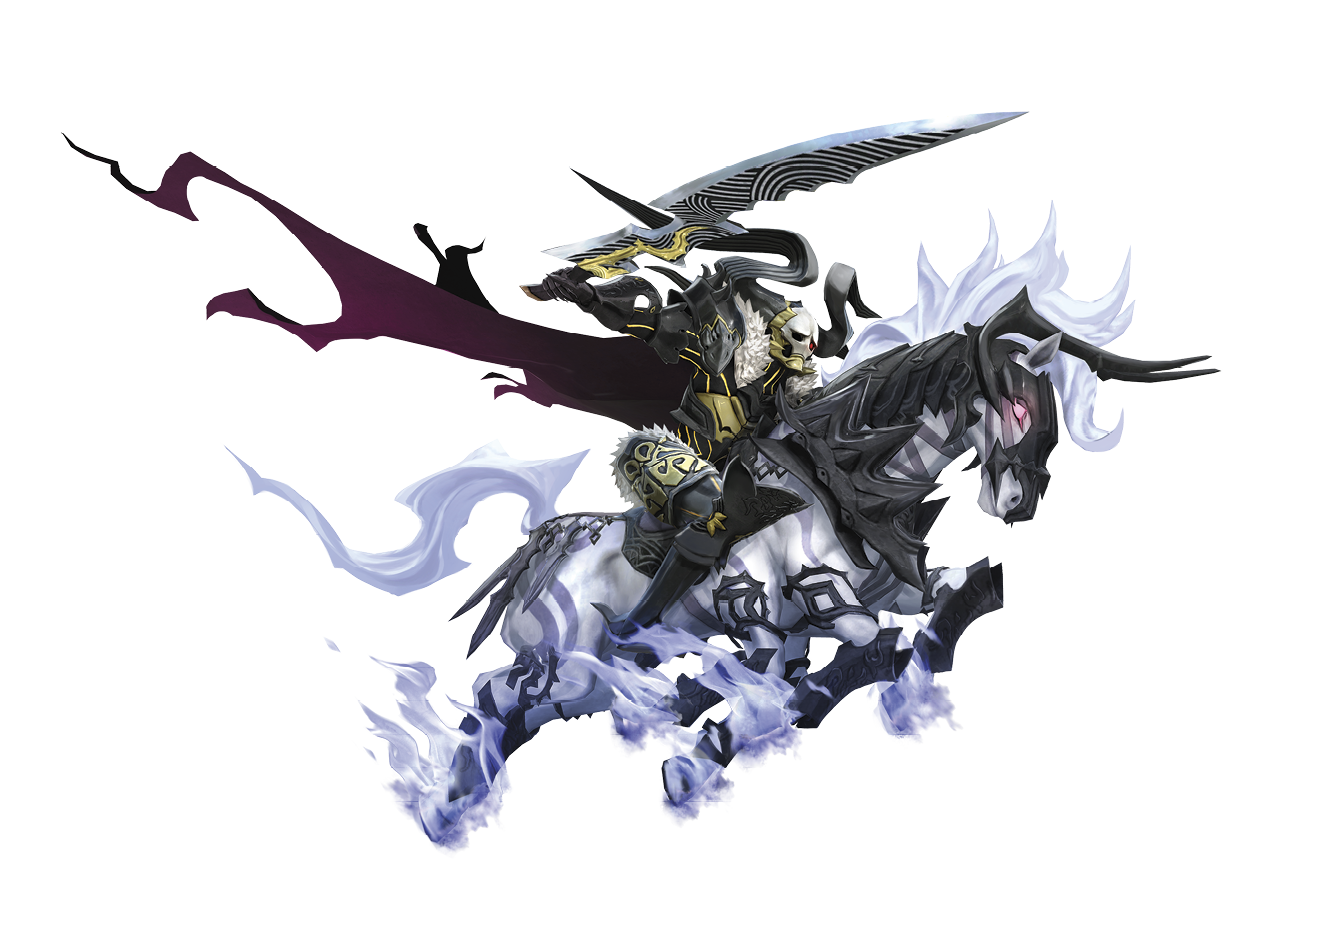
Odin is a particularly dangerous foe and requires preparation to defeat. Your average party level for this encounter should be around 55 to 60. On top of the following considerations, you should also have access to Protect, as Odin
 ’s primary source of damage is physical.
As seen in the cutscene preceding the encounter, Odin is extremely vulnerable to thunder, with a thunder resistance of -200! Naturally, you should set up your stacks to have powerful thunder-based attacks like Heaven’s Wrath (a ramewl attack, not to be confused with Heavenly Wrath). Thunder and Thundara, backed by Faith, are also extremely effective.
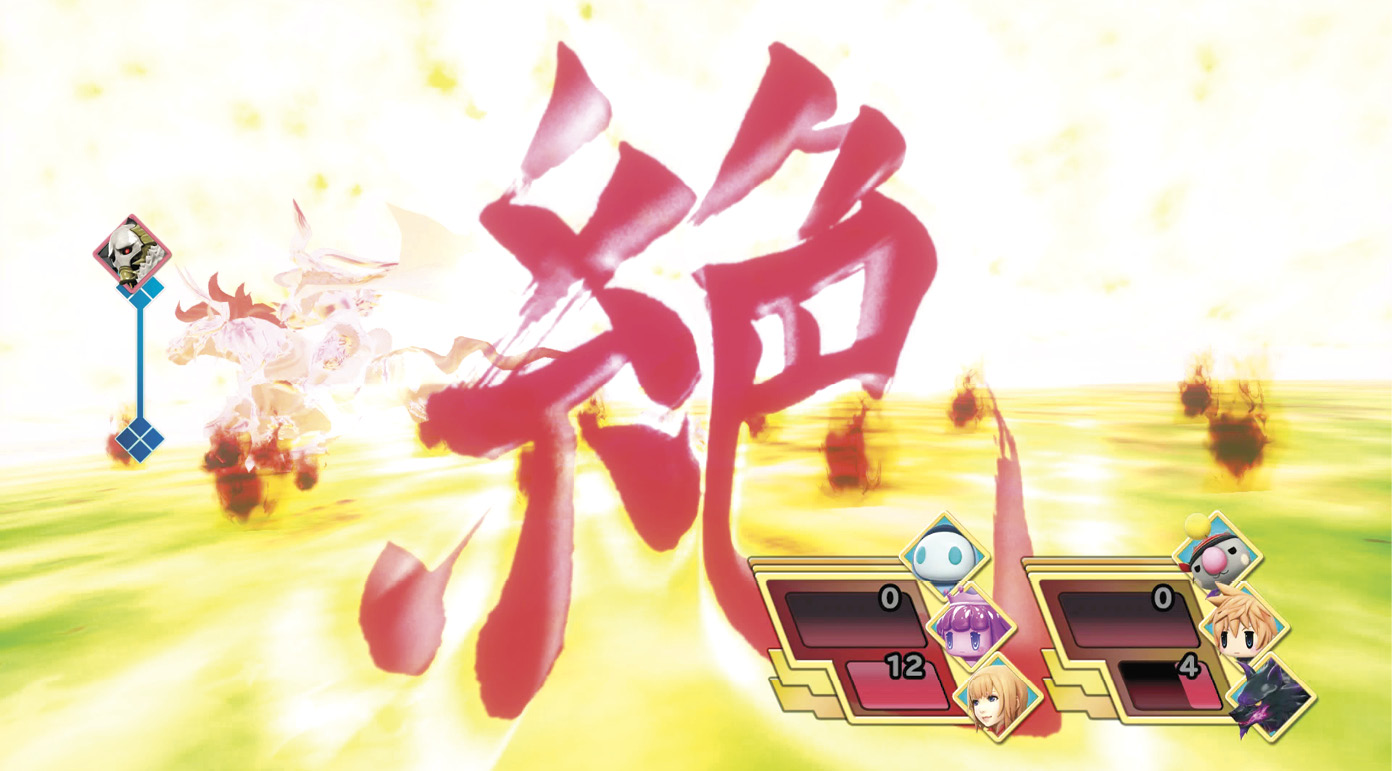
Now that you have his weakness covered and your damage output isn’t an issue, there’s another mechanic you must overcome—his iconic Zantetsuken attack. This attack instantly kills everyone in your party, even if you manage to raise your Death resistance to 100 (so that strategy goes out the window).
Fortunately, there are other ways around this. You can either bring a Mirage with the Last Stand ability (which prevents Death once per encounter), or you can summon a Mega Mirage to soak up Zantetsuken. The trick is that Odin only performs Zantetsuken every 11th turn (like Leviathan
 ’s Tidal Wave). So fight Odin
 as you would normally, but also count his turns. Around his ninth or tenth turn, summon your Mega Mirage and let him “waste” his Zantetsuken turn on the summoned Mirage. This essentially gives you an 11th-turn clock to finish him off (which you should be able to do if you have access to thunder-based attacks).
Of course, an alternate method of dealing with Zantetsuken is to outright defeat him before his 11th turn. The Gravity spell, coupled with Lightning spellstones and Haste buffs, can accomplish this task effectively. If you have both Ramewl and a ramewl Mirage leveled up to around 60 with Heaven’s Wrath unlocked for both, you can decimate Odin in around four to five turns (long before he can use Zantetsuken).
Also, note that his attacks are mainly physical. If you’re planning to fight him over a longer period of time, apply Protect or Evasion  buffs to mitigate damage.
Defeating Odin rewards you with the Odin
 prismarium and Girl’s Diary, Entry 10.
The Demon Dyad Revealed—Bahamut
| HP | Size | Drops | Abilities |
|---|---|---|---|
| 148000 | XL | Elixir | Megaflare (ALL: Inflict neutral magical damage.), Touchdown (ALL physical damage) |
| Fire Resistance | Ice Resistance | Thunder Resistance | Wind Resistance | Water Resistance | Earth Resistance | Light Resistance | Dark Resistance |
|---|---|---|---|---|---|---|---|
| 25 | 25 | 25 | 25 | 25 | 25 | -150 | 25 |
| Poison Resistance | Confuse Resistance | Sleep Resistance | Blind Resistance | Oblivion Resistance | Berserk Resistance | Slow Resistance | Death Resistance |
|---|---|---|---|---|---|---|---|
| 100 | 100 | 100 | 100 | 100 | 100 | 100 | 100 |
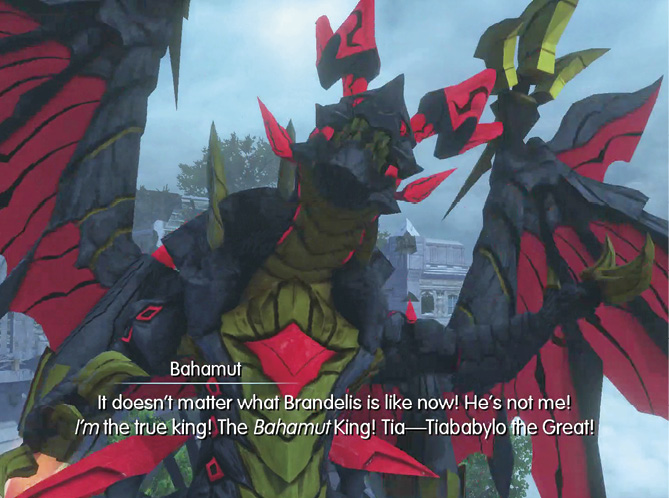
Before attempting Bahamut , it’s highly recommended that your average party level is at least 60, and that you have access to Haste, Shell, Gravity, a potent healing ability like Forest Nocturne or Curaga, and plenty of wobblestoppers and hi-ethers. Carbuncles are extremely valuable for this encounter since their Shining Ruby ability bestows a Defense and Magic Defense boost that lasts for the entire encounter. The Regen spell is also useful here because this fight is largely about survival and conserving AP.
For defense against Bahamut ’s Touchdown and normal physical attacks, you can either go with evasion-enhancing magic or Protect. Magna roaders and hyperions are extremely strong here, as they have abilities that bestow Haste and boost evasion at the same time, so consider forming an evasion-based party before tackling Bahamut
 . The Tidus Champion Medal is extremely valuable here, too, since its evasion-enhancing effect persists until death.
If you’re going for a Protect-based defense, you can set up one stack with Wide Barrier (combine Cogna Mirages in one stack, such as entomb guard plus searcher).
For offense, Gravity is extremely efficient here because of Bahamut ’s incredible amount of HP (since it can’t miss, unlike in other Final Fantasy titles). The Gravity spell is accessible through death searcher and nightmare Mirages. Alternatively, you can use a sea worm or sand worm with the Gravity Counter passive ability (you can find these worms in the Crystal Tower’s elemental chambers). Gravity Counter gives your party a chance to counter with the Gravity effect when attacked, making it one of the best ways to quickly defeat Bahamut
 . A sample party setup would be: a sand worm, Lilikin Reynn/Lann, and a chocochick for the first stack, with a second stack consisting of a sea worm, Lilikin Reynn/Lann, and a mu. Keep Regen on your party while dealing damage gradually with normal attacks, conserving your AP for healing and allowing Gravity Counter to obliterate Bahamut
 ’s HP.
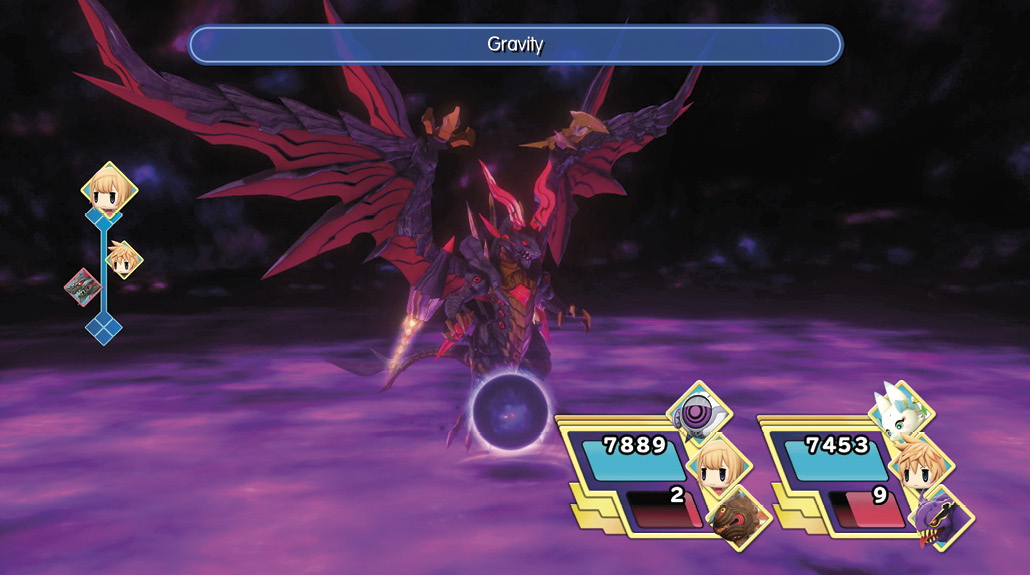
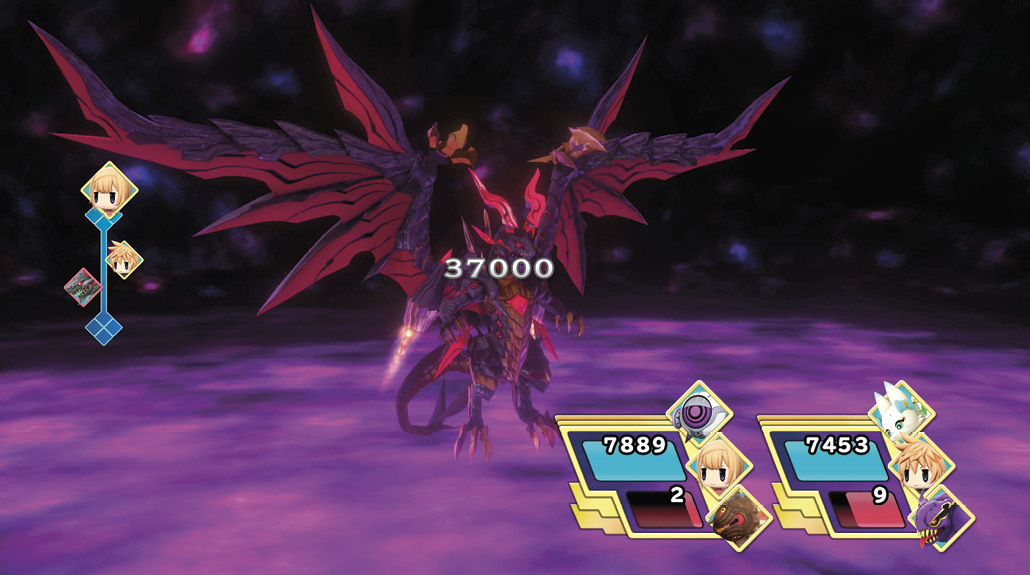
Having one or both of your stacks equipped with Banish or Banishra is also advisable (either through ability seeds or mirajewels). Bahamut has an extraordinary amount of HP but is remarkably vulnerable to light-based magic. Since you want to conserve AP for healing and Gravity, you can forego using Holy for this fight. Bahamut
 ’s high HP and defense can make this a particularly lengthy battle, especially if your party level is at the lower end of the spectrum and you aren’t using a Gravity-based strategy.
Start the encounter by bestowing defensive enhancements on your party (aside from Shell). Your priority should be getting Haste and Evasion  (or Protect) effects on your party first, then Regen if you have it. Then, start dealing damage with Gravity and Banish. When Bahamut
 eventually starts counting down and preparing for his Megaflare attack (starting with the message “5”), prepare by healing your party. Around the “3” and “2” count, cast Shell on both of your party members. Additionally, you can mitigate further damage from Megaflare by issuing the Defend command after his “1” count or by summoning a Mega Mirage to take the hit. With Shell and Defend, you can mitigate Megaflare damage down to less than 1,000.
Continue dishing out damage and ensuring that you have enough HP to survive his predictable attacks. Also, remember to use wobblestoppers to counter the effects of Touchdown and prevent your stacks from being toppled. Once Gravity stops being efficient, you can finish off Bahamut with a Champion Medal, such as Lightning’s Gestalt Drive or Cloud’s Omnislash.
Your reward for defeating Bahamut is the Bahamut
 prismarium and Girl’s Diary, Entry 7.