
World of Final Fantasy Guide Main Story Walkthrough
Chapter 14: Lost Powers
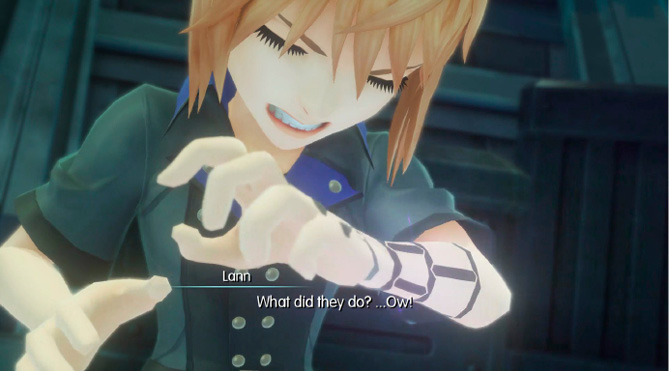
Reynn and Lann awaken in an underground prison facility with their powers neutralized. Without their abilities, they have no way of summoning Tama, and they must find their way out alone. Fortunately, they run into some helpful strangers.
| Action Checklist |
|---|
|
1. Talk to the Man in Rags |
|
2. Meet Squall and learn about eldboxes |
|
3. Defeat the death machine |
Prison Break
The twins start off powerless here near a Save Crystal. Without access to your Mirages, Tama’s not around to help guide you, so talk to the fellow inmate nearby. The Man in Rags explains that the prison you’re in is beneath Figaro Castle and that machines patrol the area. After the cutscene, you can talk to him again to access a temporary shop. Although Reynn and Lann don’t have their powers, they still have access to their gil, so restock on curatives here before making your way out of the prison.
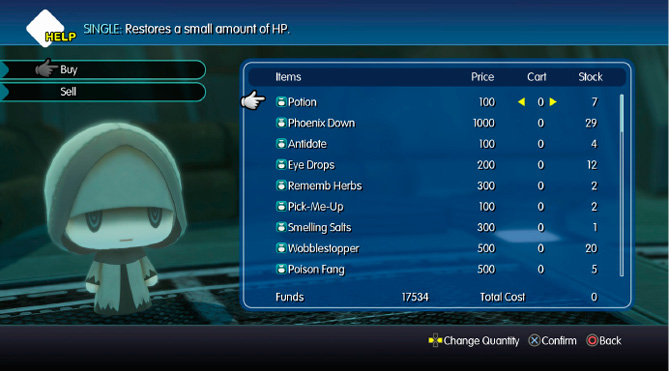
Man in Rag’s Shop
| Items | Price |
|---|---|
| Potion | 100 |
| Phoenix Down | 1000 |
| Antidote | 100 |
| Eye Drops | 200 |
| Rememb Herbs | 300 |
| Pick-Me-Up | 100 |
| Smelling Salts | 300 |
| Wobblestopper | 500 |
| Poison Fang | 500 |
| Dream Powder | 600 |
| Loco Weed | 800 |
| Flash Bomb | 600 |
| War Gong | 700 |
| Lethean Chime | 800 |
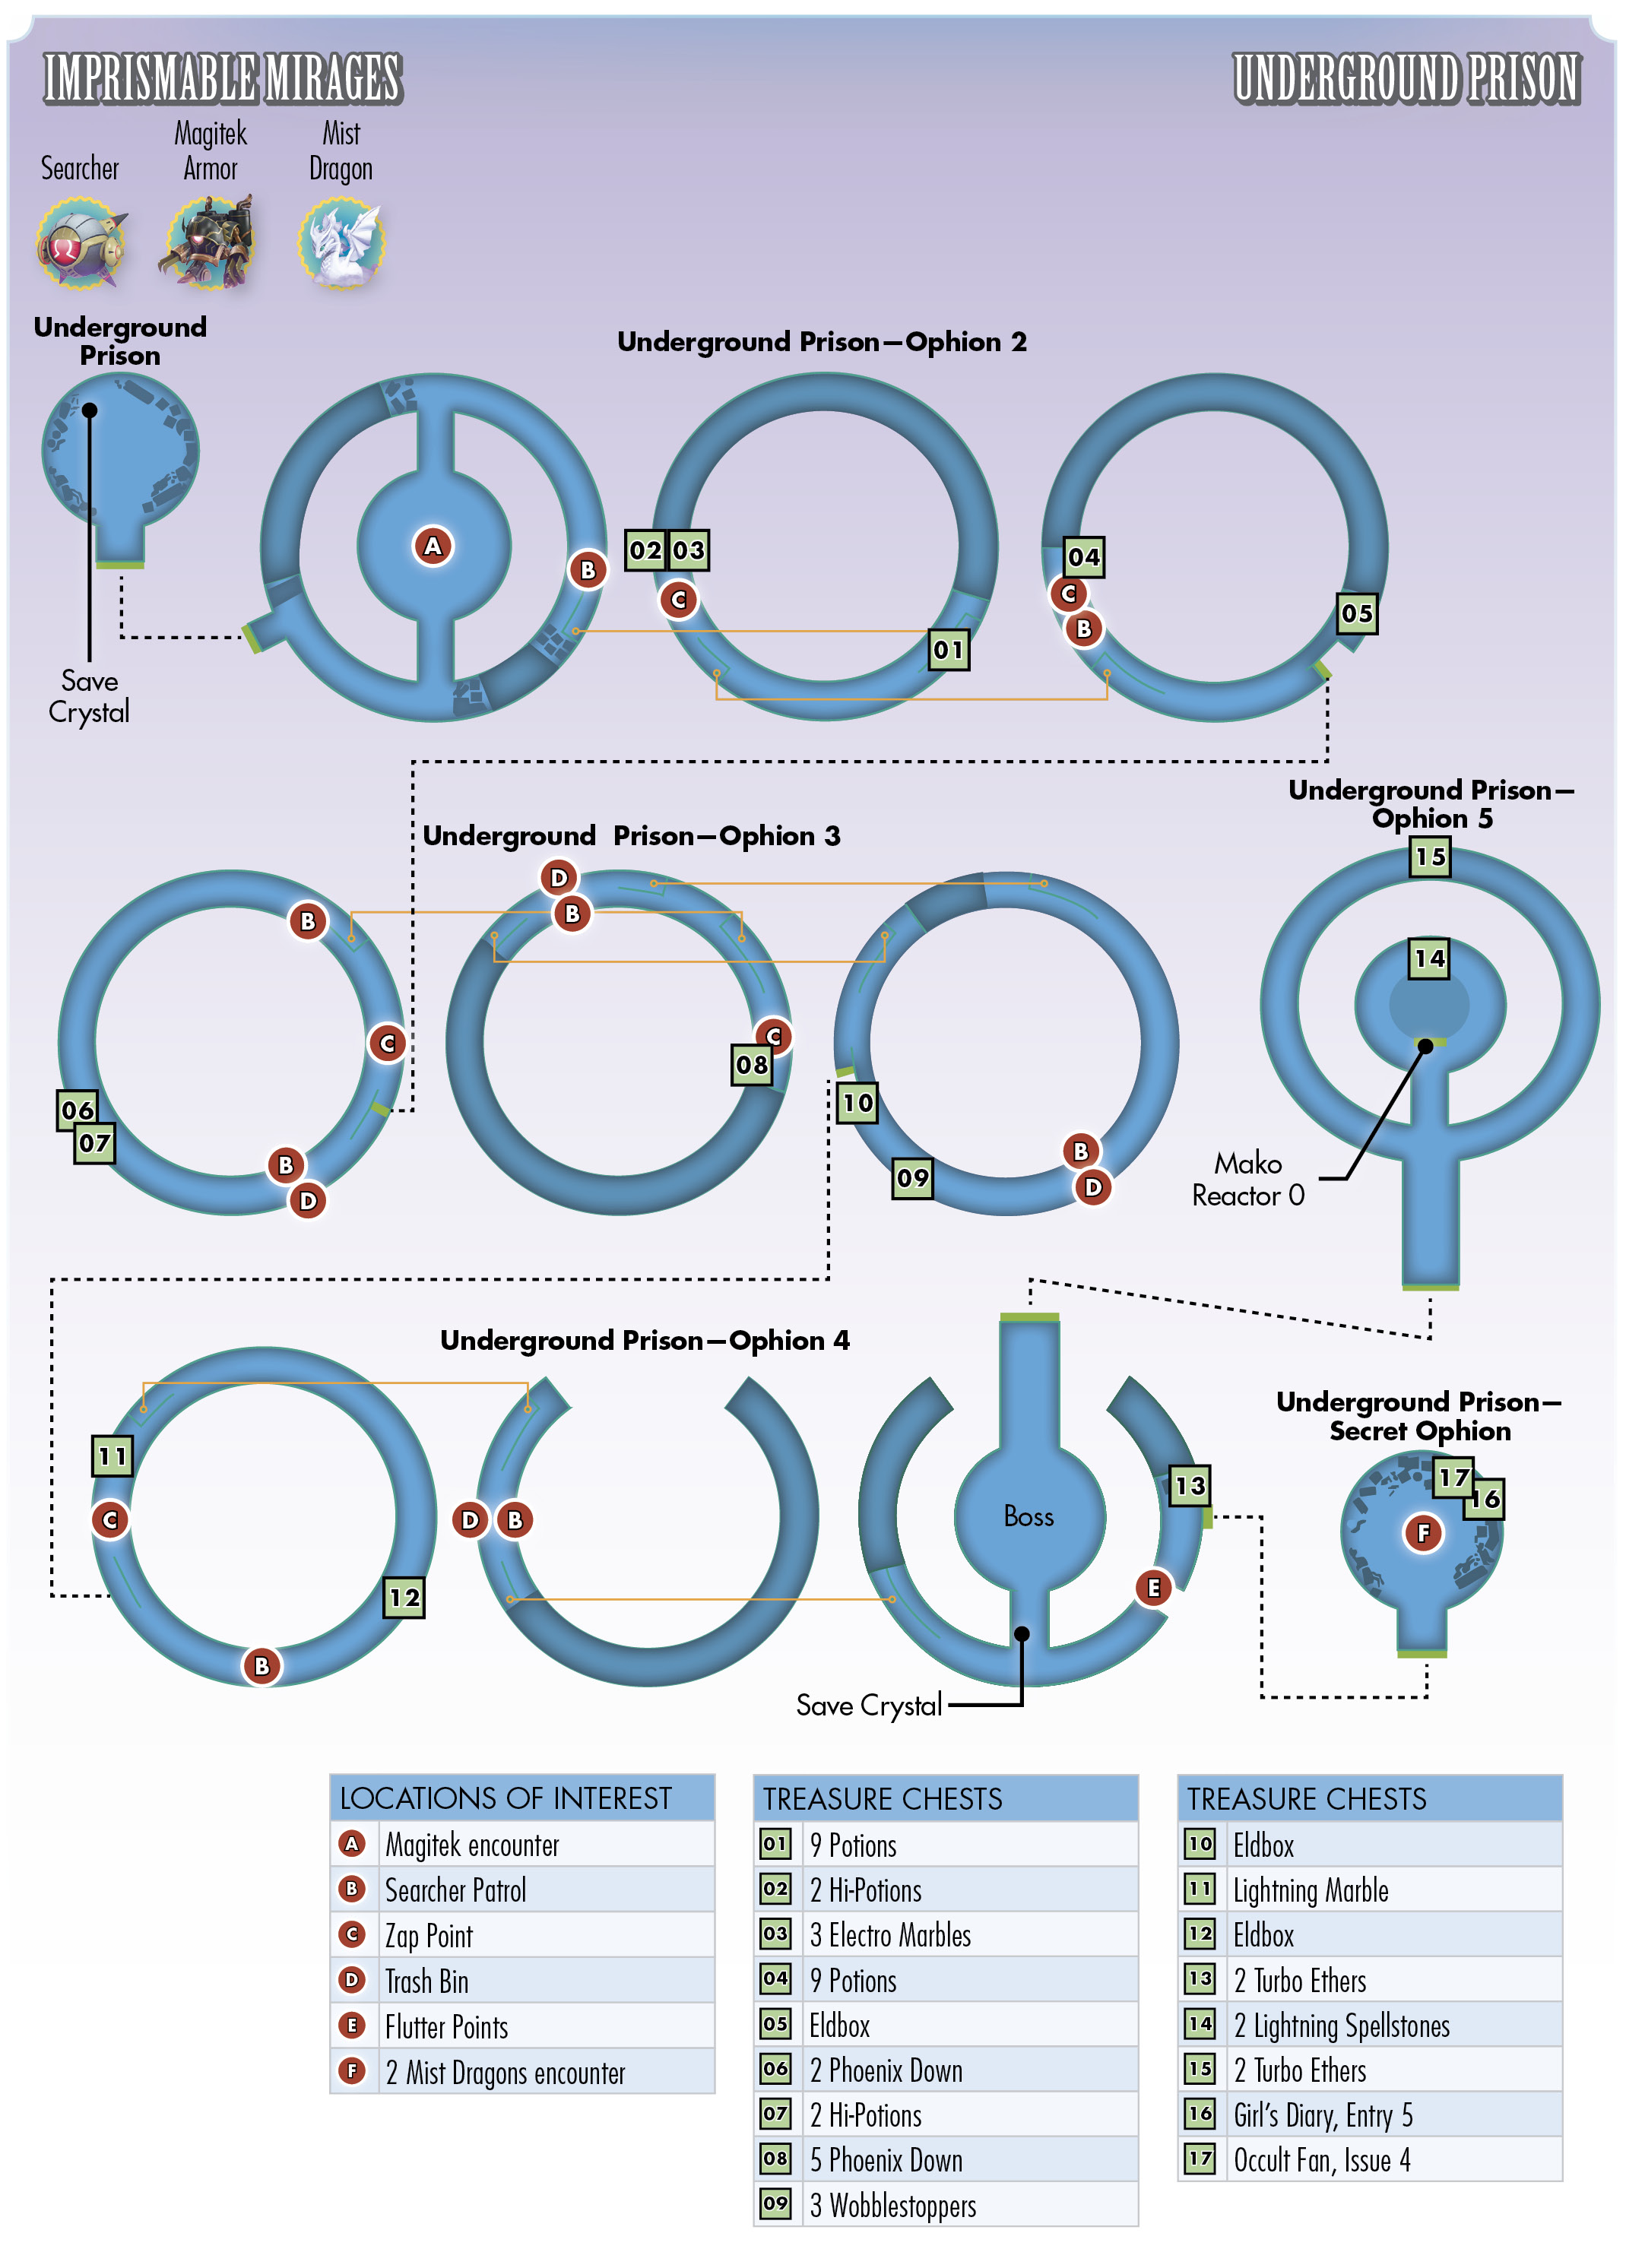
Interestingly, while you’re a prisoner here, you’re free to leave. Exit the room to initiate your escape and continue through the second room; in the center of the circular room is a forced encounter with some of the machines the inmate warned you about. Defeat is inevitable here, so dying isn’t game over. After the party falls, yet another Champion comes to the rescue.
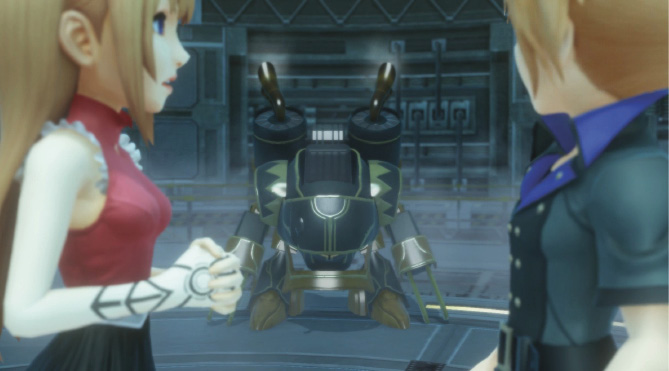
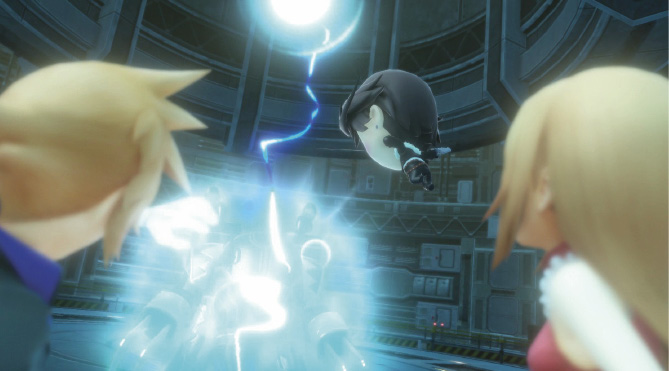
Squall disables the machines and gifts the twins with an eldbox, which Lann uses to imprism the defeated Magitek armor. After the cutscene, you’re rewarded with a Magitek armor eldbox and an empty eldbox. You can mount a Lilikin form of Reynn or Lann onto the Magitek armor by adding it to one of their Lilikin stack. While Reynn and Lann’s powers are neutralized, you won’t have access to the Mirage Board menu, so you can’t upgrade imprismed machines just yet.
Proceed around the circular area. The path wraps around to the east toward descending stairs. Here, there’s a forced encounter with some machines as a searcher spots you. You can imprism this searcher to add to one of your stacks, increasing your combat effectiveness.
After imprisming the searcher and adding it to one of your stacks, continue down the stairs into the second portion of the area (check the in-game map in case you lose your bearings). On this level under the stairs, pick up nine potions from the treasure chest there. These are extremely handy here, considering you don’t have access to the Cure spell. Use these liberally as you progress through the prison.
Continue west in this area until you reach a force field, where you learn about the Zap support ability.
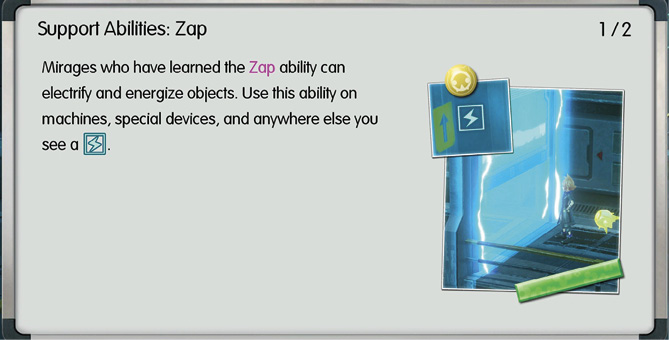
The searcher that you can imprism conveniently has access to the Zap ability, which can disable the force fields you encounter. Behind this force field are two treasure chests. Open them to pick up two hi-potions and three electro marbles.
Continue down and under the nearby stairs, heading to the west portion of the next floor. Defeat the patrol here, then continue west until you get to another chest containing another set of nine potions.
Now, turn around and head east. Before descending the stairs here and leaving Ophion 2, open the treasure chest nearby to obtain another eldbox. You can use this to imprism another Magitek armor or searcher. It’s recommended that you have imprismed at least two searchers and two Magitek armors so that you have your stacks completely filled out for maximum combat efficiency.
From the start of Underground Prison—Ophion 3, go beneath the stairs and continue to the west portion of the circle. There’s a trash bin you can hide in to avoid the patrolling searcher nearby.
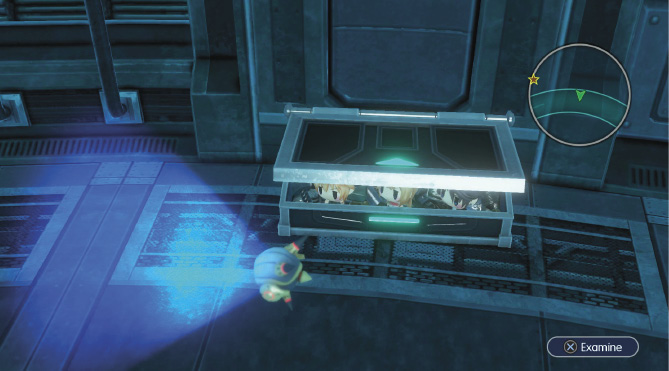
Climb out as the searcher passes you. Then, in the west portion of the area, pick up two hi-potions and two phoenix down from the chests there. Descend the stairs in the northeast portion of the platform and disable the force field in front of you. Open the chest behind it for five phoenix down. Find and go down the descending stairs in the northwest portion of the walkway (watch out for the searchers!). Here, the exit of the area is directly in front of you. But first, collect the two treasure chests on this level before leaving. The first chest is behind the descending stairs, and it contains an eldbox. You can find the second chest slightly farther south, and it holds three wobblestoppers. Turn around and return to the descending stairs to progress into the next area.
You start on Ophion 4 near the southwest portion of the platform. Go to the northwest section under the stairs to disable a force field and collect a lightning marble from a treasure chest there. Keep running in that direction past the descending stairs until you get to another treasure chest (there’s another searcher nearby, so be careful). Open it to obtain an eldbox, then return and go down the descending stairs. You’re almost free of this round prison!
Avoid the searcher up ahead (or defeat it to level up your new Mirages), then proceed down another flight of stairs, leading to a Save Crystal. Save your progress here, then continue on for a minor boss fight with a death machine.
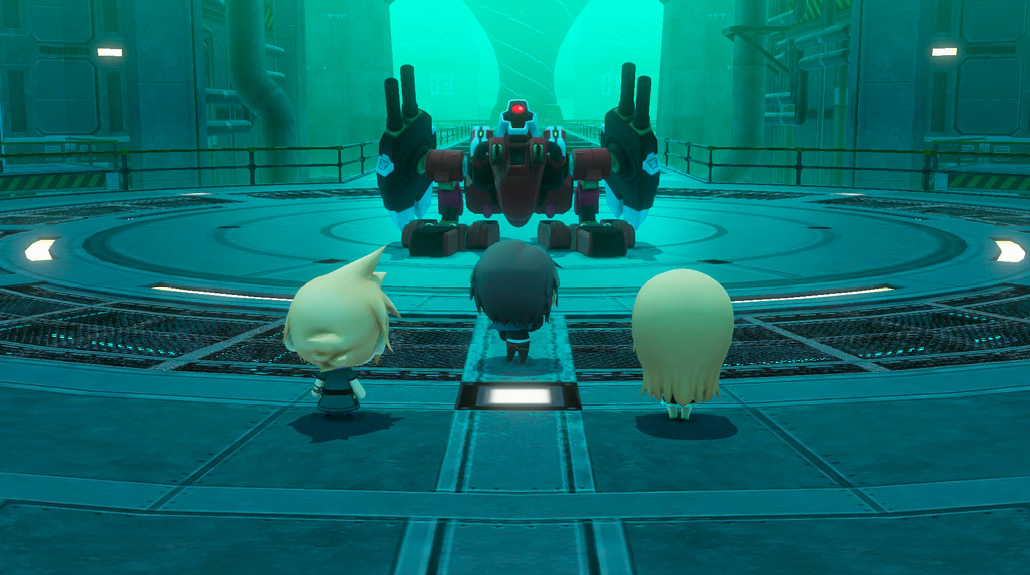
Since you don’t have access to Mirages (thus, abilities), this is a straightforward battle. Fortunately, you’ve boosted your combat effectiveness by imprisming some Magitek armors and searchers. You can win through brute force by repeatedly issuing “Attack” commands (which should be sufficient if you’re a high enough level). Alternatively, you can use the electro and lightning marbles you’ve collected up to this point to make quick work of the machine due to its vulnerability to thunder. If you need to restore HP, use the potions that you gathered on the way here.
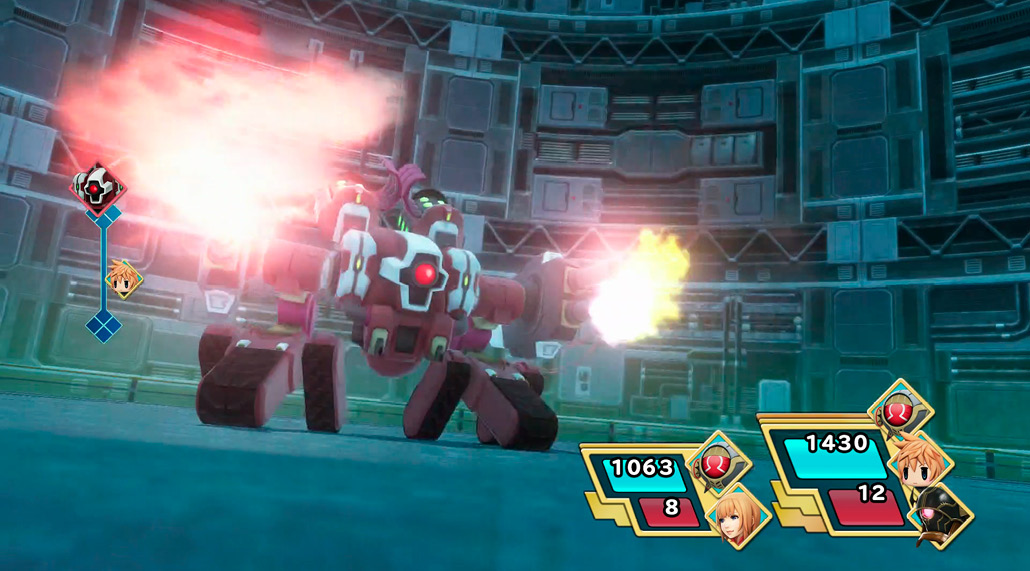
After you defeat the death machine, an army of Magitek armors drops down for an assault. Squall stays behind to deal with them while the twins escape and the story chapter ends.

Underground Prison’s Secret Area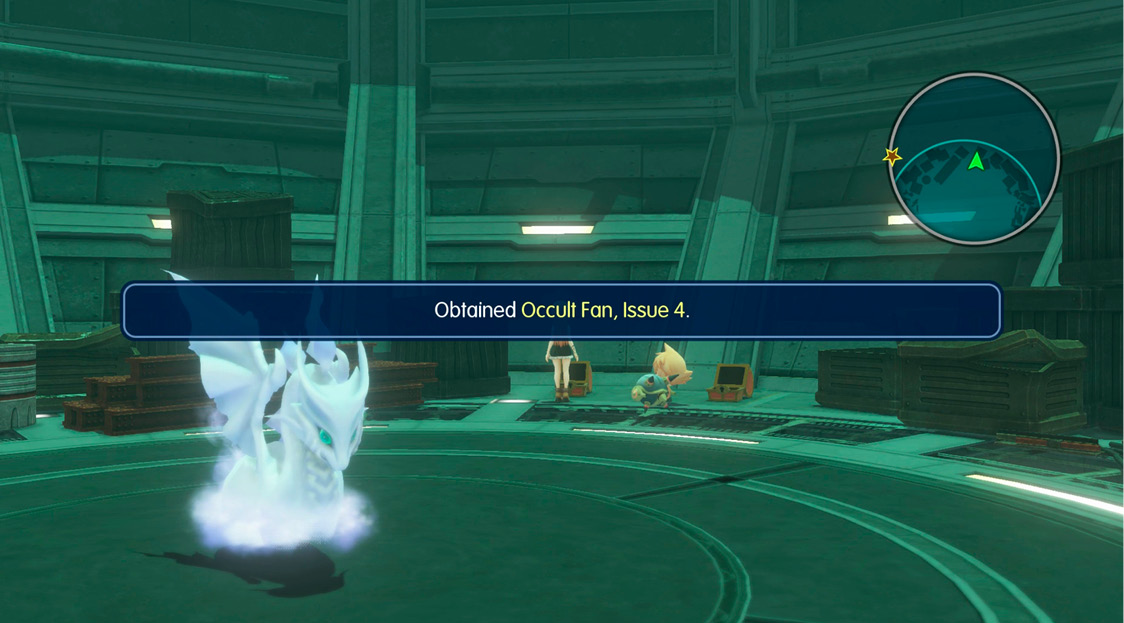
After Reynn and Lann regain control of their Mirages, you can return to Ophion 4, just before the death machine battle (near the Save Crystal), to access the Underground Prison’s secret room. You need to have the Flutter support ability here, so bring a moogle or floating eye to ferry you across. Open the treasure chest containing two turbo ethers near the entrance to the hidden room, then enter. This secret room contains two chests and a rare Mirage, the mist dragon. Open the two chests to obtain Girl’s Diary, Entry 5 and Occult Fan, Issue 4. 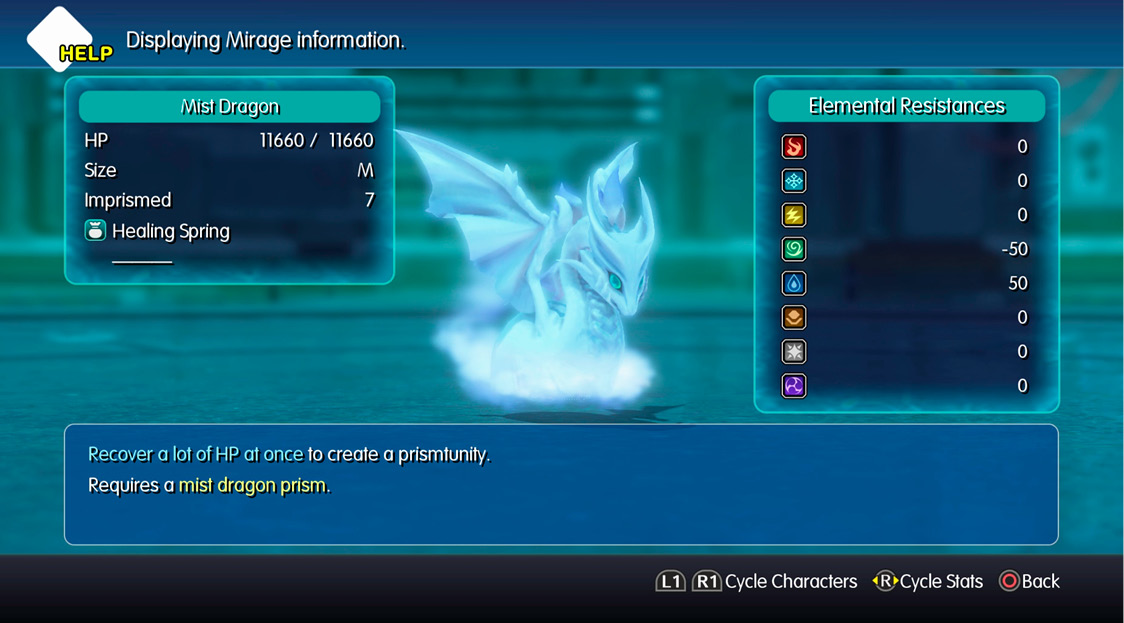
The mist dragon encounter here can prove difficult, but it’s manageable for a prepared party. You should be at least level 30 to 35 and have either an elixir or x-potion with you (this is vital). The best way to deal with these dragons is to imprism one quickly, then defeat the second with wind-based abilities. The prismtunity condition for the mist dragon is like the phoenix’s: you must restore a large amount of HP at once. The best way to do this is to use a max-healing item on a mist dragon. You don’t need to damage the mist dragon at all. Simply throwing an x-potion, a mega potion, or an elixir at it satisfies its prismtunity, allowing you to imprism it. You can trigger the prismtunity multiple times to make imprisming easier, but of course, that requires multiple valuable max-healing items. Then, fight and defeat the second mist dragon normally, using wind-based spells and abilities. |