World of Final Fantasy Guide Miniventures & The Coliseum
Intervention Quests at the Girl’s Tearoom
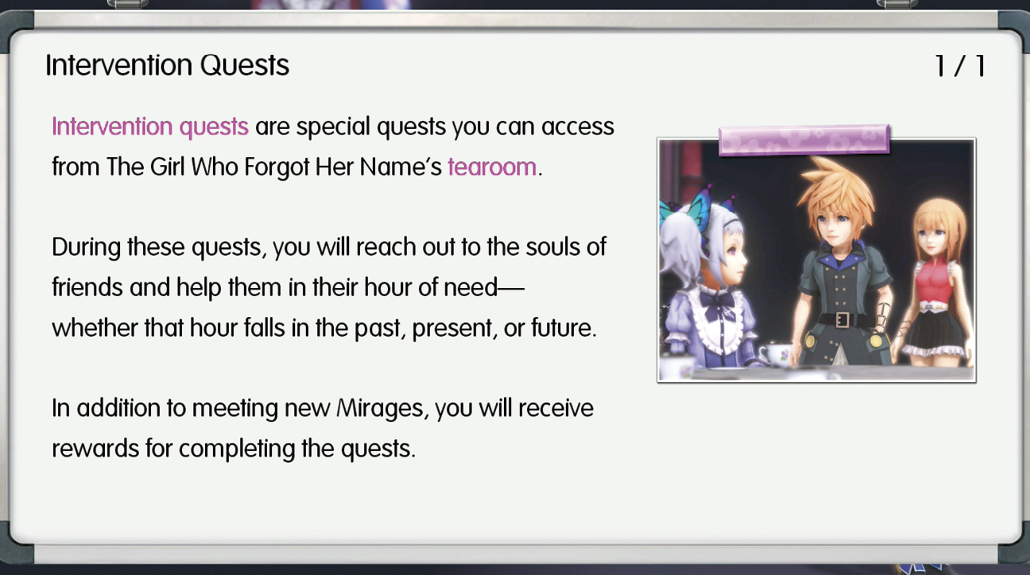
From the beginning of Chapter 5 onward, traveling to Nine Wood Hills causes a mysterious door to appear. This door leads to the room of The Girl Who Forgot Her Name, and she has the ability to let Lann and Reynn travel through time and space using the power of fantasy. This opens up myriad opportunities for the two siblings to help out their friends in their times of greatest need.
To do so, however, they’ll need arma gems.
Arma Gems
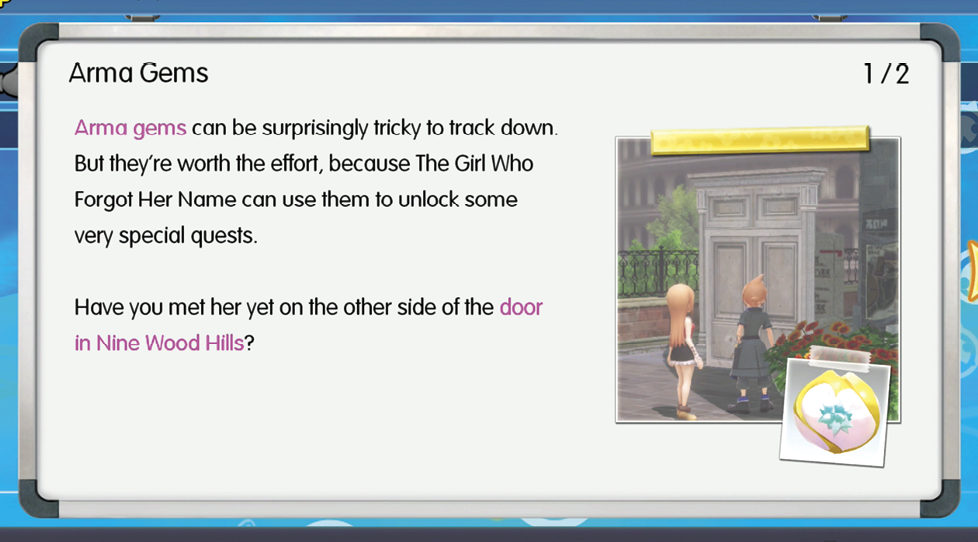
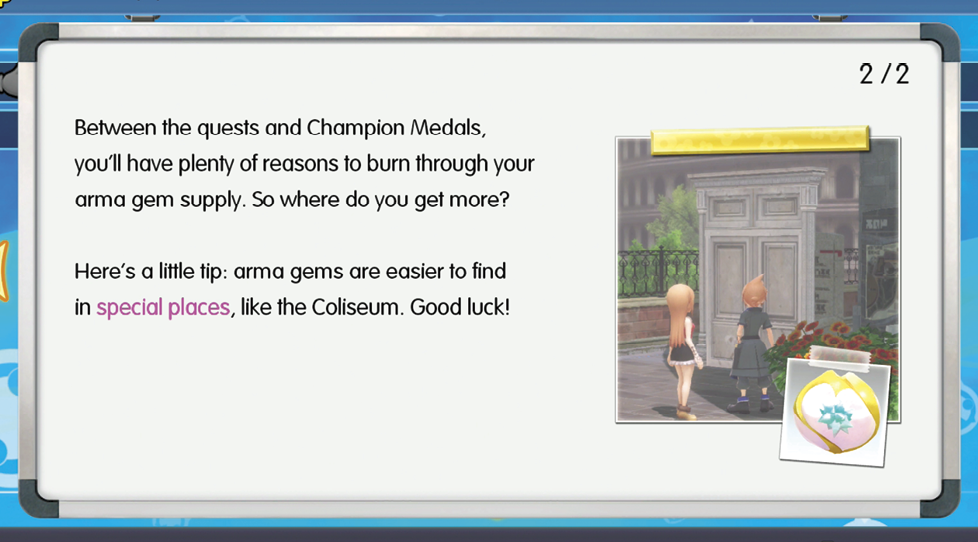
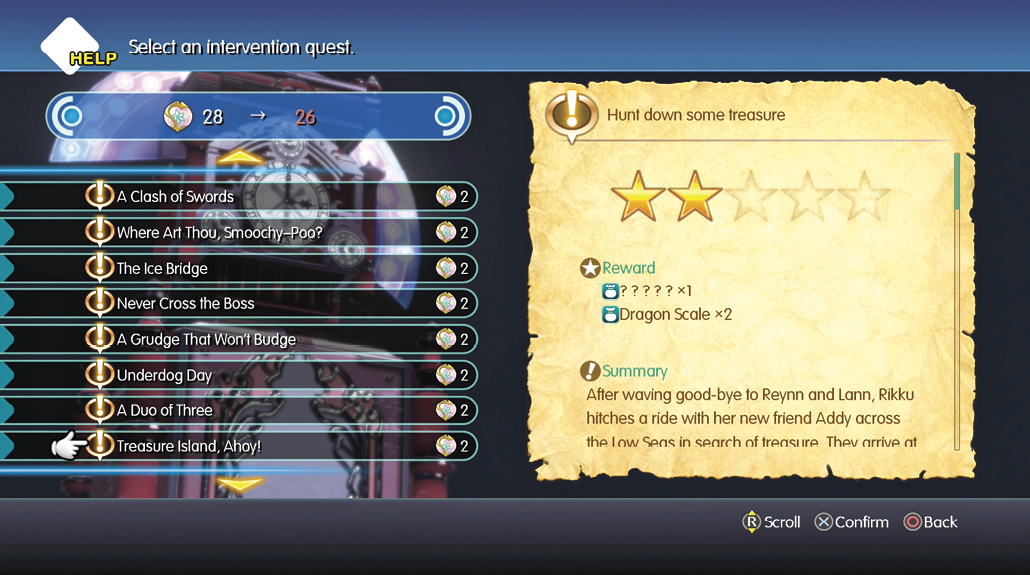
Arma gems are special currency that can only be exchanged in the Girl’s Tearoom. When you first find the Girl’s Tearoom, there will be two uses for arma gems: buying Champion Medals for use in battle, and gaining entry to Intervention Quests that are unlocked over the course of the game.
Note that Intervention Quest attempts are a one-time purchase. You do not need arma gems to attempt an Intervention Quest from the second time onward.
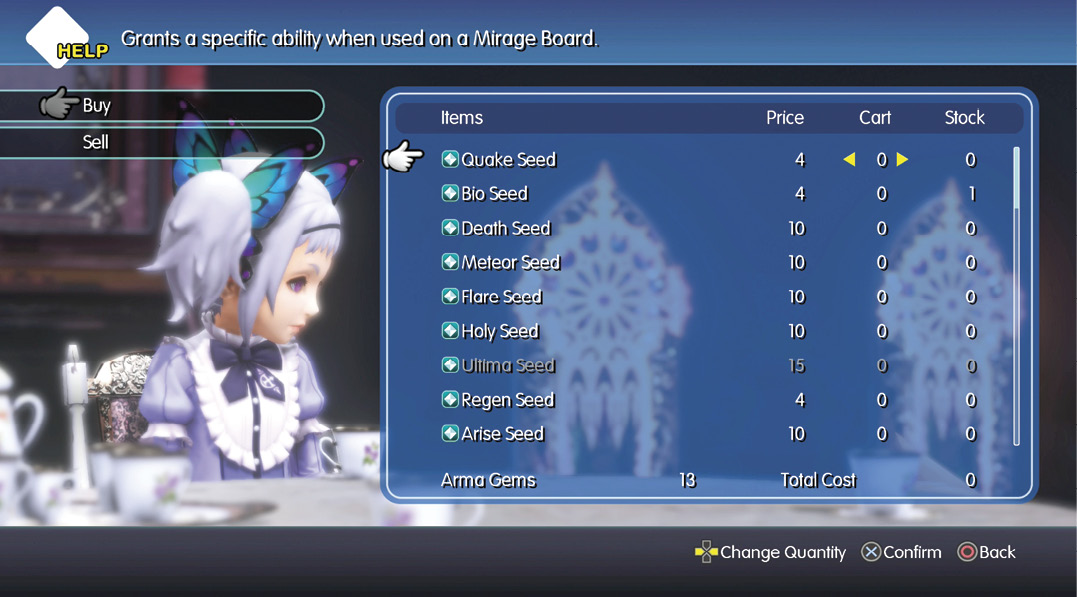
Completing all (non-DLC) intervention quests and buying all of the Champion Medals in the shop will unlock the ability to purchase seeds in the Girl’s Room.
You can earn arma gems by:
- Defeating bosses in the main story
- Winning online Coliseum Battles (there is a very small chance of an arma gem showing up in your post-match spoils)
- Defeating enemies in the EX Dungeons (see the Post-Ending section of the walkthrough for more on this)
You can hold up to 99 arma gems, so be sure to expend them if you find yourself nearing that amount.
List of Intervention Quests
The Girl Who Forgot Her Name
| Objective | Enemies | Arma Gem Cost | Difficulty Ranking | Reward (1st Completion) | Reward (Subsequent Completions) | Quest Unlock Conditions |
|---|---|---|---|---|---|---|
|
Help the WOL |
Bahamutian Soldier, Goblin x2 |
2 |
1 |
Ether x3 |
Ether |
Start Chapter 5 and discover the Girl’s Room |
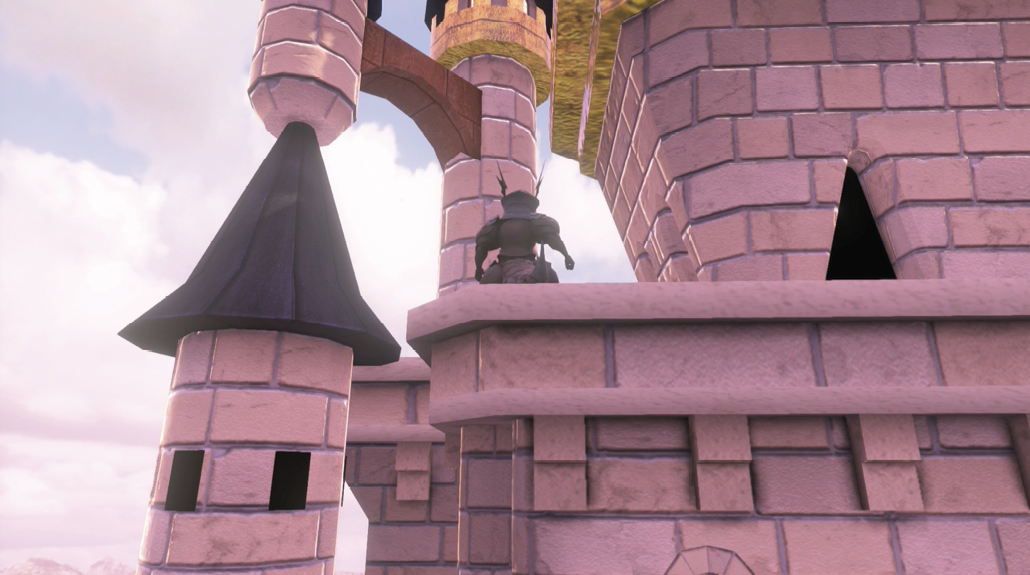
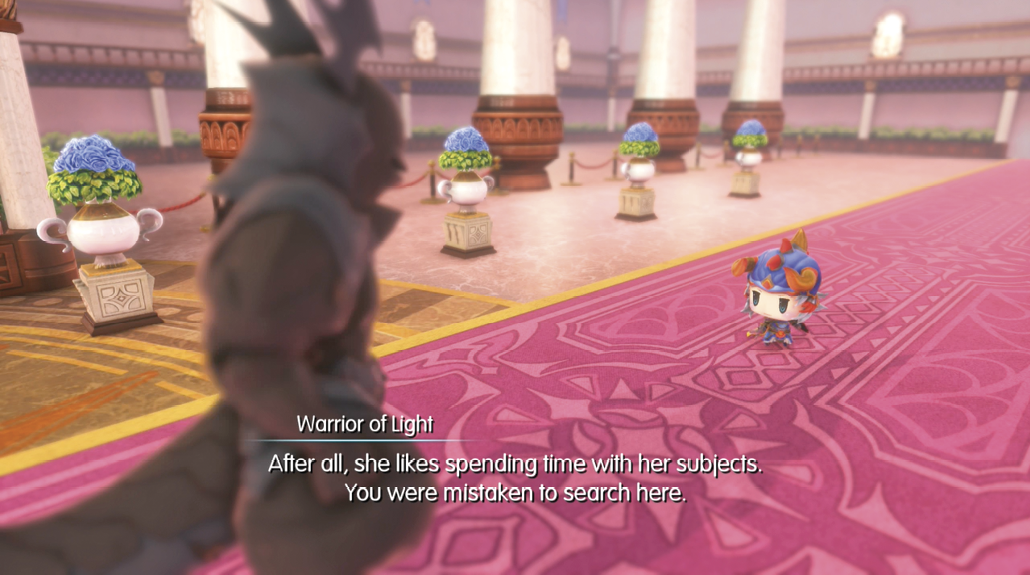
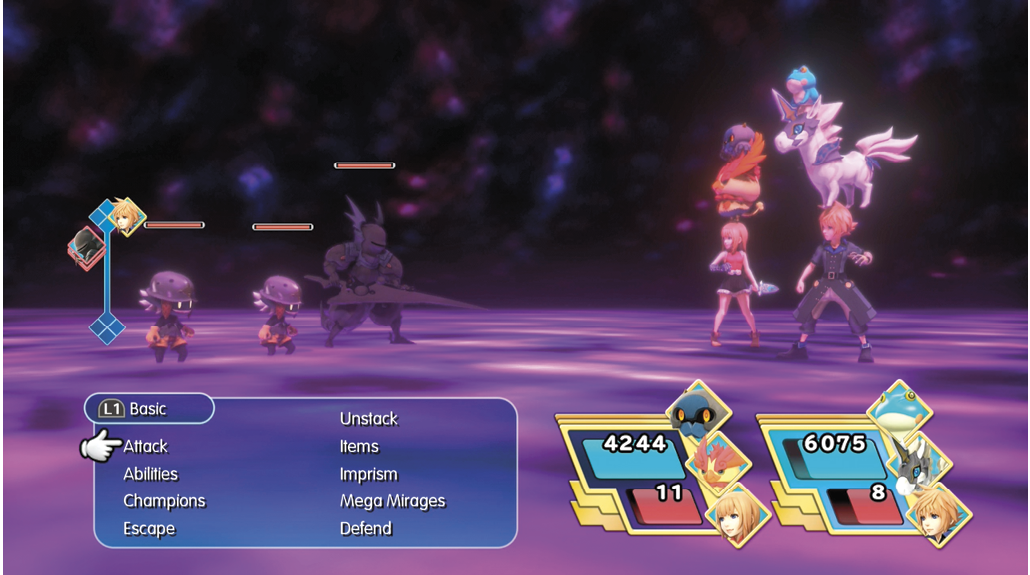
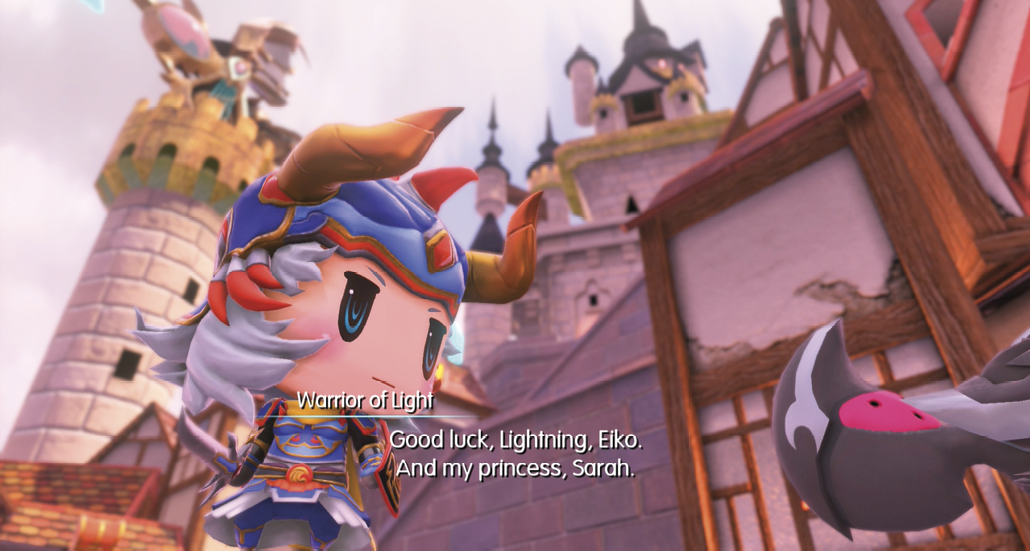
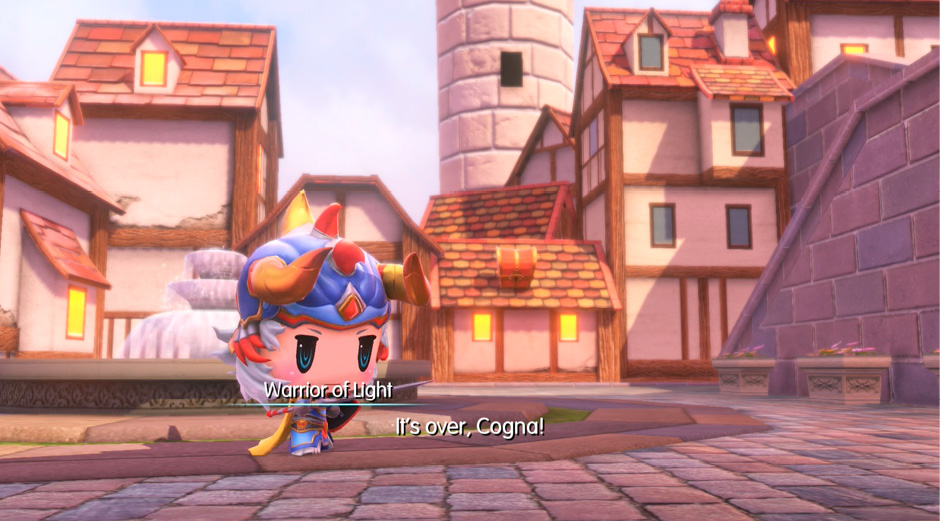
The Warrior of Light patrols the streets of Cornelia, keeping good citizens safe. In other words, just another day on the job. But it looks like today’s going to be interesting, for he spots a suspicious figure on the castle walls…
You’ve seen these baddies in the Watchplains, and they’re no easier or tougher here. Whacking them with your strongest attacks will send them flying in no time—however, if you want to imprism the goblins, defeat the Bahamutian Soldier first. The Bahamutian Soldier, however, cannot be imprismed.
The Five Cogna Lords: Figaro
| Objective | Enemies | Arma Gem Cost | Difficulty Ranking | Reward (1st Completion) | Reward (Subsequent Completions) | Quest Unlock Conditions |
|---|---|---|---|---|---|---|
|
Stop the five Cogna Lords |
Entom Soldier Stack (Entom Soldier, Security Eye) Death Machine Stack (Death Machine, Security Eye), OR Entom Soldier Stack (Entom Soldier, Security Eye) Magna Roader (Purple), OR Entom Soldier Stack (Entom Soldier, Searcher) |
2 |
4 |
Entom Soldier Memento, Hi-Potion x2, Maduin Memento (if mini-game is won without losing any units) |
Potion x2 |
After the Cogna are introduced in Chapter 21. Talk to Serafie in the airship to receive a rumor and unlock the quest. |
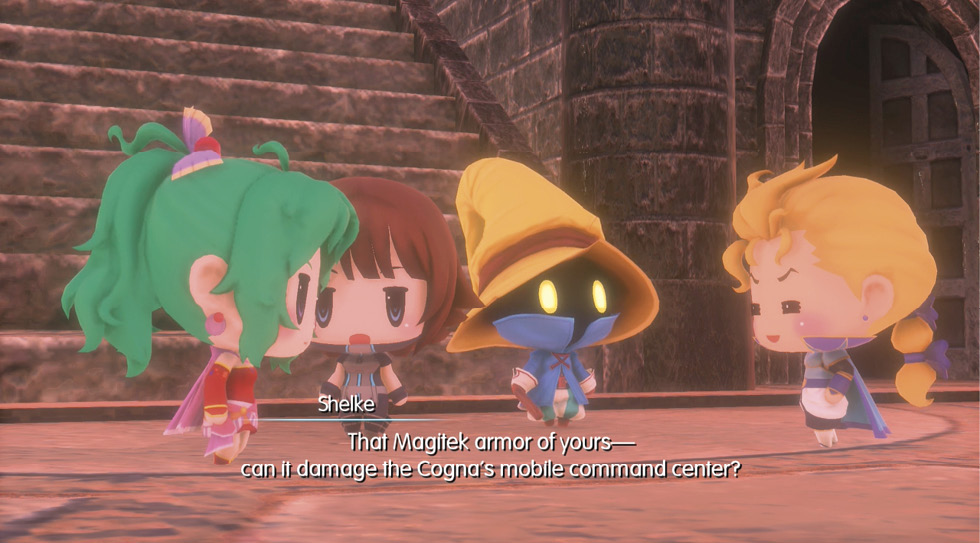
A legion of Cogna surge against the walls of Figaro Castle. Edgar and his allies Shelke and the Black Mages can barely hold back the mechanical tide, but how long can they last? They hatch a plan; if they can find and destroy the Cogna’s mobile command center, they might just be able to save Figaro after all…
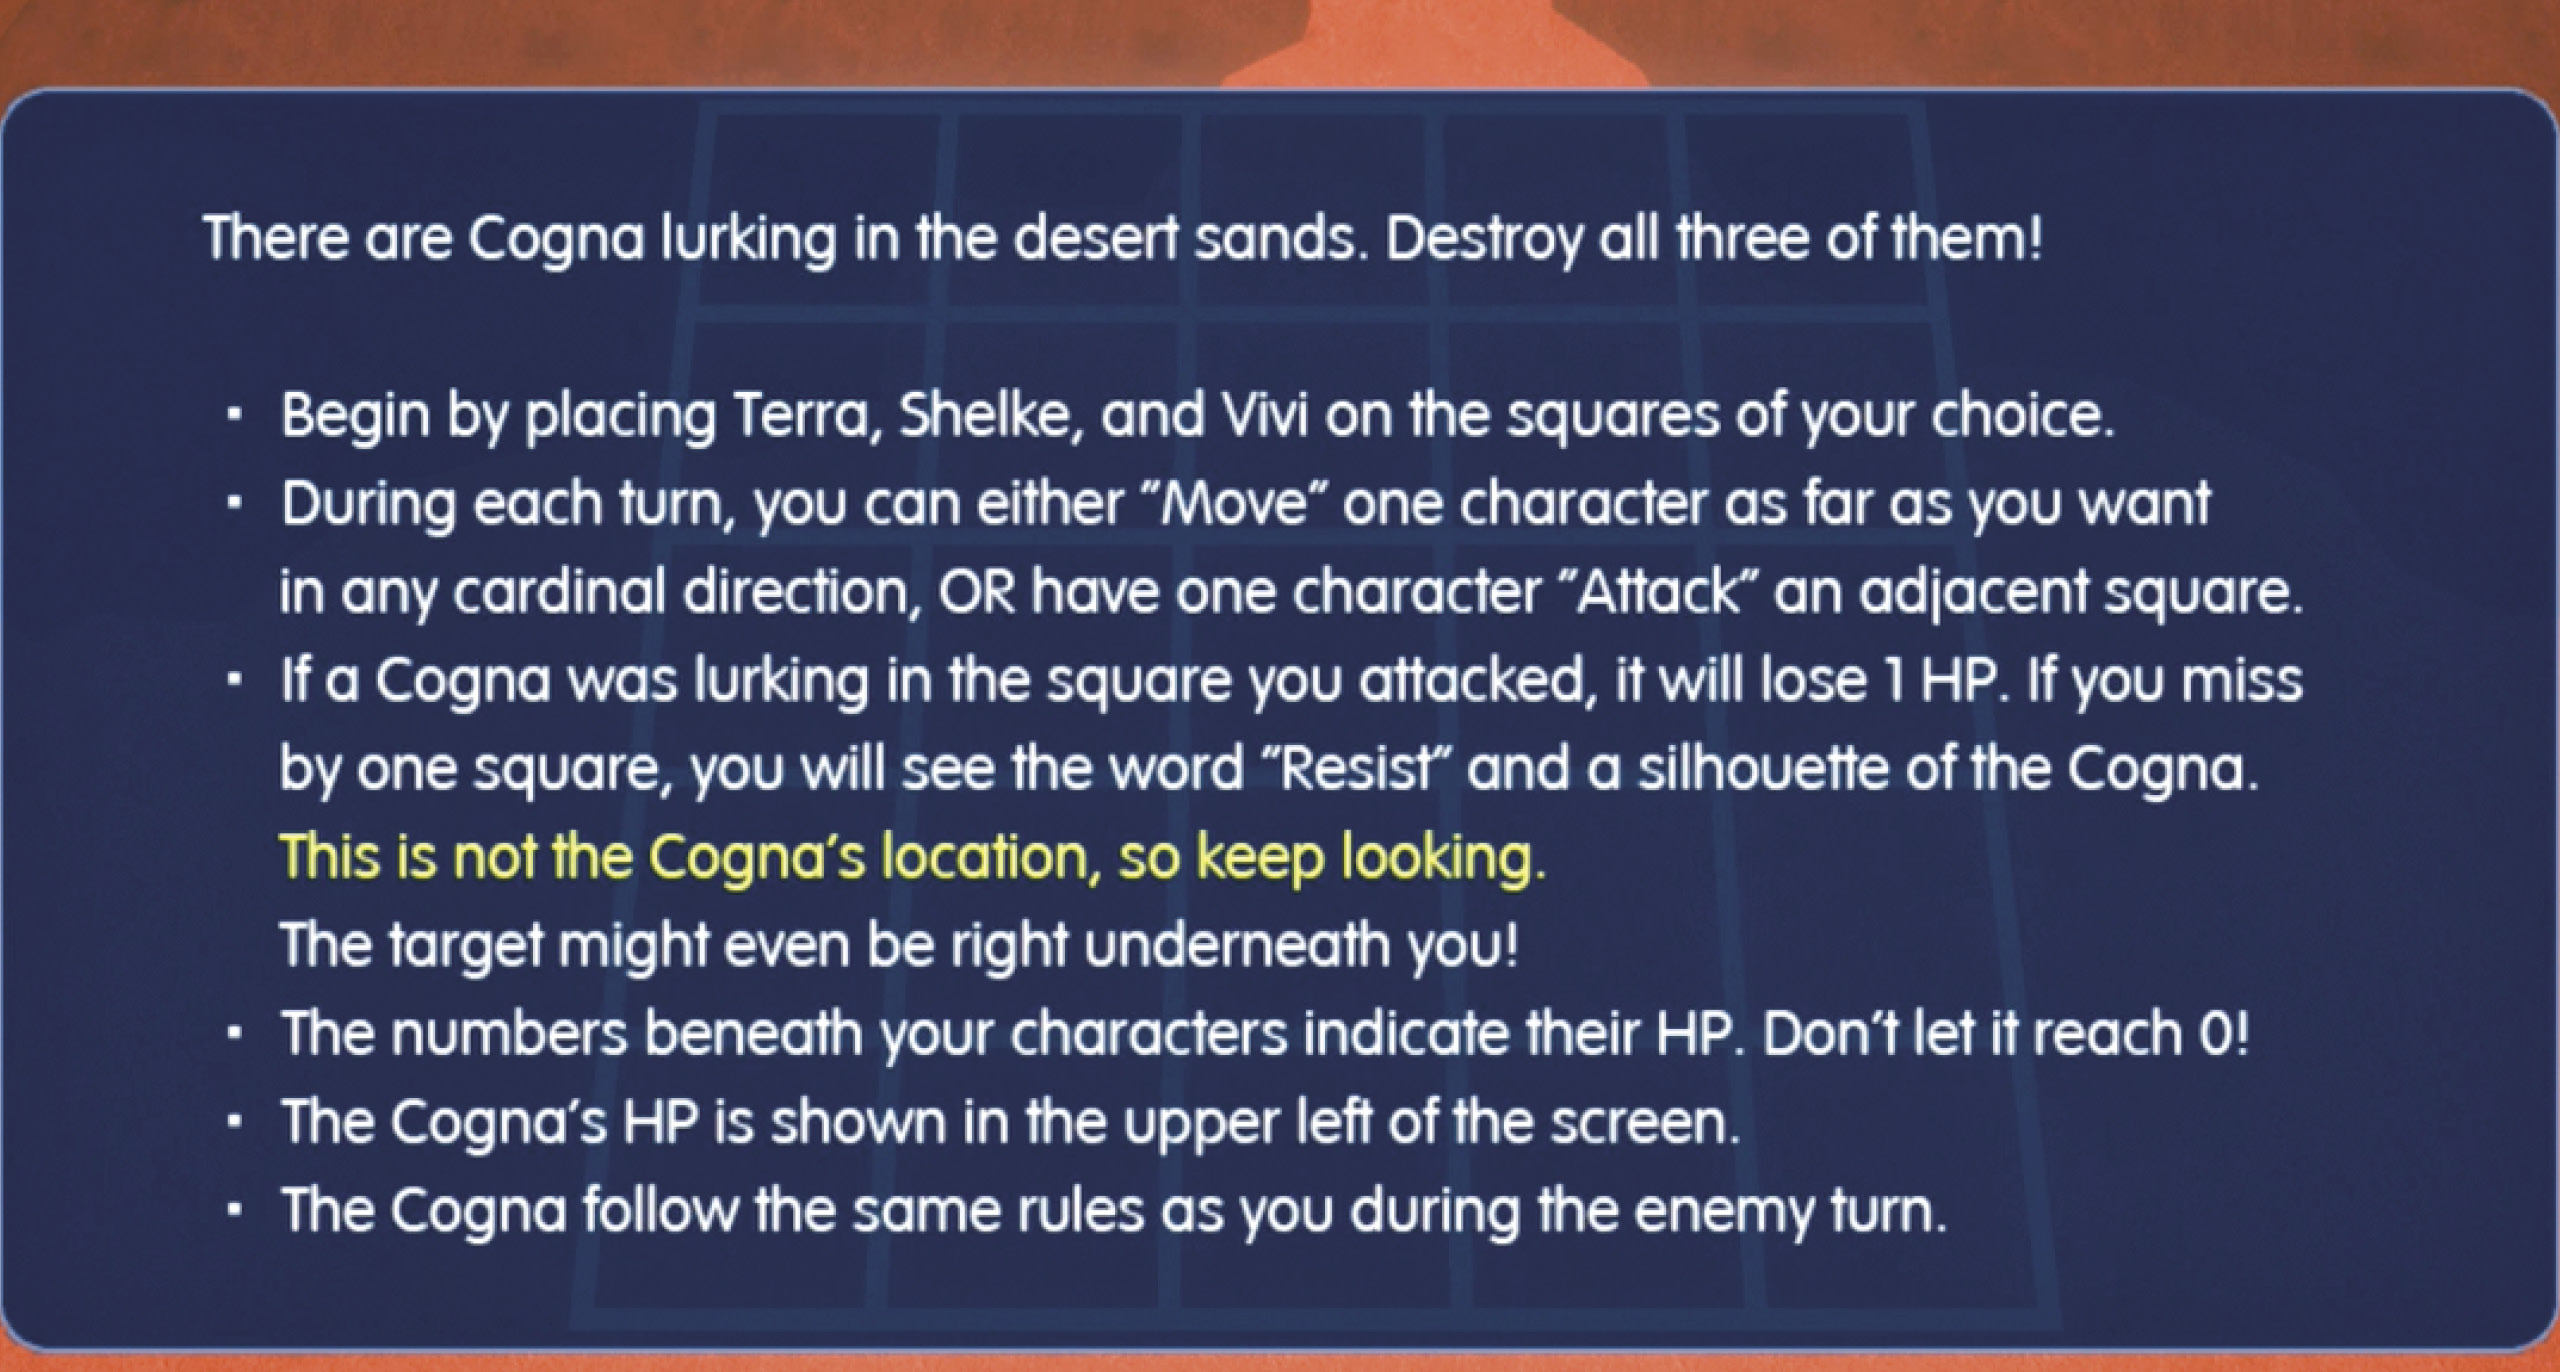
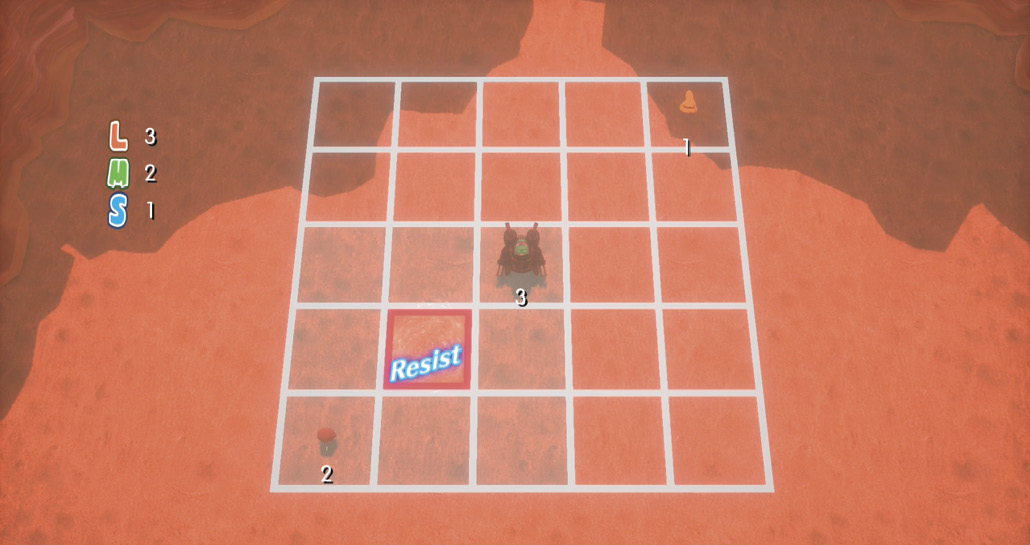
The first part of this quest is a battle of tactics. The object here is to position your units (Terra, Vivi, and Shelke) adjacent to the enemy and attack. There’s just one catch: the enemy is invisible at all times!
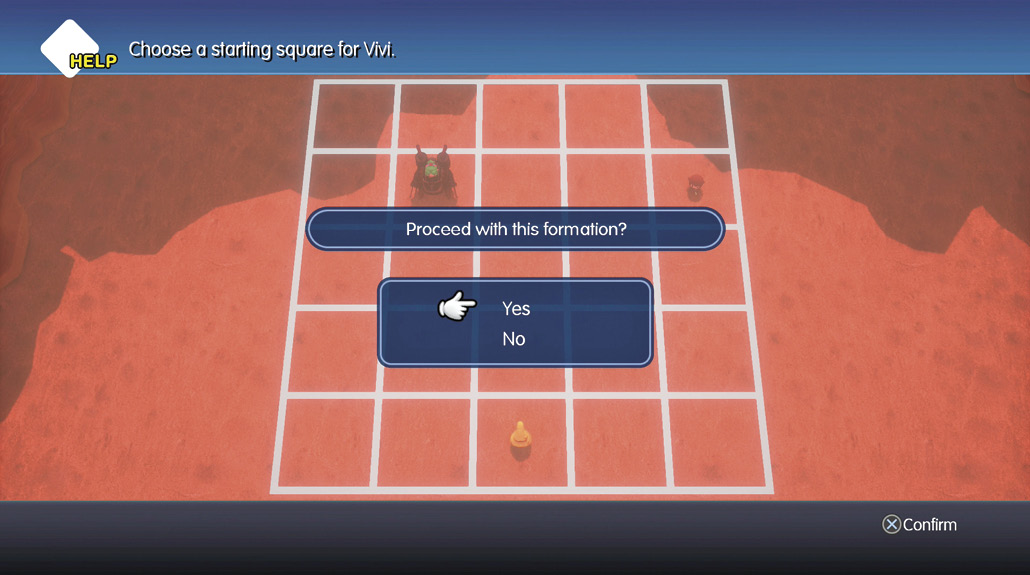
Here are a few important tips to make your life easier:
- Split your forces up to cover the most ground when deploying your units. The best deployment leaves only four squares out of attack range of any of your units.
- The enemy will almost always retreat after being hit, and they will invariably move to the farthest available square. For example, an enemy hit on Row 2/Column 1 will retreat to Row 2/Column 5.
- As the instructions say, sometimes the target can be directly under you. In other words, if you’re getting Resists all over the place, try moving alongside a square. Alternatively, if you have another character nearby, you can have them attack the square your first character is on.
- If you get hit, move immediately. It’s tempting to counterattack, but if you don’t already know where they are, you’re taking a gambling chance on landing a hit. Once the enemy has found you, however, it knows exactly where to strike again.
- You can only move up, down, left, or right, but you can attack diagonally.
- If you lose a unit, don’t get discouraged! Stay in the fight. Perseverance and wits are more important than numbers.
Take out all of the enemies on the grid to win. If you win without losing any units, you’ll nab a maduin memento and get a secret cutscene.
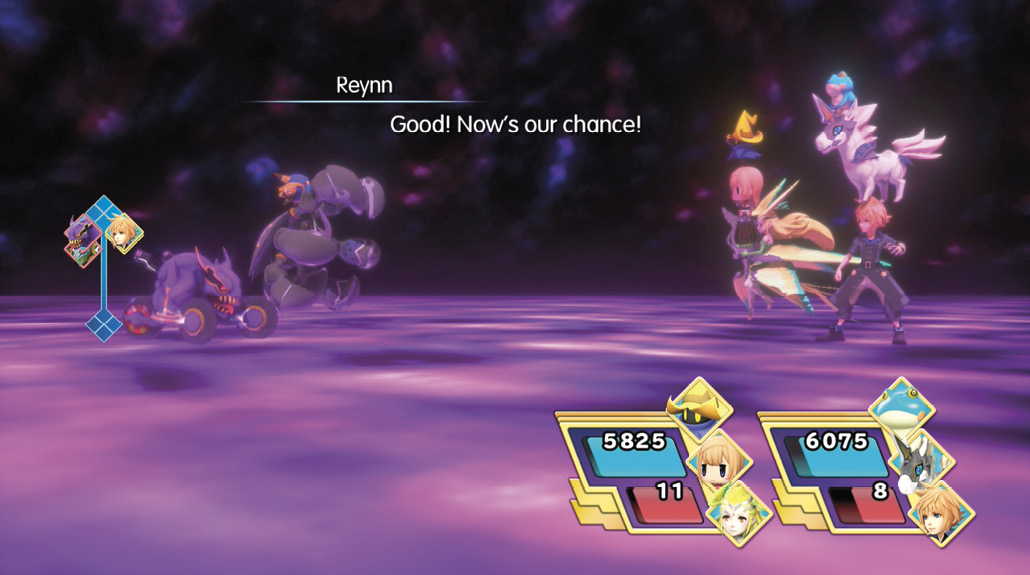
You can also either lose the mini-game or skip it by bringing up the pause menu, both without without hindering story progression. If you do lose or skip the battle, the quest will complete, and you’ll receive the rewards noted in the above table. However, if you win (regardless of whether or not units were lost), you’ll be taken to a Cogna battle with any of the possible enemy combinations—noted, once again, in the above table. Bring your thunder and water abilities, and you’ll have an easy time. If a magna roader shows up to the party, use ice abilities on it. If you win the mini-game but lose the Cogna battle, no rewards will be received!
Attempting this mini-game once will unlock it for play in the Twins’ Room.
The Five Cogna Lords: Cornelia, Part I
| Objective | Enemies | Arma Gem Cost | Difficulty Ranking | Reward (1st Completion) | Reward (Subsequent Completions) | Quest Unlock Conditions |
|---|---|---|---|---|---|---|
|
Stop the five Cogna Lords |
Ramewl |
2 |
4 |
Ramewl Memento, Hi-Ether x2 |
Ether x2 |
After the Cogna are introduced in Chapter 21. Talk to Serafie in the airship to receive a rumor and unlock the quest. |
 (if mini-game is completed)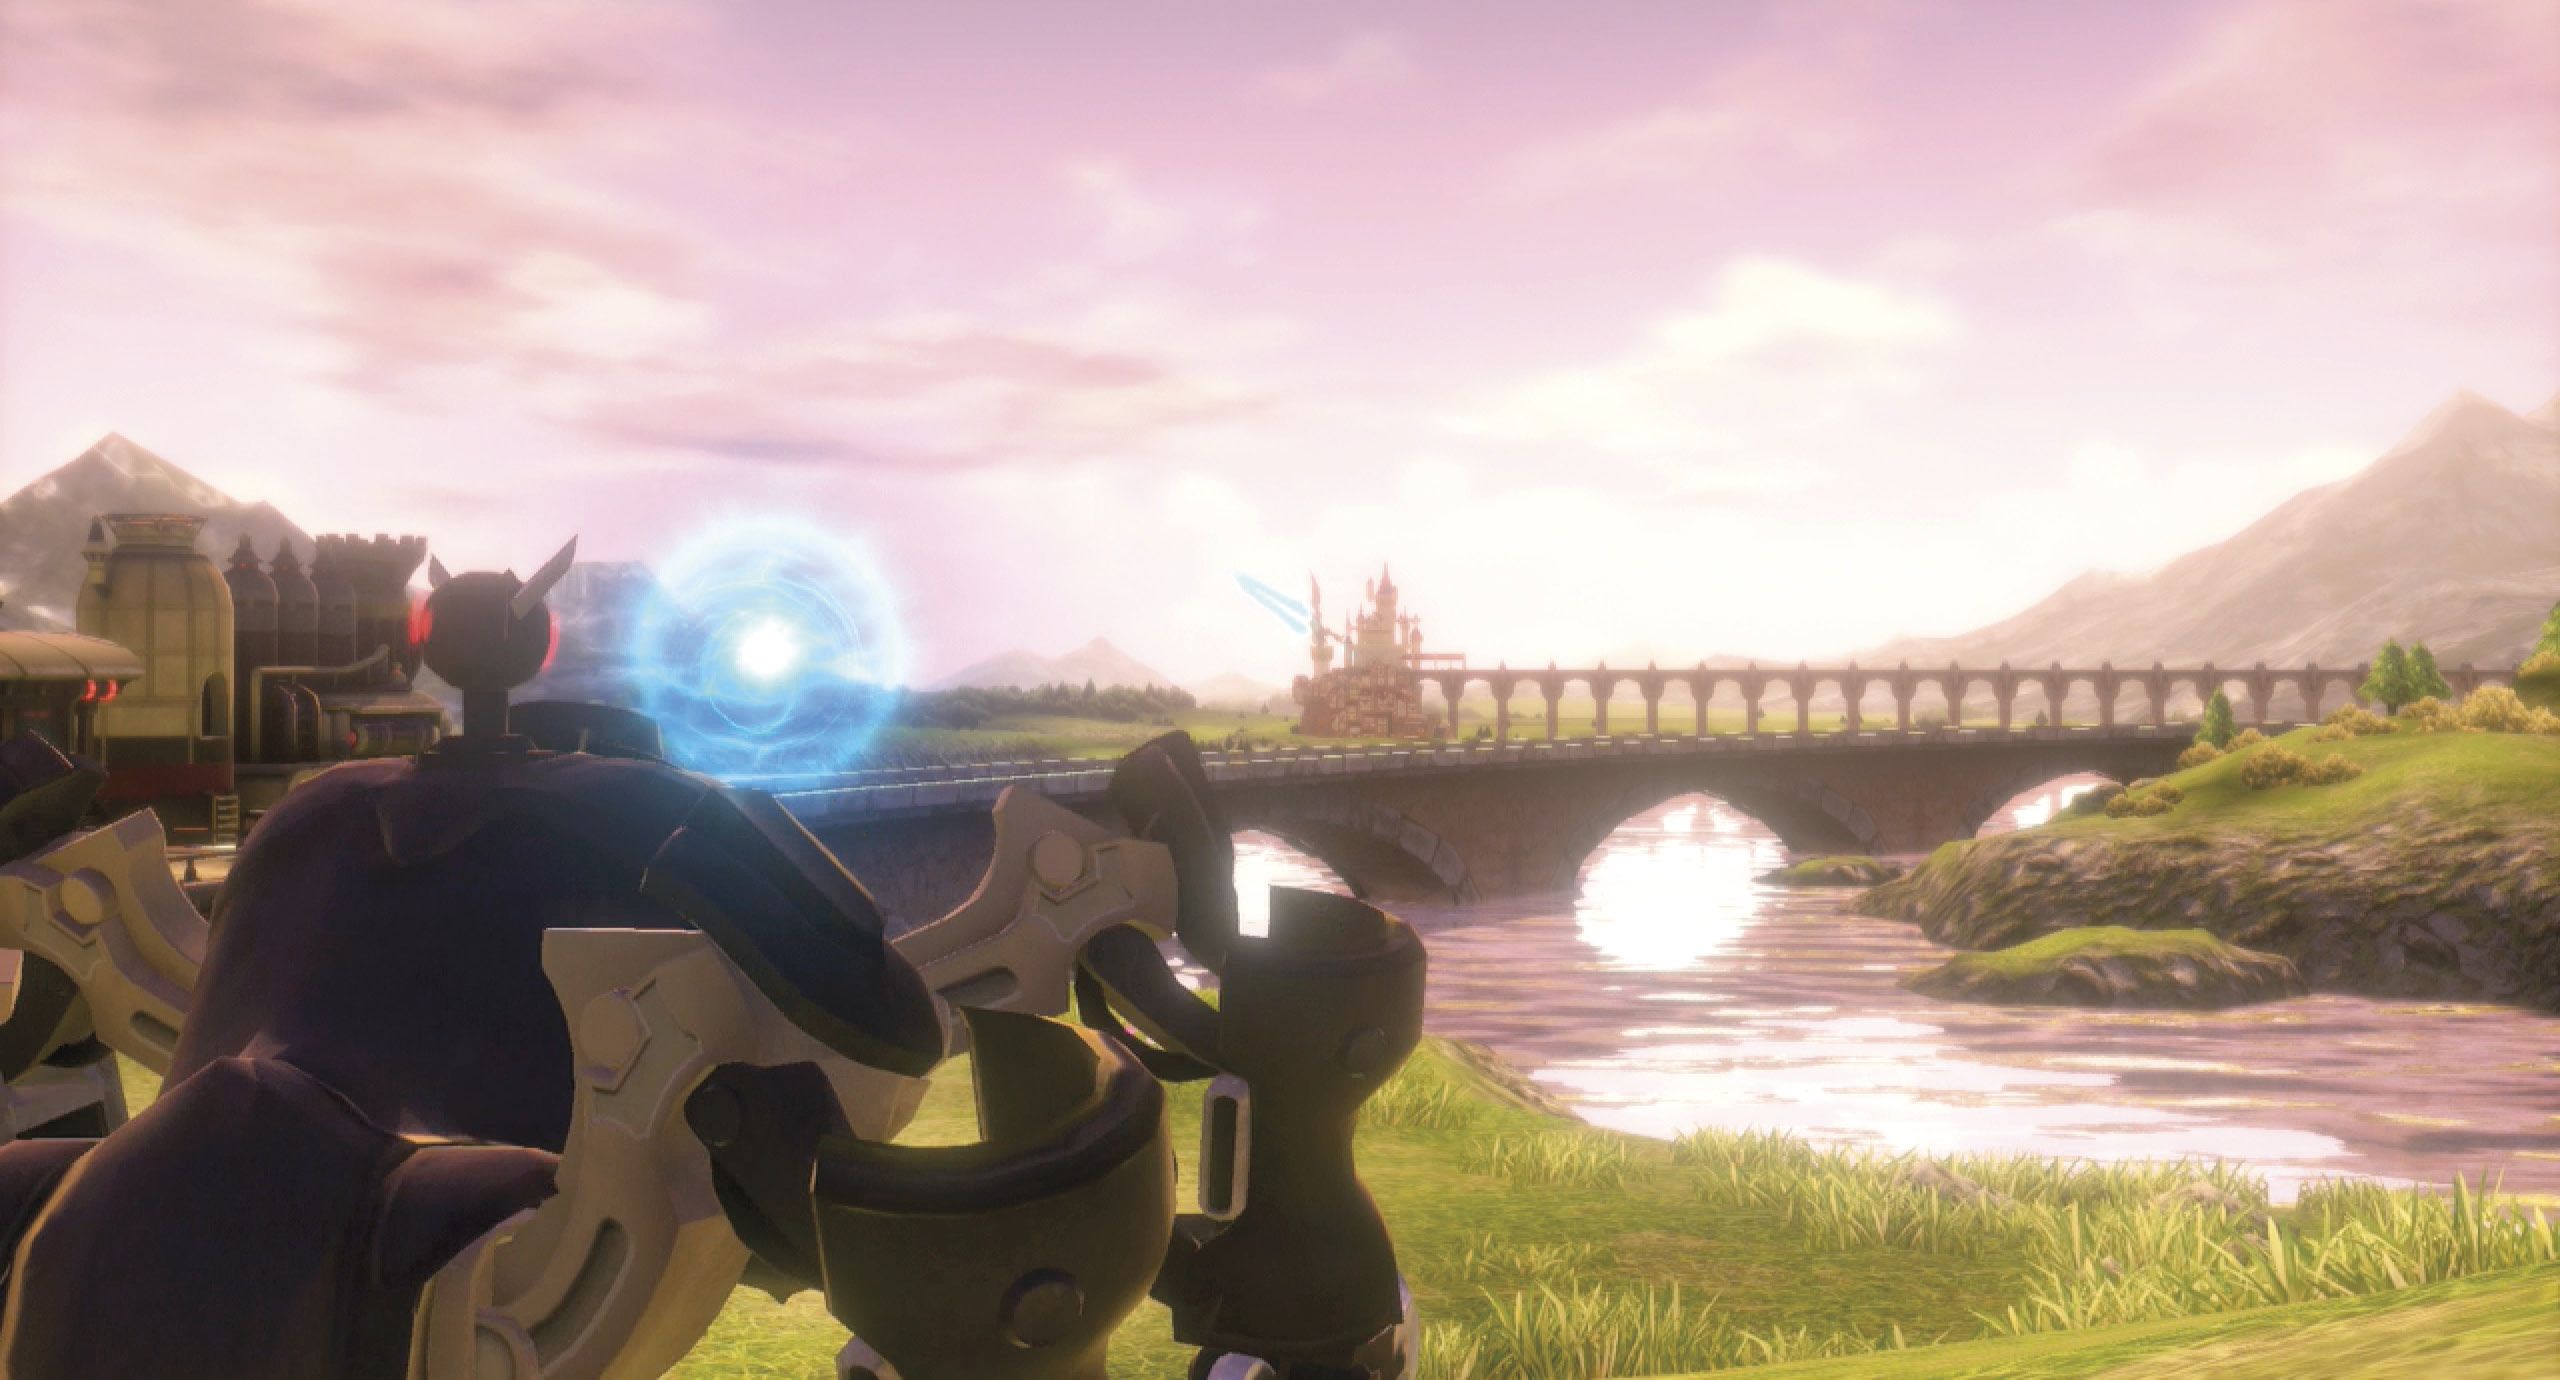
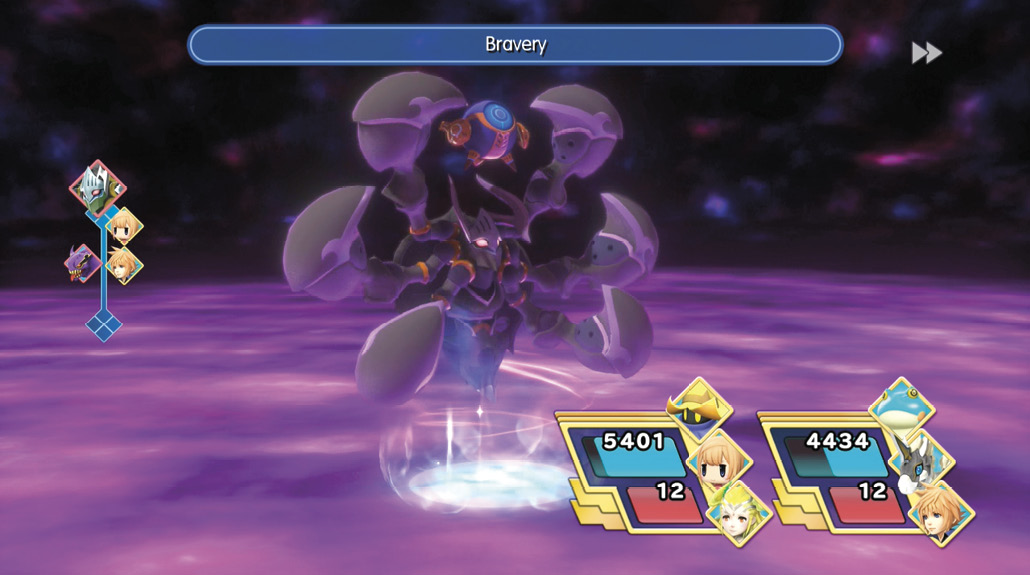
The WOL continues to fight tirelessly to protect Cornelia. Meanwhile, Lightning heads to the Nether Nebula in search of the Judgment Staff, their one hope of taking down the Cogna besieging their city.
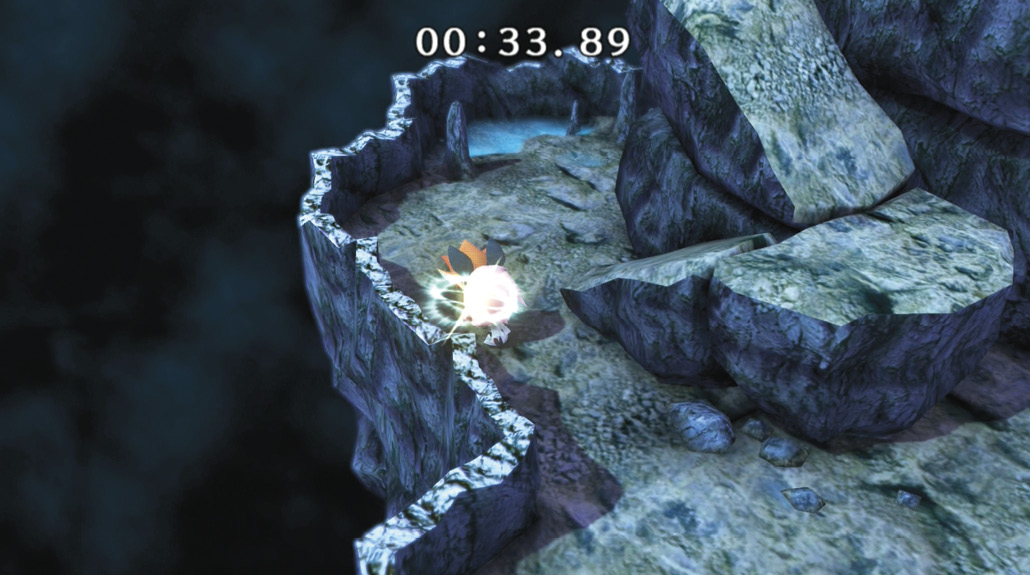
In this mission, you’ll be playing a mini-game where Lightning races through the Nether Nebula. Hold up on the analog stick to move through the cave, and slash at Mirages when they get close using the correct buttons.
There is a two minute time limit for completing the mini-game.
If you’re playing on PlayStation 4, the buttons that you must press to strike each Mirage correspond to the colors of the symbols on the DualShock 4’s face buttons. For the red Mirages, press  ; for the light blue Mirages, press
  ; and for the aqua Mirages, press
  .
.
If you don’t care about technique and just want to finish the mini-game holding forward and rapidly tapping any of the above buttons will let you get there pretty easily. You can choose to skip this mini-game entirely through the pause menu if you want. The story will continue.
Attempting this mini-game once will unlock it for play in the Twins’ Room.
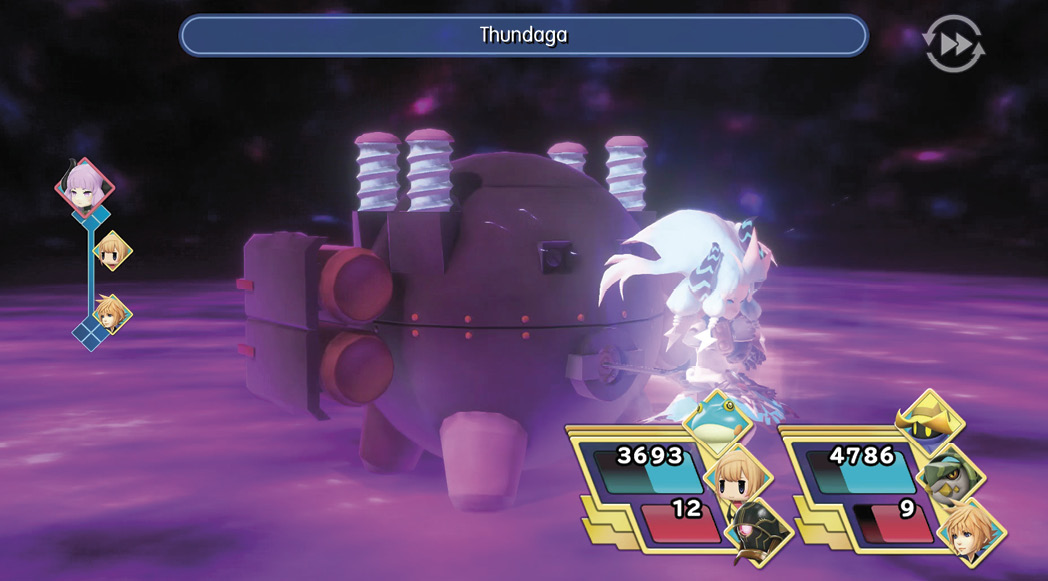
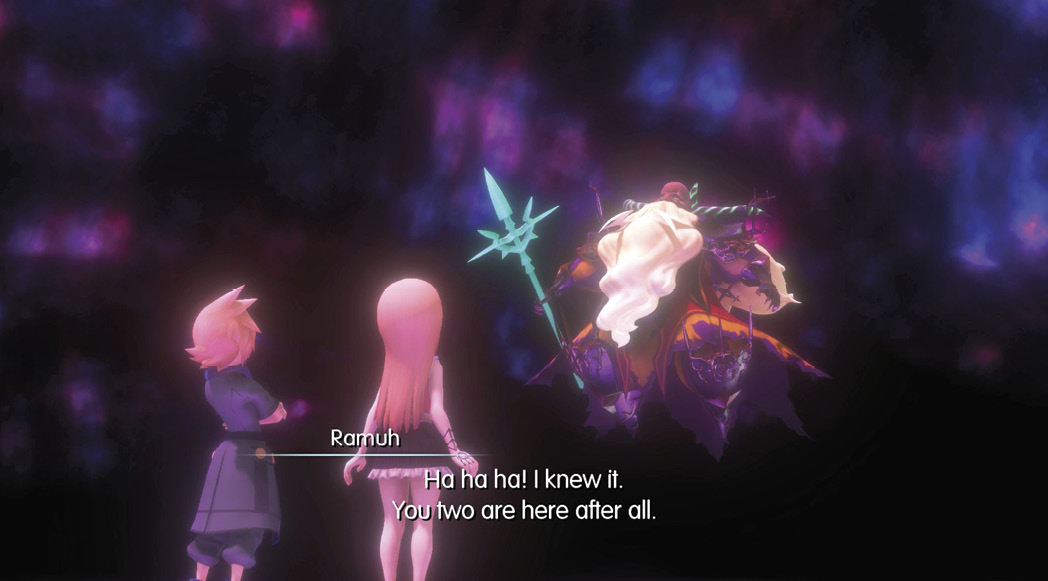
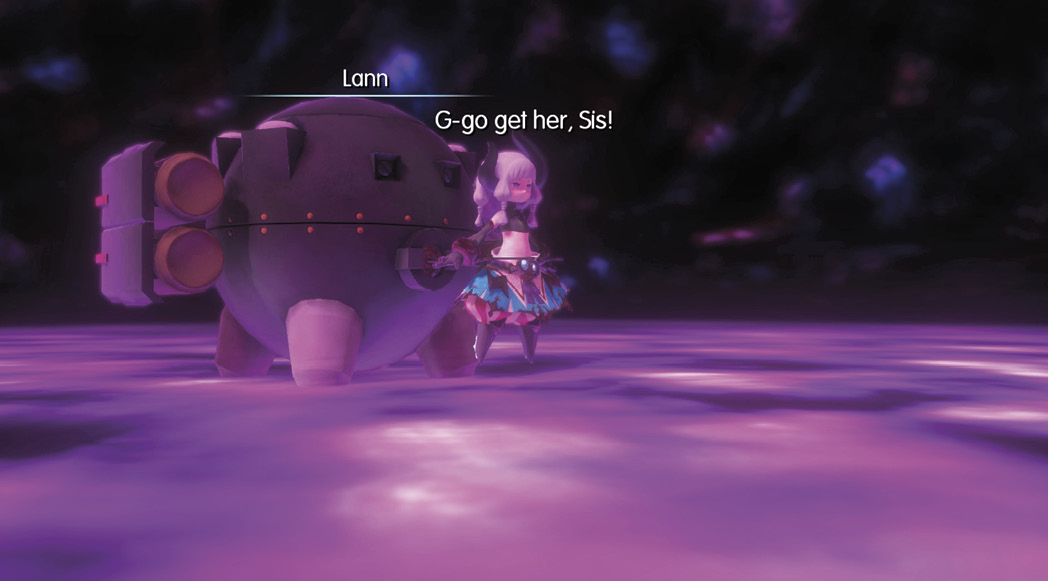
If you beat the mini-game, you’ll fight Ramuh ’s granddaughter, Ramewl
 .
.
Ramewl is very weak to the earth and dark elements, and slightly weak to fire and light. At the beginning of the battle, she’ll cast Regen on herself and heal over 1000 HP every turn. If you can’t power through that type of constant healing, bring Dispel to the battle. Otherwise, watch out for some powerful physical attacks and the mighty Heaven’s Wrath, which hits the entire party with thunder damage multiple times. Bring some of your own thunder-based Mirages to mitigate the damage.
The Five Cogna Lords: Cornelia, Part II
| Objective | Enemies | Arma Gem Cost | Difficulty Ranking | Reward (1st Completion) | Reward (Subsequent Completions) | Quest Unlock Conditions |
|---|---|---|---|---|---|---|
|
Stop the five Cogna Lords |
Omega |
0 |
4 |
Omega Memento, Phoenix Pinion x2 |
Phoenix Down x2 |
Clear “The Five Cogna Lords: Cornelia, Part I” |
Lightning returns to Cornelia with the Judgment Staff. It’s finally time to strike back at the Cogna!
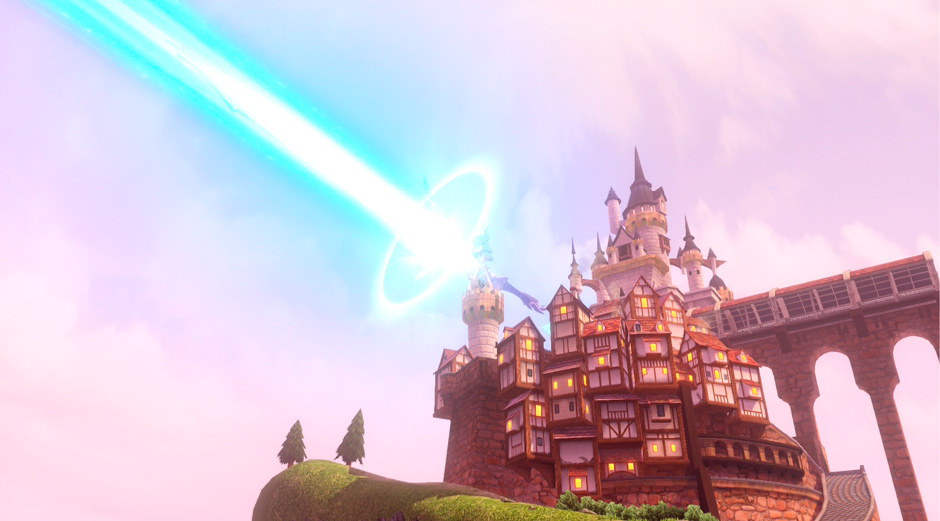
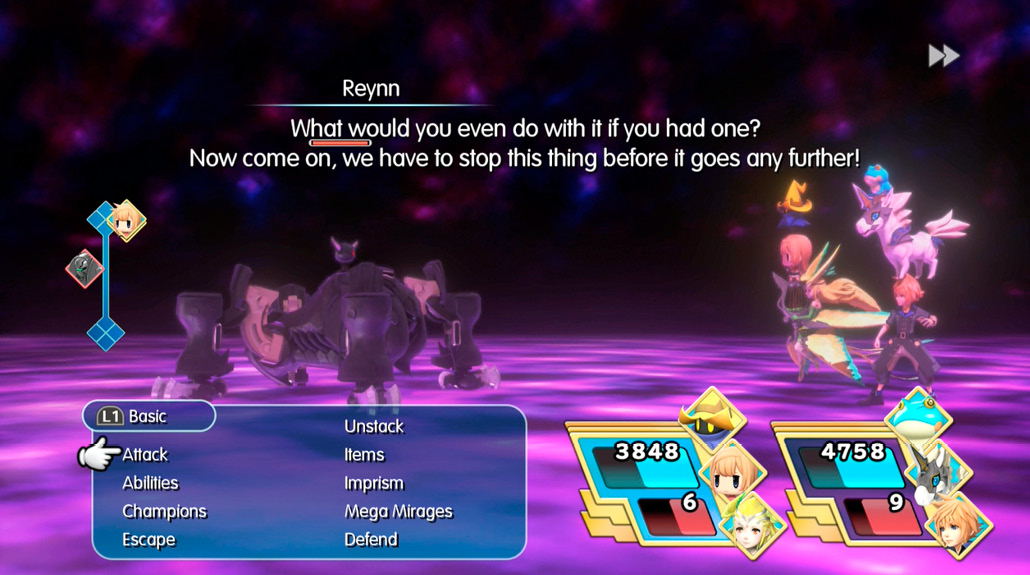
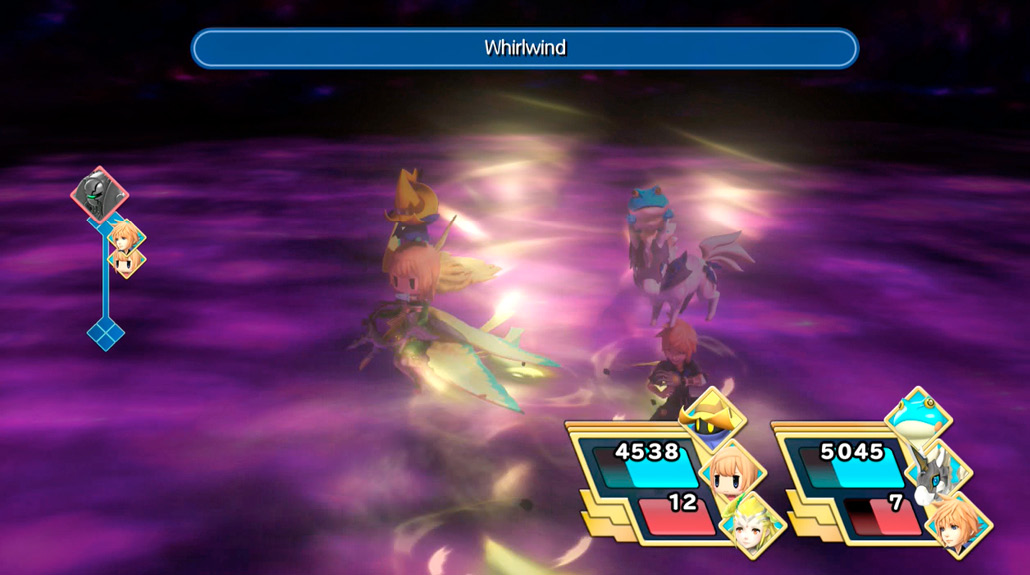
Like most machines in the game, water and thunder attacks are your best friends against Omega. Watch out, though—Omega has area-of-effect spells at its disposal, as well as the ability to cast Reflect on itself early into the fight. When Omega gets low on HP, it can also cast Berserk and Haste on itself via its Destroyer ability.
The Five Cogna Lords: Nibelheim
| Objective | Enemies | Arma Gem Cost | Difficulty Ranking | Reward (1st Completion) | Reward (Subsequent Completions) | Quest Unlock Conditions |
|---|---|---|---|---|---|---|
|
Stop the five Cogna Lords |
Supraltima Weapon |
2 |
4 |
Remedy x2 |
Pick-Me-Up x2 |
After the Cogna are introduced in Chapter 21. Talk to Serafie in the airship to receive a rumor and unlock the quest. |
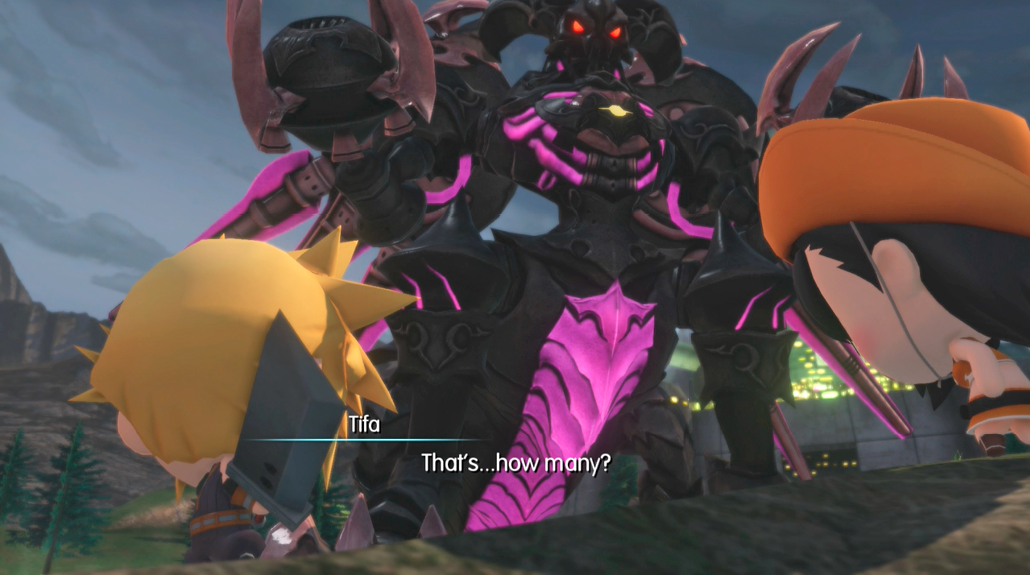
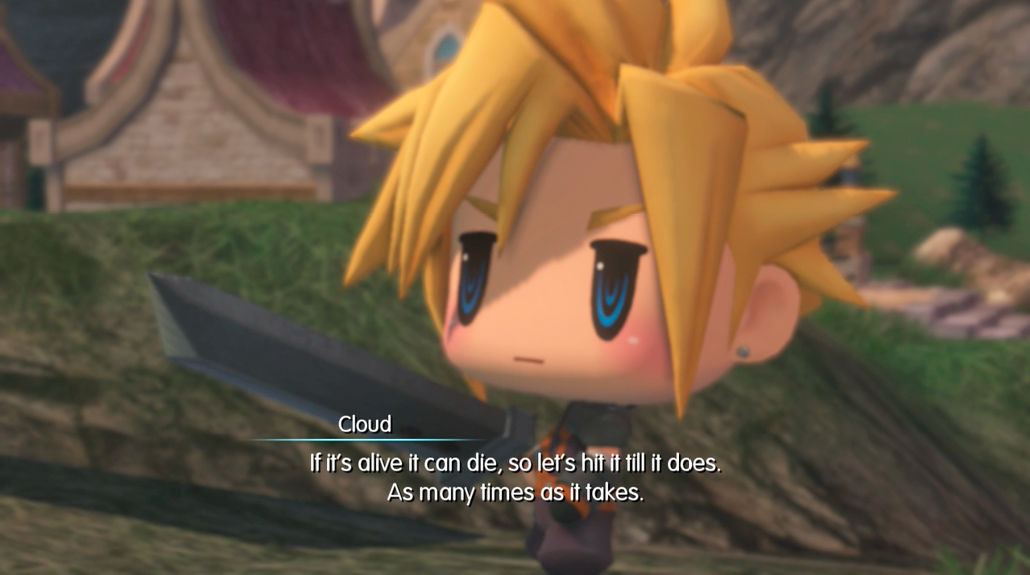
Tifa and Cloud have fought the Cogna devastating Babil time and time again, but the thing never seems to show any signs of wear and tear. With Rydia’s help—and some backup from Reynn and Lann—the group settles in for a long, drawn-out battle within this wellspring of Cognatic life.
Fighting Supraltima Weapon initially appears to be futile—its HP is high enough that even Libra won’t show it, it has great defense, resists all status ailments, and has no real elemental weaknesses. There is hope, however, and that hope lies in endurance.
Heed Cloud’s and Tama’s words: keep hitting Supraltima Weapon with your strongest magic while surviving its assault, and you’ll slowly whittle away its health. This is easier said than done, seeing as Full Power! hits single enemies for loads of damage, and Ultima hits your whole party for even more. It helps to have plenty of restoratives—or even better, Cura or Curaga—in your arsenal.
Hold out for long enough, and you’ll leave the mission automatically. Challenge it again, and Supraltima Weapon will have the same lowered amount of HP from before! Fight, rinse, and repeat until you’re victorious.
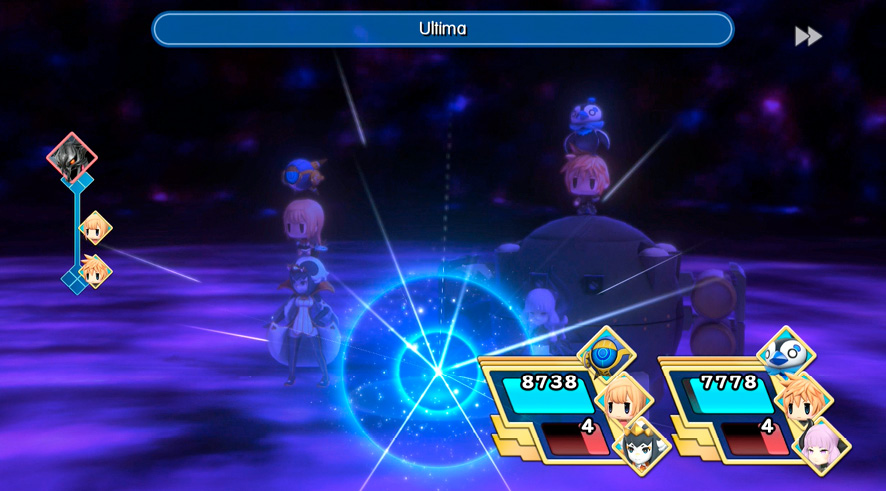
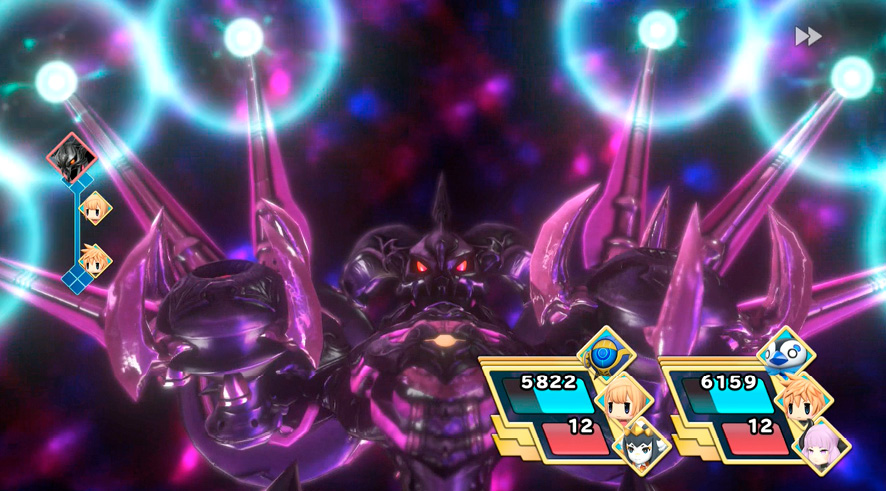
Even if your party falls in battle, Supraltima Weapon’s HP still won’t reset, so fight your hardest no matter what and take off as much HP as possible.
The Five Cogna Lords: Tometown, Part I
| Objective | Enemies | Arma Gem Cost | Difficulty Ranking | Reward (1st Completion) | Reward (Subsequent Completions) | Quest Unlock Conditions |
|---|---|---|---|---|---|---|
|
Stop the five Cogna Lords |
Cactuar Conductor (…sort of) |
2 |
3 |
Hi-Potion x2 |
Potion x2 |
After the Cogna are introduced in Chapter 21. Talk to Serafie in the airship to receive a rumor and unlock the quest. |
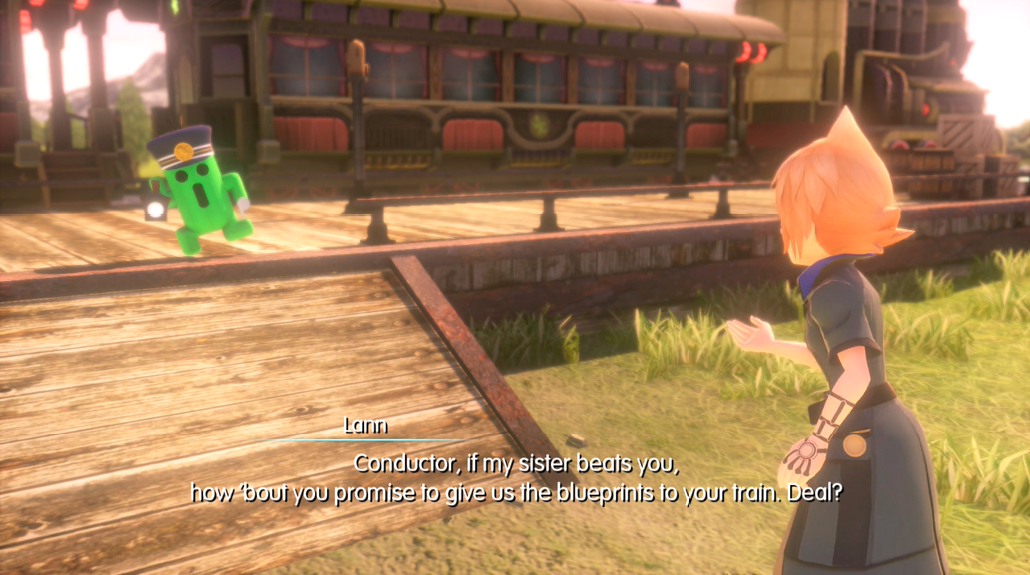
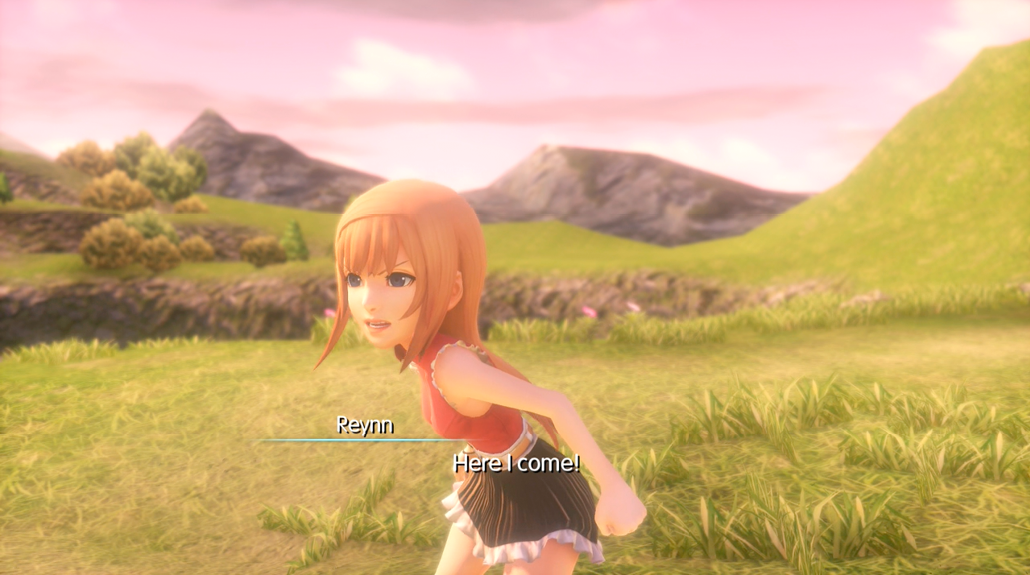
A locomotive Cogna has been harrying Tometown, appearing and disappearing seemingly without rhyme or reason. Celes and Cid are at a loss as to how to pin down this elusive foe, but Reynn and Lann have an idea. What they need is some good ol’-fashioned train know-how, so they go looking for an expert…
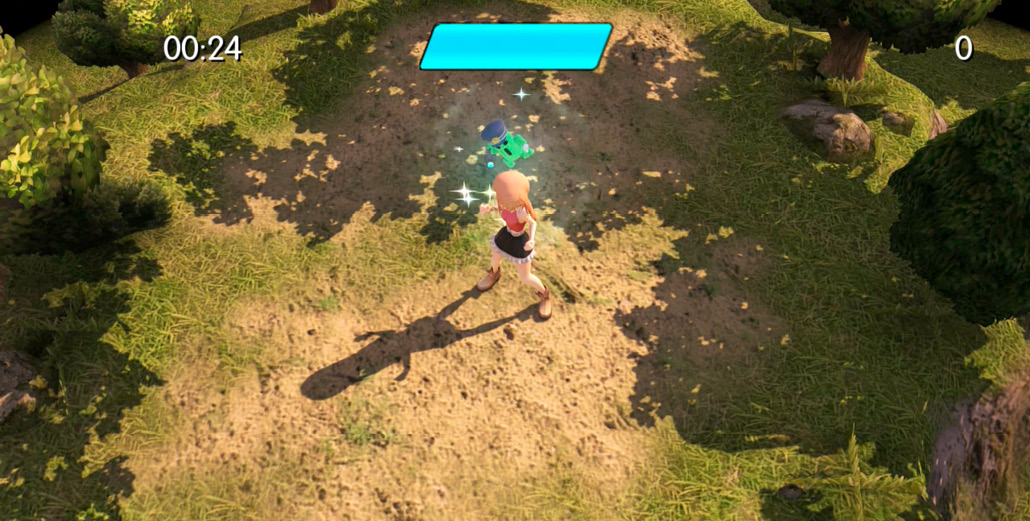
It’s time for Reynn to get her rematch against the Cactuar Conductor (long story)! Use the analog stick to point Reynn in the direction of any cactuar, then press any face button to strike. As the cactuars pop in and out of view, you’ll want to look out for the Cactuar Conductor, who is extremely hard to hit, as he will only ever appear onscreen for a split second. In this case it’s helpful to know Reynn’s punch animation is ever-so-slightly faster than her kick animation.
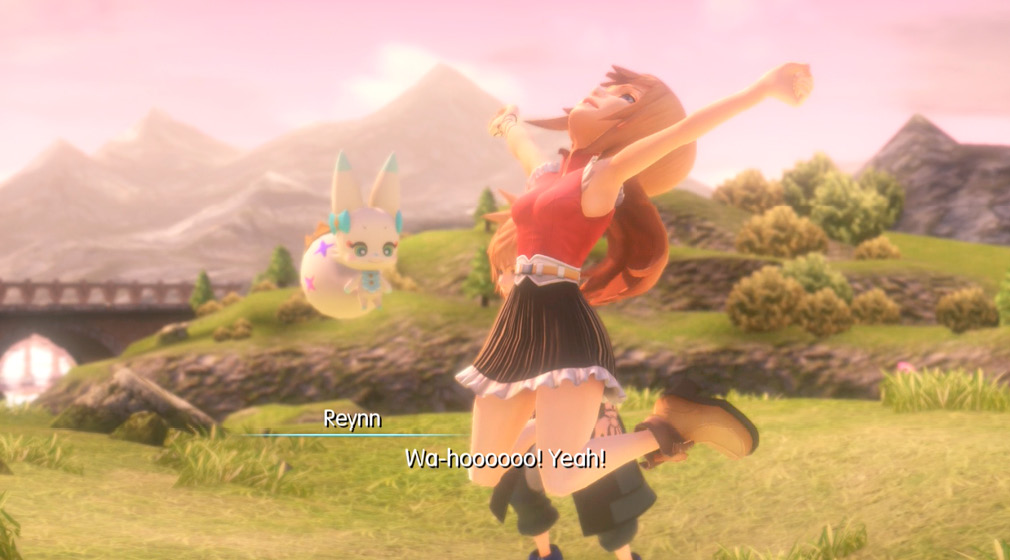
Use her punches ( or
or  ) over her kicks (
 or
or  ) to increase your chances of hitting the Conductor.
Completing this mini-game will unlock a high-score version of it for play in the Twins’ Room. Here are some extra tips if you feel like whacking more cactuars:
- If you want to play it safe, Reynn can only reliably strike up to three cactuars with punches before they disappear. Therefore, it’s better to only ever go for three cactuar and then stop. Any missed strikes result in a great loss of HP!
- If you don’t want to play it safe, then take advantage of the fact that you can cancel Reynn’s punch animation into a kick right as the punch finishes. The timing is tight, but you can go for four cactuars with a punch > kick > punch > kick combo!
- If the Cactuar Conductor shows up, prioritize him, as he usually disappears first amongst all the cactuars on-screen. He’s also worth more points, as are gigantuars.
If you manage to hit the Cactuar Conductor, or even if you don’t, feel free to move on when the game is over, as it is optional to actually progressing the story.
The Five Cogna Lords: Tometown, Part II
| Objective | Enemies | Arma Gem Cost | Difficulty Ranking | Reward (1st Completion) | Reward (Subsequent Completions) | Quest Unlock Conditions |
|---|---|---|---|---|---|---|
|
Stop the five Cogna Lords |
War Machine |
0 |
4 |
War Machine Memento, Hi-Ether x2 |
Ether x2 |
Clear “The Five Cogna Lords: Tometown, Part I” |
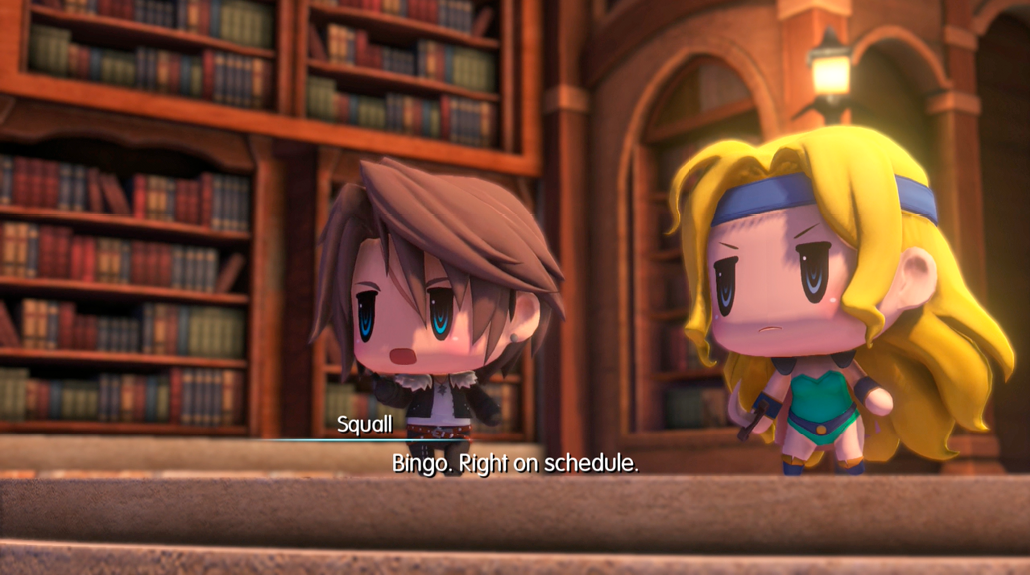
Thanks to the Cactuar Conductor’s expertise, the twins succeed in luring the Cogna to where Squall and Celes wait.
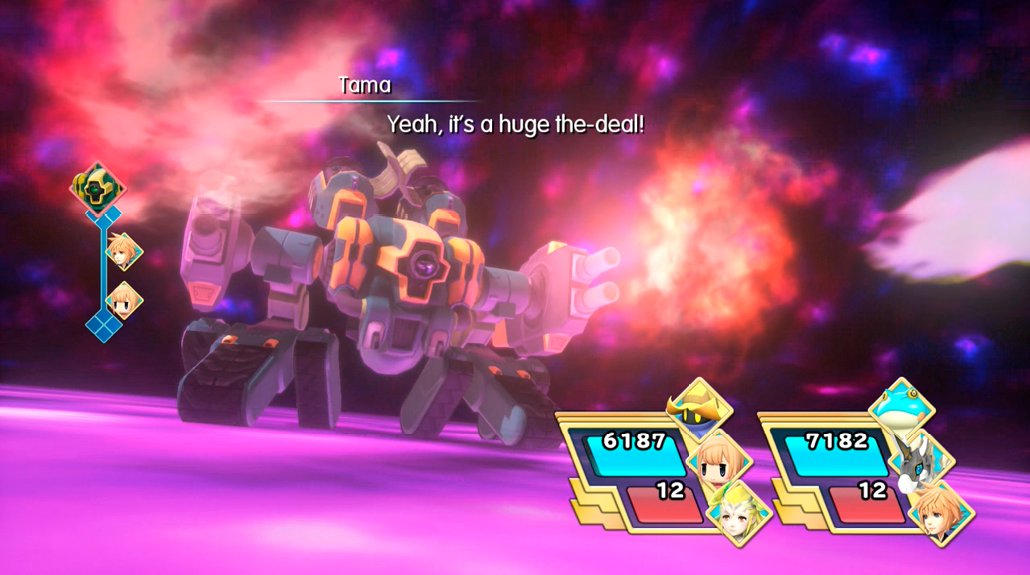
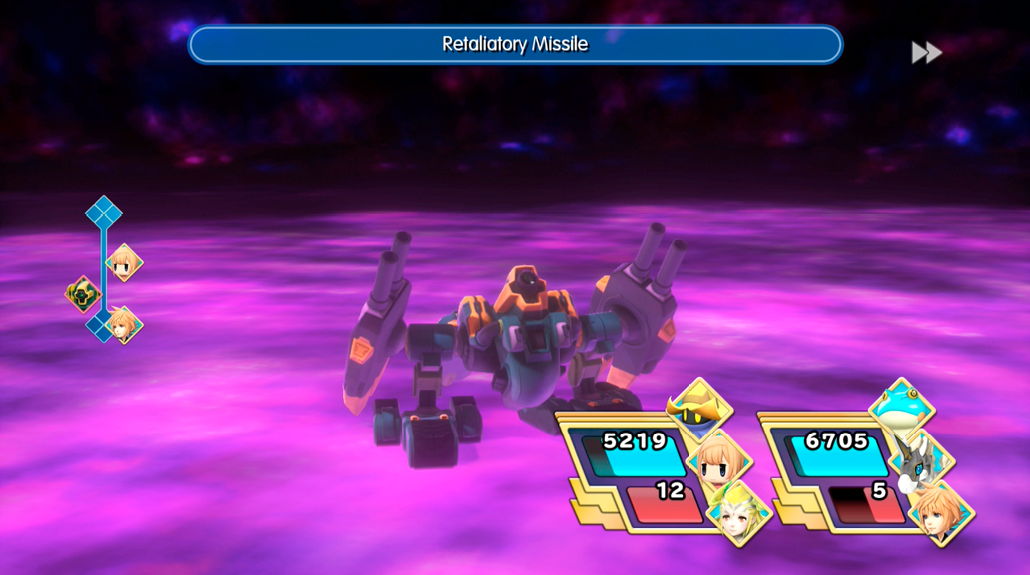
You’ve fought enemies exactly like this one of other colors by now, and the same strategies apply. Bust out the water and thunder while watching out for the heavy artillery! The war machine will also counterattack if you strike it with physical attacks.
The Five Cogna Lords: Port Besaid
| Objective | Enemies | Arma Gem Cost | Difficulty Ranking | Reward (1st Completion) | Reward (Subsequent Completions) | Quest Unlock Conditions |
|---|---|---|---|---|---|---|
|
Stop the five Cogna Lords |
Einhänder |
2 |
4 |
Einhänder Memento, Phoenix Pinion x2 |
Phoenix Down x2 |
After the Cogna are introduced in Chapter 21. Talk to Serafie in the airship to receive a rumor and unlock the quest. |
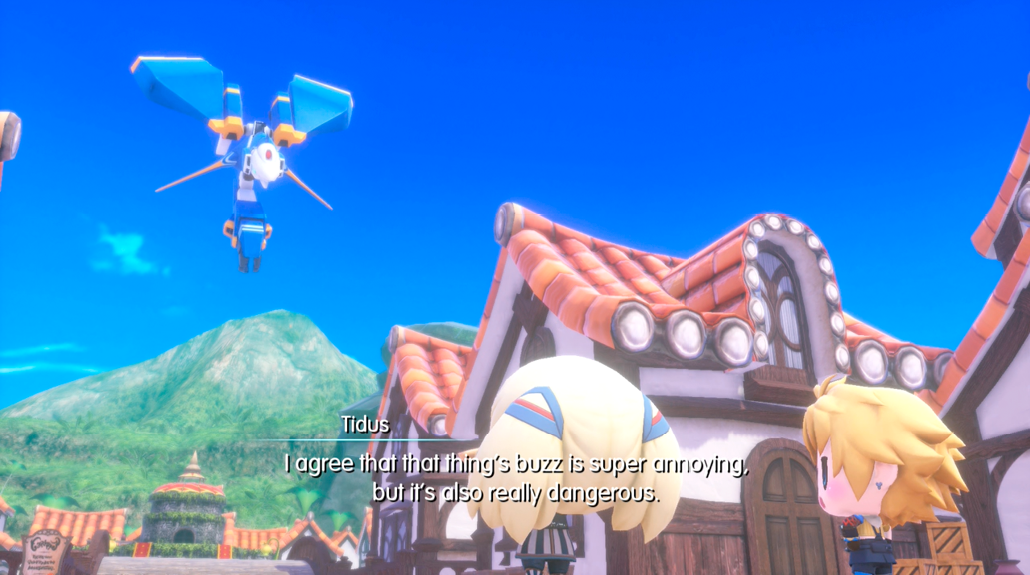
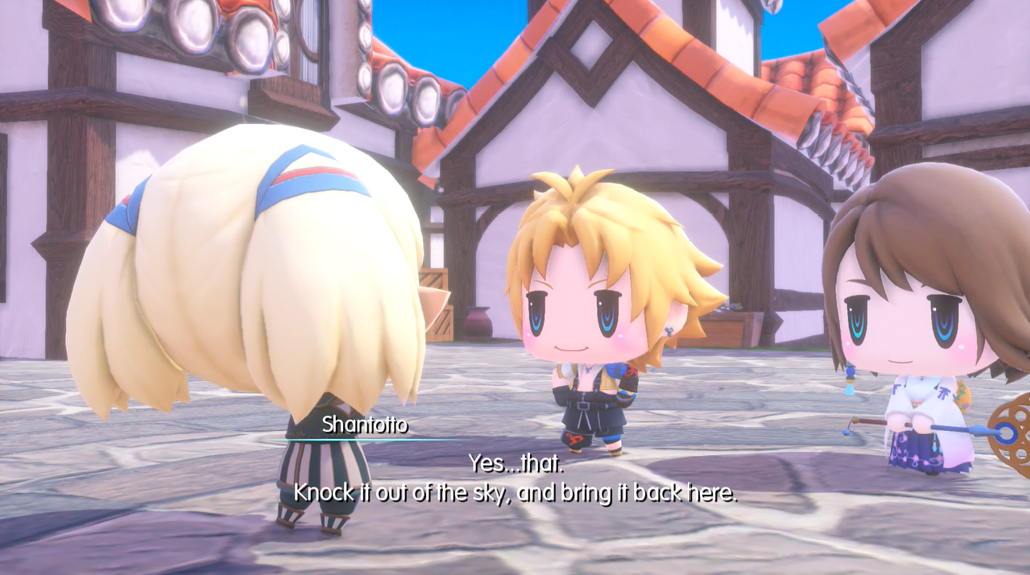
A dangerous Cogna circles the skies over Besaid, and Shantotto, Tidus, and Yuna are having trouble bringing it down. Shantotto, ever her brilliant self, comes up with a plan, and Tidus heads out to fight the Cogna.
Einhänders fly across the sky in this mini-game. Tidus rides on valefor, kicking blitzballs in an attempt to bring one down.
For the best chance of netting an einhänder, go for a high angle and a high power level on the bar, while ensuring that one of them is close to Tidus.
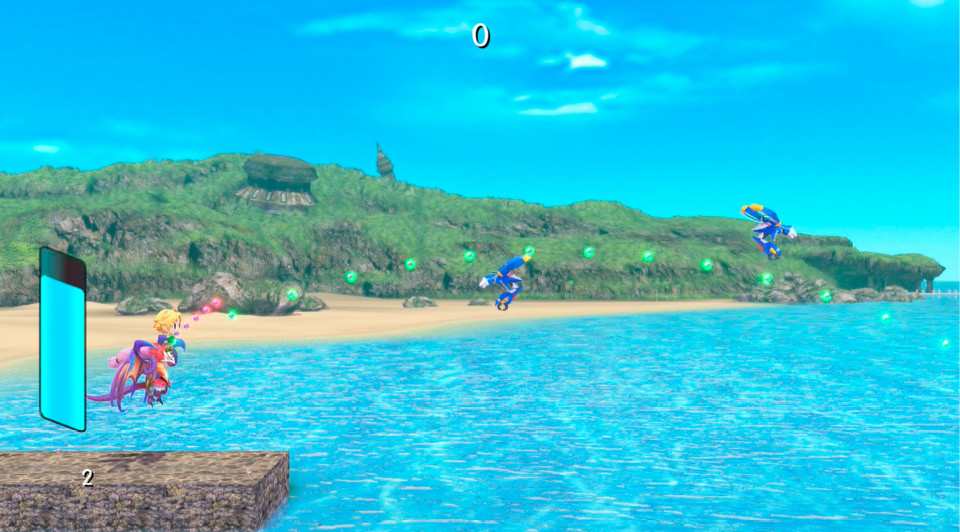
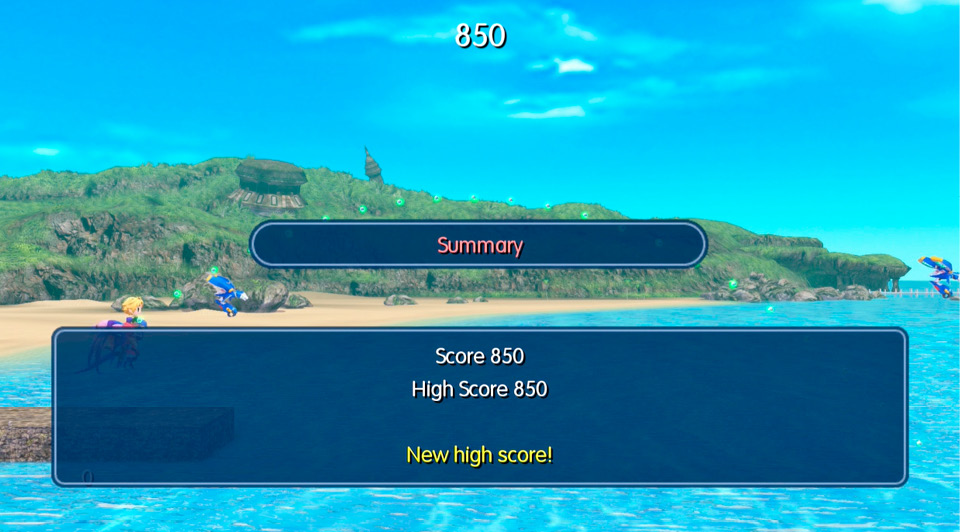
If you’re playing for points, you get more of them the farther away from Tidus an einhänder is when it has been tagged. Also, sometimes an astrea (which looks like a black and red einhänder) will show up. Smack it for more points.
Letting loose with maximum power allows the launched blitzball to pierce through multiple enemies, meaning you can hit more than one enemy with a single ball!
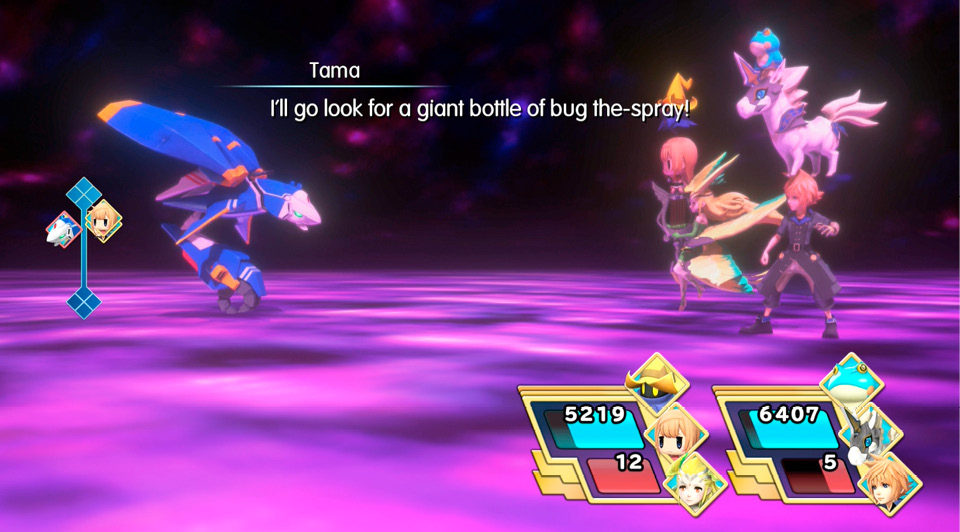
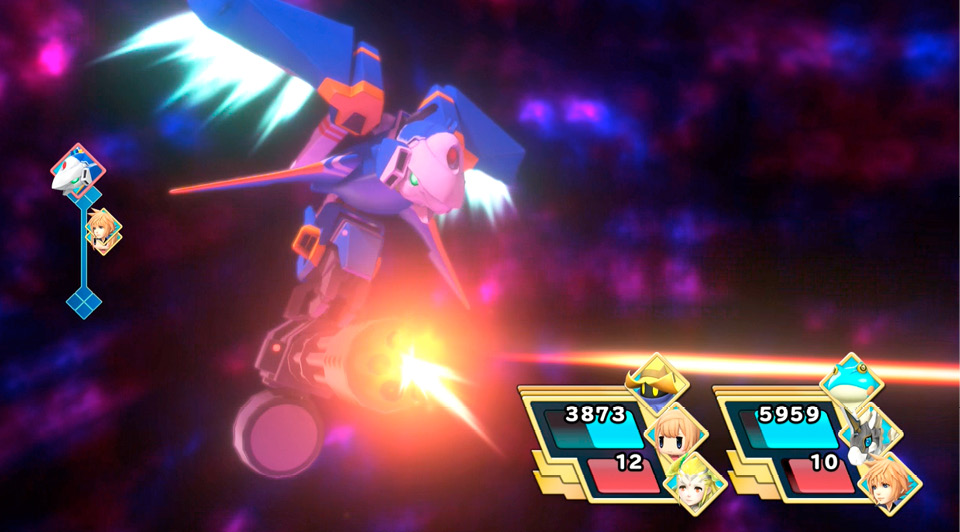
Hit one einhänder to complete the mini-game. You can also lose and then give up the mission to progress the story.
Attempting this mini-game once will unlock it for play in the Twins’ Room.
Taking on an einhänder in a straight-up fight means dousing it with water and shocking it with thunder, while guarding/healing against its flashy Blades attack.
The Demon Dyad Revealed
| Objective | Enemies | Arma Gem Cost | Difficulty Ranking | Reward (1st Completion) | Reward (Subsequent Completions) | Quest Unlock Conditions |
|---|---|---|---|---|---|---|
|
Restrain Bahamut |
Bahamut |
2 |
5 |
Phoenix Pinion x2 A successful encounter with Bahamut |
Phoenix Down x2 |
Reach the Postscript |

 also yields his prismarium along with the Girl’s Diary, Entry 7.
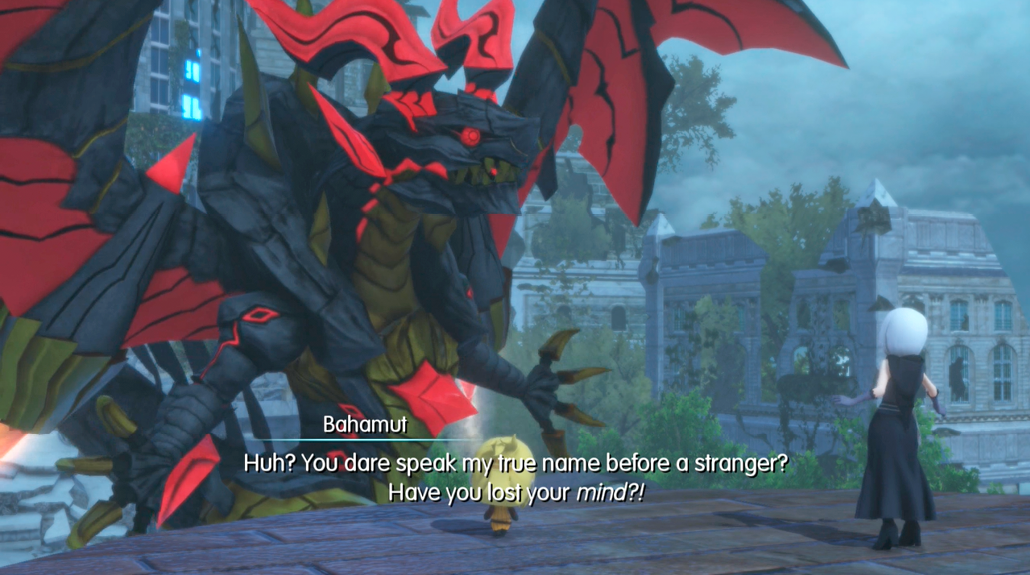
Hauyn and Quistis journey to the abandoned ruins of the Grymoirian Nine Wood Hills. They spend a short spell speaking of times long past, but are interrupted by an enraged Bahamut.
When recruiting the Pleiad, you’ll probably want to go for Bahamut last. His attacks are even more forceful than his voice. Also, his HP is hidden and he’s immune/resistant to just about everything.
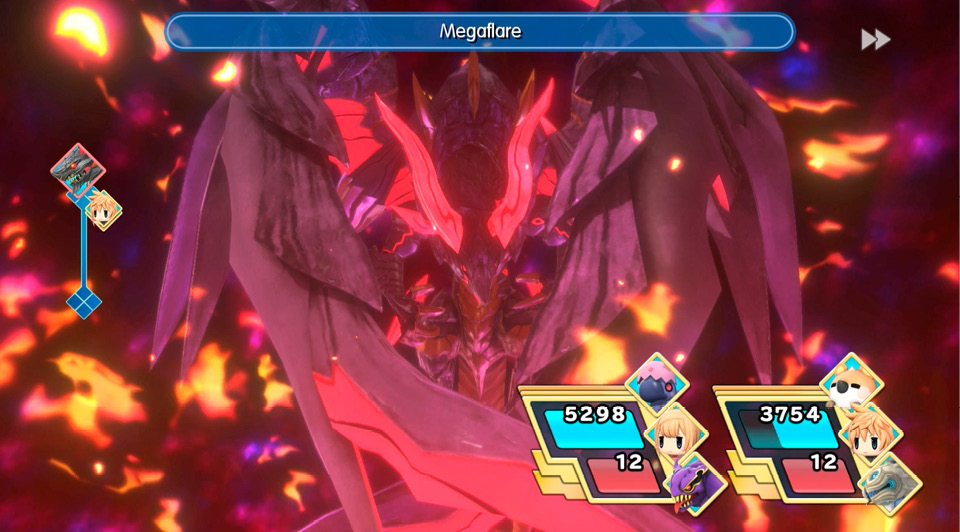
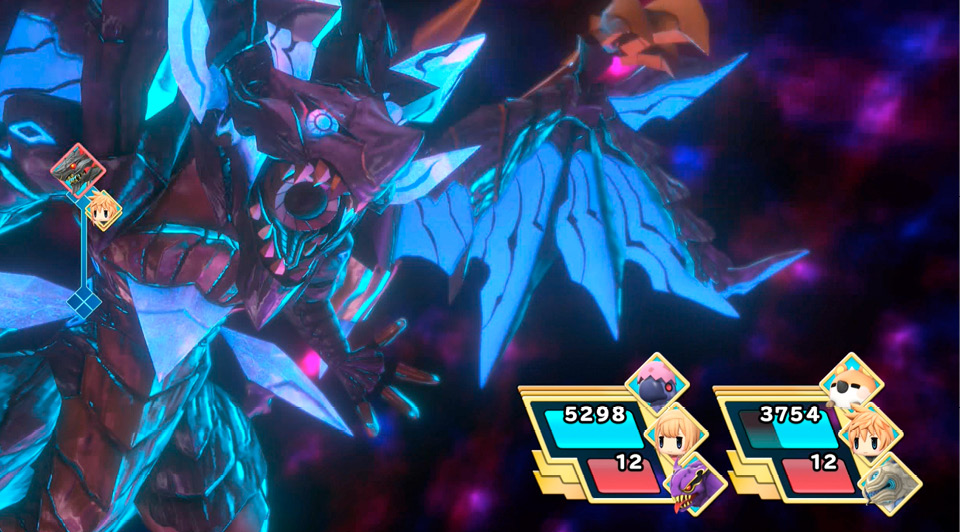
Bahamut has exactly one weakness, though, and that’s light attacks. Bring Banishra, and you’ll definitely have an easier time since you’ll have something that can actually scratch him.
Bahamut will divebomb the party with physical attacks, or let loose Megaflare after a countdown. Stay healed with Cura or Curaga, and use the countdown to hit Bahamut physically and regain your AP. If you’ve got AP to spare, use the time to heal. If you want, have a Mega Mirage take the hit for Megaflare, or simply Defend when it’s time.
When the Past Still Haunts
| Objective | Enemies | Arma Gem Cost | Difficulty Ranking | Reward (1st Completion) | Reward (Subsequent Completions) | Quest Unlock Conditions |
|---|---|---|---|---|---|---|
|
Defeat the demon in Balamb Garden |
Battle 1: Diabolos Battle 2: Diabolos |
2 |
5 |
Diabolos Memento, Remedy x2 A successful encounter with Diabolos |
Pick-Me-Up x2 |
Reach the Postscript |

 , Imp x2
  also yields his prismarium along with the Girl’s Diary, Entry 8.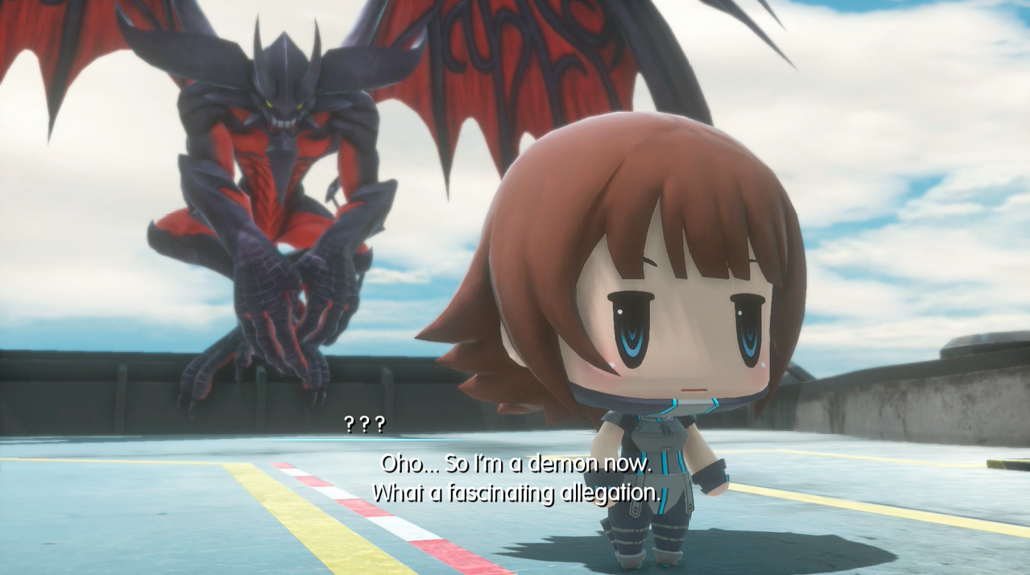
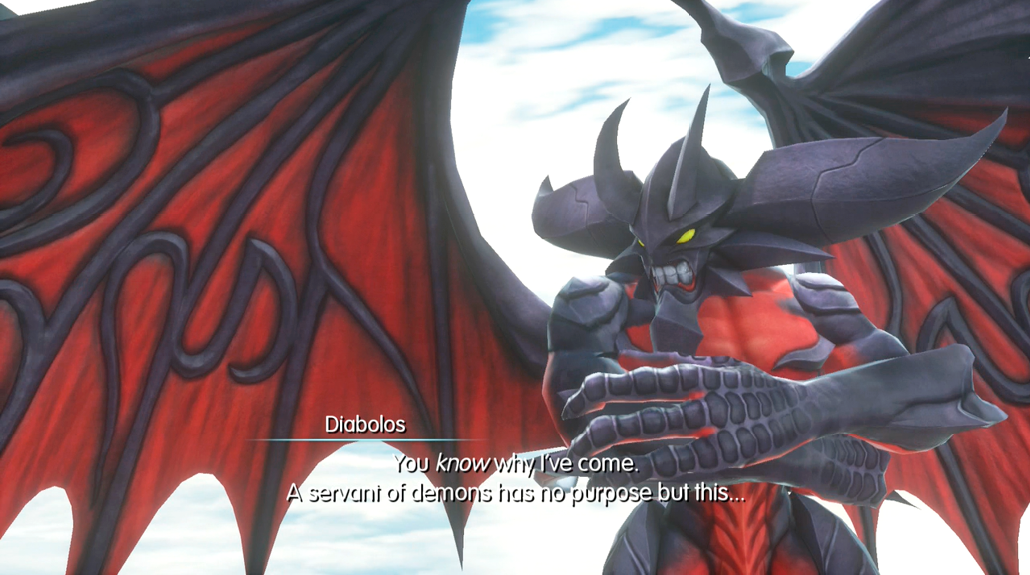
Hearing that a demon appears daily in Balamb Garden, Shelke puts on her detective cap and investigates. When the time comes, a demon indeed appears: Diabolos.
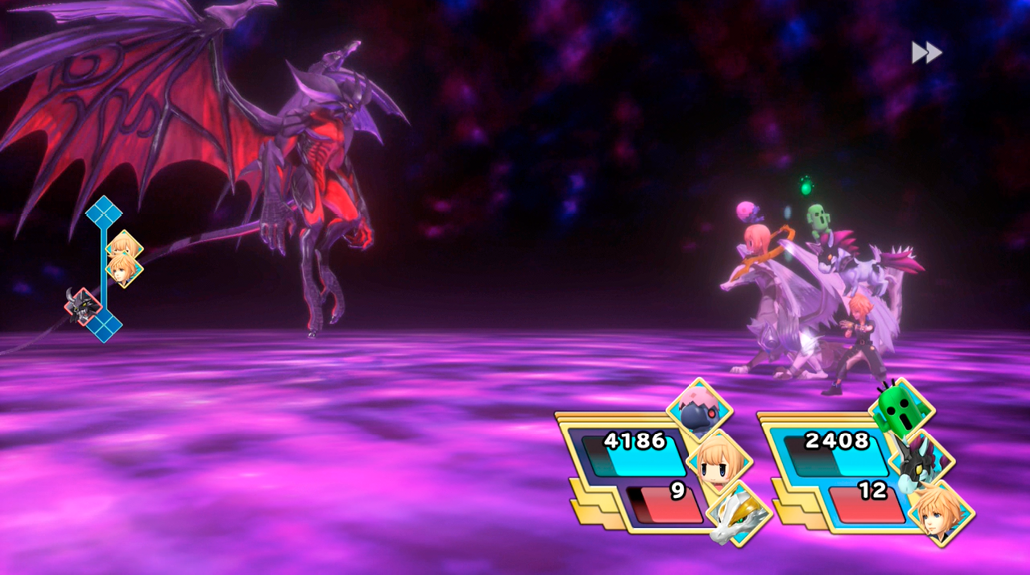
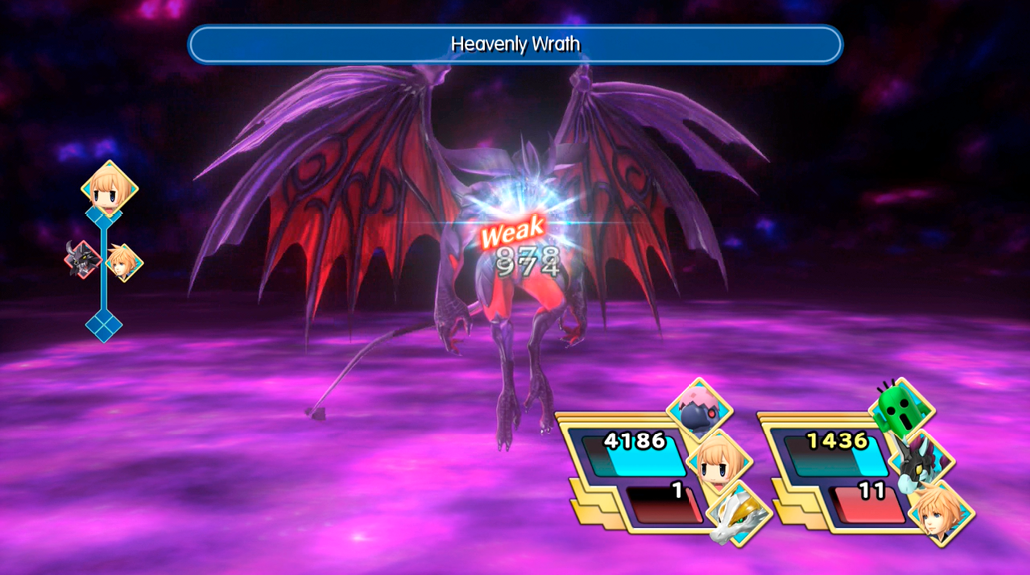
If you have any Mirages resistant to dark, consider bringing them before starting this mission. Even if you don’t, however, it’s not a game-breaker.
When rounding up the Pleiad, definitely go for Diabolos early. His first form has a couple of physical and status attacks and that’s it—no special tricks. Bring some wards against Sleep and Poison, and you’ve got it made in the shade. If you have light spells like Banishra, so much the better, as he’s profoundly weak to those.
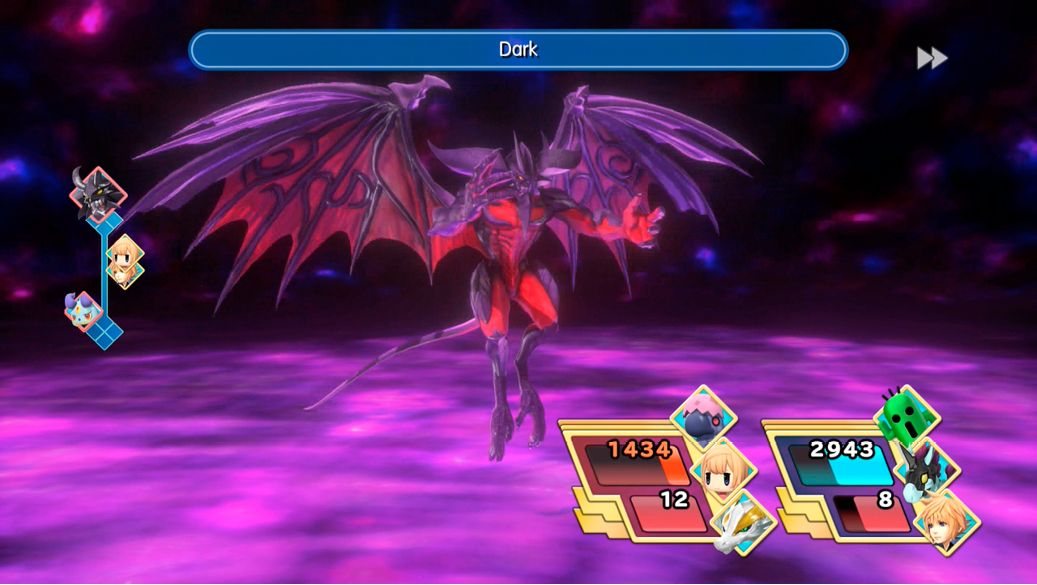
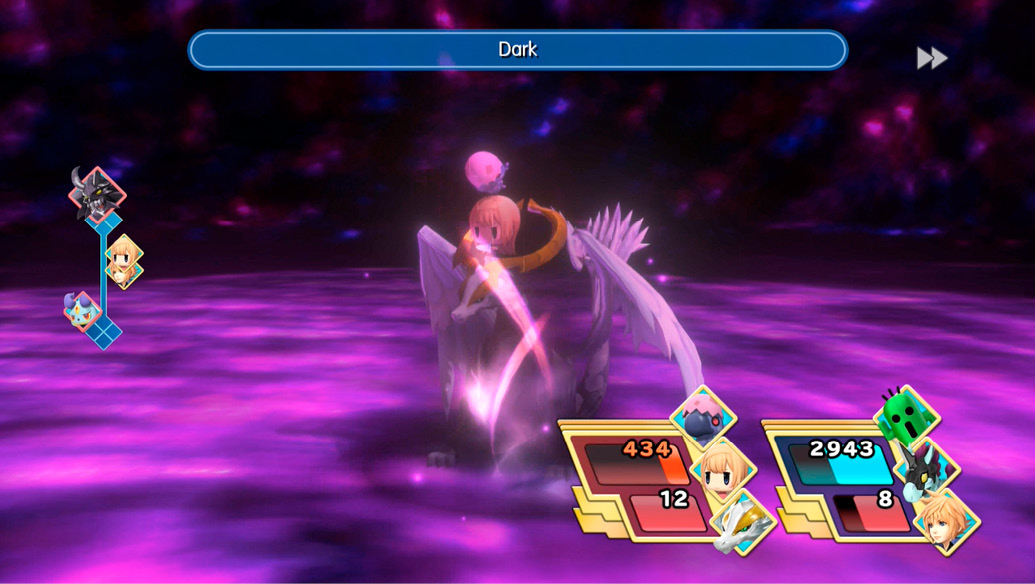
The second round with Diabolos plays out pretty much the same as the first—however, he can now cast Gravija for a good chunk of health! He also has two imps for an entourage, which can blind you. These slight annoyances aside, follow the same strategies.
Ancestral Acrimony
| Objective | Enemies | Arma Gem Cost | Difficulty Ranking | Reward (1st Completion) | Reward (Subsequent Completions) | Quest Unlock Conditions |
|---|---|---|---|---|---|---|
|
Avenge your ancestors |
Leviathan |
2 |
5 |
Leviathan Memento, Hi-Potion x2 A successful encounter with Leviathan |
Potion x2 |
Reach the Postscript |

 also yields her prismarium along with the Girl’s Diary, Entry 9.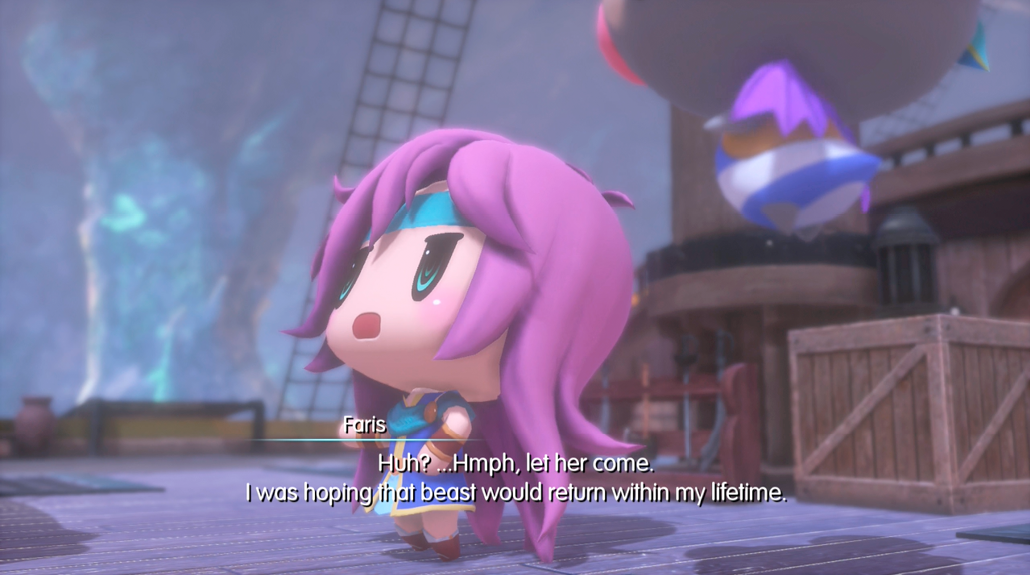
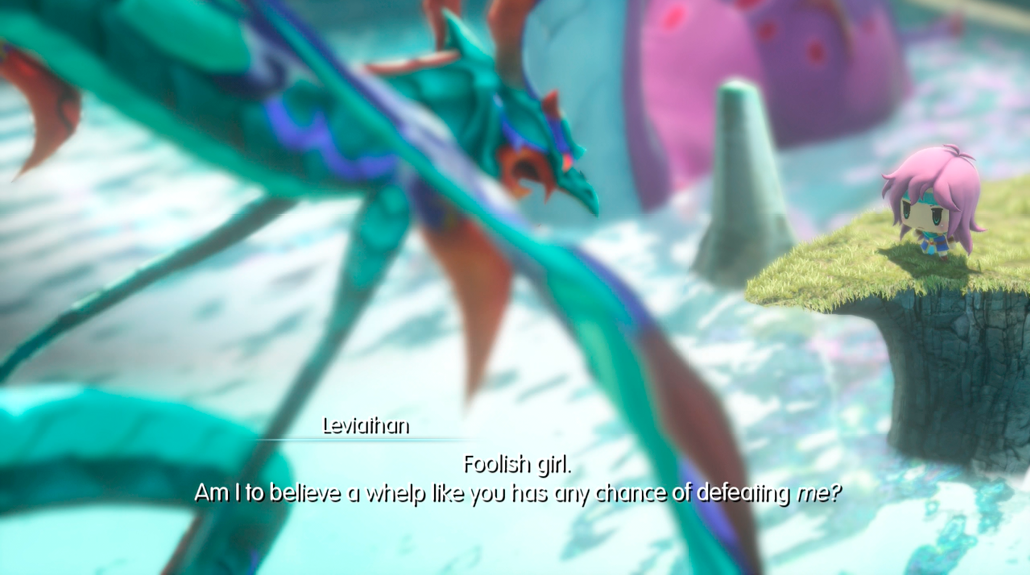
Long ago, the sea-demon Leviathan robbed Faris of her great-grandfather, and Syldra of her family. Upon hearing that her nemesis has been sighted in the Low Seas, Faris and Syldra set sail for the Rainbow Shore to finally exact their revenge.
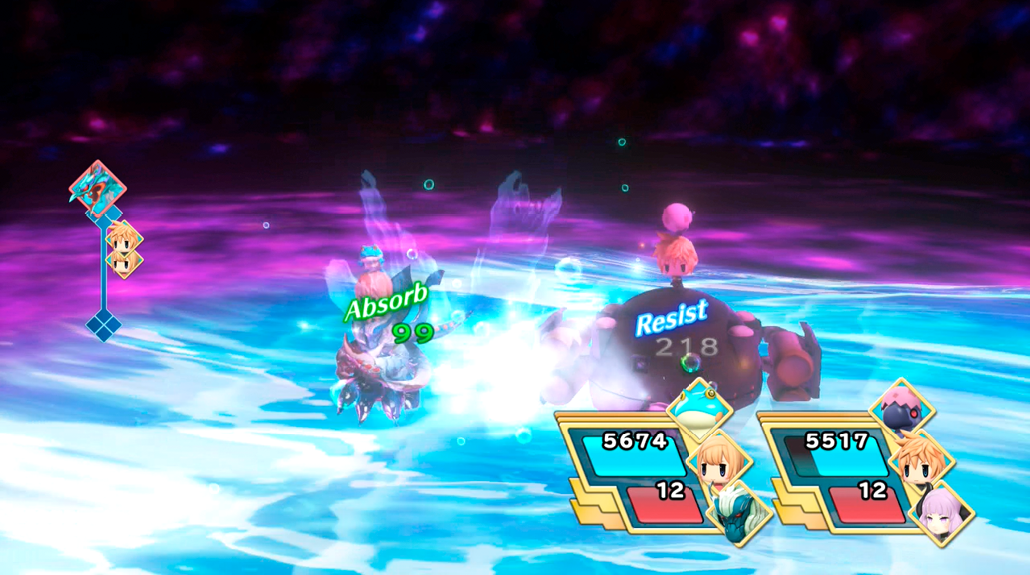
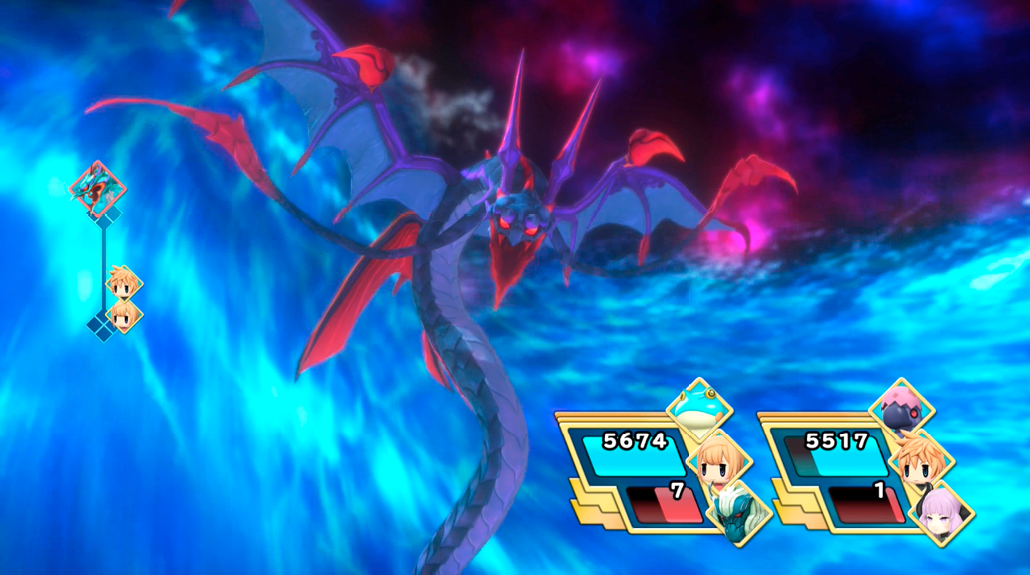
Leviathan is a mistress of water, with devastating flooding attacks, Tsunami, Aqua Spike counterattacks, and the powerful Tidal Wave. In other words, bring some resistance against water, and this battle will be easy—more so if you have thunder abilities for offense. This makes Leviathan a great Pleiad to round up early.
A Clash of Swords
| Objective | Enemies | Arma Gem Cost | Difficulty Ranking | Reward (1st Completion) | Reward (Subsequent Completions) | Quest Unlock Conditions |
|---|---|---|---|---|---|---|
|
Stop the butcher |
Odin |
2 |
5 |
Odin Memento, Hi-Ether x2 A successful encounter with Odin |
Ether x2 |
Reach the Postscript |

 also yields his prismarium along with the Girl’s Diary, Entry 10.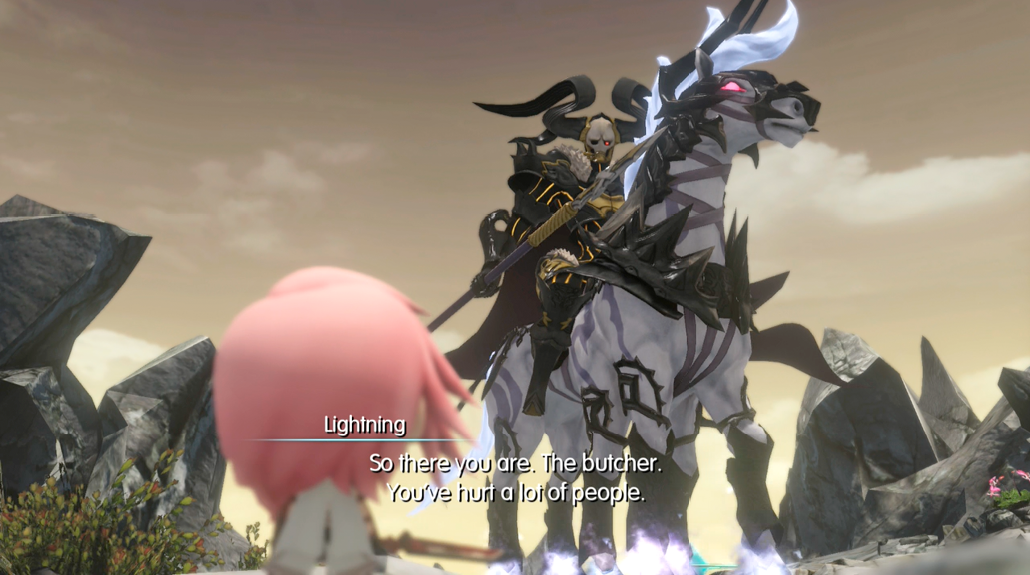
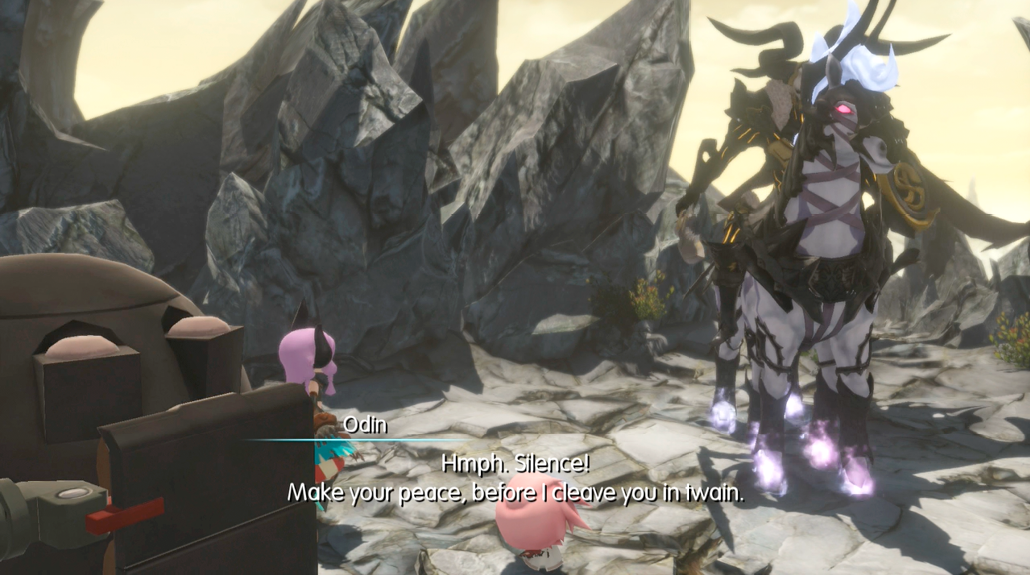
Lightning is on the hunt for a butcher, but what she finds is a sword-wielding Mirage dead-set on dueling her.
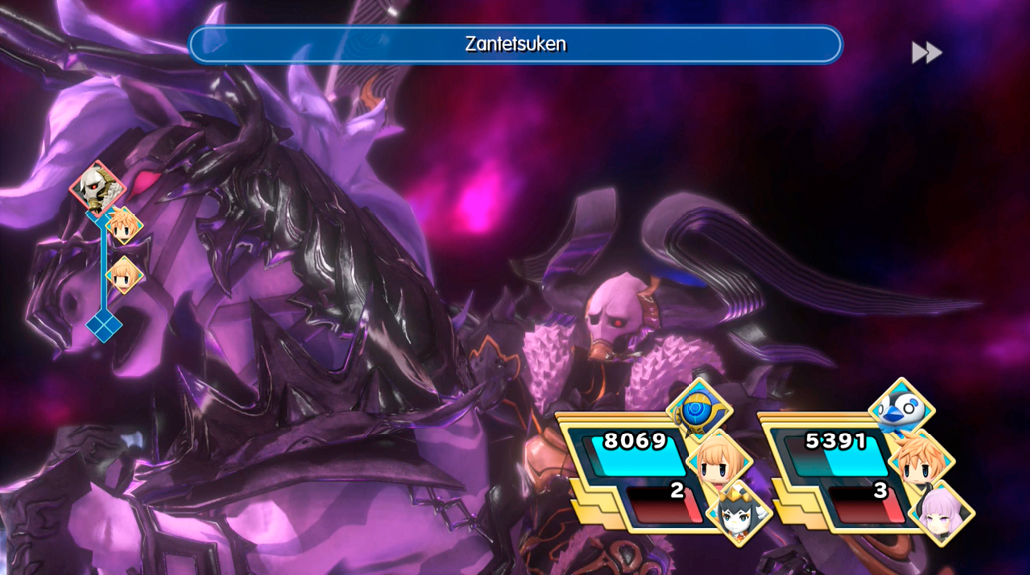
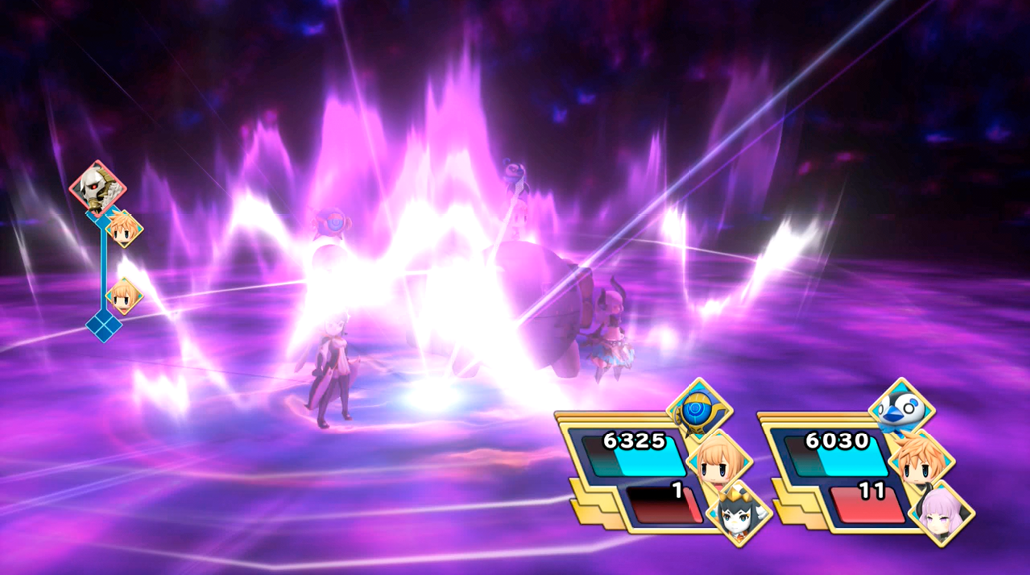
Bring thunder attacks. Odin takes massive damage from thunder-based abilities—they will cut through him like a hot knife through butter. Earth will also work well in a pinch, but seriously: bring thunder.
Odin is a master of physical attacks, with Slash and Double Cut able to slice you to ribbons. He also has high physical defense, making magical attacks against him more effective. Use Protect to take less damage, or blitz him with electricity before he can get too many shots off.
When you get Odin down to half of his HP, you may want to Defend or bring in a Mega Mirage to absorb hits, because Zantetsuken is absolutely no joke and can one-shot even high-level parties! Gungnir is also devastating but far more survivable. Another viable strategy is to keep your HP/AP high until Odin gets down to 50%, then hit him with everything you have. Zantetsuken’s odds of inflicting a one-hit knock out increase as its wielders HP and AP decrease, so you want to make sure he’s not alive to use it when he’s near death and he’s used a lot of abilities.
Where Art Thou, Smoochy-Poo?
| Objective | Enemies | Arma Gem Cost | Difficulty Ranking | Reward (1st Completion) | Reward (Subsequent Completions) | Quest Unlock Conditions |
|---|---|---|---|---|---|---|
|
Rescue the kidnapped Princess Sarah |
Princess Goblin |
2 |
1 |
Princess Goblin Memento, Hi-Potion |
Potion x2 |
Clear Chapter 5. |

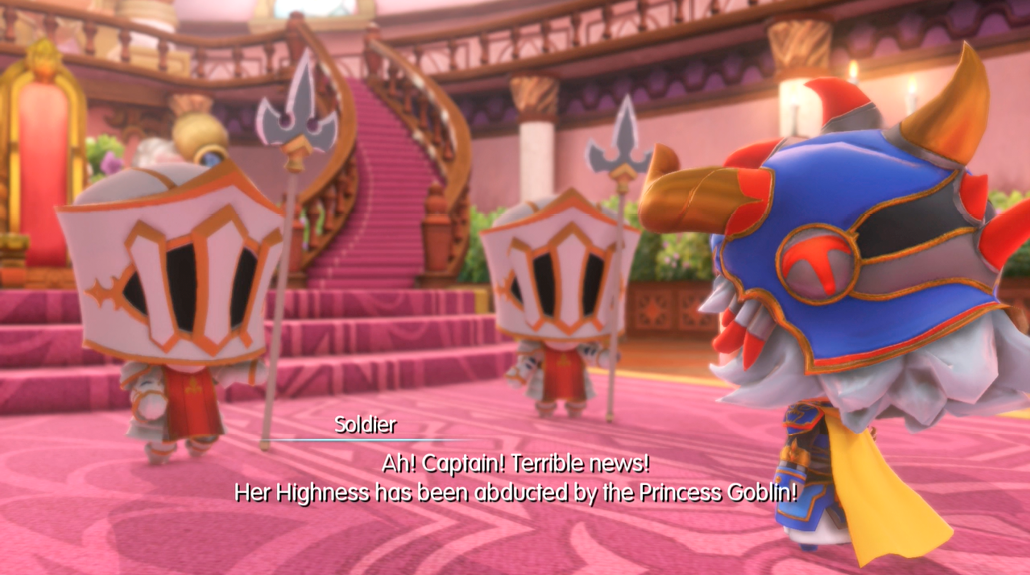
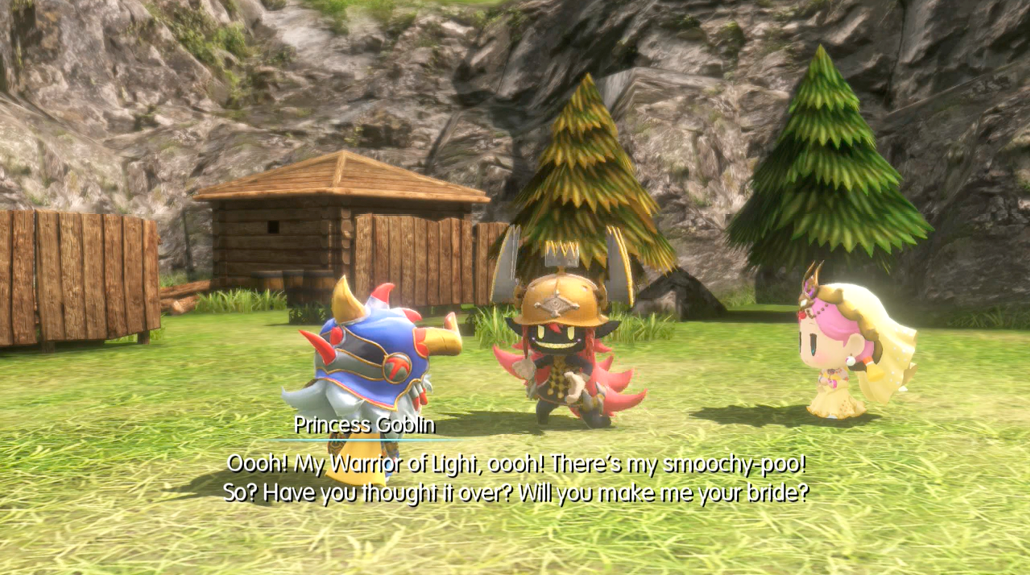
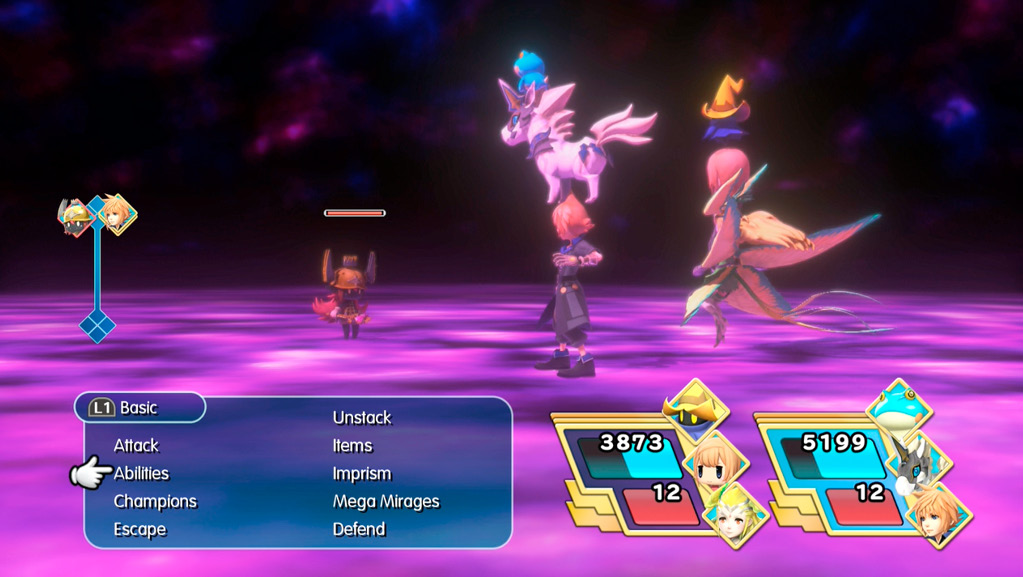
Castle Cornelia is in an uproar! The princess has been kidnapped by the Princess Goblin, and who knows what foul tortures the fiend has in store for her! The WOL sallies forth to the goblin camp to rescue Her Kidnapped Highness…
Even if you’re just starting out, it’s easy to see that Princess Goblin is more of a lover than a fighter. She’s also weak to half the elements on the board (ice, wind, water, and light). Just give her a few taps to bring her to her senses—but be gentle.
The Ice Bridge
| Objective | Enemies | Arma Gem Cost | Difficulty Ranking | Reward (1st Completion) | Reward (Subsequent Completions) | Quest Unlock Conditions |
|---|---|---|---|---|---|---|
|
Raise an ice bridge |
Shiva |
2 |
1 |
Solid Frigicite x2 |
Ether |
Clear Chapter 8. “The Girl Who Forgot Her Name” must be cleared. |

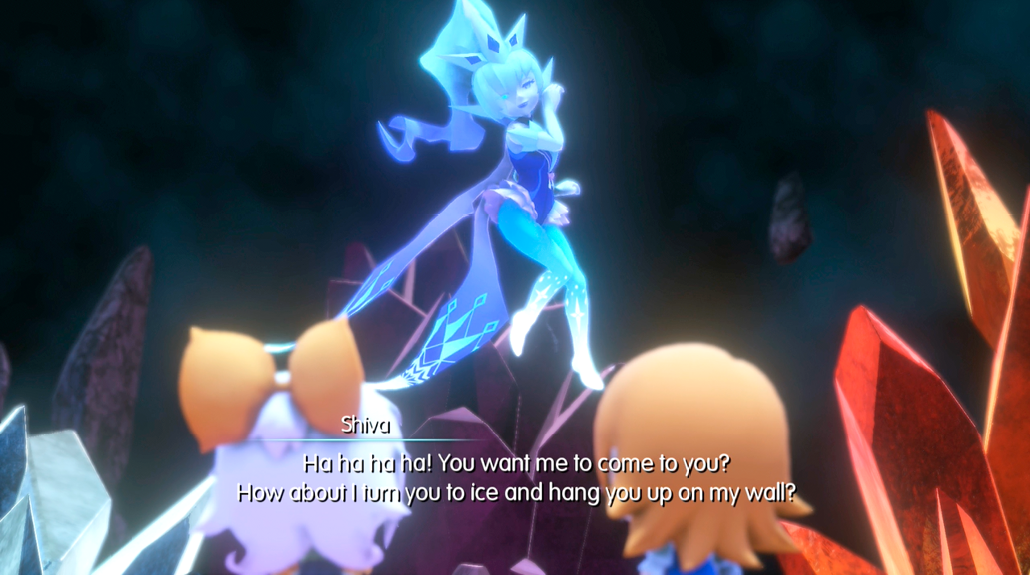
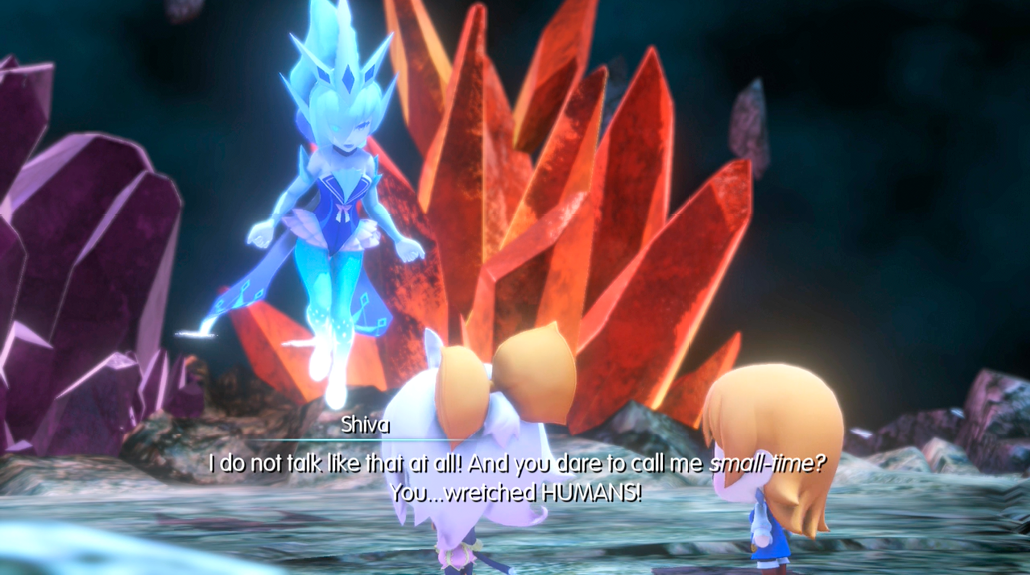
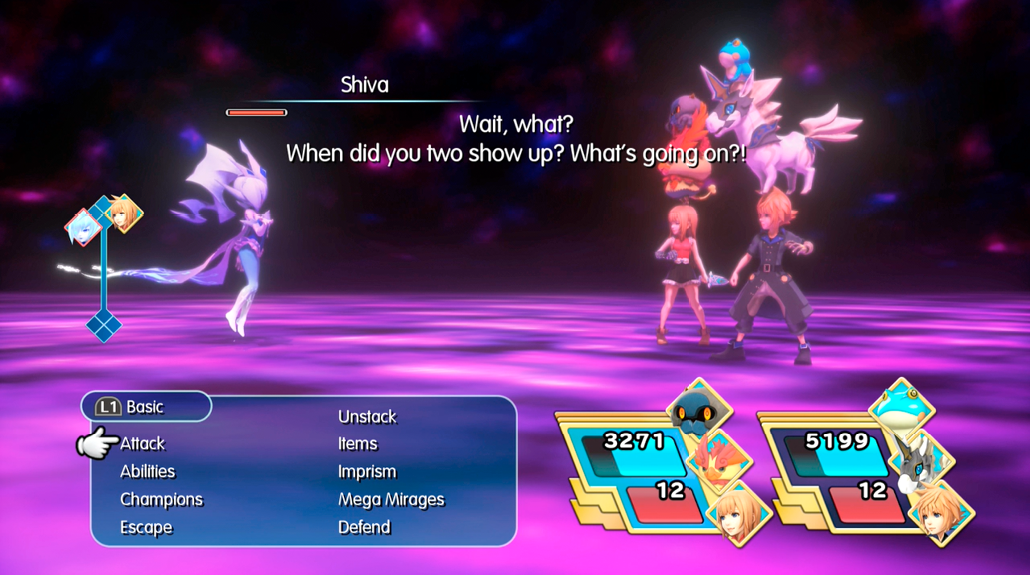
Refia returns to Sherlotta’s Solace for some well-needed R&R after Saronia. She gets to thinking about how dangerous the passage across the ice is and decides to look for a way to create a safe route through. After talking with Sherlotta, the two of them head to the Nether Nebula.
Shiva is weak to fire and even weaker to dark magic, so if you’ve got either, let them loose. Otherwise, watch out for her magical abilities, which are mainly ice-based.
Never Cross the Boss
| Objective | Enemies | Arma Gem Cost | Difficulty Ranking | Reward (1st Completion) | Reward (Subsequent Completions) | Quest Unlock Conditions |
|---|---|---|---|---|---|---|
|
Defeat the Mirage in the Ice Region |
Undead Princess |
2 |
1 |
Undead Princess Memento, Holy Torch x2 |
Potion |
Clear Chapter 8. “The Girl Who Forgot Her Name” must be cleared. |

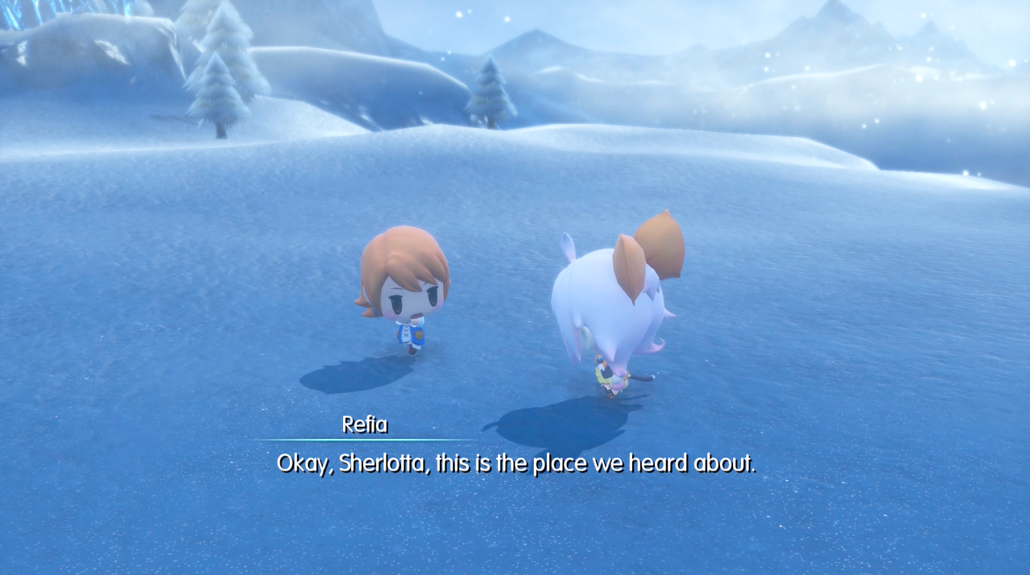
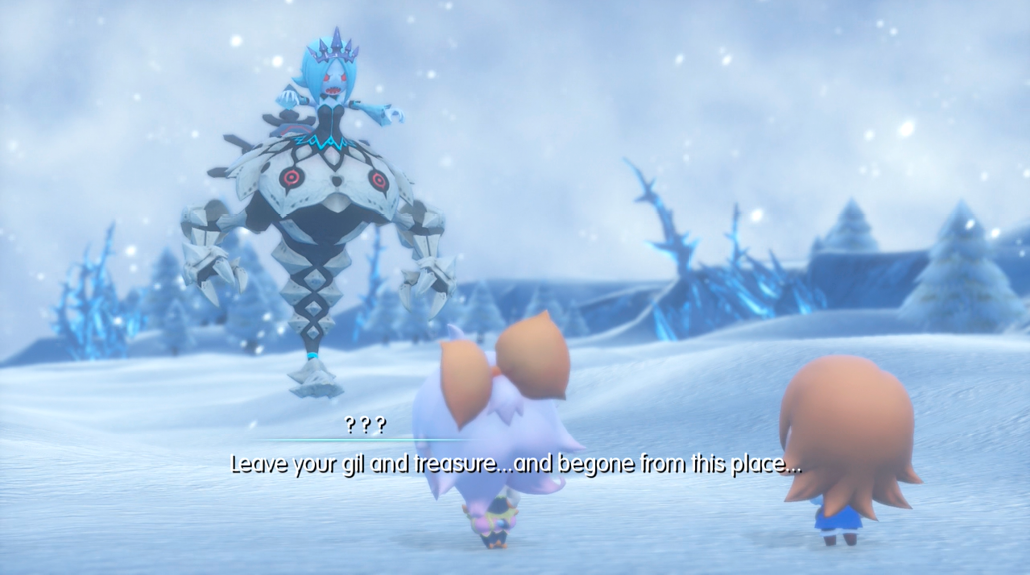
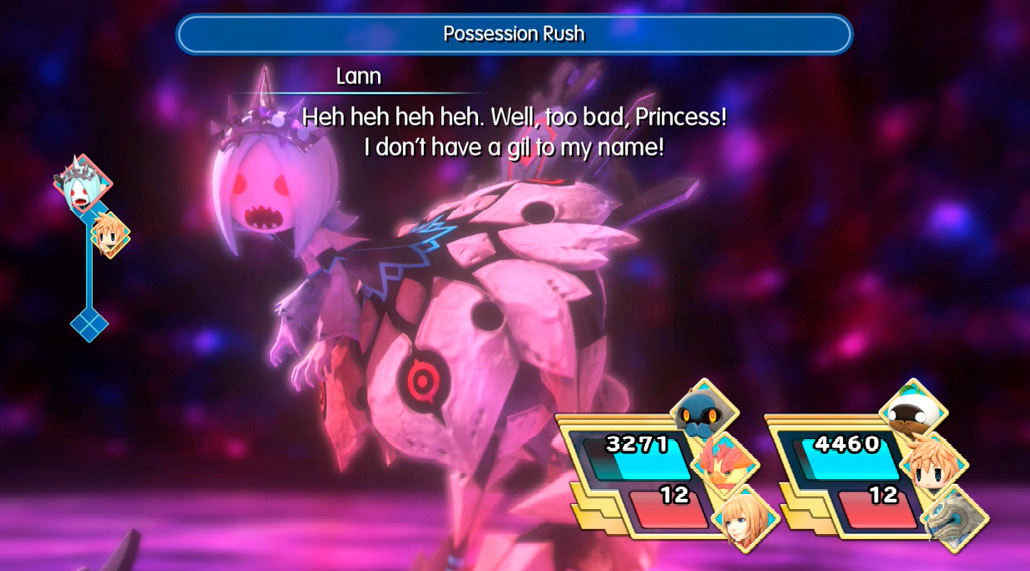
Sherlotta and Refia are out and about among the ice, searching for a Mirage that’s been causing trouble. But that figure looming in the snow, it’s…
Undead Princess can confuse party members with Possession Rush, so bring countermeasures. Otherwise, she’s weak to fire, wind, and (of course) light.
A Grudge That Won’t Budge
| Objective | Enemies | Arma Gem Cost | Difficulty Ranking | Reward (1st Completion) | Reward (Subsequent Completions) | Quest Unlock Conditions |
|---|---|---|---|---|---|---|
|
Defeat the evil spirit in the Ice Region |
Metalliskull x3 |
2 |
1 |
Metalliskull Memento, Spider Silk x2 |
Ether |
Clear Chapter 8. “The Girl Who Forgot Her Name” and “Never Cross the Boss” must be cleared. |
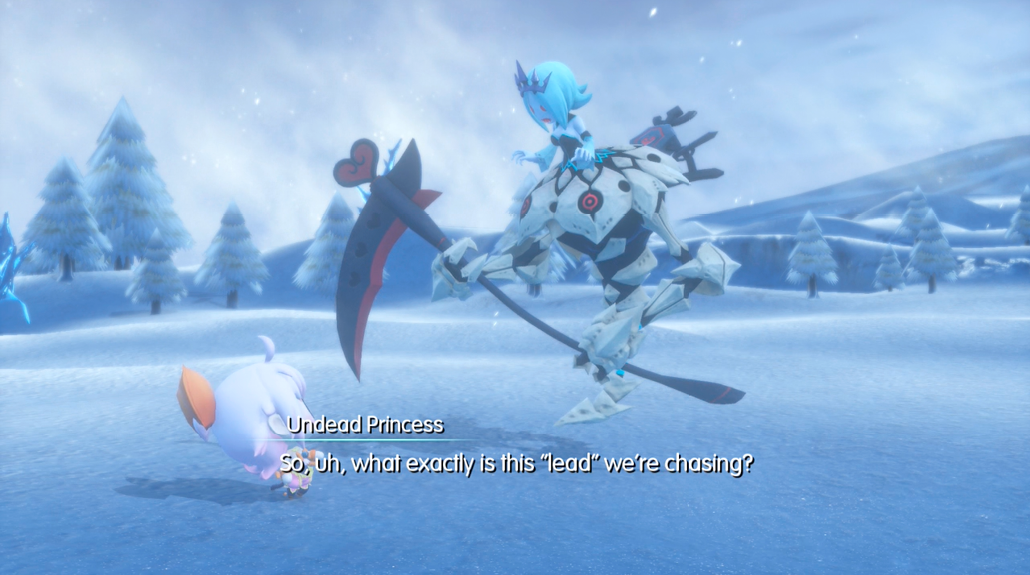
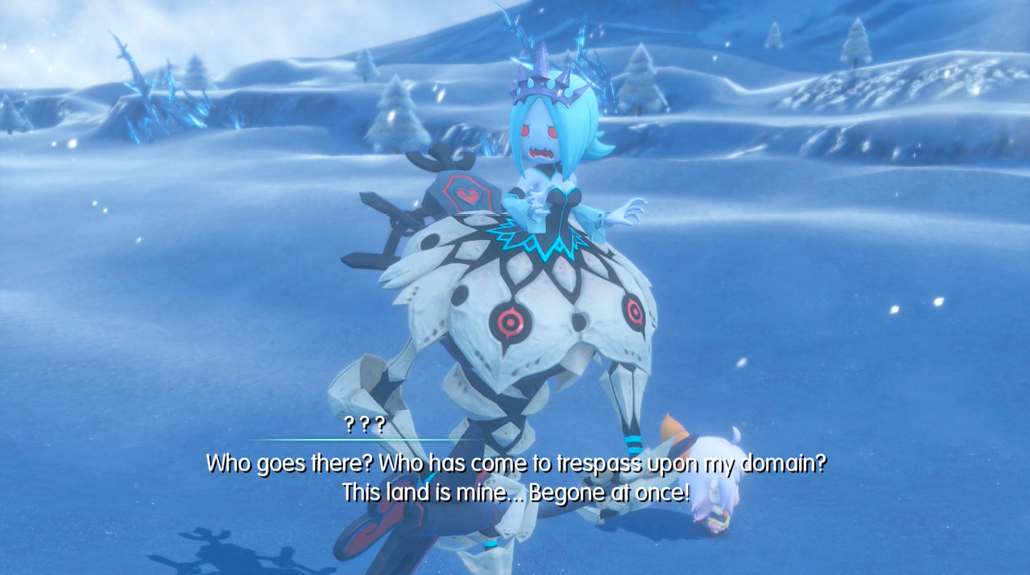
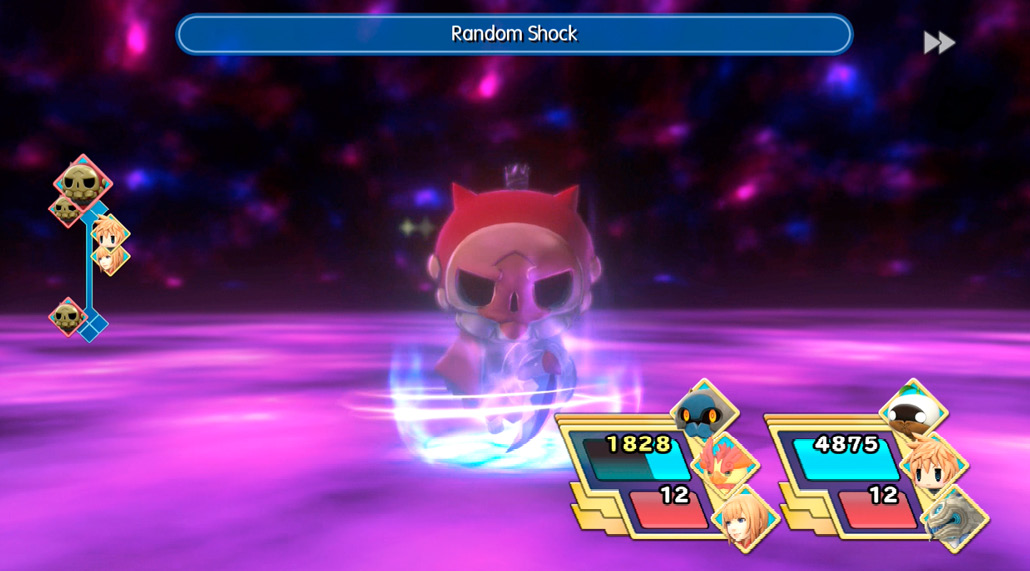
The Undead Princess is working hard at her new job catching travelers and inviting them to Sherlotta’s Solace, when m’lady shows up. Sherlotta enlists the Undead Princess’s help in banishing yet another undying spirit.
Metalliskulls are very good at raining thunder magic down on your party—over, and over, and over again. Attack them with wind, light, or fire magic.
Underdog Day
| Objective | Enemies | Arma Gem Cost | Difficulty Ranking | Reward (1st Completion) | Reward (Subsequent Completions) | Quest Unlock Conditions |
|---|---|---|---|---|---|---|
|
Save Underdog Day! |
Ifrit |
2 |
2 |
Bomb Core x2 |
Bomb Fragment |
Clear Chapter 10. “The Girl Who Forgot Her Name” must be cleared. |

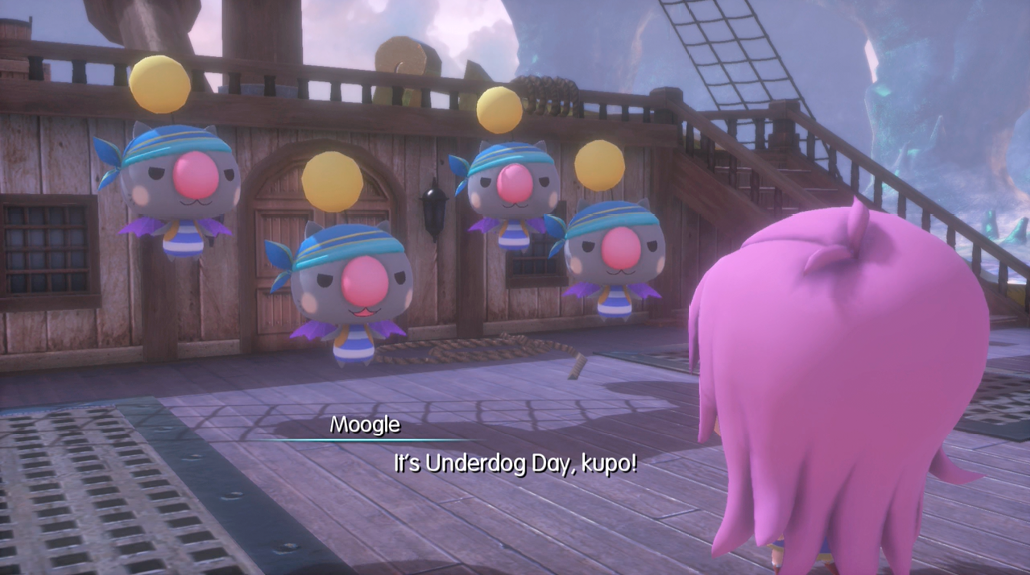
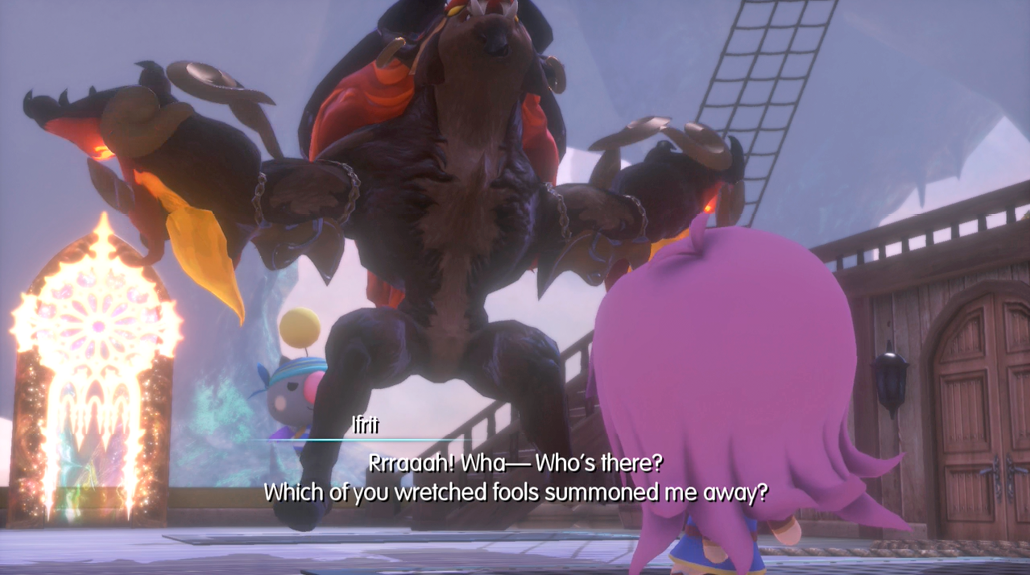
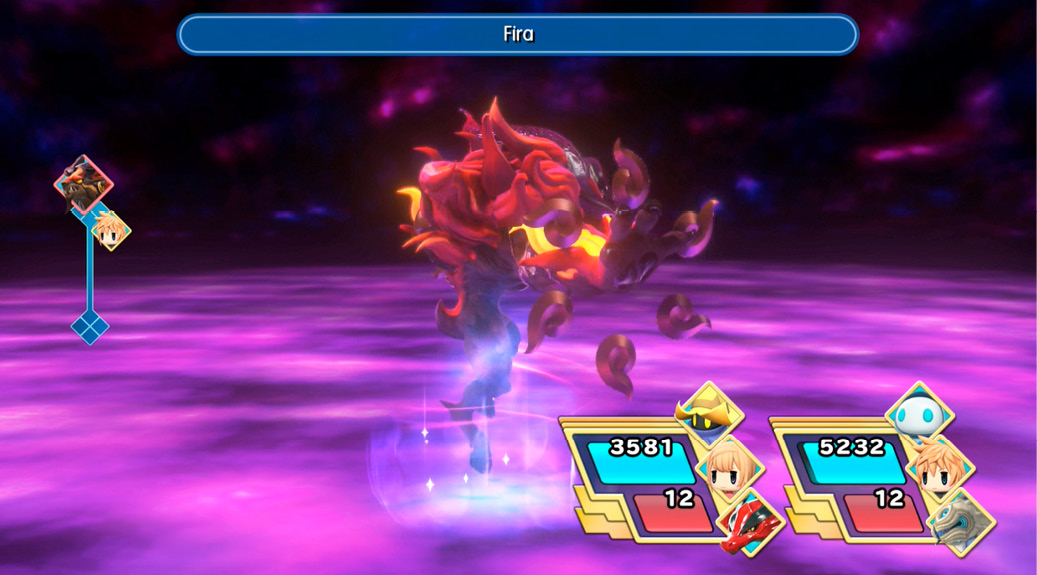
Underdog Day is a long-standing pirate tradition, for on this day any swabbie can challenge their boss for the title of cap’n. Today, Mog, one of the kupirates, decides to finally unseat Faris from her throne. He casts an ancient, forbidden spell…
Counter Ifrit with water (or ice), and watch out for his otherwise painful fire magic.
A Duo of Three
| Objective | Enemies | Arma Gem Cost | Difficulty Ranking | Reward (1st Completion) | Reward (Subsequent Completions) | Quest Unlock Conditions |
|---|---|---|---|---|---|---|
|
Resolve the Coliseum’s troubles |
Battle 1: White Nakk, Goblin Guard, Black Nakk Battle 2: Cockatrice, Right Claw, White Nakk Battle 3: Ahriman, Goblin Guard, Black Nakk, Cockatrice |
2 |
1 |
Phoenix Pinion |
Phoenix Down |
Clear Chapter 10. The Coliseum must be unlocked, and “The Girl Who Forgot Her Name” must be cleared. |
Tonberry, the Coliseum master, calls upon the only two he can rely on to help resolve an emergency in his domain…
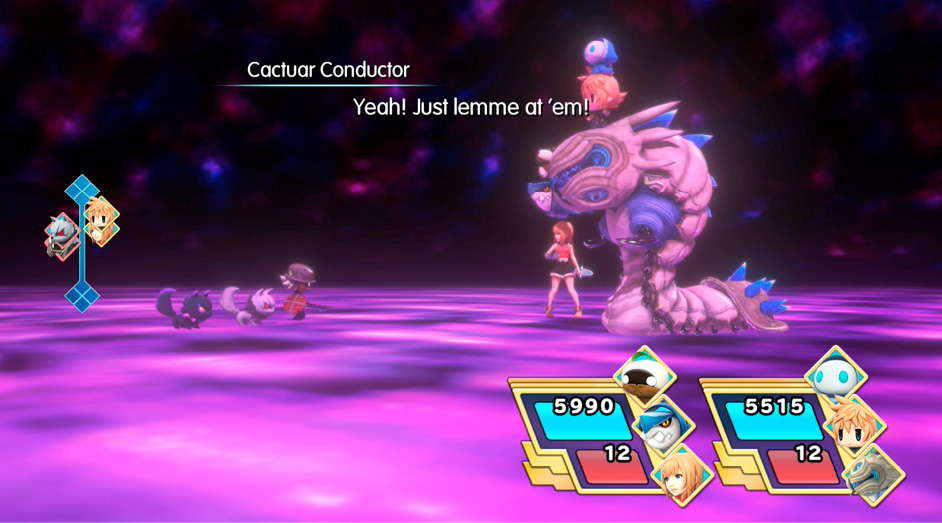
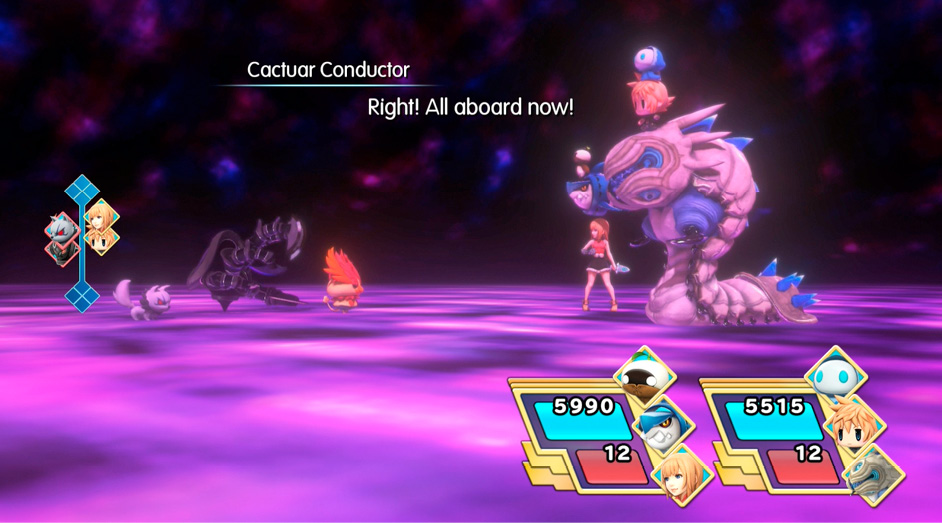
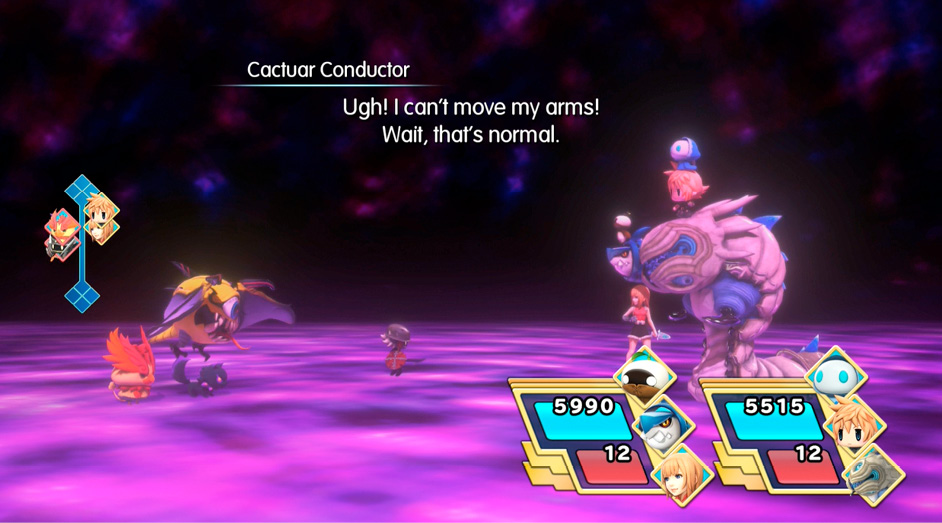
This mission is an endurance gauntlet consisting of three battles. Unless you are sorely underleveled, none of them should pose a problem that a few good physical attacks can’t solve. Meanwhile, there are a lot of good prismtunities to be had here. Use Libra on the enemies to find out what they are—or simply check out the Mirage Manual chapter in this guide!
Treasure Island, Ahoy!
| Objective | Enemies | Arma Gem Cost | Difficulty Ranking | Reward (1st Completion) | Reward (Subsequent Completions) | Quest Unlock Conditions |
|---|---|---|---|---|---|---|
|
Hunt down some treasure |
Mimic x3 |
2 |
2 |
Adamantoise Memento, Dragon Scale x2 |
Fish Scale |
Clear Chapter 10, after meeting Rikku. “The Girl Who Forgot Her Name” must be cleared. |
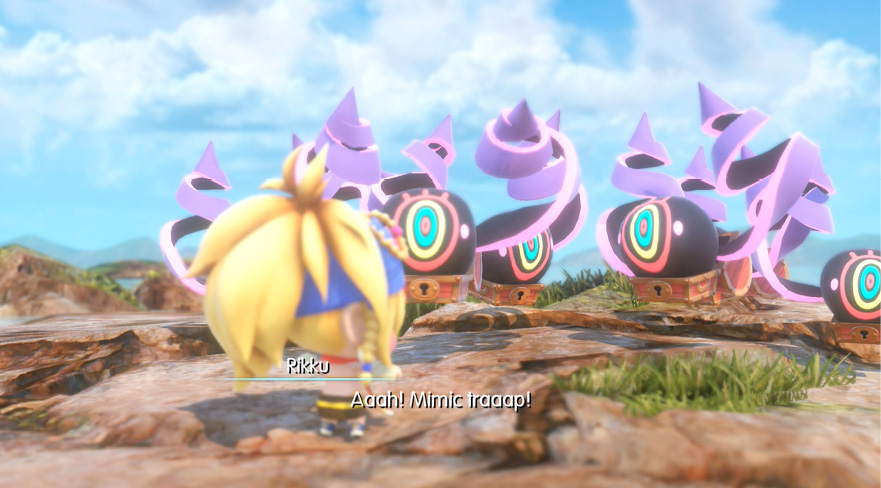
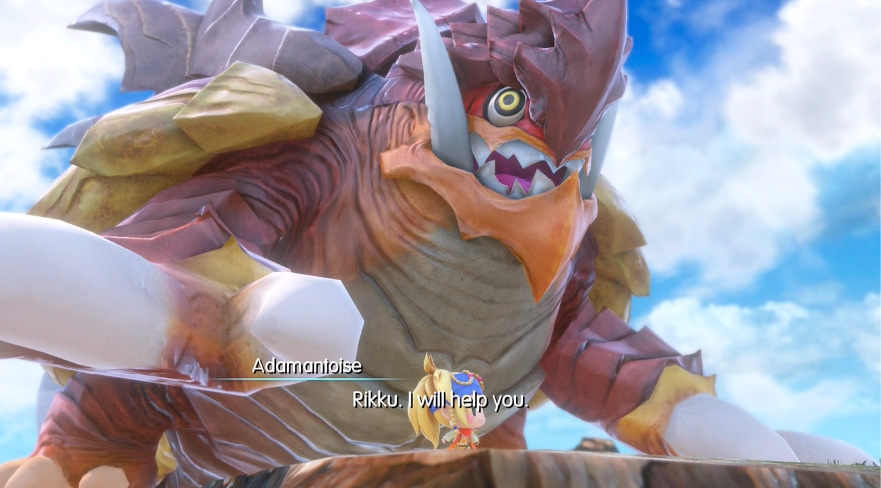
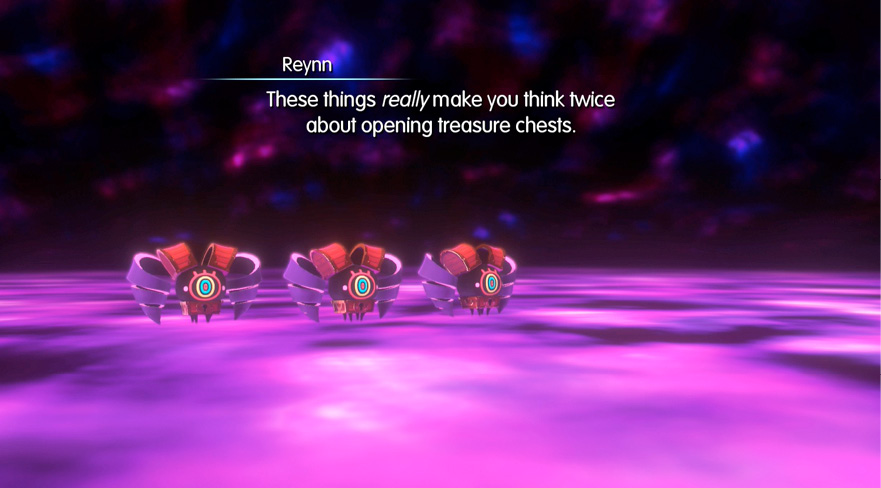
After waving good-bye to Reynn and Lann, Rikku hitches a ride with her new friend Addy across the Low Seas in search of treasure. They arrive at Treasure Island, where Rikku makes landfall…
Mimics have no real elemental strengths or weaknesses, but you can often get away with casting Blind or Slow. Impair them if you want, then hit them with physical attacks to defeat or imprism them—your choice.
I Hate Lightning!
| Objective | Enemies | Arma Gem Cost | Difficulty Ranking | Reward (1st Completion) | Reward (Subsequent Completions) | Quest Unlock Conditions |
|---|---|---|---|---|---|---|
|
Explore Treasure Island |
Battle 1: Mimic Battle 2: Mimic Queen |
2 |
2 |
Mimic Queen Memento, Elixir |
Potion x2 |
Clear Chapter 10., after meeting Rikku. “The Girl Who Forgot Her Name” and “Treasure Island, Ahoy!” must be cleared. |
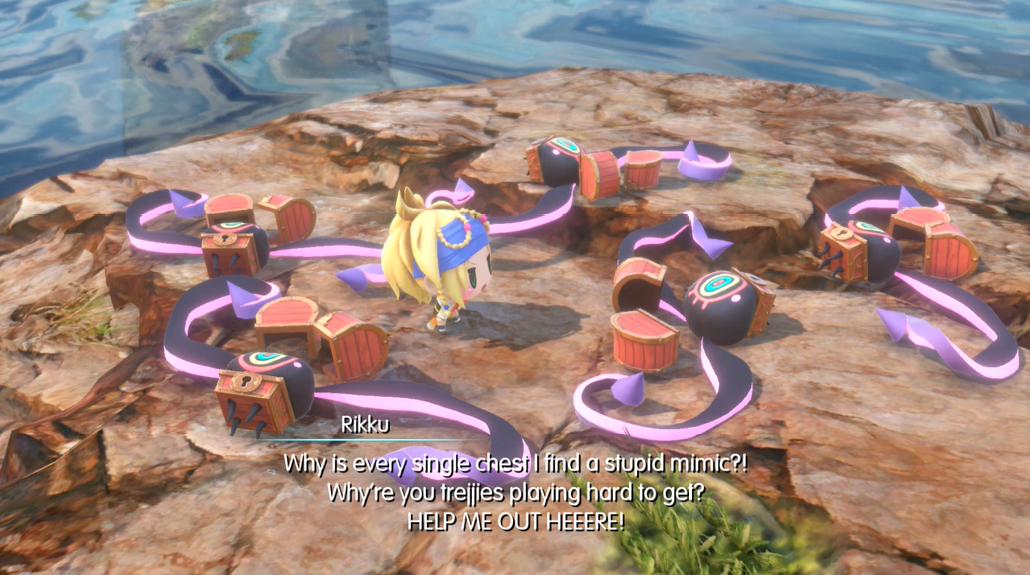
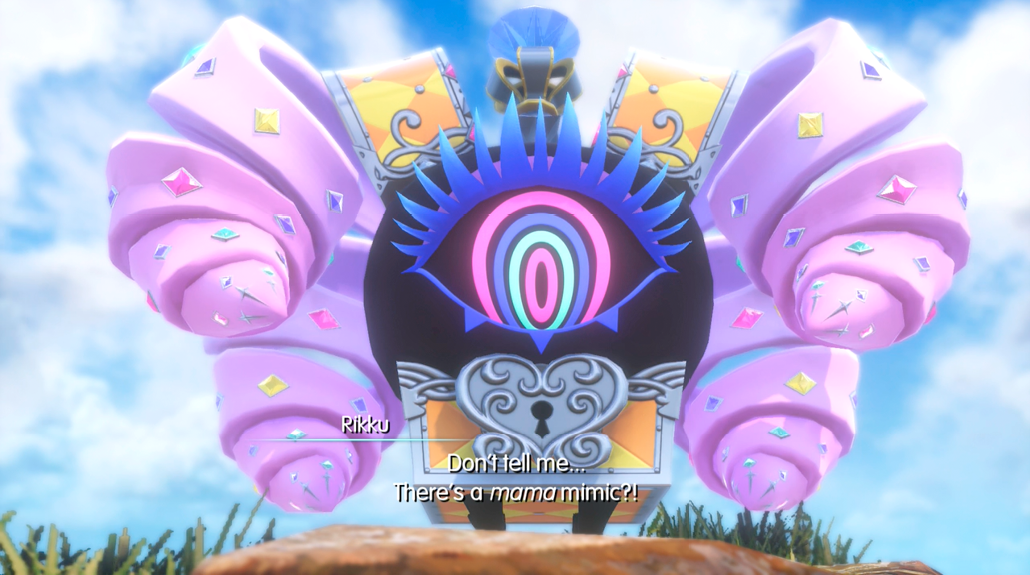
It’s been several long days since Rikku bid farewell to Addy, and still she searches the island for treasure. But every chest she opens turns out to be a mimic in disguise… Just when will she get her treasure? Refusing to give up, she opens yet another chest…
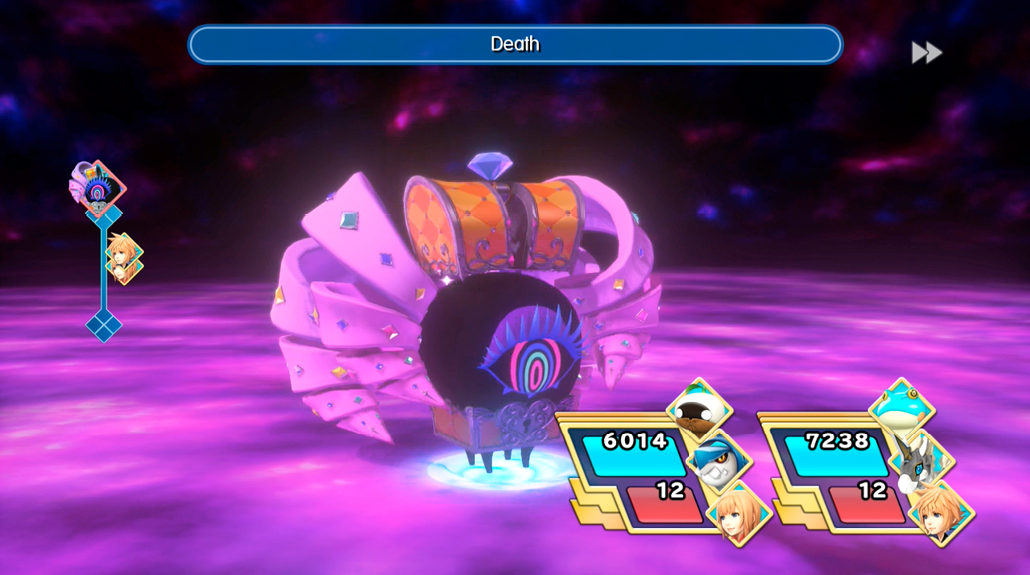
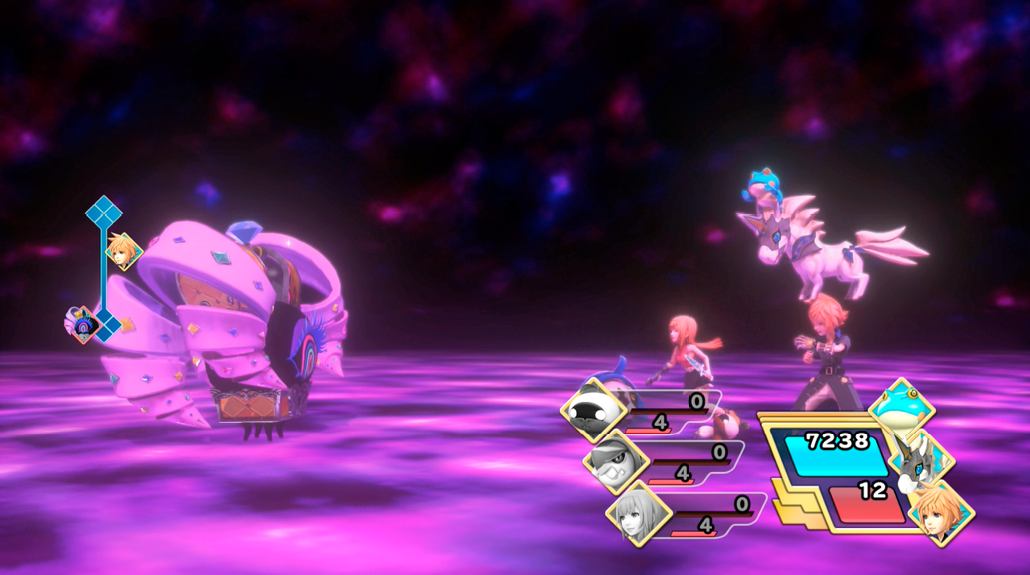
The first battle is a lone, easy-to-dispatch mimic. Dispatch it. When big mama shows up, however, hit it with anything but thunder. Light is most recommended as the mimic queen is by far weakest to it.
Did we mention that this will likely be your introduction to the Death spell? Keep some phoenix down handy.
A Friendship Forged in Figaro
| Objective | Enemies | Arma Gem Cost | Difficulty Ranking | Reward (1st Completion) | Reward (Subsequent Completions) | Quest Unlock Conditions |
|---|---|---|---|---|---|---|
|
Win over the Captain |
None |
2 |
1 |
Remedy+ |
Remedy |
Clear Chapter 16. “The Girl Who Forgot Her Name” must be cleared. |
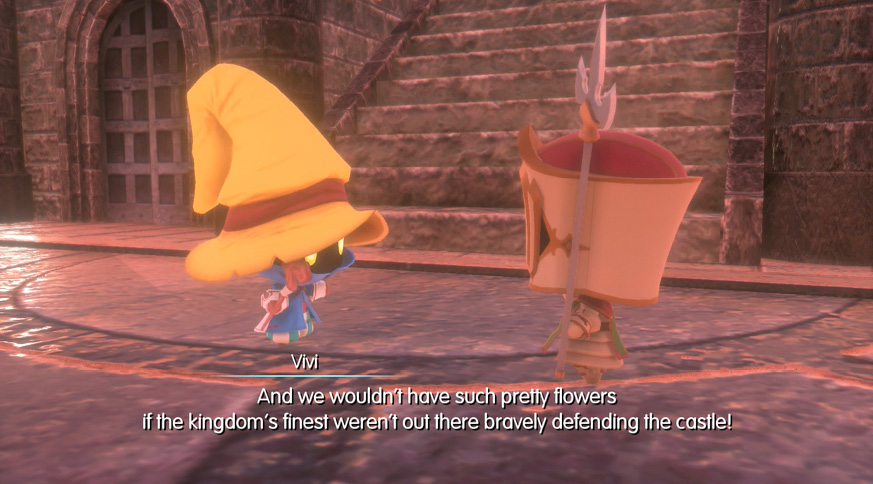
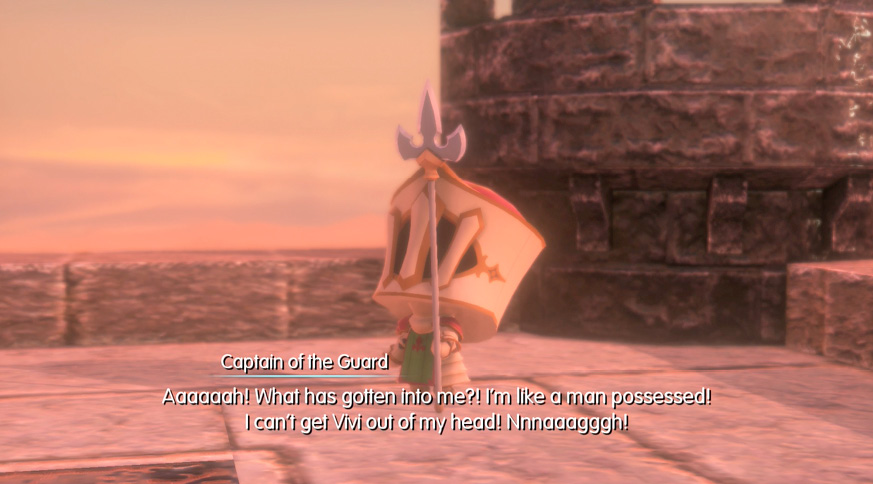
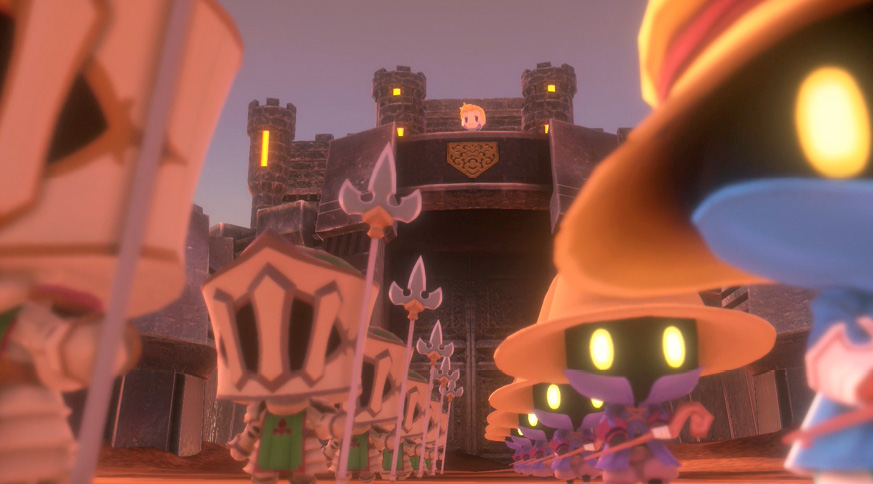
Vivi has cut his ties with the Federation and remains in Figaro to swear allegiance to Edgar. Together with the Black Mages, they have fought hard to protect Figaro, but there are still some who view them with distrust…
There are no battles here—take a much-deserved load off and watch a heartwarming tale between Vivi and the Captain of Figaro’s royal guard.
Ifrit Meets His Match
| Objective | Enemies | Arma Gem Cost | Difficulty Ranking | Reward (1st Completion) | Reward (Subsequent Completions) | Quest Unlock Conditions |
|---|---|---|---|---|---|---|
|
Hunt down some treasure |
Behemonster |
2 |
2 |
Raise Seed |
Phoenix Down |
Clear Chapter 17. “The Girl Who Forgot Her Name” must be cleared. |
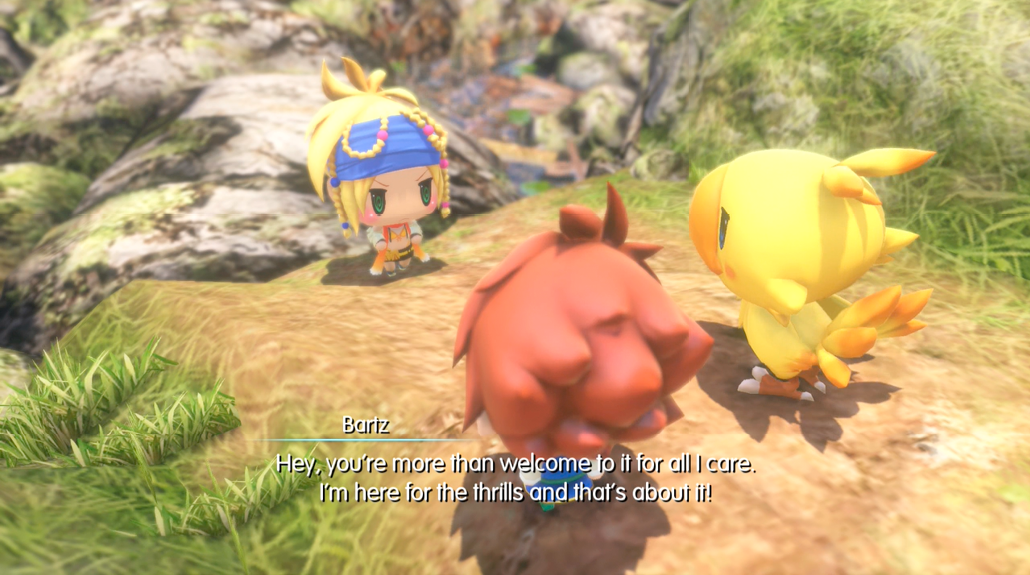
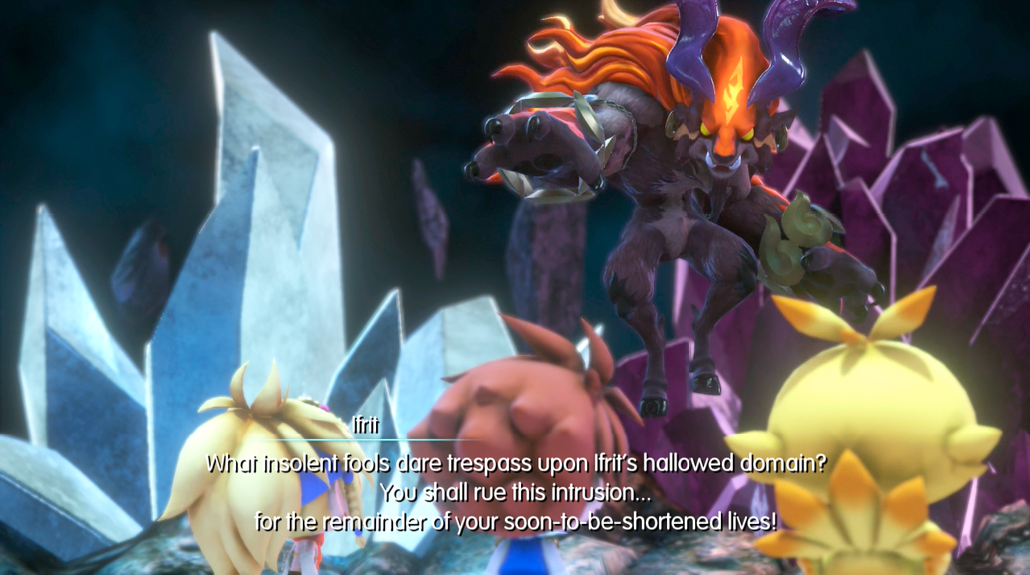
Bartz and Boko arrive at the Nether Nebula in search of adventure, but the first thing they stumble across is the treasure hunter Rikku. The two hit it off immediately and decide to team up for a spot of exploration.
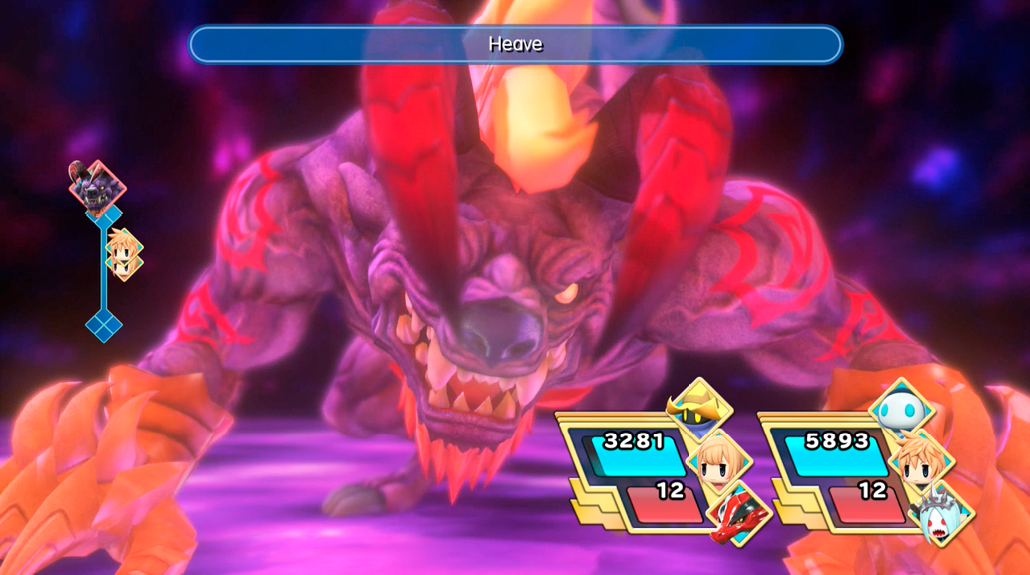
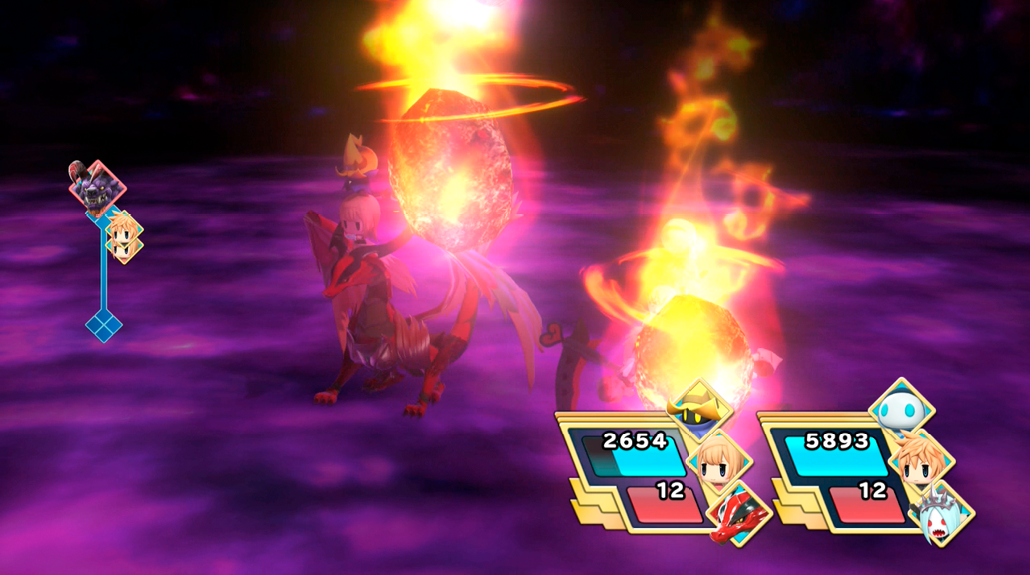
If you have dark magic, use it to put the behemonster down. Otherwise, you might want to use physical attacks if you haven’t imprismed one of these yet. Just watch out because its physical attacks hurt, it can counterattack, its Heave can topple your stack in a hurry, and it can cast Meteor whenever it wants.
The Black Chocobo
| Objective | Enemies | Arma Gem Cost | Difficulty Ranking | Reward (1st Completion) | Reward (Subsequent Completions) | Quest Unlock Conditions |
|---|---|---|---|---|---|---|
|
Save the chocobos |
Hyperion |
2 |
3 |
Hyperion Memento, Haste Stone x3 |
Gysahl Greens x2 |
Clear Chapter 17. “The Girl Who Forgot Her Name” must be cleared. |
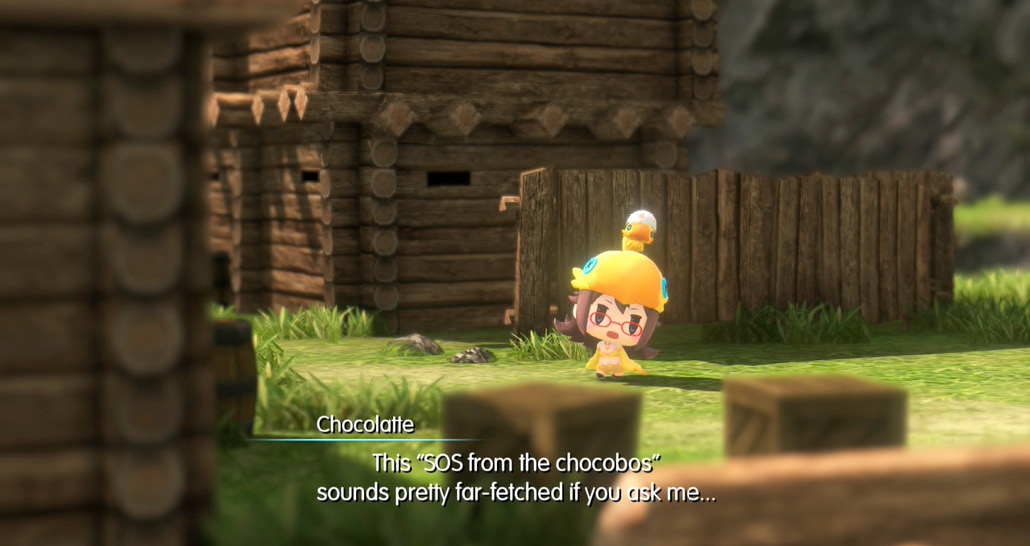
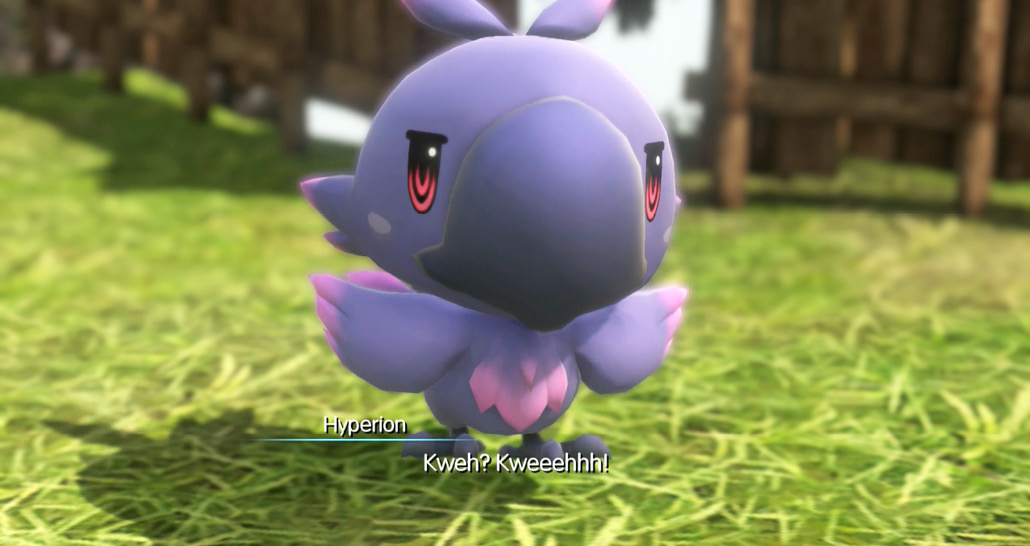
SOS! Chocobo in danger! The Chocolatte signal is high in the sky, and she swoops to the rescue! But when she arrives, she finds two other chocobo freedom fighters already on the scene—Bartz and Boko. They’re here to free a group of exhausted chocobos held captive by a strange black chocobo…
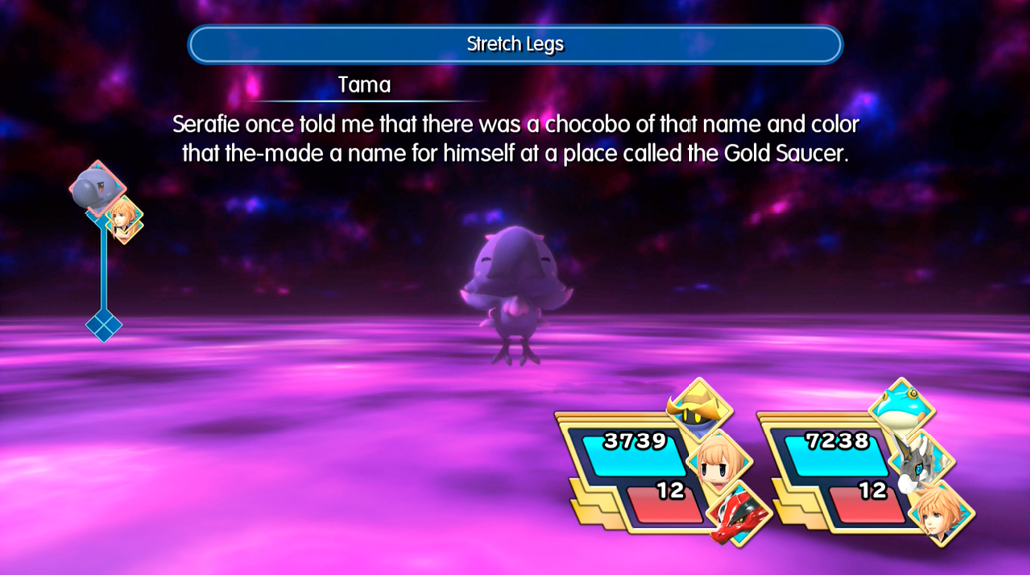
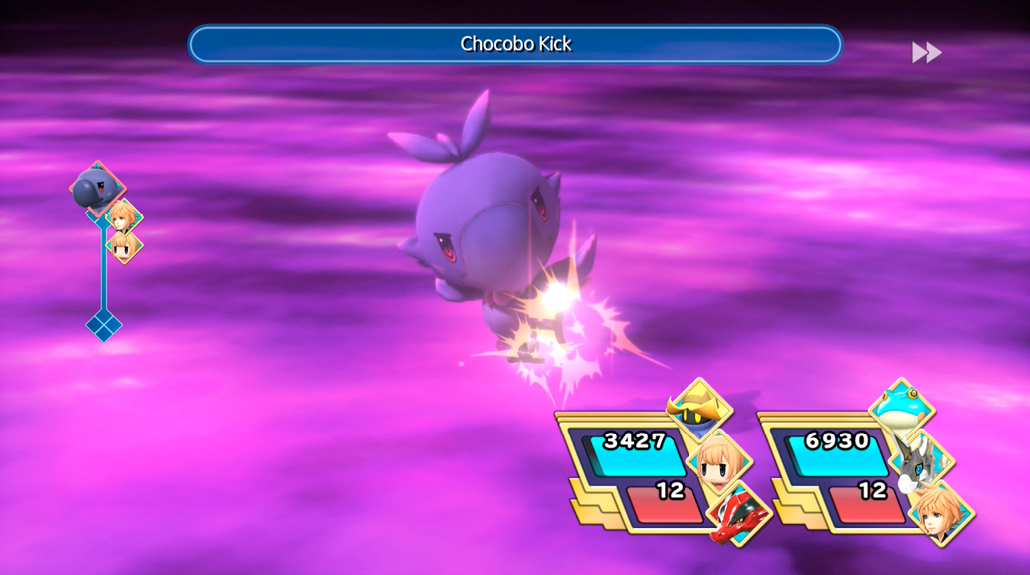
There’s a chance that this little guy might start out with Haste and will do his best to run rings around you! Use Dispel to bring him down to your level (or Haste to go up to his), then use fire or light abilities to defeat him.
Two Different Conversations
| Objective | Enemies | Arma Gem Cost | Difficulty Ranking | Reward (1st Completion) | Reward (Subsequent Completions) | Quest Unlock Conditions |
|---|---|---|---|---|---|---|
|
Hunt the dangerous Mirage |
Gilgamesh |
2 |
3 |
Confuse Seed |
Hi-Ether |
Clear Chapter 18. “The Girl Who Forgot Her Name” must be cleared. |
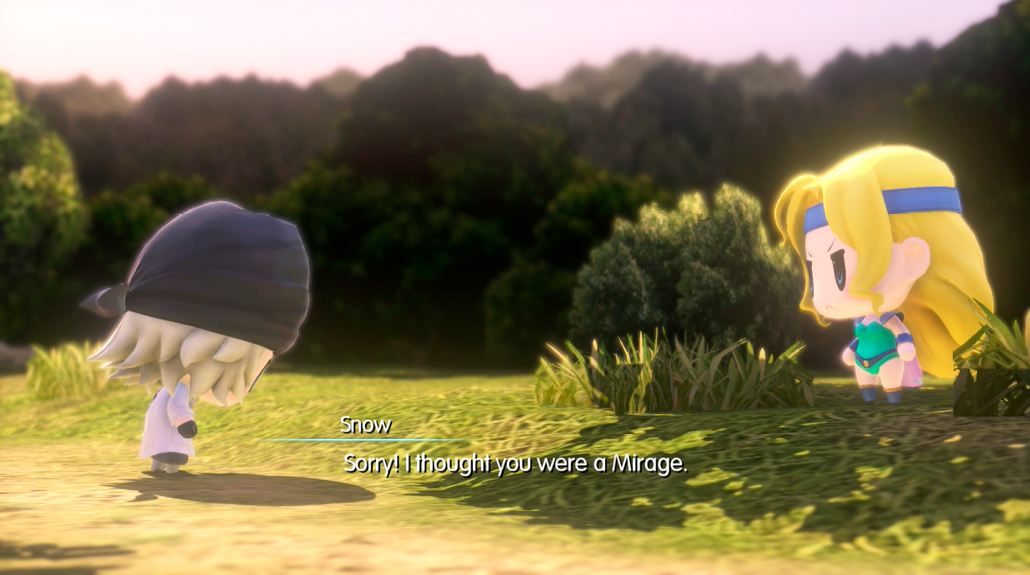
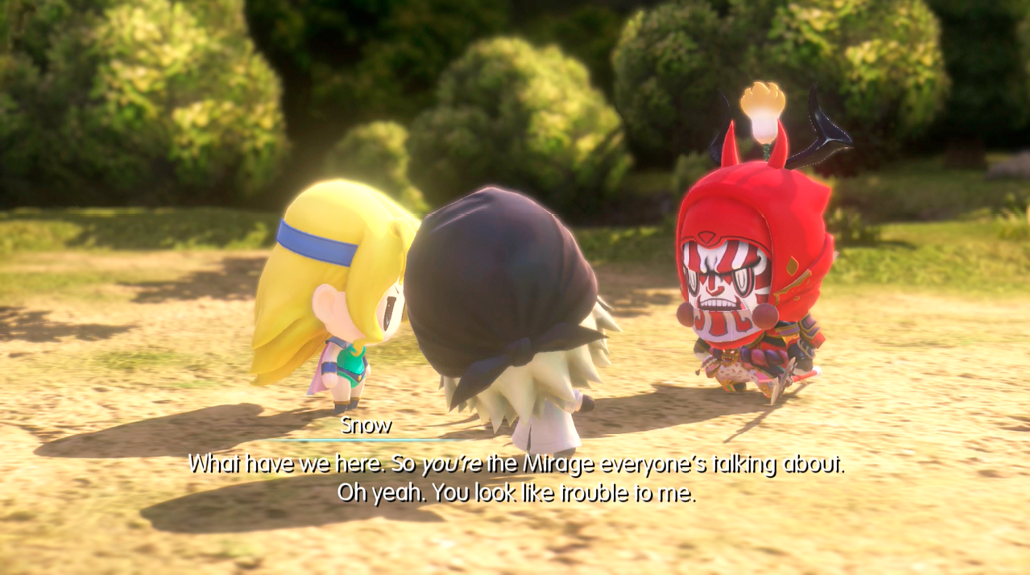
Snow’s on the prowl, searching for the dangerous Mirage that’s been terrorizing the area. He runs into Celes, and being the gentleman that he is, simply insists on accompanying the lady to safety.
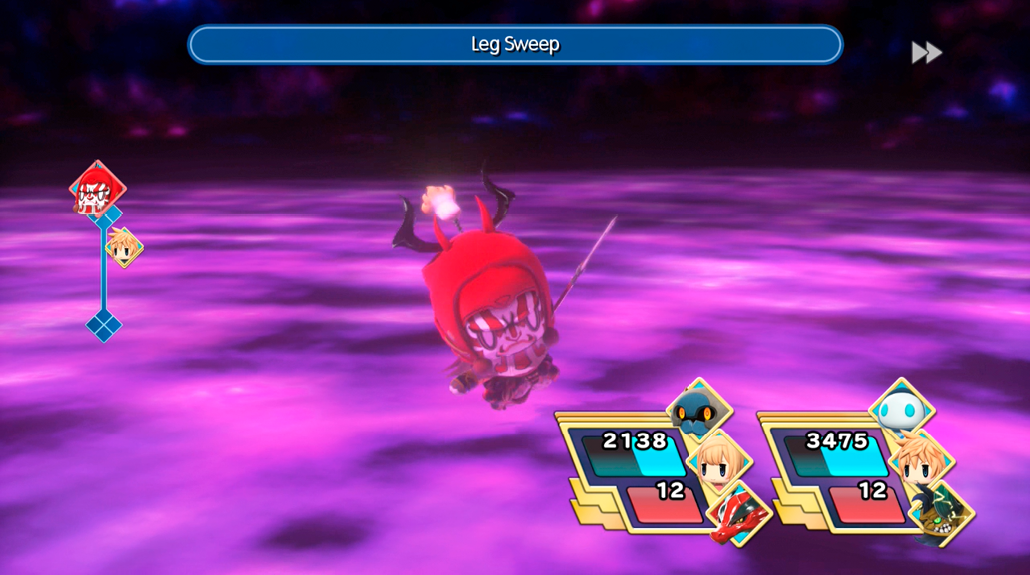
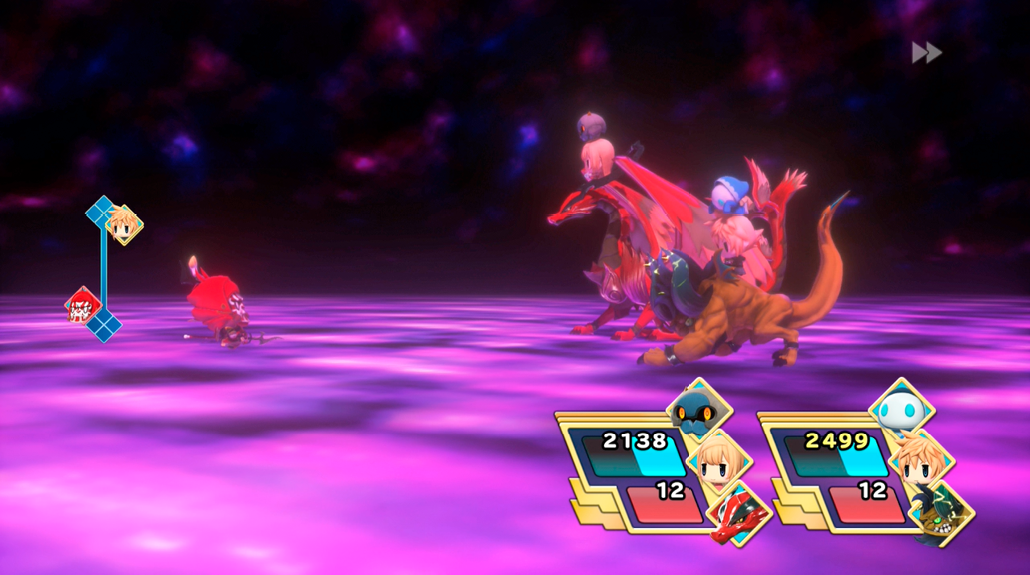
Hitting Gilgamesh with pretty much anything will guarantee damage, as he has no particular resistances or weaknesses. He can, however, cast Haste, Protect, and Shell on himself at a moment’s notice, so make sure you have Dispel handy if you want the fight to go faster.
Chocolatte’s Master
| Objective | Enemies | Arma Gem Cost | Difficulty Ranking | Reward (1st Completion) | Reward (Subsequent Completions) | Quest Unlock Conditions |
|---|---|---|---|---|---|---|
|
Free the captured Boko |
Mecha Chocobo |
2 |
3 |
Mecha Chocobo Memento, Bravery Seed |
Gysahl Greens x5 |
After the Cogna are introduced in Chapter 21. “The Girl Who Forgot Her Name” and “Black Chocobo” must be cleared. |

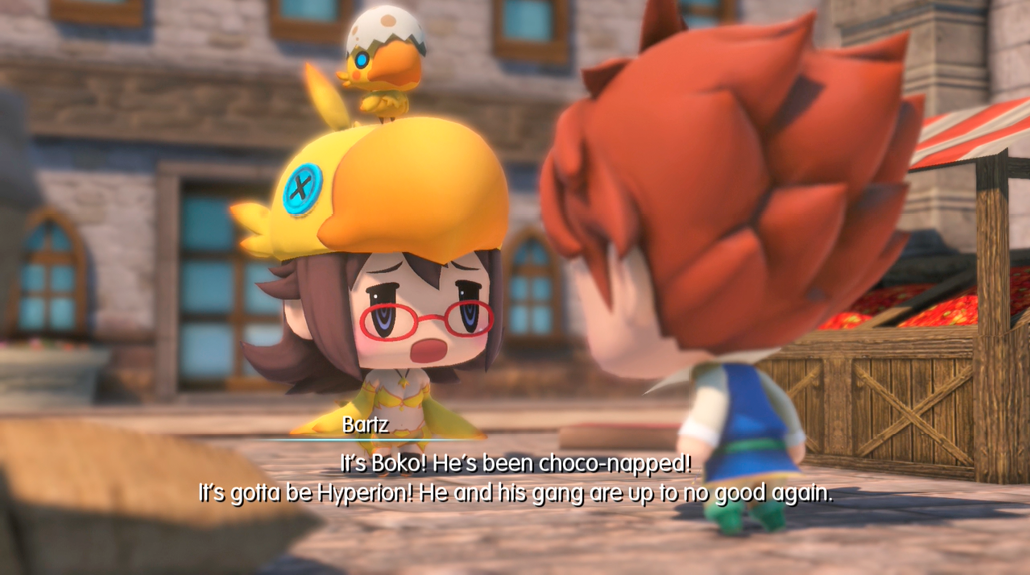
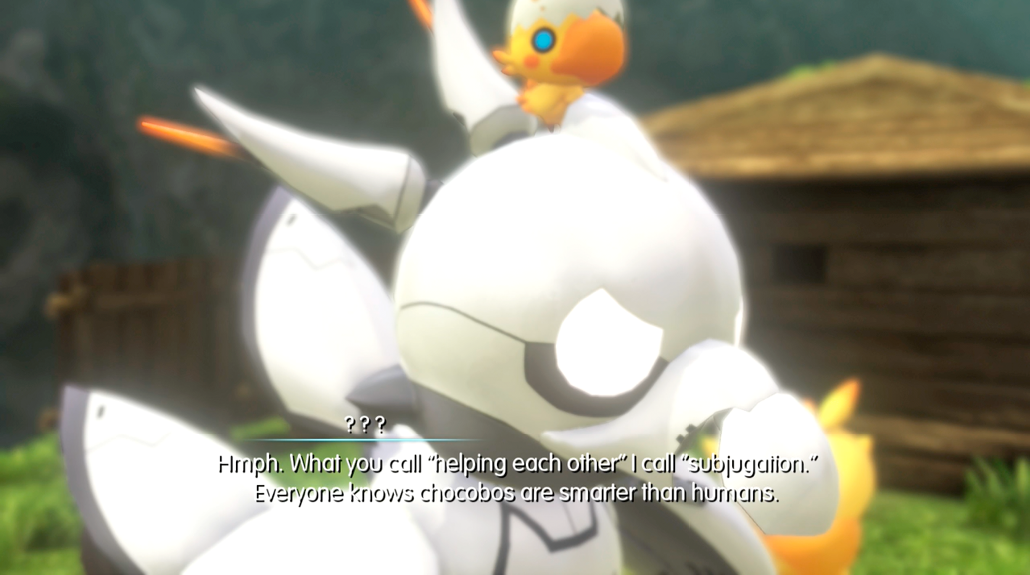
Chocolatte is minding her shop one quiet day when Bartz bursts in, all a fluster. His best buddy Boko has been kidnapped, and he needs Chocolatte’s help to get him back!
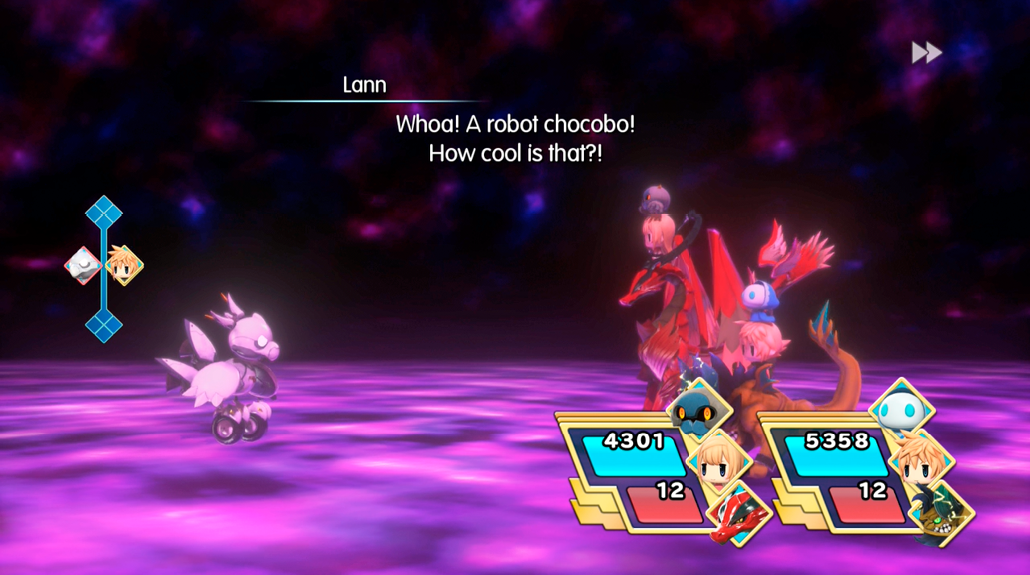
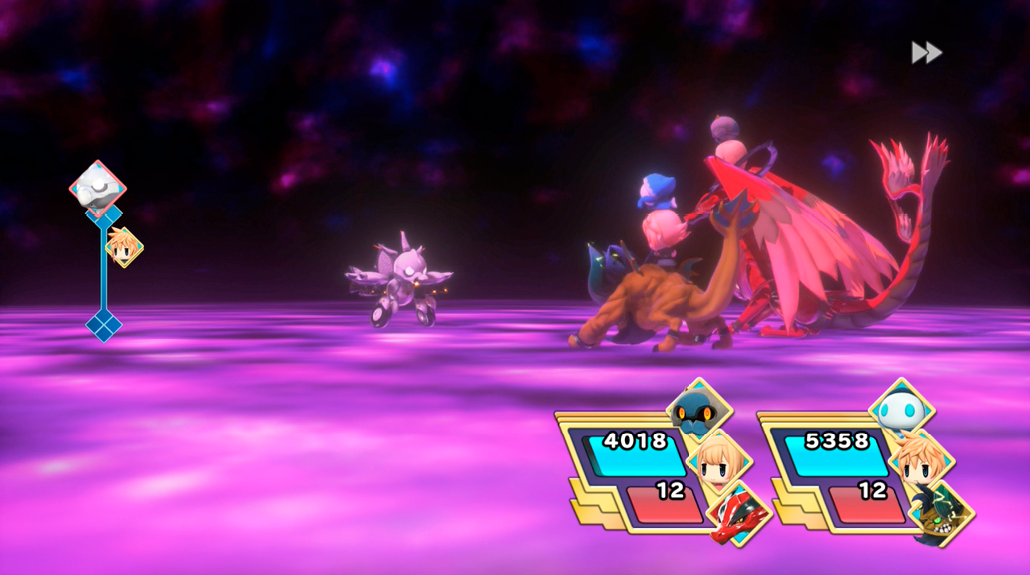
Fire or thunder will put this robot down quickly. Otherwise, watch out for physical attacks like Body Slam.
I Have Awaited This Day…
| Objective | Enemies | Arma Gem Cost | Difficulty Ranking | Reward (1st Completion) | Reward (Subsequent Completions) | Quest Unlock Conditions |
|---|---|---|---|---|---|---|
|
Learn how to stop the Cogna |
Bahamutian Soldier, Brothertaur x2 |
2 |
3 |
Reflect Seed |
Hi-Potion |
After the Cogna are introduced in Chapter 21. “The Girl Who Forgot Her Name” must be cleared. |
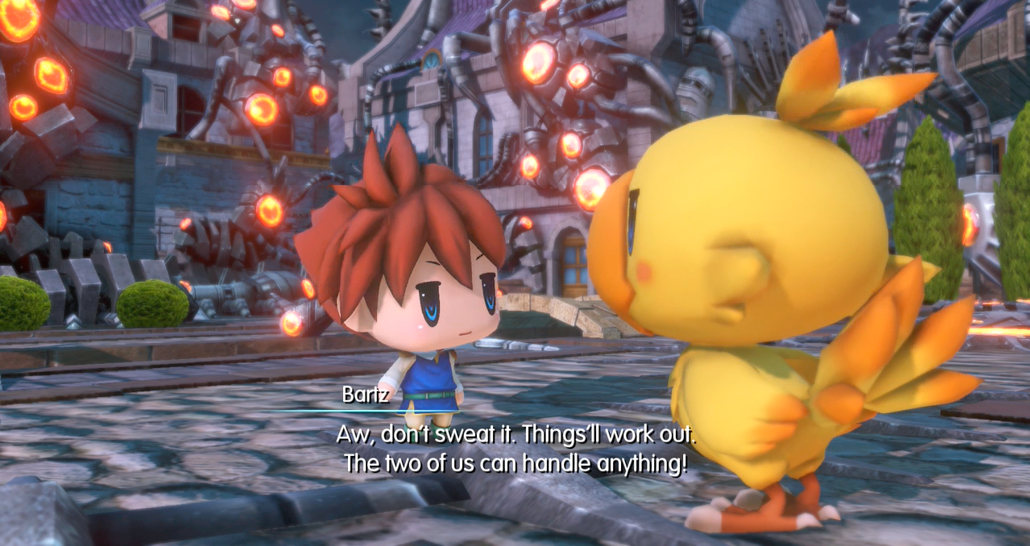
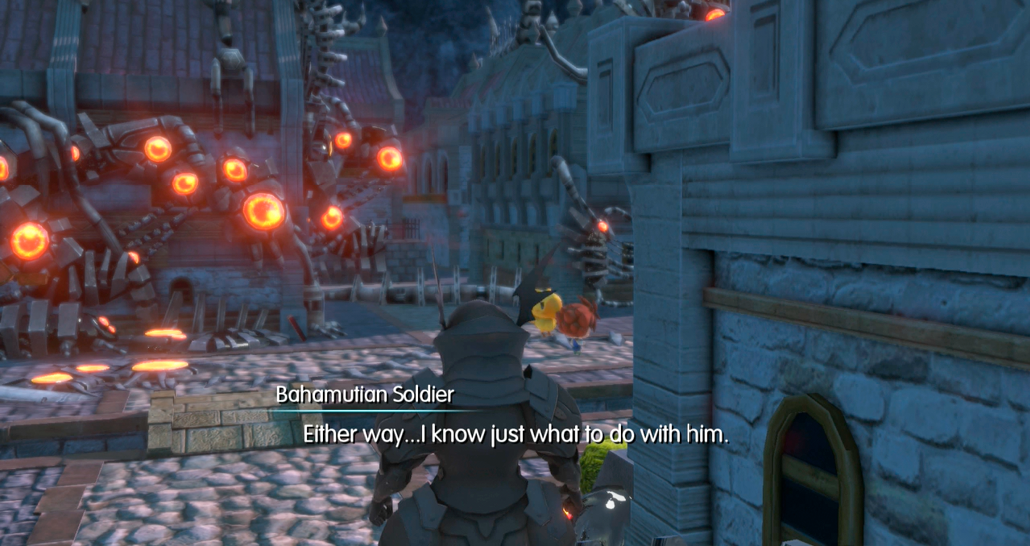
Bartz battles valiantly against hordes of Cogna threatening a defenseless town, but he’s just one man with a chocobo watching his back. He can’t be everywhere at once… There’s got to be a way to destroy all of these pesky Cogna… What?! Gilgamesh knows how to stop them?!
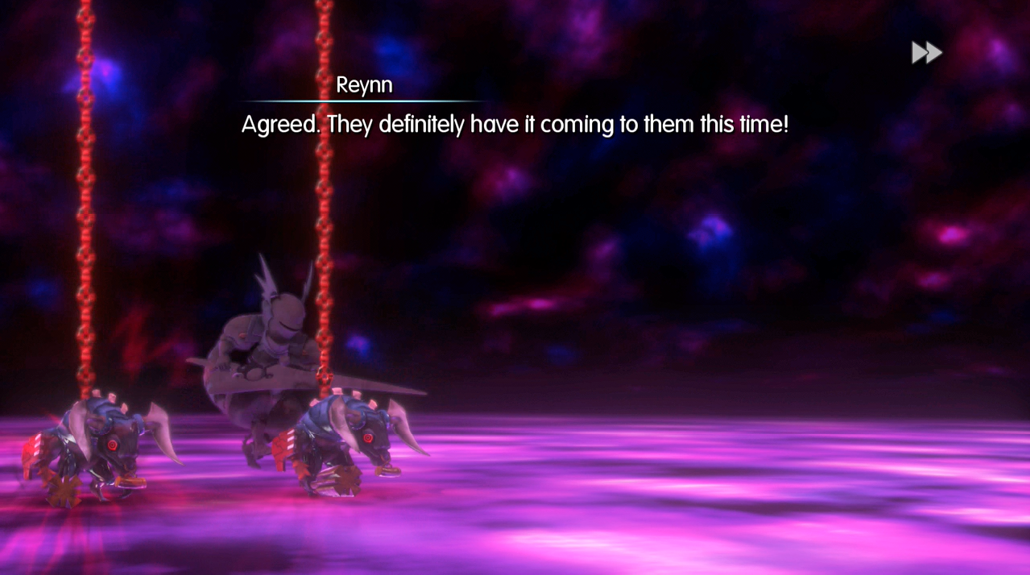
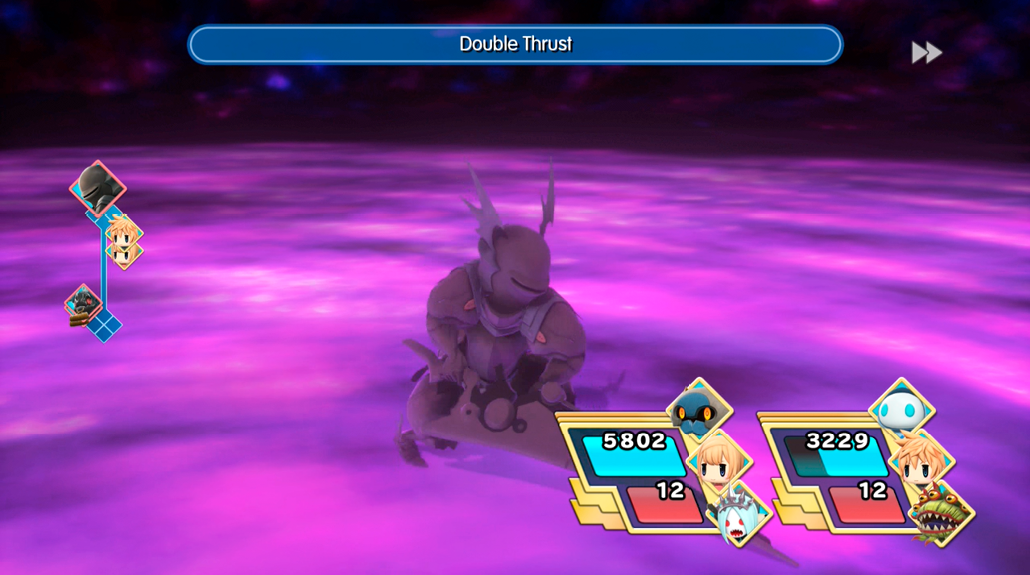
Wind and dark magic are best to use here. You can also Blind, Confuse, or cast Doom on the brothertaurs fairly easily—which are all good ideas because these little guys can topple your stack in the blink of an eye with special attacks like Stack Buster.
Chosen by the Tribe
| Objective | Enemies | Arma Gem Cost | Difficulty Ranking | Reward (1st Completion) | Reward (Subsequent Completions) | Quest Unlock Conditions |
|---|---|---|---|---|---|---|
|
Follow Eiko’s senses |
Elefenrir |
2 |
5 |
Elefenrir Memento, Resist Strengthi Seed |
Hi-Ether |
After the Cogna are introduced in Chapter 21. “The Girl Who Forgot Her Name” must be cleared. |
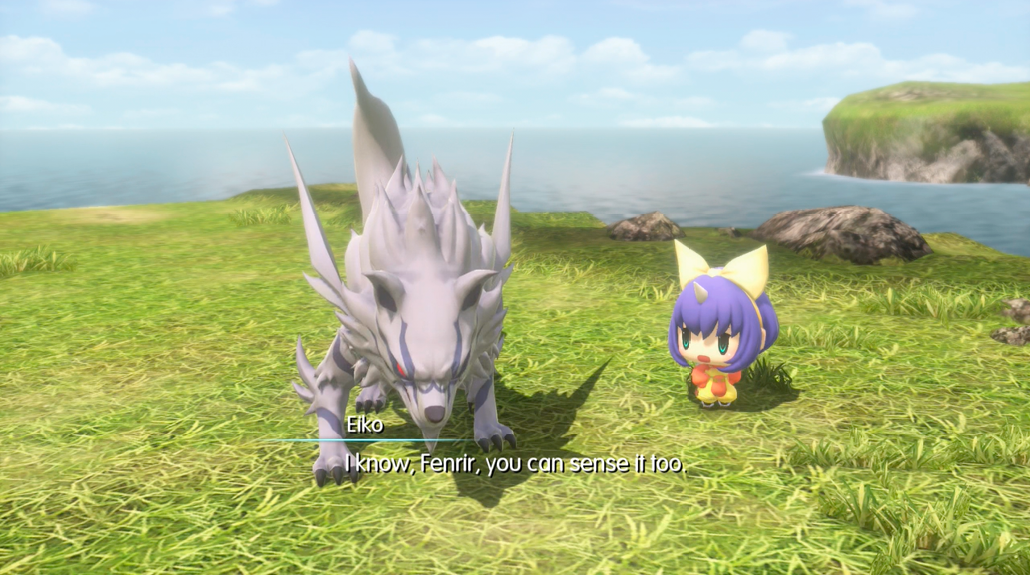
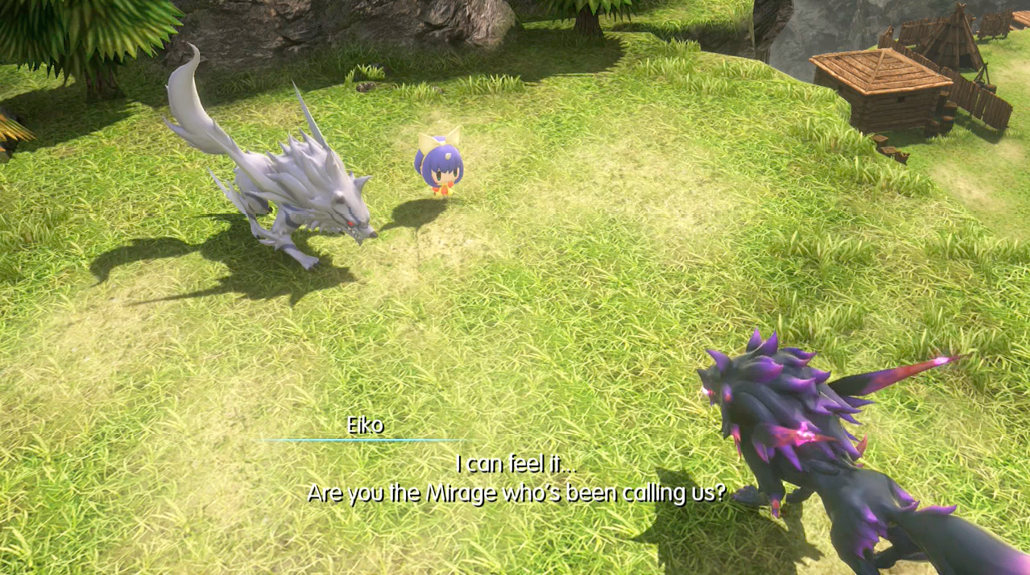
Eiko and Fenrir are on the move. Eiko stops, detecting something with her horn, and Fenrir seems to notice whatever it is, as well. Glancing forward, they see that something waiting for them at their destination…
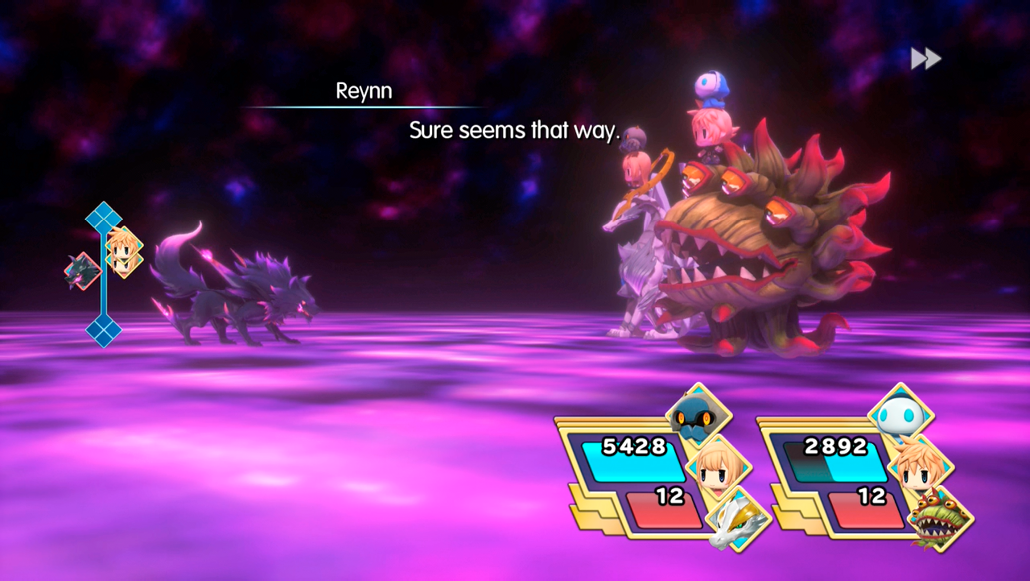
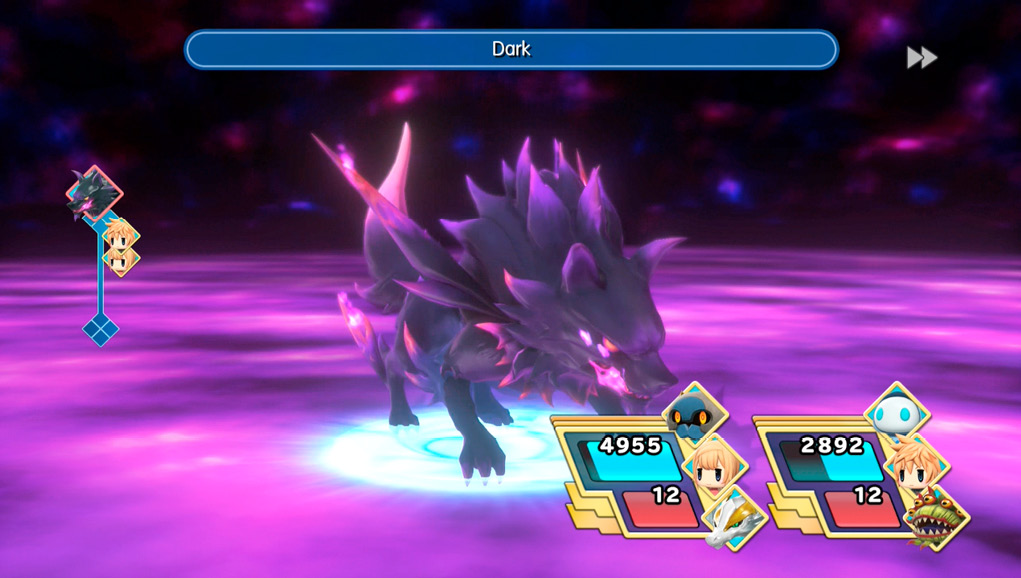
Elefenrir really hates light abilities. Bring Banishra. If you don’t have it, anything but dark or fire abilities can be an okay substitute. Watch out for Elefenrir’s own dark and fire abilities, especially when his HP gets low.
Freak of Nature
| Objective | Enemies | Arma Gem Cost | Difficulty Ranking | Reward (1st Completion) | Reward (Subsequent Completions) | Quest Unlock Conditions |
|---|---|---|---|---|---|---|
|
Take out the target Mirage |
Ultros |
2 |
5 |
Ultros Memento, Thundara Seed |
Hi-Ether |
Clear all of the “The Five Cogna Lords” quests |

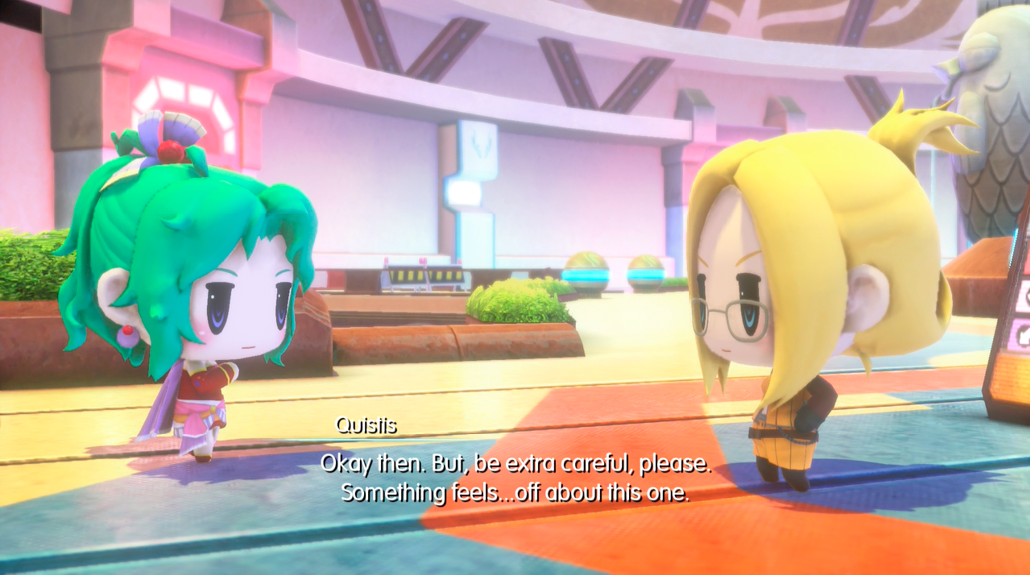
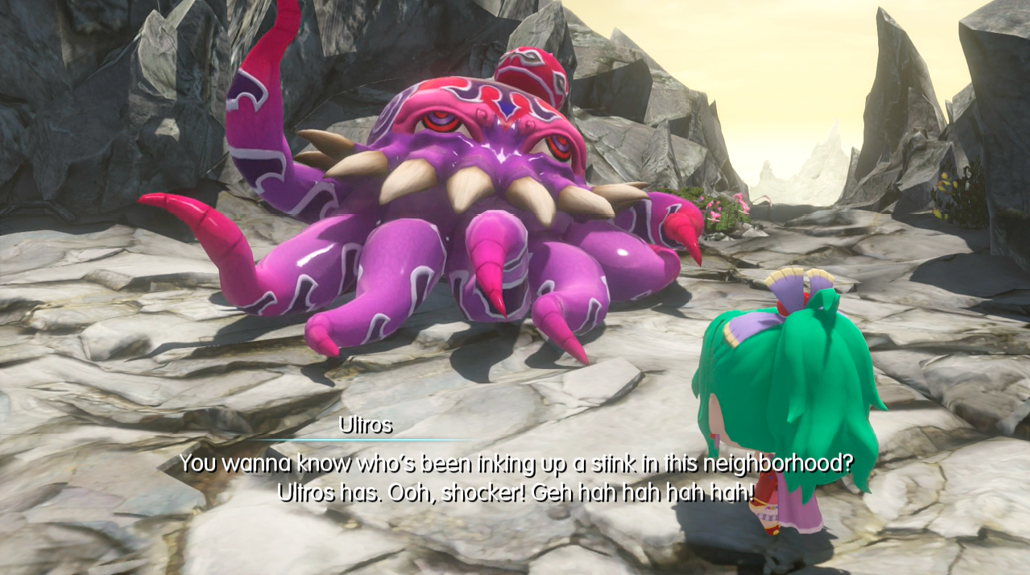
Quistis has tasked Terra with taking out a particularly nasty Mirage. According to an eyewitness report, “I can’t believe a freak of nature like that even exists.” What could this hideous affront to all that is good be…?
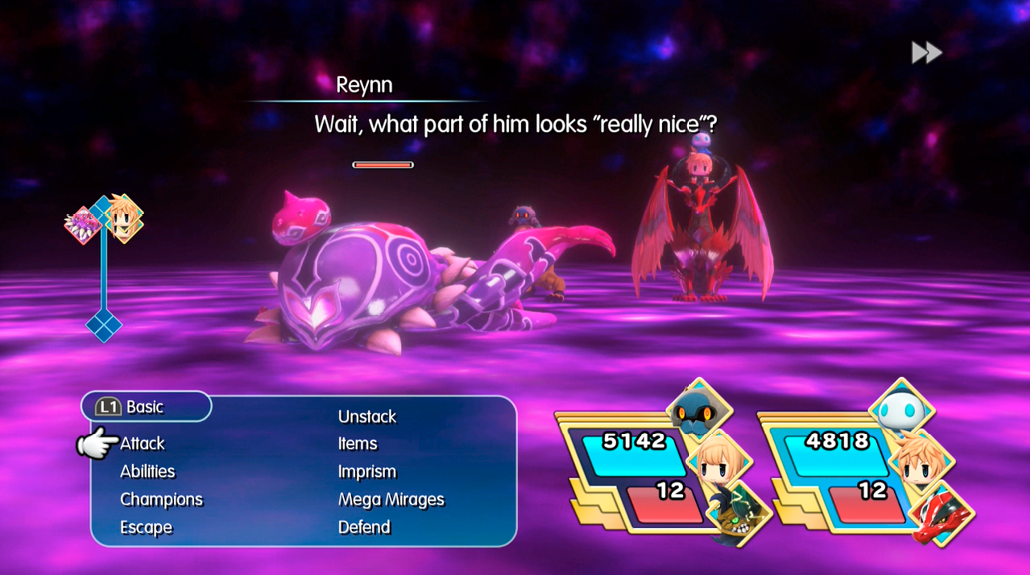
Ultros (naturally) brings forth all sorts of octopus-themed abilities, like Tsunami and the multi-hitting Octentacle. He can also confuse your party members with Mind Blast. Use fire, light, or thunder magic to tease him until he’s calamari.
Steel That Forges Destinies
| Objective | Enemies | Arma Gem Cost | Difficulty Ranking | Reward (1st Completion) | Reward (Subsequent Completions) | Quest Unlock Conditions |
|---|---|---|---|---|---|---|
|
Protect the town from Cogna |
Elite Entom |
2 |
4 |
Elite Entom Memento, Mega-Potion |
Hi-Potion |
After the Cogna are introduced in Chapter 21. “The Girl Who Forgot Her Name” must be cleared. |
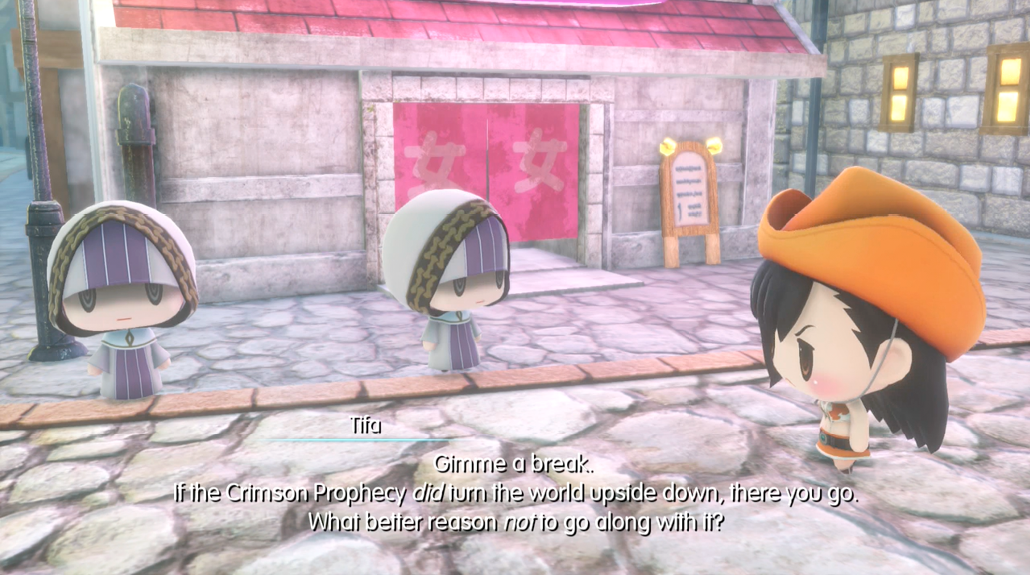
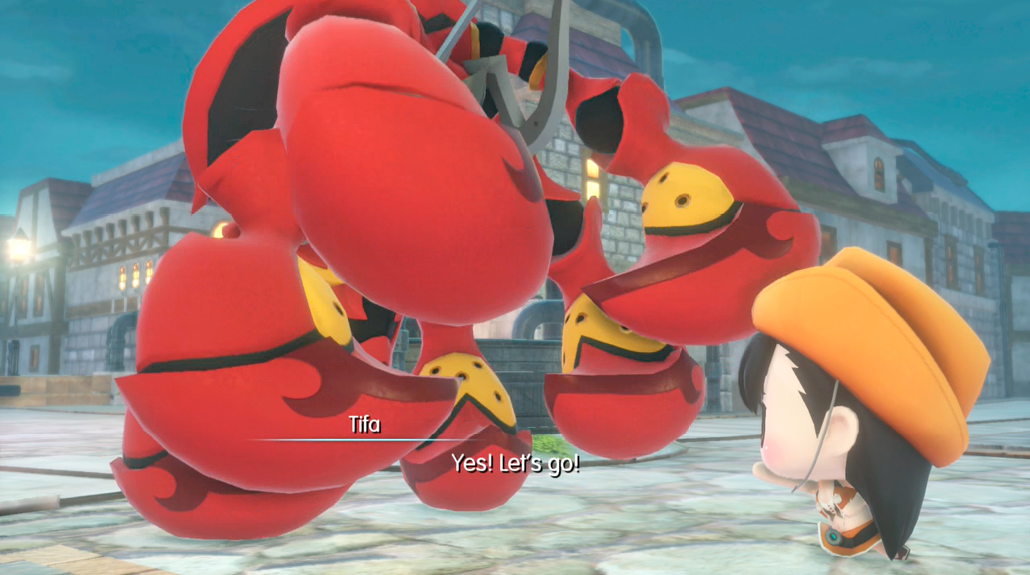
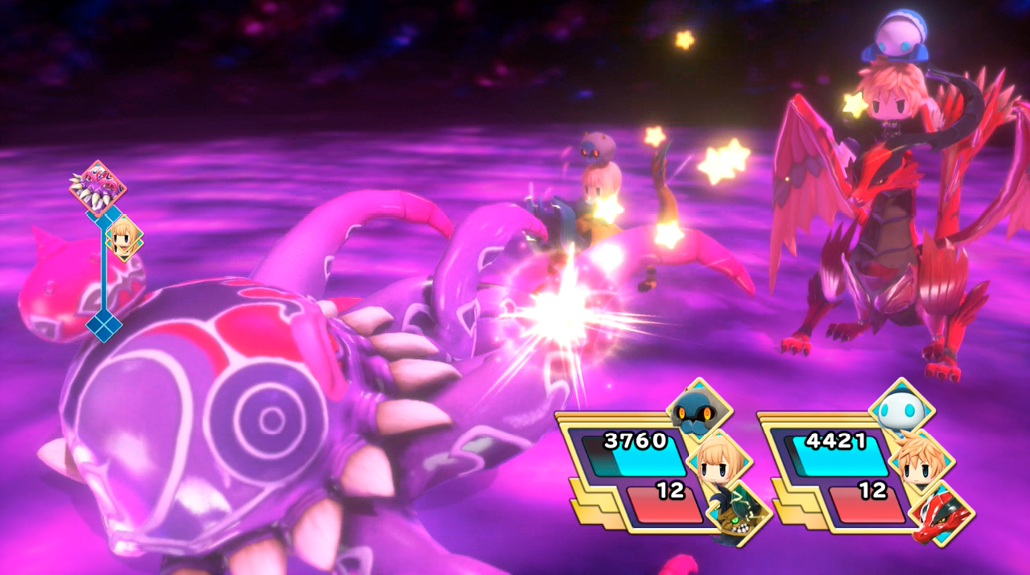
Tifa has just returned home to Nibelheim from a rigorous training session, and what else greets her but a loudmouthed zealot with an axe to grind. Tifa is in no mood for sass, but before she can give him a good tongue-lashing, a Cogna appears…
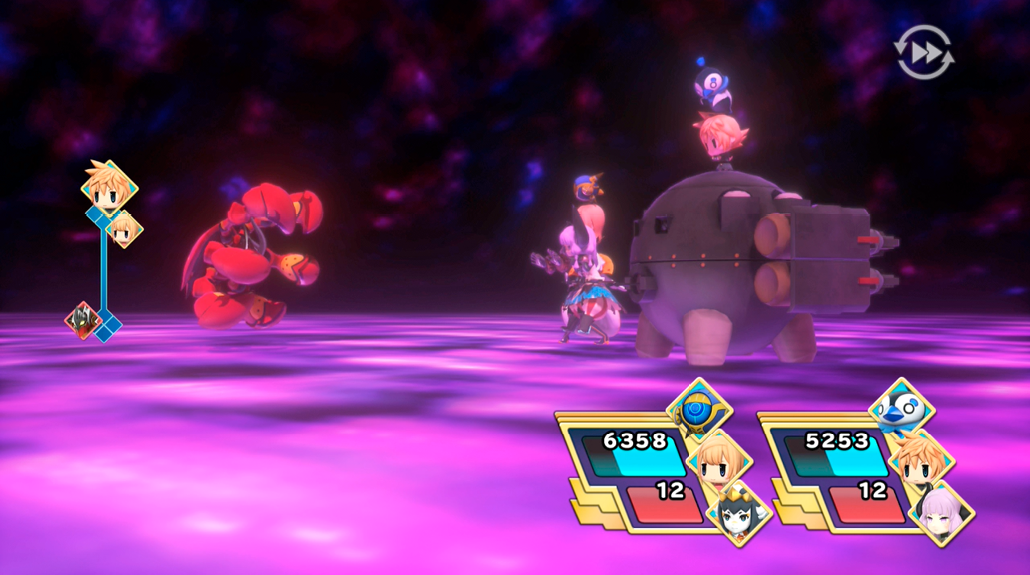
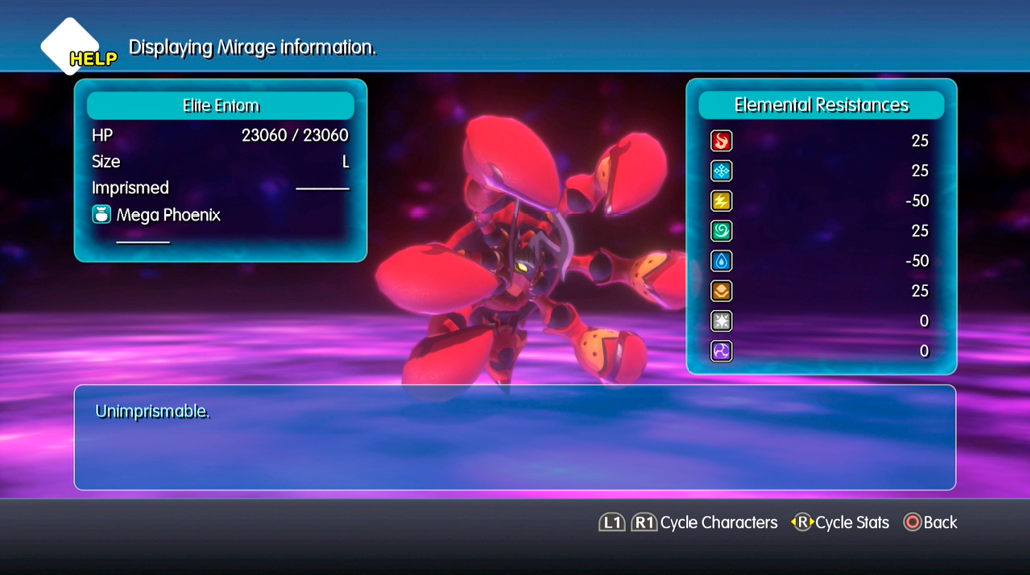
Like most machines, water or thunder abilities are your best bets. This entom doesn’t have a variety of abilities, but it has a lot of HP and hits hard, so be careful.
The Sad Spiral
| Objective | Enemies | Arma Gem Cost | Difficulty Ranking | Reward (1st Completion) | Reward (Subsequent Completions) | Quest Unlock Conditions |
|---|---|---|---|---|---|---|
|
Deal with the rampaging Cogna |
Battle 1: Nirvalefor Battle 2: Ultima Weapon |
2 |
4 |
Nirvalefor Memento, Resist Magici Seed |
Hi-Ether |
Clear all of the “The Five Cogna Lords” quests |
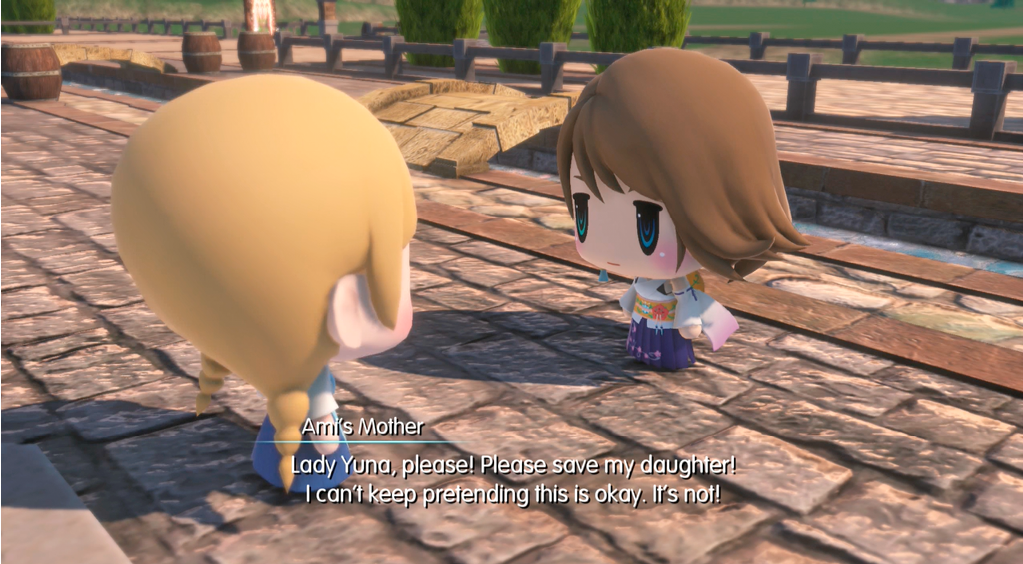
Yuna has heard that a town has had it rough with the Cogna, and journeys there to see what she can do to help. When she arrives, she finds a young girl speaking with another villager…
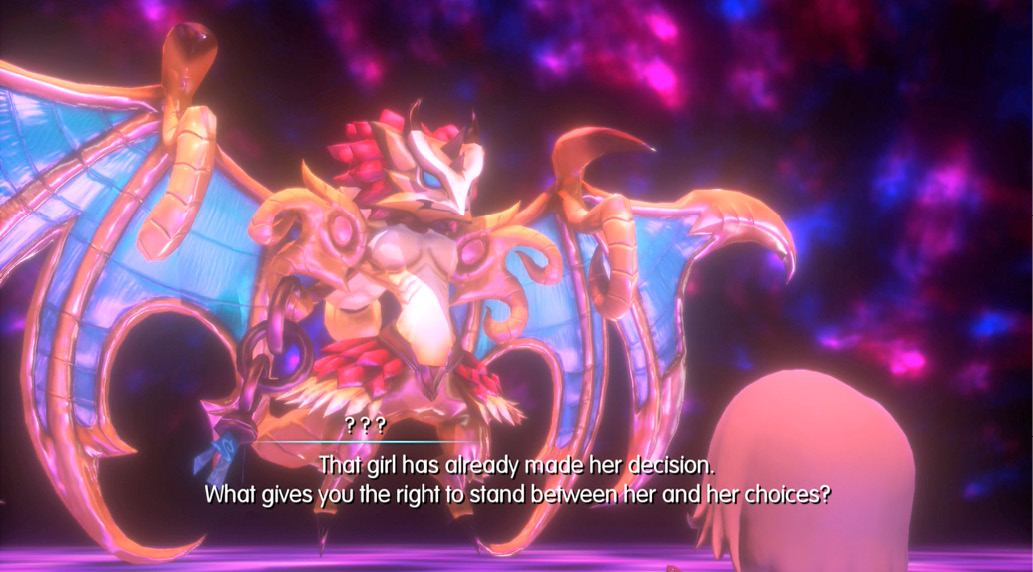
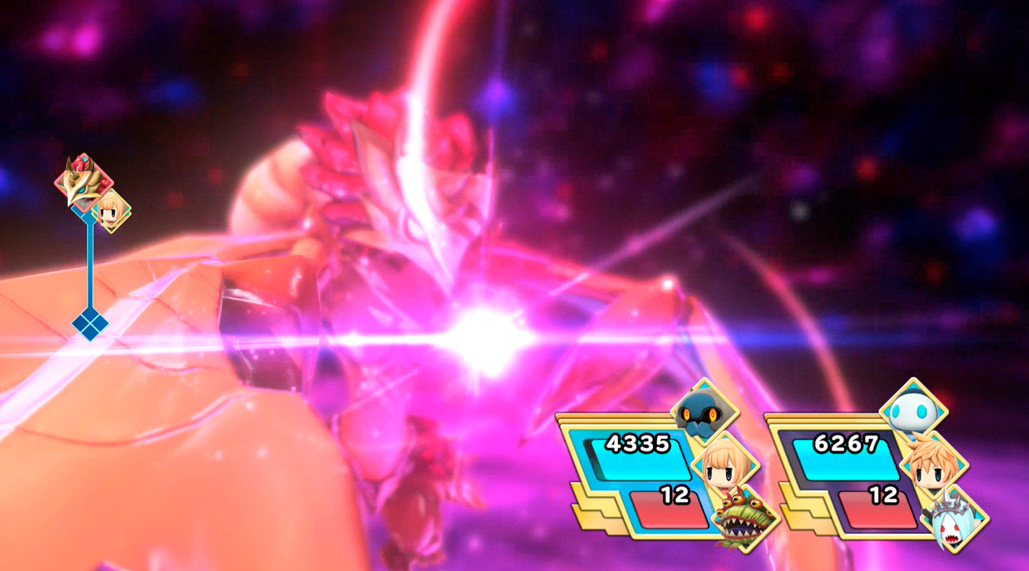
Nirvalefor’s trump card is Energy Ray, which hits all party members for significant damage. Stay healed to avoid being knocked out in one shot. Wind or dark abilities will put him down quickest.
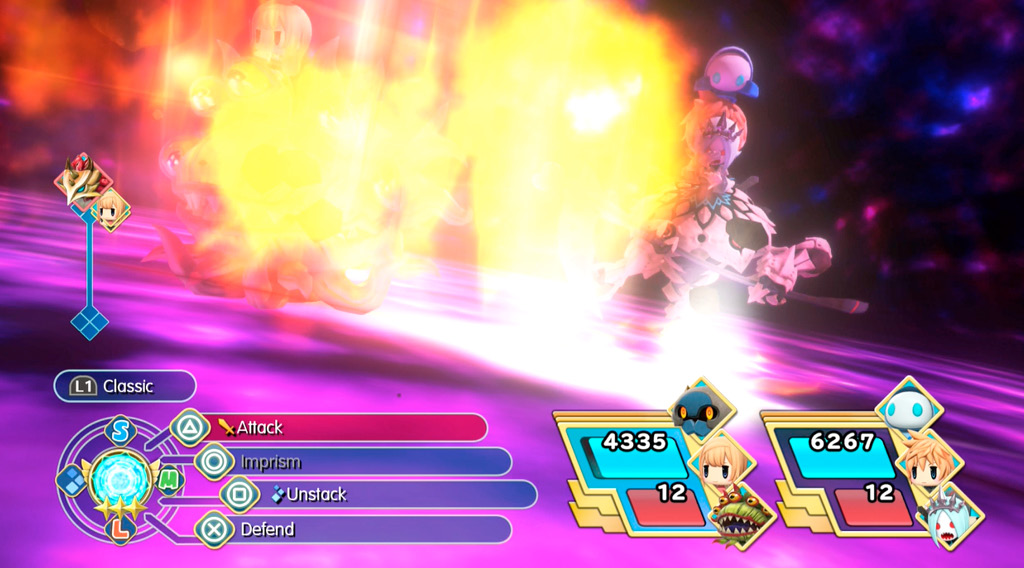
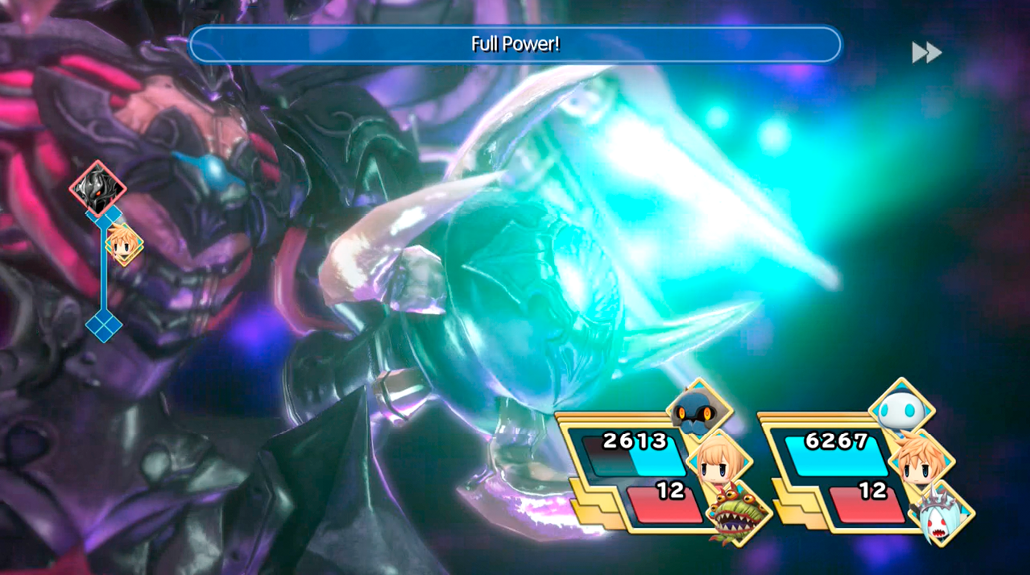
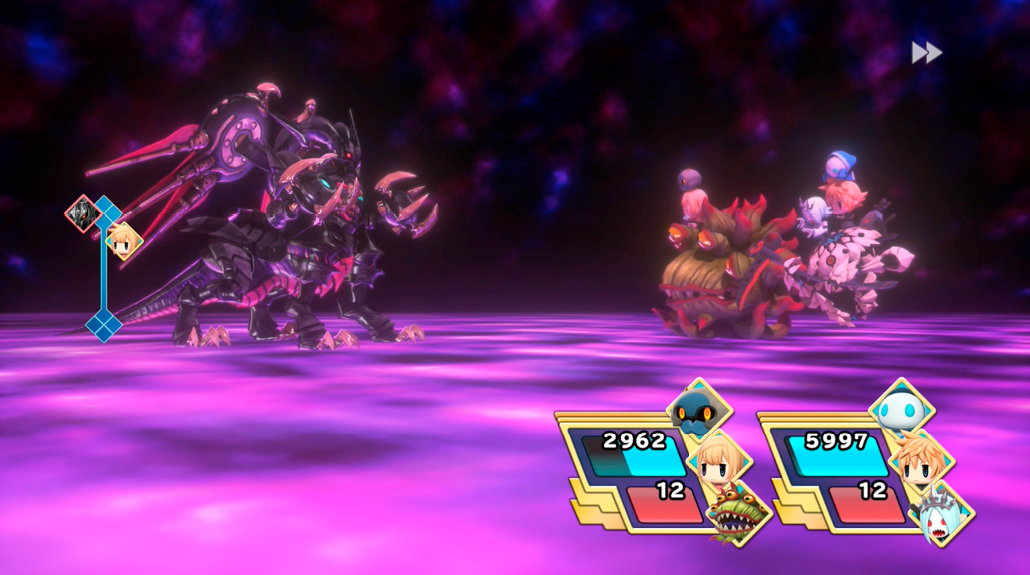
Meanwhile, Ultima Weapon is one tough cookie. It has no real elemental resistances or weaknesses, but it has massive HP, has the heavy-hitting Full Power! ability, and will spam Ultima once its HP gets below 70%. Hit it hard, fast, as much as you can, and make sure to stay healed the whole way.
The Sunken Temple’s Secret
| Objective | Enemies | Arma Gem Cost | Difficulty Ranking | Reward (1st Completion) | Reward (Subsequent Completions) | Quest Unlock Conditions |
|---|---|---|---|---|---|---|
|
Check on Shantotto in Port Besaid |
Battle 1: Shantotto Battle 2: Cenchos |
2 |
4 |
Cenchos Memento, Watera Seed |
N/A |
Clear all of the “The Five Cogna Lords” quests |
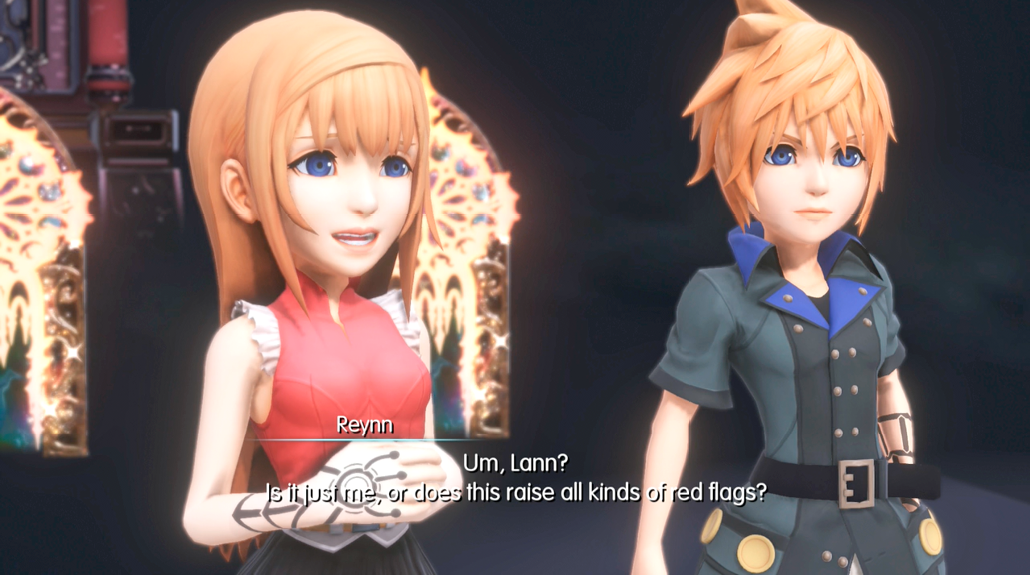
Shantotto’s up to something, and the twins are going to get to the bottom of it…
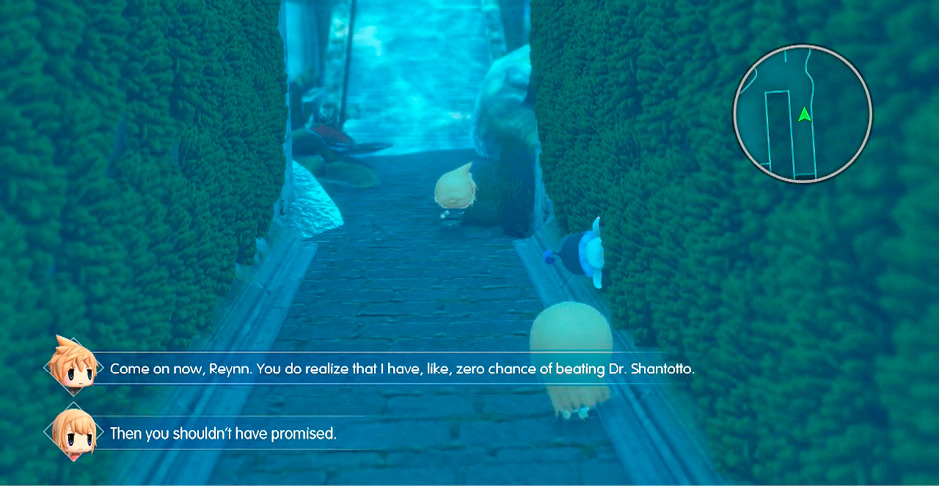
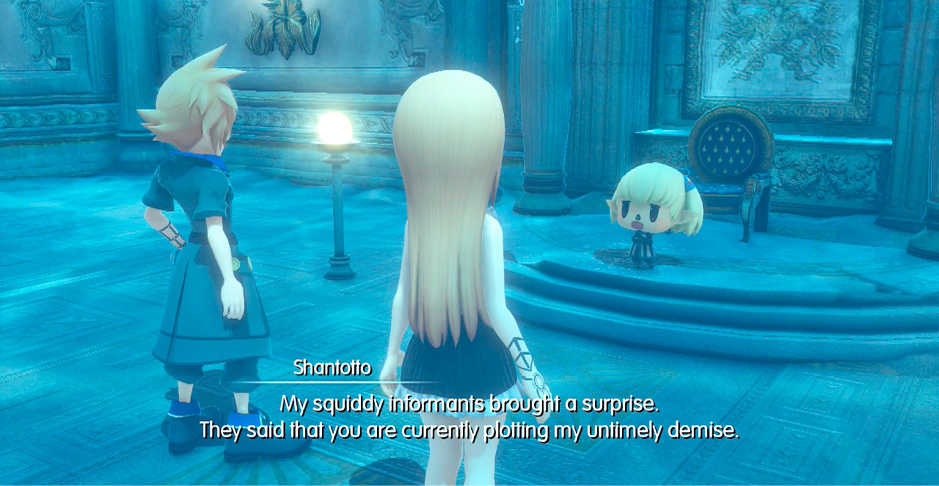
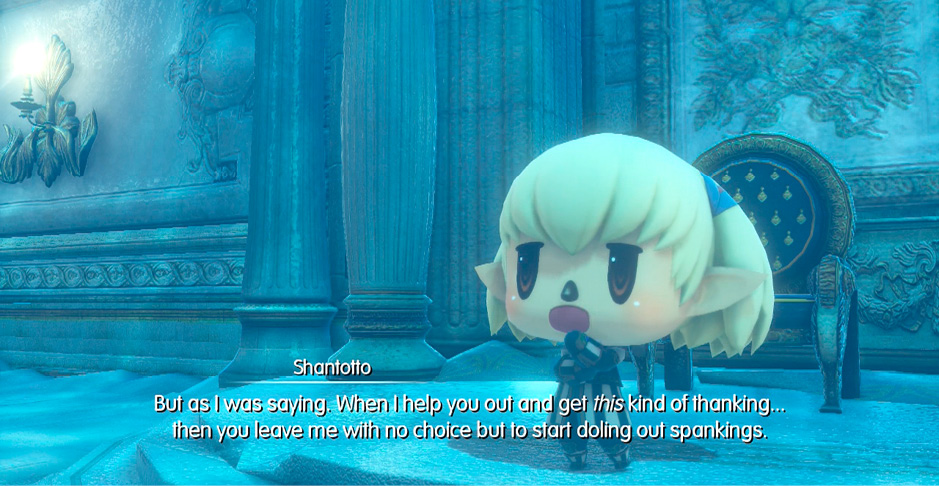
This is one of the few missions that involves a dungeon crawl—in this case, it’s back through the Sunken Temple. Head back to the Quacho Queen’s throne room for an…unpleasant surprise.
Fighting Shantotto is an exercise in futility. She’ll likely stomp you flat, regardless of your ability. Feel free to try to stay afloat, but after a few of her attacks, it’ll be all she wrote.
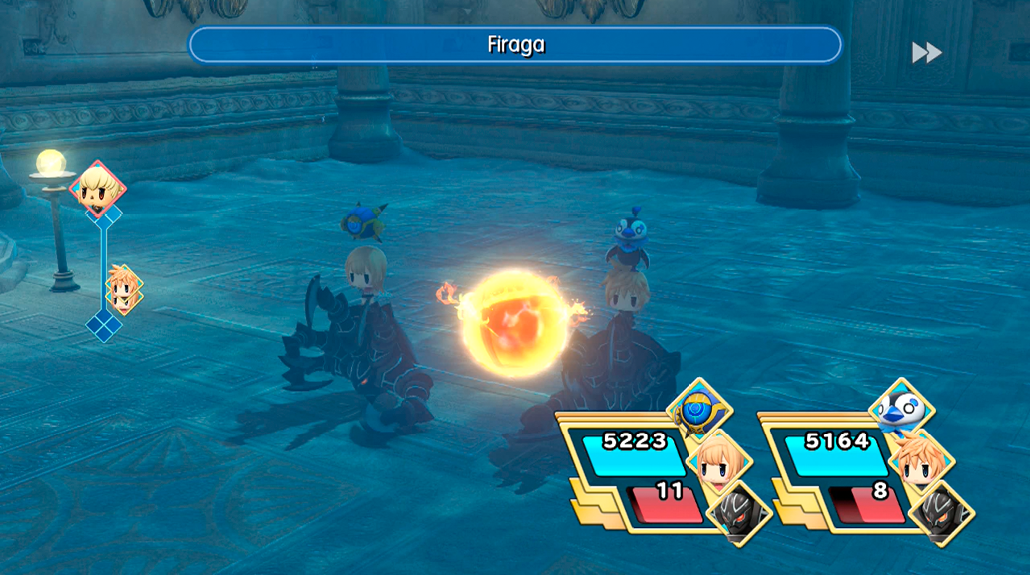
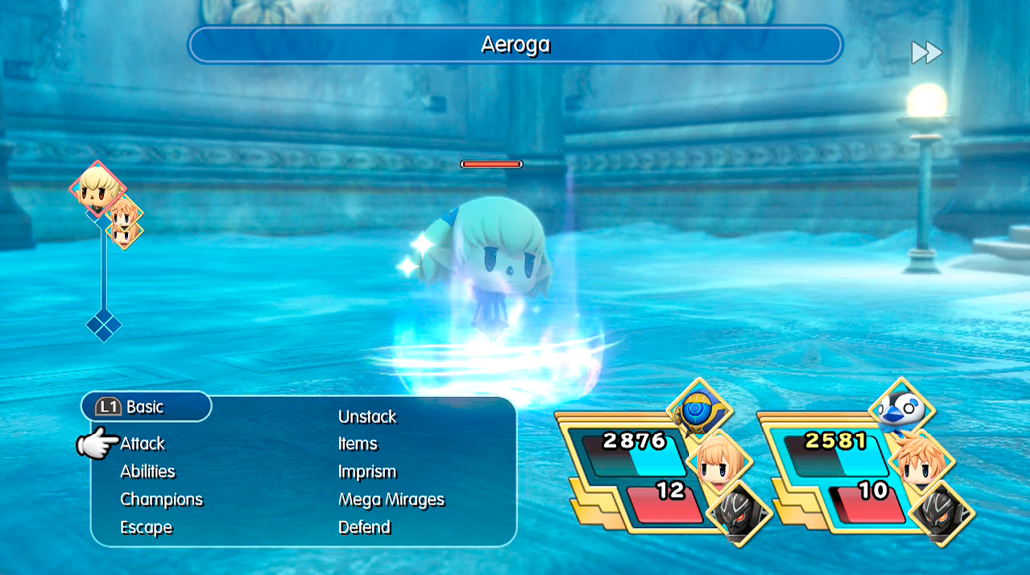
After the battle, the story continues. You’ll get matched up against a new boss: Cenchos.
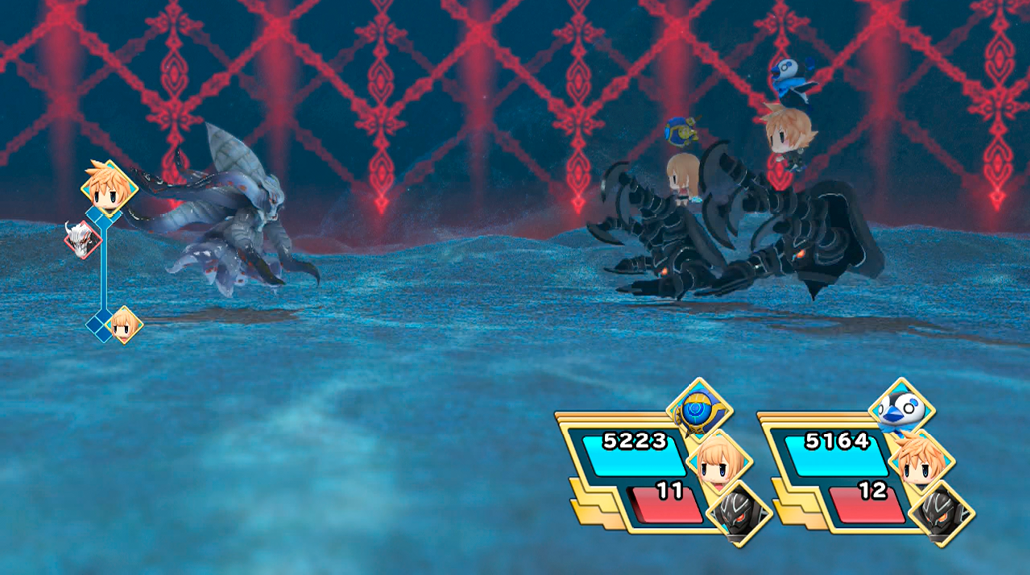
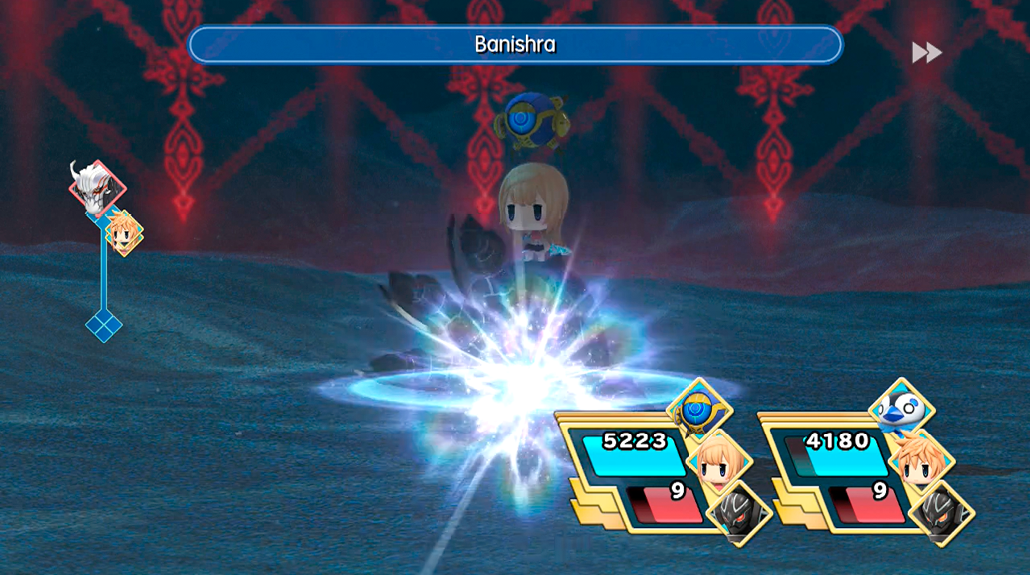
Cenchos has lots of HP, resists all ailments, has only one elemental weakness, and can hit you hard with light magic. This still makes him worlds easier than Dr. Shantotto. Go to town on him with fire attacks.
After this battle, the twins end up in Sunken Temple–Quacheon 7. Check your map and head to the newly unlocked door which leads to the Secret Quacheon. Inside there are three treasure chests which contain a Resist Blindness seed, a Curaga mirajewel, and a Water Resistance++ seed. Once you’re done, you can head back to Quacheon 7 and use the red gate to warp back to Nine Wood Hills.
The Eye of the Desert
| Objective | Enemies | Arma Gem Cost | Difficulty Ranking | Reward (1st Completion) | Reward (Subsequent Completions) | Quest Unlock Conditions |
|---|---|---|---|---|---|---|
|
Defeat the Mirage in the Eye of the Desert |
Omega Bane |
2 |
4 |
Omega Bane Memento, Resist Evasioni Seed |
Hi-Ether |
Clear all of the “The Five Cogna Lords” quests |
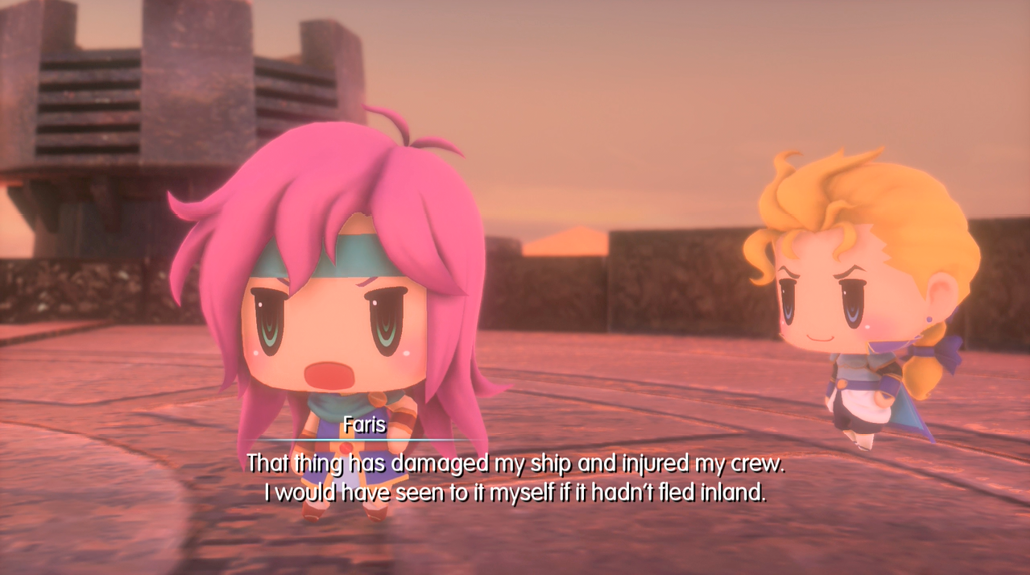
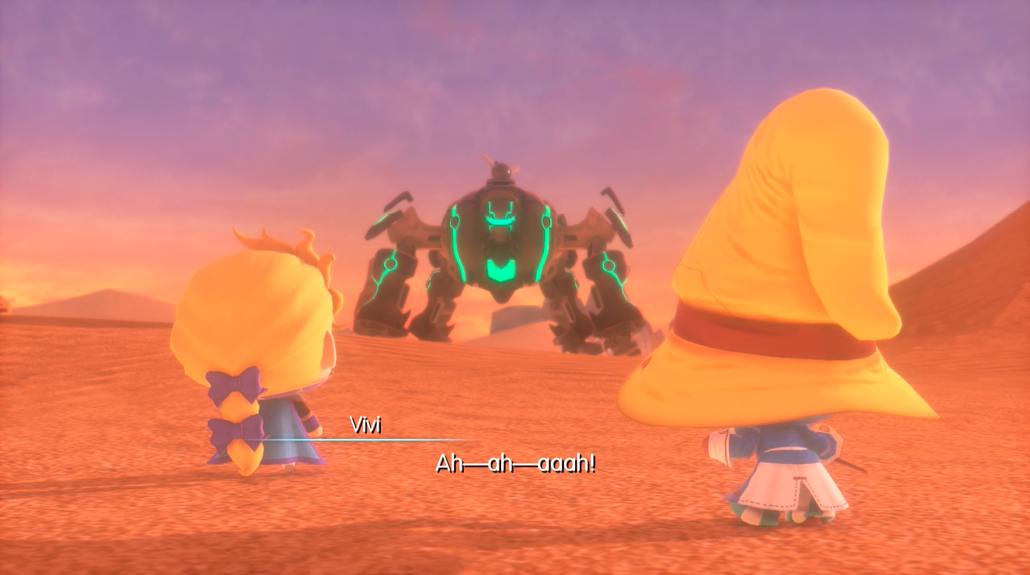
Edgar is lounging in his castle when Faris stops by for a word. The Cogna she’s after has appeared in the desert, so Edgar volunteers to deal with it in her stead.
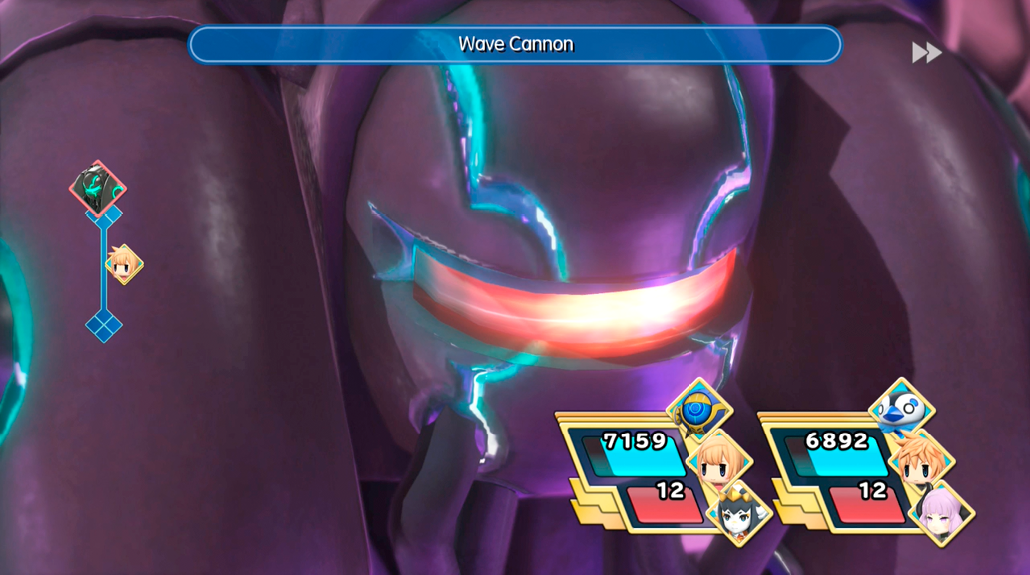
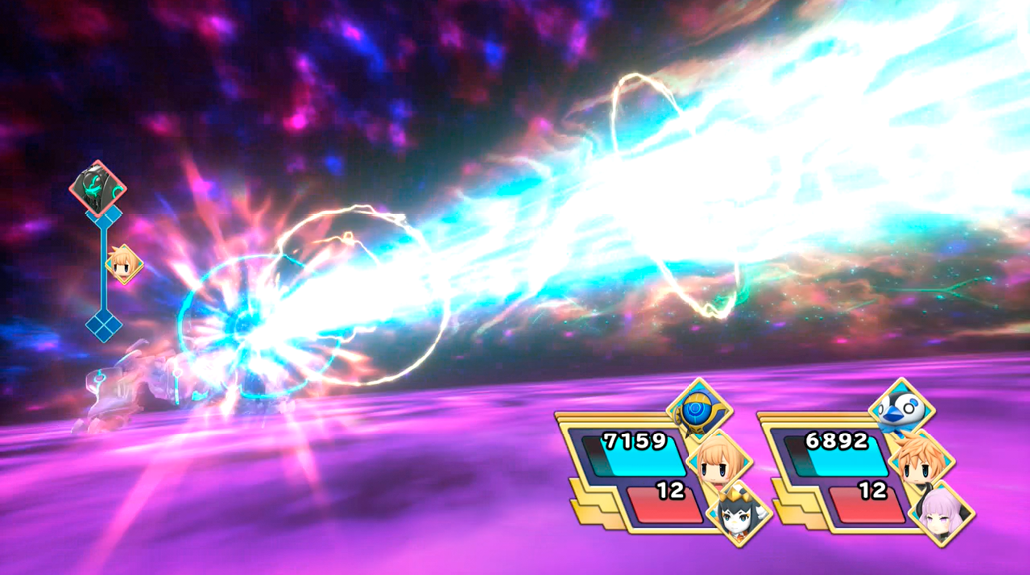
Omega Bane’s a machine, so bring thunder and water, as usual. Watch out for its area-of-effect magical abilities, however, as well as its devastating Wave Cannon, which hits all party members for significant damage!
Fire Drill
| Objective | Enemies | Arma Gem Cost | Difficulty Ranking | Reward (1st Completion) | Reward (Subsequent Completions) | Quest Unlock Conditions |
|---|---|---|---|---|---|---|
|
Conquer Rydia’s fear of the flames |
Ifreeta |
2 |
5 |
Ifreeta Memento, Hi-Potion x2 |
Hi-Potion |
Clear all of the “The Five Cogna Lords” quests, and trigger the Ramuh cutscene from the Coliseum during the quest to capture the seven Pleiad. The cutscene can be triggered by doing all of the following: - Capturing Ifrit - Reading “More Coliseum Whisperings” from the rumor radar. - Reaching the Postscript. |

 and Shiva
 from the Nebula Nitwits” Coliseum battle.
You must face your fears in order to overcome them. In Rydia’s case, that means walking into Valley Seven and facing the biggest, baddest, burning hunk of Mirage she can find. Luckily, she has Yuna with her for emotional support.
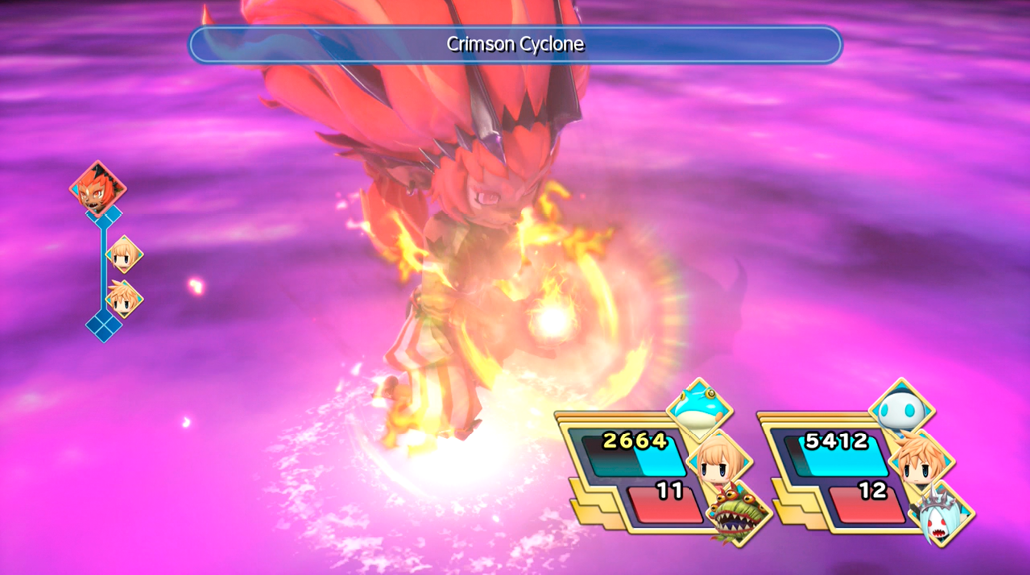
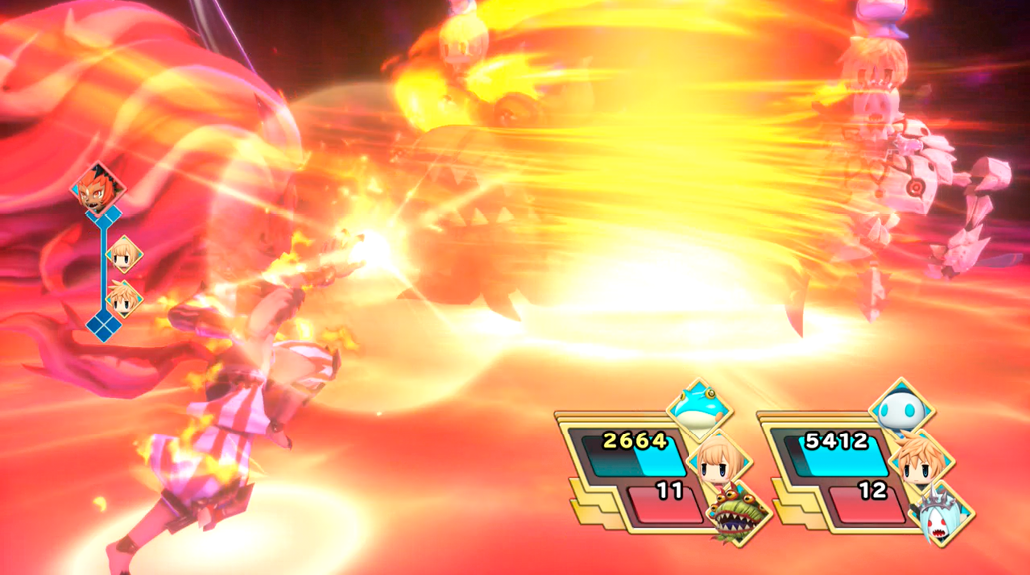
Treat this clash like an upgraded Ifrit battle, and bring your flame-retardant Mirages. Ifreeta has the devastating Crimson Cyclone in her arsenal, which can hit the entire party even harder than Firaga! Ice, water, or dark magic will bring her down once you get a moment to attack.
The Unwritten Future
| Objective | Enemies | Arma Gem Cost | Difficulty Ranking | Reward (1st Completion) | Reward (Subsequent Completions) | Quest Unlock Conditions |
|---|---|---|---|---|---|---|
|
Complete the League of S’s assignment |
Memecoleous |
2 |
4 |
Bio Seed |
Phoenix Pinion |
After the Cogna are introduced in Chapter 21. “The Girl Who Forgot Her Name” must be cleared. |
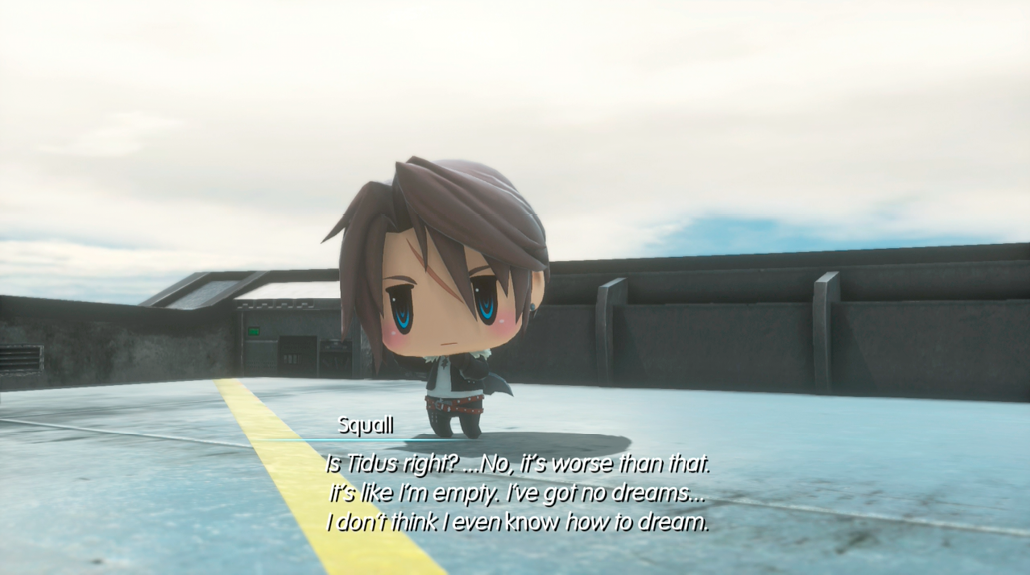
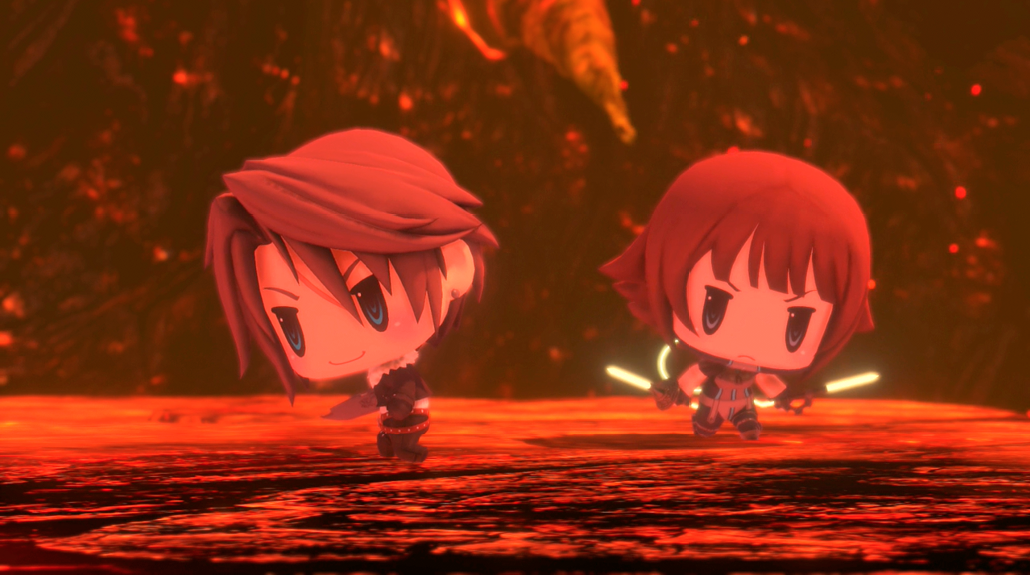
The League of S agents spend a quiet moment talking about what they want to do once the Cogna are defeated. Squall realizes that he doesn’t have any dreams for the future, unlike everyone else, and starts feeling gloomy and depressed. However, there isn’t much time to mope about: new orders from Quistis send him and Shelke off to take down a dangerous Mirage.
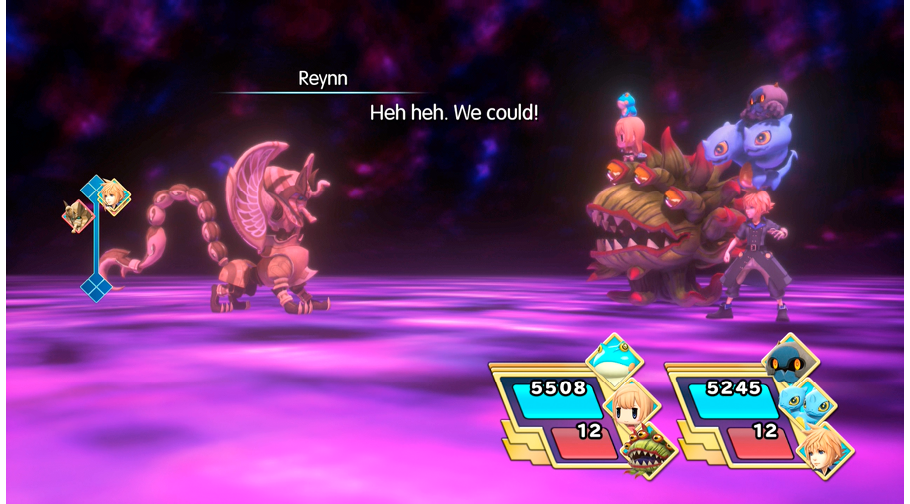
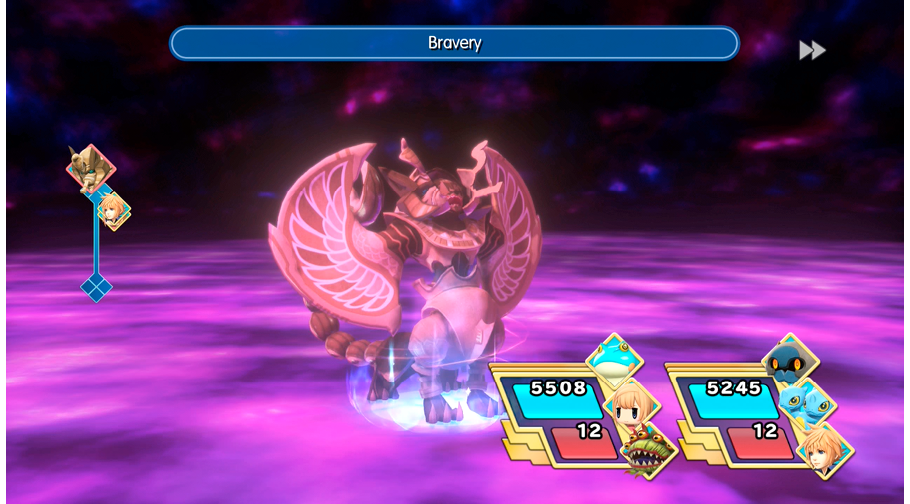
Ol’ Meme is weak to wind and water, and you’ll have to launch those attacks quickly, because he’s quite fond of casting Doom on your party members off the bat! He’ll also cast Bravery on himself to increase his physical strength, and use Great Sandstorm for an area-of-effect. Bring Esuna and Dispel to even the odds.
Finger-Whistle Crisis
| Objective | Enemies | Arma Gem Cost | Difficulty Ranking | Reward (1st Completion) | Reward (Subsequent Completions) | Quest Unlock Conditions |
|---|---|---|---|---|---|---|
|
Defeat Bismarck |
Bismarck |
2 |
5 |
Bismarck Memento, Resist Magic Defensei Seed |
Hi-Potion |
Clear all of the “The Five Cogna Lords” quests |
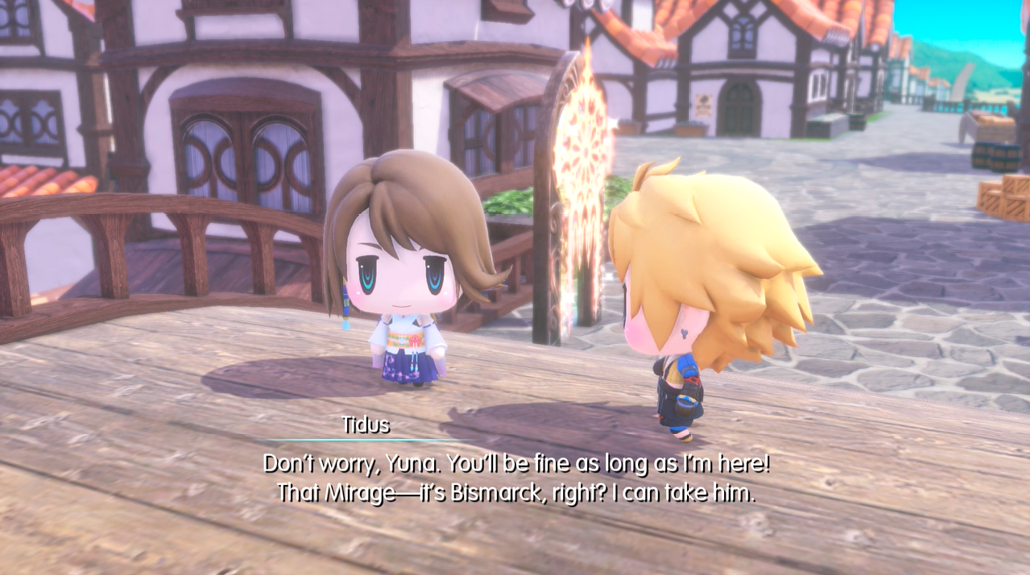
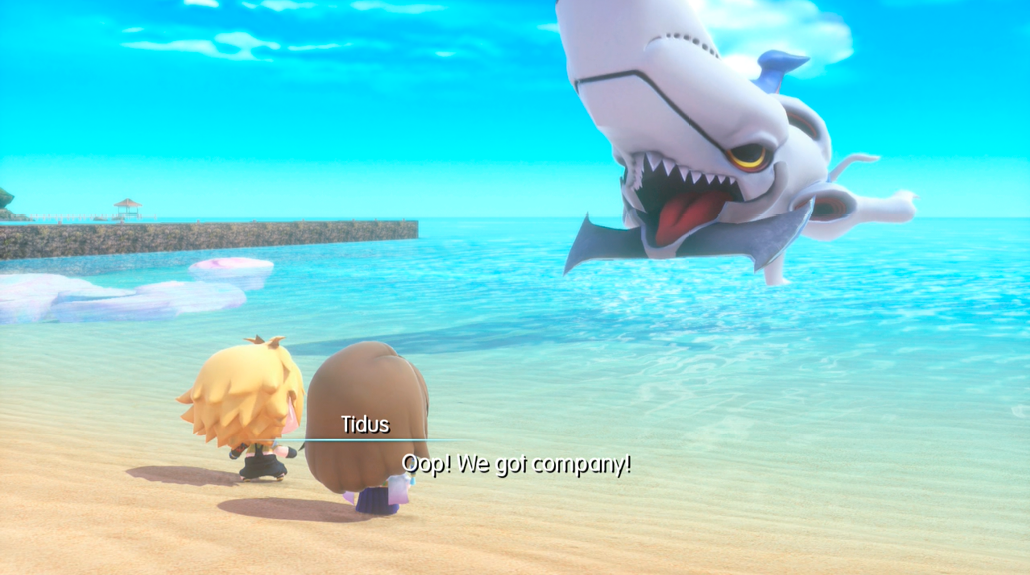
Yuna and Tidus walk along the beach, having a delightful date—er, conversation. Wait, hold up, they have a job to do! They’re here to find Bismarck and bring it down. Time to stop talking and get searching.
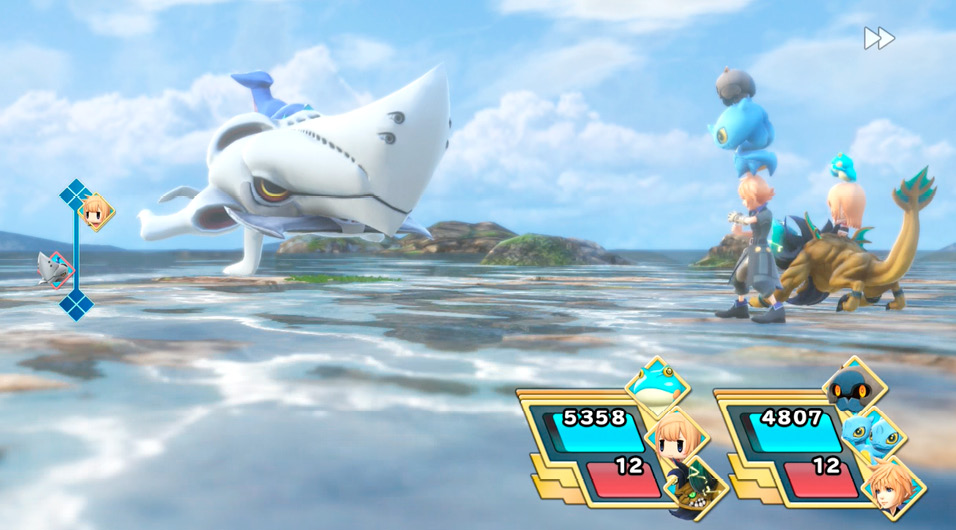
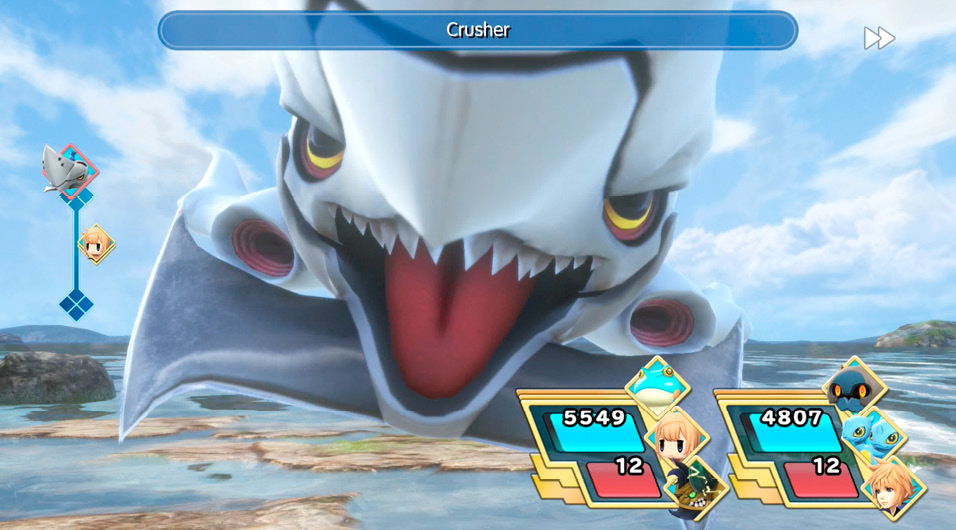
Bismarck is weak to thunder or wind. His size allows for hard-hitting physical attacks, and he’ll launch water abilities, as well. Crusher will topple your stack in a few hits, so keep an eye on your stability. Bismarck also has the passive ability “Sharkskin” which redirects a portion of close-quarters damage back at his attacker. In other words, be mindful of the physical attacks you launch.
For Friends or Vengeance
| Objective | Enemies | Arma Gem Cost | Difficulty Ranking | Reward (1st Completion) | Reward (Subsequent Completions) | Quest Unlock Conditions |
|---|---|---|---|---|---|---|
|
Hunt the silver-haired swordsman…? |
Iron Muscles |
2 |
5 |
Iron Muscles Memento, Resist Defensei Seed |
Phoenix Pinion |
Clear all of the “The Five Cogna Lords” quests |
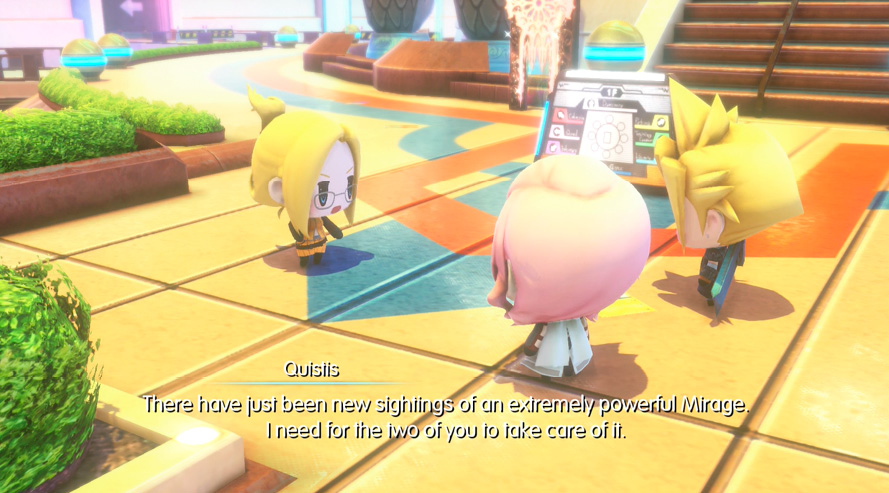
Cloud and Lightning are on a mission to take down an extremely dangerous Mirage. They stop by a village where Cloud hears a rumor that a “silver-haired swordsman” passed through recently. Cloud abandons his mission to hunt this man, leaving Lightning to face the monster alone.
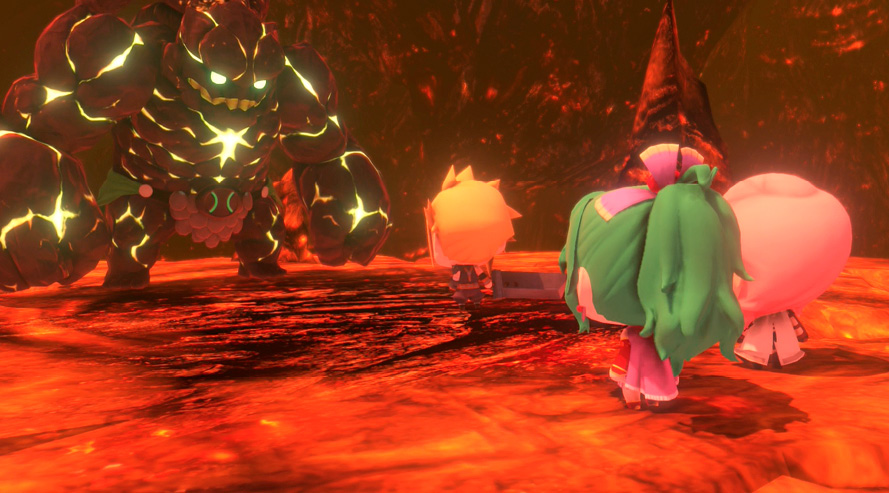
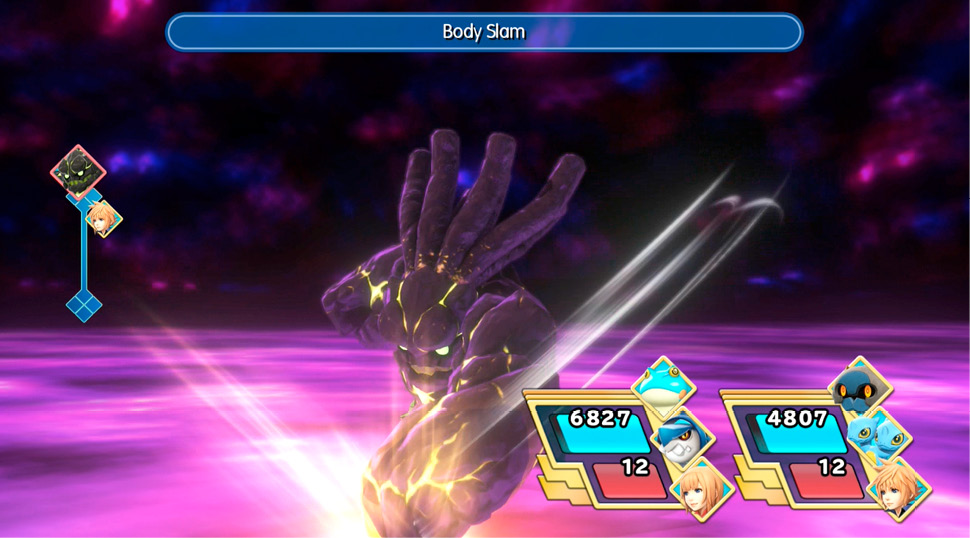
True to his name, Iron Muscles hits quite hard and has no real resistances or weaknesses. Hit him with your strongest abilities, or inflict Defense Down and go for the imprism.
Investigating the Garden
| Objective | Enemies | Arma Gem Cost | Difficulty Ranking | Reward (1st Completion) | Reward (Subsequent Completions) | Quest Unlock Conditions |
|---|---|---|---|---|---|---|
|
Solve the mystery of Balamb Garden |
Einhänder, Security Eye, Magna Roader |
2 |
5 |
Mega-Ether x2 |
Hi-Ether |
Clear all of the “The Five Cogna Lords” quests |
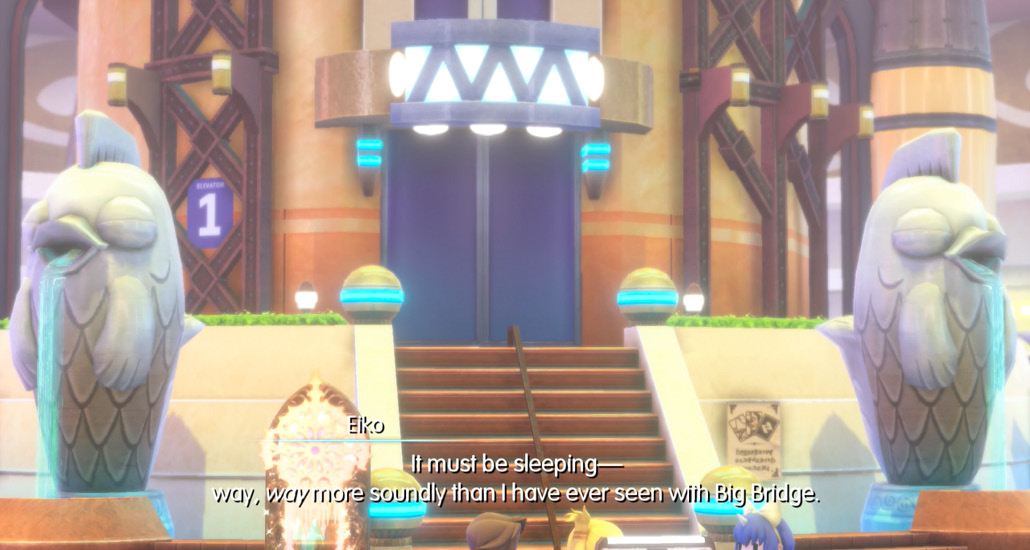
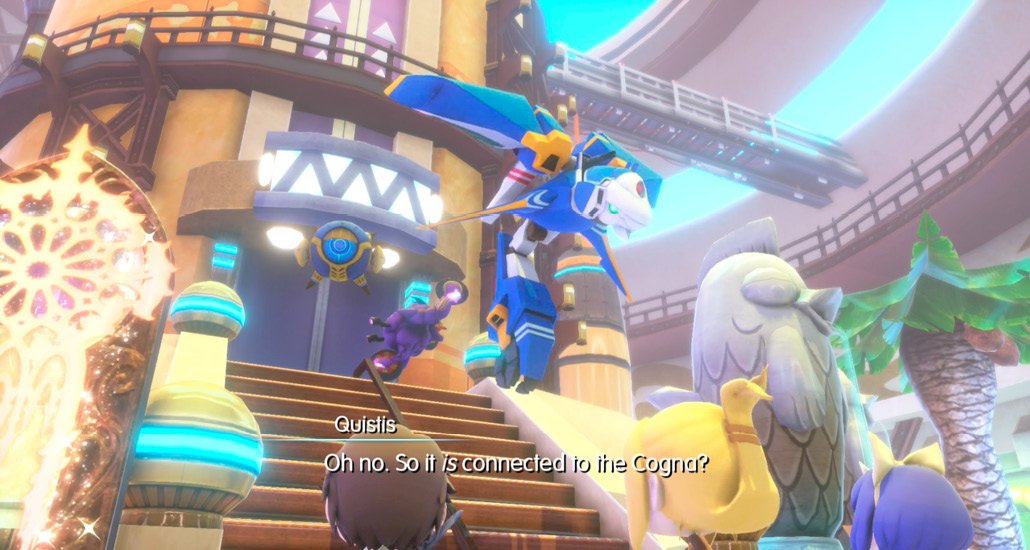
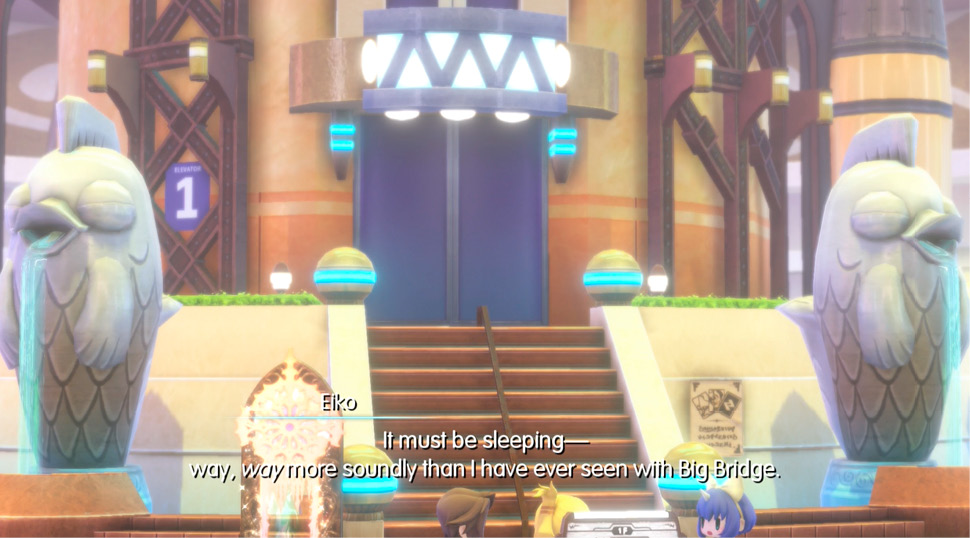
Balamb Garden, the League of S’s home base, is shrouded in mystery. Thinking that perhaps it is a creature similar to Big Bridge, Eiko, Quistis, and Squall decide to try to wake it up…
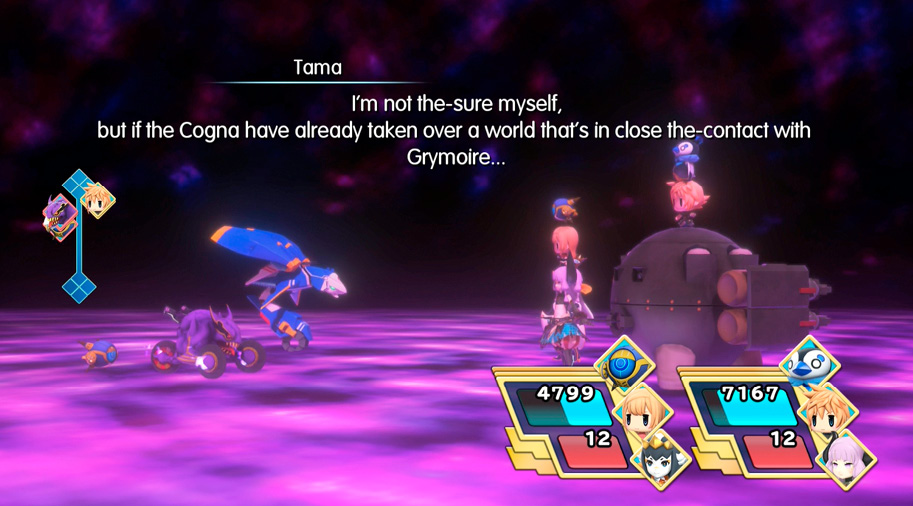
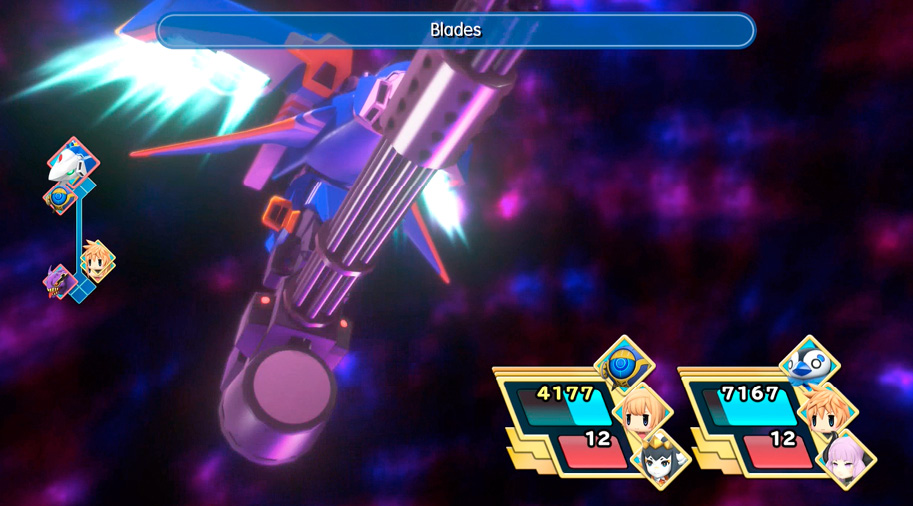
Thunder and water are the einhänder’s and security eye’s common weaknesses, while ice is the magna roader’s weakness. You’ll likely also want to bring some eldboxes so you can imprism these baddies! To do this, you’ll need to inflict Evasion Down on the einhänder (try bringing a werebat with the Ultrasonics ability), then reduce the magna roader’s HP. Save the security eye for last, as its prismtunity involves it being the last one standing.
Operation Opera
| Objective | Enemies | Arma Gem Cost | Difficulty Ranking | Reward (1st Completion) | Reward (Subsequent Completions) | Quest Unlock Conditions |
|---|---|---|---|---|---|---|
|
Take out the terror in Tometown |
Ultros |
2 |
5 |
Water Spellstone |
Dragon Scale x2 |
Clear all of the “The Five Cogna Lords” quests. “Freak of Nature” must be cleared. |

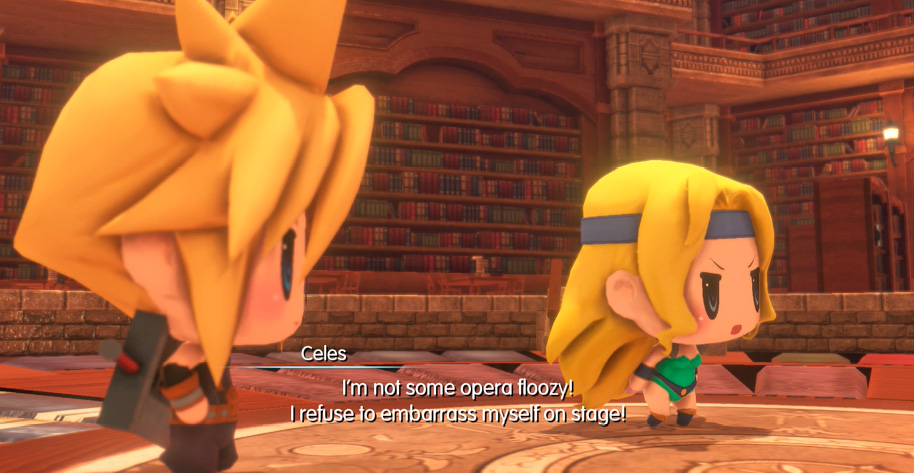
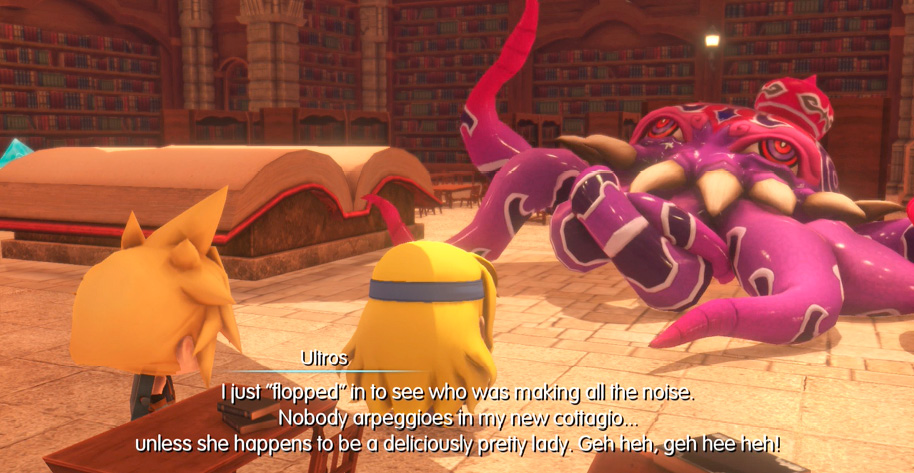
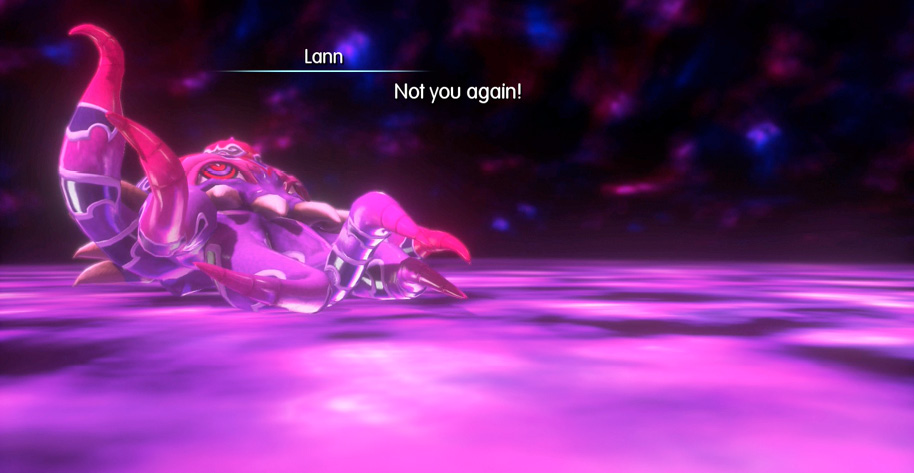
Cloud visits Tometown to do some research, but Cid bzeeks onto the scene and demands that Cloud and Celes put on an opera…
Ultros (once again) brings forth all sorts of octopus-themed abilities, like Tsunami and the multi-hitting Octentacle. He can also (still) confuse your party members with Mind Blast, and he has a whole bunch of HP this time around. Use fire, light, or thunder attacks to tease him yet again until he’s calamari. There’s a chance of him casting Reflect, however, so resist the urge to go on autopilot.
A Smidge of Micro-Envy
| Objective | Enemies | Arma Gem Cost | Difficulty Ranking | Reward (1st Completion) | Reward (Subsequent Completions) | Quest Unlock Conditions |
|---|---|---|---|---|---|---|
|
Help Serafie transfig |
Diva Serafie |
2 |
5 |
Siren Memento, Diva Serafie Memento, Wind Spellstone |
Dragon Wing x2 |
Complete the “Vestiges of Life” Intervention Quest (which is part of the main story). |
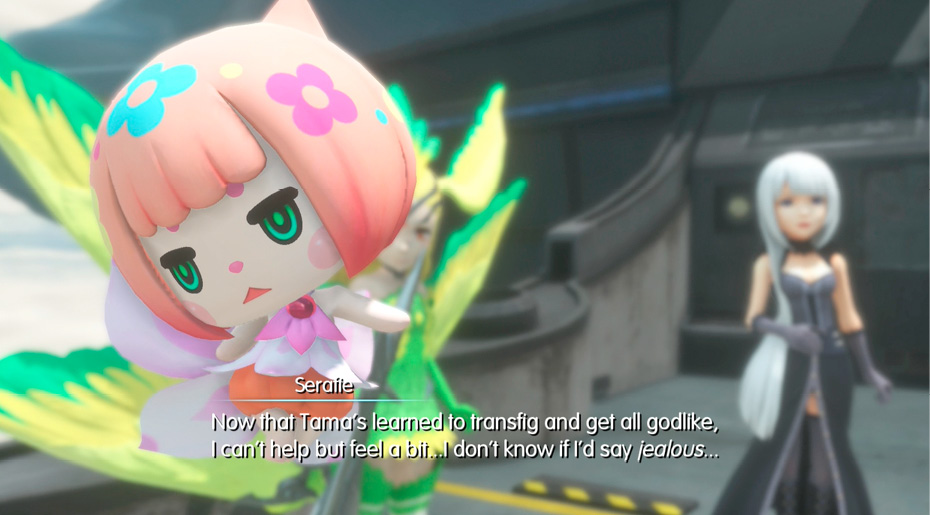
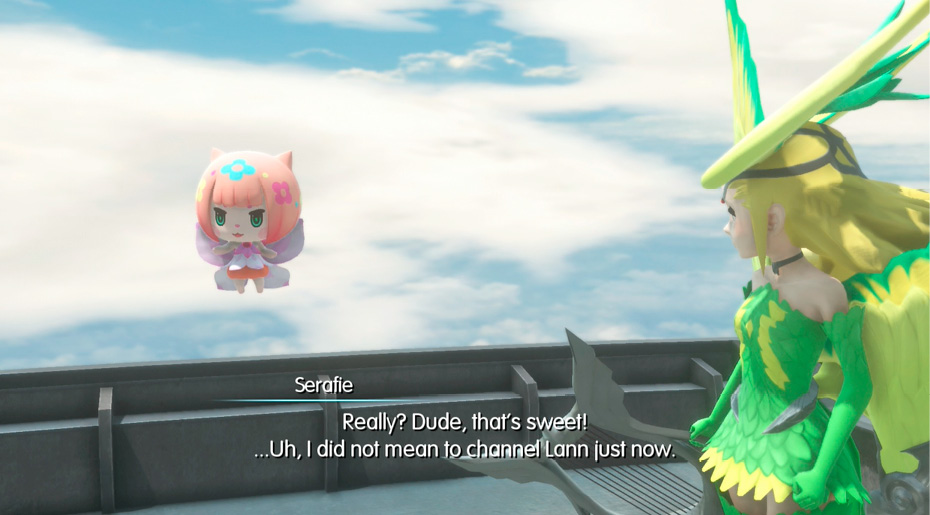
Now that Tama can transfig into Tamamohimé, Serafie is feeling left behind. She visits Siren to ask for a bit of advice, and instead finds Hauyn and Siren all too willing to help…
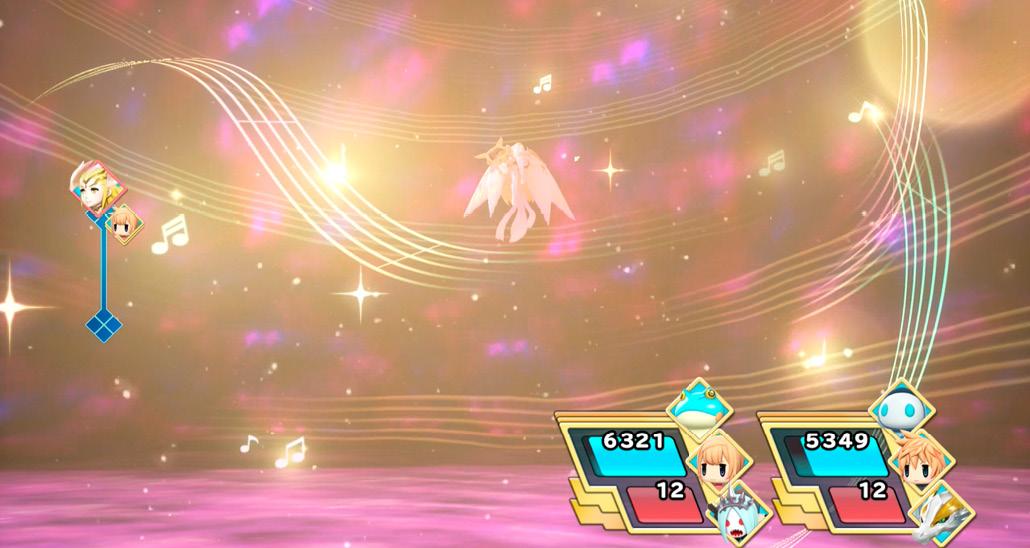
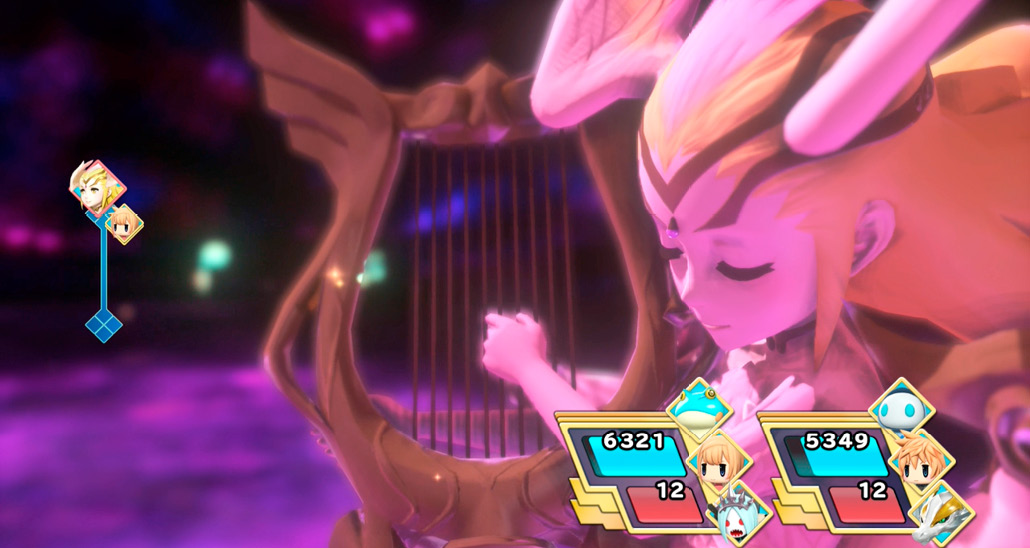
You’ll want to use ice or dark attacks to tame Diva Serafie, and you’ll have to do it fast because status effects a-plenty are this girl’s game! She’ll cast Haste on herself, Lullaby will put your party to sleep, and Silent Voice hits all enemies hard!
Cold, Hard Justice
| Objective | Enemies | Arma Gem Cost | Difficulty Ranking | Reward (1st Completion) | Reward (Subsequent Completions) | Quest Unlock Conditions |
|---|---|---|---|---|---|---|
|
Give Big Jiggle the smackdown |
Battle 1: Shivalry Battle 2: Golden Flan |
2 |
5 |
Shivalry Memento, Blizzara Seed |
Solid Frigicite |
“A Clash of Swords” must be cleared, and you must trigger the Ramuh cutscene from the Coliseum during the quest to capture the seven Pleiad. The cutscene can be accomplished by doing all of the following: - Capturing Ifrit - Reading “More Coliseum Whisperings” from the rumor radar. - Reaching the Postscript. |

 and Shiva
 from the Nebula Nitwits” Coliseum battle.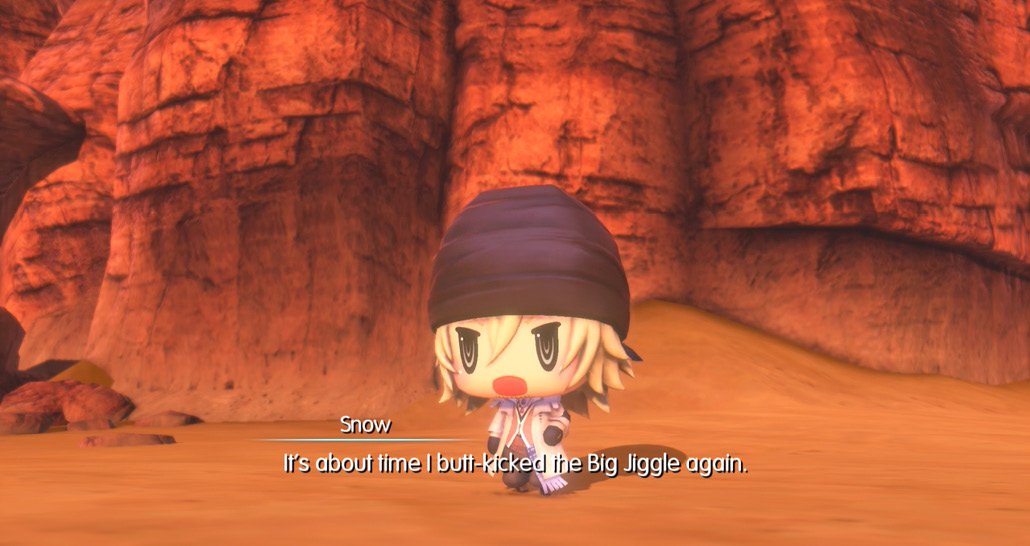
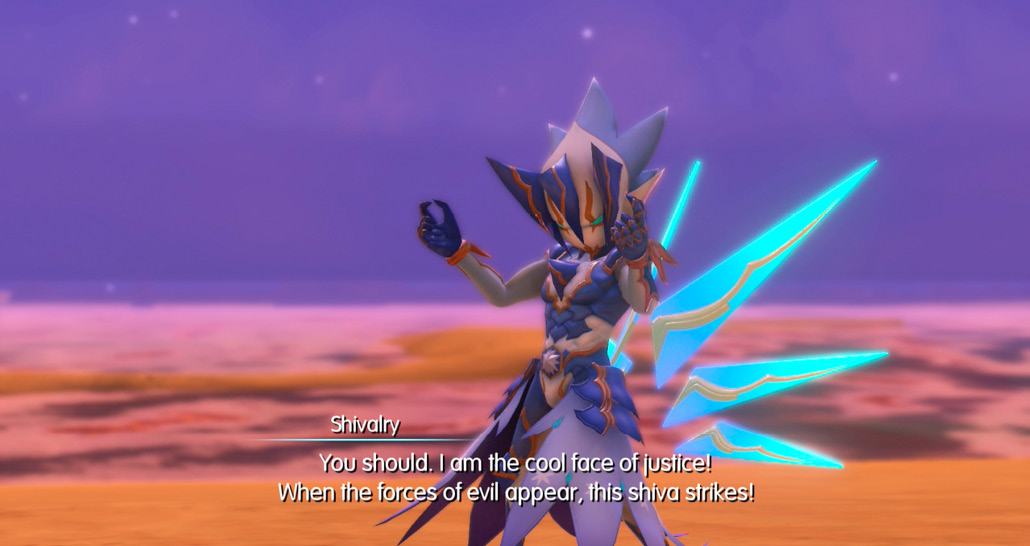
Snow’s back in the swamp to lay the hurt on Big Jiggle…again. As usual, he summons his ally Shiva-Ixion to freeze up an ice bridge, but this time, something’s got her spooked. Who is this strange Mirage that stands in their path…?
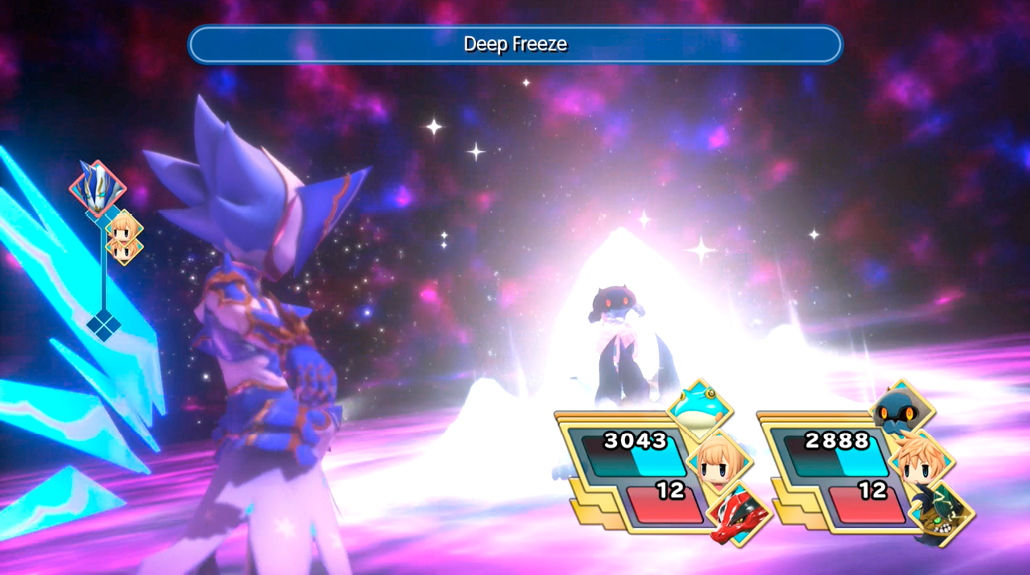
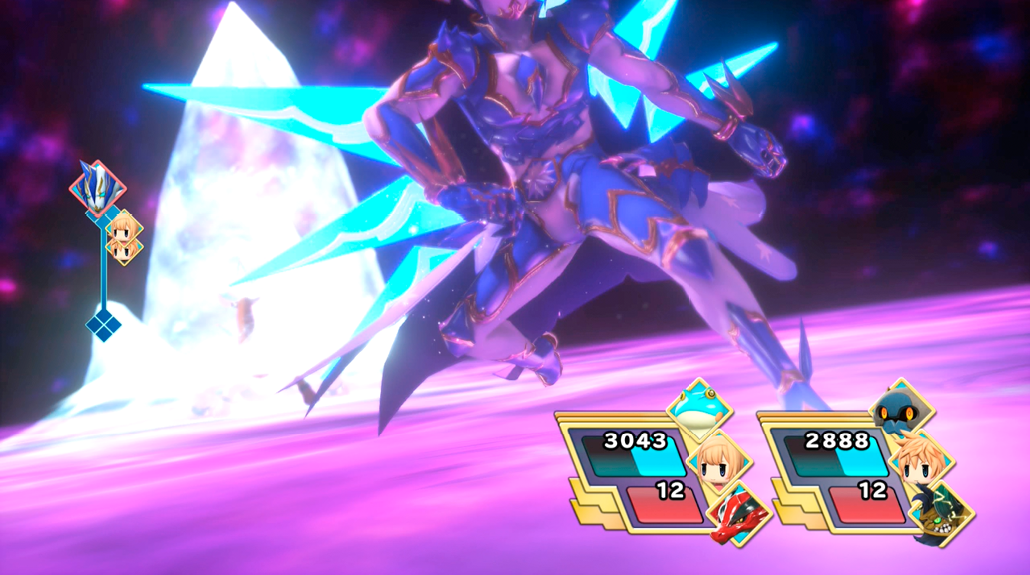
Shivalry ’s big attack is Deep Freeze, which—along with its animation being an awesome-looking superhero homage—hits single enemies on the scale of big ice spells like Blizzaga. It also inflicts Evasion Down on its victim. Heat up his blood and bring him to the light side with fire magic. Thunder, earth, or dark magic will also work, but they are less effective.
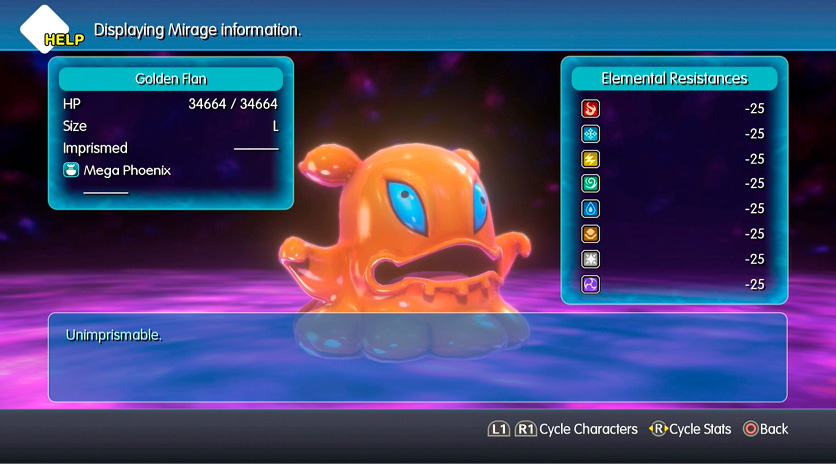
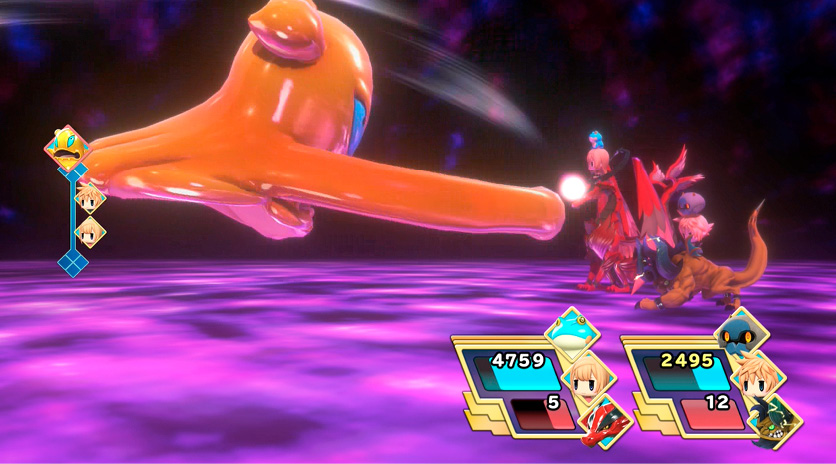
The narrative buildup to the final battle with Big Jiggle is possibly the greatest punchline in the game, and that’s saying something. Even though it has fairly high physical defense, it is weak to absolutely every element you can throw at it, has lowered magic defense, and doesn’t put up much of a fight otherwise. Sit back and enjoy.
No One’s Tools
| Objective | Enemies | Arma Gem Cost | Difficulty Ranking | Reward (1st Completion) | Reward (Subsequent Completions) | Quest Unlock Conditions |
|---|---|---|---|---|---|---|
|
Find out what’s deactivating the Black Mages |
Golem Head x3 |
2 |
4 |
Golem Head Memento, Mega-Potion |
Hi-Potion |
Clear all of the “The Five Cogna Lords” quests |
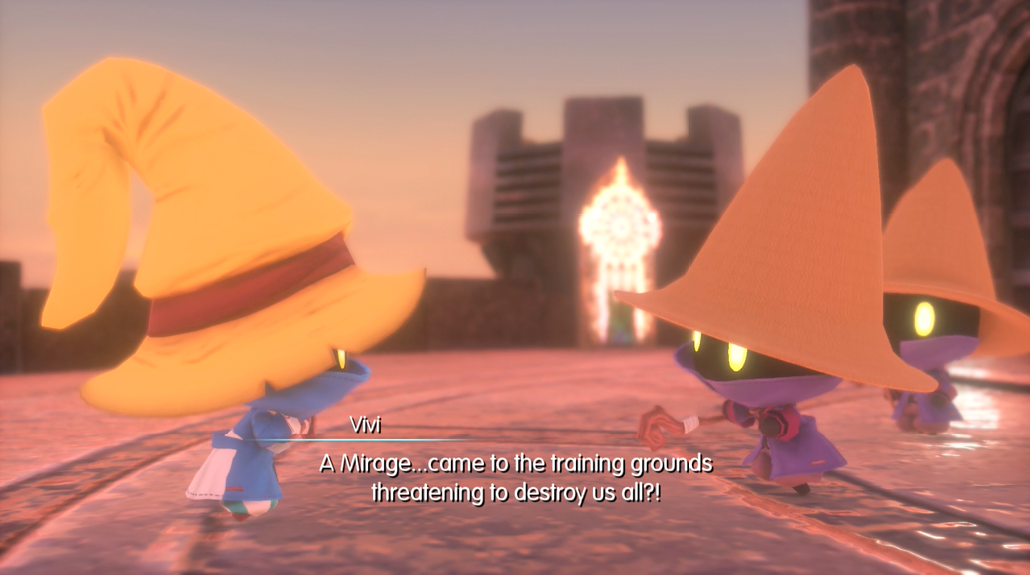
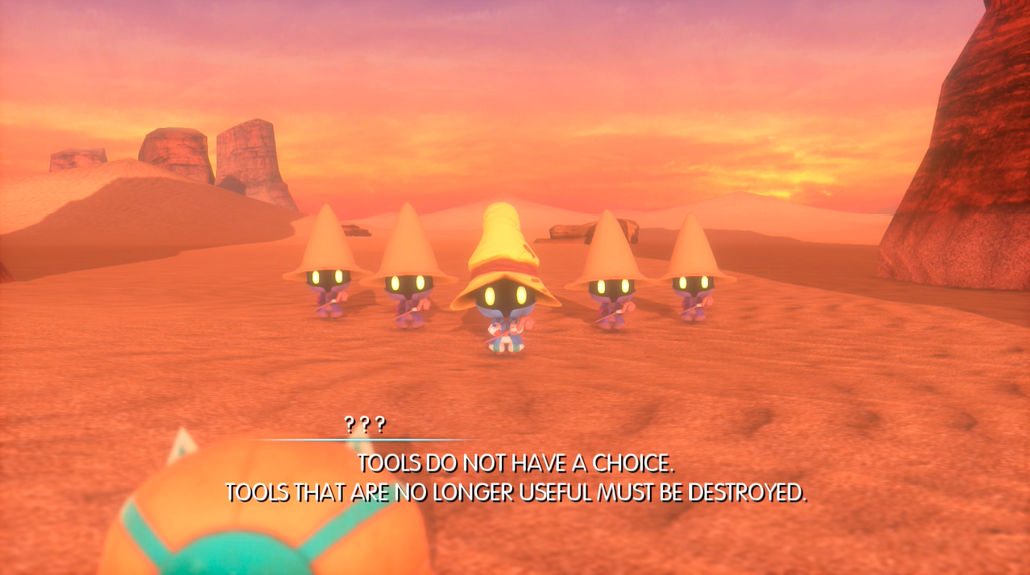
Vivi learns that Mirages have appeared in the training grounds and declared that they will destroy the Black Mages. The Black Mages have already begun to deactivate, and so Vivi and his fellows head to face this existential thread and forge their own destiny.
The golem heads have some good defense and hard heads that allow for painful physical attacks. Hit them with anything but earth attacks. Wind will make the battle go slightly faster—which, oddly enough, they use on you, as well.