
World of Final Fantasy Guide Main Story Walkthrough
Chapter 3: Old Acquaintances
Led by a foretold prophecy, Reynn and Lann continue their quest into the Nether Nebula. A trio of exceptionally powerful Mirages awaits them in the depths of the dungeon.
| Action Checklist |
|---|
|
1. Traverse the Cornelia Region into the Nether Nebula |
|
2. Climb the Nether Nebula |
|
3. Defeat an old acquaintance |
Enter the Nether Nebula
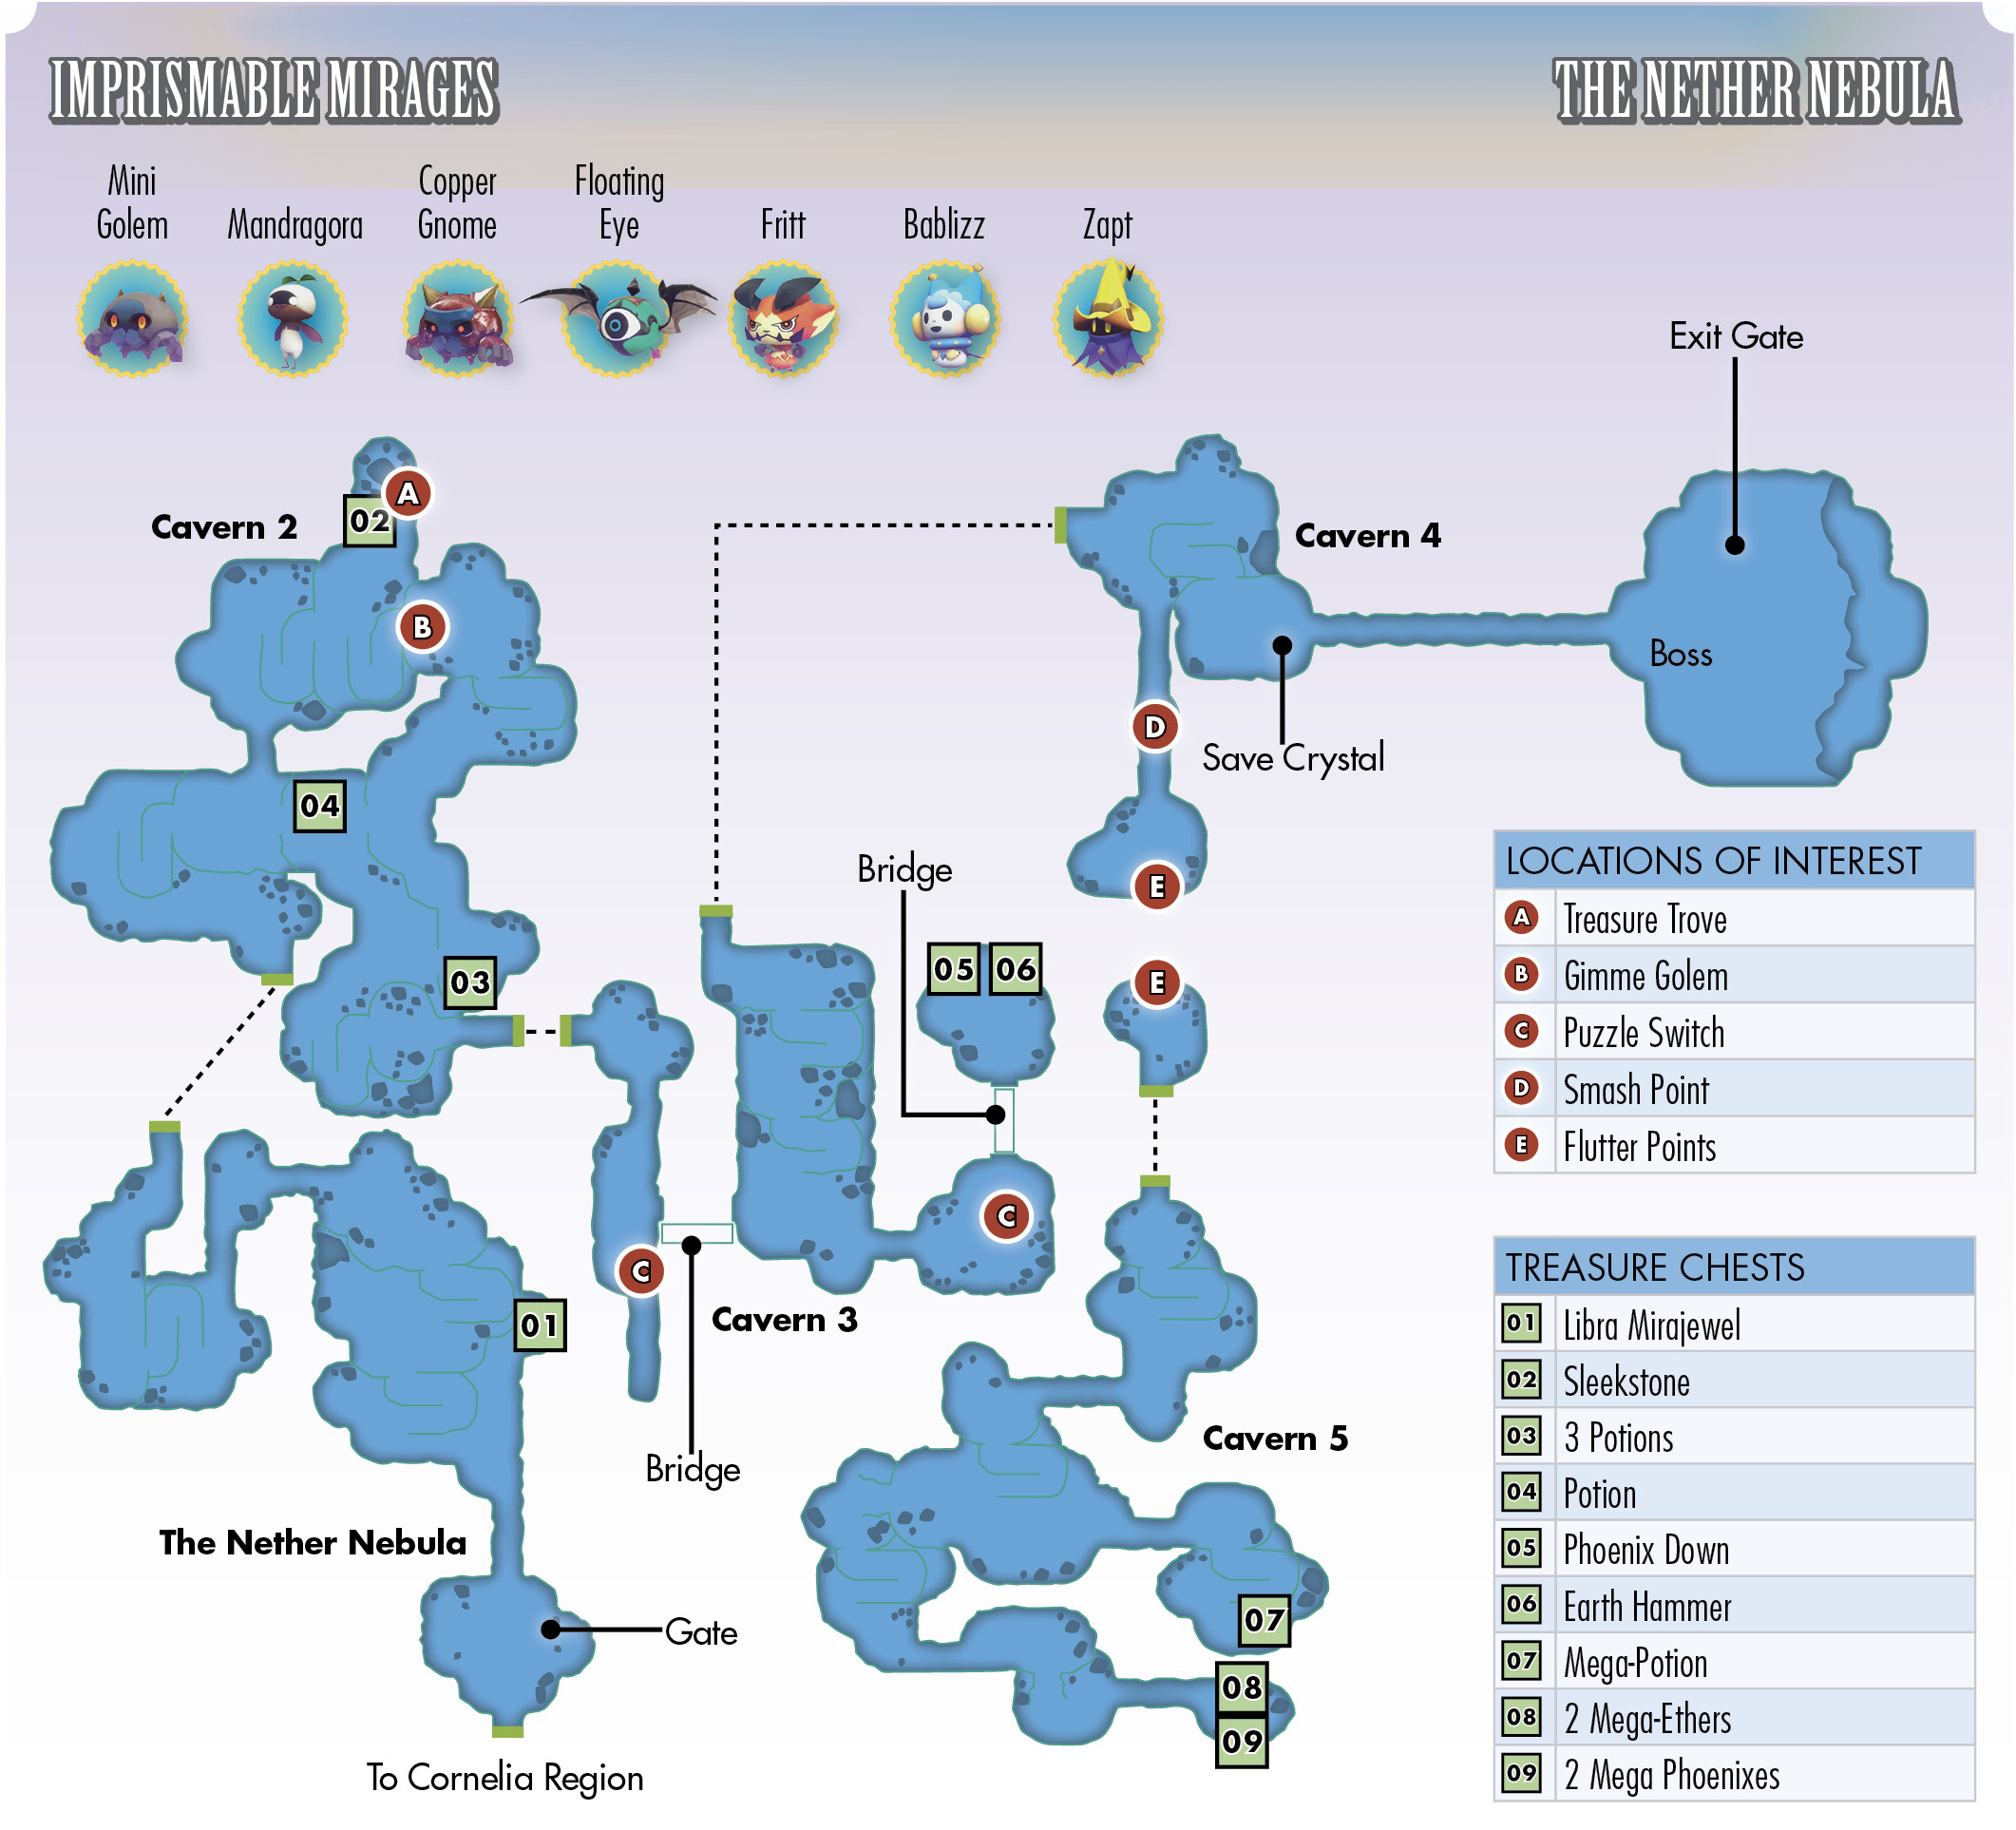
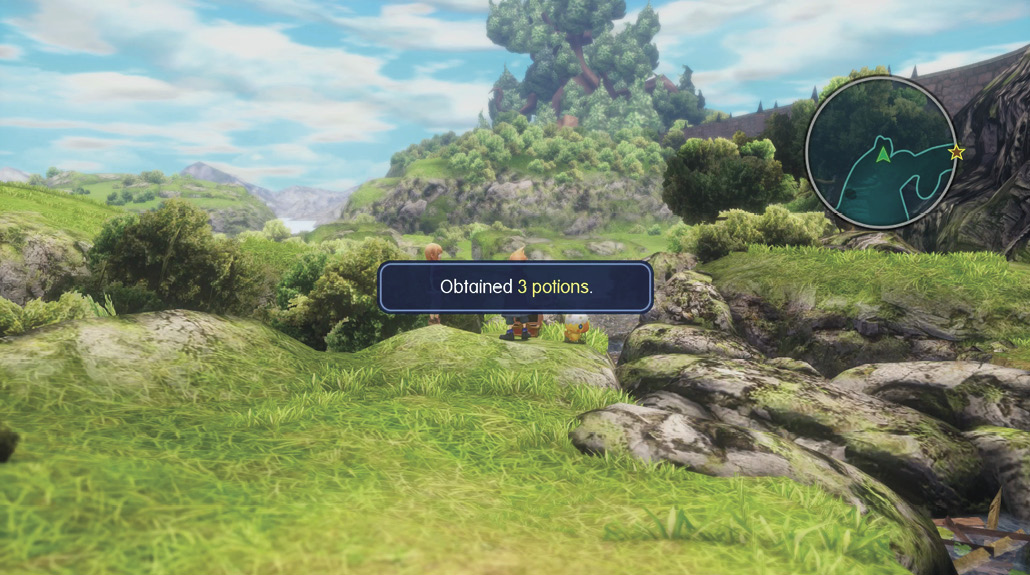
You begin this chapter in the Cornelia Region, a hub connecting Cornelia to two additional areas. Your destination is in the northeast through the maw of a cavern. First, grab three potions in a treasure chest just slightly west of the cavern. Then, enter the cavern.
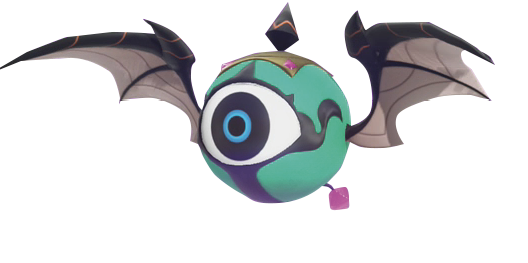
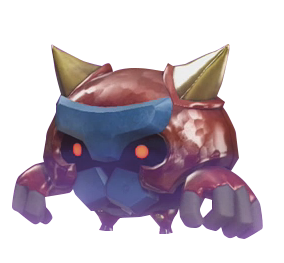
Conveniently, there’s a Gate here at the entrance to the cavern, in case you need to go back to Nine Wood Hills to take a break. Tama warns you of the Mirages that roam the Nether Nebula—they’re much stronger than the ones you’ve faced up until now, so you may want to fully explore the area and take on as many encounters as possible to unlock more of your Mirage Boards. It’s highly recommended that you imprism all of the Mirages you encounter here, as well, especially the medium-sized ones like the copper gnome and floating eye. By the end of this dungeon, having two triple stacks is vital.
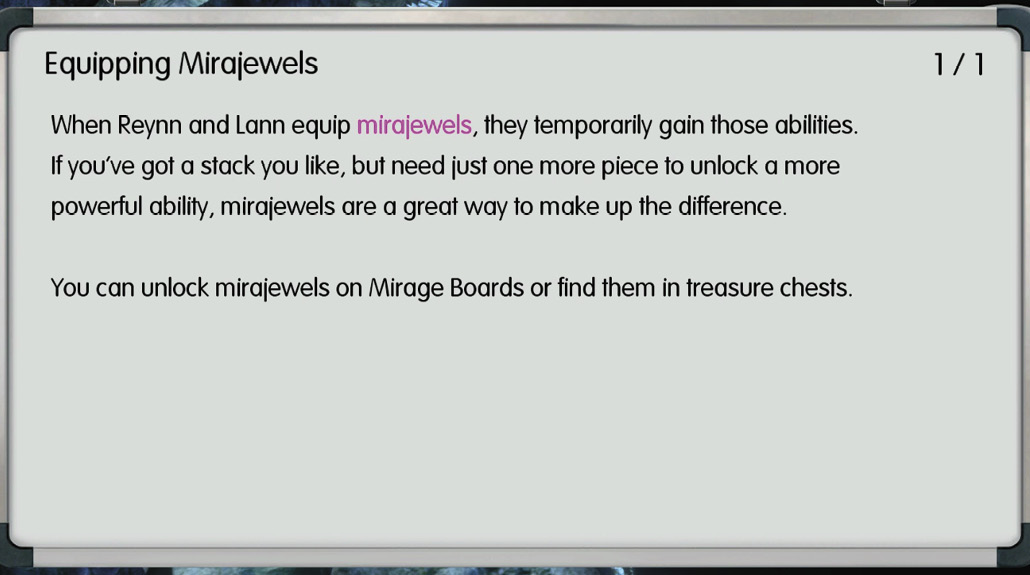
Head northeast from the entrance and open the treasure chest here containing a Libra mirajewel before climbing up the ramp. This is your first mirajewel, so go ahead and equip it to one of the main protagonists through the game menu.
Continue following the path up while defeating enemies and imprisming Mirages that you haven’t collected yet. When you reach the top of the level, enter into the next area of the dungeon.
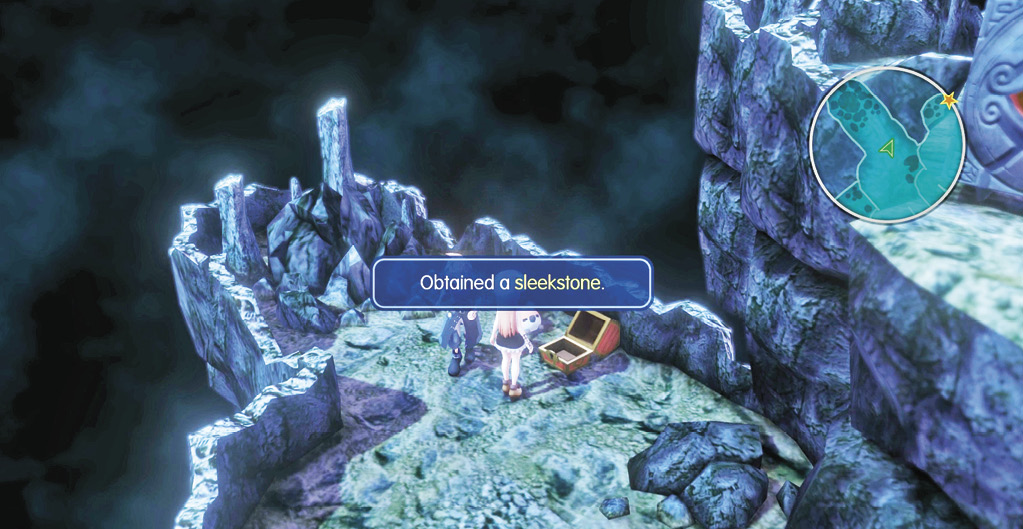
Climb up the first two ramps here, and then open the treasure chest in the north part of the map to obtain the key item, sleekstone. If you have a Mirage strolling with you, you can uncover a Treasure Trove near the treasure chest in the jagged rock formation.
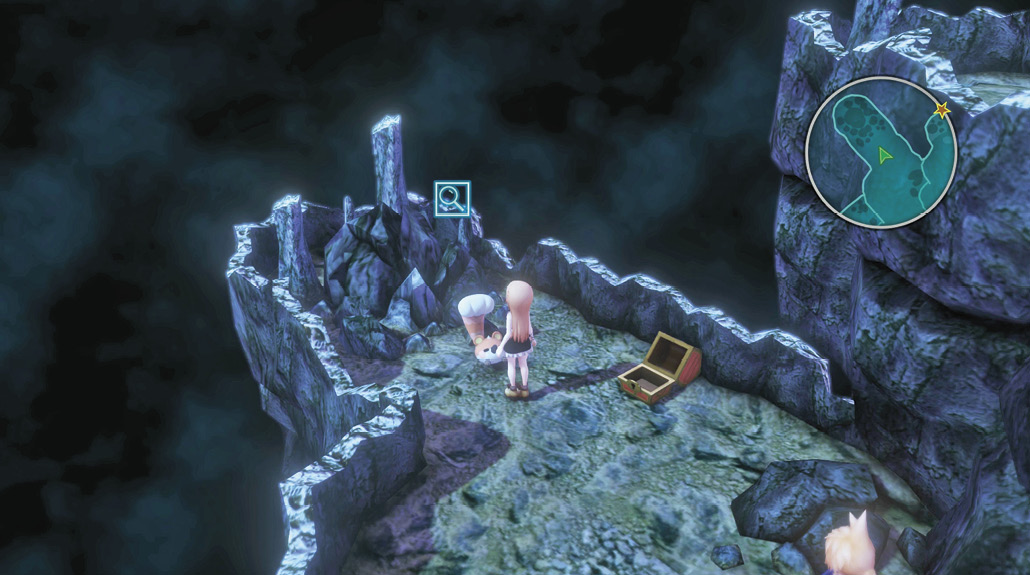
After grabbing the sleekstone, proceed up the second slope, where a Gimme Golem is blocking the way. Surprise! It wants a sleekstone! Give it what it wants, and continue on your way deeper into the dungeon.
You may encounter stacked Mirages in this area, such as a copper gnome with a mini golem on its head. Just like your stacks, enemy stacks are much stronger than individual Mirages. Not only that, but you can’t imprism a Mirage that’s still in a stack, which means you need to topple them first.
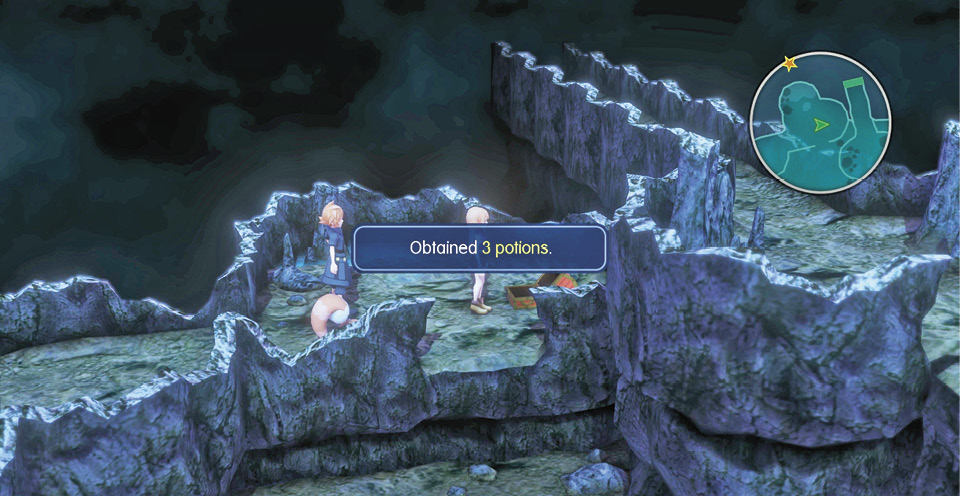
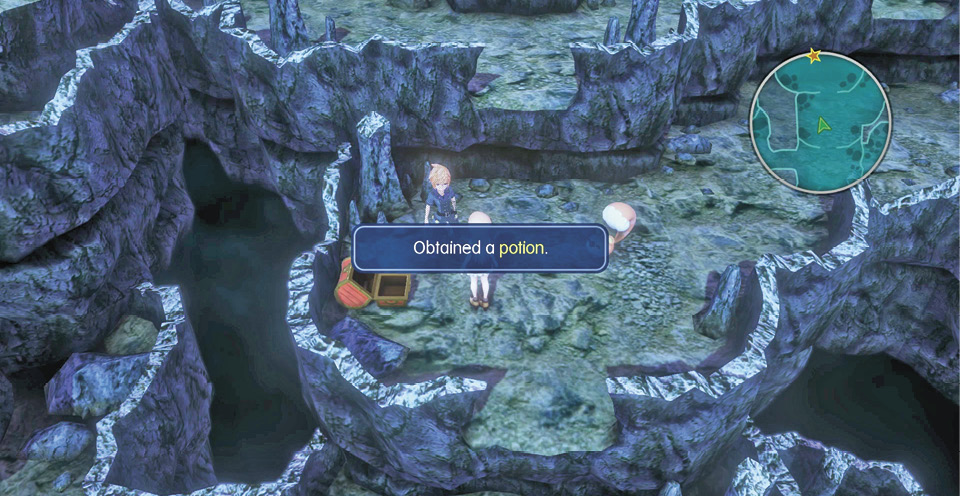
From this top tier of cliffs, traverse your way south down the east portion of the area to open a treasure chest containing three potions. Now you can jump down one of the ledge openings from here to the middle-ledge tier. Your destination is southeast from this middle ledge, but before you leave the area through the southeast exit, make sure to pick up another potion from a chest in the north of the middle-tier cliff. Don’t jump down to the bottom tier unless you missed the three potions chest and need to wrap back around to the top.
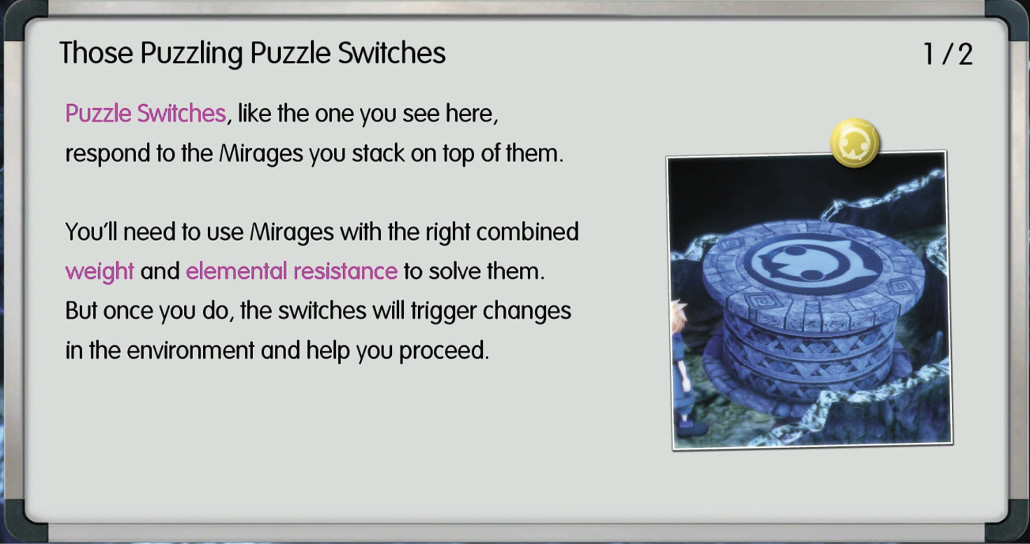
Once you’re in the third area of the Nether Nebula, run down the path to the south until you reach a cylindrical mechanism protruding from the ground. These devices are essentially puzzle switches that require certain combinations of Mirage stacks. Basically, to proceed forward, you need to meet the conditions that the puzzle requires. Interacting with this puzzle requires a stack with at least 50 points of earth resistance and 5 units of weight. These stats are conveniently displayed on the right side of the screen while building your stack.
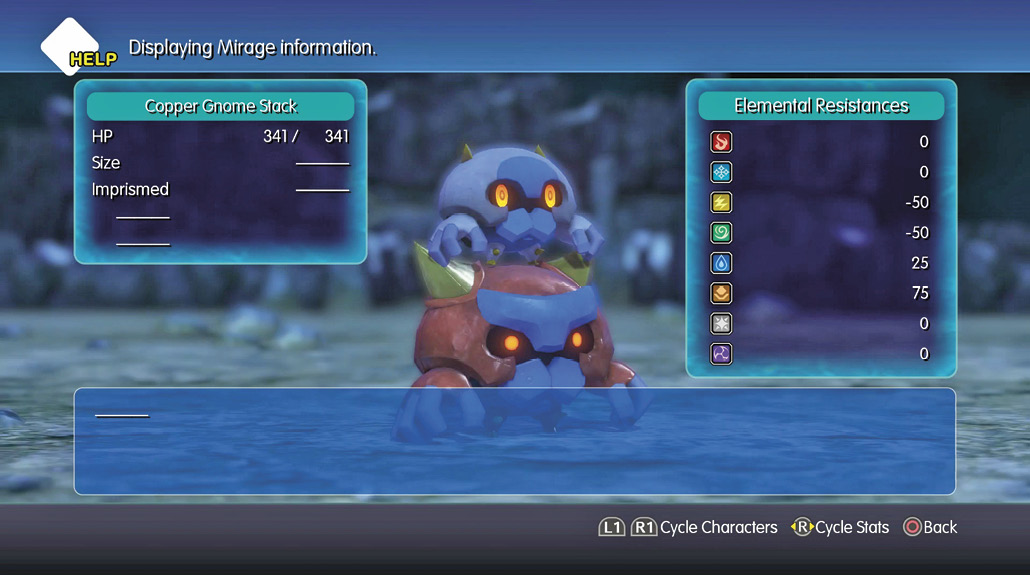
If you’ve captured the Mirages here in the Nether Nebula, this puzzle condition should be no problem to fulfill. A medium-sized copper gnome alone provides 5 units of weight and 50 points of earth resistance. You can proceed (by pressing  when you’re done creating your stack).
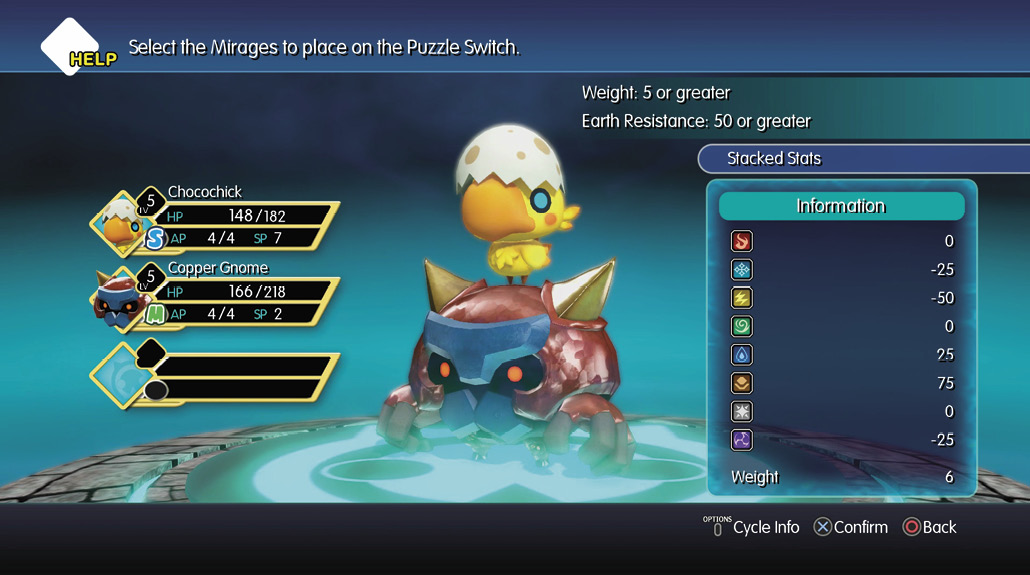
Your reward for completing the puzzle is a bridge to the central platform of the area. Cross the rock bridge and continue east, where there’s another puzzle switch. This time, you’re required to create a stack with at least 75 units of earth resistance and 5 units of weight. This puzzle is optional, but it’s easily completed with a copper gnome plus chocochick or mini golem combination. Completing this puzzle brings up a bridge directly to the north of the switch, connecting the area to a secret platform with two treasure chests. Open the chests for some phoenix down and an earth hammer. If you accepted the side quest from Cornelia earlier, picking up the earth hammer triggers a quest completion message for Best Helm in the Realm. You can retrieve the reward through the Adventure Log now, or you can physically return it to the guard in Cornelia.
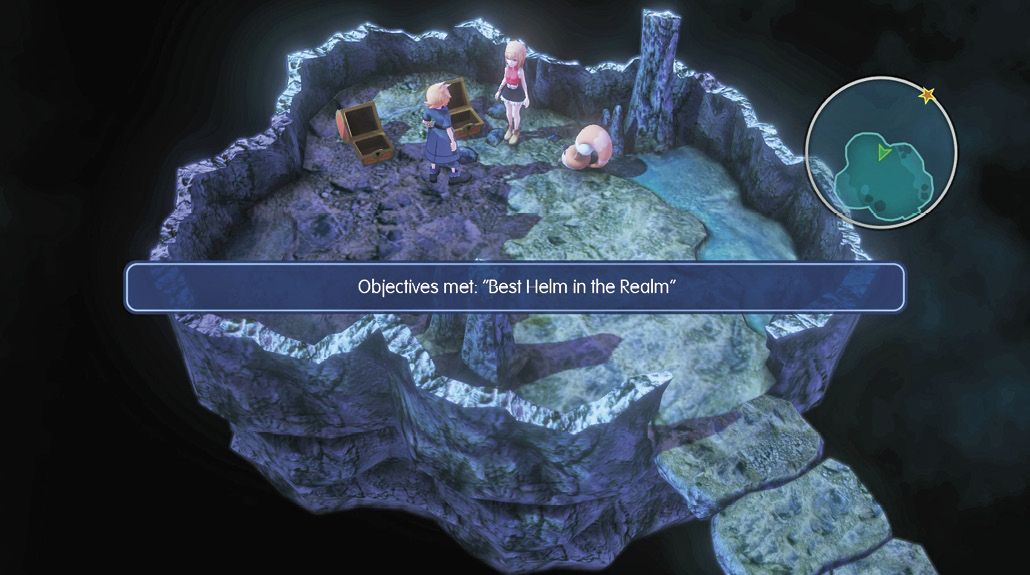
Return to the center platform of the area, and climb the ramps to the north to continue on to the final area of the dungeon.
For now, there’s only one way to go in this area of the Nether Nebula since the path going east is blocked off. Climb the ramp near the starting point to trigger a short cutscene regarding Mirage thresholds. The cage-like structure represents a boss encounter in which dying causes a game over. Essentially, whenever you see a Mirage threshold, be prepared and save your progress before entering!
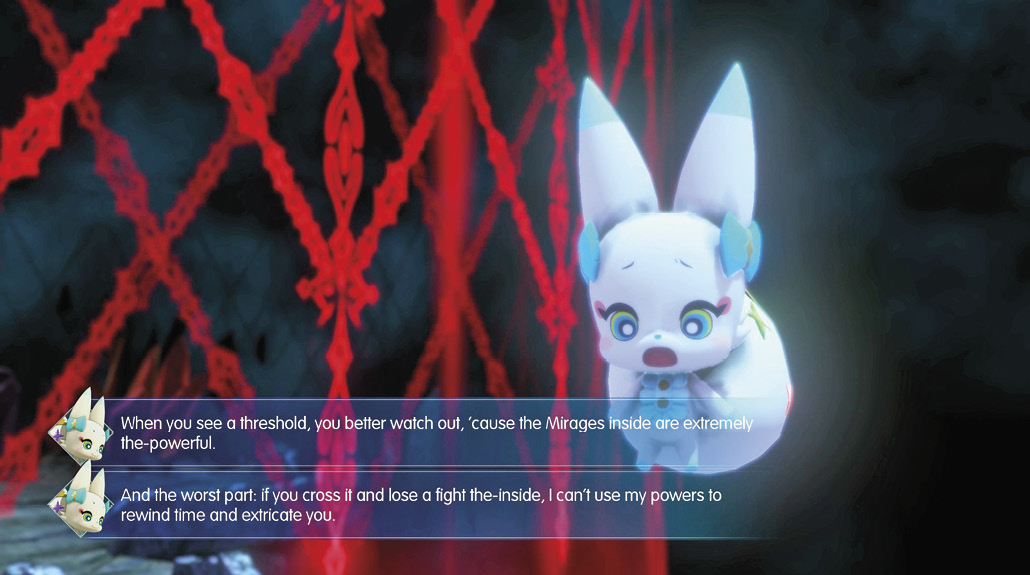
After Tama warns you of the upcoming danger, save your progress at the Save Crystal here. Another thing to note is that this particular area of the dungeon does not trigger random enemy encounters. If you need to level up or want to imprism any missing Mirages in the Nether Nebula, you can climb back down to the previous area to do so.
Boss Battle: An Old Acquaintance
The boss battle that awaits can prove difficult if you aren’t prepared. It’s highly recommended that you at have at least two full, three-character stacks for your Jiants, which means that you should have at least two medium-sized Mirages and two small-sized Mirages. If you need to capture a floating eye or copper gnome, return to the previous area of the dungeon and look for an encounter with one. Also, leveling your characters and Mirages up to around five or six helps greatly, thanks to the increase in stats and abilities.
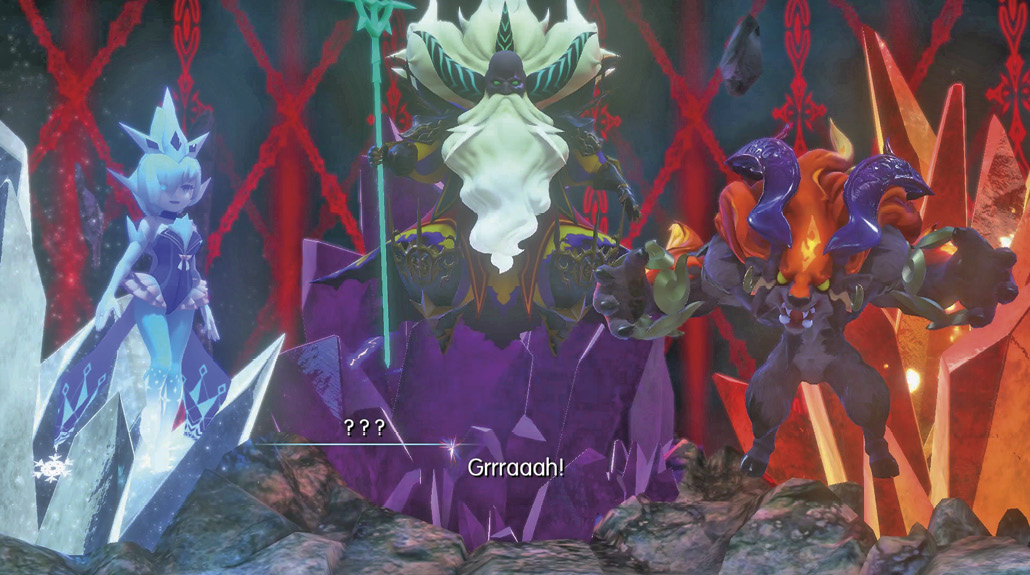
When you’re ready, walk inside the threshold past the Save Crystal for a cutscene with a trio of iconic Final Fantasy characters.
It seems these three are old pals of Reynn and Lann. However, they’re too powerful to take on all at once, so you must choose which one to fight to prove your worth. Note that your decision here doesn’t affect the main story and only determines which Mirage you obtain afterward. Whichever Mirage you defeat determines the type of Mirage prismarium that you receive. Eventually, all of these Mirages are imprismable, so whichever you pick now is strictly preference because you can obtain the others at a later time.
Grounding Ramuh
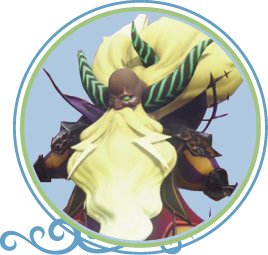
Ramuh is a thunder-based Mirage, excelling in magic. Naturally, it’s best to set up your stacks to have a high thunder elemental resistance or to have powerful earth-based attacks. At this point in the game, you won’t have access to thunder-resistant Mirages, but you do have access to earth-based attacks. For instance, set up one of your Jiant stacks with a copper gnome to unlock the Channel Element: Earth stacked ability. This attack deals a large amount of damage to thunder-based Mirages. The drawback is that it makes this particular stack weak to thunder, so Ramuh’s Judgment Bolt deals an extreme amount of damage. Make sure to have your party’s HP maxed out when Ramuh’s HP drops to around half. Note that whenever one of these Mirages’ max health drops to half, they perform their ultimate attack on their next turn!
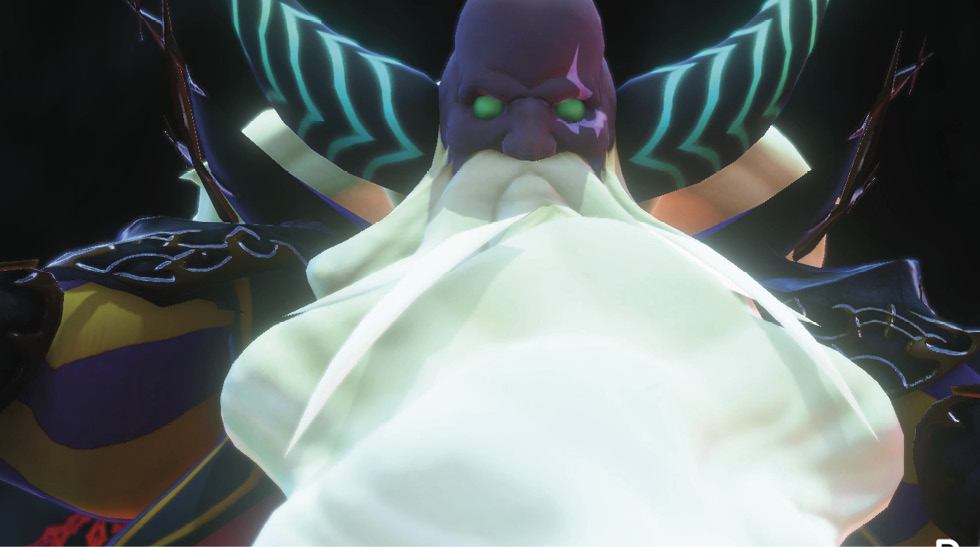
Ramuh is also weak to dark-based damage, so having your other Jiant stack set up with a floating eye is advisable (unlocks Channel Element: Dark).
Your reward for selecting and defeating Ramuh is a zapt prismarium.
Extinguishing Ifrit
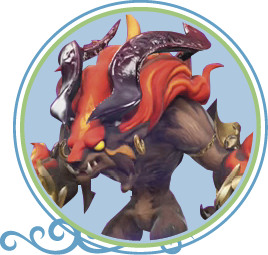
Although Ifrit is a fire-based Mirage, most of his damage is derived from his physical attacks. Additionally, you don’t have access to significant fire-resistant Mirages at this point, nor do you have ice or water spells. The best way to mitigate Ifrit’s damage is by casting the Protect spell on your party members (provided by the copper gnome’s Mirage Board) while dishing out your own physical damage. Like Ramuh and Shiva, Ifrit performs his ultimate attack (Hellfire) when his HP drops to around half, so be prepared to take a large amount of fire damage while you whittle away at his health.
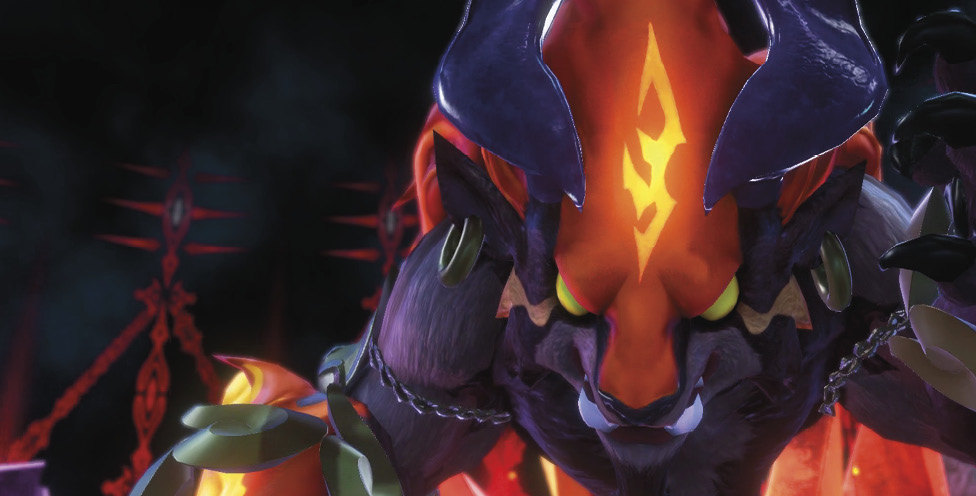
Your reward for selecting and defeating Ifrit is a fritt prismarium.
Thawing Shiva
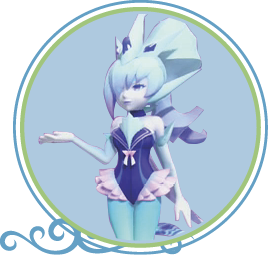
Shiva is an ice-based Mirage who deals most of her damage through magical abilities. Fortunately, you have access to strong fire- and dark-based attacks (if you’ve imprismed a floating eye). You can quickly burn down Shiva by putting Tama in one of your Jiant stacks while having a floating eye in the other Jiant stack. This gives you access to Foxfire and Channel Element: Dark, which are both strong against Shiva.
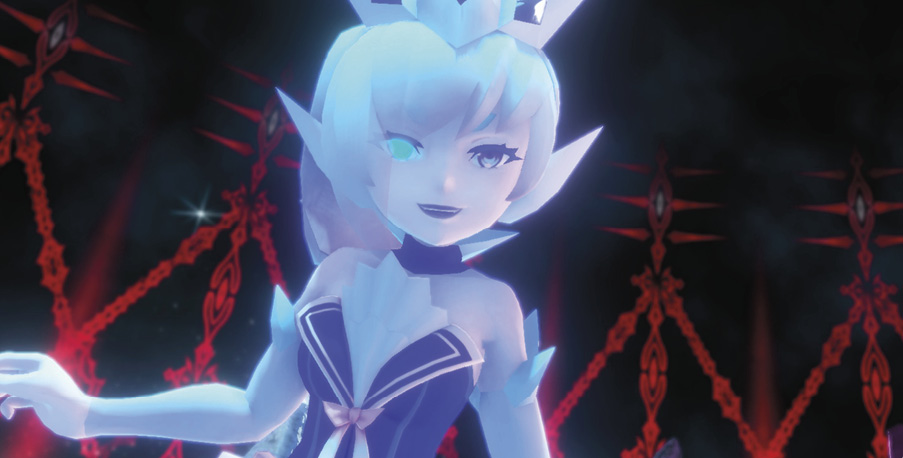
When she drops to half her max HP, Shiva unleashes Diamond Dust, so keep your party healthy while you melt her.
Your reward for selecting and defeating Shiva is a bablizz prismarium.
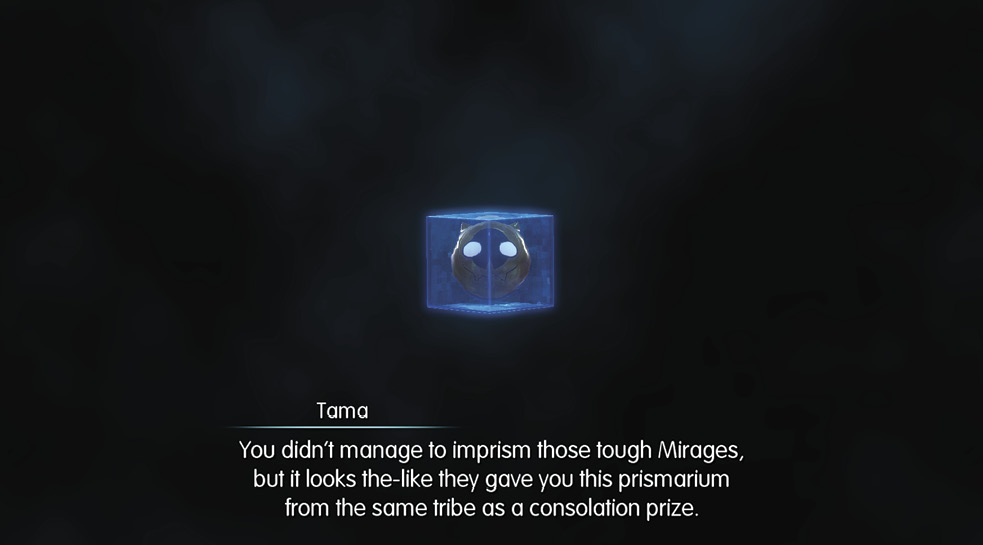
Once you’re victorious, the Mirage trio deems the twins unfit as Mirage Keepers for now. Although you’re unable to imprism them, the three Mirages leave behind a consolation prize. You also learn about transfigurations through a text tutorial here. For in-depth transfiguration details, refer to the The Mechanics of Grymoire chapter of this guide.
Return to Cornelia
With some extra firepower under your belt, you can return to Nine Wood Hills through the Exit Gate that Tama conveniently conjures up here.
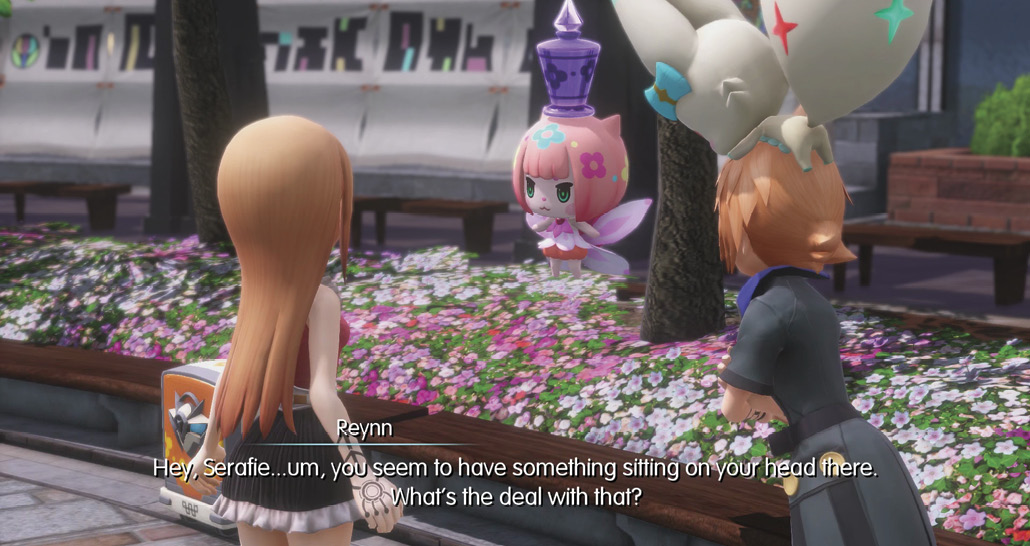
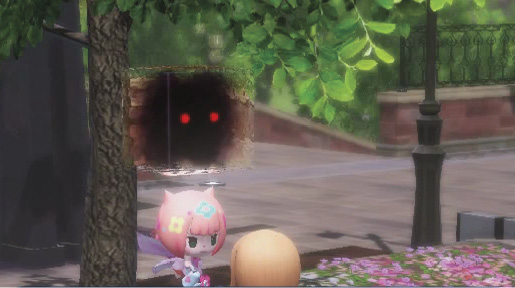
Back in the hills, return to Plaza 99 and talk to Serafie. You might notice that Serafie has some sort of object on her head. The object is generated at random after a certain period of time. The item that she presents is usually a helpful usable battle item, but sometimes it can be a murkrift—imprism or defeat these Mirages! Come back and regularly check Serafie’s noggin to see what surprises she has in store for you.
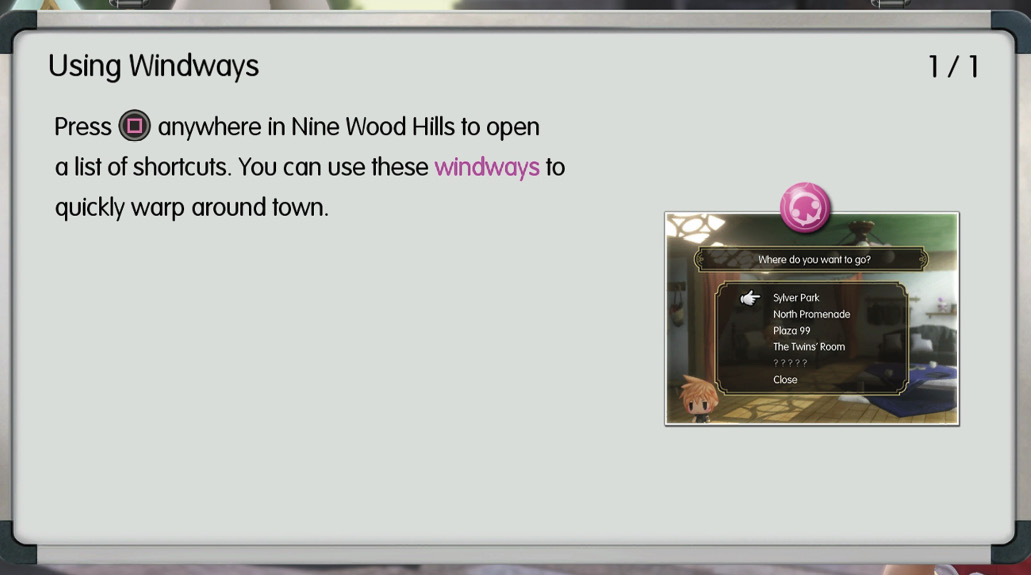
Around this point in the story, a cutscene regarding windways can trigger upon entering Plaza 99 (it may take several entries). Windways are a convenient fast-travel tool for getting around Nine Wood Hills. Once you’ve triggered the cutscene with Serafie, press  to open up the fast-travel interface anywhere in Nine Wood Hills.
When you’re ready to continue the main story, return to Cornelia through the Gate in Sylver Park to conclude the chapter.