
World of Final Fantasy Guide Main Story Walkthrough
Chapter 6: Solace from the Ice
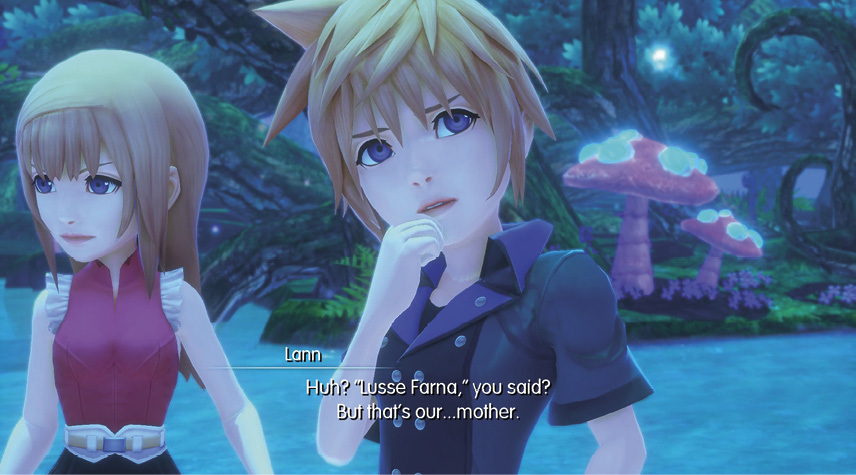
Through Yuna, Reynn and Lann learn more about their past and their connection to Grymoire. However, they leave to Saronia with more questions than answers. What exactly does their mother, Lusse Farna, have to do with these fairy tale-like stories that apparently occurred 100 years ago?
| Action Checklist |
|---|
|
1. (Optional) Visit Chocolatte and see her new wares |
|
2. Meet Sherlotta and Refia in Sherlotta’s Solace |
|
3. Cross Icicle Ridge and defeat grandfenrir |
|
4. (Optional) Imprism a holy dragon |
Get Warmed Up
From the Ice Region, you can take the Gate back to Nine Wood Hills for a breather or to browse Chocolatte’s new wares. She carries several ability seeds now, as well as elemental bombs like frigicite and electro marbles. It helps to carry a couple of each to keep your damage options flexible, especially when it comes to fulfilling prismtunity conditions.
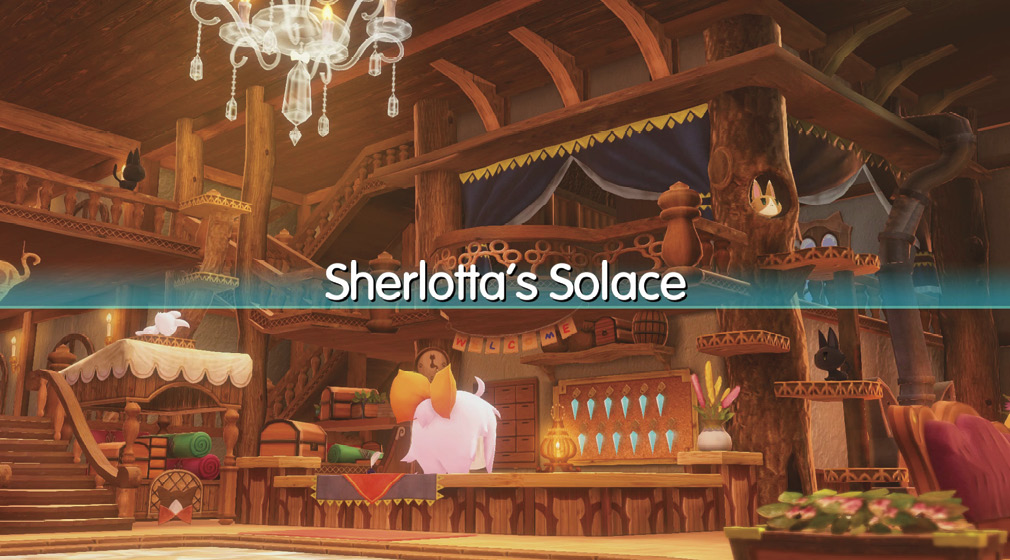
When you’re ready to continue the story, make a visit to Sherlotta’s Solace in the Ice Region next to the Gate.
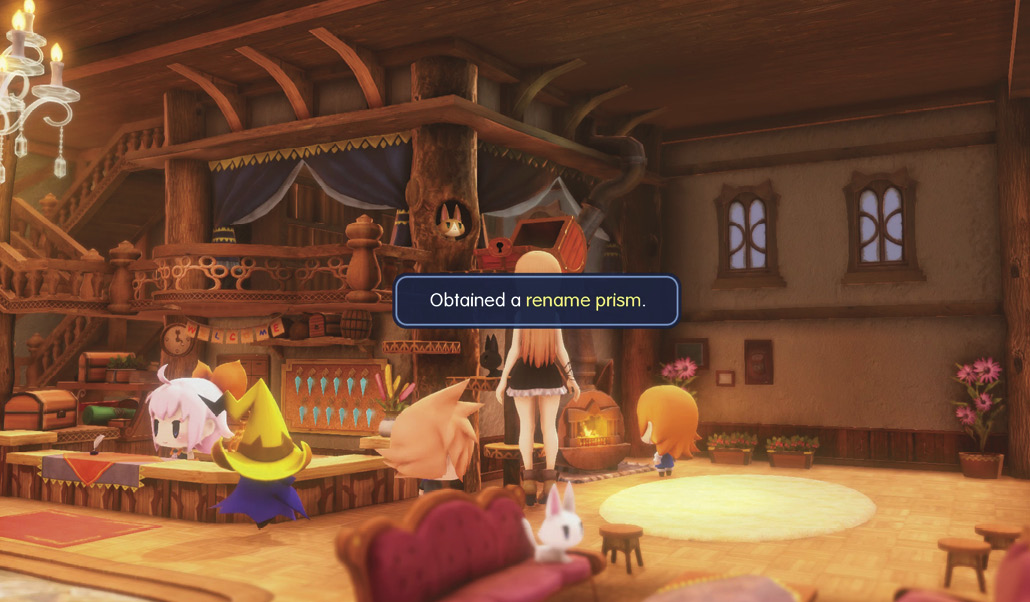
After the cutscene with the innkeeper, open the treasure chest sitting on top of the cat tree slightly to the right of Sherlotta. To reach it, your leader needs to be in Jiant form (toggle forms by pressing L1+ or
or  ). Inside is a rename prism. The rename prism is an infinite use item that lets you rename your Mirages to whatever you want (with a few exceptions, of course).
Next, examine the glowing object near the counter to trigger another cutscene.
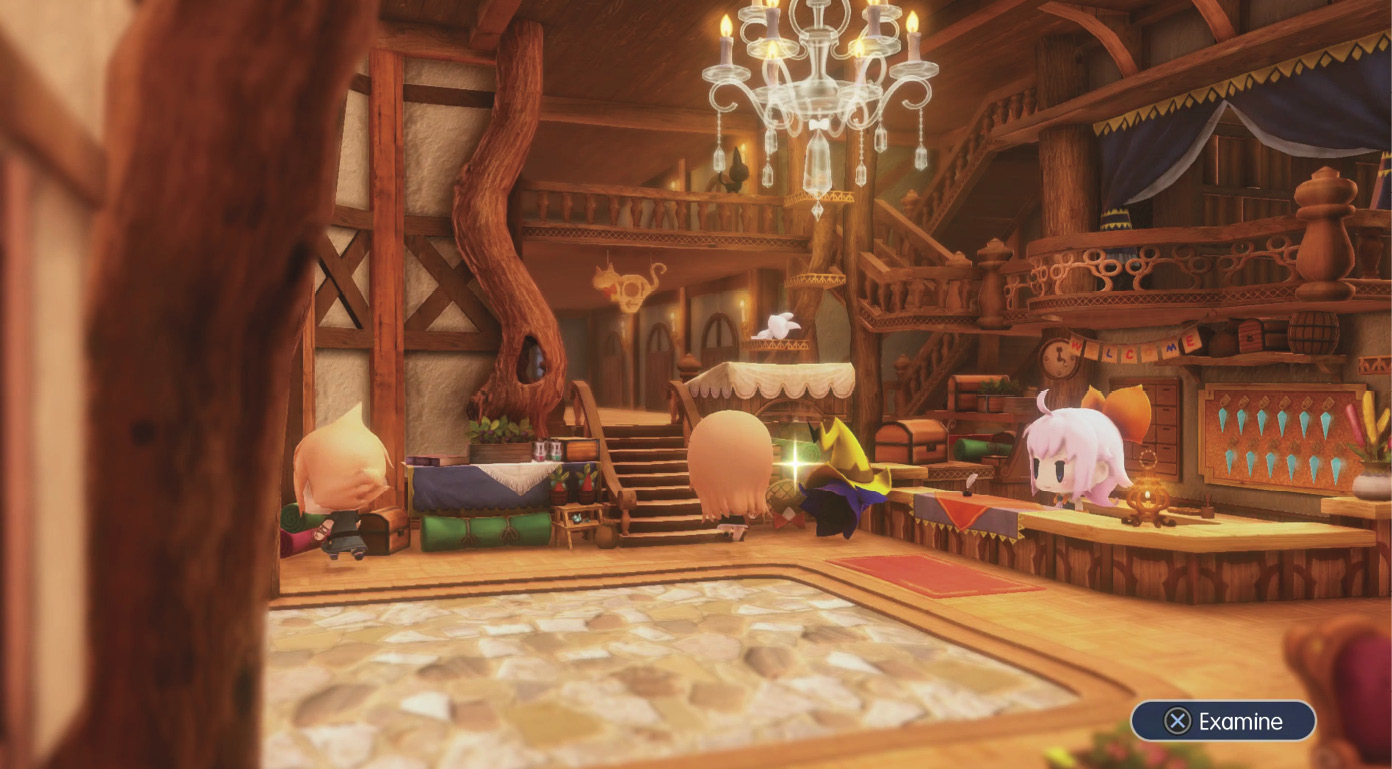
Refia, a white mage, joins the party. Although she’s not a playable character, she helps by healing up the party’s health with her white magic after battles. With Refia in tow, along with your new warlock’s warmers, you can safely traverse the arctic tundra into Icicle Ridge, just north of Sherlotta’s Solace.
Chocolatte Mart—New Wares
| Items | Price |
|---|---|
| Bomb Fragment | 500 |
| Electro Marble | 500 |
| Frigicite | 500 |
| Fish Scale | 500 |
| Chimeric Wing | 500 |
| Gaia Drum | 500 |
| Fire Seed | 3000 |
| Blizzard Seed | 3000 |
| Thunder Seed | 3000 |
| Water Seed | 3000 |
| Aero Seed | 3000 |
| Cure Seed | 3000 |
| Balance Seed | 3000 |
| Libra Seed | 500 |
| Gysahl Greens | 100 |
Cross Icicle Ridge
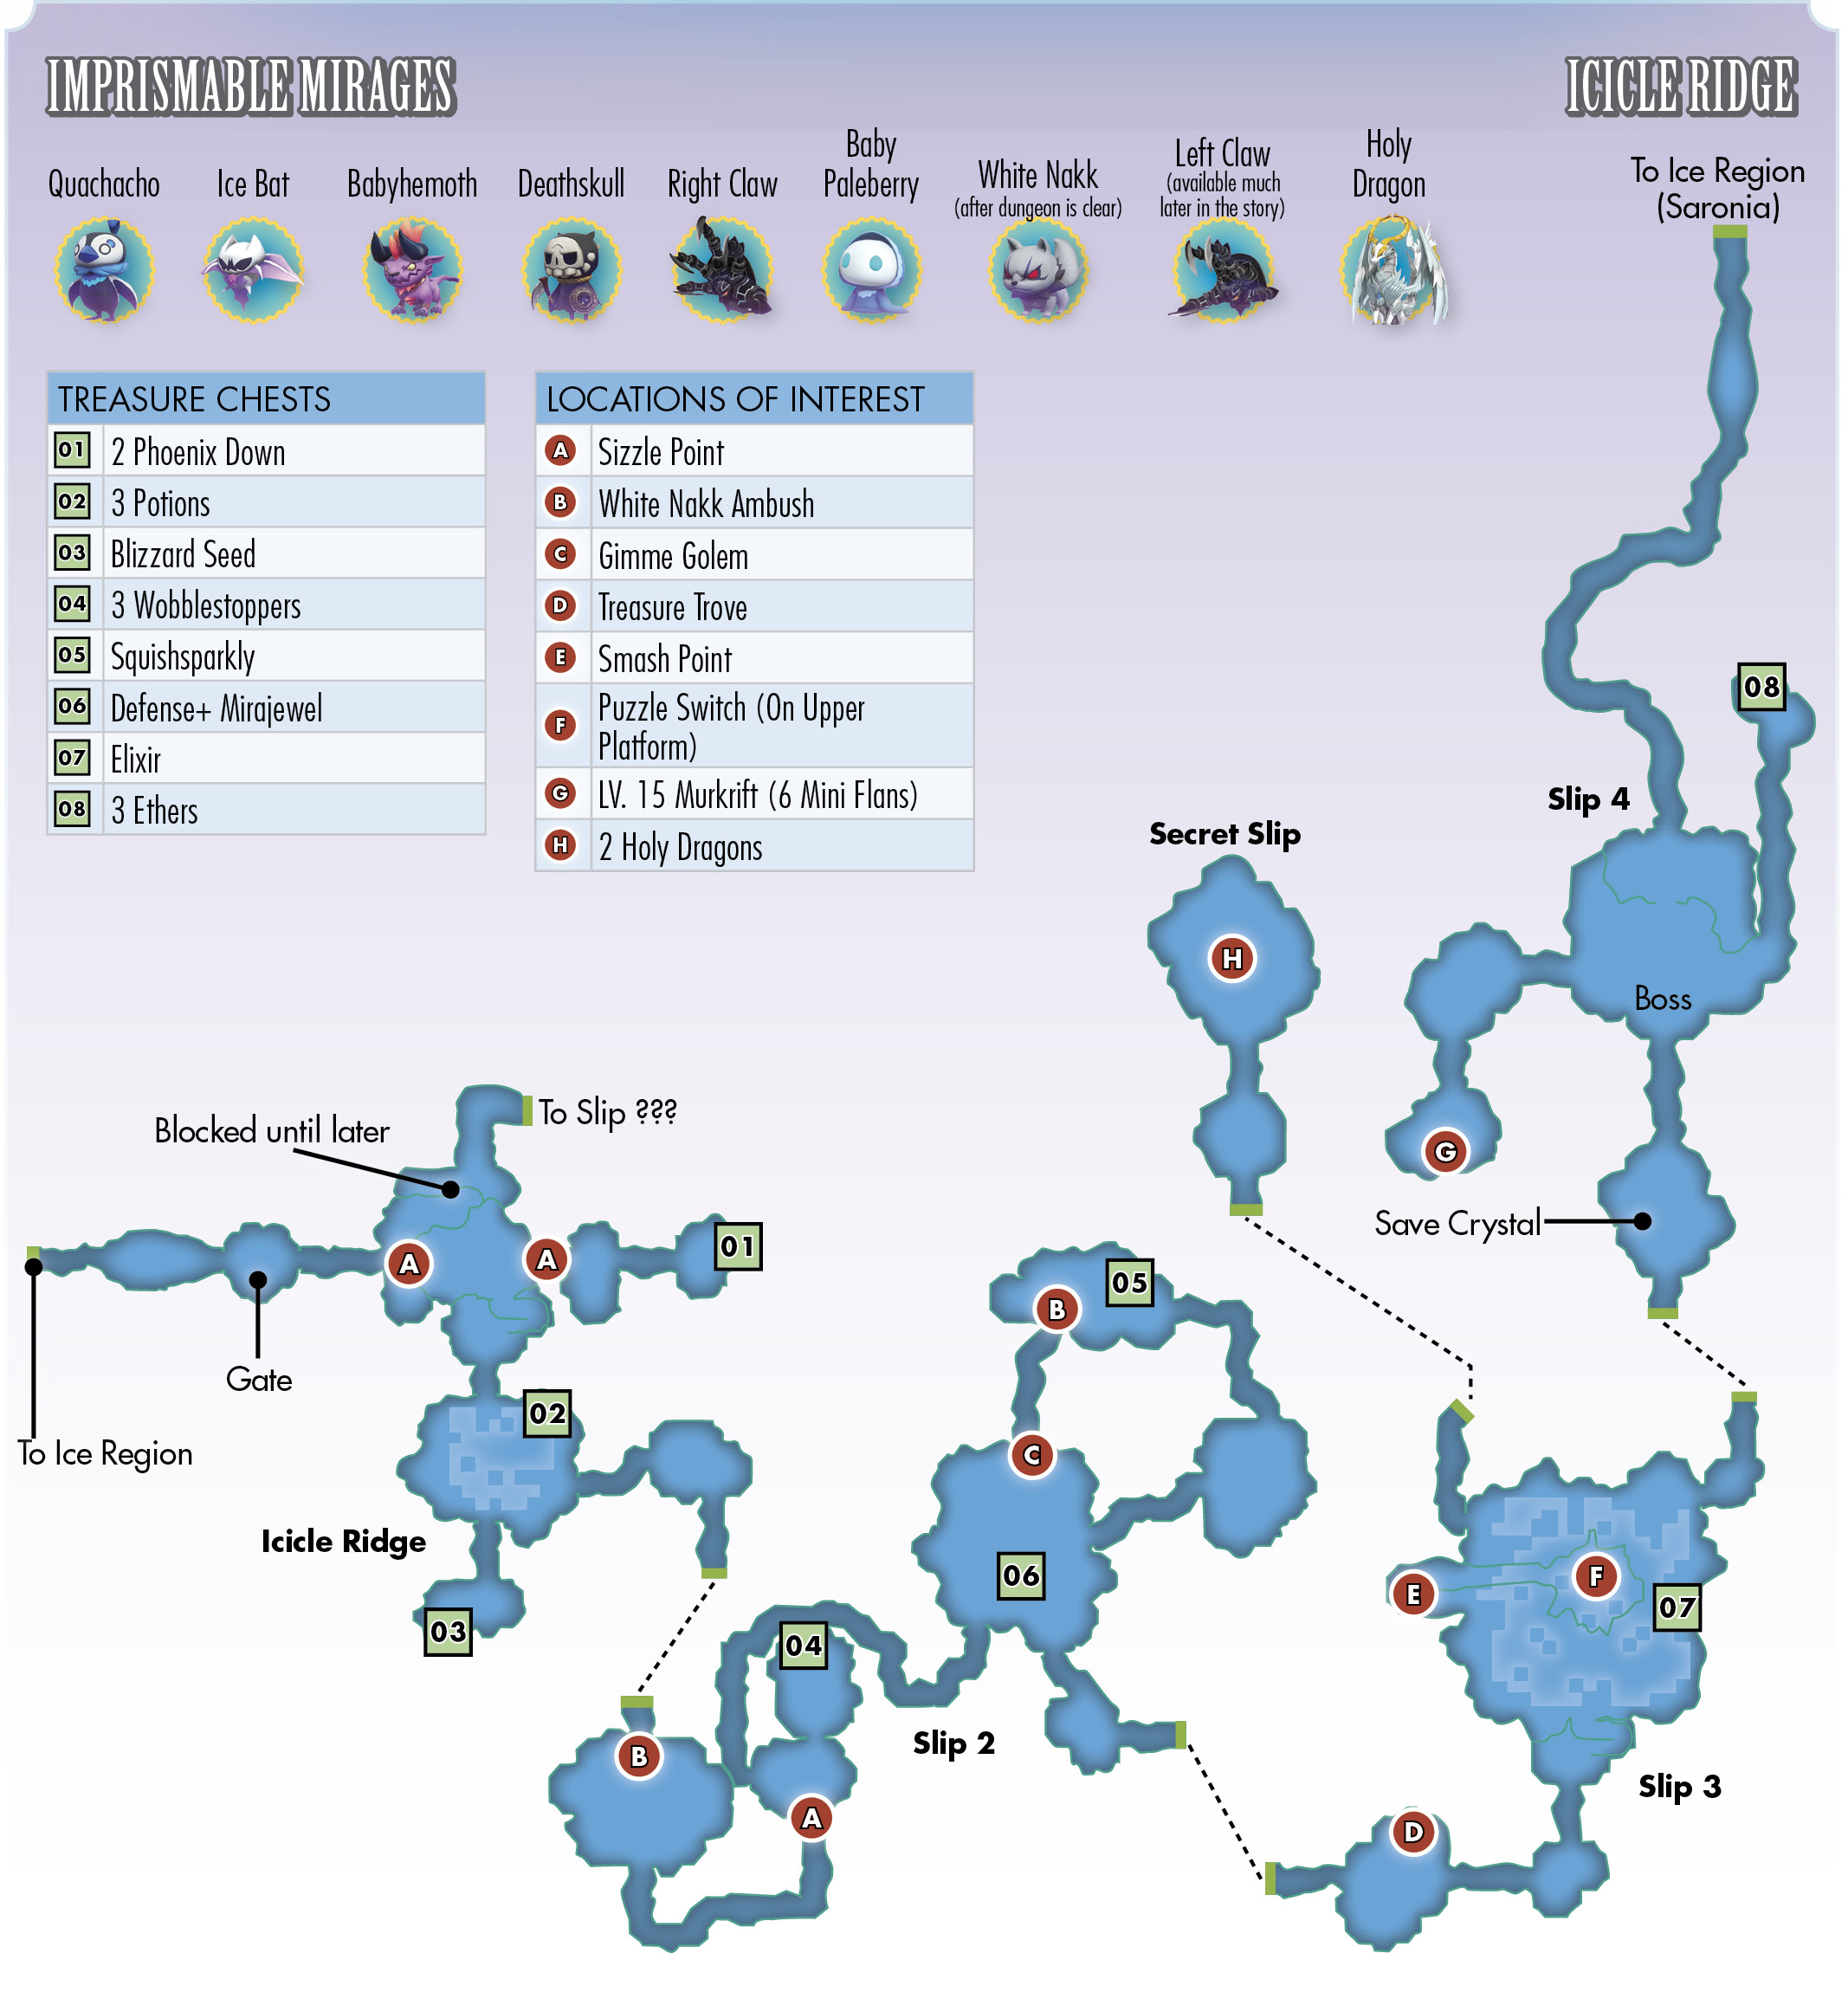
While the Sizzle ability is optional in the Pyreglow Forest, it’s a requirement here. You can access your Prism Case through the Gate here if you need to swap in a Mirage with Sizzle (like a black nakk or cockatrice). If you don’t have one of these Mirages yet, go back to Pyreglow Forest to imprism a cockatrice and unlock its Sizzle ability, then return. It’s recommended that you also bring a copper gnome in order to transfig it into a mythril giant if you want to access a secret area within Icicle Ridge.
From the entrance, head east, and use the Sizzle ability to melt the ice blockade.
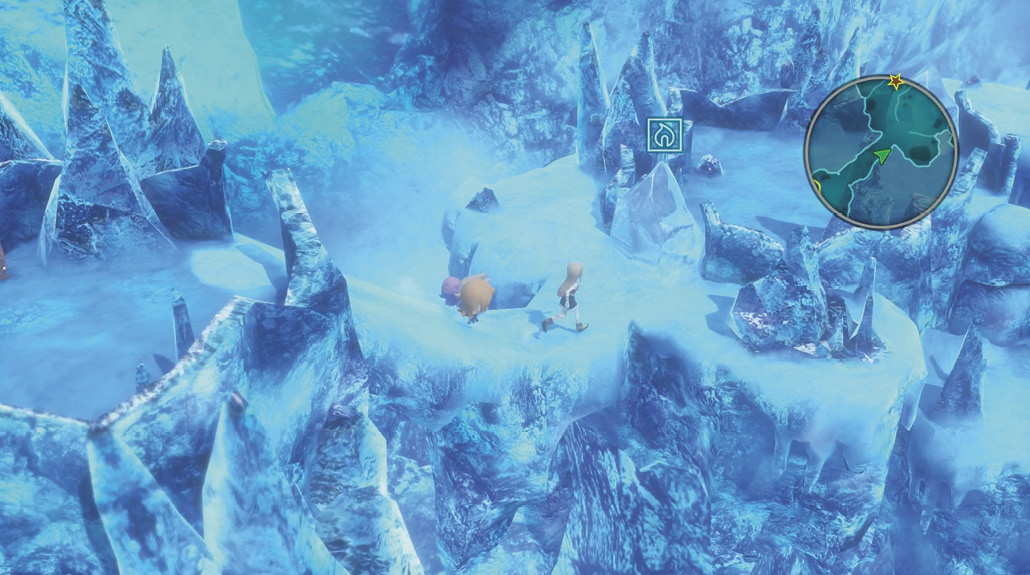
Go east from the central platform to melt another ice block. Keep heading east to find a treasure chest containing two phoenix down. Return to the center platform, and go down the ramp to the south. Here, you’re introduced to an ice skating puzzle.
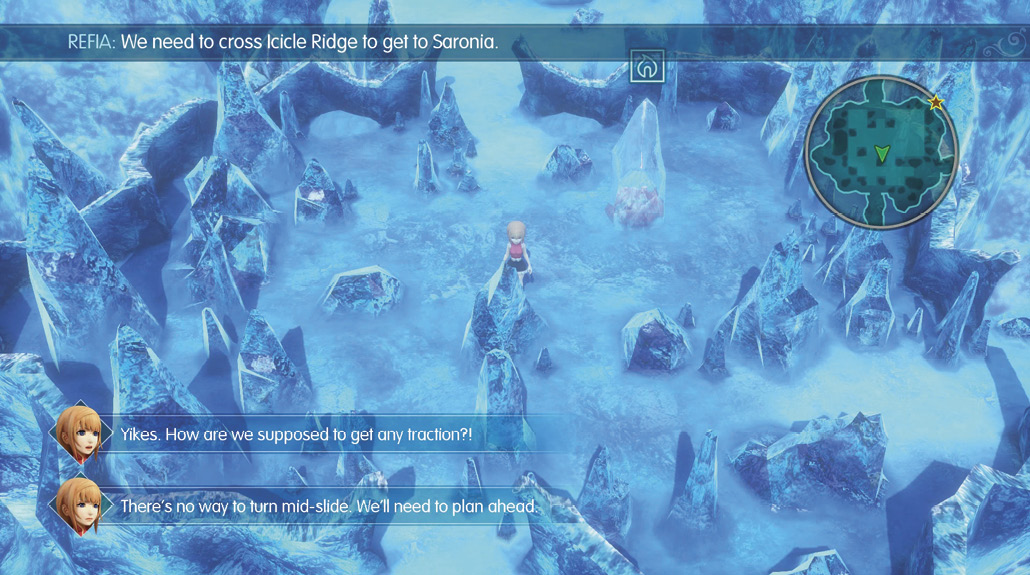
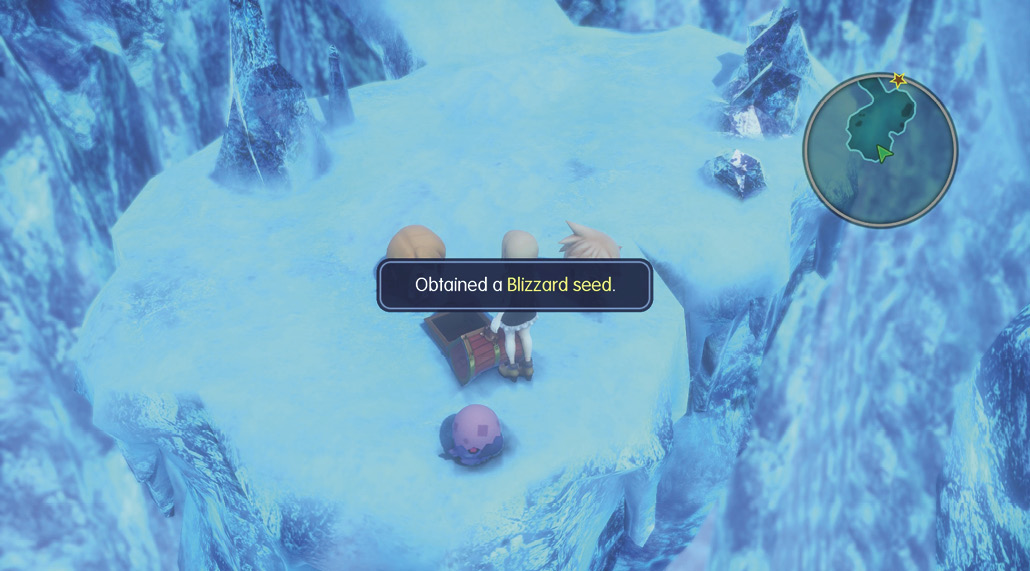
When you set foot on the slippery ice, you’re forced forward in the same direction until you encounter a wall or an ice block. There are two exits from this puzzle: one to the south and one to the east. The south exit leads to a treasure chest containing a Blizzard seed. The east exit leads to the next area. The Sizzle point hides a treasure chest containing three potions.
| Ice Puzzle Legend | |
|---|---|
|
|
Ice |
|
|
Enrty/Exit |
|
|
Block/Stopper |
|
|
Raised Platform |
|
|
Platform Blockage |
|
|
Sizzle Point—Chest (3 Potions) |
|
|
Gimme Golem |
|
|
Sizzle Point—Chest (Defense+ Mirajewel) |
|
|
Sizzle Point—Chest (Elixir) |


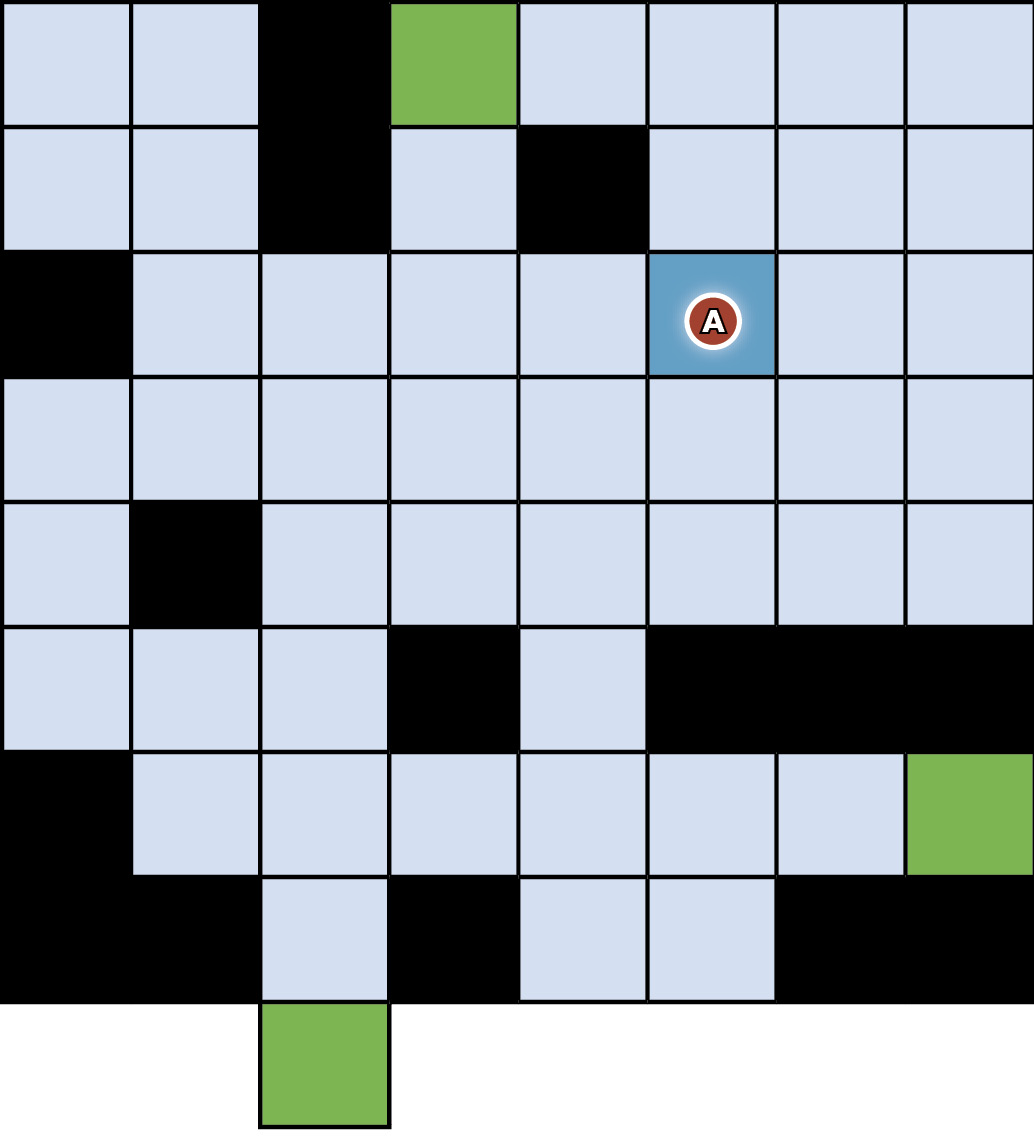
Ice Skating Solutions, Part ITo get to the Blizzard seed: from the north entryway, slide east, south, west, then south. To get to the Sizzle point (three potions): from the south entryway, slide north, then east. To progress to the next area: from the treasure chest, slide south, east, north, then east. |
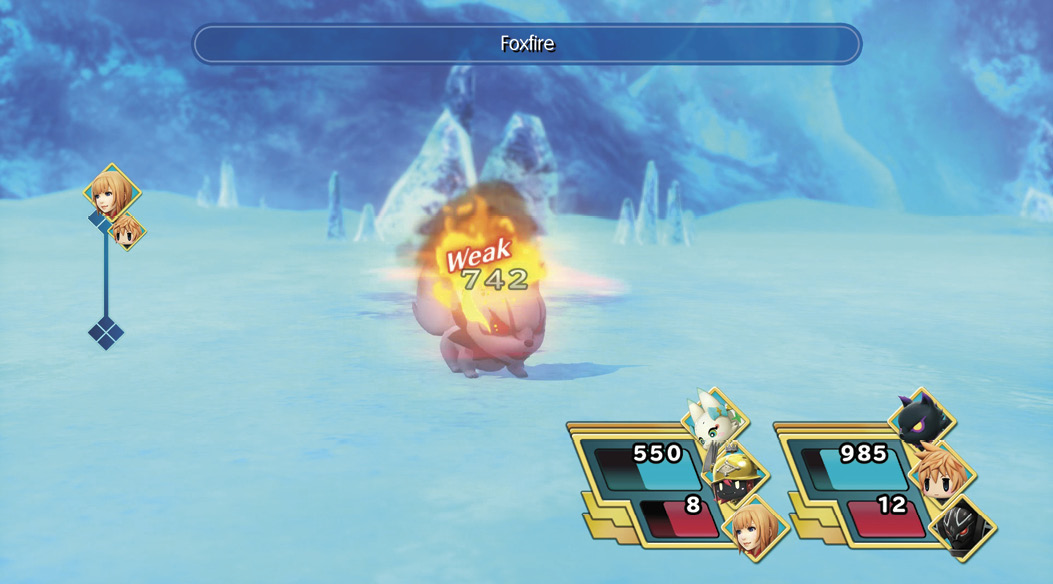
When you’ve found your way out through the puzzle, proceed to the next area through the southeast exit. Here, a couple of white nakks attack you. These Mirages aren’t imprismable yet, meaning they have a keeper nearby. Defeat them with fire-based spells, and send them whimpering back to their leader.
Continue through the area until you reach another Sizzle point at the bottom of a ramp. Melt the ice block, and open the treasure chest to obtain three wobblestoppers. Next, head up the ramp and follow the path until you reach another ice skating puzzle. You need to reach the east exit that wraps back around into the puzzle from the north, where you can reenter the puzzle to get to the south exit, which leads to the next area, Slip 3.
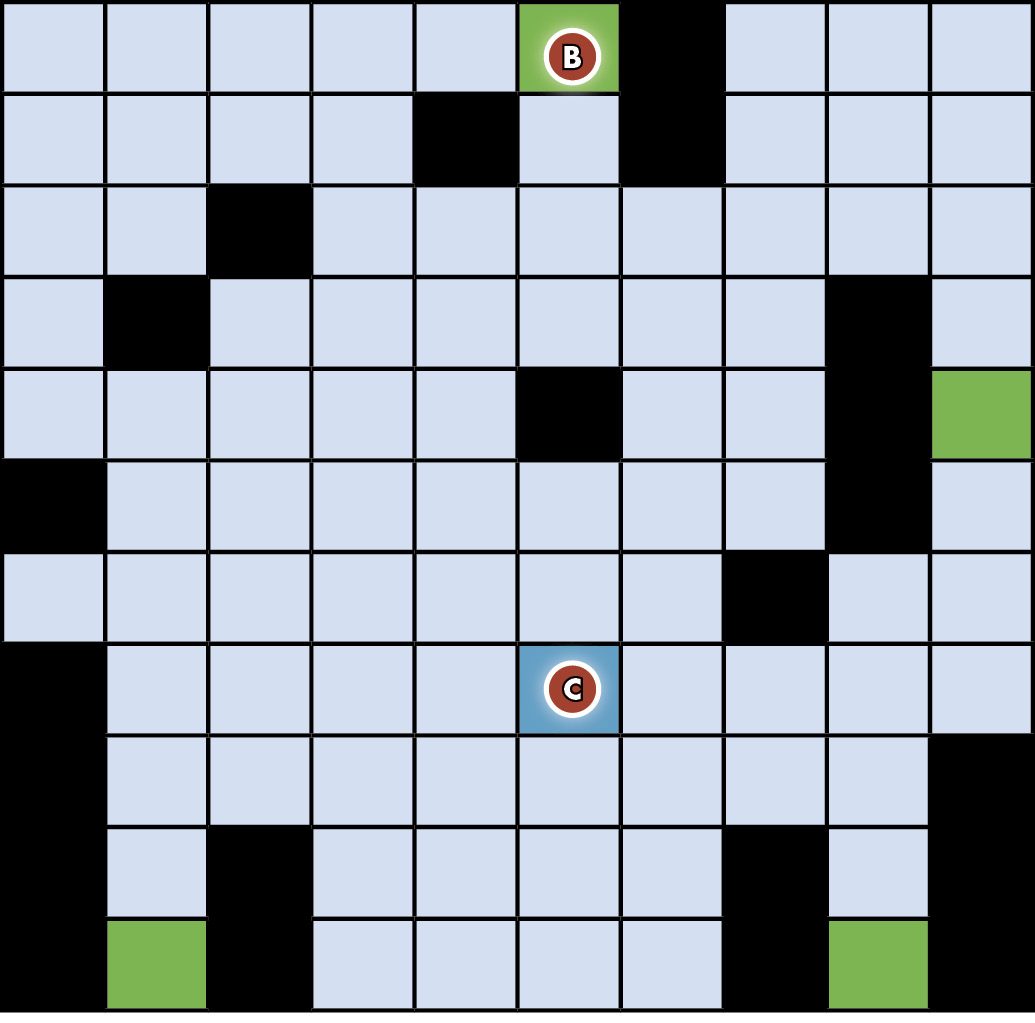
Ice Skating Solutions, Part IIFrom the south entryway, slide north, east, north, east, then south. To get to the Sizzle point (Defense+ mirajewel): from the east entryway, slide south, then west. From the east exit, pick up a squishsparkly from a treasure chest along the path, then reenter the ice skating puzzle from the north entryway. There’s a forced encounter with three white nakks here, as well. Defeat the pack of Mirages, then appease the Gimme Golem in the puzzle with the squishsparkly that you picked up earlier. To exit the area: from the north entryway, slide south, west, south, east, then south. |
Icicle Ridge—Slip 3 consists of an even larger ice skating rink with multiple paths, including an optional one to a hidden area. Your main objective is to exit to the northeast. If you have a strolling Mirage with you, you can trigger a Treasure Trove near the entrance before proceeding to the ice skating area.
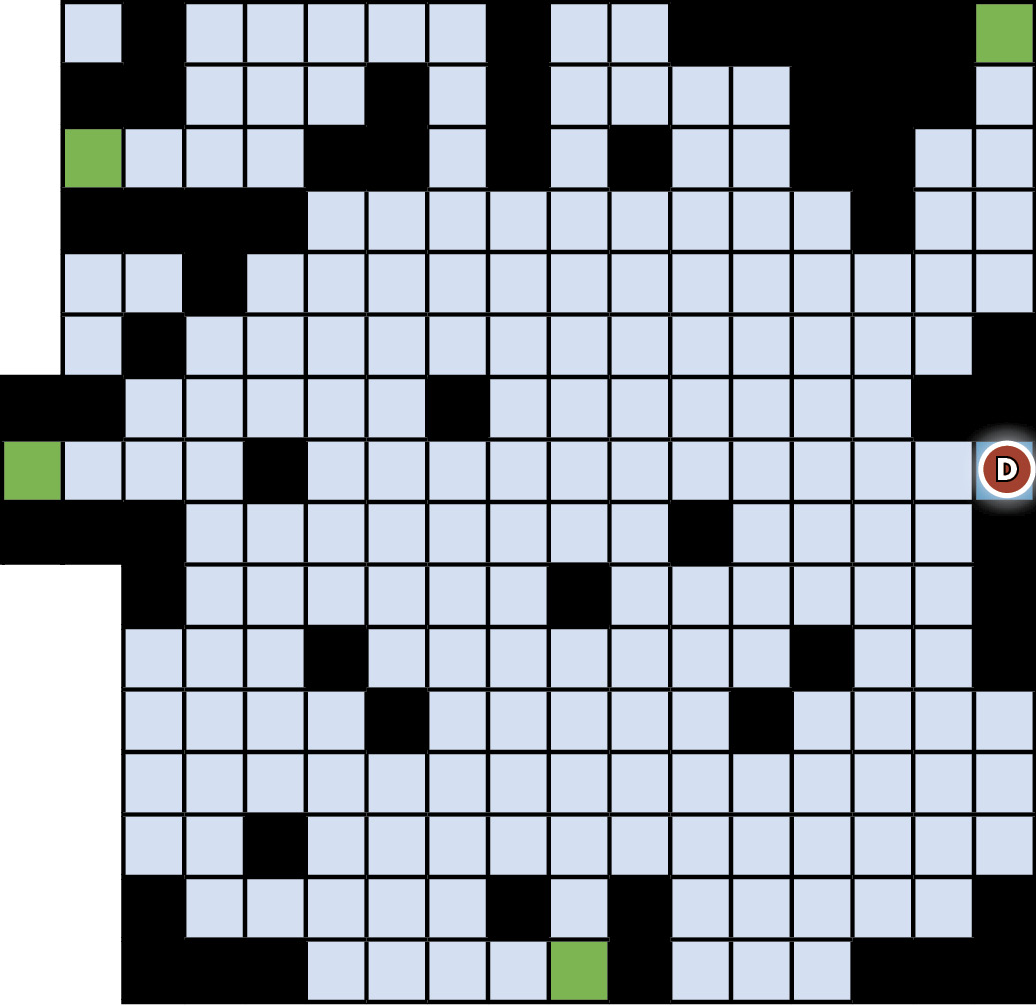
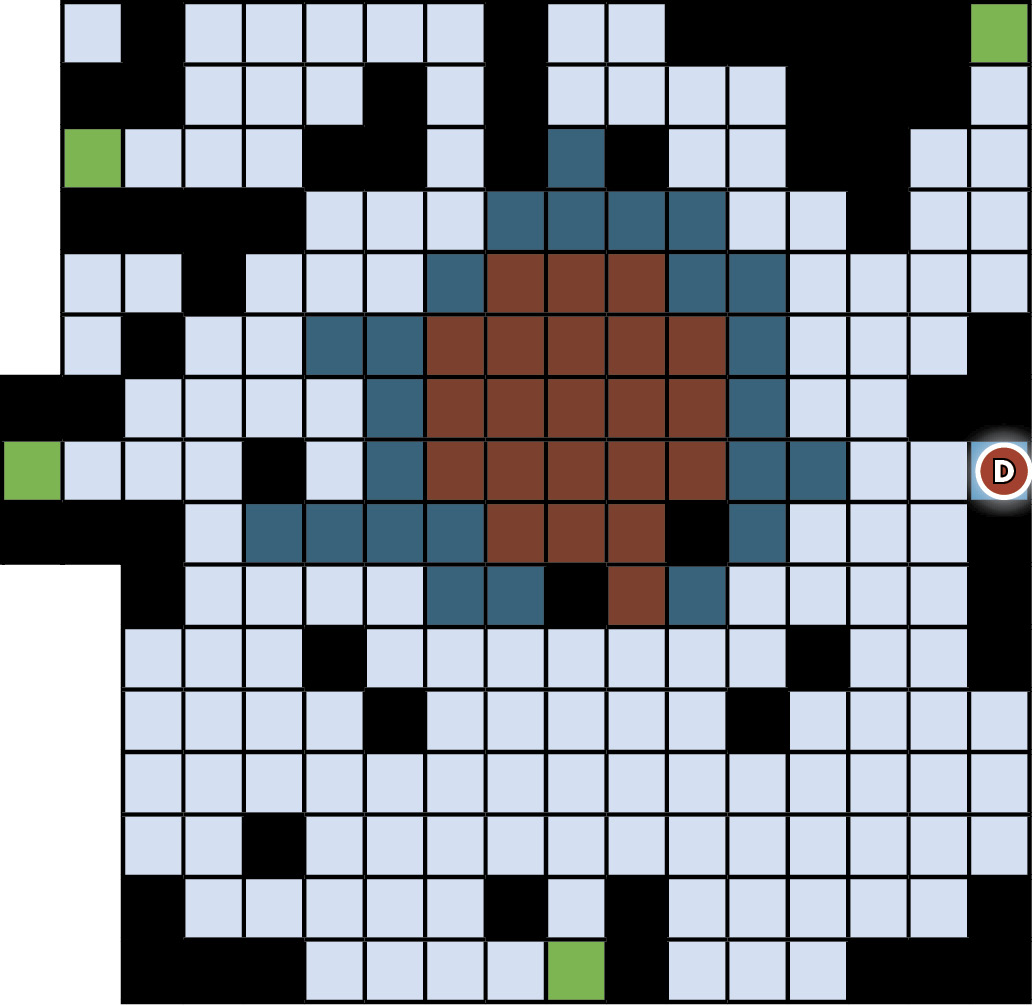
Ice Skating Solutions, Part IIITo get to the northeast exit leading to the next area: from the south entryway, slide west, north, west, south, east, north, east, north, east, then north. To get to the optional west exit: from the northeast entryway, slide south, west, south, west, south, then west. To get to the Sizzle point (elixir): from the west entryway, slide east, south, east, north, then east. |
Icicle Ridge’s Secret Area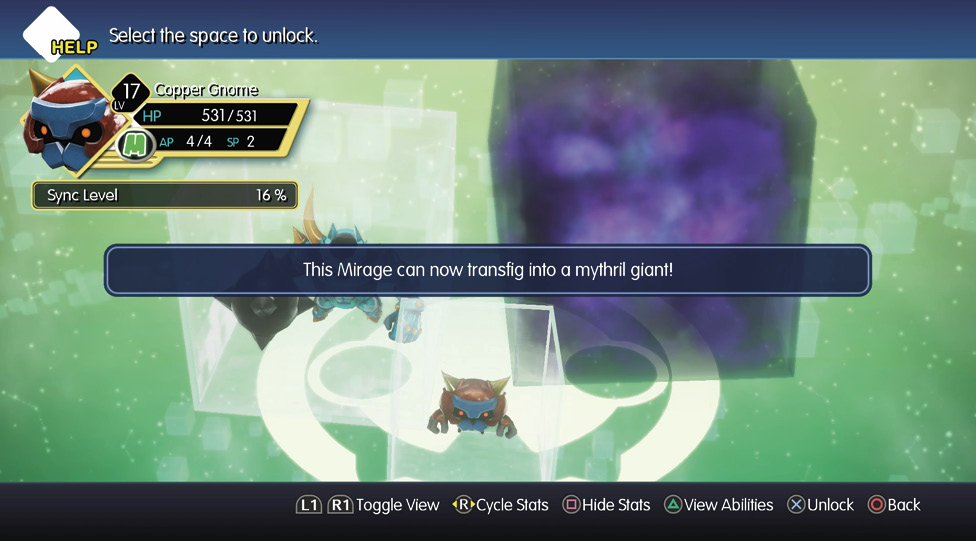
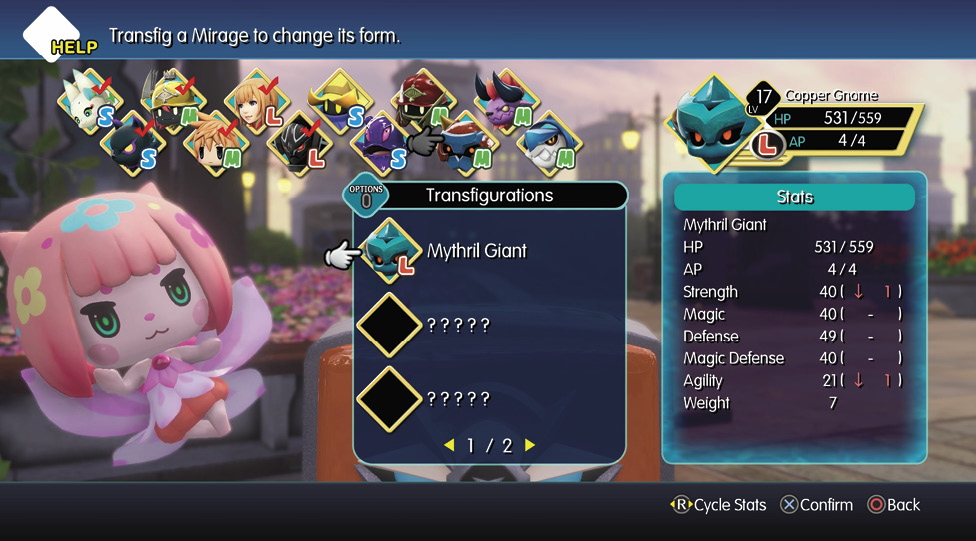
To get to Icicle Ridge’s hidden area and secret Mirage battle, you need the Smash support ability. This is obtainable by progressing a copper gnome’s Mirage Board and unlocking the mythril giant transfiguration, then unlocking the Smash ability on the mythril giant Mirage Board. If you brought along a copper gnome with you to complete the optional Princess Goblin Next, when you have access to your Prism Case (by using a Seraphone or Save Crystal), you can transfigure your copper gnome into a mythril giant. Take the mythril giant along with you to smash the boulder on the ramp. 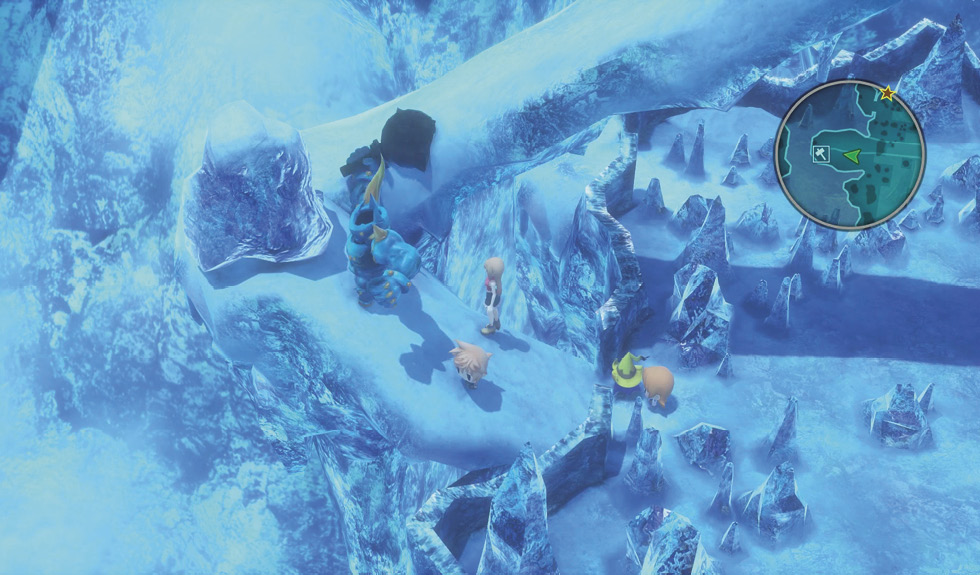
Head up the ramp until you get to a puzzle switch. Here, you must create a stack of Mirages with a weight of 11 or greater and an earth resistance of at least 100. Accomplish this by adding mythril giant, cockatrice, and mandragora to the stack. This causes the platform to collapse onto the puzzle below, which gives you an easy path to the northwest exit of the ice skating rink. 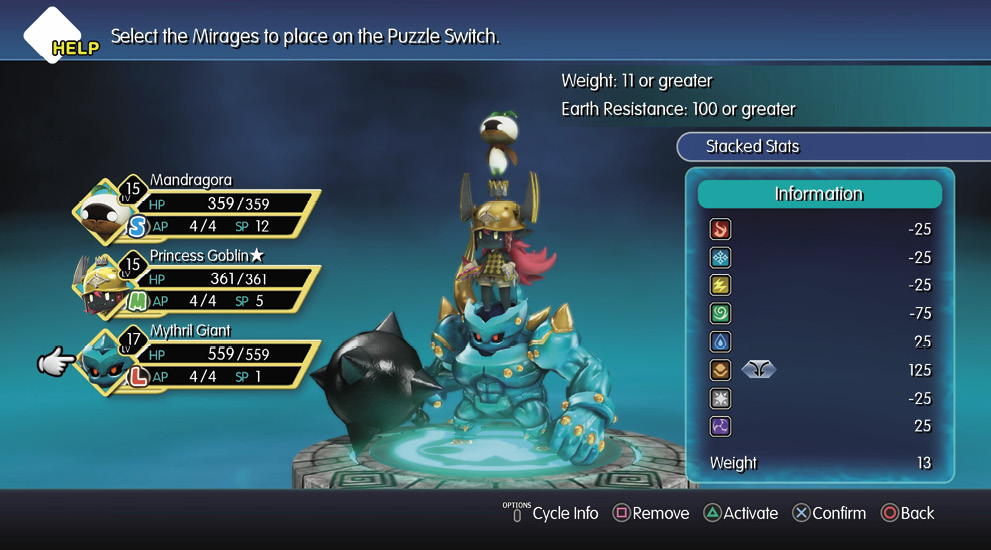
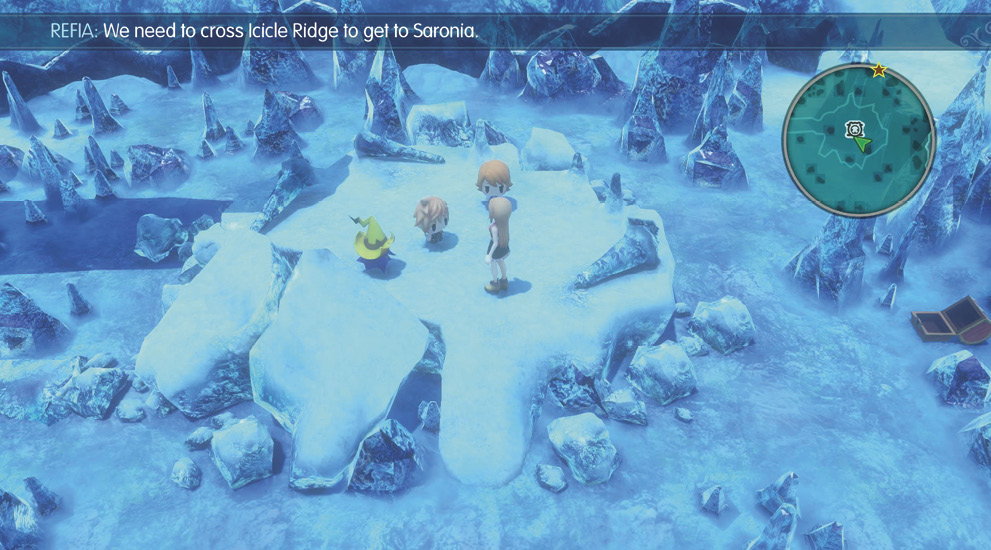
Now all you have to do is exit the center platform and slide your way over to the northwest exit. Directions from the center platform: south, west, north, west, north, east, north, west, north, east, north, east, north, east, north, west, south, then west. In this secret area, there’s a Mirage encounter consisting of two holy dragons. This is an exceptionally difficult encounter unless you’ve been spending time leveling up, so make sure to save your progress at the Save Crystal in the fourth area of Icicle Ridge. It’s recommended that your stacks are an average level of at least 20 and that you have the Banish ability. Thankfully, you can imprism one. Its prismtunity condition is casting a light-based spell on it, so make sure to have a baby paleberry with the Banish ability unlocked in one of your stacks. 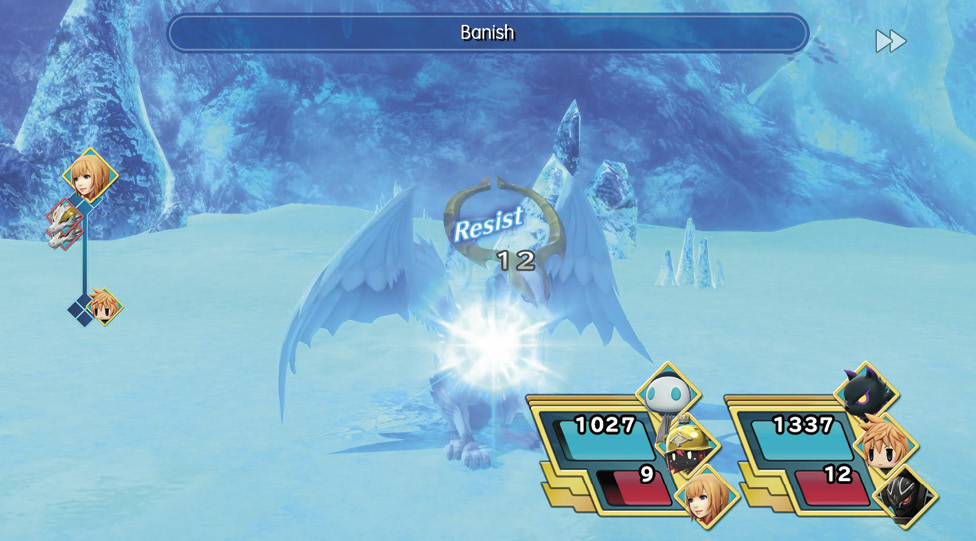
Begin the encounter by imprisming one of the holy dragons; repeatedly cast Banish on it with your baby paleberry and cast Imprism with your other stack. When you’re successful, the fight becomes much more manageable. Heal up, then start whittling down the other holy dragon’s HP. Note that when the holy dragon is low on health, it starts to regenerate HP. To avoid this, you must deal a large amount of damage. For instance, you can exhaust your Champion Gauge by repeatedly summoning the Warrior of Light (purchased with two arma gems from The Girl Who Forgot Her Name) to take out the remaining holy dragon. Alternatively, having a floating eye in your stack with its access to the Dark spell is a huge boon, due to the dragon’s weakness to dark-based abilities. Your reward for defeating the dragons is a sizeable amount of EXP, along with its memento. And, of course, you also leave with an imprismed holy dragon, a particularly powerful large-sized Mirage with access to the Dispel ability. 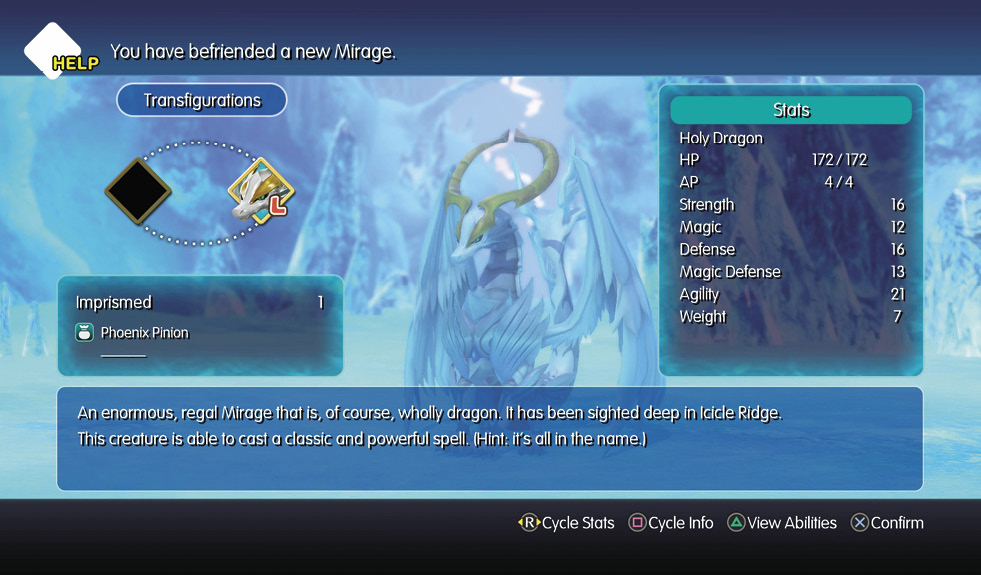
|
 encounter, it should be be leveled enough.
Boss Battle: Grandfenrir and a Pack of Nakks
After you’ve completed the last ice skating puzzle, save your progress at the Save Crystal located near the entrance of the fourth area. Now, confront the beast that’s been hounding you up ahead.
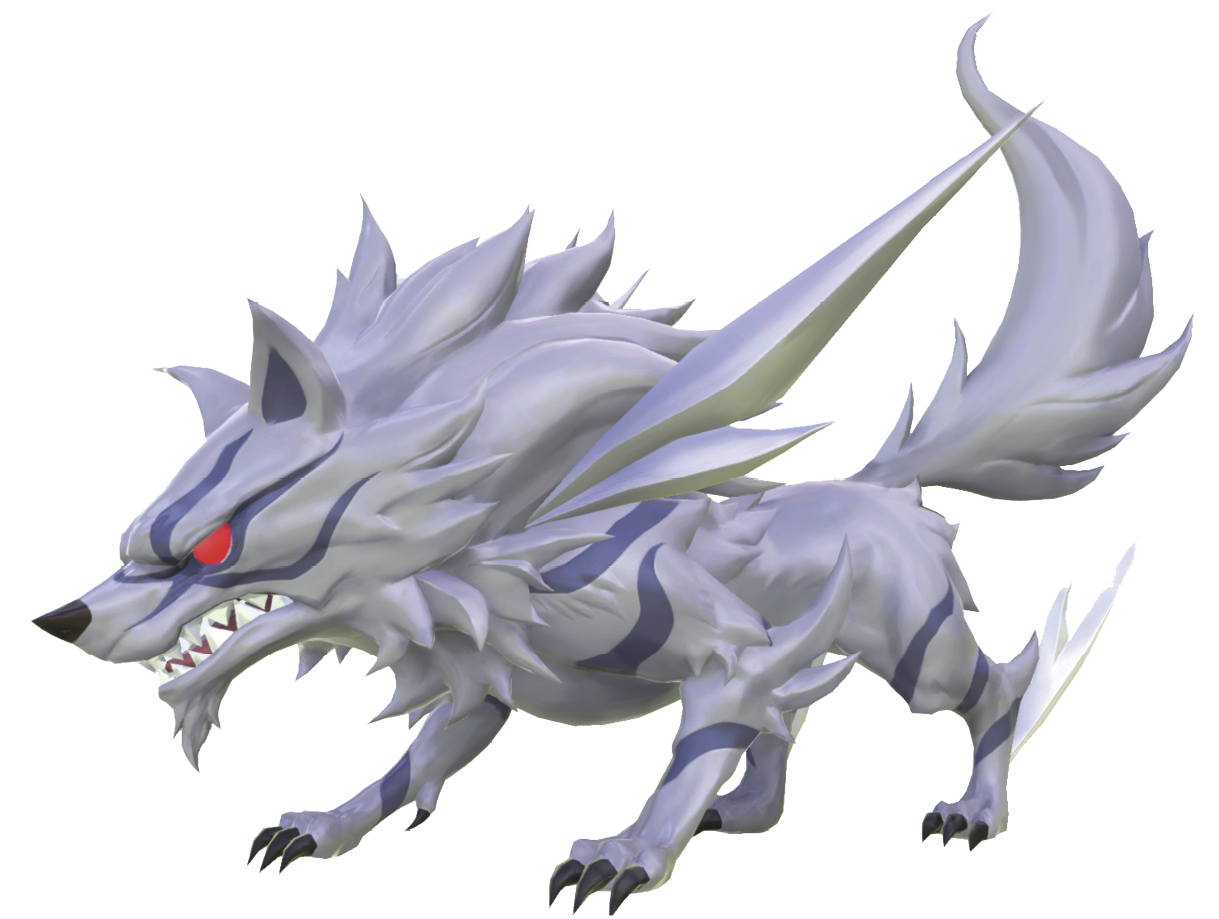
This boss battle consists of a large grandfenrir and four small white nakks. They’re weak to fire, so hopefully you’ve heeded Yuna’s advice and have fire-wielding Mirages like Tama and red captain in your stacks. Grandfenrir has a massive amount of HP compared to his whelps, so burn the little ones down first, ideally leaving one small one alive. Grandfenrir can use the ability, “Call For Help”, when all of the white nakks are defeated, so leaving one alive before finishing off the alpha wolf is recommended. When you’re ready to take out grandfenrir, incinerate him with Foxfire, Fire, or Channel Element: Fire while healing up any damage you take from his physical attacks.
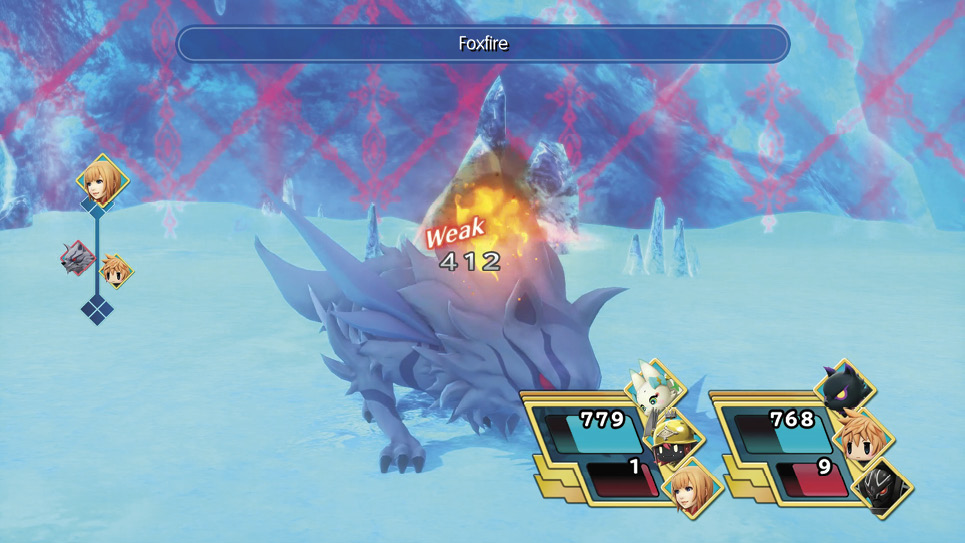
Once victorious, you’re rewarded with more arma gems, as well as a fenrir memento (a white nakk transfiguration). You can also backtrack to imprism a white nakk in the earlier portion of Icicle Ridge now that you’ve defeated their leader.
From here, you can find a murkrift in the west portion of the area if you want to pick up a mini flan Mirage and a decent amount of EXP. They’re extremely vulnerable to magic, so you should nuke several of them down with spell attacks before imprisming one with physical attacks.
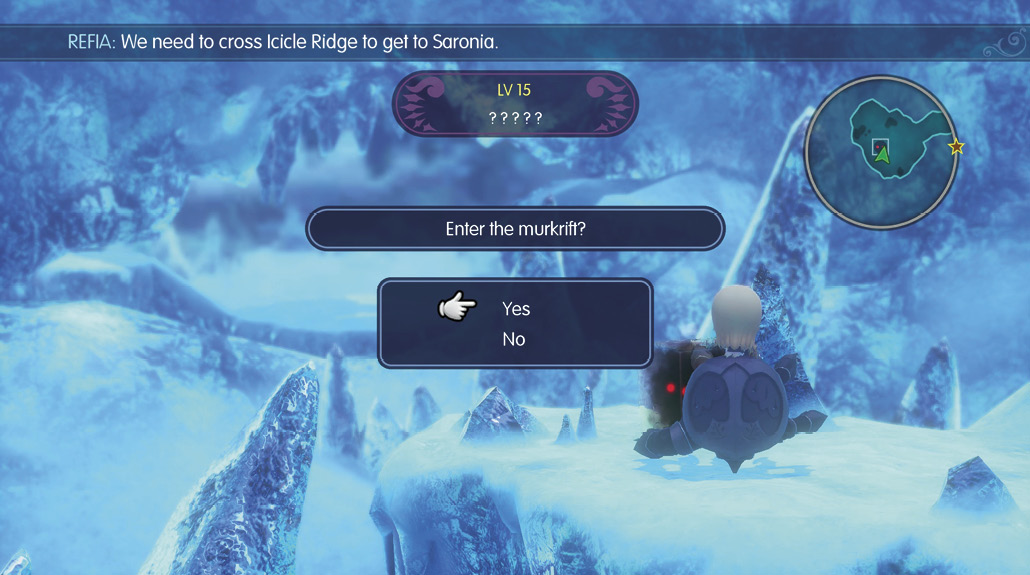
After you deal with the murkrift, head east from the central platform to access a semi-hidden ledge with a treasure chest lying at the end of it. Open the treasure chest for three ethers.
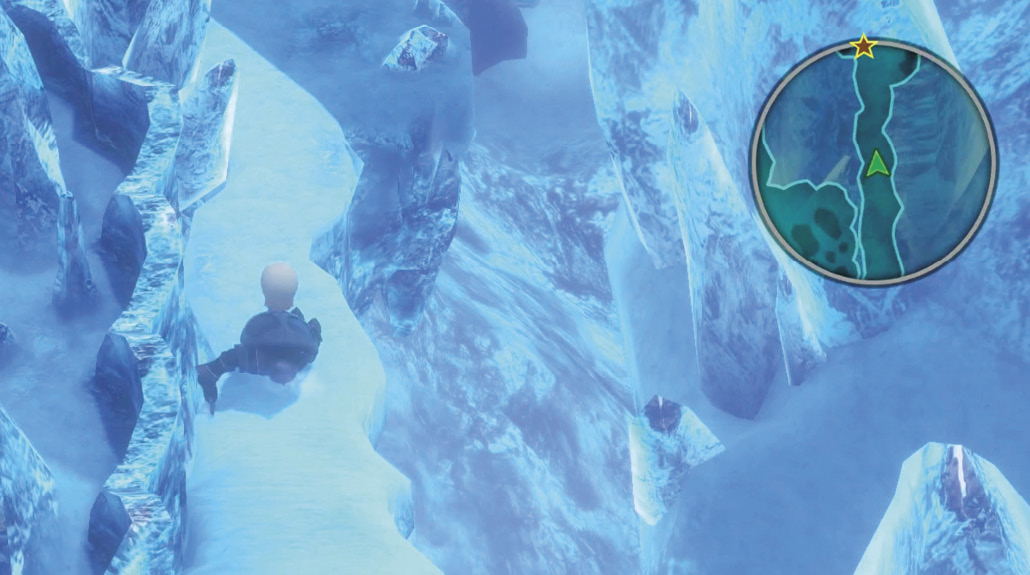
Finally, take the north path from the central platform to exit Icicle Ridge and enter the final stretch of the Ice Region. You can see Saronia off in the distance to the north. Enter it to conclude Chapter 6 of the main story.