
World of Final Fantasy Guide Post-Ending Content
EX Dungeon Z
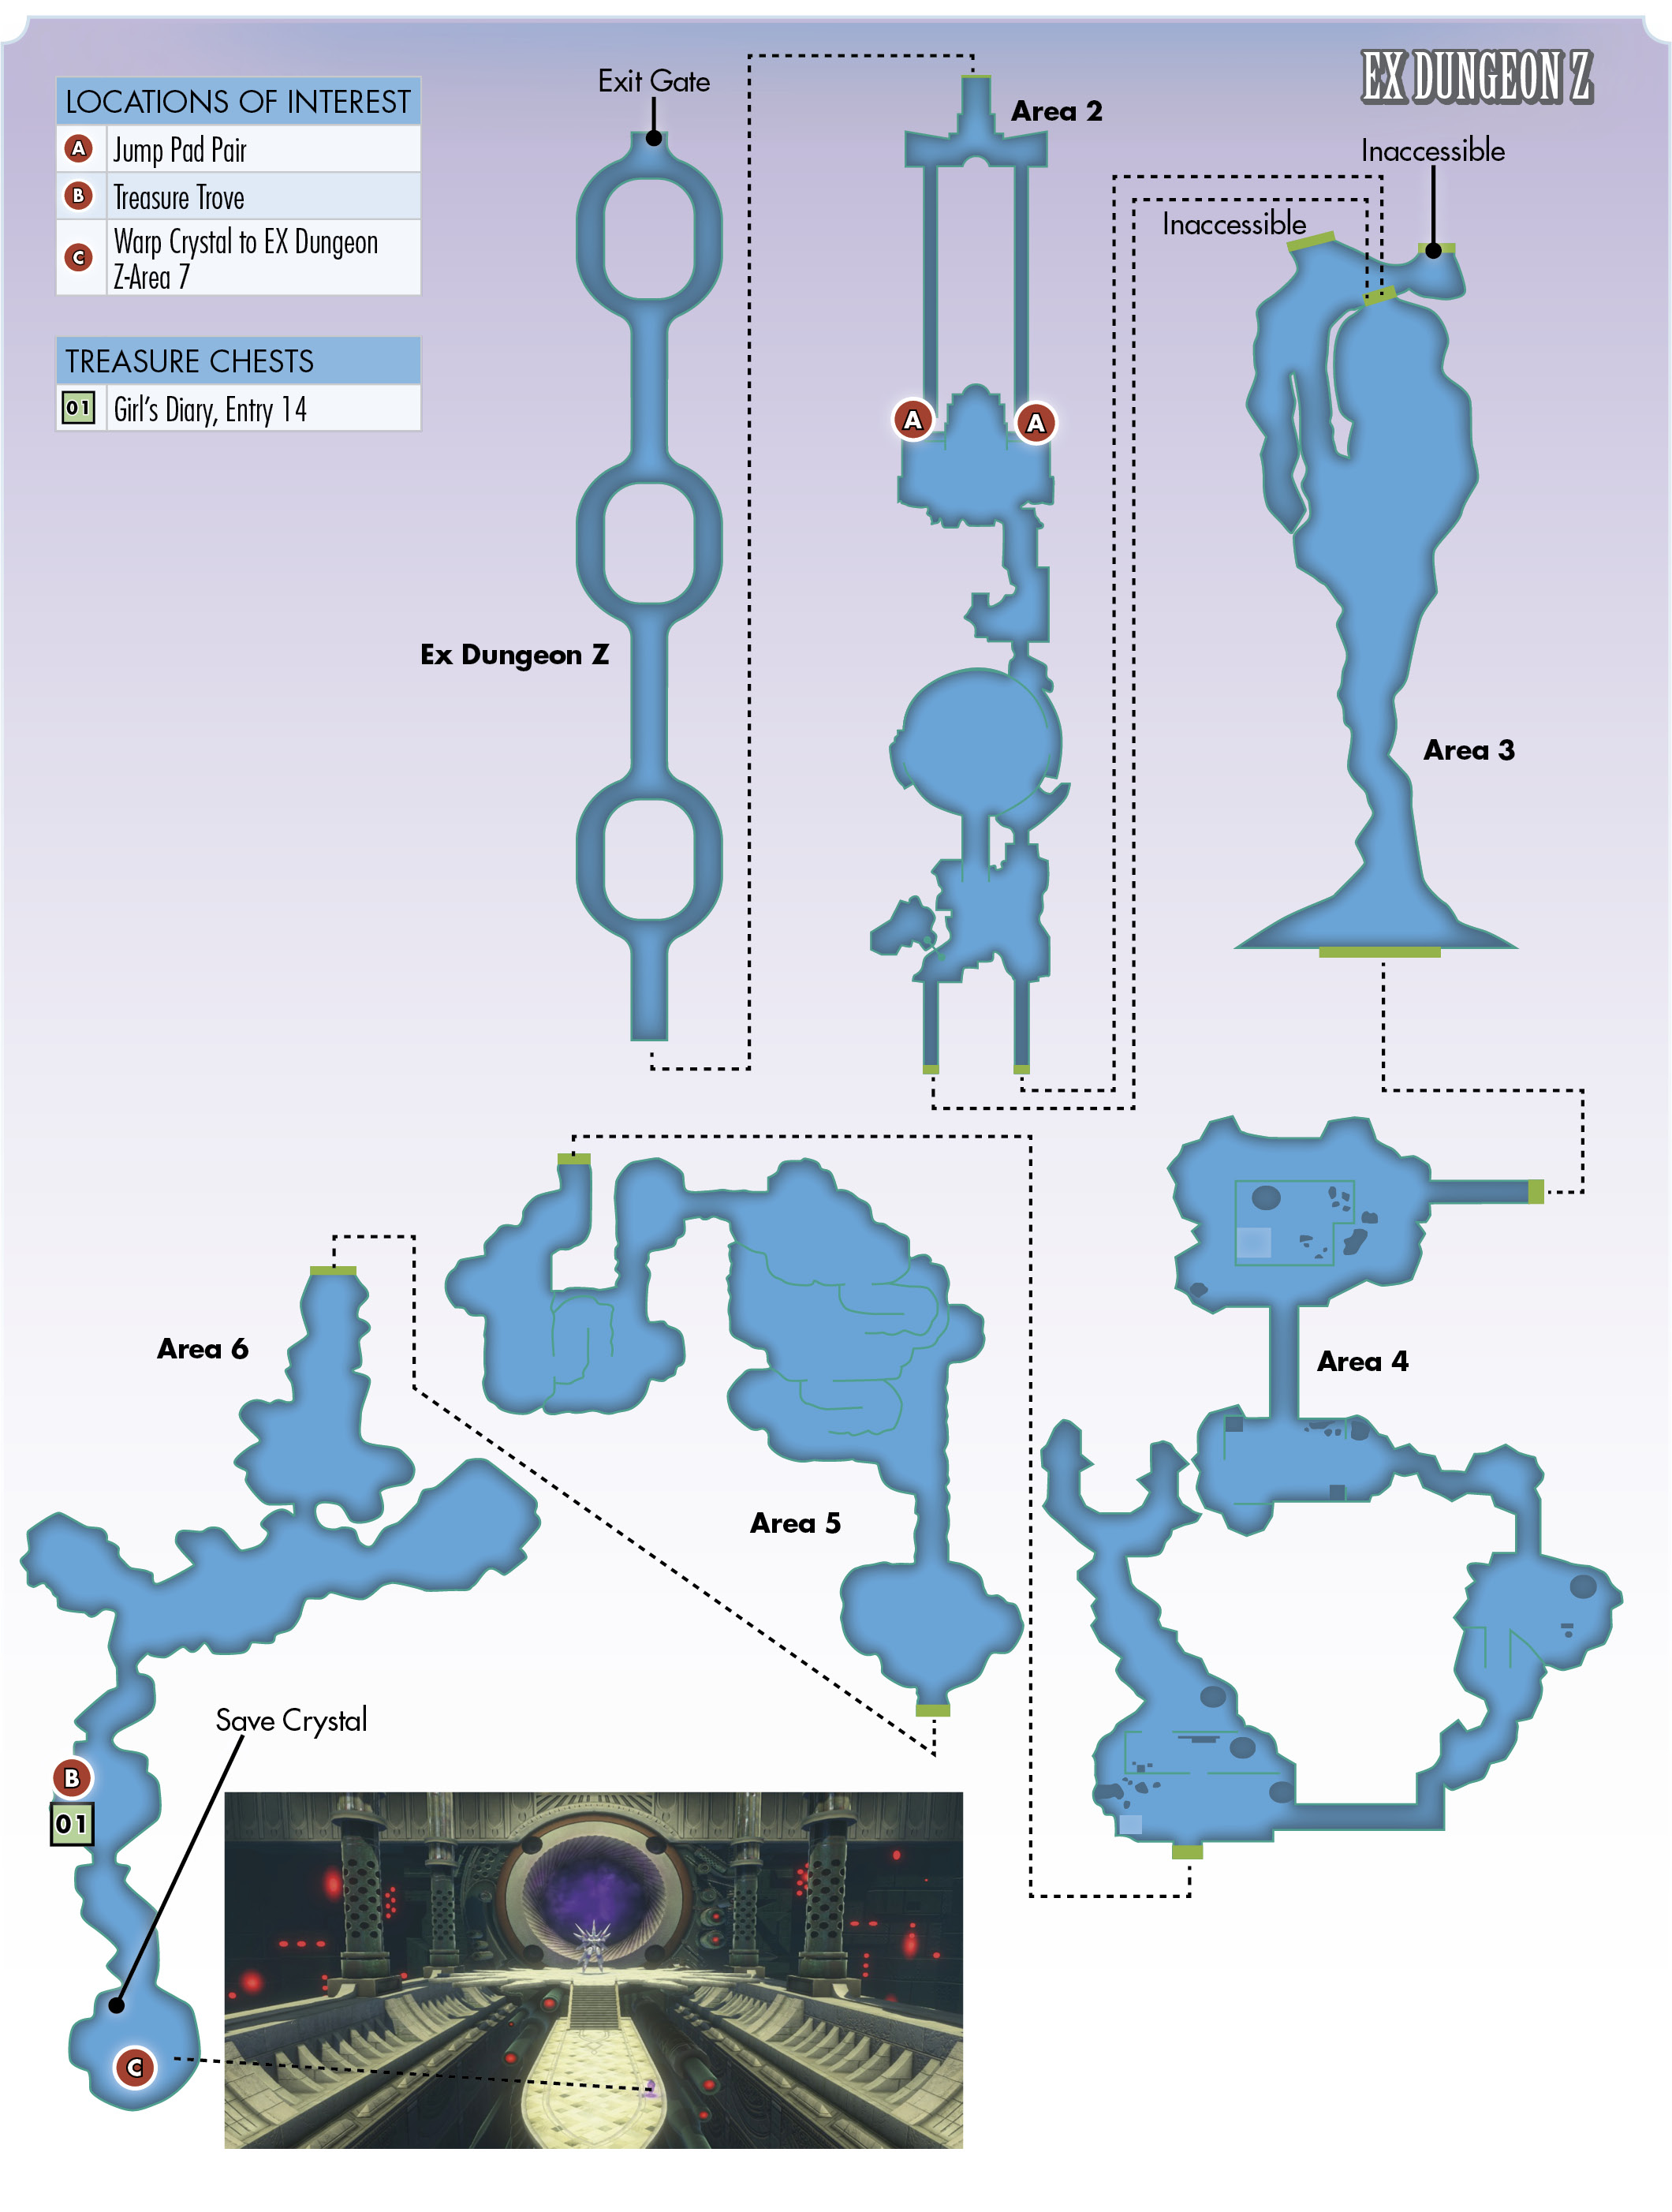
Area and Encounter Details
EX Dungeon Z is unlocked after the previous three dungeons are completed (more specifically, when you have defeated the gleefrit stack, rairamuh stack, and shivver stack once). The door appears to the far left of the row of mysterious doors in the Girl’s Tearoom.

This dungeon is, by far, the most difficult to climb in terms of enemy power levels. Expect to face several types of foes, many of which come in stacks, and with varying weaknesses. However, there are no treasure chests to collect, except one in the sixth area. The Save Crystal is also in the sixth area, so this voyage can be arduous, considering the vast amount of adversaries you’re sure to face. If you want to get through this easily, you can equip Reynn or Lann with a Stealth mirajewel and bring along a black chocobo with the Flee passive. Just make a beeline to the final floor while issuing the Escape command when you’re forced into a random encounter.
Otherwise, if you’re opting to fight your way up, prepare thoroughly by bringing a copious amount of consumables like hi-potions, hi-ethers, status ailment curatives, and Seraphones.
It can be difficult to prepare your stacks with the proper elemental resistance for each area, considering there are so many to get through. However, as mentioned at the beginning of this chapter, the Death ability is highly recommended for these dungeons, and this final dungeon is no exception. Having Death can singlehandedly win encounters simply because most stacks of Mirages are susceptible to it.


The first area of EX Dungeon Z is a straightforward run down one of the chainroads to the opposite end to the south.
The second area is inhabited by enemies like mythril giants and kuza kits, so having wind and thunder spells helps. Climb down the tower and cross the familiar arena. Area 3 is accessed through either of the two exits leading out south of this area.
The enemies in Area 3 are weak to water damage, but this area is especially small, so you may not even encounter an adversary here. The exit is south from your starting point (toward the foreground).
The next area is much larger, and most of the enemies are weak to water. Your destination is at the bottom of the fifth flight of stairs, to the south (relative to the provided map).
Area 5 is filled with gnome and golem stacks, so thunder and wind are strong elements to use here. Your path is a relatively linear one. Follow the descending ramps to reach the exit.
The sixth area is the last area with random encounters, and if you can recall, this map is Wellspring Woods (the very first dungeon in the main story). This area is small, and some of the enemy combinations here are easy compared to the others (sometimes you fight six chocochicks, sometimes a kraken with a posse of sea monsters).
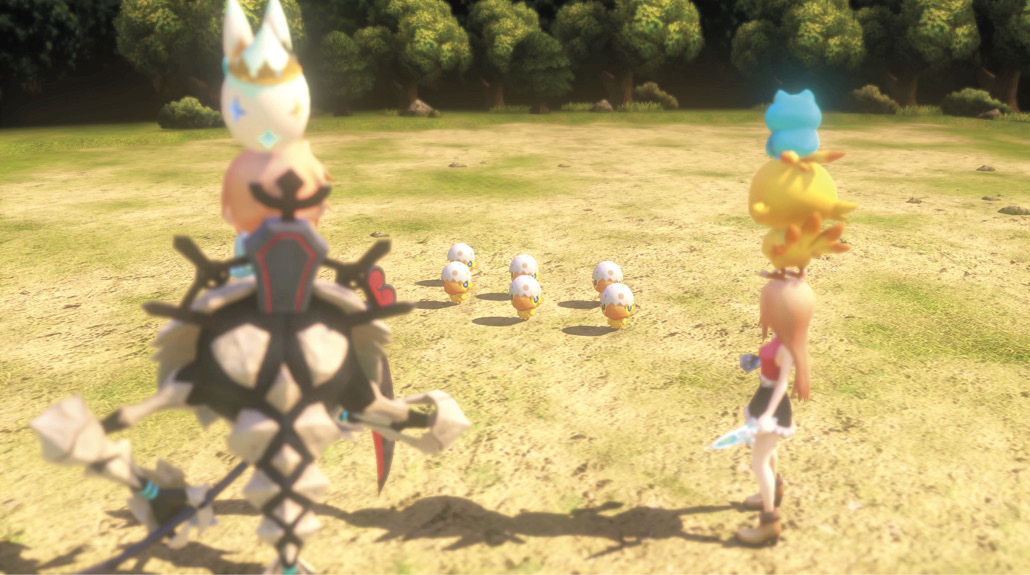
Your goal is to get to the southwest portion of the map. On the way is a Treasure Trove (the same one you find a lusterleaf in). Next to the Treasure Trove is a treasure chest with Girl’s Diary, Entry 14 inside. Then, south from there is the Save Crystal and a warp crystal to the final area of EX Dungeon Z. Of course, you should save your progress here before activating the warp crystal.
Encounters List
Area 1:
- 3 x Magna Roader (purple), 2 x Security Eye
- (Ghidra + Lead Gnome + Manticore)
- 2 x (Minotaur + Lead Gnome), Minotaur, Lead Gnome
- Tiamat, Sylph, Trihyde, Moogle
Area 2:
- 3 x (Kuza Kit + Baby Tonberry)
- 2 x Mythril Giant, 3 x Brothertaur
- (Mythril Giant + Brothertaur + Baby Tonberry)
Area 3:
- 3 x Chocobo
- 2 x (Memecoleous + Sandicore), Memecoleous, Sandicore
- Memecoleous, Nut Eater, Sandicore
Area 4:
- 3 x Black Nakk, (Goblin Guard + Mandragora)
- Asterius, Memecoleous, Sandicore, Copper Gnome, Mordskull
- 3 x Red Cap, 2 x Goblin Guard
- Goblin Guard, 2 x Goblin, Red Cap, (Red Captain + Mandragora)
Area 5:
- 3 x (Copper Gnome, Mini Golem)
- (Copper Gnome + Mini Golem), 3 x Mandragora
- (Copper Gnome + Mini Golem), 3 x Floating Eye
Area 6:
- (Behemoth + Babyhemoth + Chocochick), 2 x Mu
- 6 x Chocochick
- Kraken, Sharqual, Nightsqual, Sea Snake, Sea Serpent
- 6 x Mu
Area 7:
Boss: XG
Boss Battle: XG

The ultimate boss of the post-ending content is a Cogna from another dimension called XG (you might be able to guess what it is and what XG stands for if you’re a fan of older Square Enix games). To start, it’s advisable that your average party level is at least 75 to 80 and that you have access to Protect and Haste, as well as several wobblestoppers, phoenix pinions, and hi-ethers. Hopefully you’ve been saving your mega potions and megalixirs for this epic encounter. They definitely come in handy for the latter portions of the battle.
XG’s magic and defense ratings are extremely high. For reference, XG has close to 100,000 HP, and you need around 1300 Strength for your normal attack to deal 600 to 700 damage. Expect a relatively lengthy battle.
It has access to three devastating elemental attacks: Flaming Hell, Raigeki, and Kishin. Its dark attack, Kishin, is the most dangerous, so building your stacks to have at least 100 dark resistance each is almost a necessity (being able to absorb it completely makes this encounter much easier).
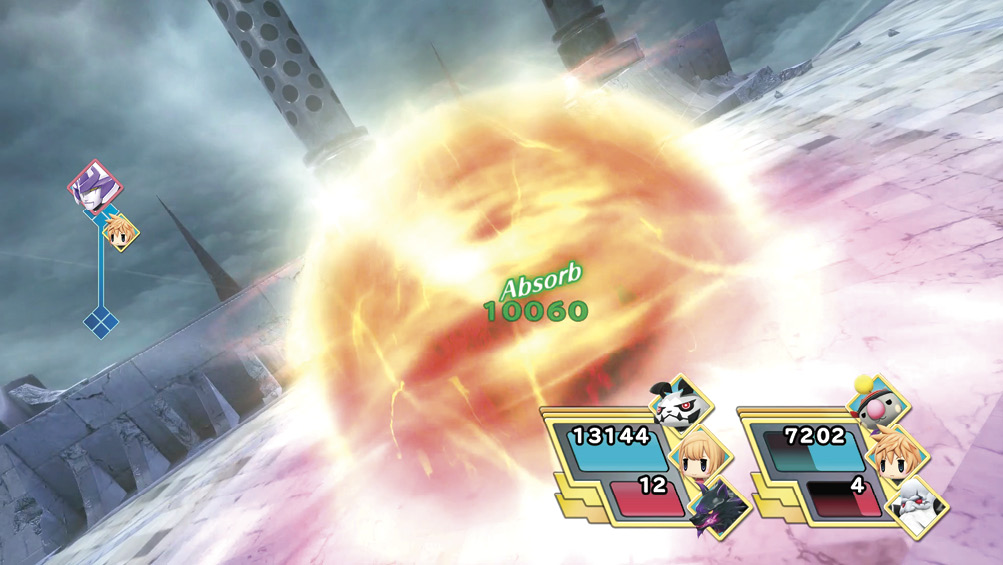
If XG’s Kishin attack scores a critical hit on a stack without a positive dark resistance, it can deal up to 20,000 damage! This can instantly end the battle.
Its other two elemental attacks are less devastating, but they still pack a mean punch. Flaming Hell deals magic fire damage to all of your party members. It can be reflected, but it’s usually not worth casting Reflect on your party since you can’t reflect Kishin or Raigeki (while unable to cast Cura or Curaga on your Reflected allies).
Raigeki is a single-target, physical, thunder-based ability. Although it’s not completely necessary to add both fire and thunder resistance to your stacks, you should aim to at least not be vulnerable to either element. It’s also highly recommended that you have access to Protect (with Protect stones, preferably) to mitigate the damage from XG’s physical attacks. Shell is optional but does help against Flaming Hell if you aren’t particularly fire resistant.
The following is a strong sample party build for XG:
A weeglee, a Lilikin-form Mirage Keeper, and an elefenrir for one stack. For the second stack, a kupicaroon (or joult), the other twin in Lilikin form, and a rairamuh.


This should leave you with high resistance ratings against XG’s special abilities and enough absorption to heal you fully when it uses Kishin.
As long as your stacks are enhanced with Protect, are absorbing incoming dark damage, and are resilient to thunder and fire, this encounter is entirely manageable for a Level 75-80 party. You should be able to heal through most of the physical, fire, and thunder damage coming through with Curaga and Cura. Keep your party members sped up with Haste, and chip away at XG with your strongest attacks. It’s not weak to anything in particular, but a Bravery-boosted Kuparrr! ability can dish out a lot of damage since it’s extremely AP-efficient against single enemies. You can opt to swap out kupicaroon with a more fire-resistant Mirage for better survivability, though.
Additionally, strategic use of Champion Gauge can help significantly when used at the beginning of the encounter. The Warrior of Light summon provides one instance of Defense  , up to a total of three. In conjunction with Protect, this should give you adequate survivability against XG’s physical attacks, especially when its HP is low. You can use other medals, too, depending on your strategy.
As you inflict more damage to XG, its strength increases, so its physical-based abilities like Raigeki, Kishin, and normal attack damage increase throughout the fight. It’s imperative that you keep Protect and healing your party up to full throughout. One mistake can cause an unrecoverable snowball effect if you don’t have a mega phoenix available. An alternate method is to save your Champion Gauge for the last 30% or so and unleash as much damage as possible in a short time frame. Summoning Tifa three times in a row can be very effective and (for the most part) ensures victory if XG has around 30,000 HP left. If XG is still alive, you have Strength  x 3 applied to your party, so you should be able to finish it off.
Defeating the Cogna rewards you with Girl’s Diary, Entry 15 (the final entry) and an XG eldbox. An Exit Gate appears after the battle, which you can use to get back home. Congratulations on completing the EX dungeons!
Alternative Party Compositions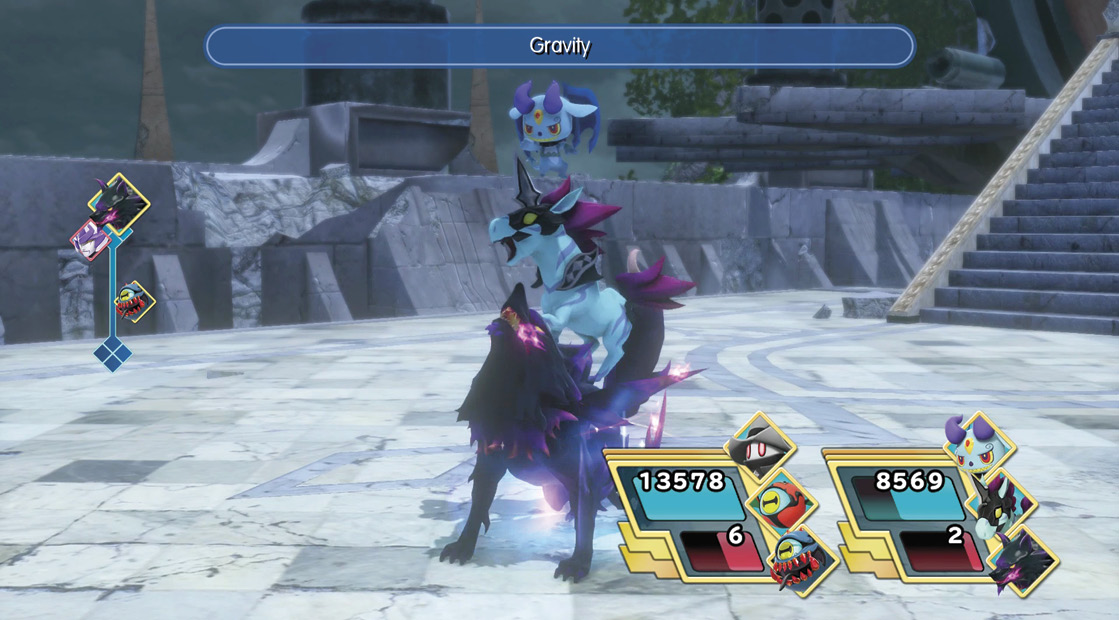 With the help of the comprehensive tools (like elemental resistance stacking, ability seeds, resistance seeds, mirajewels, etc.), there are a plethora of builds and setups you can develop in order to overcome difficult encounters in the game. Your party compositions can be so efficient that you can trivialize even the most challenging encounters. 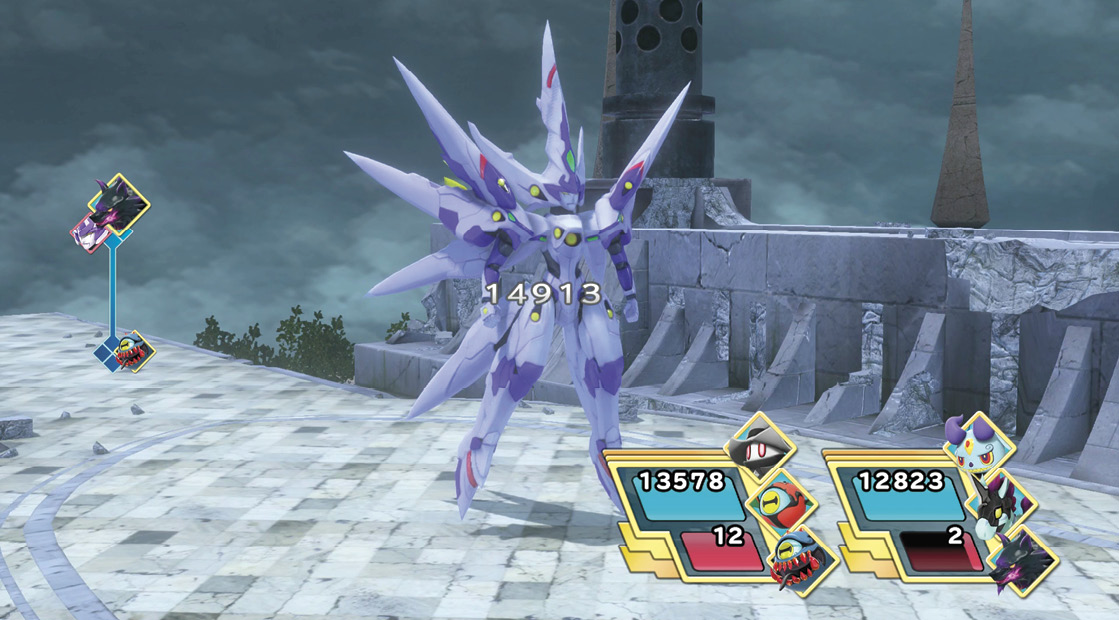 The following is a sample setup you can try out if you’re having trouble with the EX dungeons content (particularly, the bosses). This setup primarily revolves around Mirages that can be obtained much earlier in the story and effectively using ability resistance seeds (which can be purchased from the Girl). Stack one: joult, blood eye, and buer. Bolster this stack with two Fire Resistance+ seeds, a Cura seed, a Curaga seed, a Blizzaga seed, and a Protect seed. Stack two: imp, nightmare, and elefenrir. Buy two Thunder Resistance+ seeds for this stack and then fill in the rest of the Blank Spaces with essentially anything you want. This party composition possesses everything you need to defeat the bosses of EX Dungeon B and C since they have high-strength topple abilities—Misdirection, Helldiver, and Lunge. Additionally, these stacks have access to Firaga (for the rairamuh stack) and blizzaga (for the gleefrit stack), so you should have no problem with follow-up damage after toppling these two enemy stacks. This party build is essentially built to destroy XG. The first stack (with the buer base), is used to support the second stack by keeping magical enhancements on the team while the second stack, the one containing a nightmare Mirage, is used to repeatedly cast Gravity on XG.  Since your elemental resistance makeup is fine-tuned for this encounter, incoming damage is practically negated and often absorbed, with any damage coming through easily healed with Cura and Curaga. The only remaining threat is becoming toppled by physical attacks, so be sure to use wobblestoppers when your stacks are in danger of collapsing. |