
Dragon Age: Origins Guide Walkthrough Walkthrough
Broken Circle
Lake Calenhad Docks
A. You begin your quest for the mages' help here at the Lake Calenhad Docks. It's a small area serving as a bridge between the mainland and the mages' Circle Tower.
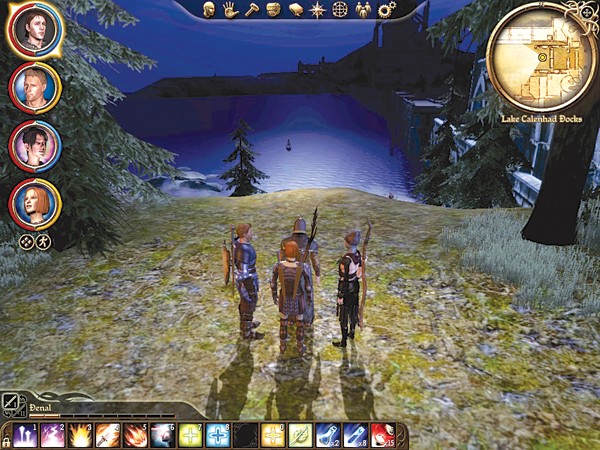
Check out the Mages' Collective if you're working on those side quests, and visit the Spoiled Princess inn to replenish supplies (the innkeeper also has information on Brother Genitivi for the "Urn of Sacred Ashes" quest line).
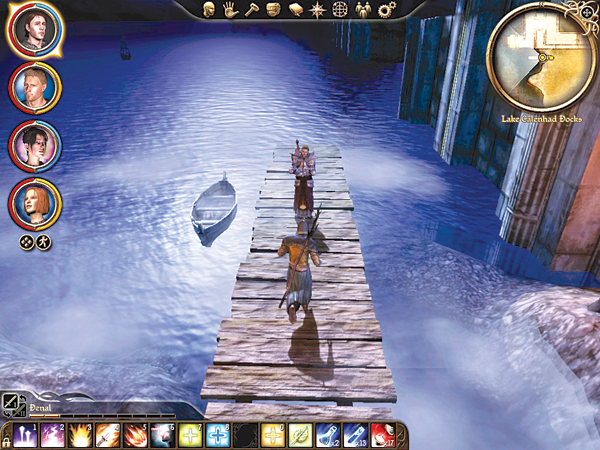
B. Speak with Carroll. He takes a bit of convincing to let you ferry across to the Circle Tower. If you have a high Persuade skill, you can ask about his superiors and he will let you in, or you can try to intimidate him by saying your patience is wearing thin. If you fail at one option, you will always succeed on the other. Also, if you try to work something out with Carroll, he will let you in if you have Sten, Morrigan, or Leliana in your party. Once you get him to agree to let you pass, you begin the main quest line in the tower.
The Circle Tower (First Floor)
A. When you arrive at the Circle Tower, Greagoir greets you and explains that the templars have lost control of the tower and it's now overrun by demons. He will grant you permission to enter the tower, but warns that once you do, there is no turning back. Check in the vase to your left for loot, and visit the quartermaster for your last chance to stock up your inventory before your tower adventure.
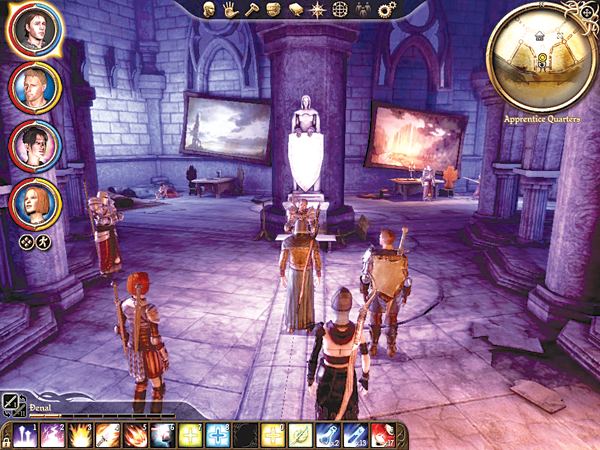
B. Leave the entry chamber through the east door and head up the hallway to the next door. If you want to do the "Watchguard of the Reaching" side quest, pick up the first two parts in the apprentice's chests in the rooms to your right (and open two locked chests if you have a competent rogue). You meet Wynne when you enter the room with the stairs heading down into the basement, which you don't have to bother with for the main quest line. Offer to help her rectify the tower situation and Wynne will join your party. It's worth dropping one of your current members for Wynne to give you much more healing power.
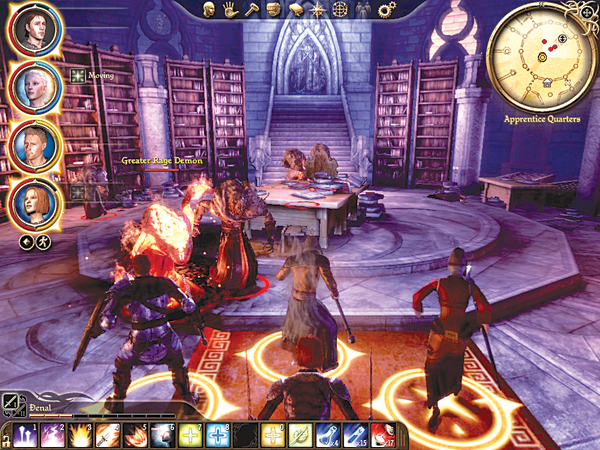
C. Fight through to the center of the level. Here you'll spot a handful of abominations and the much tougher greater rage demon. Pick off the abominations as quickly as you can, then have the party focus on the greater rage demon. Alistair, or another tank, should engage the greater rage demon and hold its attention so it doesn't rip into a mage or rogue and slay them before you can blink. You may consider playing Wynne for most of the fight, with one finger on the Group Heal to give a crucial health boost when multiple members get roughed up. At battle's end, collect your loot and head up the stairs to the second level.
The Circle Tower (Second Floor)
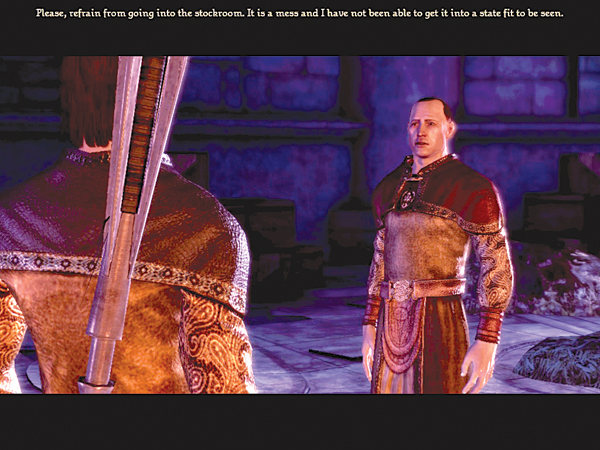
A. As soon as you enter the second floor you'll meet up with Owain. He's hiding out in the stockroom and mentions that Niall is out there somewhere trying to put a stop to the demon mess. Grab the loot in the area and exit through the southeast doorway. Prepare for more fighting ahead.
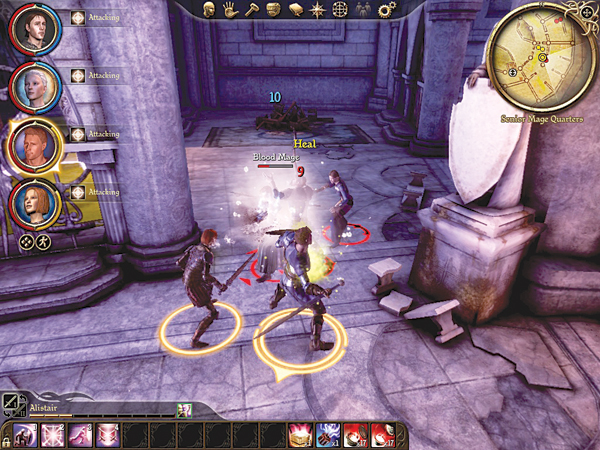
B. In the hallway beyond Owain's room, the way is blocked by a magical barrier. Three blood mages have erected the barrier, and you will have to battle them to dissipate it. At the end of the fight, the last blood mage will beg for mercy. It's your choice whether you want to put her to the sword (combat continues) or show mercy and let her escape.
C. Circle counterclockwise around the hallway to reach the third floor stairs on the far end. The outer rooms are filled with mobs and treasure, if you are so inclined to partake in some hack-and-slash for reward. You can run down the hall for a quick escape; however, watch out for opening doors, especially at the shambling corpses location (marked square 3 on the map).
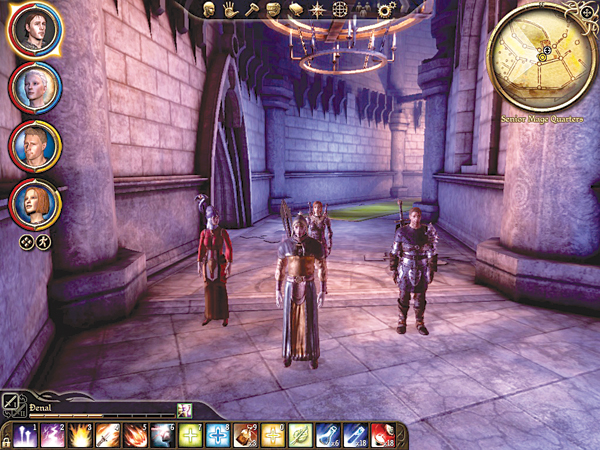
The Circle Tower (Third Floor)
A. You have reached the third floor. Take a moment to collect your thoughts, and if you have a rogue in the party, open the chest out of sight behind the center pillar.
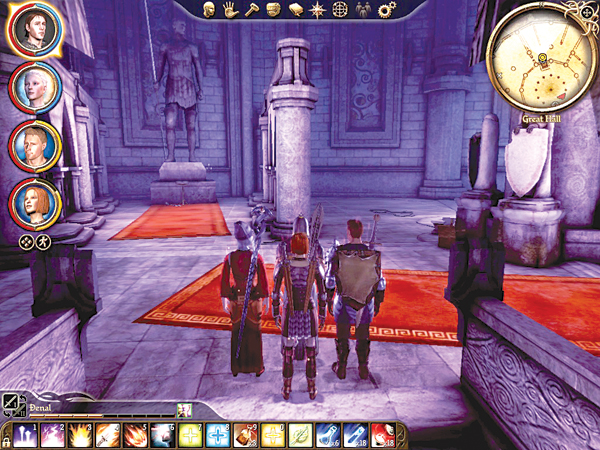
B. All looks peaceful in the second room. Dead bodies on the floor, overturned furniture, a few loot items—you've seen this before in lots of other tower rooms. Except, this one is a trap. When you cross the halfway point (marked diamond B on the map), hordes of corpses animate and you have a large-scale battle all around you. Your tank should grab as much threat as possible, and healers should retreat to the entry doorway. Battle back to the entry if the corpses start to flank you. When the first wave ends, a second will begin almost immediately. Continue taking down corpses and watch for the appearance of an arcane horror near the exit doorway on the far side of the room. Once the arcane horror shows up, concentrate long-range damage on it; you can't let the thing casts spells on you or the group can die in seconds. When the tank cleans up all the corpses, send him at the arcane horror for the finishing blows.
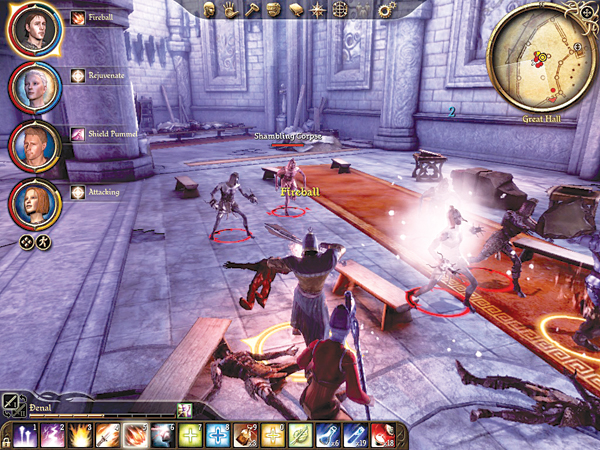
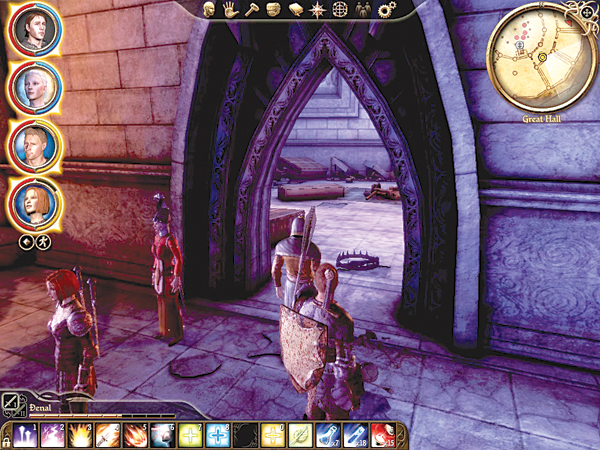
C. On the other side of this closed door lies a hidden bear trap. If you have a rogue, see if you can avoid the trap; otherwise, it will pin anyone who steps on it, which is usually your warrior charging into battle. If someone gets trapped, lure the mobs back toward the doorway and fight them there. Once in the chamber, you have plenty of room to out-flank the abominations. Eventually, lesser rage demons will show up as reinforcements from the exit doorway on the opposite side of the room.
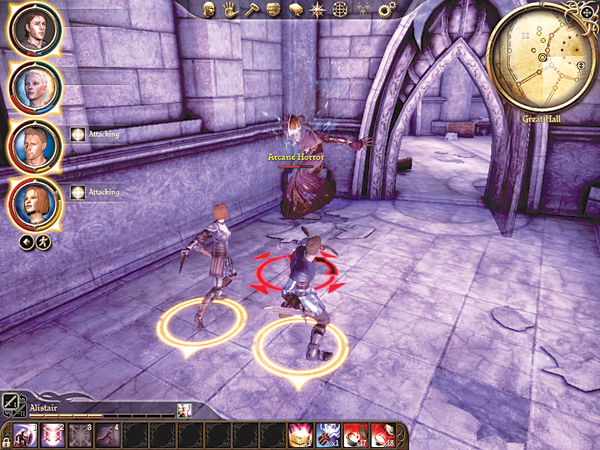
D. Beware of another bear trap in front of the possessed templars' door. Sidestep it or disarm it if you can. Defeat the templars and collect extra loot from pile of books and closet inside.
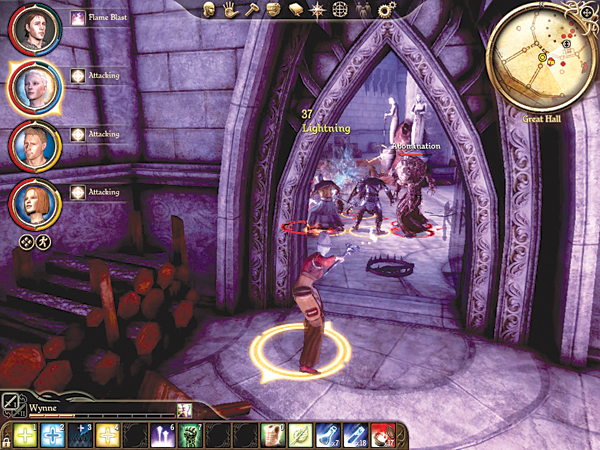
E. In the center chamber where some ungodly acts have taken place, battle the abomination, skeletons, and lesser shades to finally win the fourth floor stairs. A few ranged spells and arrows can take out the skeletons. The lesser shades battle alongside the abomination. Concentrate party fire on one lesser shade at a time until they both fall, then switch attention to the abomination. Keep a constant flow of healing going; it's a long fight. At the end, look for some loot in the shadowy corner of the room. There's also a statue near the center. Be careful: it burns you for damage whenever you interact with it unless you have activated the other items in the "Watchguard of the Reaching" side quest (see the Side Quests chapter for more info).
The Circle Tower (Fourth Floor)
A. You've made it to the fourth level. The staircase lies in the south and you must weave through the chamber to reach the northern portion. Rest up here if you're not at full strength.
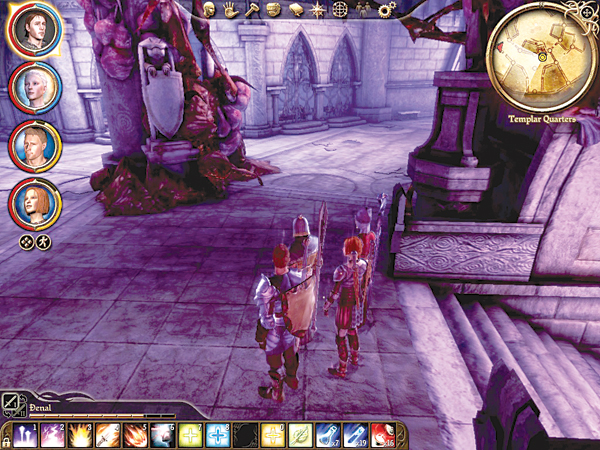
B. The two mobs on the side passage are optional, but they do provide some good experience and loot. In the first room, a desire demon has enslaved a templar and perverts his dreams. The fight can be a tough one if you don't coordinate your troops well. To trigger the encounter, you have to fully enter the room, so no long-range bombing with a Fireball or anything like that.
The templar hits hard, so make sure the tank locks on to him. The rest of the party should concentrate on the desire demon. A couple of shambling corpses animate as well. Pick them off as you see opportunities.
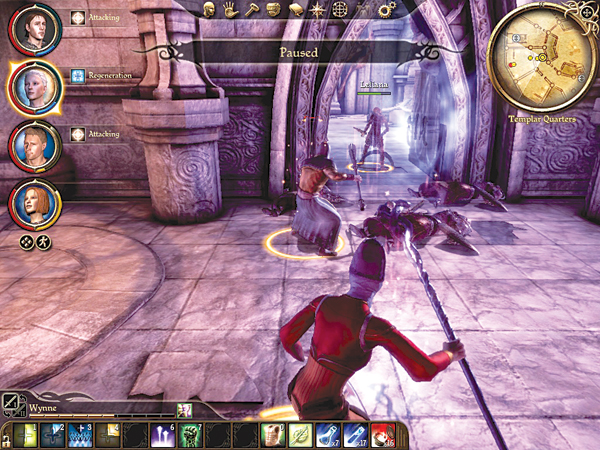
A blood mage and his enthralled templars camp out in the next room. Watch out for the bear trap at the entrance, and take out the blood mage first if you can bash through the templars. If you leave the blood mage alone, he will pepper the party with Fireballs and Arcane Bolts, and someone is bound to go down.
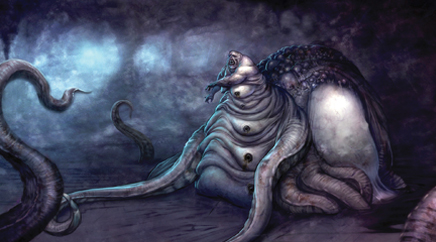
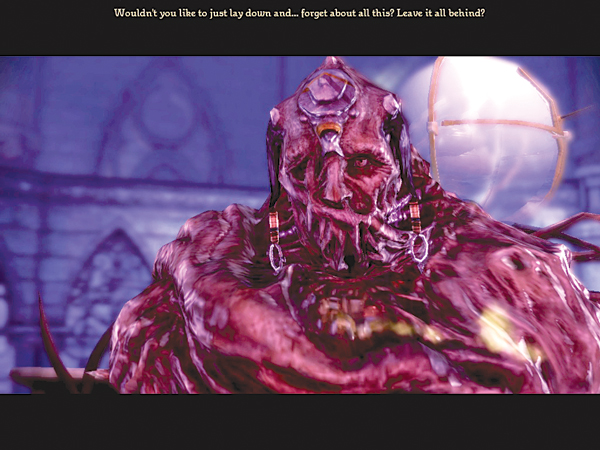
C. When you enter the central chamber, you confront the nasty looking demon Sloth. He puts you to sleep and casts you into the demon dream world, the Fade. There's nothing you can do about it, except to escape the Fade through a series of difficult trials.
The Fade (Weisshaupt)
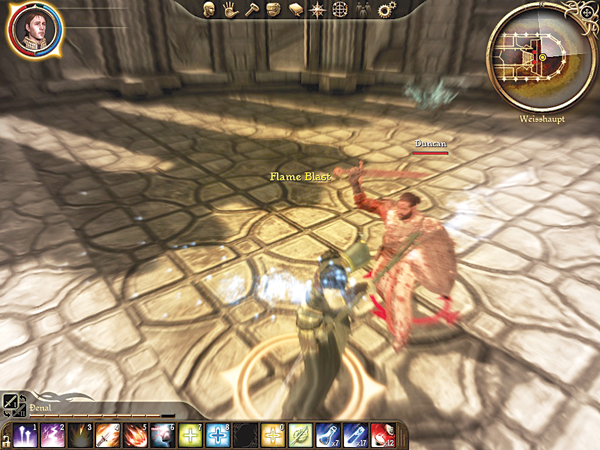
A . Sloth puts you into a dream sleep and you fall into the Fade. To overcome Sloth's magic, you must wander through the Fade in search of your missing companions. You begin in Weisshaupt, the ancient Grey Warden fortress. Walk down the aisle to the end of the chamber where an illusionary Duncan awaits.
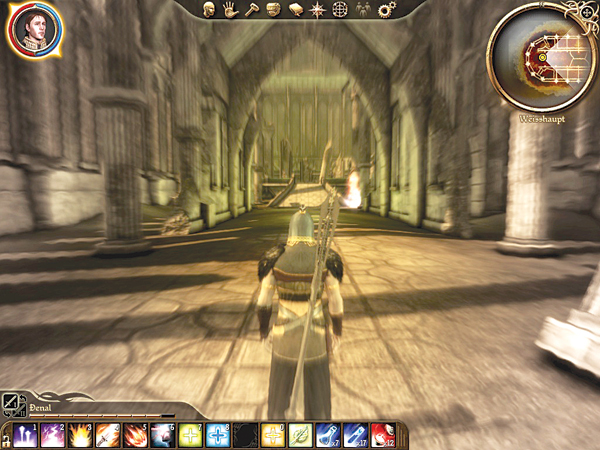
B. The fake Duncan tries to convince you to retire and stay with him, but your dialogue choices will see through the illusion. As the battle begins, the two wardens you passed join in to defeat you. Duncan hits harder, so stay on him with your melee attacks or spells until he drops. Pop a health poultice or cast a Heal after defeating Duncan, then turn your attention on the two wardens. Talents such as Dirty Fighting or spells such as Mind Blast can buy you the time you need by stunning one (or both!) while you finish off the second.
When you click on the Fade Pedestal that appears once you defeat Duncan, the Fade map will appear. You are at the top in Weisshaupt Fortress. You eventually want to get to the middle: the Inner Sanctum. Your followers are trapped along the outer edges in "A Nightmare" locations. There are five Fade islands that separate you from your followers and, if you complete all of them, the Inner Sanctum. The main Fade locations are the Raw Fade, Darkspawn Invasion, Templar's Nightmare, Mage Asunder, Burning Tower.
You can navigate from one to the next, and if you reach A Nightmare, you can set one of your companions free. Note that they won't join you until after you exit the Fade to fight Sloth; you can skip freeing a follower, but they will not be available then for the fight against Sloth. See the following Fade sections for the most advantageous paths to your followers and the Inner Sanctum.
The Raw Fade
A. When you first arrive in the Raw Fade, speak with Niall. He explains that he's been trapped in the Fade and that you must defeat the obstacles on the various islands in the Fade to eventually escape. Leave this first area through the Fade Portal to the east.
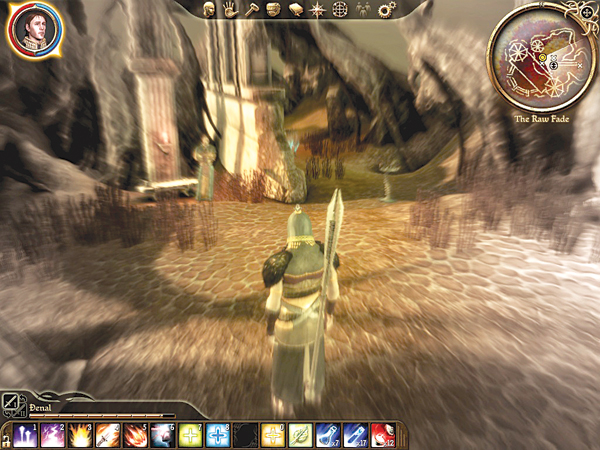
B. You teleport into the middle of a battle against a rage demon and a mouse. Defeat the rage demon. It shouldn't be too difficult one on one. When you speak with the mouse, you realize he's dying, but not before he imparts mouse form, the first of four shapeshifting forms you'll gain in the Fade. You can use mouse form for stealth and slipping in and out of mouse hole shortcuts. Take the nearby mouse hole to the next Fade section.
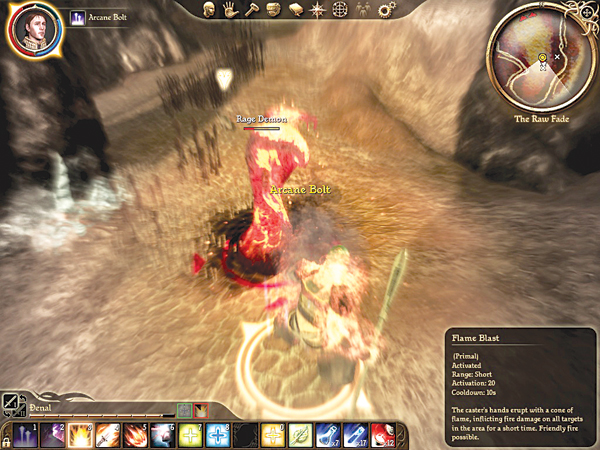
C. Stay in mouse form if you want to sneak around the lesser rage demon for better position. If you proceed cautiously, you can reach your maximum range and pick off the rage demon with ranged attacks in your true form. After slaying the demon, combat ends and you can use the Fade Portal nearby.
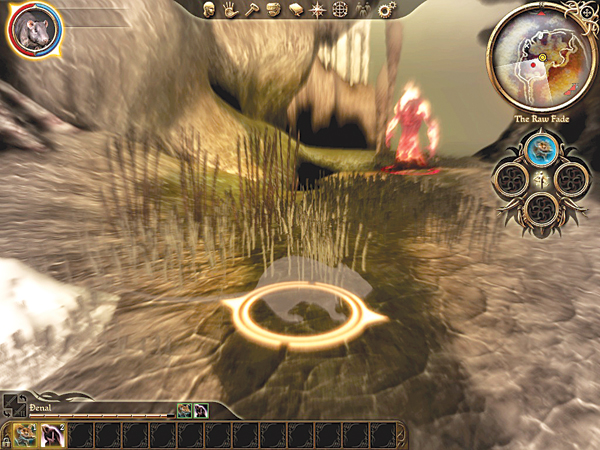
D. You battle a series of three demons as you progress down this L-shaped area. Rest after each one to fully heal back up, and replenish with a lyrium vein halfway to the next Fade Portal.
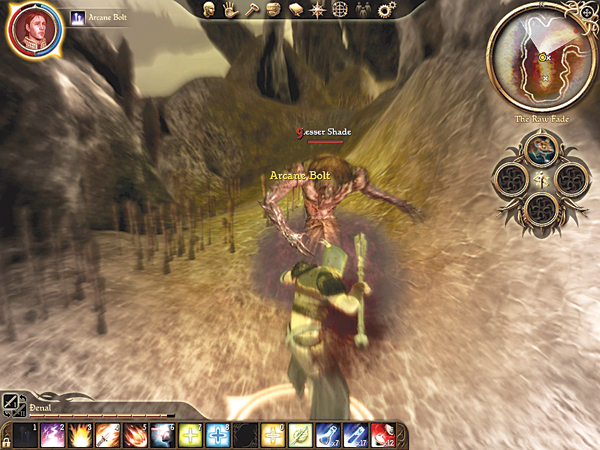
E. Return to the original area with Niall. Speak with him and tell him about your adventures in mouse form.He suggests gaining other forms, and the Fade Pedestal next to him opens again and you can reach any of the other four main islands. After you gain spirit form from the Darkspawn Invasion island, you can return to the Raw Fade to battle Yevena in the final area (marked diamond F on the map).
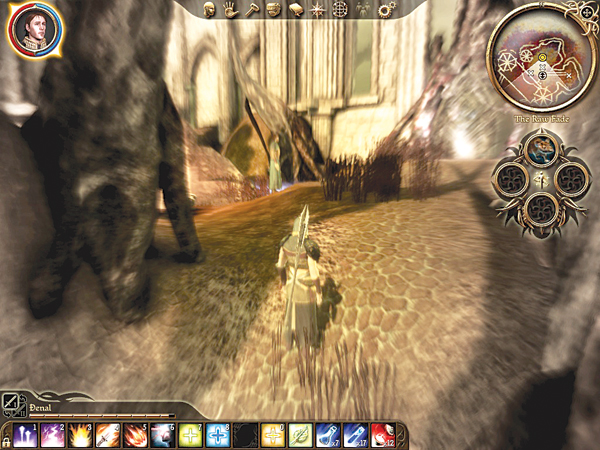
F. Return from the Darkspawn Invasion and enter the spirit door adjacent to you when you arrive. The spirit door puts you smack dab in the middle of combat with Yevena and her two shades. In spirit form, throw Crushing Prison on Yevena and hurl Winter's Grasp at each shade until it perishes. Before Yevena reaches you, cast Regeneration on yourself and then attack her with Winter's Grasps when they're available or slip back into your class form and pound her with your normal talents or spells. One major demon is down, although there are a lot more to go. Don't forget the essence of willpower in the corner before you leave.
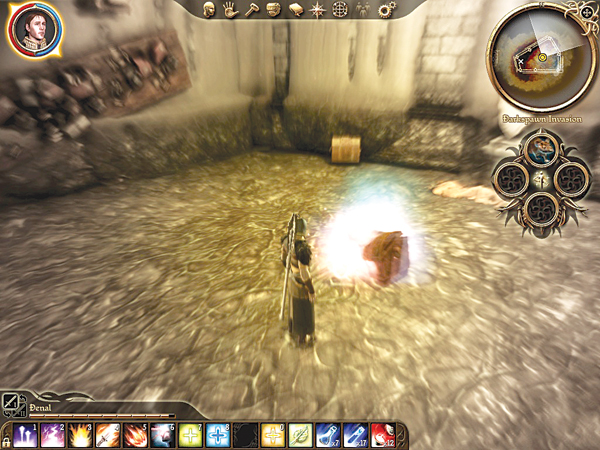
A. You start on this island in a nearly empty room to the south. Take the mouse hole in the northeast corner and follow the next passage straight to the end. Enter a second mouse hole and you’ll pop up in an isolated room with the essence of cunning. Click on the essence of cunning to gain +1 cunning permanently. Return to the corridor you just came from. You can either turn right for a shortcut mouse hole to advance farther into the dungeon, or you can return to the original room and exit via the main door.
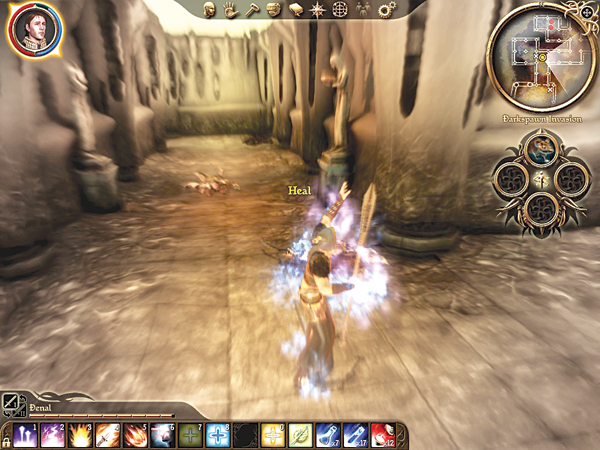
B . If you skip the mouse hole shortcut, you've set your heart on some fighting. However, you will be forced to return to the mouse holes eventually (unless you already have the burning man form). Around the first turn, prepare for a group of hurlocks to your right and a genlock alpha behind them.
A long-range Fireball or large AoE spell will whittle them down in no time. If you’re hacking through them, lure them back to the first corner and battle there. You may avoid pulling the genlock alpha; it’s better to fight them separately than together. Around the second turn, prepare for more hurlocks and genlocks. To the right of the lyrium vein, you encounter a fire barrier. This forces you to take the mouse holes leading from the entry room.
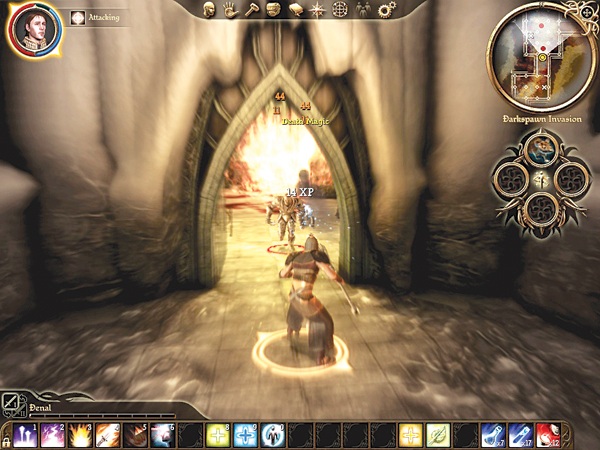
C. If you take the mouse hole shortcut, you appear next to two flaming darkspawn. Return to your true form to dispatch them. You can hide behind the room's pillar as you do so to avoid alerting them to your immediate presence. In the next room, you face a hurlock emissary and some lackeys.
Don't let the emissary heave spells at you. If you're a warrior or rogue, charge at the emissary and take it down first. If you're a mage, hurl a Fireball through the doorway or crush the emissary with an AoE spell that will also hit his hurlock buddies. You must choose the mouse hole on the west wall if you don't have burning man form yet.
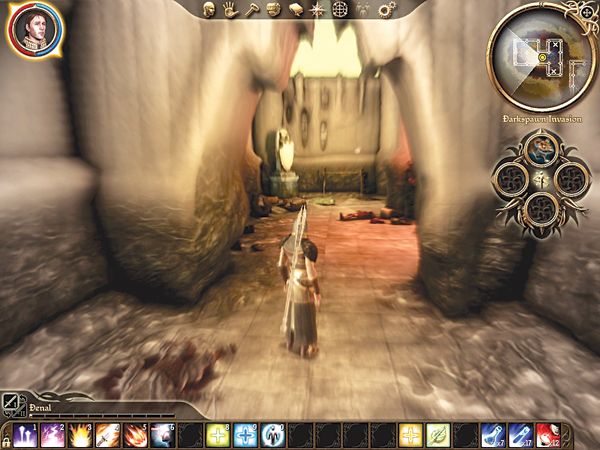
D . Take the mouse hole shortcut through this small area. A trio of genlocks will challenge you from the left as you pass into the open, heading for the next mouse hole. Cut them down and continue.
E . In this large chamber you see the Templar Spirit. As you approach, darkspawn spirits besiege him, and it's up to you to bail him out. Help the Templar Spirit slay the evil spirits and he will grant you spirit form. Use the Fade Pedestal to go to the next Fade island on your circuit: the Burning Tower.
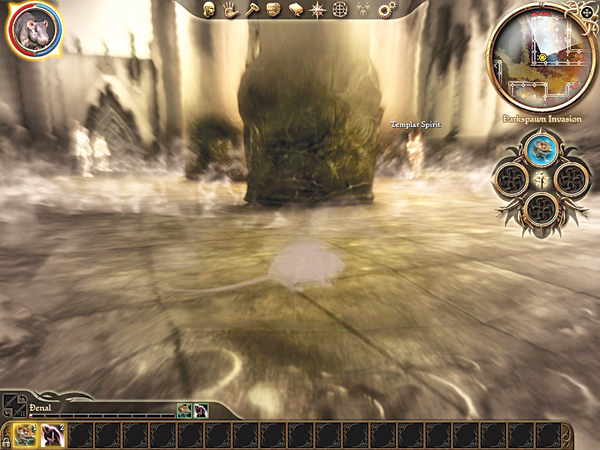
Once you return to this chamber after gaining golem form in Mage Asunder, smash open the massive door in your new uber form. Stay in golem form for the rest of the level, unless you need to drop out for some healing. The next room is a huge area, with lots of genlocks, hurlocks, and a mean darkspawn emissary. Fortunately, in golem form, you have great crowd control with Quake and Hurl. When the enemies swarm you, knock them off their feet with Quake. The first to stand up gets a Slam, then the next gets a Hurl. Slam the darkspawn emissary when it gets close and keep pummeling until the thing dies.
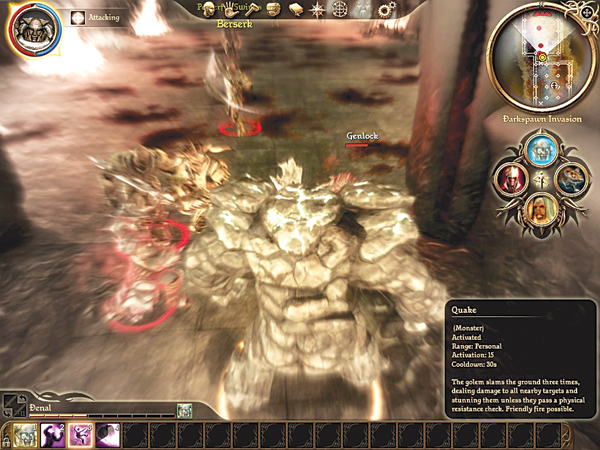
In the final room, you go up against the ogre Uthkiel the Crusher. It's a great slugfest with your golem form. Alternate Quake and Hurl to stun Uthkiel, then smack it with a Slam as soon as it's ready to go. It might take longer than the average battle, but it's lots of fun to trade punches with another big monster. When you finish off Uthkiel, head to the Burning Tower to complete that island next.
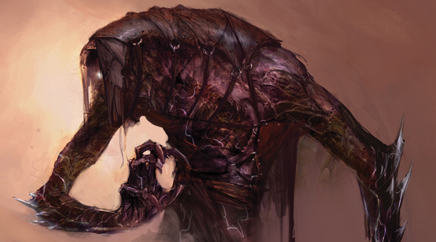
Burning Tower
A. You begin at the south end of the Burning Tower. Change into mouse form and go through the hole to the west. You crawl into a small, self-contained room with an essence of cunning within. Gain your +1 cunning and return to the original room. Change back into your true form and open the door out into the corridor.
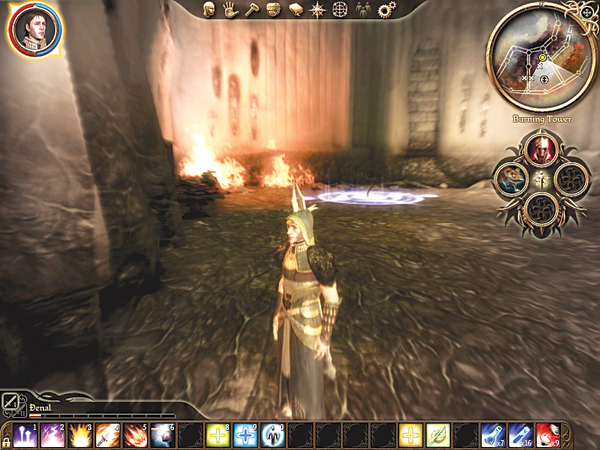
B . Continue down the corridor to the second door on the right. You can open the first door on the right if you want to fight an extra pair of burning templars, but it's not necessary. Enter the room and open the door on your immediate left. Two more burning templars guard the stairs to the next level. If you're in spirit form, use Crushing Prison on one of the templars and Winter's Grasp on the other. Climb the stairs to the next level.
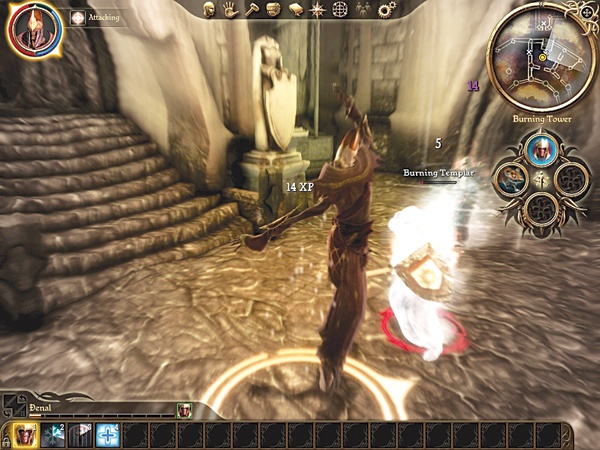
C . Turn right at the first intersection (you can't go straight because of the fire barrier). You'll enter a maze of twisting corridors and fire barriers. Go left then right to find the mouse hole out of the maze. You are also surrounded by burning hounds and one burning templar. Be on your guard: these creatures are not affected by the fire barriers and will rush at you from any side. The spirit form's Winter's Grasp works especially well against these fire beings.
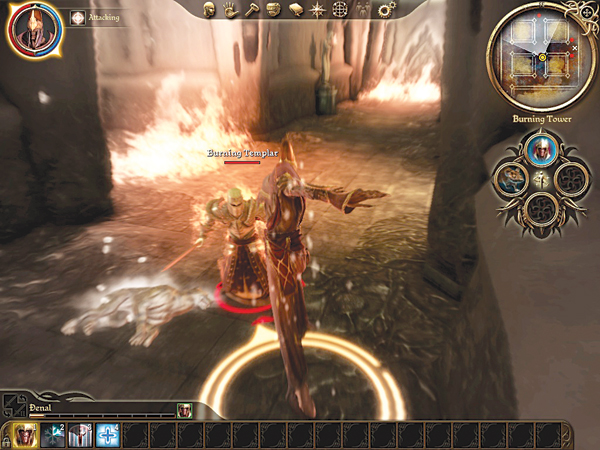
D . When you crawl out of the mouse hole, you'll be face to face with the Dreaming Templar. Enthralled by anger, he attacks you a few seconds later, along with the burning demon by his side. In spirit form, lock down either one with Crushing Prison and immediately attack the other with Winter's Grasp. You may require an early Regeneration to keep your health high, or drop out into your true form and pop a health poultice. When you defeat the Dreaming Templar, he grants you the burning man form and disappears.
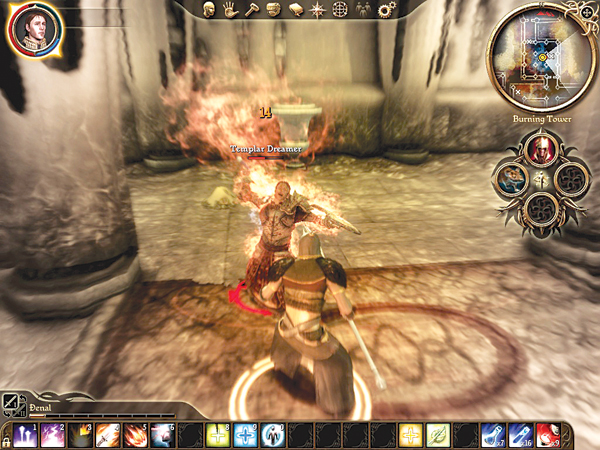
After you return from Mage Asunder with the golem form, you can bash into the last two rooms (you can also double-back to the massive door down in the south and pick up an essence of magic). Some shambling corpses and burning templars block your way in the first room. In golem form, use Quake to stun as many as you can, followed by a Hurl to knock anyone else to the ground. Whoever stands gets a Slam or a rocky punch. The second room holds Rhagos, the final boss on this level. You can stay in golem form to dish out good damage against Rhagos, or switch to burning man if Rhagos's fire damage gets too much. You also have the option of spirit form's Crushing Prison to put him in his place.
Mage Asunder
A . You begin at the northeast corner of the map. Take the mouse shortcut to your immediate left and pick up the +1 strength in the side room. Return to the original room and take the second mouse hole. This will sneak you into the next room where a pair of mages plot. Because you've come in stealthed, you can change form in their midst and get the jump on them. In the third room, you aren't so lucky; you'll have to beat the two mages the old-fashioned way through hard work and skill. Pick up the +1 magic bonus in this room.
The third room has a circle of crazy mages that immediately attack. Use your burning man form to hurl a Fireball in the center of the circle. With any luck, you should incinerate two to three of them on the spot, and severely burn the rest. Follow up with a Flame Blast or two, or switch to spirit form for some icy fun.
The fourth room has "lowly" servants, but watch out! One servant will charge you when you open the door, and two others are invisible, waiting to backstab you as soon as they get a chance. A burning man's Fireball at the first servant may get two in the process. Use spirit form or your true form to handle the rogue servants.
B . Switch to burning man form to pass the fire barrier on the opposite side of the servants' quarters. Three lesser rage demons will appear and attack in the next room. Switch out of burning man form and into spirit form. Root one with Crushing Prison and battle the second with Winter's Grasp. The third will arrive after a delay, possibly long enough for you to finish off the first two. Switch back to burning man form to open the next door. Hurl a Fireball into the room in the midst of the enemy mages near the center of the next room. If anyone gets up, burn them back down with Flame Blast.
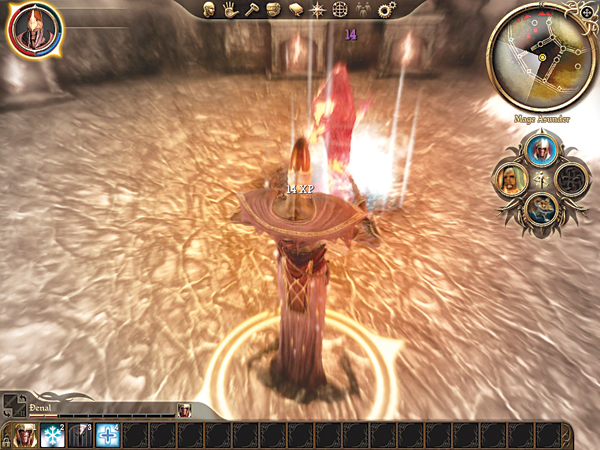
C. Mage instructors and mage pupils inhabit this room. Stay in burning man form for this encounter! The mages are Fireball happy, and you can protect yourself from a lot of damage with the burning man's fire immunity. A Fireball or two at strategic locations should do the trick. After searching the bookcase, take the stairs up to the next level.
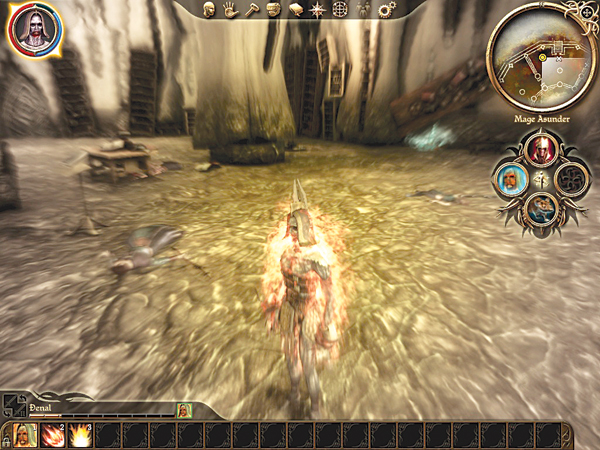
D. When you enter the next floor, you stumble upon Chantry priests and two stone golems attacking the Cursed Dreamer. You'll have to be on the move for this fight; if you stand still and get whacked by a golem or Chantry spell, it could be all over. In burning man form, chuck a Fireball at whichever group you can strike without causing friendly fire to the Dreamer or yourself. Switch to spirit form and imprison one of the golems with Crushing Prison and then use a Winter's Grasp on one of the Chantry priests (or the second golem if its health is low). Hit Regeneration on yourself and circle around the room. Wait for Winter's Grasp to become active and fire another off. When Crushing Prison becomes available again, throw it on the strongest foe.
Eventually, you will wear them down and save the Cursed Dreamer. As a reward, he gives you the golem form. Ignore the new Fade Pedestal that has appeared and take the stairs up to the next level instead. Kill the mages and stone golem in the next room, then switch to golem form to smash through the massive door blocking your path. You now have access to the southern section of the map.
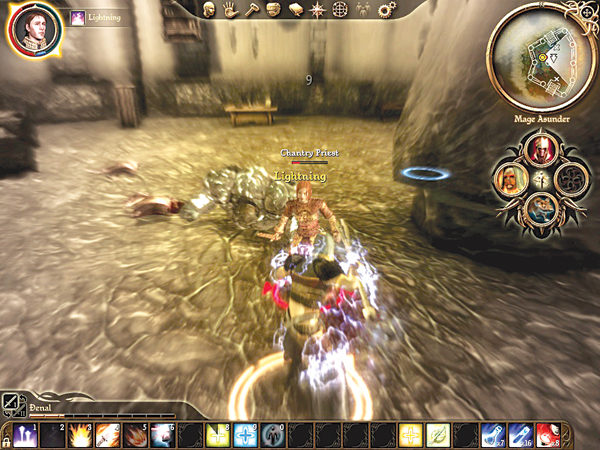
E. In the southern section of the map, there are six essences to earn. It's well worth the effort of cleaning up some stone golems, mages, and priests. When you're ready to tackle Slavren, head down to the southern tip and fight the arcane horrors (square 17). After you defeat the horrors, change to spirit form and take the side passages to earn more essences. You only have to vanquish three stone golems for four essences—a nice trade.
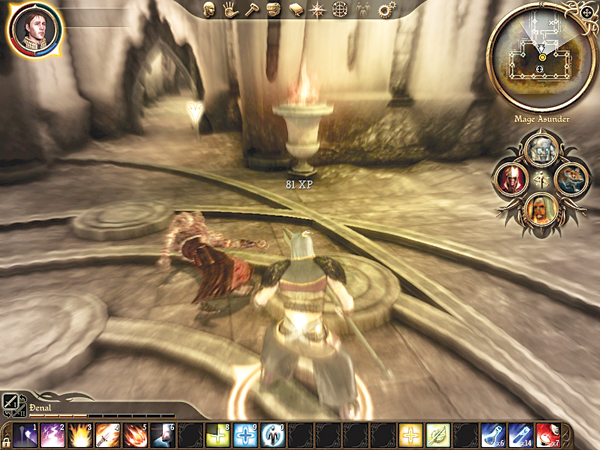
As soon as you enter the last room, Slavren will charge. You can go for the Crushing Prison, but if Slavren resists it your spirit form will get torn to shreds. It's better to pound at him in golem form, then switch to your true form for some healing (either if you're a mage or with a health poultice). You can also hit Slavren with a point-blank Fireball if you're in burning man form. Take him down and another island falls. Now return to Darkspawn Invasion and Burning Tower to complete those islands.
Templar's Nightmare
A . You must have all your forms to navigate through the Templar's Nightmare; if not, you'll get frustrated or stuck in many areas. In the initial chamber, change to mouse form and take hole #1 to hole #2. When you reach the room with the arcane horror, you'll trigger a poison trap. Forget it for now and change quickly into spirit form. Use Crushing Prison on the horror and it's over for the creature. Cast Regeneration to offset the poison.
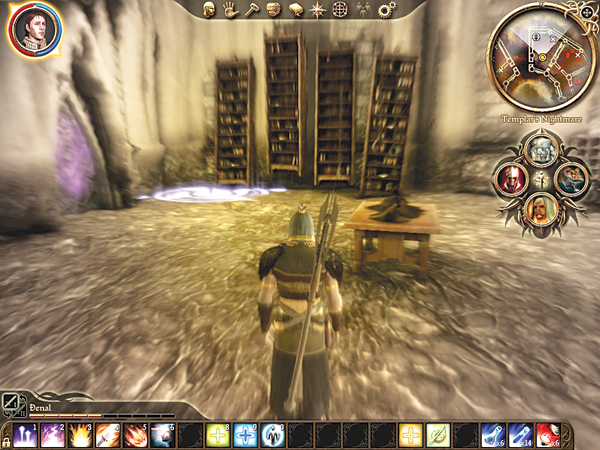
B . In the arcane horror room, change to mouse form again and take hole #5 to hole #6. You'll appear behind monstrous ogre. Due to the element of surprise, you have your pick on how to handle the ogre. You can use Crushing Prison on him in spirit form, or bash fists in golem form. You could even Fireball him with burning man form. One or two hunger abominations from the next room may hear the commotion and attack as backup for the ogre. Deal with them using Winter's Grasp, Quake, or Flame Blast, according to your form.
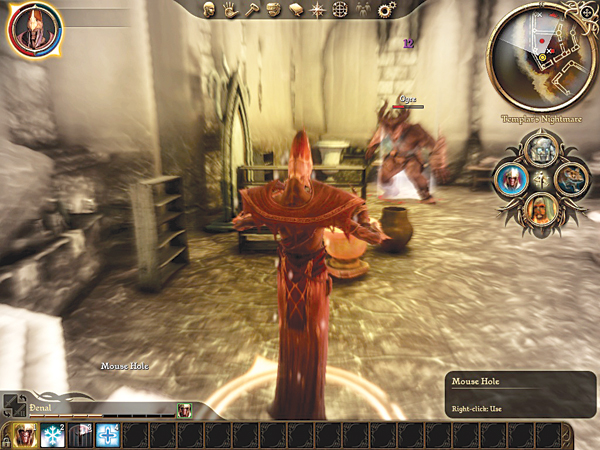
Change to burning man form and bypass the fire barrier in the next room. Next, change to mouse form and take hole #7 to hole #8 in the next room (or you could just bash in the door in golem form). Dispatch the rage abominations in the room and switch to spirit form so you can use the spirit door within.
C . Fight through a series of creatures in the next three rooms. Stick with the forms that have been working best for you, and restock at the lyrium vein if you get low on health or mana. Turn into burning man form before proceeding.
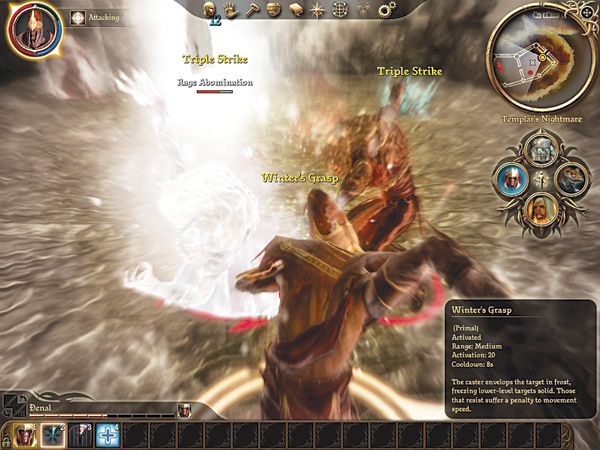
D. When you reach this room via the Fade Portal, make sure you are in burning man form. A fire trap triggers and engulfs the whole room in flames. Pull the desire abominations toward you by lobbing a Fireball at the nearest one. The flames in the room will take care of the rest. In the third room, shambling corpses run interference for an arcane horror. Don't let the horror cast deadly spells on you. Burning man form gives you Fireball as a great counterattack, or spirit form's Crushing Prison can silence the arcane horror forever. Take the mouse hole at the end to the final area.
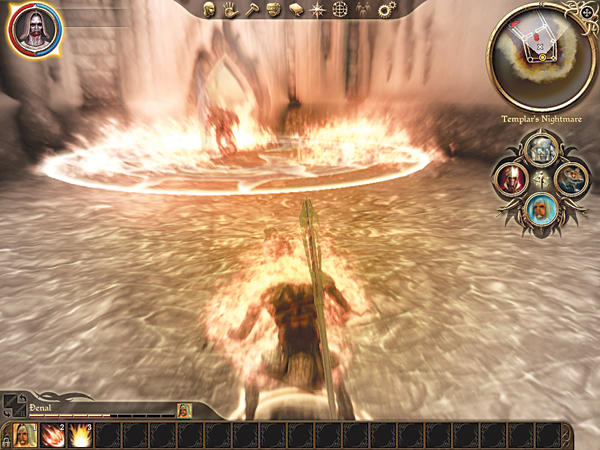
E. Vereveel leads you into a circular chamber with no exits. It's do or die time here. Try to catch her with a Crushing Prison if you can, or lob a Fireball in her direction. Avoid golem form; it takes too much damage from her spell attacks. Use your true form to cast healing or use poultices throughout the fight to stay alive. Once you defeat Vereveel, you will have unlocked the Inner Sanctum, where you can go after Sloth. However, first you need to free your followers for the coming finale.
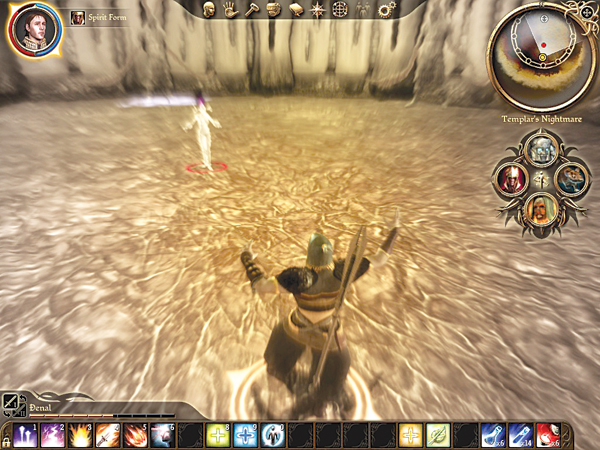
A Nightmare (Freeing Your Followers)
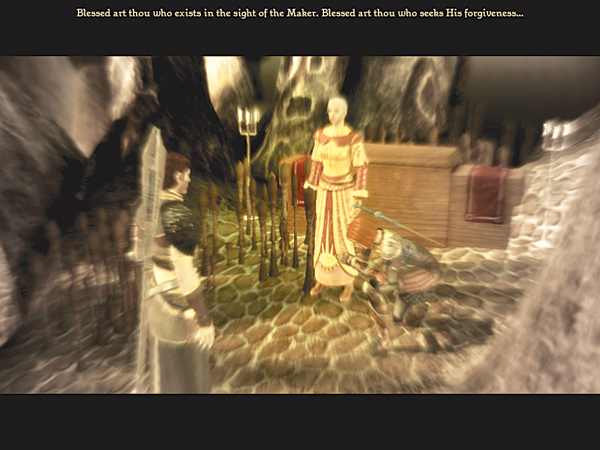
Before you go battle Sloth in the Inner Sanctum, visit each of the three Nightmare realms on the Fade outskirts. Your followers are trapped in them, and you need to free them for the battle against Sloth. Talk to each companion and help them snap out of their nightmares. You should know your followers well by now, so it's a snap to answer the correct dialogue choices and get each one to fight free. A short battle will occur, and once the two of you defeat the enemies, your follower will be available for the final battle.
The Inner Sanctum
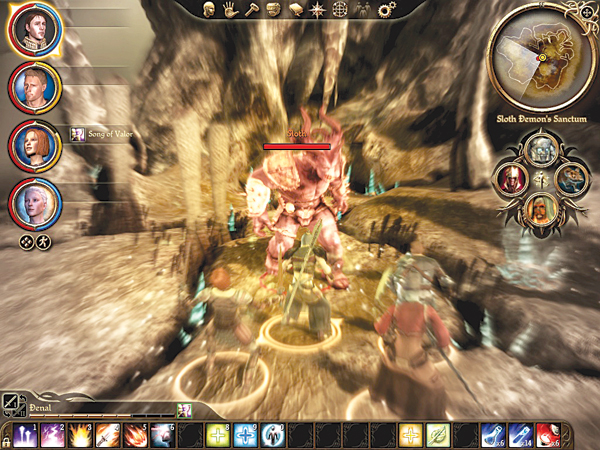
Prepare your party for one of the toughest battles in the entire game. Sloth changes form, so you must defeat him four different times to win. After playing solo for a while, get back into party mode and work your standard tactics—tank on Sloth, healer primarily on the tank, and DPS chipping in whenever possible. Your PC should use his golem form for most of the fight. It does solid damage and reduces the physical damage from Sloth's attacks. Spirit form can also add another healer to your party when you start throwing Regeneration around.
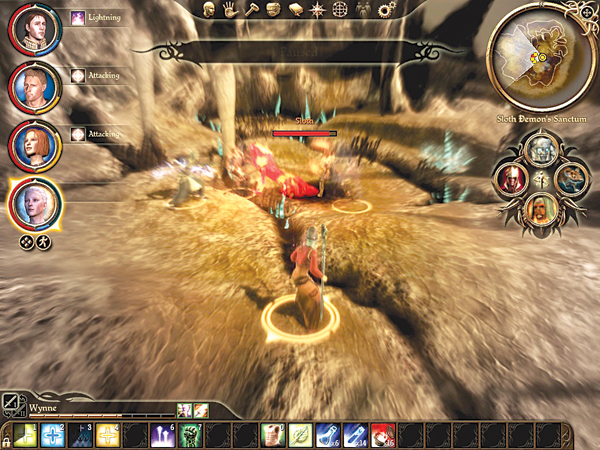
It's a long fight. Ration your spellcasting to only essential spells: ones that damage Sloth heavily, and ones that heal your party. Keep several lyrium potions handy to fill up your mana reserve on healers. If a party member drops to near dying, retreat and use a health poultice, especially if the healer's mana is running low.
In his final form, Sloth will freeze the entire party, which paralyzes you in place and deals cold damage over time. It's brutal if you don't have healing at this point. If you have Wynne, she should kick off a Group Heal immediately after the effect to try to pump up everyone's health before Sloth kills them one by one. With some good party tactics and some timely healing, Sloth will eventually succumb to your weapons and you'll finally be free of the Fade. You now return to Templar Quarters on the fourth level of the Circle Tower. You have one more major enemy to kill.
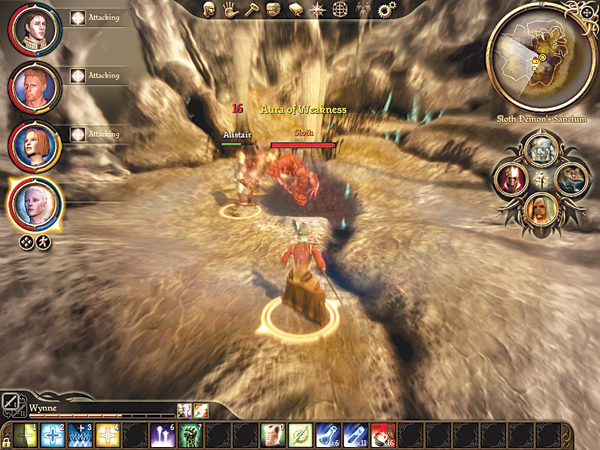
The Circle Tower (Fourth Floor: After Fade)
A . After exiting the Fade, you arrive back on the fourth level. Before you leave the central room in search of the Harrowing Chamber, loot Niall's dead body for the Litany of Andralla. It will protect you against mind control before the adventure ends.
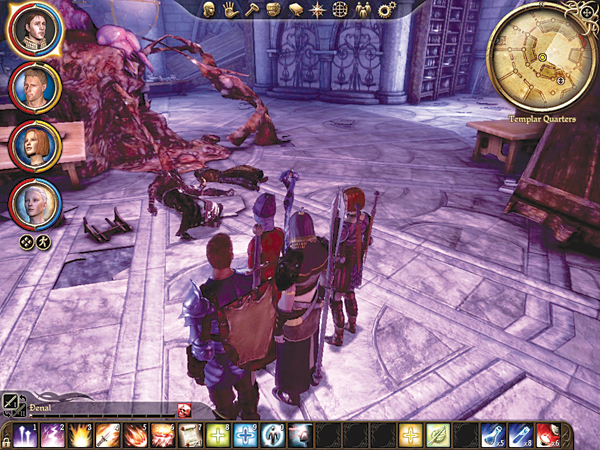
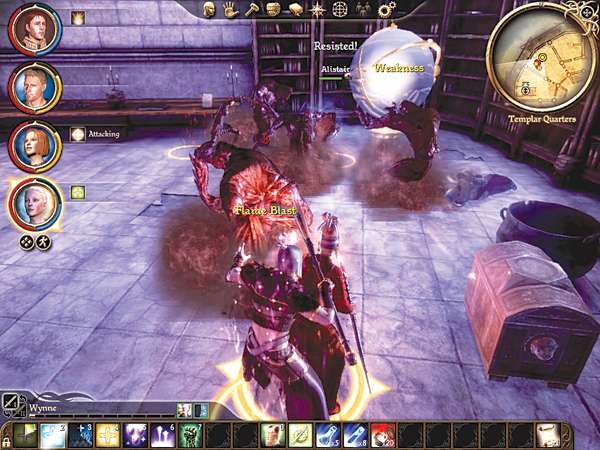
B . In the room with the giant globe, you'll see a soldier's corpse and a locked chest at the end opposite the entrance. It appears as any other empty room, until you touch the treasure. A greater shade, a few lesser shades, and a greater rage demon materialize around you and attack. Retreat to one corner and fight there so you don't get flanked by demons. The lesser shades go down easier; concentrate on them to reduce the number, then apply your full party strength against whichever of the two bigger threats is weaker. When you finish off the second ranked foe, grab your treasure and be on your way.
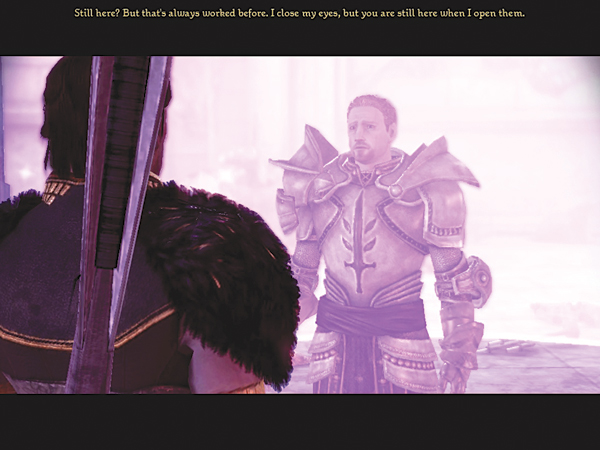
C. The last room before Harrowing Chamber holds Cullen. Inside a magical circle of protection, the templar pleads with you to destroy everyone in the Harrowing Chamber, unsure of what they've become. You can choose to see for yourself what's up there before making a decision, or you can choose on the spot to side with the mages (don't kill them) or side with the templars (kill all mages). After speaking with Cullen, proceed up the stairs to the Harrowing Chamber.
The Harrowing Chamber
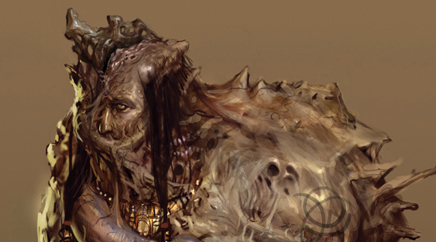
A . Uldred has made mass murder even more repulsive, if that's possible. He has converted many of the mages into abominations, and plans on doing the same to you and everyone left in the tower. The only way to cleanse the tower is to kill Uldred. During the fight, as Uldred begins to convert a mage into an abomination (which will add that abomination to the fight against you), you can use the Litany of Andralla to deny the conversion.
If Wynne is still alive in the party, she will give you a voice cue when to use it, or you can watch for a white glow around the wounded mages around the outer edge of the chamber. Using the Litany saves the mage, and if you do it at least once, then you have chosen to save all the mages in the Tower as the ultimate outcome. If you don't have the Litany or choose not to use it, then all the mages die at the end of the battle and you have ultimately sided with the templars.
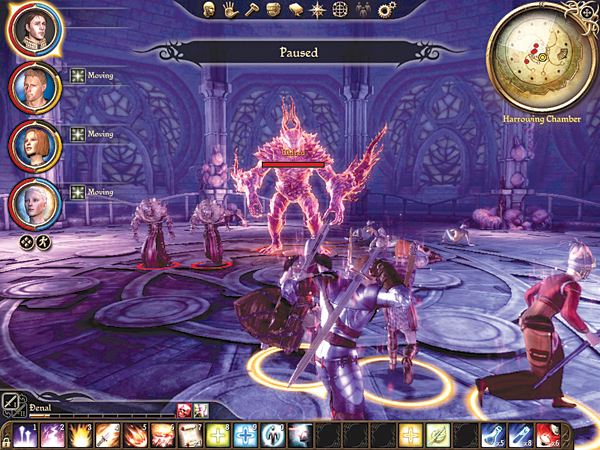
Match your tank up against Uldred from the start. Send an off-tank against one of the abominations and have your party concentrate on destroying that abomination quickly. While preventing Uldred from creating abominations (the Litany stops this), slay the remaining abominations so you only have to face Uldred.
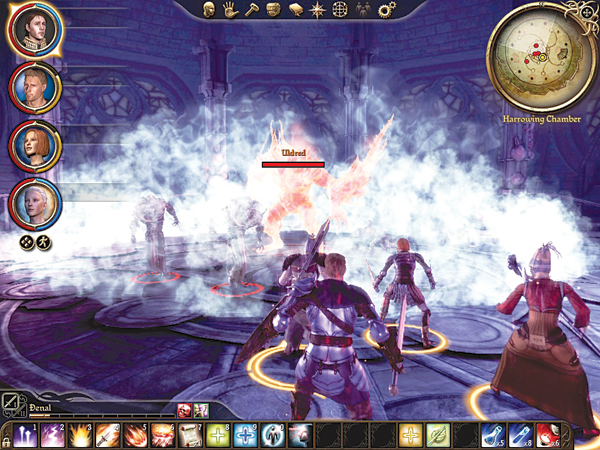
In his demon form, Uldred can smack characters around for heavy damage. Your party healer should rotate through healing spells, such as Heal, Regeneration, and Group Heal (if they are a spirit healer and others in the party have taken damage too). If anyone in the party drops below 50 percent health and the healer can’t keep up with the damage, they should immediately use a health poultice to stay out of the danger zone. Watch out for Uldred’s ice attack which freezes everyone solid. It effectively acts like a stun, which means you can’t deal damage or heal for several seconds. None of your party members can be low on health at this time or he may slay them.
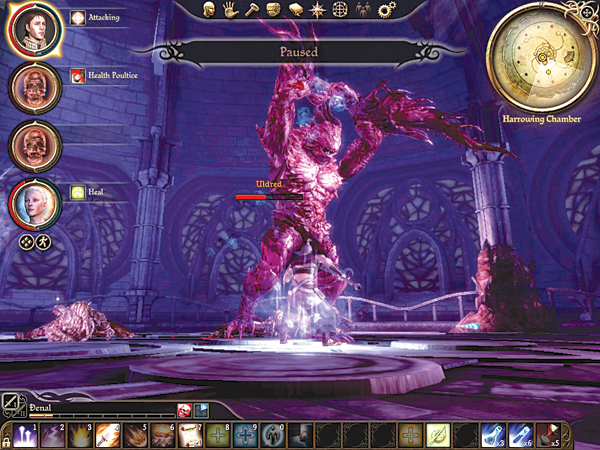
Pour the damage on Uldred. Ranged attackers should stay clear of his long, sweeping demon claws. If you can outrace the damage Uldred deals, and minimizes how many extra abominations enter the fight, you should come out on top.
After the battle, speak with First Enchanter Irving. He will take you down to talk with Greagoir and thank you for saving the Circle Tower. You will gain your army for the final battle at this point. Wynne will also join your party permanently if you choose to invite her, and provided you are not a blood mage specialist. If you've chosen to specialize as a blood mage, Wynne will confront you at the base of the tower. If you admit you are a blood mage and choose to fight, then you will battle all the remaining templars and any mages alive (including Wynne). If you survive, you will gain neither the mages nor the templars for the final battle against the archdemon.