Prima Games eGuides
primagames.com Browse Redeem a code Help
Dragon Age: Origins eGuide
Sign in My Guides

Sign in or create an account

We'll email you a link. No password needed, and if you don't have an account yet, the link makes one.

By creating an account or signing in, you agree to our Terms of Service and Privacy Policy.

Have a password?

Had an account on the old eGuides site, or a code from a printed guide? Help and troubleshooting

Sign in with a password

By signing in, you agree to our Terms of Service and Privacy Policy.

Check your email

A sign-in link is on its way. It works once and expires in 15 minutes. Open it and you're in, with an account if you didn't already have one.

Contents

  • Maps
    • Ferelden
      • Map of Ferelden
    • Dwarf Commoner
      • Dust Town
      • Commons
      • Tapster's Tavern
      • Beraht's Shop
      • Proving Grounds (Dwarf Commoner)
      • Beraht's Hide
    • Dwarf Noble
      • Ozammer Royal Palace
      • Diamond Quarter
      • Proving Grounds (Dwarf Noble)
      • Ruined Thaig
      • Outskirts
    • City Elf
      • Alienage
      • Arl of Denerim's Estate (Exterior)
      • Arl of Denerim's Estate (Interior)
    • Dalish Elf
      • Forest Clearing
      • Elven Ruins
      • Dalish Elf Camp
      • Return to Forest Clearing
      • Return to the Elven Ruins
      • Return to Dalish Elf Camp
    • Human Mage Origin
      • The Harrowing
      • The Circle Tower (Human Mage Origin)
      • The Repository
    • Human Noble Origin
      • Castle Cousland By Day
      • Castle Cousland (Night)
    • Ostagar
      • King's Camp
      • Korcari Wilds
      • Return to King's Camp
      • The Tower of Ishal
    • Lothering
      • Lothering
      • Lothering Chantry
      • Dane's Refuge
  • Essentials
    • Basics
      • Key Terms
      • Experience and Leveling
      • Your Health
      • Race
      • Class
      • Skills, Talents, and Specializations
      • Items
      • Combat
      • The Map
      • The Codex
      • Making choices
    • Character Generation
      • Gender and Race
      • Class
      • Specializations
      • Appearance and Voice
      • Attributes
      • Origin Stories
    • The Classes
      • Levelling
      • Skills
      • The Warrior: Strengths
      • The Warrior: Attributes
      • The Warrior: Skills & Talents
      • The Warrior: Weapons
      • The Warrior: Talent Tables
      • The Warrior: Specializations
      • The Warrior: Character Builds
      • The Mage: Strengths
      • The Mage: Attributes
      • The Mage: Skills & Spells
      • The Mage: Schools & Gear
      • The Mage: Talent Tables
      • The Mage: Specializations
      • The Mage: Character Builds
      • The Rogue: Strengths
      • The Rogue: Attributes
      • The Rogue: Skills & Talents
      • The Rogue: Schools & Gear
      • The Rogue: Talent Tables
      • The Rogue: Specializations
      • The Rogue: Character Builds
    • The Party
      • Buddy Basics
      • Group Dynamics
      • Dealing with Threat
      • Healing
      • Combat Roles
      • Configurations and Engagement
      • Tactics
    • Companions
      • Understanding Companions
      • Alistair
      • Leliana
      • Morrigan
      • Oghren
      • Shale (DLC Only)
      • Wynne
      • Zevran
      • Dog
      • Loghain Mac Tir
      • Sten
    • Supporting Cast
      • NPCs
    • Traveler's Guide
      • Thedas
      • History
      • Ferelden Society
      • Life In Fereldan
      • Fereldan Timeline
      • People of Ferelden
      • Elsewhere
        • Geography
    • Equipment
      • Equipment Basics
      • Vendor Shopping
      • Weapons
      • Armor
      • Accessories
      • Rune Enchanting
      • Crafting
      • Usable Items
      • Gifts
      • Downloadable Content Items
    • Races
      • Elves
    • The Bestiary
      • The Monster Manual
    • Encounters
      • World Encounters
      • Plot Encounters
      • Random Encounters
  • Walkthrough
    • Walkthrough
      • Tour of Ferelden
      • Essential Locations
      • Dwarf Commoner Origin
      • Dwarf Noble Origin
      • City Elf Origin
      • Dalish Elf Origin
      • Mage Origin
      • Human Noble Origin
      • Ostagar
      • Lothering
      • Broken Circle
      • Arl of Redcliffe
      • Urn of Sacred Ashes
      • Paragon of Her Kind
      • Nature of the Beast
      • The Landsmeet
      • The Final Onslaught
      • Warden's Keep (DLC Only)
      • The Stone Prisoner (DLC only)
    • Side Quests
      • Blackstone Irregulars
      • Brecilian Forest
      • Chanter's Board
      • The Circle of Magi
      • Denerim
      • Favors for Certain Interested Parties
      • Korcari Wilds
      • The Mages' Collective
      • Orzammar
      • Ostagar
      • Party Camp
      • Redcliffe
      • Warden's Keep (DLC Only)
      • Wide Open World
    • Achievements and Trophies
      • PC Achievements
      • Console Achievements
  • DLC
    • Companions
      • Shale
    • Warden's Keep
      • Walkthrough
    • The Stone Prisoner
      • Walkthrough

Dragon Age: Origins Guide › Walkthrough › Side Quests

Favors for Certain Interested Parties

Note

The following Rogues' Guild quests can be obtained in Denerim from the bartender in the Gnawed Noble Tavern. The "D" quests begin with "Solving Problems" and must be completed in order. The "K" quests begin with "Negotiation Aids" and must be completed in order.

Correspondence Interruptus

Type: Collection

Start: Bartender in Gnawed Noble Tavern

Destination: Various locations

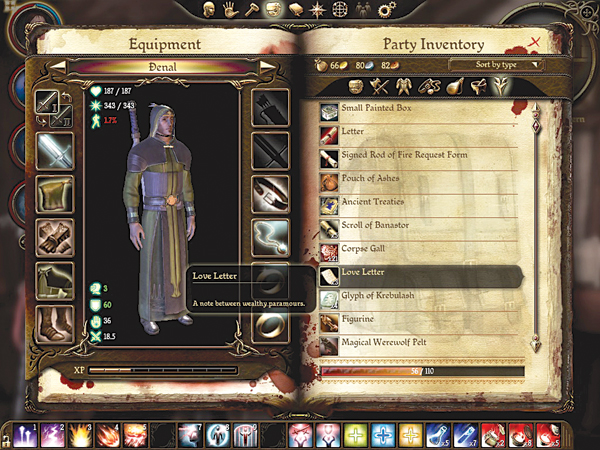
Task: Collect 12 love letters from chests

Quest Tips: Find all 12 love letters in the following locations:

  • Brecilian Ruins (south, secret hallway just inside entrance)
  • Circle Tower (Senior Mage Quarters, behind wall in east bedroom)
  • Dalish Camp (just north of Varathorn)
  • Denerim (Pearl, one of the back rooms)
  • Denerim (Wade's Emporium)
  • Denerim (Arl Eamon's Estate, Arl's bedroom upstairs)
  • Haven (Villager House, along the wall)
  • Lake Calenhad Docks (Spoiled Princess, northeast corner of the inn)
  • Orzammar (Carta Hideout, southeast corner room of Jarvia encounter)
  • Orzammar (Royal Palace, small room on east side of palace)
  • Redcliffe Basement (northwest alcove)
  • Redcliffe Village (Windmill, east side)

"K" Quests

*** Negotiation Aids ***
Type: Collection

Start: Bartender in Gnawed Noble Tavern

Destination: Various vendors

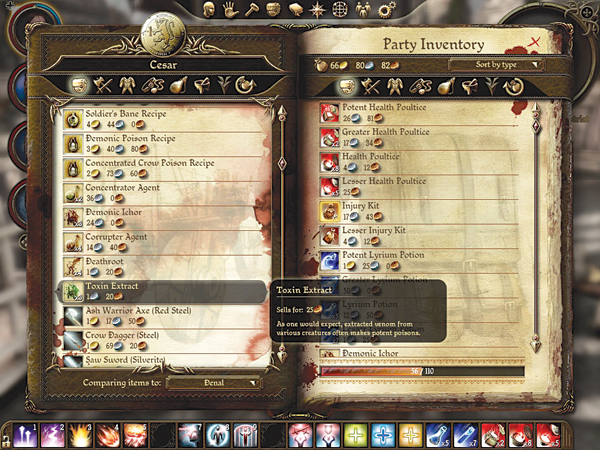
Task: Collect 15 toxin extracts

Quest Tips: This is the first in the series of "K" quests. During your travels, it's easy enough to collect 15 toxin extracts. Visit local vendors and collect a handful at a time. The best vendor is Varathorn in the Dalish camp (who can give you all the toxin extracts in one shot), or you can visit Cesar in the Denerim Market District, Faryn in Frostback Mountains, Alimar's in Orzammar, Olinda's in Orzammar.

*** Untraceable ***
Type: Collection

Start: Bartender in Gnawed Noble Tavern

Destination: Various vendors

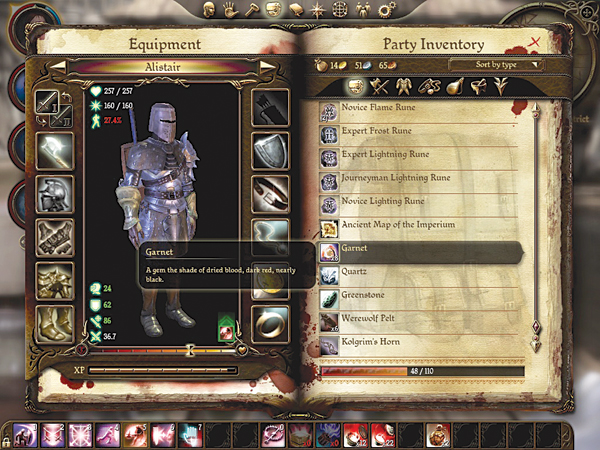
Task: Collect 10 garnets

Quest Tips: This is the second in the series of "K" quests. Save up all your garnet drops from adventuring. If you've already sold some of them off, retrace your steps and buy them back from the various vendors. Turn in 10 garnets to complete the quest.

*** Dead Drops ***
Type: Messenger

Start: Bartender in Gnawed Noble Tavern

Destination: Four different locations

Task: Make three drops and escape from a trap

Quest Tips: This is the third in the series of "K" quests. Deliver payment to the following locations: Denerim Market District, Redcliffe Village, Spoiled Princess at Lake Calenhad Docks, and the Frostback Mountains. The fourth location you visit will be a trap. You have an option to disarm/detonate other traps, but this will cancel the "K" quests, so fight through the trap the hard way.

*** New Ground ***
Type: Combat

Start: Bartender in Gnawed Noble Tavern

Destination: Denerim and random encounter

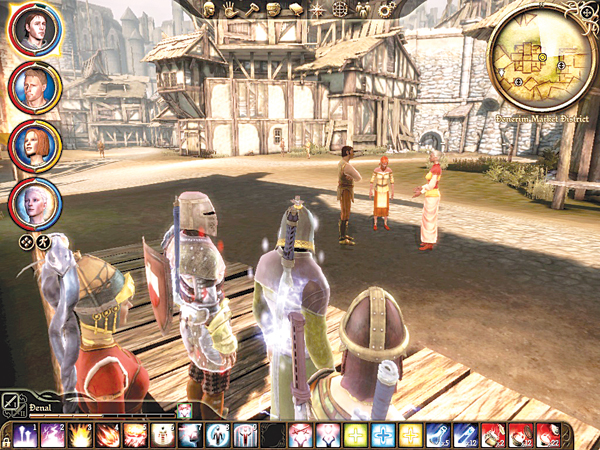
Task: Signal three people with K's wink and nod, signal guard contact, kill D's lieutenant, kill D

Quest Tips: Note this is the fourth in the series of "K" quests. Finishing this quest will remove the end of the "D" line of quests. First, signal three people with K's special wink and nod. Second, signal the guard contact. Third, kill D's lieutenant in a random city encounter and take the directions from the lieutenant's corpse to find D's location on the Denerim city map. Finally, kill D himself in the indoor area.

"D" Quests

*** Solving Problems ***
Type: Messenger

Start: Bartender in Gnawed Noble Tavern

Destination: Three places in Denerim

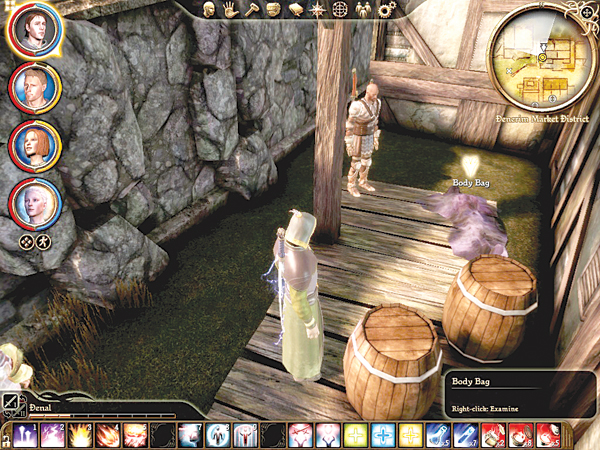
Task: Dispose of three bodies for the rogues' guild

Quest Tips: This is the first in the series of "D" quests. Collect three bodies and dispose of them at the marked "dumped site" inside the Chantry walls. Find the bodies in the following locations: Market District (alley beside the Chantry), the Warehouse in the Wonders of Thedas alley (in the back room), and the Pearl (one of the back rooms).

*** Sign of Safe Passage ***
Type: Combat

Start: Bartender in Gnawed Noble Tavern

Destination: Brecilian West Forest

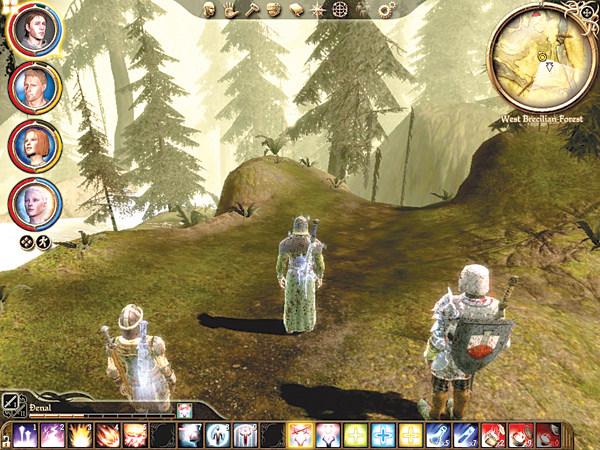
Task: Fire a messenger arrow from a location in the Brecilian West Forest

Quest Tips: This is the second in the series of "D" quests. Fire an arrow from a firing point just east of the south entrance of the Brecilian West Forest (you must equip a bow on your main PC to do this). Fight the mercenaries that arrive, and loot the folded missive from one of the corpses when you're finished with them.

*** False Witness ***
Type: Combat

Start: Bartender in Gnawed Noble Tavern

Destination: Three different locations across the map

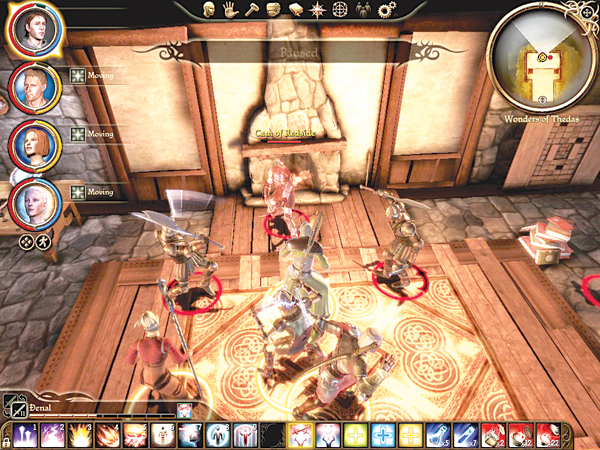
Task: Kill Cam of Redside, Skinny Frank, and Brian

Quest Tips: This is the third in the series of "D" quests. You must hunt down three unfortunates who have stolen from the guild: Cam of Redside in the Wonders of Thedas, Skinny Frank at the Lake Calenhad Docks, and Brian in the Frostback Mountains. Cam and Skinny Frank have bodyguards to worry about too; poor Brian is, well, a pushover.

*** Harsh Decisions ***
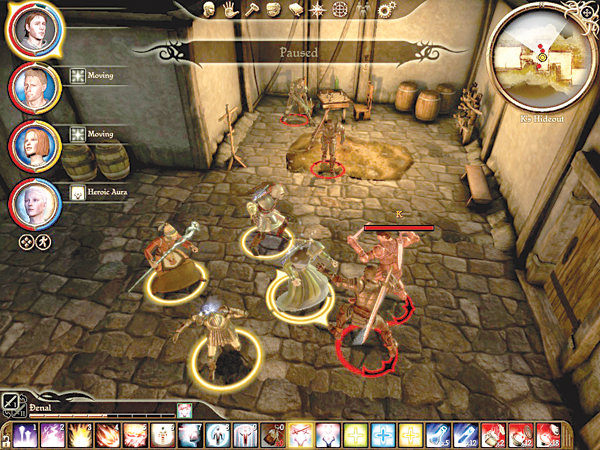
Type: Combat

Start: Bartender in Gnawed Noble Tavern

Destination: Denerim and random encounter

Task: Kill K's lieutenant, kill K

Quest Tips: This is the fourth in the series of "D" quests. Finishing this quest will remove the end of the "K" line of quests. First, travel on the Denerim city map and you'll trigger a random encounter with K's lieutenant. Slay him and his guards and pick up the hideout directions from the lieutenant's corpse. Next, travel to K's hideout on the Denerim city map. Slay K and his men. Return to the Gnawed Noble bartender for your reward.

Keep reading with a free account

The first 3 sections of Dragon Age: Origins are open to everyone. An account opens the rest of it, and every other guide in the archive. It's free, and there's nothing to buy.

Bought guides on the old Prima Games site? Your account and every guide you own moved here, so there's nothing to buy again. Sign in.

Create a free account Or browse our free guides

PreviousDenerim NextKorcari Wilds