
Dragon Age: Origins Guide Walkthrough Side Quests
Orzammar
A Lost Nug
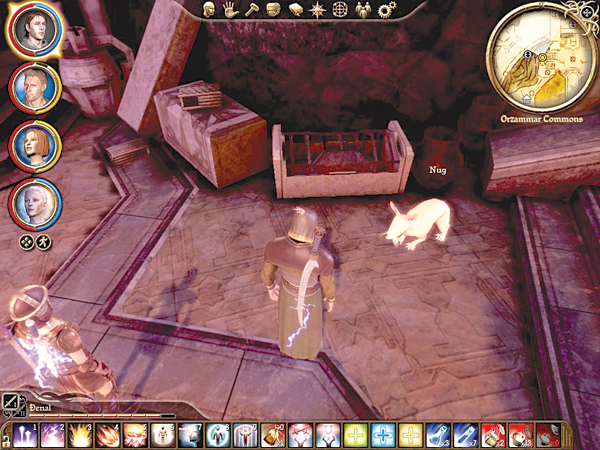
Type: Exploration
Start: Nug Wrangler Boermor in Orzammar Commons
Destination: Any nug in Orzammar
Task: Return a nug to Boermor
Quest Tips: Nug Wrangler Boermor has lost his nugs and needs you to round them up for him. Once you activate the quest, nugs will be hidden throughout Orzammar. Return a nug to Boermor for a reward. Even after the quest is complete, you can return nugs to Boermor for a reward, and if you return more than 10 to him, he grants a big reward.
A Mother's Hope
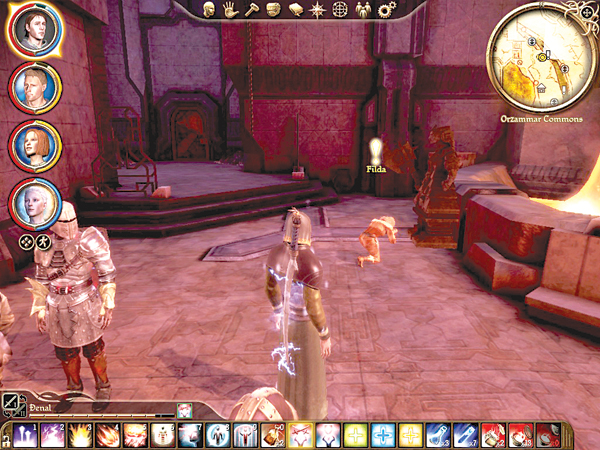
Type: Exploration
Start: Orzammar Commons
Destination: Deep Roads
Task: Find Filda's missing son, Ruck
Quest Tips: Journey into the Deep Roads to find Filda's missing son, Ruck. He's in Ortan Thaig. When you first spot him, he runs away from you, but you can track him down slightly north of his original position.
An Unlikely Scholar
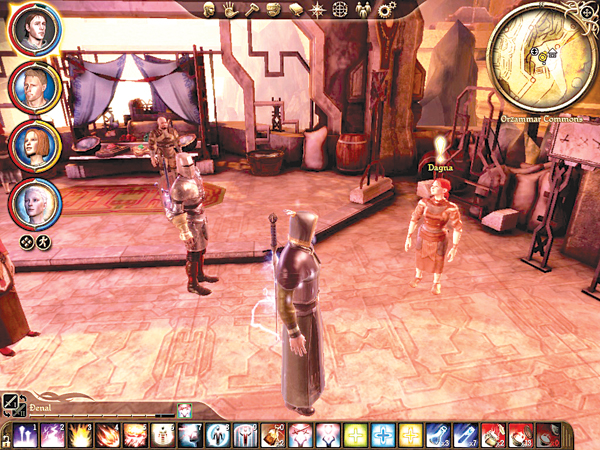
Type: Messenger
Start: Dagna in Orzammar Commons
Destination: Circle Tower
Task: Ask the Circle Tower to allow Dagna to study there
Quest Tips: Find Dagna in the Orzammar Commons. Agree to help her and set out for the Circle Tower. You must complete the "Broken Circle" quest line if you haven't already done so. If First Enchanter Irving is alive and in charge, he will allow Dagna to come study at the tower. If Greagoir is in charge, he will deny her the opportunity.
Asunder
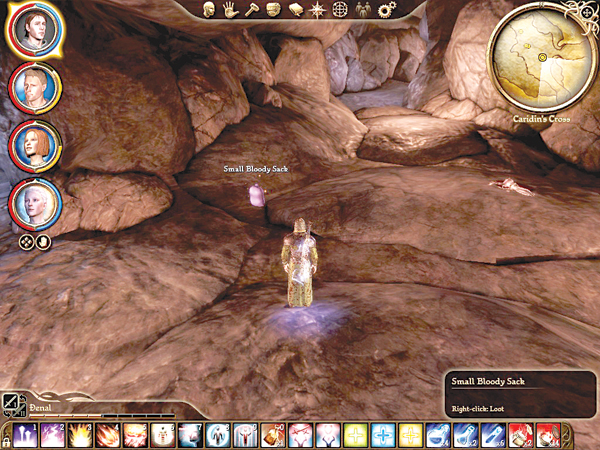
Type: Exploration
Start: A small bloody sack
Destination: Altar of Sundering in Ortan Thaig
Task: Find the three small bloody sacks and place them on Altar of Sundering
Quest Tips: Find the bag of limbs in the first darkspawn clearing in Aeducan Thaig. Find the torso in a bag in the southeast cavern of Caridin's Cross. Find the head in a bag in the deepstalker clearing in Caridin's Cross. Once you have all three components, seek out the Altar of Sundering in Ortan Thaig. Place the three bloody items on the altar. You can then choose to fight the Fade beast that arrives for XP or let it go and get a substantial amount of gold as reward.
Caged in Stone
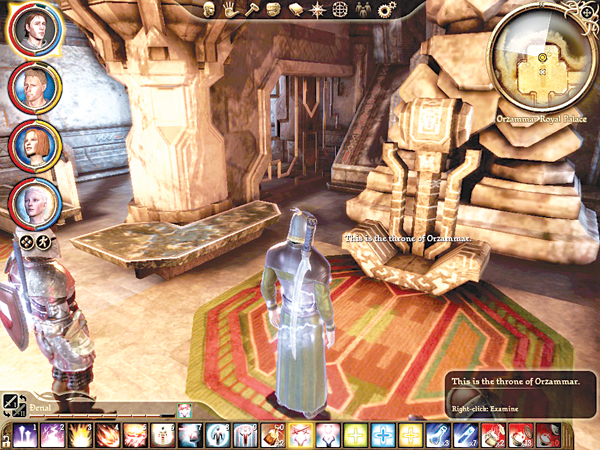
Type: Combat
Start: Royal Palace Throne
Destination: Royal Palace Throne
Task: Find codex on throne, solve puzzle, fight dragon
Quest Tips: In the Royal Throne Room, click on the throne to gain a codex entry. Next, you need to solve the puzzle. Leave your PC standing next to the throne. Send two companions to stand on the pressure points that look like arrows in the southwest corner (you will hear sliding stone if you stand on each one correctly). Send your last companion out into the main hall to stand on the central square pressure point. With all three companions in the correct position, access the throne again. A dragon will appear. Defeat the dragon for your reward (the Ageless two-handed sword is part of your reward).
Casteless Ambush
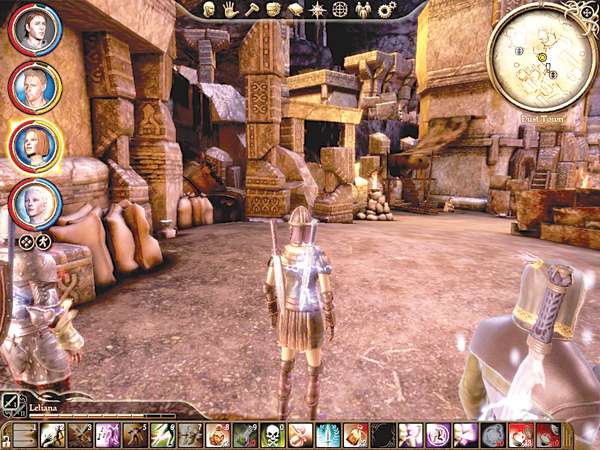
Type: Combat
Start: Dust Town
Destination: Dust Town
Task: Survive a Dust Town ambush
Quest Tips: As soon as you enter Dust Town for the first time, you get jumped by a band of thugs. Beat them down.
The Chant in the Deeps
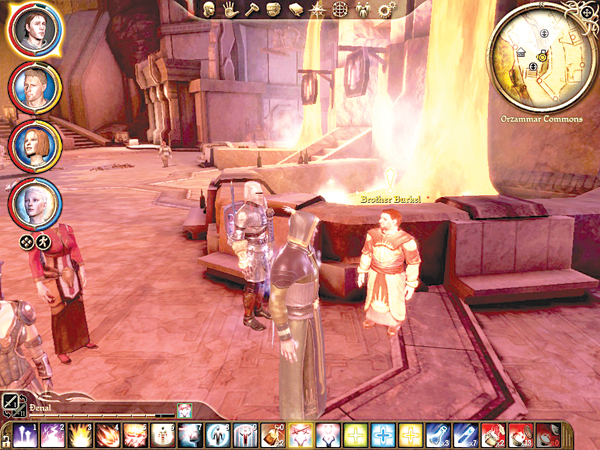
Type: Messenger
Start: Orzammar Commons
Destination: The Shaperate
Task: Speak to the Shaper of Memories on Brother Burkel's behalf
Quest Tips: Speak with Brother Burkel in the Orzammar Commons and proceed to the Shaperate in the Diamond Quarter. You need to get the Shaper's permission to open the Chantry by either:
- Telling the Shaper that the Chantry's charities could aid Orzammar and passing a medium Persuasion check.
- Asking the Shaper what harm it would do to let Burkel preach and passing a high Persuasion check.
- Threatening the Shaper with forced conversion by a human army and passing a high Intimidation check.
If you succeed, return to Brother Burkel with the good news.
The Dead Caste
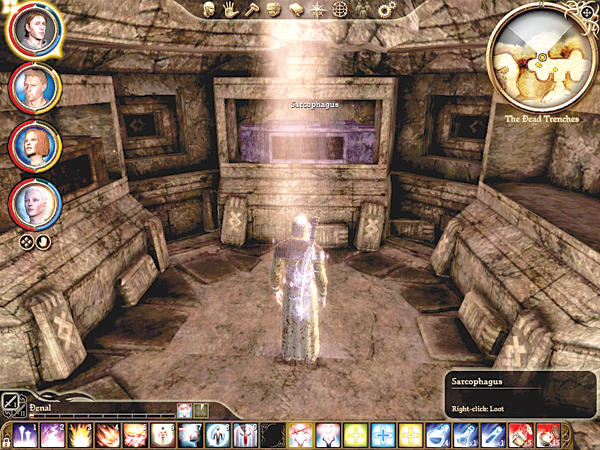
Type: Exploration
Start: The Dead Trenches
Destination: The Dead Trenches
Task: Find the four pieces of the Legion of the Dead armor
Quest Tips: Discover four codex entries pertaining to the Legion of the Dead armor throughout the Dead Trenches. Look for them in the following places:
- The boots are in a sarcophagus in the room immediately to the left of the tunnel exit from the first bridge area where the legionnaires are fighting the darkspawn.
- The gloves are in a sarcophagus in the room directly opposite the first containing a fire-breathing dwarven statue trap.
- The breastplate is in a sarcophagus in the room with the hurlock emissary who summons skeletons.
- The helmet is resting on the legion altar within the Legionnaire Shrine.
After you locate all four pieces, find the grave revealed by completing the codex located in the tunnel leading up to the broodmother and obtain the insignia. Return the insignia to the Shaperate in Orzammar.
The Drifter's Cache
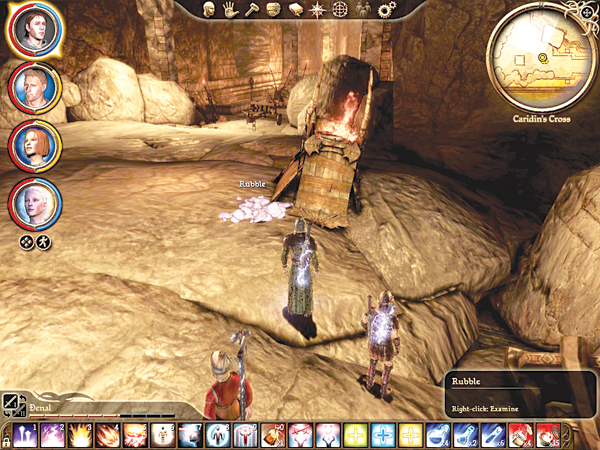
Type: Exploration
Start: Caridin's Cross
Destination: Caridin's Cross
Task: Find four piles of rubble with codex entries
Quest Tips: There are four piles of rubble with codex entries to unlock the Drifter's Cache: a pile at the west exit, southwest of the bridge, in the central triangle, and east of the deepstalker cave. Once you've tagged all four, a new pile of rubble reveals itself in the south cave corridor where you can claim your reward.
Exotic Methods
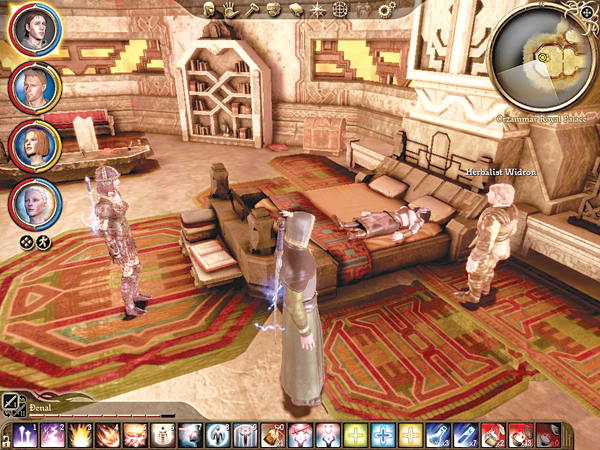
Type: Crafting
Start: Herbalist Widron in Royal Palace
Destination: Herbalist Widron
Task: Craft a Dwarven Regicide Antidote
Quest Tips: You can only get access to this quest if you side with Bhelen early on. In the western chamber in the Royal Palace, speak with Herbalist Widron. He needs help making a special antidote, which requires a Master Herbalism skill and the following ingredients: elfroot (x4), lifestone (x2), flask, and concentrator agent (x2).
The Gangue Shade
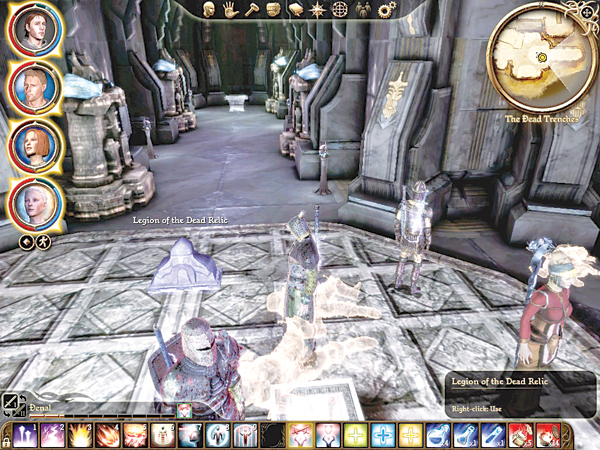
Type: Combat
Start: Legion of the Dead Relic
Destination: Legion of the Dead Relic
Task: Defeat the Gangue Shade
Quest Tips: For this quest to be active, a party member must wear the complete Legion of the Dead armor set (requires 42 strength). Find the Legion of the Dead Relic and click on it. Defeat the Gangue Shade and claim your reward.
The Golem Registry
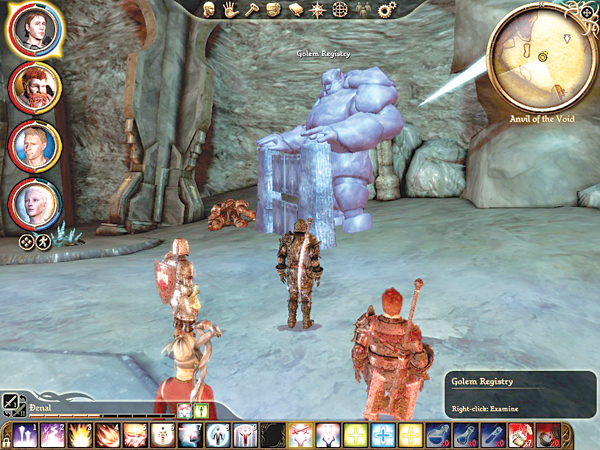
Type: Messenger
Start: Near the Anvil of the Void
Destination: The Shaperate
Task: Deliver a tracking to the Shaper
Quest Tips: Near the Anvil of the Void, you can make a tracing of the golem registry. Bring the tracing back to the Shaper and he will reward you.
Jammer's Stash
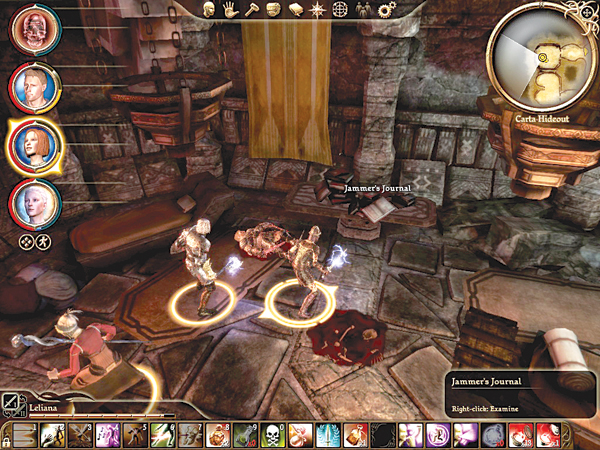
Type: Exploration
Start: Jammer's Journal in Carta Hideout
Destination: Carta Hideout
Task: Find Jammer's stash box
Quest Tips: Find Jammer's Journal early in the Carta Hideout. Then find three common boxes and take only the cheapest item out of each box:
- Jammer's Common Box: Iron Letter Opener
- Kanky's Common Box: Silver Ring
- Pique's Common Box: Garnet Trinket
Discover Jammer's stash box near the tame brontos and open it for your reward.
The Key to the City
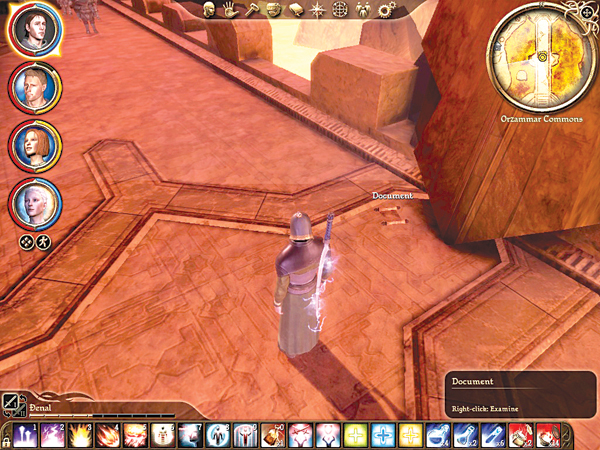
Type: Exploration
Start: Any of the locations around Orzammar
Destination: Diplomatic cache in the Assembly
Task: Unlock the diplomatic cache in the Assembly
Quest Tips: To unlock the diplomatic cache in the Assembly, access the following locations around Orzammar:
- Hall of Heroes (find commission report)
- Commons (find document on bridge to Proving)
- Proving Grounds (find writ of censure in fighter's area)
- Diamond Quarter (find council writ behind doors to Commons)
- Dust Town (find Assembly directive in niche)
Lost to the Memories
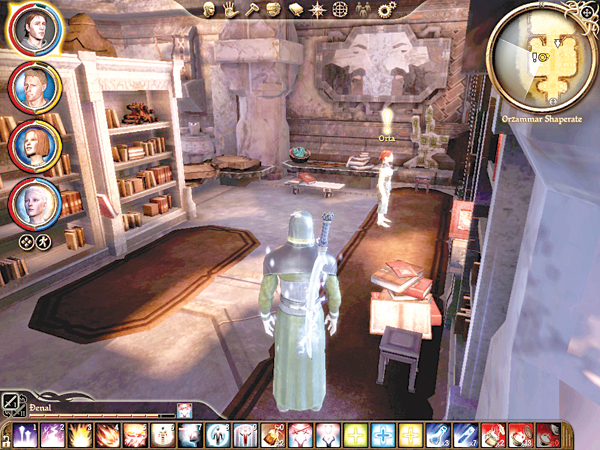
Type: Messenger
Start: Orta in the Shaperate
Destination: Ortan Thaig
Task: Recover Ortan records
Quest Tips: Orta asks you to search for the long-lost House Ortan records in Ortan Thaig. Venture into Ortan Thaig and recover the records from a chest located in the main Thaig area. Even if you don't speak with Orta first, you can recover these records. Return the documents to Orta. You must leave Orzammar (and the Frostback Mountains) and return later to claim a reward from Orta in the Assembly.
Of Noble Birth
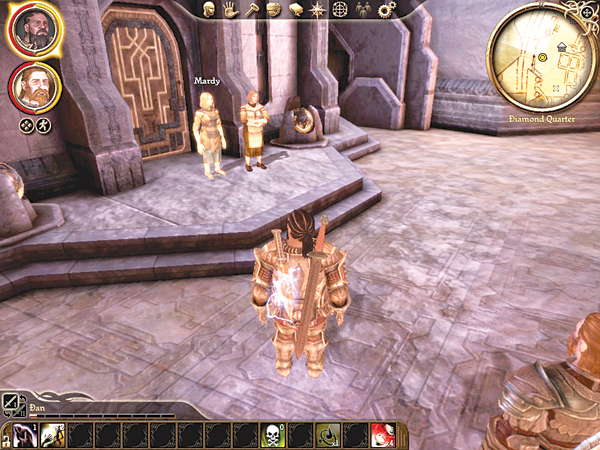
Type: Messenger
Start: Mardy
Destination: Bhelen or Harrowmont
Task: Gain a birthright for your illegitimate son
Quest Tips: This quest only becomes active if you are a dwarven noble player who indulged in the company of Mardy during the origin story. You encounter Mardy again when you return to Orzammar. Because you were exiled, your illegitimate son with Mardy is considered casteless. She wants you to restore the boy's birthright. You can get Bhelen or Harrowmont to accept the child into their house if you help them become king (or do so immediately after they have helped them acquire the crown). If you leave Orzammar without having Bhelen or Harrowmont grant the child status, the boy is doomed to life as a casteless dwarf.
Political Attacks
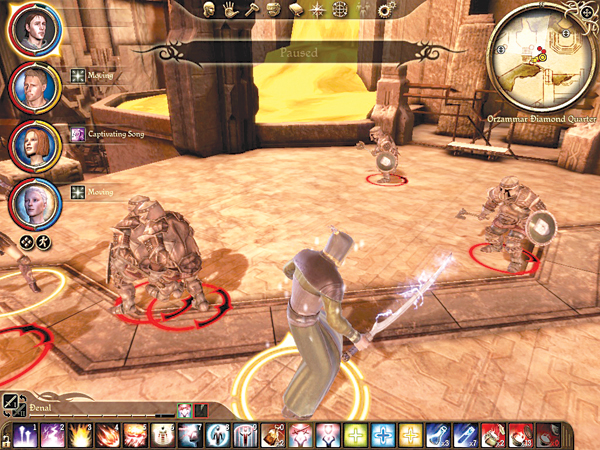
Type: Combat
Start: Faction Supporters
Destination: Three locations in Orzammar
Task: Defeat the faction supporters who want you dead
Quest Tips: There are three bands of faction supporters (for Lord Harrowmont if you support Bhelen, and for Bhelen if you support Harrowmont) in three different Orzammar locations: Commons, Diamond Quarter, and Proving Grounds. Defeat all three groups to finish the quest.
Precious Metals
Type: Messenger
Start: Dust Town
Destination: Godwin in the Circle Tower
Task: Deliver a shipment of expensive lyrium to Rogek's contact, Godwin
Quest Tips: Speak with the smuggler Rogek in Dust Town. You must buy a shipment of lyrium from Rogek to deliver to his contact, Godwin, in the Circle Tower. The shipment costs a whopping 50 gold (40 gold if you pass a medium Persuade check), and you must have the money or else Rogek walks away from you and the quest is dead. Travel to Godwin in the Senior Mage Quarters of the Circle Tower. Godwin will pay 50 gold for the lyrium shipment, or 60 gold, or 65 gold and a dagger (depending on how high your Persuade score is). After the delivery, return to Rogek and he will reward you with 10 gold (or as much as 20 or 25 gold depending on your Persuade score). If Rogek or Godwin are dead, the transaction cannot be completed. If you get stuck with the lyrium, you can always sell it to any merchant to recover some of your cost.
Proving After Dark
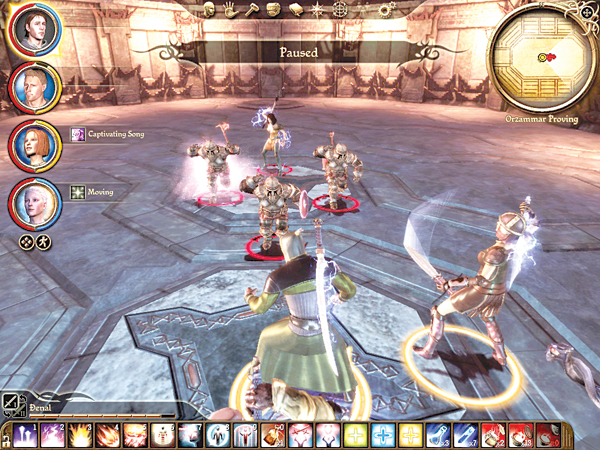
Type: Combat
Start: Proving Armsman in Proving Grounds
Destination: Proving Grounds
Task: Defeat a team of four Proving Grounds experts
Quest Tips: Talk to the Proving Armsman in the Proving Grounds fighter area. Accept his proposal to fight on the side and defeat four ranked opponents each match. The first match features three warriors and a blood mage. The second match features two warriors, a Dust Town thug, and a champion. Earn some respect and tiny bit of cash.
The Shaper's Life
Type: Exploration
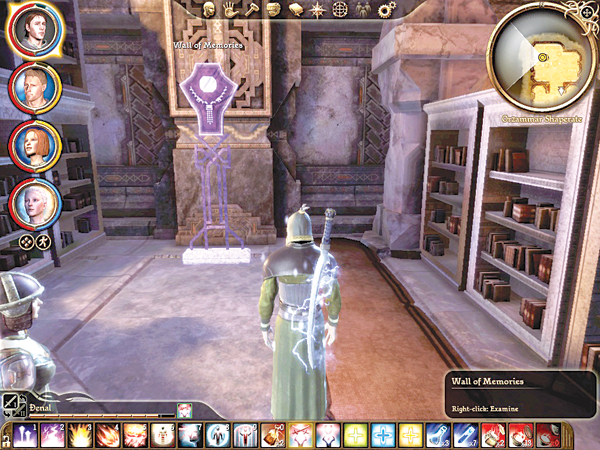
Start: Wall of Memories in Shaperate
Destination: Three locations around Orzammar
Task: Consult three rune stones and return to the Wall of Memories
Quest Tips: Begin the quest by touching the Wall of Memories in the Shaperate. Seek out three rune stones around Orzammar: one near Mines Commander in the Commons, one in the southeast caves of Caridin's Cross, one in the west central room of the Dead Trenches. Once you have accessed all three rune stones, return to the Wall of Memories and receive XP as your reward.
Stalata Negat
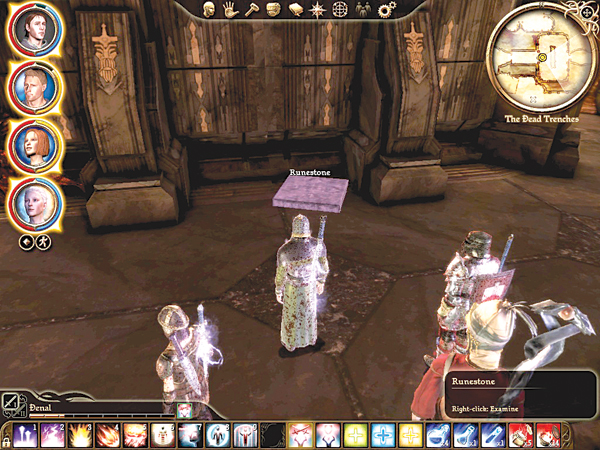
Type: Exploration
Start: Dead Trenches
Destination: Four locations in the Dead Trenches
Task: Find four rune stones
Quest Tips: Find the four rune stones in the Dead Trenches at the following places: by the Gates of Bownammar, in the northeast room, near the north genlock emissary/ghost encounter, in the corridor before the broodmother cave.
Thief in the House of Learning
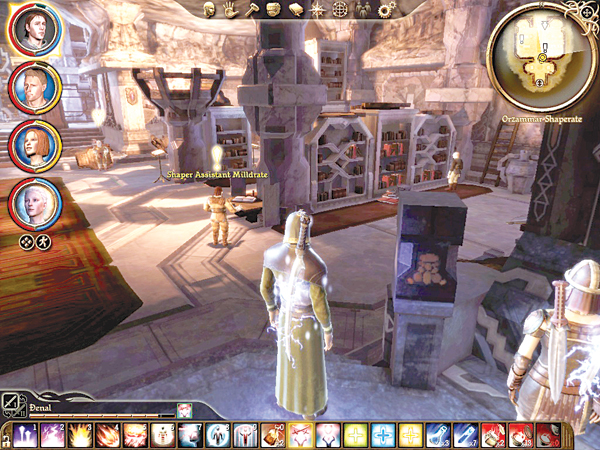
Type: Messenger
Start: Shaper Assistant Milldrate
Destination: Proving Grounds
Task: Track down the Shaperate stolen goods
Quest Tips: Talk to Shaper Assistant Milldrate to start the quest. Next, get a proving receipt from Shady Corebit in Dust Town. Then head to the Proving Grounds and demand "A Volume of Shaper History" book from Fixer Gredin. You can either return the book to Milldrate or sell it to Go-To Jertrin in the Proving Grounds.
Topsider's Honor
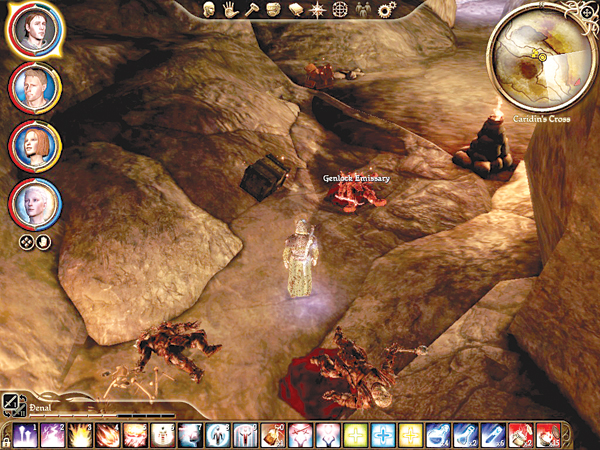
Type: Exploration
Start: Topsider's Hilt in Caridin's Cross
Destination: Warrior's Grave in Dead Trenches
Task: Reunite the three topsider's items at the Warrior's Grave
Quest Tips: Find Topsider's Hilt on the genlock emissary in south cave corridor of Caridin's Cross. Find the Topsider's Pommel in a vase in Ruck's cave. Examine the Warrior's Grave in the beginning of Ortan Thaig. Find the Topsider's Blade on an ancient darkspawn in southcentral Dead Trenches. Once you have all three items, return to the Warrior's Grave in Ortan Thaig and collect your reward.
Unintended Breakthrough
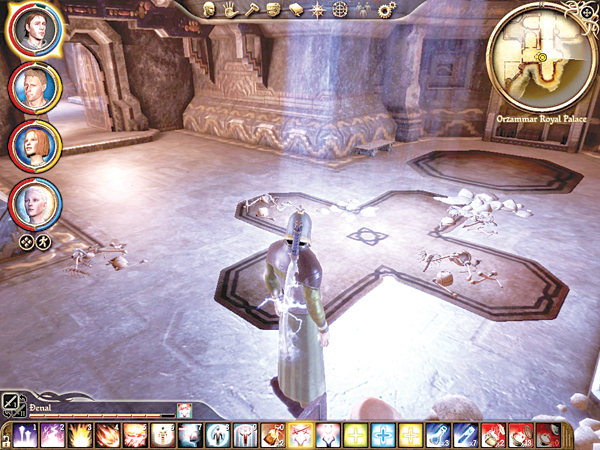
Type: Combat
Start: Side room in Royal Palace
Destination: Side room in Royal Palace
Task: Defeat the tunneling thieves
Quest Tips: When you first enter the area to the east in the Royal Palace, tunneling thieves will burrow up through the floor in the room with the brown cross on the floor. Defeat the tunneling thieves for some extra experience and thanks from the palace guards.
Zerlinda's Woe
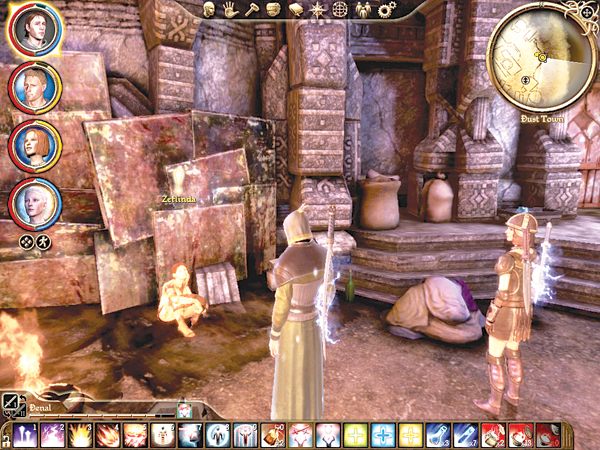
Type: Messenger
Start: Dust Town
Destination: Tapster's Tavern
Task: Convince Zerlinda's father to take her back
Quest Tips: Speak with Zerlinda in Dust Town; she has been disowned for having a child with a casteless man. Seek out Zerlinda's father, Ordel, in Tapster's Tavern. If you tell Ordel that Zerlinda will die unless he takes her back, and you make a medium Persuade check, Ordel will agree to bring Zerlinda back into the family. If your Persuade score isn't high enough, you can tell Zerlinda to go to the surface where no one cares about castes, speak to Brother Burkel (if you've completed "The Chant in the Deeps" quest and set up a Chantry in Orzammar) and he will agree to take Zerlinda and her son in, or convince Zerlinda to leave the child in the Deep Roads with a medium Persuade check.