
Dragon Age: Origins Guide Walkthrough Side Quests
The Circle of Magi
The Circle of Magi
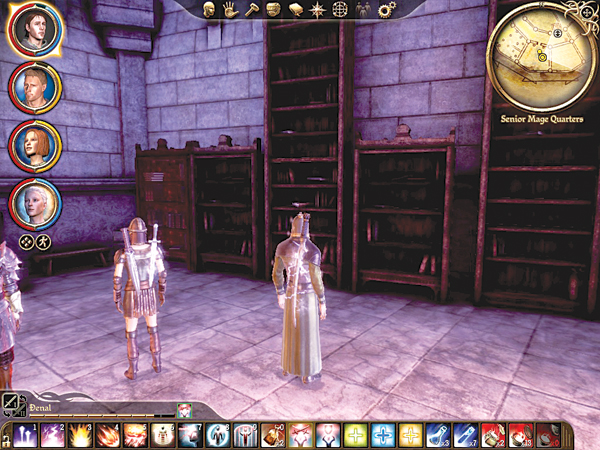
Circles Within Circles
Type: Exploration
Start: Senior Mage Quarters, Irving's Room
Destination: Irving's Bookshelf
Task: Find codex on Irving's bookshelf
Quest Tips: This is about as straightforward as it gets: Find the hidden codex on Irving's bookshelf.
Desire and Need
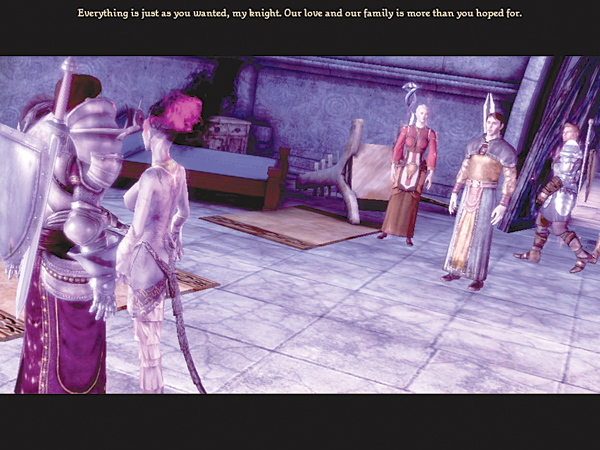
Type: Combat
Start: Great Hall
Destination: Bewitched Templar's Room
Task: Find the Notice of Censure on Bewitched Templar
Quest Tips: First, you have a battle against the desire demon and the bewitched templar. After the battle, recover the notice of censure from the downed templar. If you don't care about the censure, you have the option of letting the templar and the demon escape together, and the discussion usually triggers some interesting party dialogue and moral questions on the nature of truth and happiness.
Extracurricular Studies
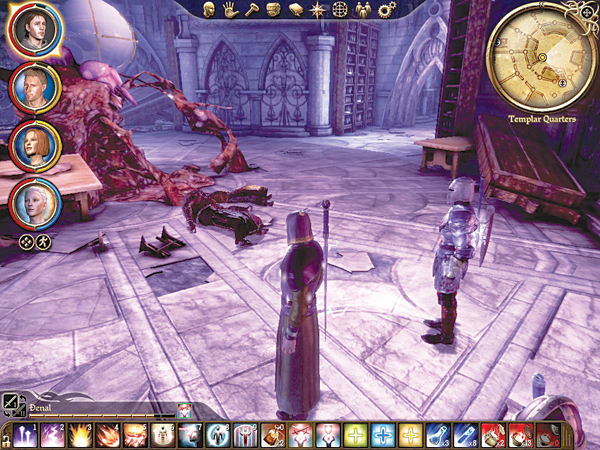
Type: Exploration
Start: Templar Quarters
Destination: Piles of Filth and Piles of Books
Task: Find three codex entries
Quest Tips: Search the Templar Quarters for three codex entries hidden in piles of filth and piles of books.
Five Pages, Four Mages
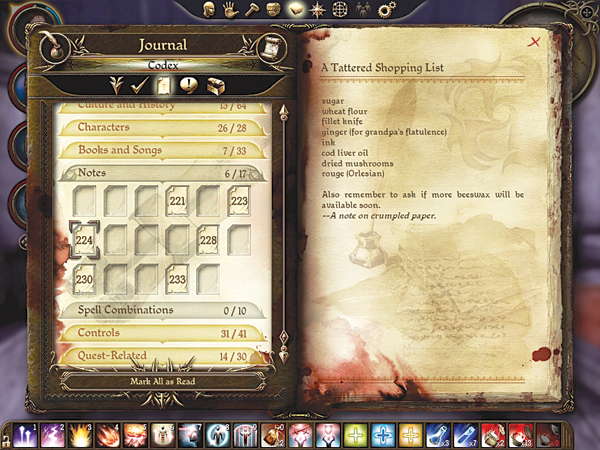
Type: Exploration
Start: Great Hall
Destination: Random encounter
Task: Find five torn pages and defeat Beyha Joam
Quest Tips: First, search the Great Hall for five torn pages. Once you have them all, journey across the world map and trigger a random encounter. Slay Beyha Joam and claim your reward.
Friends of Red Jenny
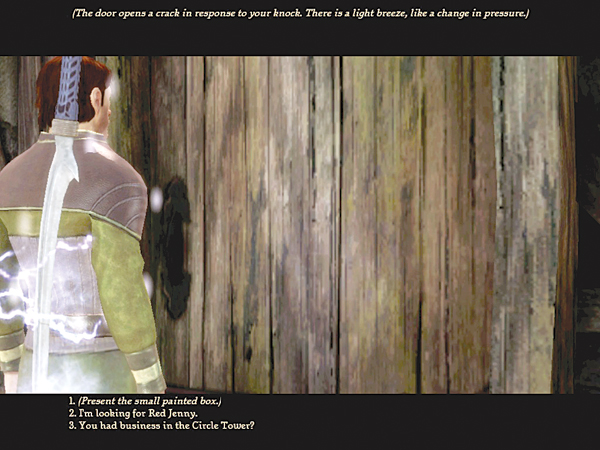
Type: Exploration
Start: The Long Road (random encounter where you meet Zevran)
Destination: Mysterious Door in Denerim Market District
Task: Return the painted box to the mysterious Friends of Red Jenny
Quest Tips: After defeating Zevran's rogue band in the Long Road random encounter, loot a note from one of the travelers. Next, retrieve the painted box in Irving's room. Finally, travel to Denerim Market District and present the box at the mysterious door in the alley behind the Gnawed Noble Tavern. No one will talk to you, but they will hand you a nice reward.
Irving's Mistake
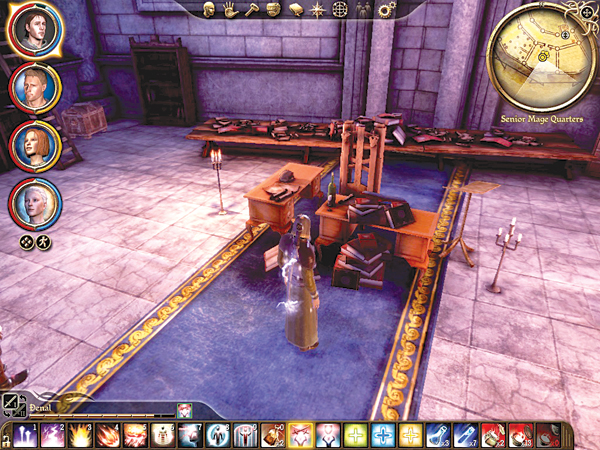
Type: Exploration
Start: Senior Mage Quarters, Irving's Room
Destination: Irving's Desk
Task: Find the codex entry on Irving's desk
Quest Tips: Another simple one: Gain the codex from Irving's desk.
Maleficarum Regrets
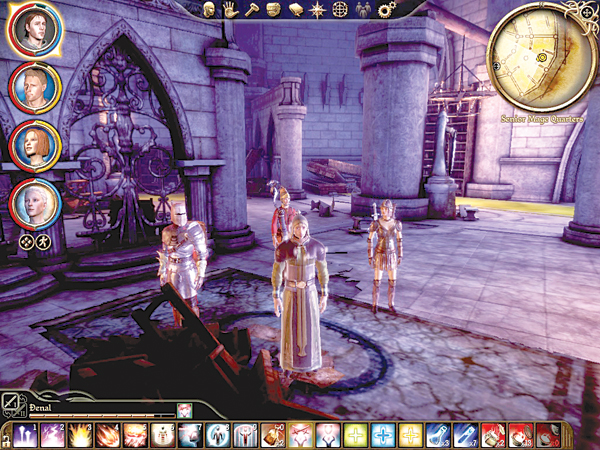
Type: Exploration
Start: Blood Mage near Lothering exit
Destination: Senior Mage Quarters
Task: Find Bel's Cache in the Circle Tower
Quest Tips: Note that this quest begins in Lothering, so be sure to pick it up before the darkspawn destroy the town. Loot the sealed letter on the blood mage near the northern Lothering exit. Follow the letter to the Circle Tower, and recover Bel's Cache on the tower's second floor.
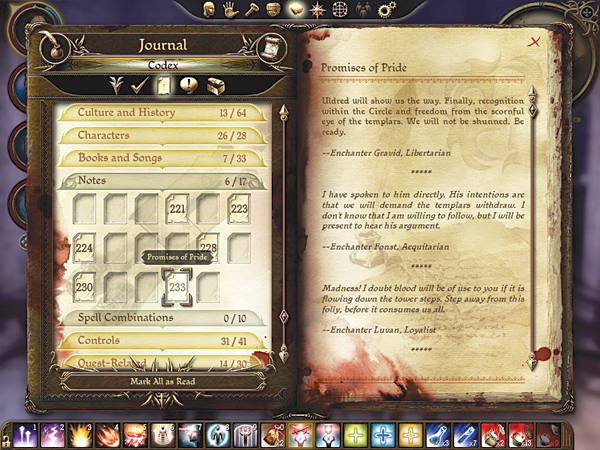
Promises of Pride
Type: Exploration
Start: A scrap of paper
Destination: Various points in the tower
Task: Find six scraps of paper
Quest Tips: Find the six scraps of paper that make up the "Promises of Pride" on these levels of the tower:
- Apprentice Quarters (first floor): Find one scrap of paper
- Senior Mage Quarters (second floor): Find two scraps of paper
- Great Hall (third floor): Find two scraps of paper
- Templar Quarters (fourth floor): Find one scrap of paper
The Spot
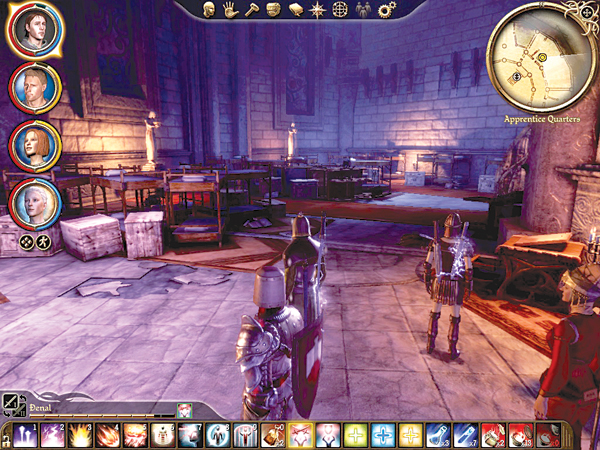
Type: Exploration
Start: Apprentice Quarters
Destination: Denri's bed
Task: Find codex and Denri's bed
Quest Tips: In the Apprentice Quarters, find the hidden codex in the bedroom area. Then click on Denri's bed for your reward.
Summoning Sciences
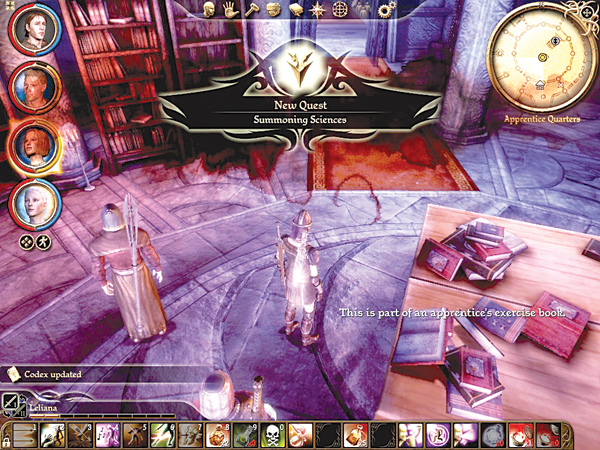
Type: Puzzle
Start: Apprentice Quarters
Destination: Various places on the first floor
Task: Find the book, click the correct summoning flames for each lesson
Quest Tips: Retrieve one or both halves of a book in the library, then click the summoning font. Summoning flames appear. Click them in the correct order for each lesson:
- Lesson 1: Spirit Hog
- Lesson 2: Trickster Whim
After successfully completing the first three lessons, click the summoning font and go through the procedure for all three exercises (minus the summoning flame step) and click "Summoning the Fourth" behind the shelves in the circular study. The second summoning exercise is needed to trigger the Trickster Whim quest. Going through the procedure for all three exercises after all three creatures are summoned actually triggers an easter egg, making Arl Foreshadow appear. You then have the opportunity to steal a note from him before he disappears, which adds a codex entry to your journal.
Watchguard of the Reaching
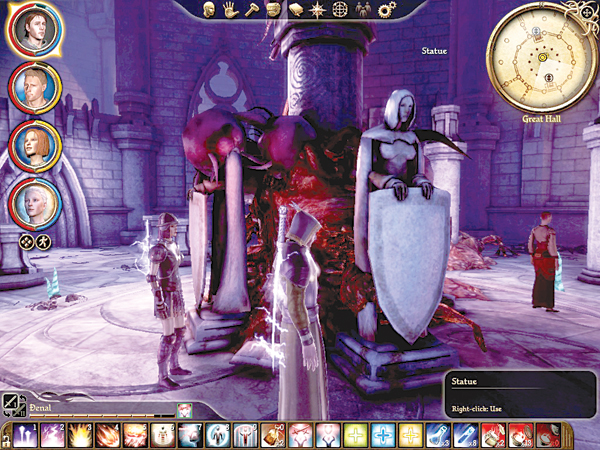
Type: Combat
Start: Codex entries
Destination: Various places in the tower
Task: Collect codex entries, click on statues, fight Shah Wyrd
Quest Tips: Find four codex entries in the following areas:
- Apprentice Quarters: Find two codex entries in footlockers, one in library.
- Senior Mage: Find one codex entry in the study by Owain, one codex entry on the opposite end of the study by the blood mages.
Great Hall: Find one codex entry near the back wall of the main room. After you find all the codex entries, activate the Great Hall statues in the correct order: vessel in hand, sword raised, sword lowered, spear raised in central area. (The statues will burn you for damage if you interact with them without activating the other items from the side quest.) Then open the door to the Basement and fight Shah Wyrd.