
Dragon Age: Origins Guide Essentials Encounters
Random Encounters
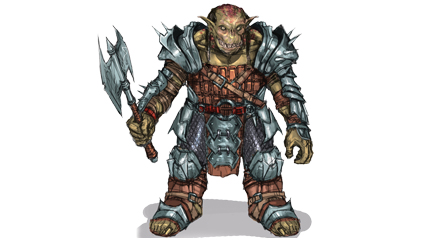
Most of your traveling encounters will be random from this list. Prepare to battle through more enemies. A few encounters will test your wits, and one will test your pocketbook.
Axe in the Stump
Trigger: Insanely low chance of triggering.
Map: Strange Wood
Description: An old axe is lodged in a stump. Peasants are convinced that whoever pulls it out will be in line to be the next ruler of Ferelden.
Actions: There is no combat in this encounter. Simply pull the axe from the stump. It may not make you the next ruler of Ferelden, but at least you'll get a nice axe from the deal.
Bandits
Trigger: Low chance during travels to any forest location.
Map: River Crossing
Description: Party is caught in a bandit ambush by a stream.
Actions: Defeat the bandits.
Demons
Trigger: After the mage tower has fallen, during a plains visit.
Map: Steep Path
Description: A little off the beaten path where the Veil has thinned since the fall of the mages' tower, a group of fire demons are being created from living fire.
Actions: Defeat the flaming demons.
Demons 2
Trigger: After the "Broken Circle," and only if the tower has fallen.
Map: Lakeside Road
Description: After the tower has fallen, the templars are still cleaning up the remnants. Now they're over their heads in demons, and you must help them.
Actions: Defeat all the demons. Rescue as many templars as possible.
Dwarven Army
Trigger: After "Paragon" plot is completed.
Map: Winding Road
Description: A group of dwarves from Orzammar fight the darkspawn.
Actions: Defeat the darkspawn and save the dwarves.
Elven Army
Trigger: After "Nature of the Beast." You must have allied with the elves.
Map: Rocky Road
Description: Group of elves from your army fight the darkspawn.
Actions: Defeat the darkspawn and save the elves.
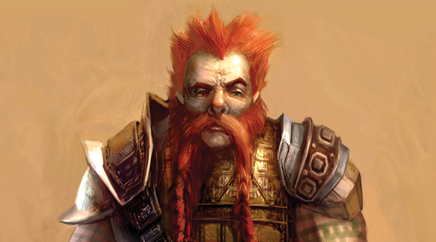
Elves and Werewolves
Trigger: After completing "Nature of the Beast" if you did not free the elves from the curse. Small chance traveling to forest locations.
Map: Forest Path
Description: The elves and werewolves are fighting each other. Help your ally.
Actions: Help the side you allied with.
Mages
Trigger: After the "Broken Circle," assuming you saved the mages.
Map: Roadside
Description: A group of mages is beset by darkspawn.
Actions: Protect the mages and kill the darkspawn.
One Ring
Trigger: Very small chance at any time while traveling to a forest location.
Map: Treacherous Path
Description: Get ambushed by some shades, including a greater shade, after seeing a pair of elves.
Actions: Defeat the shades and claim the treasure, including the ring on the bodies.
Orzammar Rebels
Trigger: Finish "Paragon."
Map: Forest Incline
Description: Dwarven rebels from the opposing faction track you down and lay an ambush.
Actions: The dwarven clan that didn't get the throne will ambush your party. Defeat them.
Redcliffe Army
Trigger: After Arl Eamon awakens.
Map: Roadside Field
Description: Soldiers from Redcliffe fight a unit of darkspawn.
Actions: Defeat the darkspawn and rescue the soliders.
Spiders
Trigger: Chance any time while traveling to a forest location.
Map: Dark Forest
Description: Combat in a spider-infested forest.
Actions: Through this snake-like forest, spiders will drop from the trees to attack. Defeat them all. Then defeat the spider queen. Watch out for the web traps.
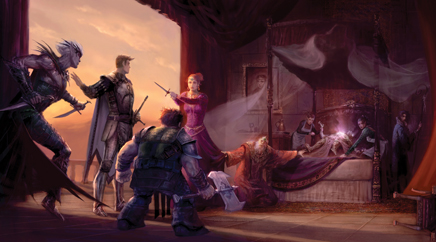
Stealing Payback
Trigger: If you pickpocketed or stole from the Dalish elves, this will trigger traveling to some forest location afterward.
Map: Wooded Hills
Description: An elf hunter named Melora will track you down if you've stolen from the Dalish elves.
Actions: Defeat Melora and her hunters.
Super Metal (DLC Only)
Trigger: Very small chance of occurring during travels to the plains locations.
Map: The Crater
Description: Encounter a couple who visited a recent meteor crash site. They leave, but some ore is left behind.
Actions: Watch the cutscene, go into the crater. You can get a hunk of "star metal" in this random encounter, and if you bring that to a blacksmith named Mikhael in the Grey Warden base at Soldier's Peak (downloadable content), he'll craft it into a weapon for you. Mikhael shows up only once you've completed that plot (made the fortress secure). The choice of weapon is: Starfang (Longsword, dexterity +3, damage +3, armor penetration +5) or Starfang (Greatsword, strength +3, armor penetration +5, attack +8).
Surprising the Bandits
Trigger: Traveling to a forest location, small chance.
Map: Twisted Path
Description: You get to ambush bandits this time around if you like.
Actions: Choose to either attack the bandits, or try to sneak past them. If you wait, you will be discovered and have to fight them anyway. To sneak past them, back up from your listening point, turn left and follow the path down. Skirt the outside of the camp and you can avoid them entirely.
Templars
Trigger: After stealing (pickpocketing) in the "Broken Circle" tower, and finishing the "Broken Circle" plot.
Map: Narrow Road
Description: You've been caught stealing from the templars. Either pay up or face justice.
Actions: The templars stop you on the road and accuse you of stealing. They charge you a fee based on your character's level, in compensation. If you pay, they will leave. If you don't pay, you will have a rather difficult fight.
Traveling Merchant
Trigger: Low chance of happening any time while traveling to a non-forest location.
Map: Gentle Path
Description: There is no battle here, only a merchant selling his wares.
Actions: This encounter is repeatable. The merchant here sells various odds and ends, and he will pop up now and then. You can buy some gifts for the companions here. You may want to wait on weapons and armor: if you come back later they will be more powerful, but if you bought the items earlier, he will be out of stock.
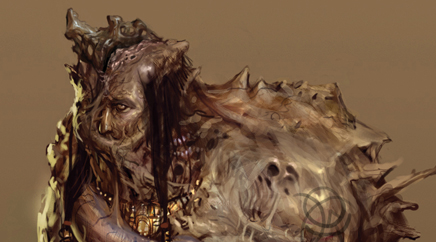
Twisted Beasts
Trigger: Medium chance at any time when traveling to plains locations.
Map: The Low Road
Description: Blighted creatures attack the party.
Actions: Defeat the Blighted creatures.
Werewolf Army
Trigger: After "Nature of the Beast," assuming the elves' curse wasn't lifted. You must have allied with the werewolves.
Map: Wooded Highway
Description: The werewolves fight darkspawn on the road. They need your help.
Actions: Defeat the darkspawn and save the werewolves.
Werewolves
Trigger: After "Nature of the Beast" is completed and if the curse wasn't lifted from the elves. Traveling to a forest region.
Map: Forest Clearing
Description: A group of werewolves ambush the player.
Actions: A group of werewolves surround and ambush the party.
Wild Sylvans
Trigger: After "Nature of the Beast," traveling to any forest location.
Map: Twisted Forest
Description: Attacked by the forest itself.
Actions: The sylvans surround the party from all sides. Defeat them.
Wolves
Trigger: Medium chance at any time.
Map: Desolate Highway
Description: Attacked by a group of wolves on the highway.
Actions: Defeat the wolves. Try to avoid the traps.