
Dragon Age: Origins Guide Essentials The Classes
The Warrior: Specializations
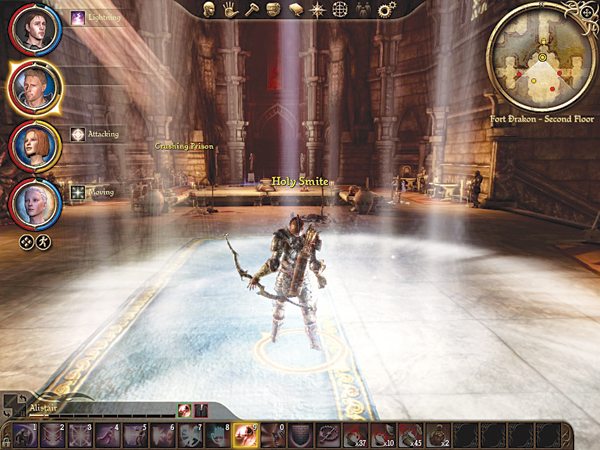
Each class can learn two out of the four possible specializations throughout the course of the game. Your first specialization can be learned at level 7; your second at level 14. Most companions can teach a specialization, though your approval rating must be high enough for the companion to want to teach you.
Oghren, for example, can teach the warrior's berserker specialization. Specializations are difficult to achieve, but very rewarding if you gain one.
As long as the specific abilities fit with your play style and character breakdown, a specialization is generally worth spending points in over regular talents.
Definitely experiment with specializations. A tank could, for example, specialize in templar to take out spellcasters even if he can't get to them directly. However, here are some suggested play style fits for the four specializations:
Berserker
- Primary: DPS (max out damage at the expense of stamina)
- Secondary: Knockout punch (use Final Blow to finish off a foe but exhausts you in a long fight)
Champion
- Primary: Party buffer (increase attack and defense bonuses for everyone)
- Secondary: Enemy control (use Superiority to knock enemy groups off their feet)
Reaver
- Primary: AoE DPS (radiate spirit damage and fear)
- Secondary: Health resilient (absorb health from nearby corpses)
Templar
- Primary: Mage killer (pound enemy mages with abilities)
- Secondary: Dispel magic (clean area of spell effects)
Warrior Specializations
Learned From: Oghren (Companion), Gorim (Denerim Market)
| Specialization | Talent Name | Prerequisite Level | Description | Cost (mana/stamina) | Upkeep (mana/stamina) | Fatigue (% mana/stamina) | Ranged | Cooldown (sec.) | Area of Effect Radius (ft.) |
|---|---|---|---|---|---|---|---|---|---|
| Berserker | Berserk | 7 | The stench of blood and death drives the berserker into a willing fury, providing a bonus to damage. Rages incur a penalty to stamina regeneration, however, which Constraint reduces. Resilience adds a bonus to health regeneration in this mode. | 0 | 20 | 5 | No | 30 | 0 |
| Resilience | 8 | Rages no longer wear so heavily on the berserker's body. The stamina regeneration penalty applied by Berserk is reduced, and the berserker gains a bonus to nature resistance. | 0 | 0 | 0 | No | 0 | 0 | |
| Constraint | 10 | The berserker has learned to retain control during rages, reducing Berserk's penalty to stamina regeneration. | 0 | 0 | 0 | No | 0 | 0 | |
| Final Blow | 12 | All the berserker's stamina goes into a single swing. If the blow connects, the attack inflicts extra damage proportional to the amount of stamina lost. | 0 | 0 | 0 | No | 60 | 0 |
Learned From: Arl Eamon (at the end of the "Urn of Sacred Ashes" quest line)
| Specialization | Talent Name | Prerequisite Level | Description | Cost (mana/stamina) | Upkeep (mana/stamina) | Fatigue (% mana/stamina) | Ranged | Cooldown (sec.) | Area of Effect Radius (ft.) |
|---|---|---|---|---|---|---|---|---|---|
| Champion | War Cry | 7 | The champion lets out a fearsome cry that gives nearby enemies a penalty to attack. With Superiority, nearby enemies are also knocked down unless they pass a physical resistance check. | 25 | 0 | 0 | No | 20 | 10 |
| Rally | 12 | The champion's presence inspires nearby allies, giving them bonuses to attack and defense while this mode is active. When coupled with Motivate, the attack bonus increases. | 0 | 50 | 5 | No | 30 | 10 | |
| Motivate | 14 | The champion inspires allies to attack with renewed vigor. The Rally talent now increases attack, in addition to its defense bonus. | 40 | 30 | 0 | No | 0 | 0 | |
| Superiority | 16 | The champion is so fearsome that War Cry now knocks nearby opponents off their feet unless they pass a physical resistance check. | 60 | 0 | 0 | No | 0 | 0 |
Learned From: Kolgrim (Wrymling Lair)
| Specialization | Talent Name | Prerequisite Level | Description | Cost (mana/stamina) | Upkeep (mana/stamina) | Fatigue (% mana/stamina) | Ranged | Cooldown (sec.) | Area of Effect Radius (ft.) |
|---|---|---|---|---|---|---|---|---|---|
| Reaver | Devour | 7 | The reaver revels in death, absorbing the lingering energy of all nearby corpses, each of which partially restores the reaver's own health. | 25 | 0 | 0 | No | 30 | 5 |
| Frightening Appearance | 12 | This talent focuses the reaver's unsettling countenance into a weapon, making a target cower in fear unless it passes a mental resistance check. Frightening Appearance also increases the effectiveness of Taunt and Threaten. | 25 | 0 | 0 | No | 20 | 0 | |
| Aura of Pain | 14 | Radiating an aura of psychic pain, the reaver takes constant spirit damage while this mode is active, as do all enemies nearby. | 0 | 60 | 5 | No | 45 | 4 | |
| Blood Frenzy | 16 | Driven by pain, the reaver gains larger bonuses to damage whenever health decreases. Because this mode also incurs a penalty to health regeneration, the reaver flirts with death the longer the frenzy persists. | 0 | 60 | 5 | No | 60 | 0 |
Learned From: Alistair (Companion), Bodahn's Wares (Party Camp)
| Specialization | Talent Name | Prerequisite Level | Description | Cost (mana/stamina) | Upkeep (mana/stamina) | Fatigue (% mana/stamina) | Ranged | Cooldown (sec.) | Area of Effect Radius (ft.) |
|---|---|---|---|---|---|---|---|---|---|
| Templar | Righteous Strike | 7 | Templars are enforcers specifically chosen to control mages and slay abominations. Each of the templar's melee hits against an enemy spellcaster drains its mana. | 0 | 0 | 0 | No | 0 | 0 |
| Cleanse Area | 9 | The templar purges the area of magic, removing all dispellable effects from those nearby. Friendly fire possible. | 40 | 0 | 0 | No | 30 | 10 | |
| Mental Fortress | 12 | The templar has learned to focus on duty, gaining a large bonus to mental resistance. | 0 | 0 | 0 | No | 0 | 0 | |
| Holy Smite | 15 | The templar strikes out with righteous fire, inflicting spirit damage on the target and other nearby enemies. If the target is a spellcaster, it must pass a mental resistance check or else loses mana and takes additional spirit damage proportional to the mana lost. All affected enemies are stunned or knocked back unless they pass physical resistance checks. | 75 | 0 | 0 | Yes | 40 | 5 |
Gear
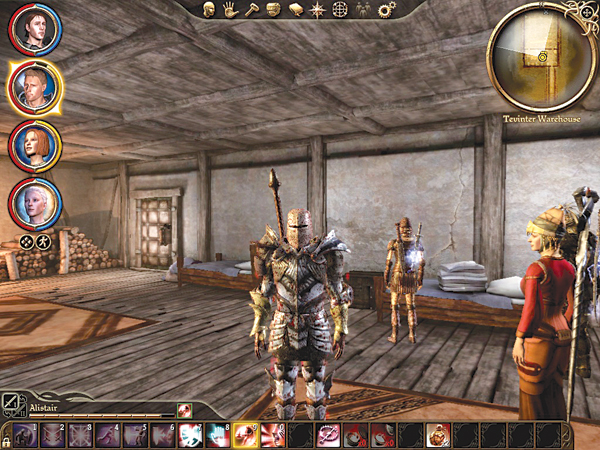
Warriors get the cream of the crop when it comes to weapons and armor. With so many choices, you really need to decide what talents you'll be concentrating on to pick the best equipment.
You don't, for instance, want an awesome two-handed sword if you're training in Weapon and Shields. Any weapon that grants you strength (or dexterity for warriors in Archery and Dual Weapon) should be considered.
Bonuses to damage, attack, and criticals can be great too. If you want more defense, bulk up your armor rating, but it's always a fine line between great armor rating and too much fatigue.
Armor doesn't do a lot of good if you can't use any of your talents. You can always look for armor with a bonus to armor rating (no fatigue penalty), or even armor that grants constitution bonus or healing bonus.
There's more warrior gear than you could ever hope to equip in a single play. The general rule of thumb is to wait for loot that serves as an upgrade and snatch it up.
If you have extra coin to buy a nice gear upgrade, feel free to spend away, though most of the low-level equipment will be easily replaced by future loot, and the high-level equipment is very expensive (generally bought during the Landsmeet for a run at the archdemon).
With so much good gear, here are some beauties to shoot for based on beginning (1–5), intermediate (6–10), advanced (11–15), and expert levels (16–20):
| Lvl 1-5 | Lvl 6-10 | Lvl 11-15 | Lvl 16-20 | |
|---|---|---|---|---|
| Armor | Heavy Chainmail | Dwarven Heavy Armor | Armor of Diligence |
Evon the Great's Mail, Wade's
Superior Dragonbone Plate Armor |
| Helm | Commander's Helm | Knight Commander's Helm | Juggernaut Helm | Corruption |
| Boots | Heavy Chainmail Boots | Effort's Boots | Wade's Dragonbone Plate Boots |
Wade's Superior Dragonbone
Plate Boots, Juggernaut Plate Boots |
| Gloves | Heavy Plate Gloves | Gloves of the Legion | Wade's Superior Dragonbone Plate Gloves | Juggernaut Plate Gloves |
| Shield | Aeducan Shield | Redcliffe Elite Shield | Eamon's Shield | Duncan's Shield |
| Two Handed | Balanced Greatsword | Asala (Sten only) | The Summer Sword | Chasind Great Maul |
| One Handed | Borrowed Longsword | Saw Sword | Imperial Edge | King Maric's Blade |
Party Responsibilities
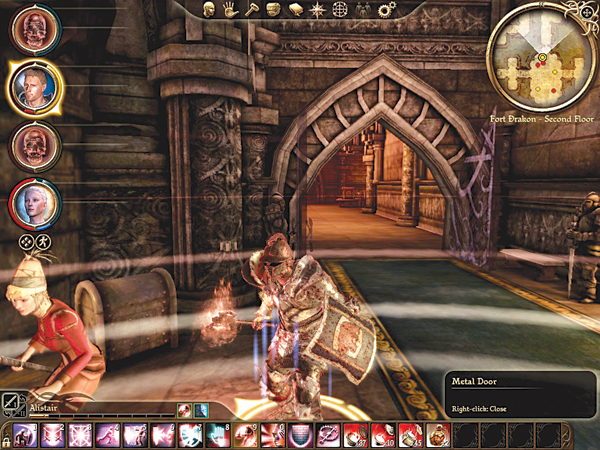
Are you the party's tank or a damage-dealer? If you're the tank, your primary responsibility is holding threat and making sure that none of your companions die.
That generally means stocking up on defensive talents and gear. If you're melee or ranged DPS, you can concentrate on offense and how much damage you can deal to enemy combatants.
All non-tank warriors need to be aware of threat and avoid pulling too much at once. Learn to time your attacks so you don't create too much threat on yourself, yet deal significant damage to the enemy.
If your warrior is the main PC, the other three companions should fill in talents around you for a well-balanced party.
If you're building up a companion warrior, look to fill in where the party is lacking. Not dealing enough damage? Crank up the offense. Tank having trouble holding all the enemies? Invest in some off-tank talents, such as Taunt, to grab enemies when needed.
In the final party configuration, your PC should play whatever role you have the most fun with while the other three companions add the components necessary to maximize your combat efficiency.
The warrior ranks highest of the three classes in access to weapons and armor. Your talents and gear allow you to defensively tank for the group, deal huge amounts of single-target damage, and chip in with AoE every once and a while.
There's no tougher adventurer in the land, so if you want to get right in the face of a raging hurlock or slash through spider ichor, step into the boots of a warrior.