
Dragon Age: Origins Guide DLC The Stone Prisoner
Walkthrough
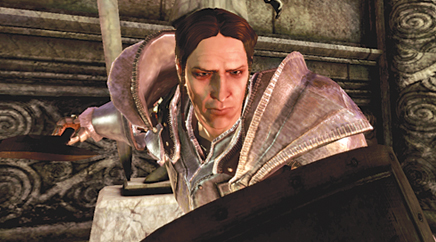
Village of Honnleath
A. Once you have downloaded "The Stone Prisoner," you will find Felix at Sulcher's Pass on the western side of your world map.
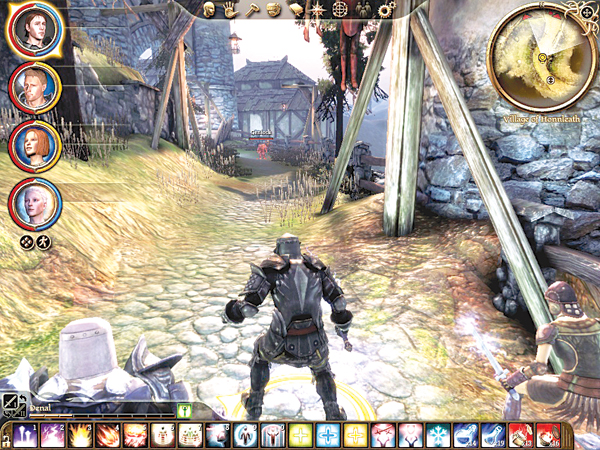
Visit him there and accept the quest to the Village of Honnleath after he gives you the special golem control rod. A new location appears on your world map, and you can enter the village. Be careful, for darkspawn lurk at almost every turn.
B. The first darkspawn wave meets you at the village gate and the first clearing inside the village. Pull the genlocks at the gate toward you with a ranged attack and dispatch them easily with AoE damage and melee attacks once they close.
In the clearing near the well, engage the first group and watch for a second darkspawn group to assault you from the hill to the north. Don't take too long with the first group; the second group will stay clear and strike you with arrows. The damage will pile up the longer the encounter goes on.
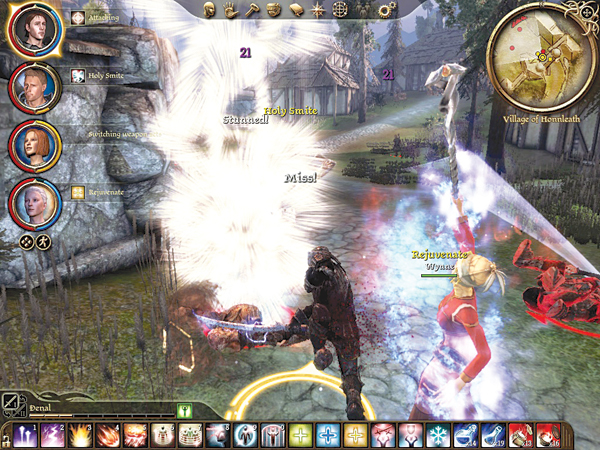
New "Stone Prisoner" Items
Want some new gear to deck out your character? There are eight new pieces in "The Stone Prisoner" quest line, each of which can be found on a creature or at specific location:
- Blood Gorged Amulet (Hurlock emissary in Cadash Thaig)
- Cadash Stompers (Cadash Thaig ogre)
- Cord of Shattered Dreams (Kitty)
- Dead Thaig Shanker (Cadash Thaig chest)
- Harvest Festival Ring (Dust wraith leader in Wilhelm's Cellar)
- Helm of Honnleath (Kitty)
- Oalf's Prized Cheese Knife (Locked chest in village)
- Wilhelm's Magus Staff (Kitty, if you ask for a reward in return for freeing her)
New items appear at vendors as well. The following items can now be purchased as gifts for Shale.
- Remarkable Amethyst (Alimar's Emporium, Orzammar's Dust Town)
- Remarkable Diamond (Garin's Gem Store, Orzammar Commons, console version only)
- Remarkable Emerald (Figor's Store, Orzammar Commons)
- Remarkable Garnet (Wonders of Thedas Store, Denerim Market District)
- Remarkable Greenstone (Cellars, Village of Honnleath)
- Remarkable Malachite (Shaperate Store, Circle Tower)
- Remarkable Ruby (Alarith's Store, Denerim's Elven Alienage)
- Remarkable Sapphire (Legnar's Store, Orzammar Commons)
- Remarkable Topaz (Faryn's Store, Frostback Mountains)
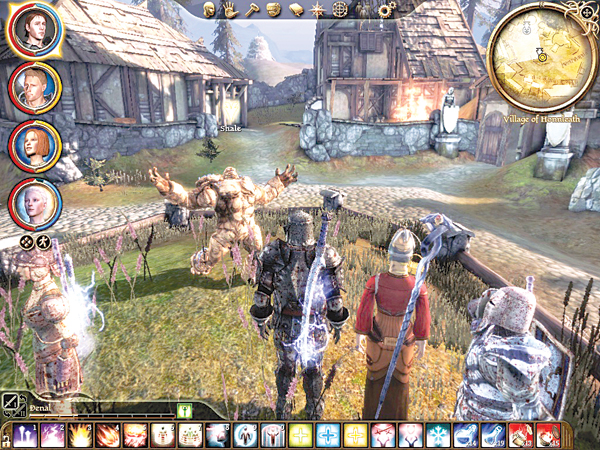
C. Genlocks and hurlocks led by a hurlock alpha comprise the second darkspawn wave in the town square around the immobilized golem, Shale.
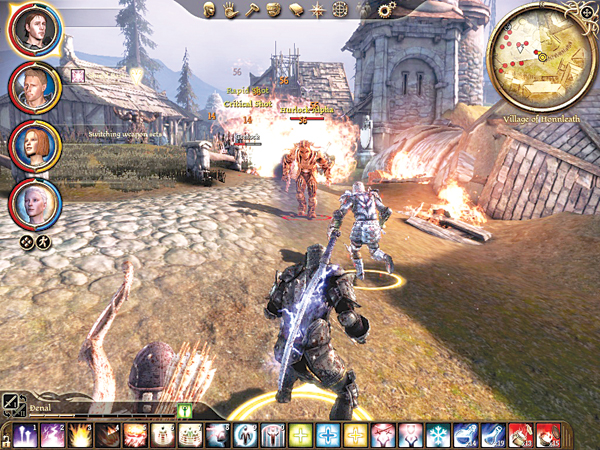
The group on the eastern side will likely engage first. Watch for the second group to loop around and flank your party. The tank should line up with the hurlock alpha, while a mage with AoE damage or multiple melee DPSers handle the rest of the throng. The tank can join the rest once the hurlock alpha falls.
D. Interact with Shale after the battle. The golem's still stuck in a frozen stance, even after you try your control rod. You need a new activation phrase, so you'll have to find the rest of the villagers who are holed up in Wilhelm's Cellar under the village. Grab the bloodied bronze key from the dead villager corpse by Shale and use it to loot Olaf's chest, located back near the village gate, and then head through the cellar door.
Wilhelm's Cellar
A. Enter Wilhelm's Cellar and cut through the darkspawn in the research library. Two enemy groups of genlocks and hurlocks will try to swarm you. Hit them with ranged attacks and finish off the stragglers when they near melee range. If you get thirsty, you can stop for Wilhelm's Special Brew (a gift Oghren will particularly enjoy) before the next encounter.
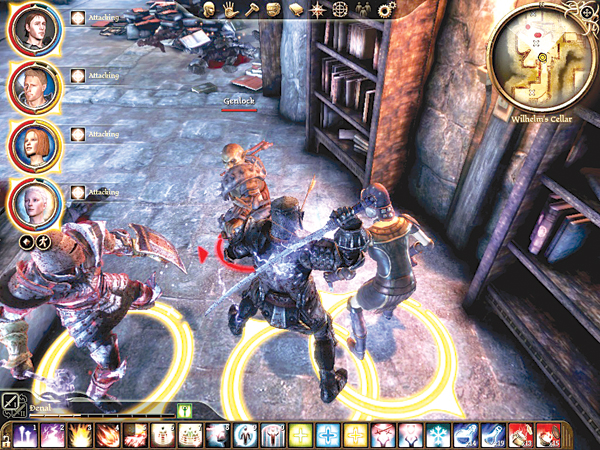
B. In the next room a whole lot of darkspawn, led by a genlock emissary, threaten the remaining villagers. Matthias has the villagers safely behind a force field, but you must destroy all the darkspawn to talk to Matthias. A big AoE attack from the doorway can reduce the numbers, while more ranged fire concentrates on the emissary to drop it before a counterattack. After your AoE flurry, race in and sweep through the half-dead darkspawn that remain.
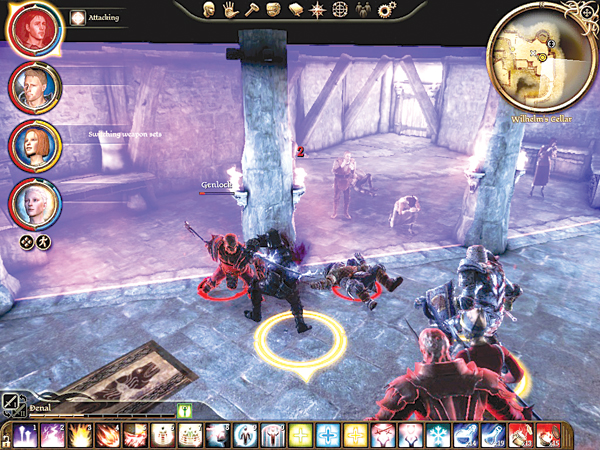
C. Interact with the protective field to begin a conversation with Matthias. He asks that you help find his daughter Amalia who is lost deeper in the mage laboratory. In return, Matthias will give you the golem activation phrase for Shale. In the next room, a dust wraith and lesser shades materialize and attack. The tank should grab the dust wraith while the party cuts down the lesser shades. Once the dust wraith dies, it's clear till the final encounter.
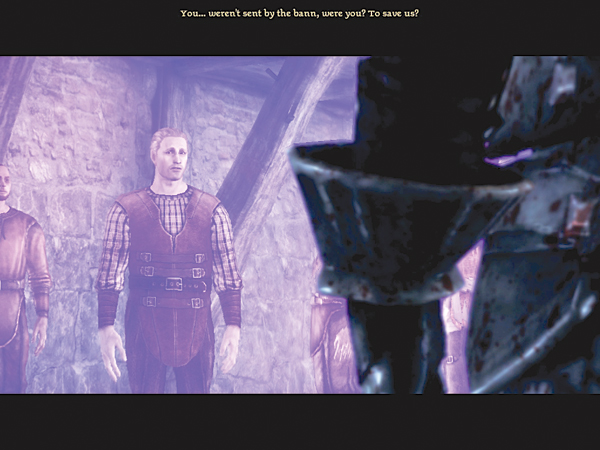
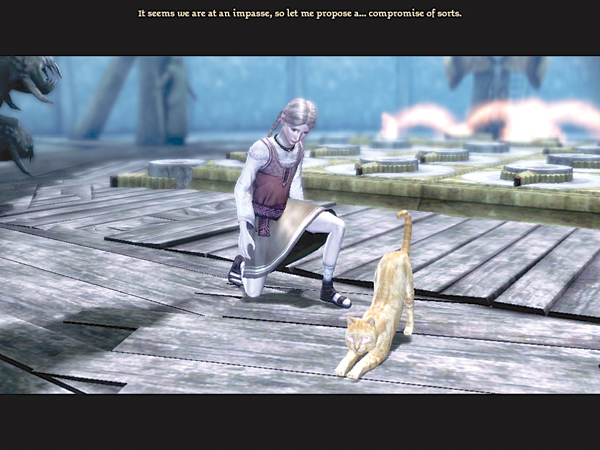
D. In the final cellar chamber, you meet up with Amalia and her cat Kitty. Turns out that Kitty is a demon who has Amalia completely enthralled. If you want to take the shortest path to completing the quest, then refuse to help the demon. Kitty will possess Amalia (no matter what you try) and you must defeat the demoness. She summons lesser rage demons to distract you. Ignore them as best as possible and fix all damage on Kitty. She will fall eventually, and then the lesser rage demons next. Return to Matthias and tell him that his beloved Amalia didn't make it. Matthias will thank you for trying and give you the golem activation phrase.
Siding with the Demon
You don't have to fight Kitty immediately. You can also side with her or try to trick her. If you agree to help the demoness, you have two main choices: complete the chamber puzzle to free Kitty or return to Matthias and tell him what happened.
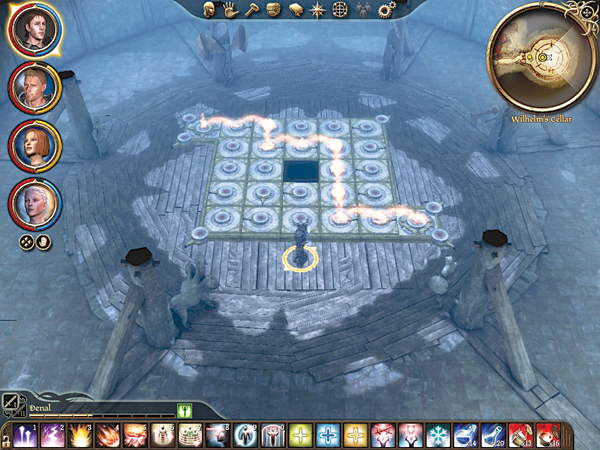
If you attempt the puzzle, you must connect the flaming torch on the initial corner with the one on the opposite corner (see screenshot). Slide the tiles so that the arrows flow the fire in the proper direction. Tile arrows pointing into each other will extinguish the blaze. Keep working the arrows and slowly move in the direction of the opposite corner.
With the puzzle beaten, the field holding Kitty in the room drops. The demoness will possess Amalia (though you can demand a reward to let her do so), and the new "Amalia" returns to her father's side. Matthias is fooled and gives you the golem activation phrase.
In the puzzle room, it's also possible to lie to Kitty about completing the puzzle. Refuse to let Kitty possess Amalia and the girl actually runs away and escapes. You then have to fight Kitty.
If you agreed to help the demoness, but leave the room and tell Matthias about the events, he rushes to save his daughter and gets possessed himself. At that point, you can either let the demoness go or not. If you do, Matthias and Amalia leave after giving you the activation phrase for Shale. If you refuse to let the demoness go, Amalia runs away and you're forced to battle the Kitty-possessed Matthias.
Head back up to the surface and speak with Shale. The new activation phrase works, and Shale joins your party after a little bit of convincing. The golem can either take the role of main tank or melee DPSer; Shale's new golem talents work incredibly well in either role. You can continue with your main quests, or, if you've already met the dwarven paragon Caridin in the Deep Roads beneath Orzammar, speak with Shale back at party camp and venture forth on the golem's personal quest into Cadash Thaig.
Cadash Thaig
Side Quests A. You can unlock Shale's personal quest only after completing "Paragon of Her Kind." If you side with Caridin, or side with Branka and Persuade Shale to stay after the battle, then Shale tells you about Cadash Thaig either at the Anvil of the Void (if Shale is in your party) or back at party camp.
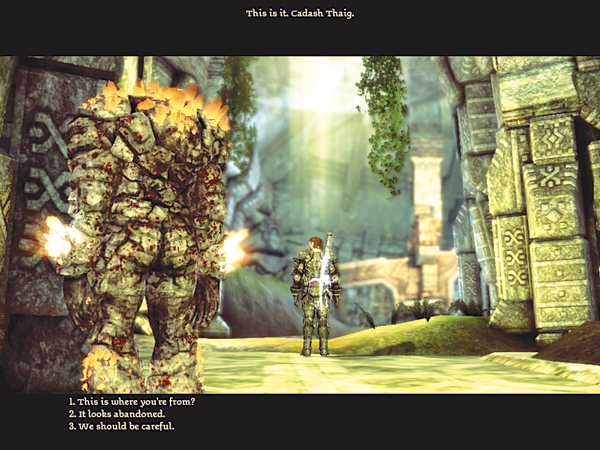
After Shale tells you about Cadash Thaig in party camp, seek out the Deep Roads in Orzammar. Shale will comment on Cadash Thaig and add it to your Deep Roads map when you enter Caridin's Cross (following Branka's defeat). Once you enter the Thaig, however, genlocks, hurlocks, and shrieks will harass you near the entrance.
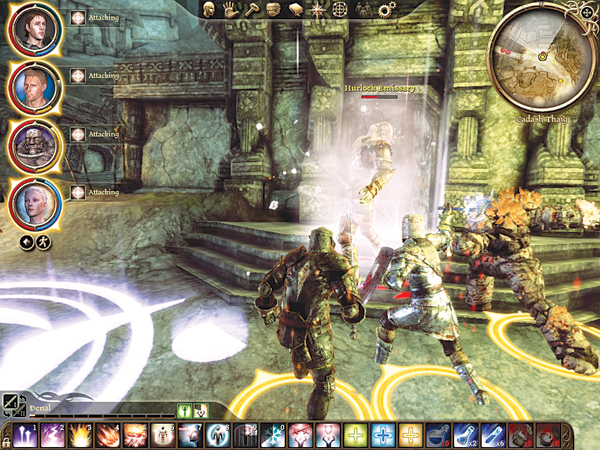
B. Watch out for traps before the first bridge and near the ancient structures where the deepstalkers spawn. Once the deepstalkers thin out, a series of darkspawn ambushes will try to end your adventuring career. First, past the rubble pile, genlock rogues appear around you and look for backstab attacks.
A group of genlocks and hurlocks will join in from the buildings to the north. After them, more hurlocks stream out in front of a hurlock alpha who takes aim on the party from afar. The alpha will stay in its protected alcove and deal critical hit after critical hit. When you close on him, genlock rogues appear to defend him.
You may also get genlocks from the bridge to the north. Finally, after all those enemies lie still, you can proceed to the final encounter.
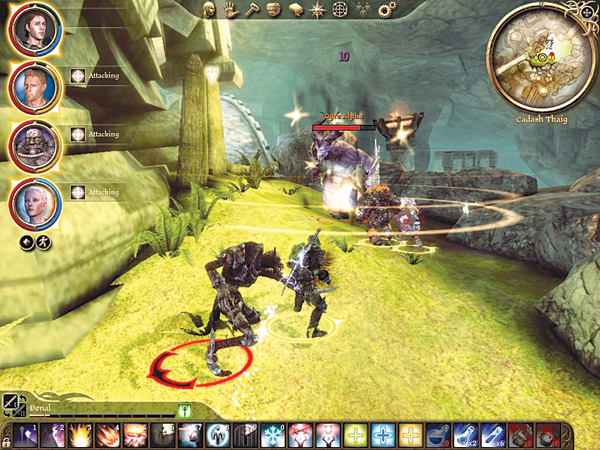
C. An ogre alpha guards some treasure and a monolith that holds some answers about Shale's past. Send the tank at the ogre and prepare for a swarm of shrieks to appear when you engage. Battle off the shrieks; the healer should concentrate heals on the tank and watch for health drops in the rest of the party while they fight the shrieks.
Unload whatever big damage attacks you have; this is the last fight. When the ogre and shrieks are down, let the golem uncover its ancient origins and then partake of the treasure from the broken chest. Continue speaking with Shale after Cadash Thaig and your approval should keep rising with the formidable golem.