
Dragon Age: Origins Guide Essentials The Party
Healing
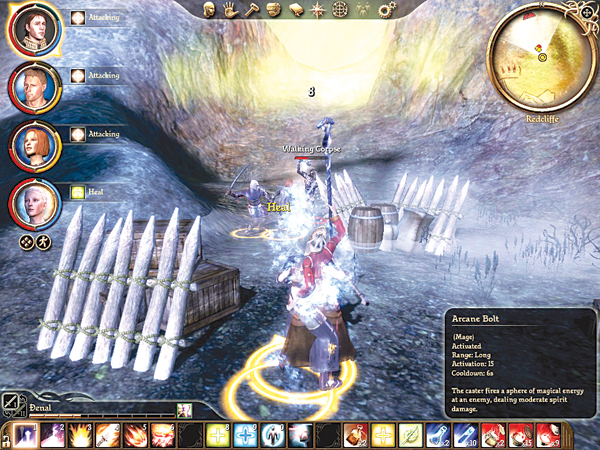
The party's healer will save or damn a group when an encounter gets hot and heavy. As a healer, you have to know when to launch your Group Heal, when to throw around a Heal or Regeneration, and when to avoid healing.
In general, save your big heal to counteract large spike damage (unexpected damage that crits through a party members' defense for a significant amount of health), or if you desperately need to float a party member's health back up to a manageable level.
Those levels will depend on the enemy's damage and how much backup healing and mana you have at your disposal, but you shouldn't panic unless a party member's health is consistently dropping below the one-third mark.
Even then, the healer's main responsibility is to the tank, then himself. Keep the tank alive, even if it means losing a DPSer in the fight.
If the tank falls, the whole party will most likely perish. A good rule of thumb is to never switch off the main tank unless another companion's health is dropping rapidly.
If you have to heal elsewhere, switch to the party member that needs help, throw a single Heal or Regeneration, and return to the main tank immediately.
A healer definitely must learn when not to heal. Obviously, you must conserve your mana so you don't run out at a crucial time, but you must also look at the big picture.
You only have so many heals you can throw around, and the majority will be directed at the tank.
You don't want to let anyone drop, but if you find yourself limited, you may have to skip a heal or two that you would have normally cast and let everyone's health bars get much closer to zero.
Unless you are cruising through an encounter, you should never heal a non-party member, such as a blue-circled ally or one of the ranger's summoned animals. These allies are expendable, and the ranger's pets can always be re-summoned.