L.A. Noire Guide Walkthrough The Vice Cases
CASE# AV005: Manifest Destiny
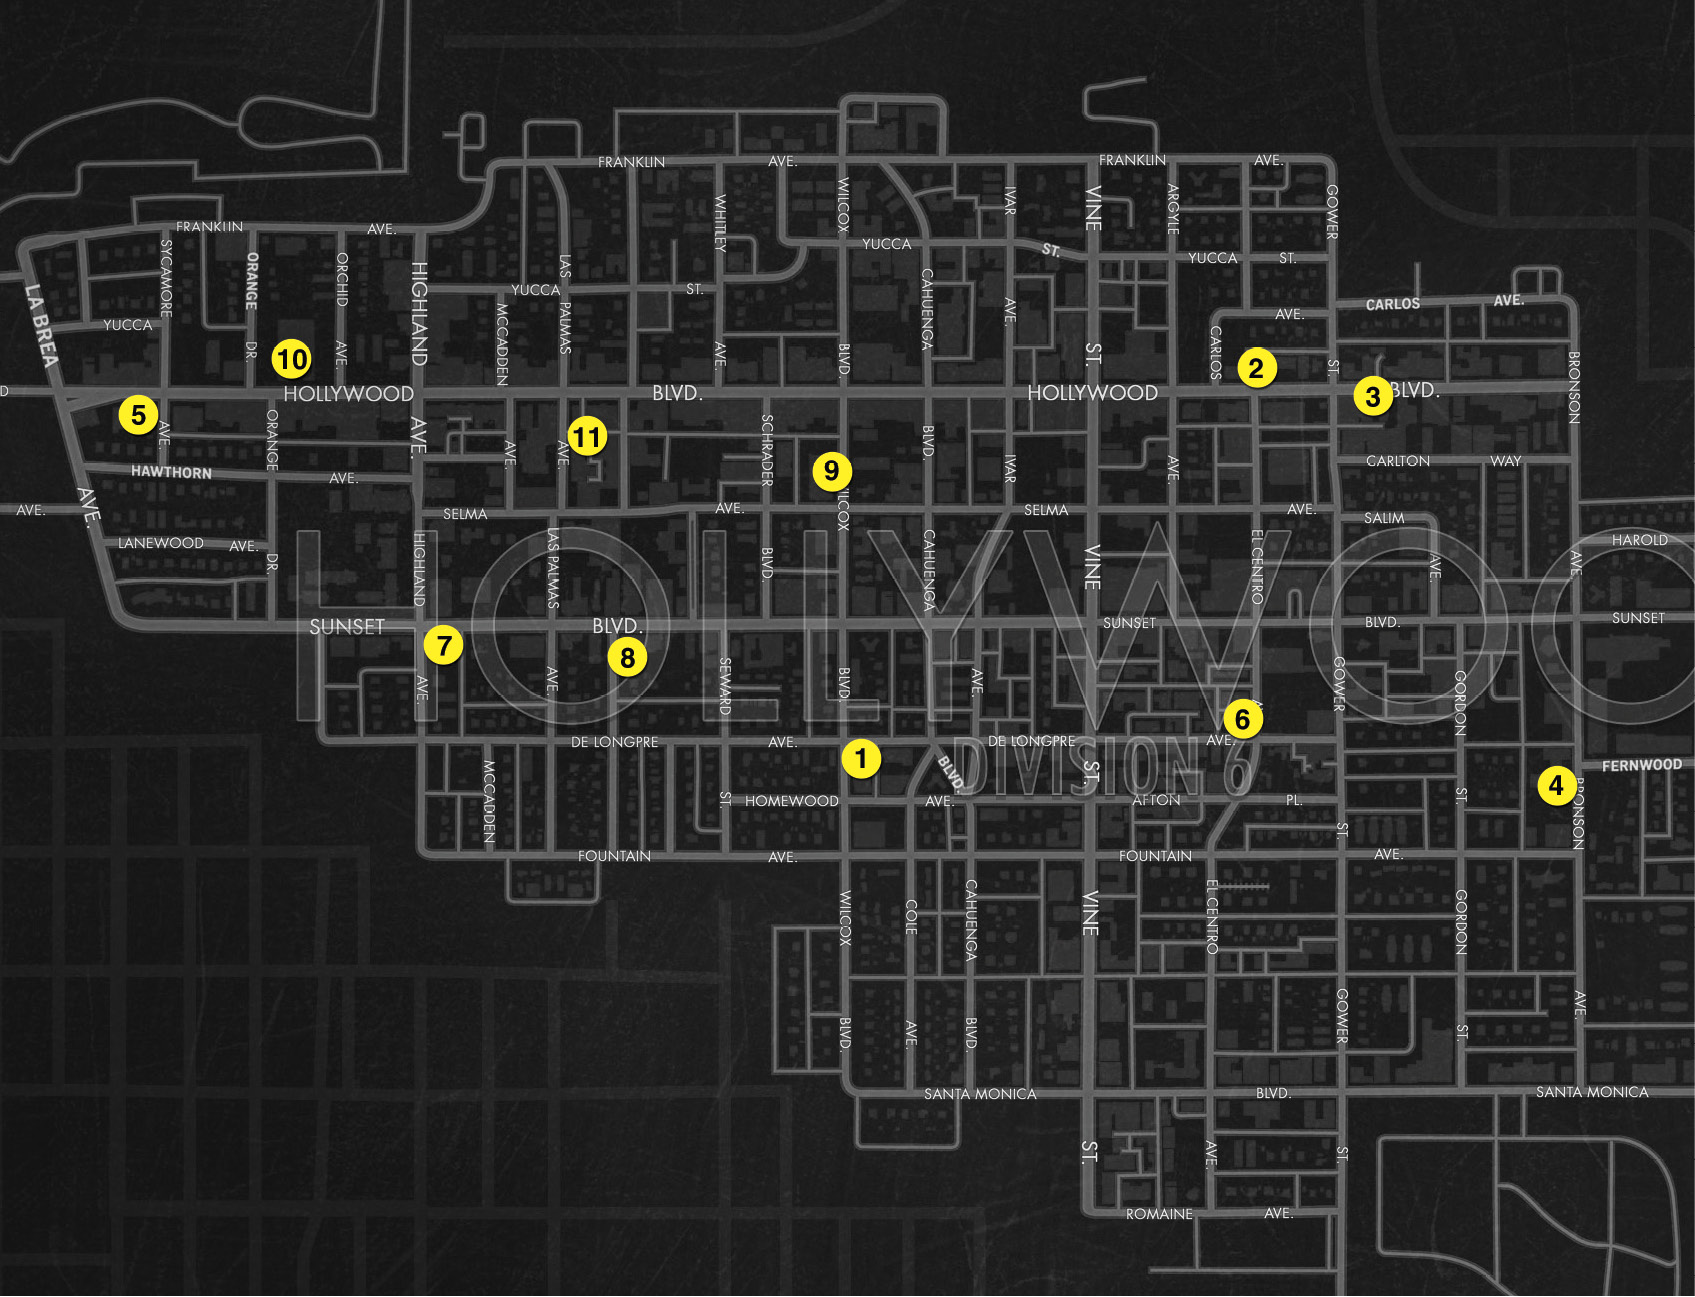
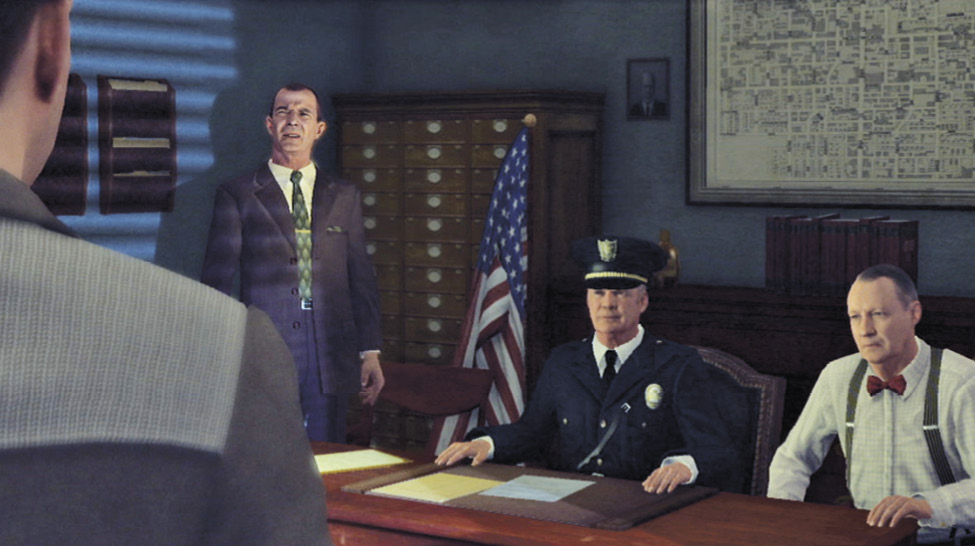
Lieutenant Colmyer orders Phelps and Earle to the 111 Club to investigate a deadly shooting where more Army surplus morphine was found on some of the dead bodies. The lieutenant also reports that a judge in Pasadena was recently found dead of an overdose from his personal stash of syrettes. Apparently, the powerful stuff from the SSCoolridge is still on the streets, despite the big Ad Vice hit on Lenny the Fink.
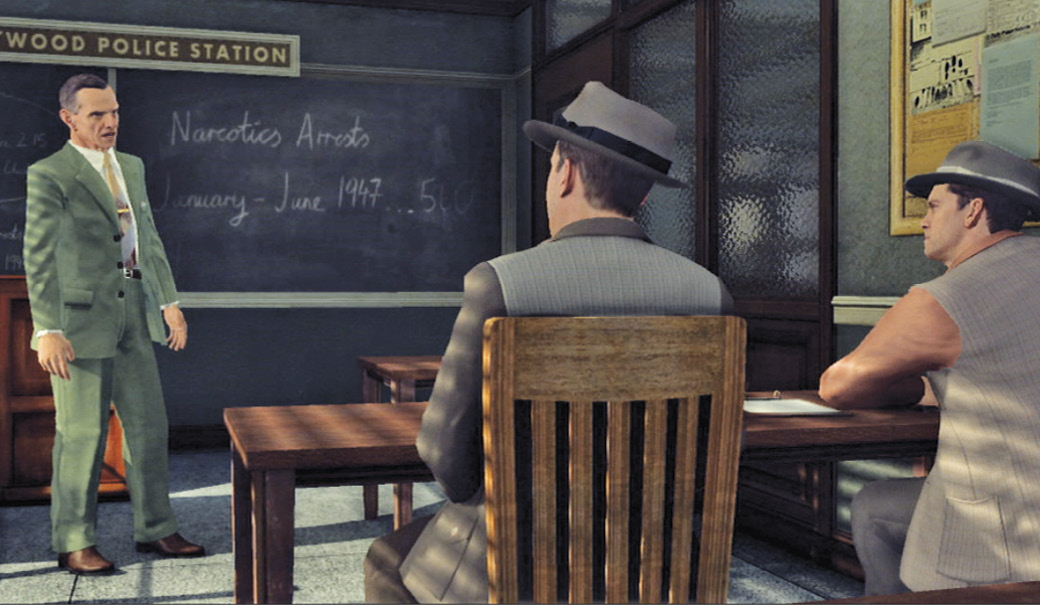
Key Clue Checklist: Hollywood Station Briefing
- Morphine
Objectives
- Investigate 111 Club Shooting & Interview Hostess.
- Travel to The Blue Room & Interview Elsa Lichtmann.
- Interview Mickey Cohen at Mocambo Club.
- Talk to Det. Caldwell at Hollywood Station.
- Travel to Bus Shooting.
- Kill & Search Shooter.
- Interview Bus Driver.
- Travel to Kelso’s Apartment & Interview Kelso.
- Travel to Robert’s Diner & Chase Gunmen.
- Kill & Search Gunmen.
- Travel to Hollywood Post Office.
- Eliminate Shooters & Search Victims.
- Travel to Chinese Theater & Chase Gunmen.
- Travel to Alleyway Meeting & Eliminate Cohen’s Goons.
- Return to Hollywood Station & Interview Courtney Sheldon.
Case Report
Total Number of Key Clues 15
Total Number of Interview Questions 14
Fail Conditions
- Phelps dies.
- Any chased suspects escape.
Location: 111 Club
Investigate the 111 Club.
Travel from the Hollywood Police Station  to the 111 Club
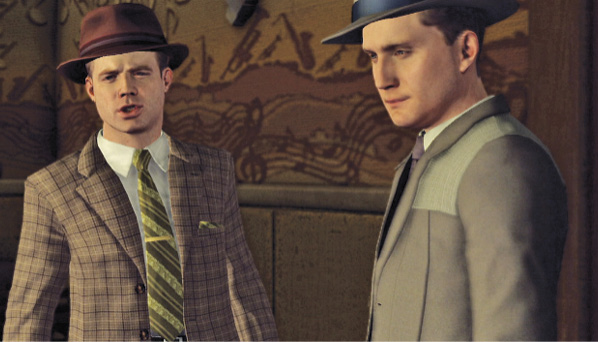
  . Your arrival triggers a cut-scene: The Homicide team already there includes one of Phelps’ old partners, Stefan Bekowsky. Phelps is surprised to learn that the dead club owner is a former member of his Marine unit, Eddie McGoldrick. Bekowsky reports that the other victims were a pair of musicians named Bowe and Bittleston, who once played in a band with Lamont and Tyree, the two overdose victims from The Black Caesar case. Looks like interesting connections, all around.
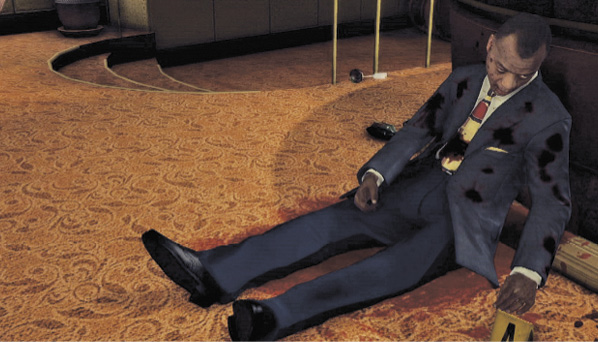
Examine the body of Bowe, the fellow sitting against the bar at evidence marker A. Phelps notes that the killers pumped numerous rounds into him.
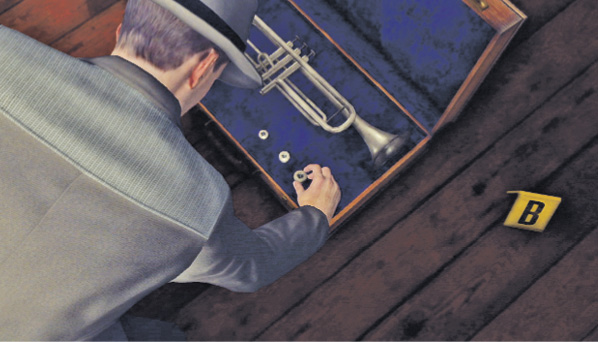
Find the instrument case marked by evidence marker B, on the floor near the bandstand. Open it to see a trumpet and three trumpet mouthpieces. Take out then put back each of the three mouthpieces in any order—you hear a click each time, then a secret compartment opens.
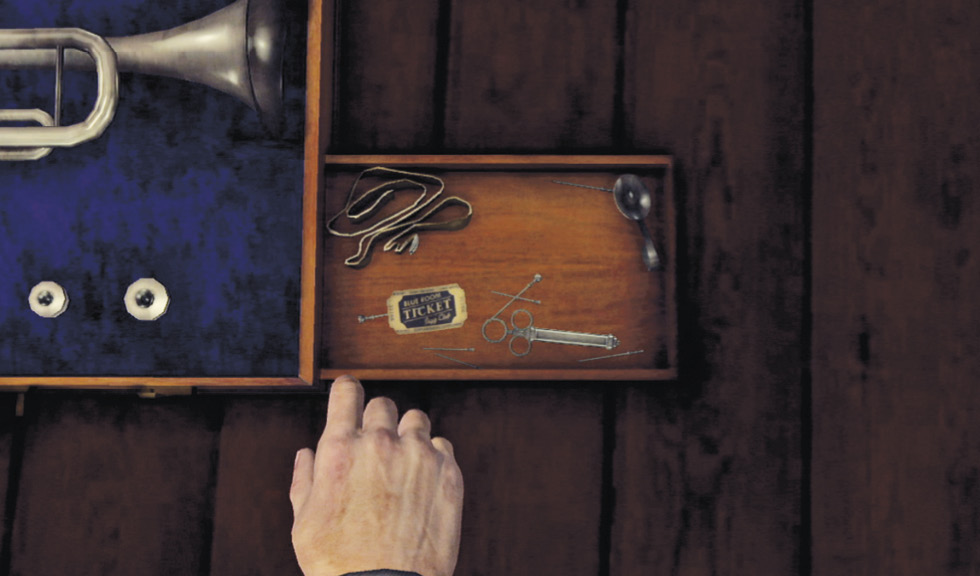
Inside the compartment you find a Blue Room Pass and a syrette. The syrette updates your Morphine clue. This adds a new objective to investigate the Blue Room.
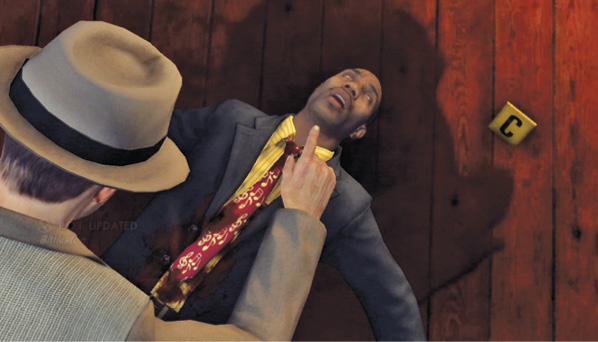
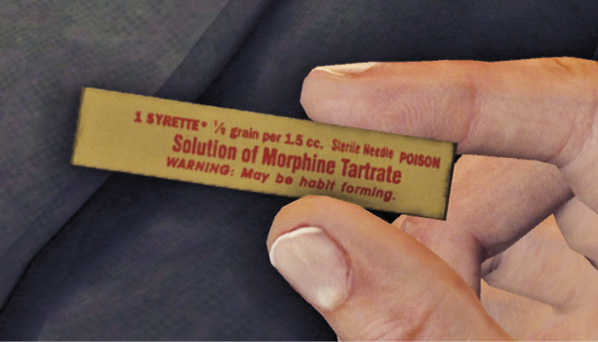
Now search the body of Bittleston at evidence marker C. Examine his right breast pocket to find a syrette, which updates your Morphine clue again.
Walk through the open door just beyond Bittleston’s body to examine the open crate filled with cartons of Valor Cigarettes. Where would someone get cigarettes in such bulk?
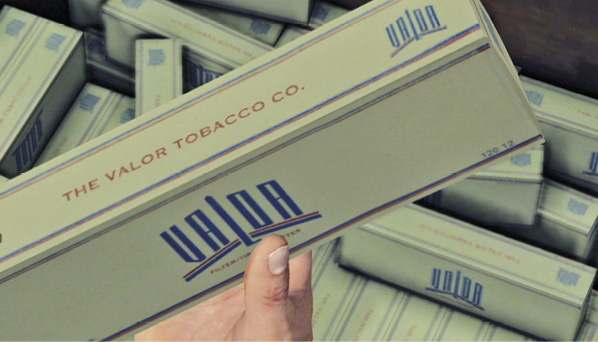
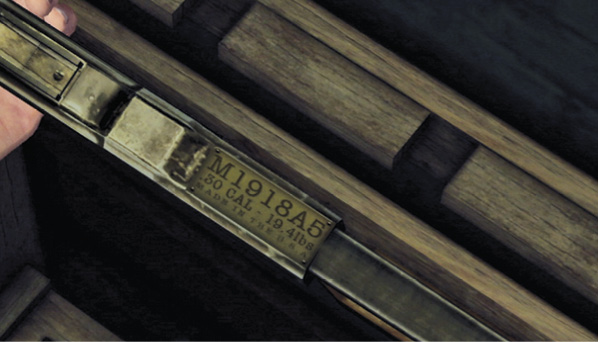
Nearby you find a gun rack holding three military BARs (Browning Automatic Rifles). Phelps notes that they look brand new, never fired; he suggests checking out the serial numbers. He also notes the pattern: morphine, cigarettes, weapons, all Army surplus. Earle suggests checking in at the Hollywood station to get details of the items stolen in the Coolridge Heist.
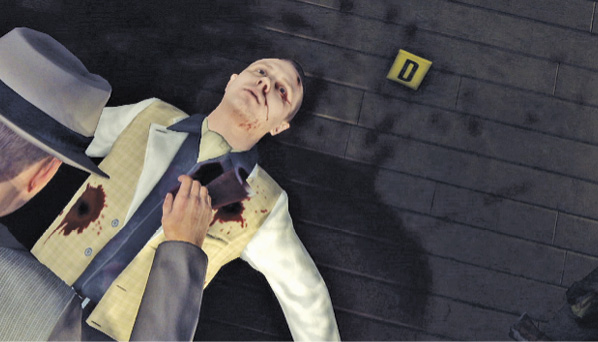
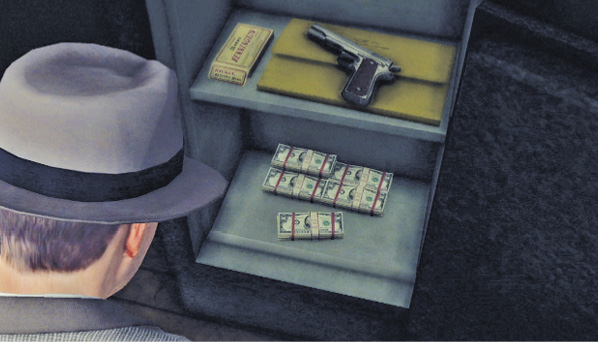
Now you’ve collected all of the key clues. But to be thorough, go into the back room to the body at evidence marker D. This victim is your fellow Marine, the club owner Eddie McGoldrick. Check out the nearby safe to find that it’s still full of money. The killers clearly had no interest in robbery. This hit was meant to send a message.
Interview the hostess.
Join Bekowsky with the hostess near the bar. She’s ready to talk.
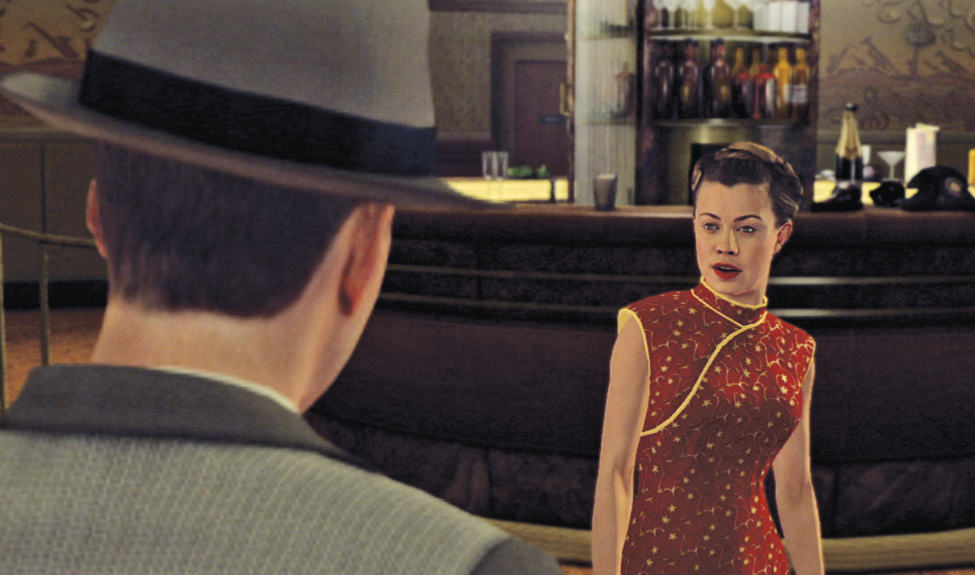
Interview: The Hostess
Topic: 111 Club shooting incident
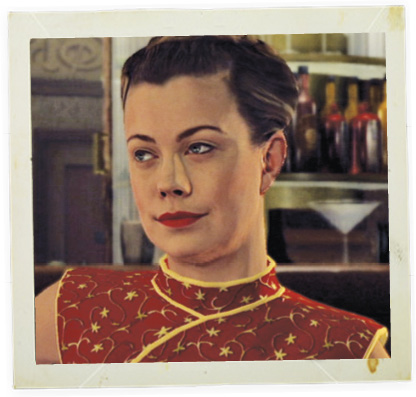
Phelps asks the hostess if she knows who might have done the shooting. She claims to have no idea; it was her day off. But she answers a little too quickly and seems a bit uneasy.
Correct Assessment: Bad Cop
When Phelps puts on a little pressure, she points out that ever since Eddie McGoldrick bought the club, it’s gotten regular visits from “tough guys”—i.e., mobsters.
Topic: Knowledge of McGoldrick
Phelps asks about Eddie. She says he knew nothing about running a club, but came into money somehow and bought the place recently.
Correct Assessment: Good Cop
When Phelps asks where she thinks Eddie got this money, she suggests he was selling something… and hints that it was illegal.
Now you have a choice of two locations to visit, the Blue Room or the Hollywood Police Station. Let’s hit the jazz club first.
Key Clue Checklist: 111 Club
- Blue Room pass
- Morphine (updated twice)
- Valor cigarettes
- BARs
- Coolridge heist
Location: The Blue Room
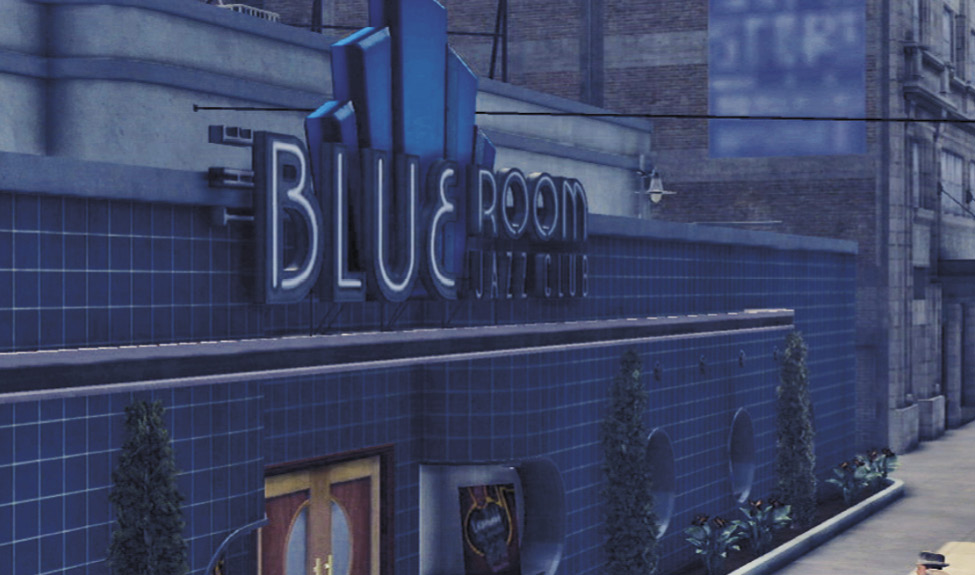
Interview Elsa Lichtmann.
Travel to The Blue Room  , just down the street. Enter both sets of doors to trigger a cut-scene: the detectives approach the bandstand as the singer, Elsa, and her band members rehearse. Her response to their interruption angers Roy Earle, but Phelps intercedes and the interview begins.
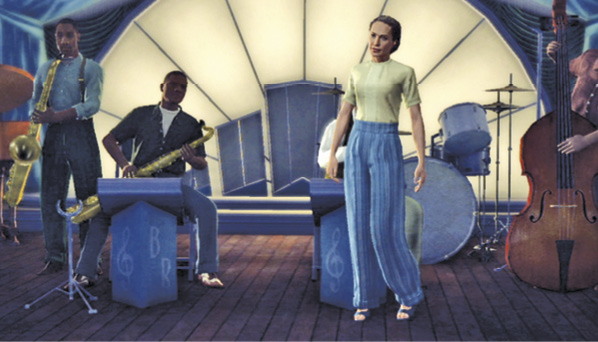
Interview: Elsa Lichtmann
Topic: Army surplus morphine
Phelps points out the growing number of overdose cases and asks Elsa for any information she might have on the two tons of Army surplus morphine on the streets. She offers nothing. Given her known association with the recently departed musicians, her proclamation of ignorance seems dubious.
Correct Assessment: Bad Cop
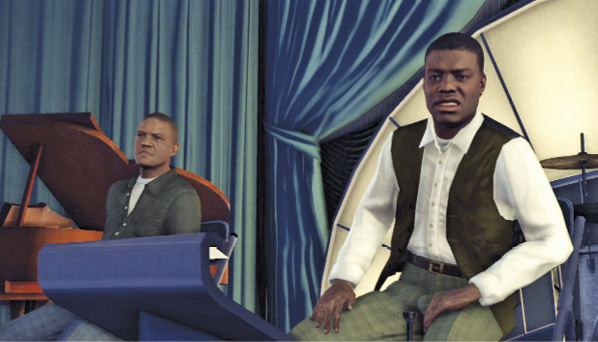
Phelps tries to pressure her by threatening to bring Earle back into the interrogation. The threat riles up Elsa’s musicians, who resent the implication that their community is involved in the drug supply. As one of them puts it, “White man supplies, black man buys”.
Topic: Morphine overdose victims
Elsa also denies any knowledge of the recent overdose victims. She remains unflappable, but clearly she knows more than she’s telling.
Correct Assessment: Bad Cop
When Phelps asserts that he’s not going away, Elsa admits knowing the horn player, Cornell, and notes that he wasn’t very good. One of the musicians calls Cornell “a sad, lonely cat”. At this point, the interview is over: Elsa sends her band on break so she can speak privately with Phelps.
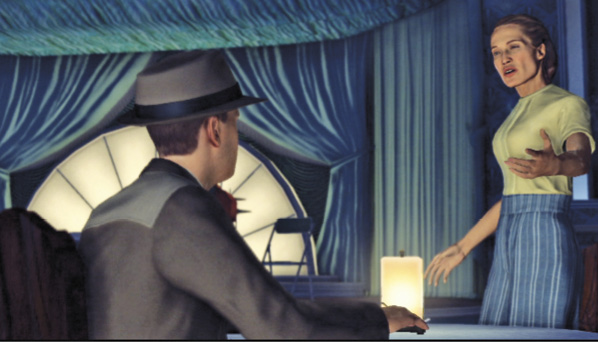
Elsa begins questioning Phelps’ zeal in prosecuting a war on narcotics that she believes he can’t win. Why is he questioning her instead of the man everyone knows is behind the supply pipeline in L.A.?
Even Earle agrees with Elsa on this point: it’s time to see Mickey Cohen at his usual hangout, the Mocambo Club. But Phelps asks Earle to give him until morning to check out a few things first.
Tail Elsa Lichtmann.
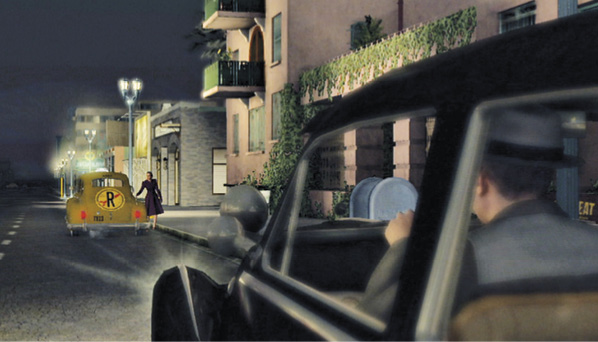
The scene shifts to later that night: Phelps waits alone outside The Blue Room as Elsa exits the club to a taxicab. Follow her yellow cab; it’s easy to spot in traffic. Be careful, as usual, to avoid getting too close or let her get too far away, and keep an eye on the red automobile icon on the mini-map.
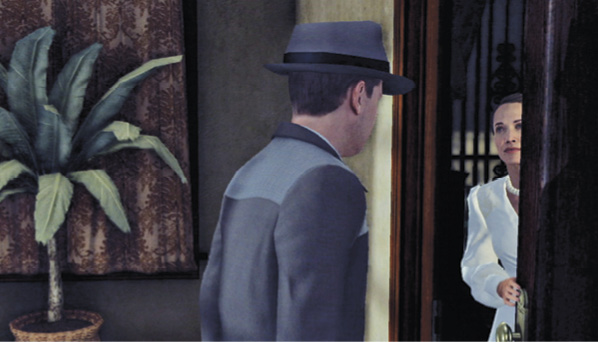
When you reach Elsa’s residence, watch the cut-scene as Phelps follows her to her apartment. Outside, his partner keeps an eye on things.
Location: The Mocambo Club
Interview Mickey Cohen.
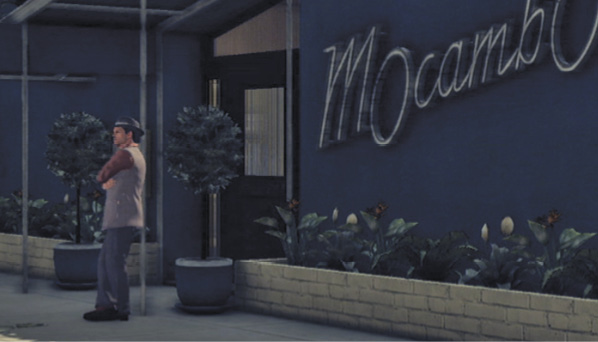
The scene shifts again: the next day, close to noon, Phelps arrives at the Mocambo Club  , where Earle waits for him outside. Follow the maitre d’ to meet crime boss Mickey Cohen and his chief bodyguard and enforcer, Johnny Stompanato. It turns out Johnny was a Marine on Okinawa, too, and he admires Phelps for his exploits on Sugar Loaf. But Cohen is in no mood for pleasantries, and the interview sequence begins.
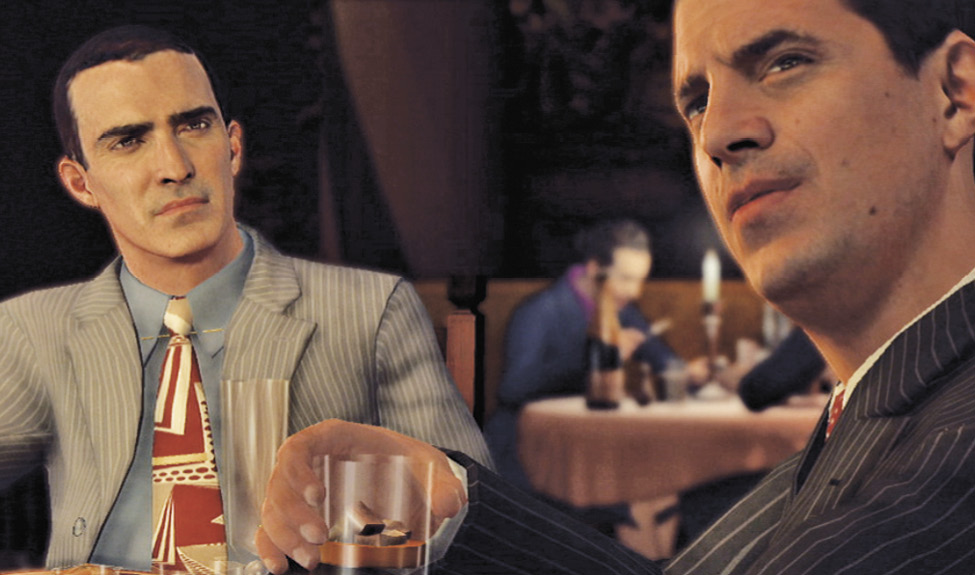
Interview: Meyer Harris “Mickey” Cohen
Topic: Finkelstein drug operation
Phelps asks about Cohen’s brother-in-law, Lenny Finkelstein, from whom the L.A.P.D. recovered a third of the stolen morphine shipment. Cohen flatly answers that he knows nothing about it, and levels a stare right at Phelps. Cohen didn’t become a crime boss by cracking under simple questioning.
Correct Assessment: Bad Cop
Phelps finds it hard to believe that Mickey doesn’t know where Lenny got the dope or where the rest of the shipment is located. But as the mobster replies, “Kid, ask a question you might get an answer to”.
Topic: 111 Club shooting incident
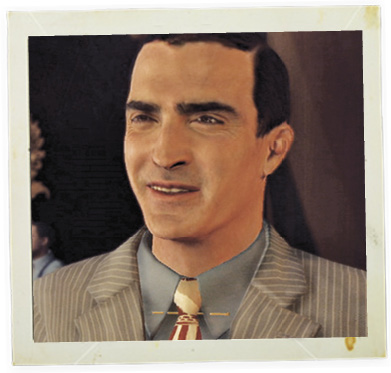
Phelps mentions the group of Marines suspected of stealing the morphine from the SS Coolridge, and suggests a further link to the killing of one of those Marines, Eddie McGoldrick, at the 111 Club. Again, with a mocking smile, Cohen coolly denies any knowledge of such things.
Correct Assessment: Bad Cop
Afterward, Cohen expresses shock that veterans would be getting involved in crime, and tells Earle that dope is not his thing. But the mobster promises to make inquiries, and the detectives make their exit. After an ominous exchange between the two mobsters, the scene automatically switches to the Hollywood Station.
Location: Hollywood Police Station
Talk to the detectives on the Coolridge theft.
A mob of another kind, the media, clusters around the entrance to the police station. Listen to Earle describe the latest political wrangling. The partners visit Lieutenant Colmyer to ask who’s on the Coolridge case. He sends them to the Burglary/Robbery Squad Room to meet with Detective Caldwell. Follow Earle to the squad room.
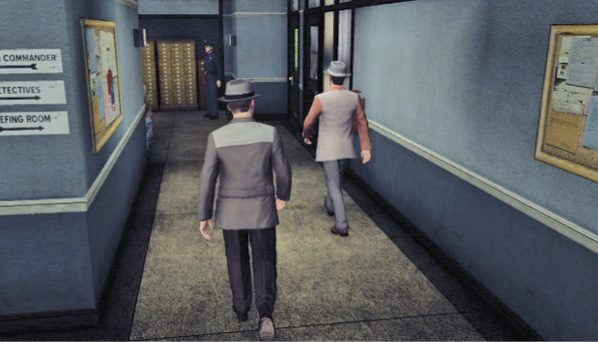
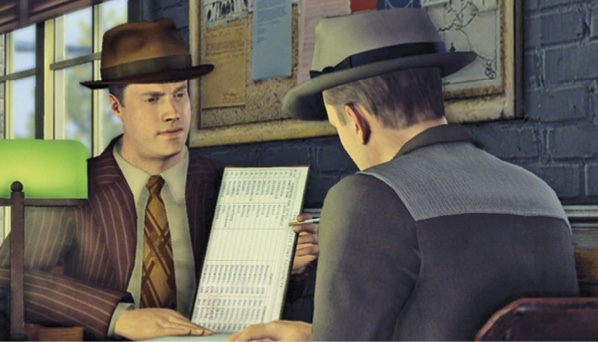
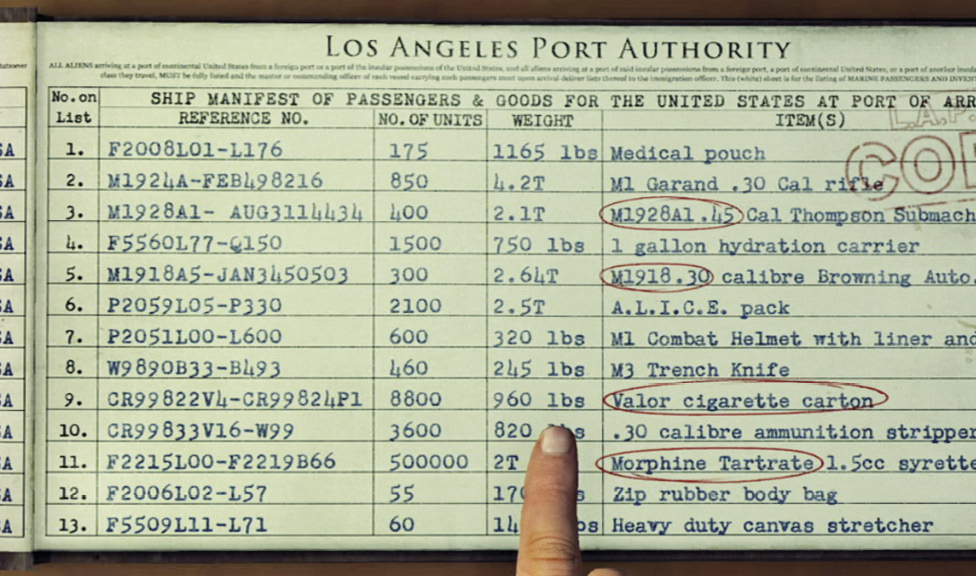
Your entrance triggers another cut-scene: Caldwell reports that the Coolridge theft was an inside job, and he lists the stolen items, now familiar to you: BARs and cigarettes, as well as the morphine. Phelps tells Caldwell about the goods found at the 111 Club shootings. Then Caldwell shows the Vice detectives the ship’s Manifest listing all passengers and cargo.
The stolen items are circled in red; tap on them to get comments and update your clues for Stolen BARs and Stolen Valors. Phelps also notices the names of his former unit mates… including Eddie McGoldrick.
Before they can discuss the cases any further, an officer rushes in with news of an attack on a city bus by a shooter with an automatic rifle. KGPL is calling for all units to the site for backup. Hurry out to your vehicle!
Key Clue Checklist: Hollywood Police Station
- Manifest
- Stolen BARs (updated)
- Stolen Valors (updated)
Location: Bus Shooting
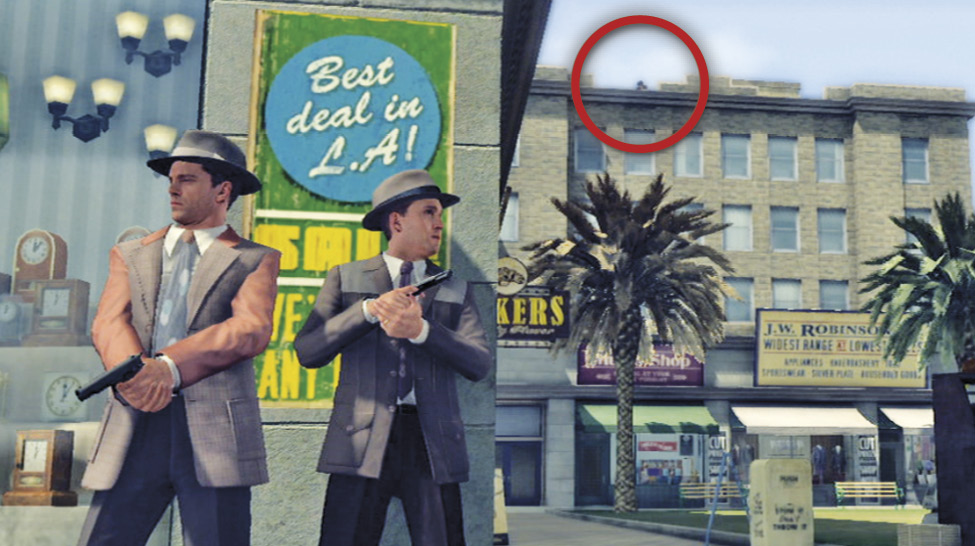
Gun down the rooftop sniper.
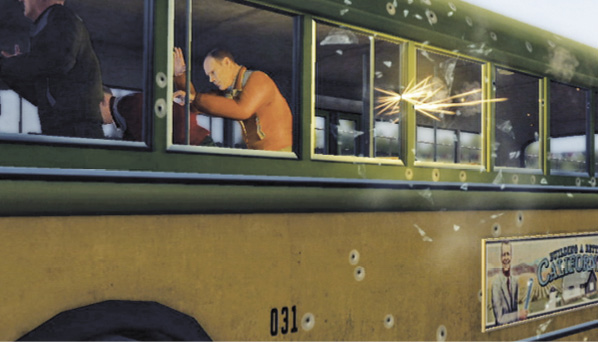
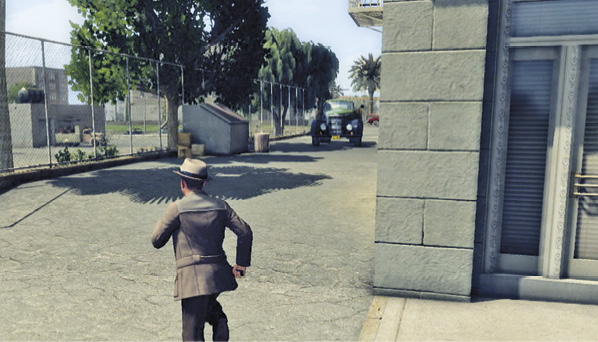
Travel to the bus shooting  . Your arrival triggers a wild scene: a rooftop gunman unloads withering automatic rifle fire on a city bus filled with passengers. His firepower easily outguns the cops currently on the scene!
When you regain control, go left to the end of the building and take the first right up the alley. Continue past the parked truck and around the next corner to the fire escape ladder. Climb the fire escape to the roof.
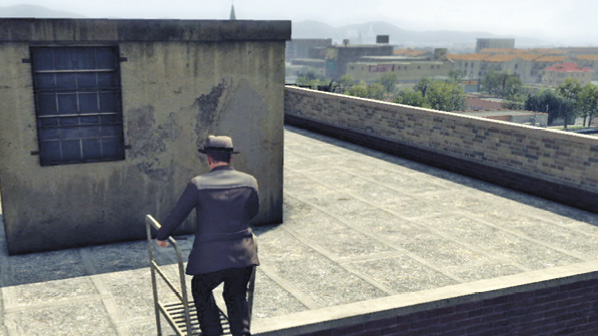
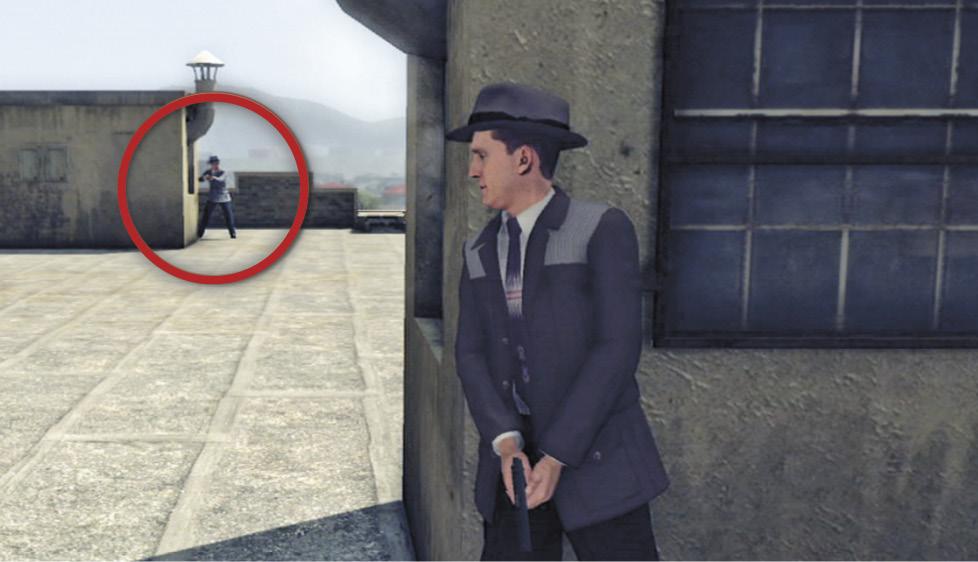
You emerge behind a stairwell exit structure. The gunman is directly across the roof, hiding behind another structure. Take cover at the left corner and gun him down!
Search the sniper’s body.
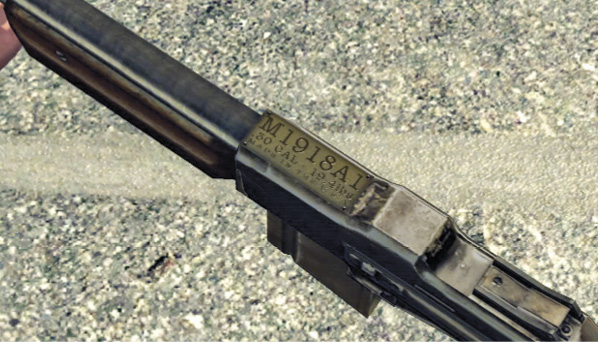
Approach the fallen sniper. First, pick up his rifle and examine it to verify that it’s one of the stolen BARs.
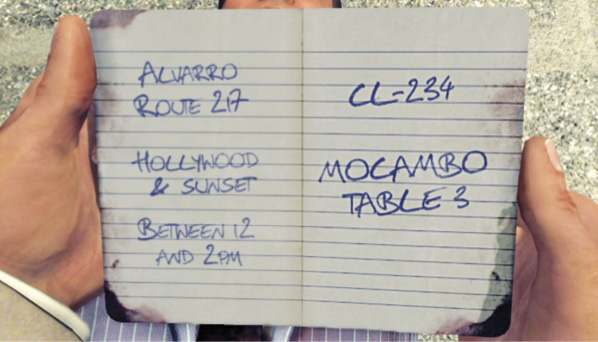
Then search the body to find the Sniper’s Pocketbook in his right breast pocket. It lists a phone number and a restaurant table number at the Mocambo Club.
Key Clue Checklist: Bus Shooting
- Sniper’s pocketbook
Interview Felix Alvarro.
After the search, you trigger one more cut-scene: Phelps recognizes the transit bus driver as Felix Alvarro, another former soldier from the 6th Marines. After their greeting, the interview begins.
Interview: Felix Alvarro
Topic: Informed of Coolridge heist
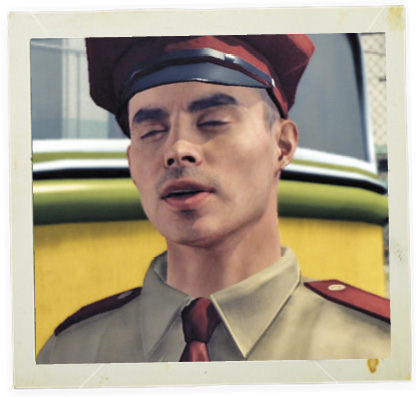
Phelps asks about the dock heist, and Felix only admits that the police questioned him. He makes eye contact, but blinks repeatedly.
Correct Assessment: Bad Cop
Phelps tells him about Eddie’s fate at the 111 Club, trying to scare him into spilling more info. Felix only says that he heard Eddie came into some cash… and suggests Eddie should have kept a lower profile.
Topic: Motive for shooting
Phelps asks straight out who’s shooting at Felix. Again, Felix claims to have no idea, folding his arms defiantly.
Correct Assessment: Accuse
Evidence: Sniper’s pocketbook
When Phelps tells Felix that his name was in the shooter’s notebook, Felix finally admits the obvious: Mickey Cohen thinks that members of the 6th Marines have the stolen morphine because they were on the Coolridge. Then Felix says Courtney Sheldon is meeting with Cohen to sort it out. He also tells Phelps that Jack Kelso is in Los Angeles now, too.
Call in for Kelso’s address.
Go to the nearby gamewell (just behind where the ambulance is parked) and use it to get Jack Kelso’s address, which puts it on your map.
Key Clue Checklist: Felix Alvarro Interview
- 6th Marines
Location: Jack Kelso’s Apartment
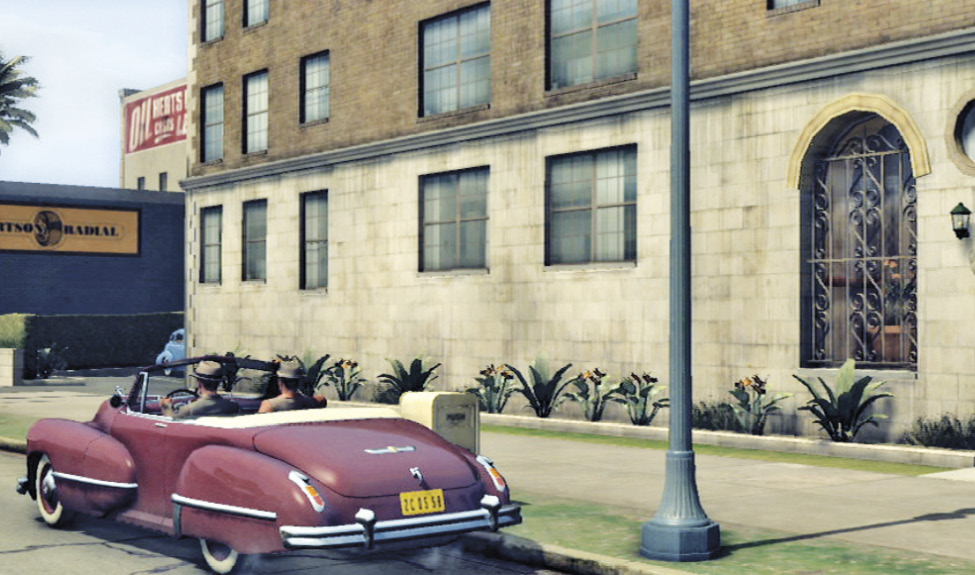
Pick up Jack Kelso.
Travel to Kelso’s apartment  . En route, Phelps praises Kelso as a “tough customer”, who would never get involved in something like the morphine theft. Earle wants to haul Kelso downtown to rattle him. But Phelps just says, “It won’t work”.
Your arrival triggers a cut-scene: Kelso arrives at his building just after the detectives do. He agrees to talk and invites them inside. But Phelps insists that they go to the station. Kelso isn’t happy about it, but Earle makes it clear that he has no choice in the matter.
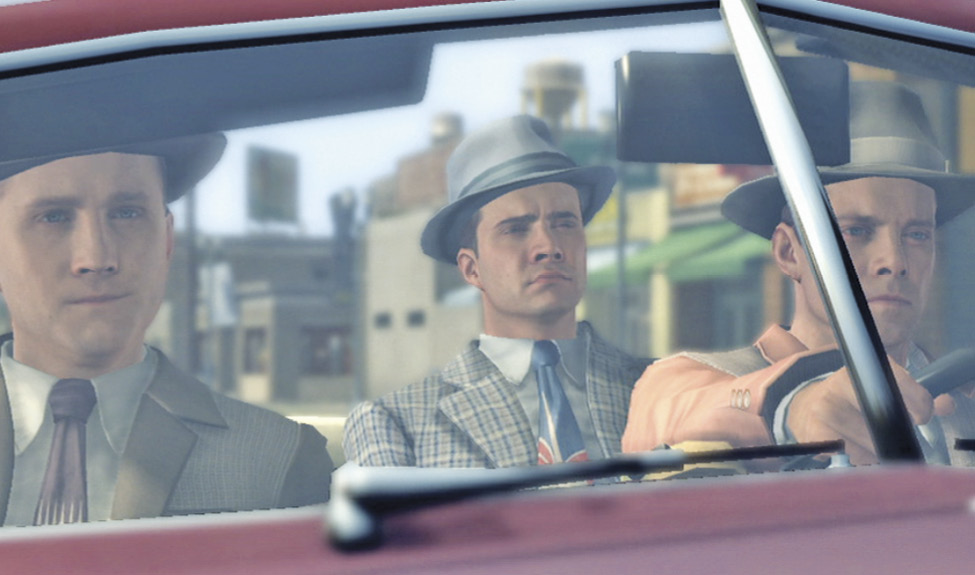
Your trip back to the Hollywood Police Station  happens automatically. Phelps makes an attempt at small talk that doesn’t go very well.
Location: Hollywood Police Station
Interview Jack Kelso.
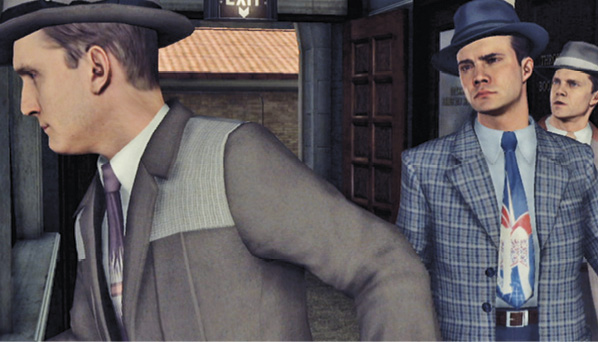
Upon arrival, Phelps leads Kelso into an interview room and Earle follows them in. The interview session begins immediately.
Interview: Jack Kelso
Topic: Army surplus morphine
Phelps brings up the gang war over the stolen morphine. Kelso says it has nothing to do with him. You have no proof that he’s involved, but you know Kelso was on the Coolridge.
Correct Assessment: Bad Cop
Earle plays the bad cop and vigorously points out this fact. But Kelso’s comeback zinger about the city’s dope rackets shows that he is, indeed, a tough customer.
Topic: Ex-Marine McGoldrick
When Phelps asks if Kelso knew about Eddie McGoldrick’s financial windfall and nightclub purchase, Kelso seems honest in his answer.
Correct Assessment: Good Cop
Kelso also hadn’t heard about the 111 Club shooting, and seems genuinely sad to hear the news about Eddie.
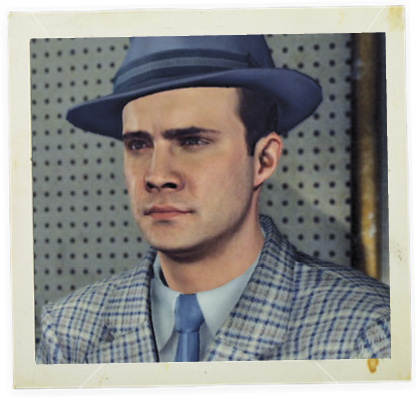
Topic: Arms stolen from Coolridge
Kelso also claims to have no knowledge of the missing crate of BARs. His look is direct and steady.
Correct Assessment: Good Cop
Phelps follows up with the news about the bus shooting and presses Kelso to give up any information or innocent people will die. But Kelso turns it right back on Phelps with disparaging remarks about his motives and the medal he won “at the expense of men who fought for their country”.
Topic: SS Coolridge robbery
Once again, Phelps asks directly what Kelso knows about the theft of Army surplus morphine from the Coolridge. Kelso deflects the question by reminding Phelps of their war experience.
Correct Assessment: Bad Cop
The blood seems bad between the two ex-Marines, and then Kelso and Earle have a tense exchange, as well.
Earle tells Kelso he can go, but suddenly another cop pops into the room with a report of another shooting victim, Chris Majewski—another former Marine, another name from the Coolridge manifest.
Location: Robert’s Diner
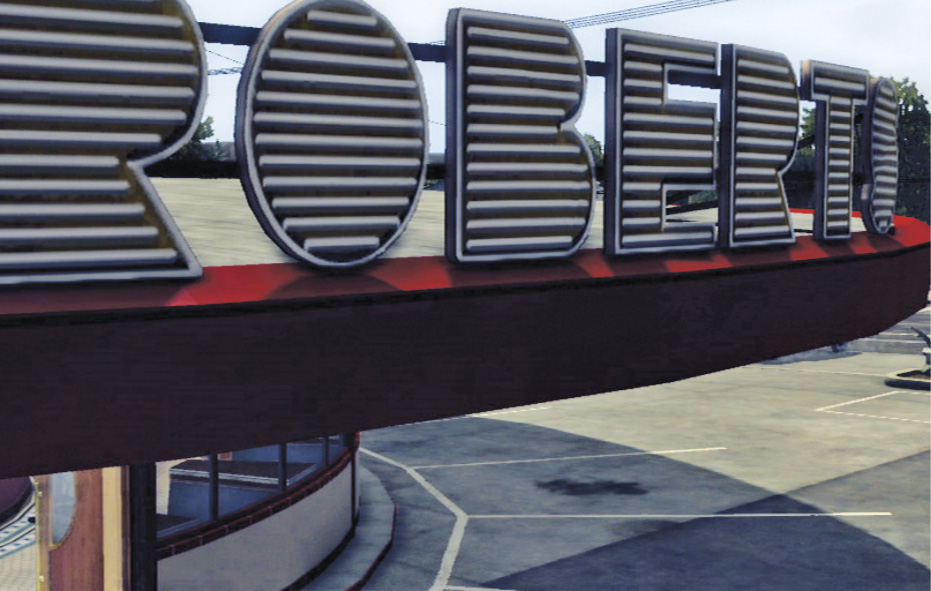
Chase down the green Packard.
Travel to Robert’s Diner  to trigger a cut-scene: a young man rushes out and points out the shooters, who exit the back of the diner and drive away in a green Packard.
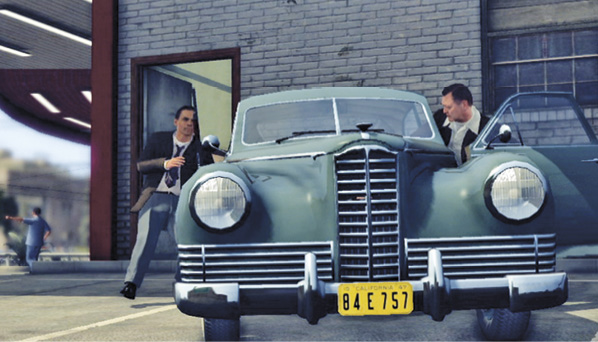
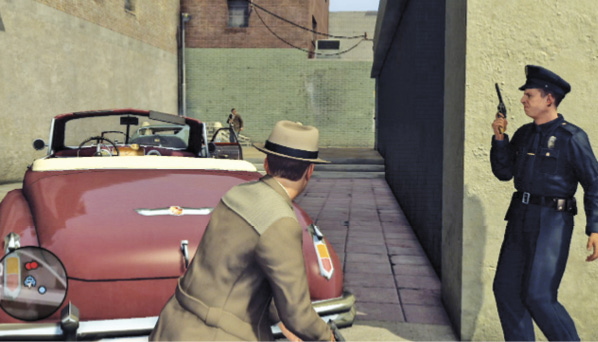
Chase the car. You can’t stop them until they reach a specific alleyway  , but don’t lose them. When it reaches the alley, the green Packard turns left next to Haskell’s Menswear, and the two gunmen hop out and start shooting from the back of the alley.
Location: Alleyway Crime Scene
Kill the gunmen and search them.
Gun down both shooters to trigger a quick cut-scene: Phelps and Earle approach the first body to search it. This shooter is the only one you can search here; the other fellow has nothing of interest on him.
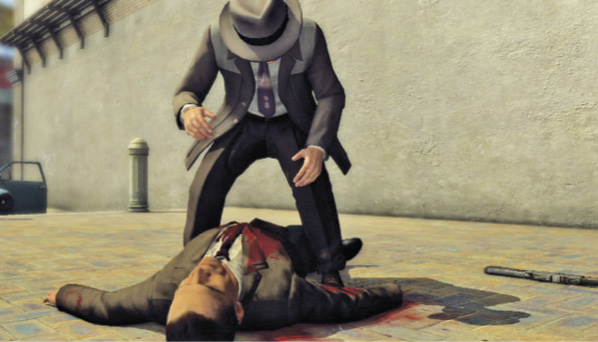
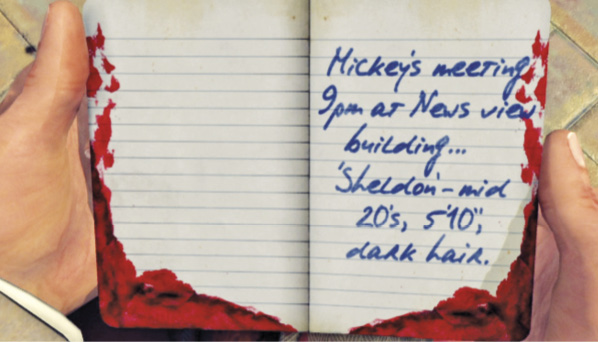
Check his right breast pocket to find the Shooter’s Notebook with a note about a 9 PM meeting that night between Mickey Cohen and Courtney Sheldon. This adds Courtney Sheldon to your P.O.I. list.
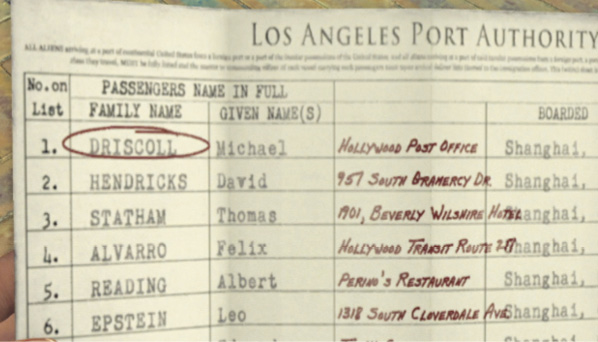
Then check the left breast pocket to find a copy of the manifest from the Coolridge with some disturbing notations in red. It looks like a hit list, with the dead men McGoldrick and Majewski crossed out. Two others, Driscoll and Beckett, are circled and associated with the Hollywood Post Office, with the last two circled, Higgins and Connolly, associated with Grauman’s Chinese Theater. All of these names and locations are now listed in your notebook. You have two new places to investigate.
Key Clue Checklist: Alleyway Crime Scene
- Shooter’s notebook
- Copy of manifest
Location: Hollywood Post Office
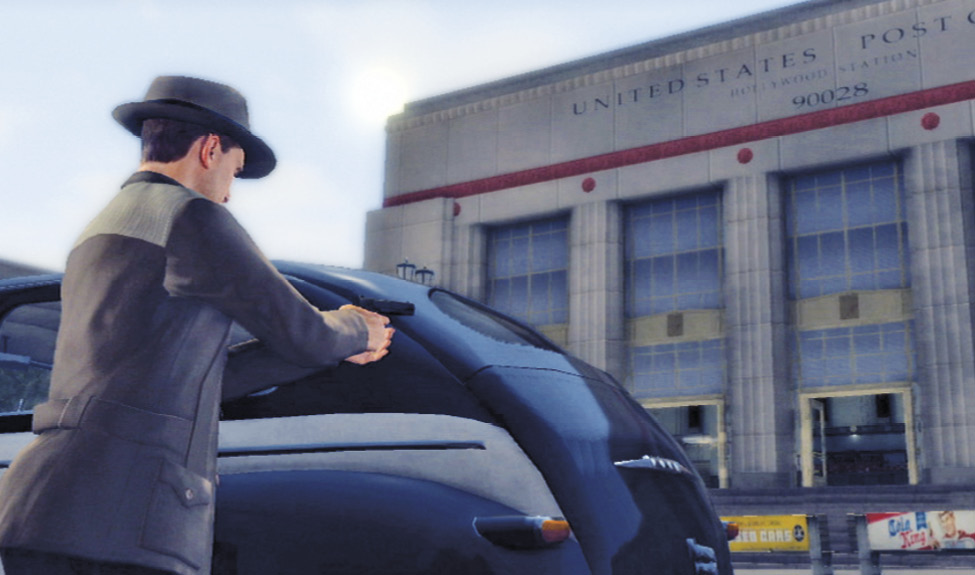
Take out the gunmen.
Travel to the Hollywood Post Office  where you arrive in the middle of a wild gun battle. Bad guys are holed up in the post office, exchanging gunfire with several police units in the street.
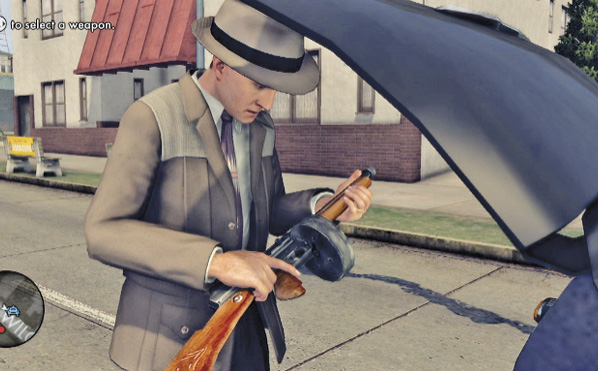
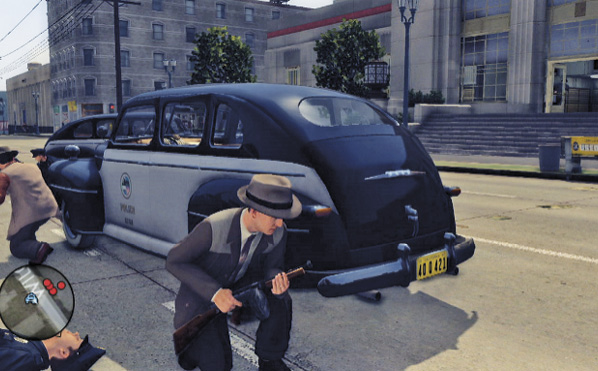
Use the parked squad cars for cover and start picking off the gunmen through the windows. Remember that you can open the trunk of any police car and pick up some better firepower. That can help a lot for this fight.
Search the victims’ bodies.
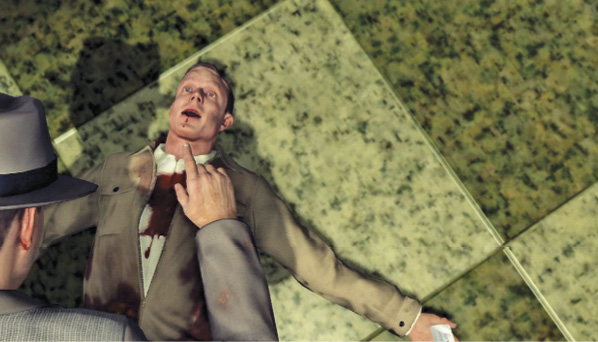
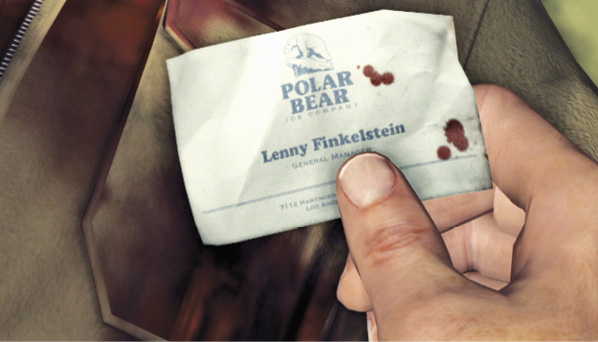
After taking out the shooters, you end up inside the post office near one of their victims. It’s Beckett, another of the former Marines. Approach and search him to discover he’s still alive. Listen to Beckett’s Confession: “Tell Courtney… bad luck. It was worth a try”. Then find and examine the Business Card for Lenny Finkelstein of the Polar Bear Ice Company in his left hand.
You can find the other victim of the mob assassins, Driscoll, in an alcove of postal boxes. Search his left breast pocket to find a Note that lists the address where the Sheldon/Cohen meeting is taking place that night. It appears that Courtney Sheldon was planning to bring his former squad mates to the meeting as backup—“his own fire team”, as Phelps puts it.
Key Clue Checklist: Hollywood Post Office
- Beckett’s confession
- Business card
- Note
Location: Grauman’s Chinese Theater
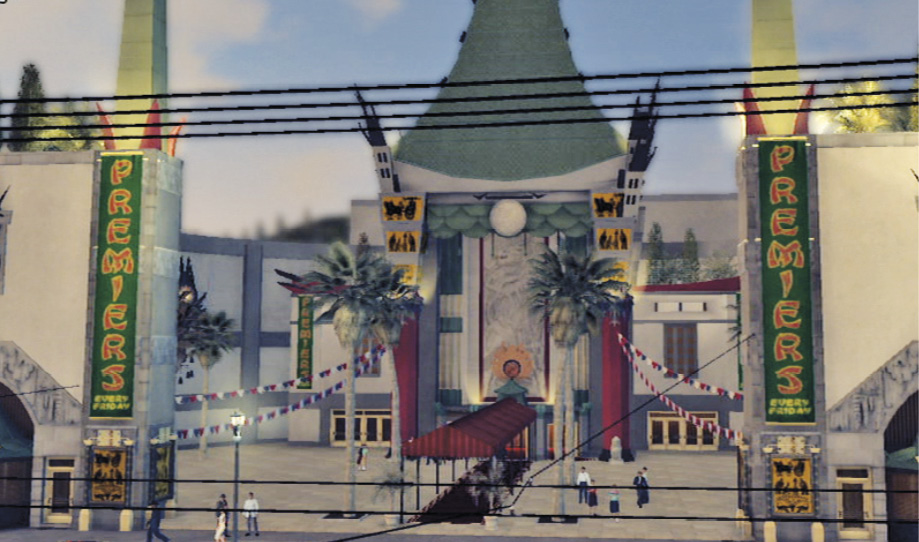
Chase down the gunmen’s red car.
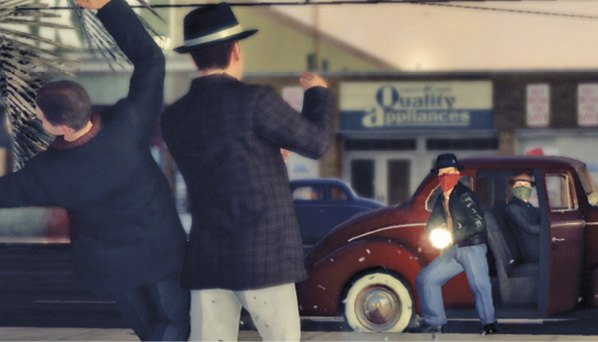
Travel to Grauman’s Chinese Theater  . Your arrival triggers a cut-scene: Higgins and Connolly walk away from the theater entrance. Suddenly, a red car pulls up and disgorges a masked assassin, who guns them down. The vehicle speeds off just as Phelps and Earle arrive.
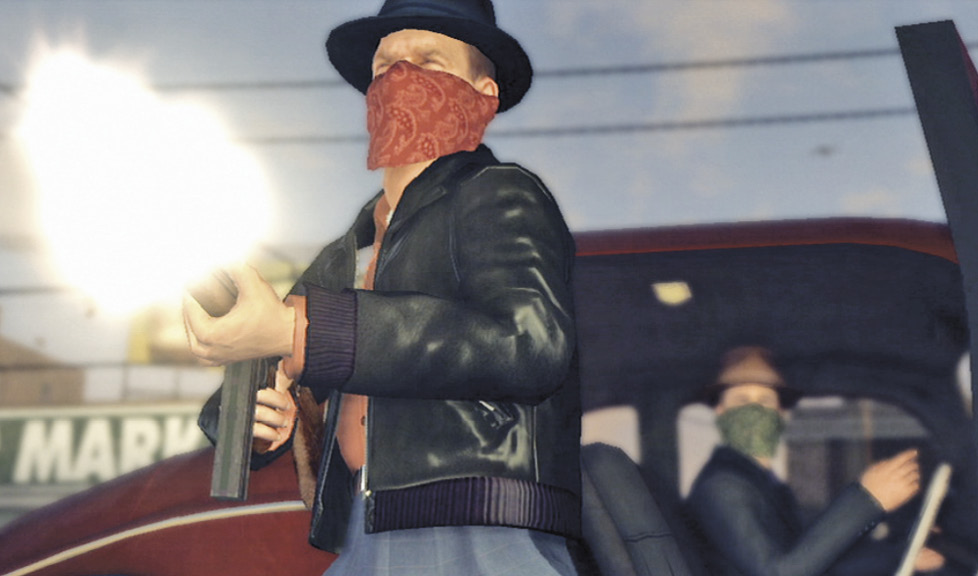
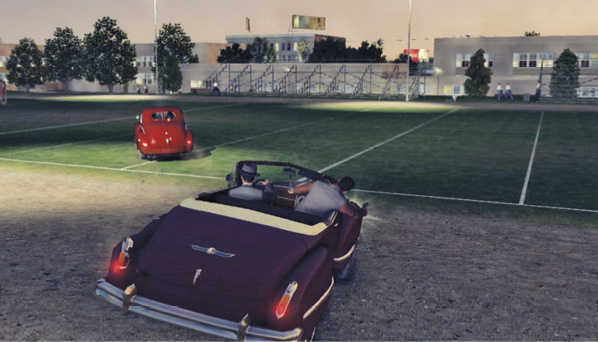
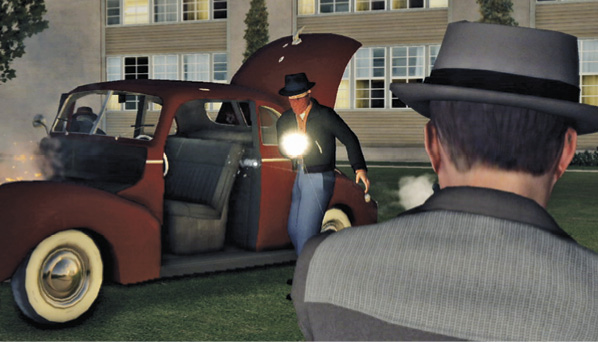
Chase the shooters in the red car. Stay on the vehicle’s tail as it zigzags through backstreets and backyards, and even veers across a high school football field. Pull up beside it when you can so that Earle can shoot out the tires, or just ram the car until you knock it out of commission. Then gun down the masked gunmen.
Location: Meeting Place
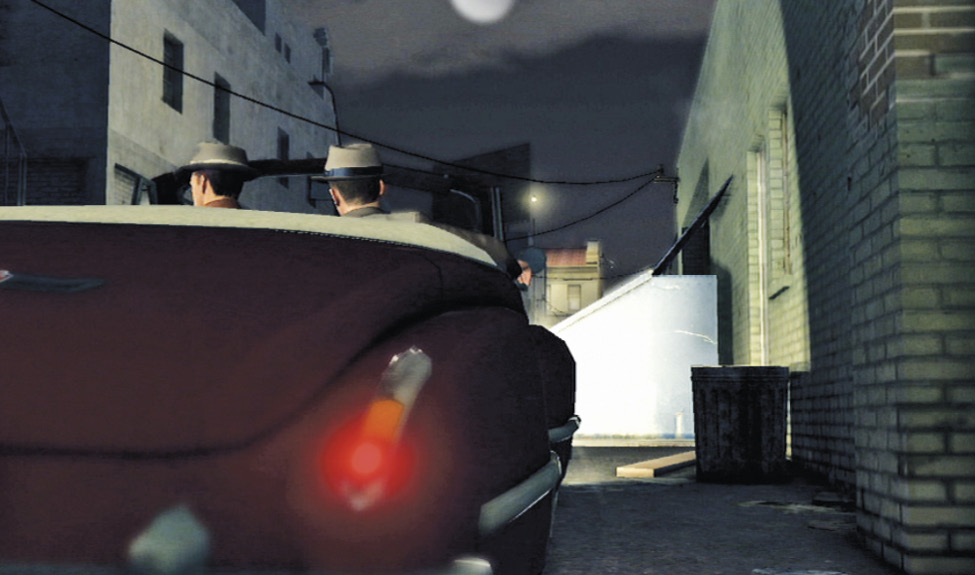
Take out Cohen’s goons.
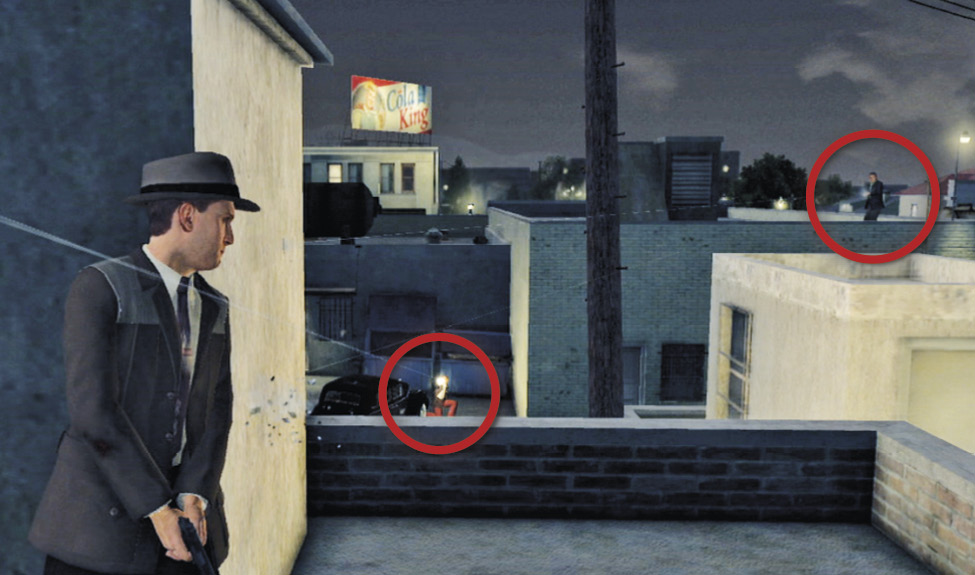
Travel to the designated Cohen-Sheldon meeting place  on North Las Palmas. Your arrival triggers a gunfight as Mickey Cohen speeds away in a car and his men open fire on Phelps and Earle. Start taking out the goons. Watch for a shooter up on the roof to the right.
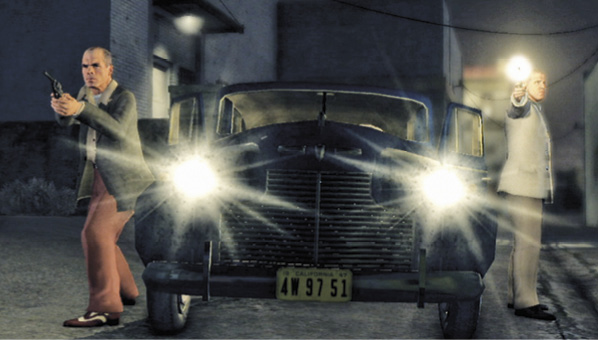
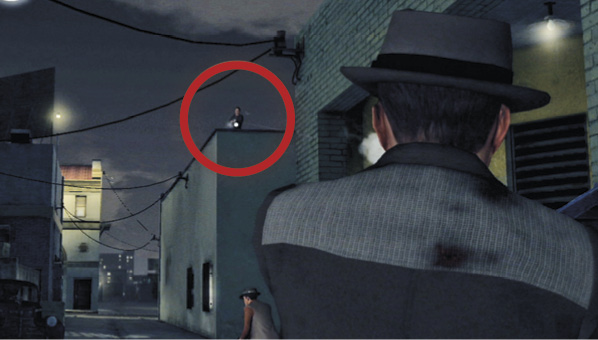
More gunmen are posted down the first alley to the right. A pair of shooters makes a run at you in their car. Nail them as they try to get out. Then fight your way up the alleyway using dumpsters for cover. Keep watching for gunmen high and low. A good tactic is to climb a drainpipe onto the roof where the alley jags to the left; it provides a better vantage point on the thugs up ahead.
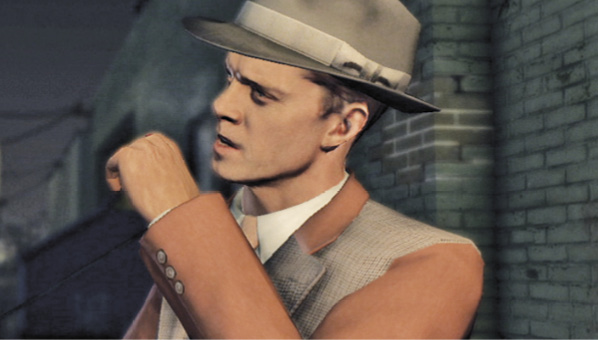
When the last gangster falls, a short cut-scene plays: Detective Earle takes a call from KGPL with news that Courtney Sheldon is at Hollywood Station requesting an interview with Detective Phelps.
Location: Hollywood Police Station
Interview Courtney Sheldon.
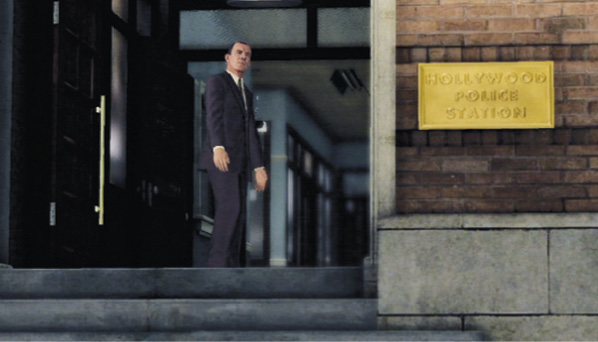
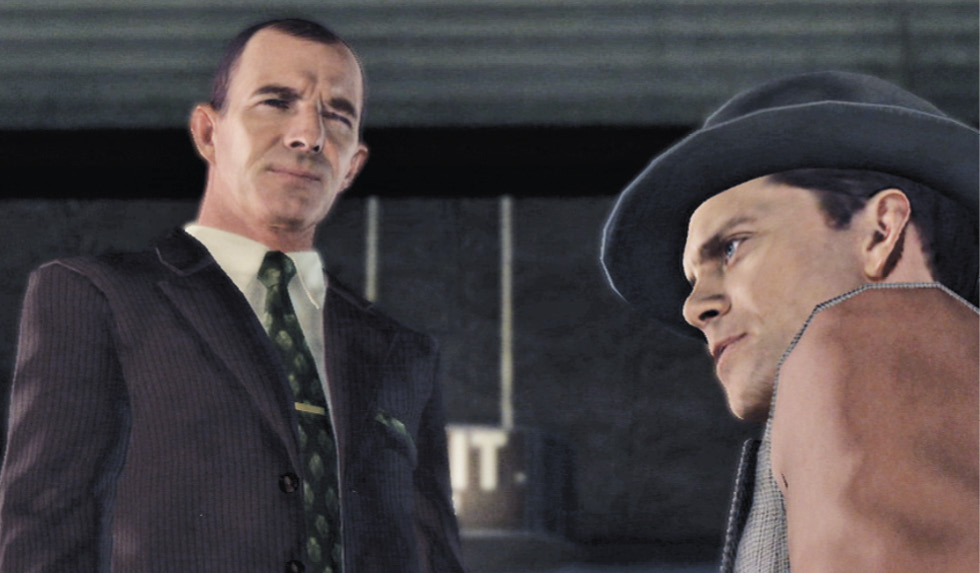
Return to Hollywood Station  to trigger a cut-scene: Captain Donelly calls Earle into his office, letting Phelps handle the interview alone. Earle goes reluctantly. Approach the watch desk to learn your man is in Interview Room 2, the first door to the right of the watch desk. Inside, Sheldon is waiting with none other than Dr. Harlan Fontaine.
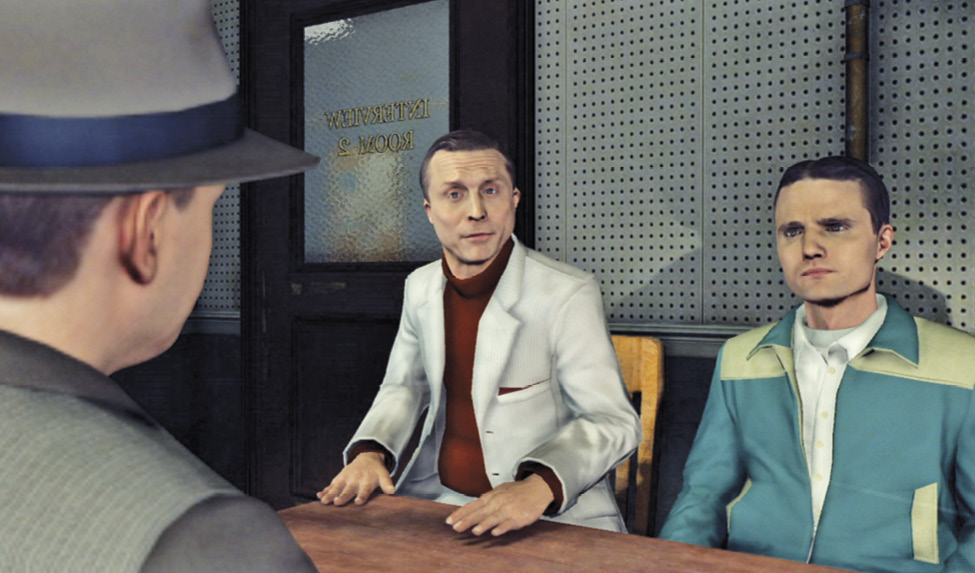
Interview: Courtney Sheldon
Topic: 6th Marines being targeted
When Phelps mentions all the dead ex-Marines, Sheldon replies that he can’t be blamed for their deaths. Of course, you’ve got evidence that suggests otherwise.
Correct Assessment: Accuse
Evidence: Note
Sheldon insists that he and his crew don’t have the morphine, and turns to Dr. Fontaine for validation. Fontaine says he believes Sheldon.
Topic: SS Coolridge robbery
Phelps points out that Sheldon was on the Coolridge and had the opportunity. Sheldon lamely replies, “But that doesn’t mean I was involved”.
Correct Assessment: Accuse
Evidence: Beckett’s confession
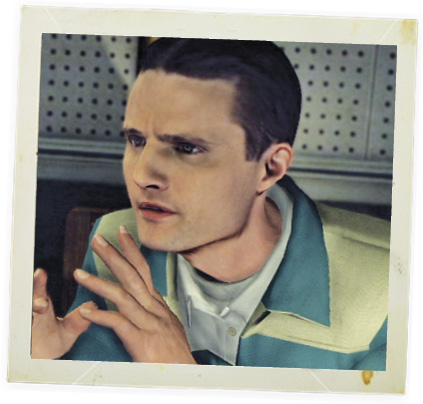
Sheldon expresses sorrow about Beckett and the others, but claims their actions cannot be pinned on him. When Phelps says he’s going for Jack Kelso next, Sheldon vigorously defends Kelso, saying he’s not involved. But then he makes a startling decision: He asks what kind of deal Phelps is willing to offer.
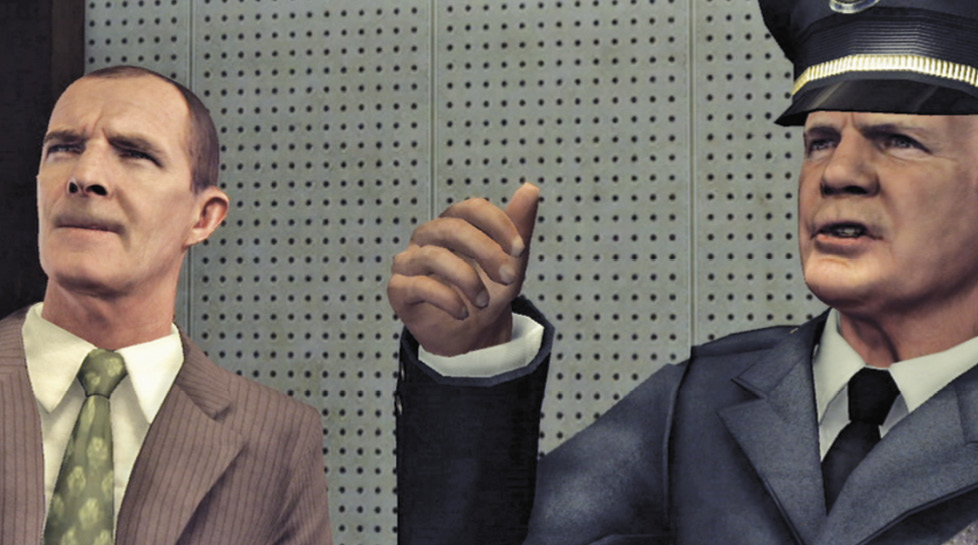
But just as it appears that Phelps and Sheldon are reaching an agreement, the Chief of Police Worrell and Captain Donelly burst in to interrupt. They send Phelps up to the chief’s office. Note that the chief greets Dr. Fontaine warmly.
Watch the dramatic conclusion of Cole Phelps’ run at the L.A.P.D. Administrative Vice desk as he suffers the consequences, professionally and personally, of his choices.