
L.A. Noire Guide Walkthrough The Traffic Cases
CASE# AT004: A Slip of the Tongue
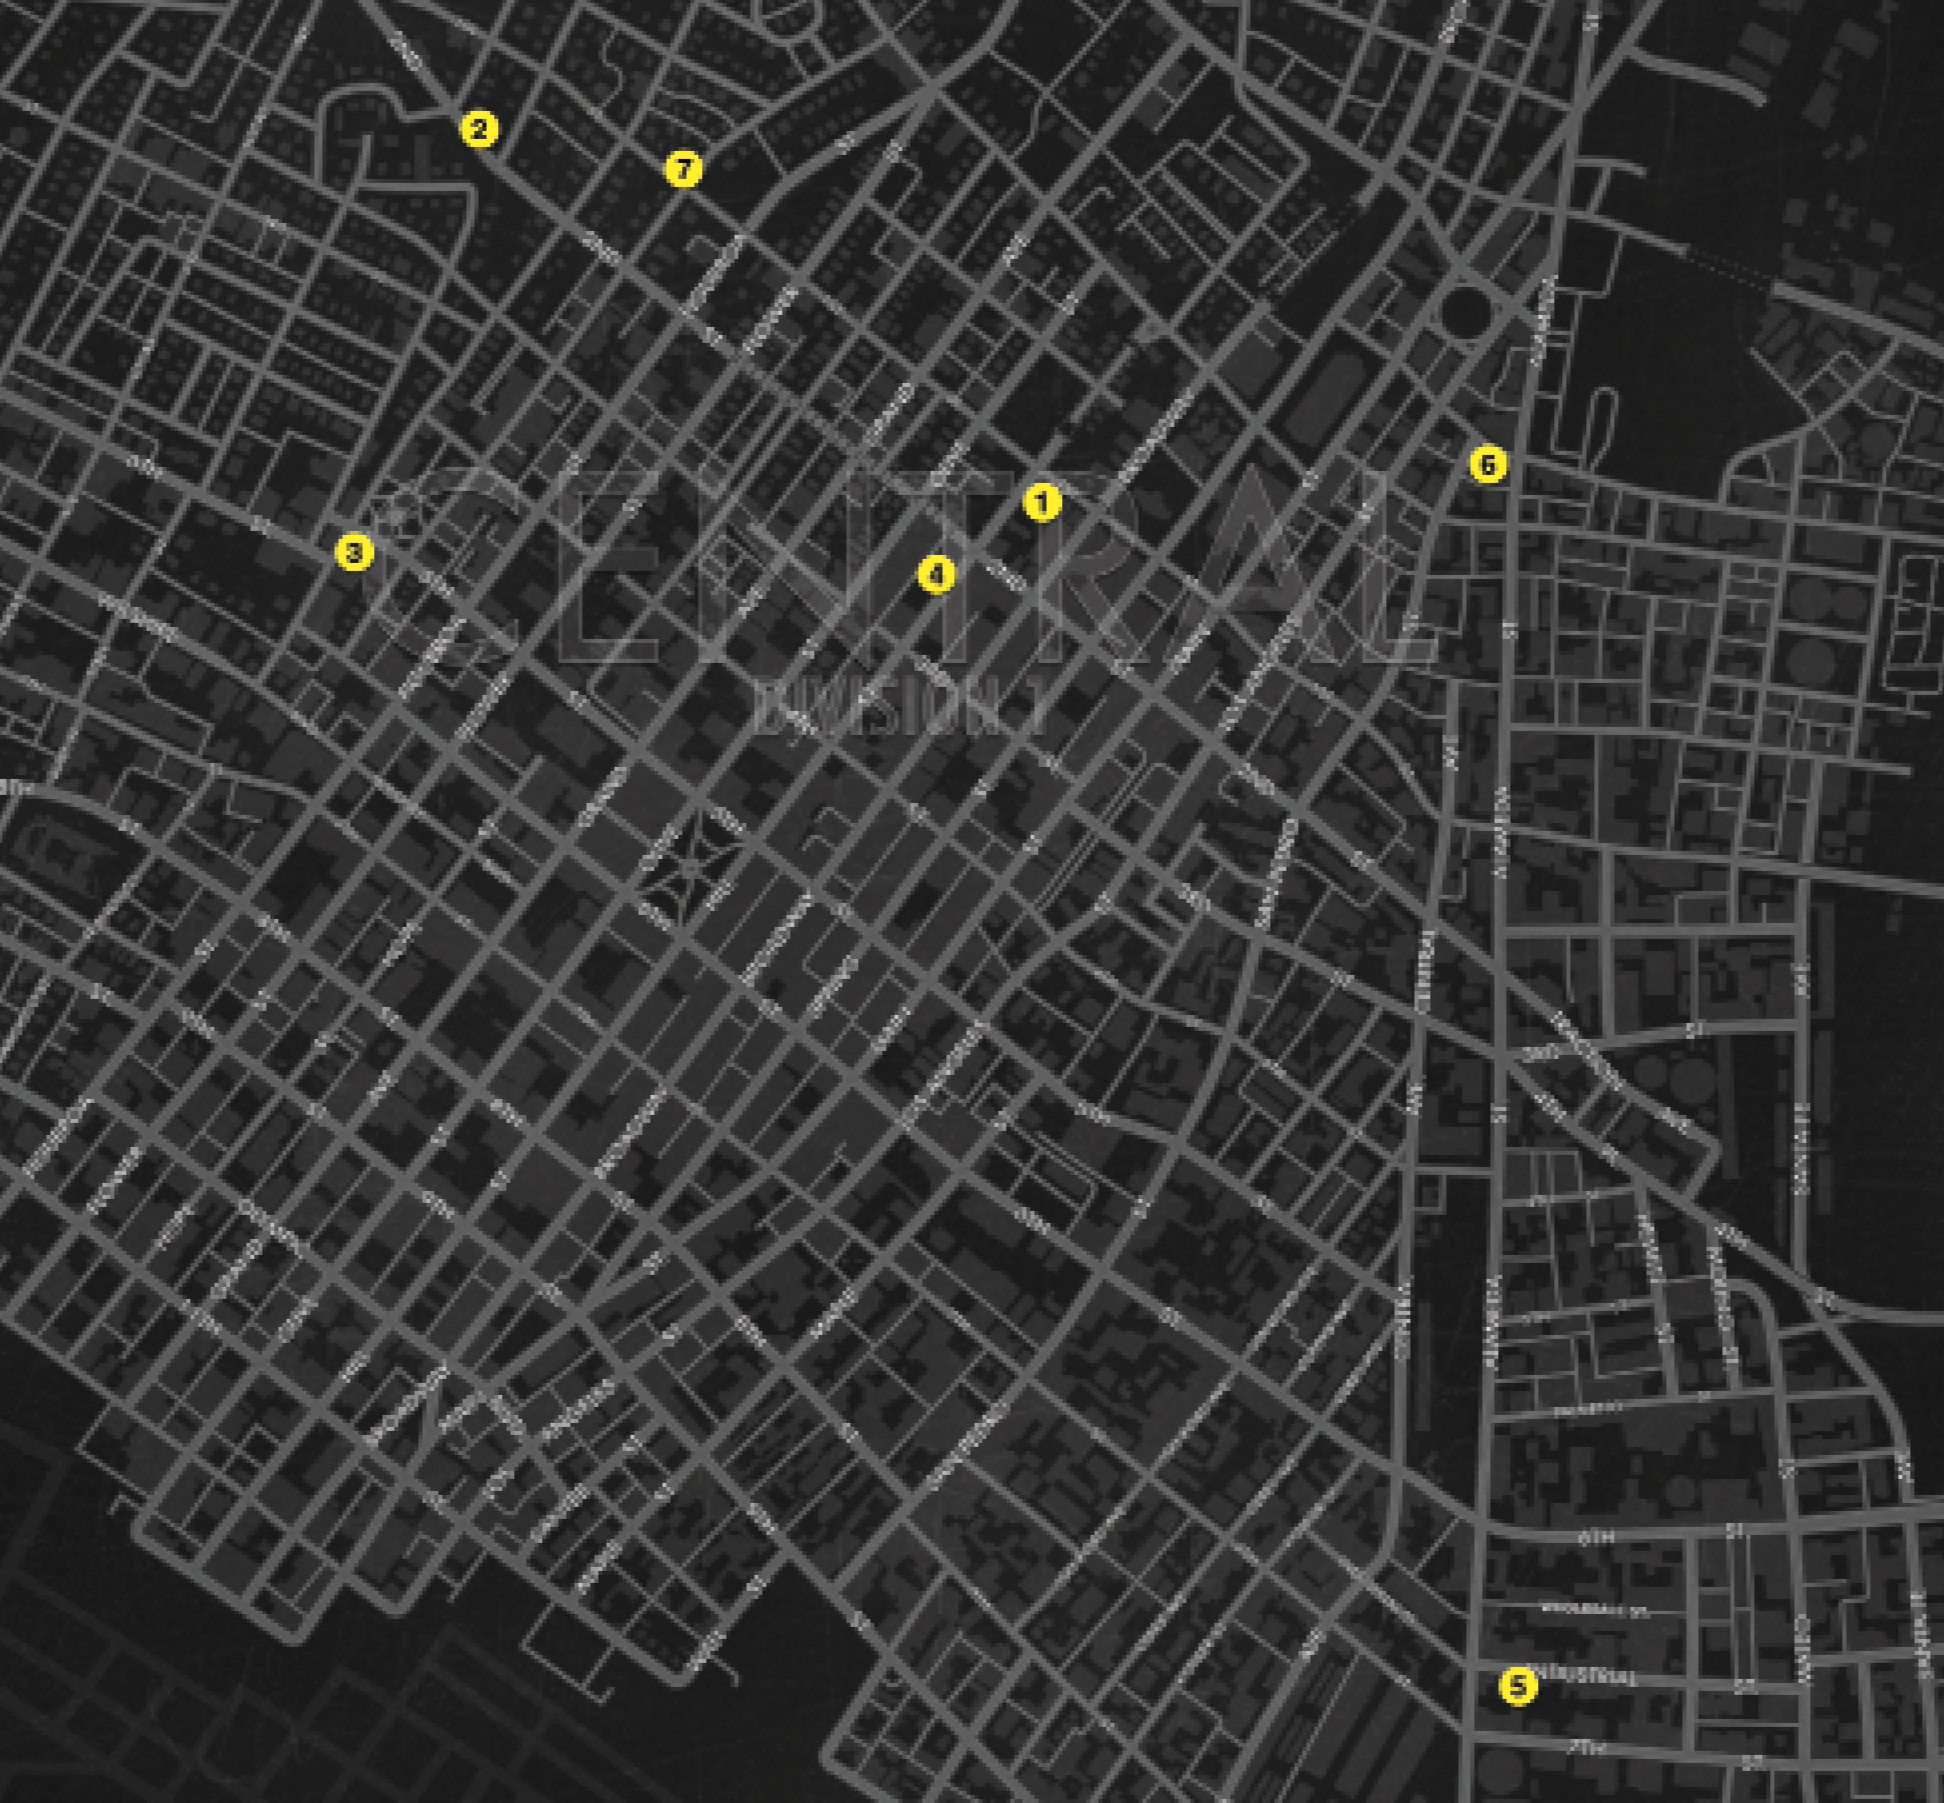
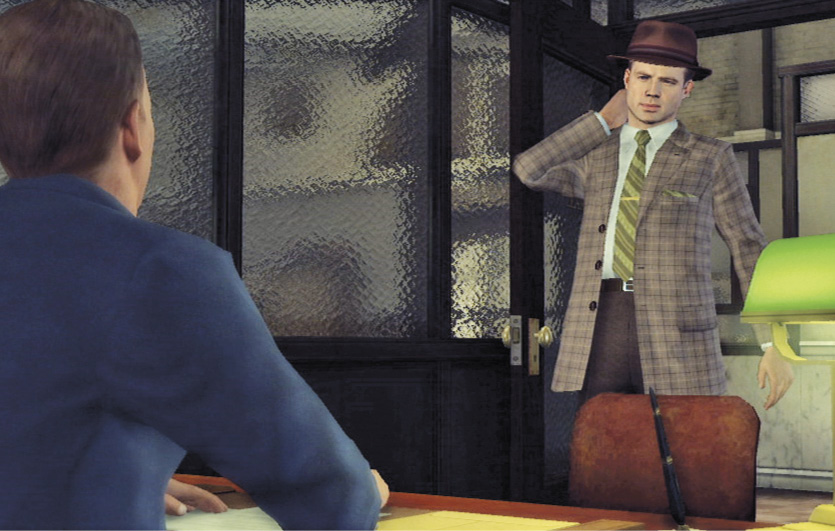
This is a traffic squad case originating in L.A.P.D.’s Central Division, and your partner is Stefan Bekowsky. Captain Gordon Leary explains the latest case.
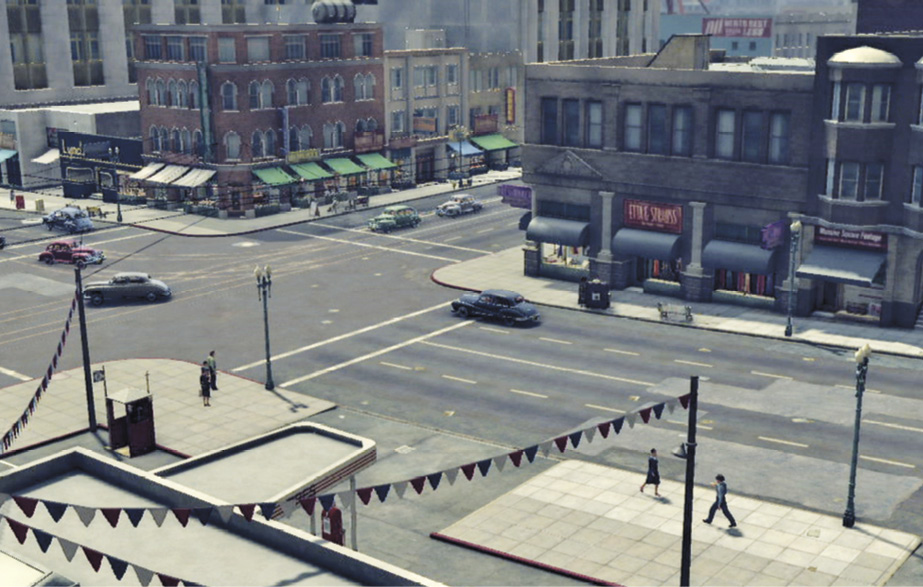
Report of a stolen Kaiser Frazer on 6 West Second Street. A beat cop spotted it sitting in the driveway. The registration has been circulating on the Department hot sheet, which means the suspect didn’t change the plates, didn’t make any attempt to conceal the vehicle.
Key Clue Checklist: Station Briefing
- Stolen vehicle
Objectives
- Investigate Stolen Vehicle Report
- Apprehend the fleeing suspect
- Interview Cliff Harrison
- Investigate Coombs Automotive
- Interview Richard Coombs
- Use gamewell to put APB on Jean Archer
- Investigate Jean Archer’s Address
- Return to Central Police Station
- Interrogate James Belasco
- Race to Western Union Office
- Interview Jean Archer
- Investigate 58 Industrial Street
- Interview Steven Bigelow
- Investigate Marquee Printing Co.
- Interview Gordon Leitvol
Case Report
Total Number of Key Clues 18
Total Number of Interview Questions 21
Fail Conditions
- Phelps or Bekowsky dies.
- Suspect escapes.
Location: 6 West Second Street
Travel to the Crime Scene.
You are at the Central Police Station  . If you open your notebook to the locations page, you find 6 West Second Street already selected. Exit the station and enter the Buick Super patrol car parked out front (blue vehicle icon on mini-map). Follow the yellow blip on the map
  to the crime scene. Bekowsky
talks about the Black Dahlia along the way.
Apprehend the fleeing suspect.
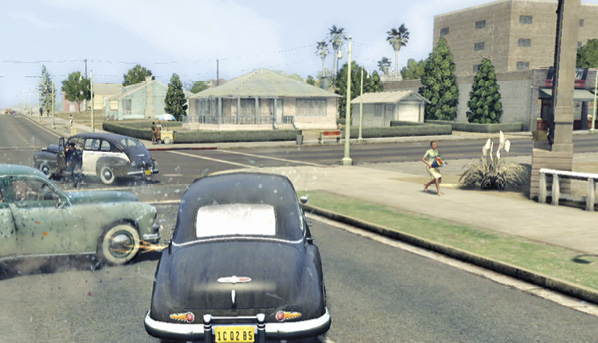
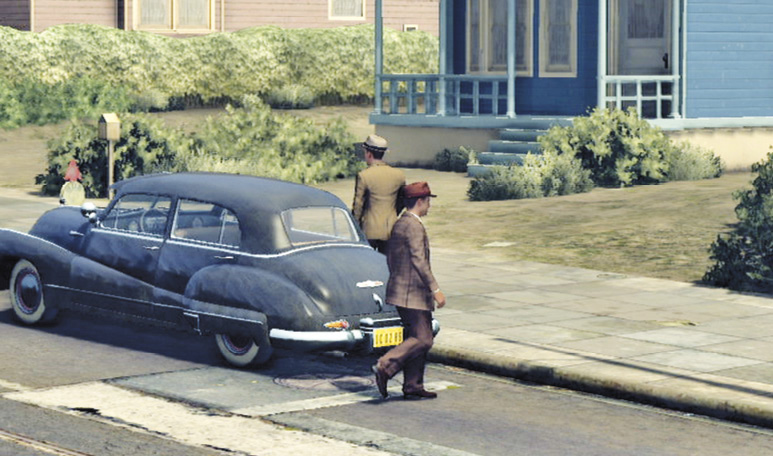
When you arrive at the crime scene, a green Kaiser Frazer tears out of the driveway and makes an escape. Chase the vehicle as it heads north on 2nd Street. The vehicle veers left onto Beverly Blvd. and takes the first right onto Belmont Ave. Drive into the rear end of the vehicle every chance you get, or force it to run into vehicles or other objects to stop it. Once the vehicle stops, apprehend the rattled driver.
Question Cliff Harrison.
When you catch the suspect, Cliff Harrison becomes a new P.O.I. When you accuse him of grand theft auto, he produces a receipt and claims he actually purchased the vehicle in question. The Receipt becomes a new clue and Coombs Automotive Co. is set as a new location in your notebook.
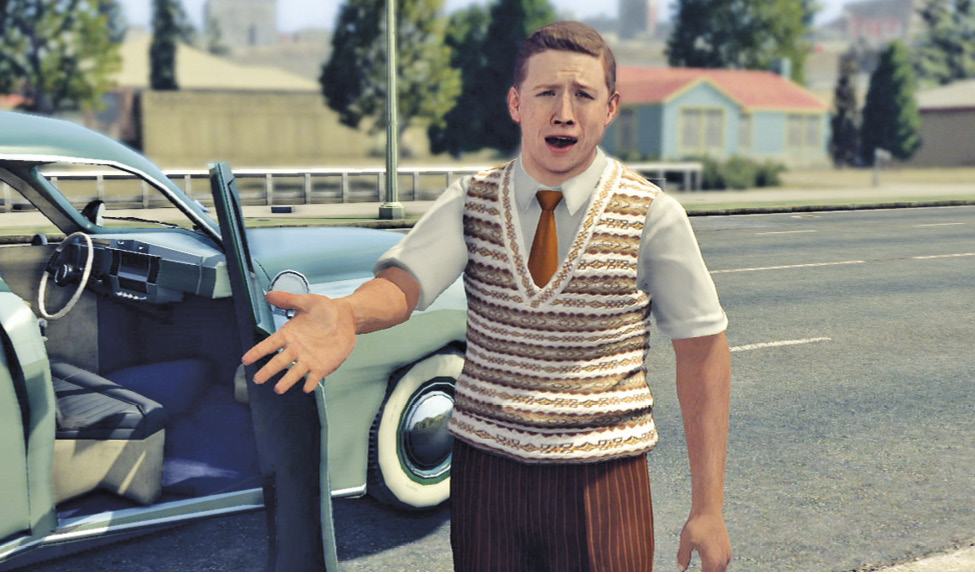
Key Clue Checklist: Cliff Harrison
- Receipt
Interview:Cliff Harrison
Topic: Vehicle reported as stolen
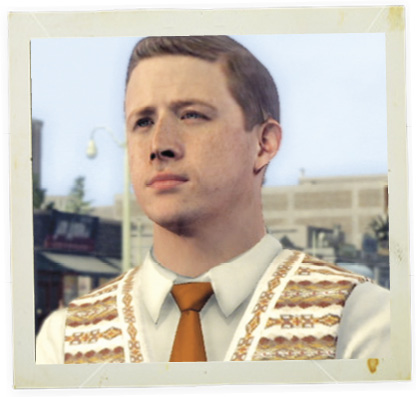
Cole asks Cliff to confirm that he purchased the vehicle from Coombs Automotive Company. Cliff confirms the statement while looking you straight in the eye. Albeit a little nervous looking, the boy is telling the truth.
Correct Assessment: Good Cop
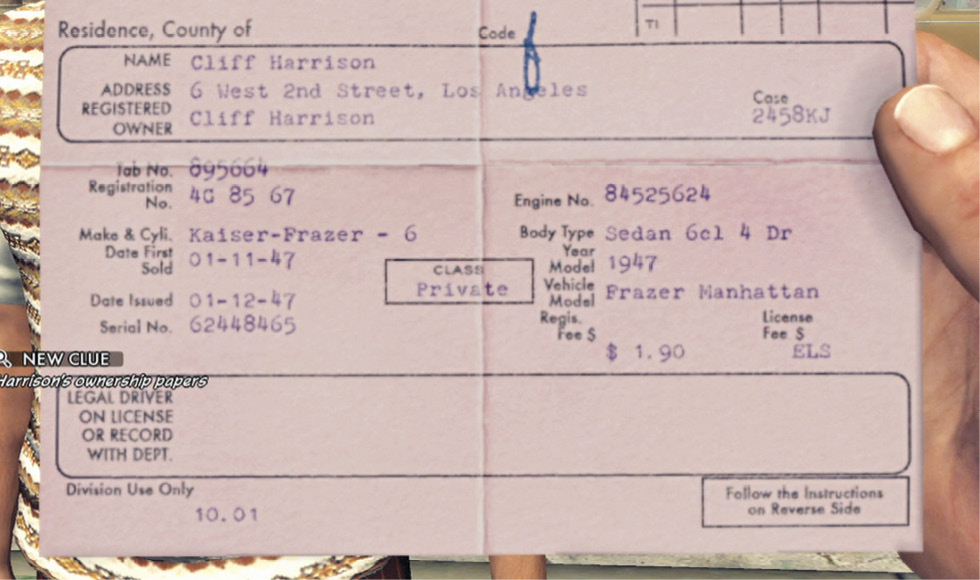
Select Good Cop and Cliff produces the ownership papers. Harrison’sOwnershipPapers are added to your list of clues.
Topic: Motive for flight
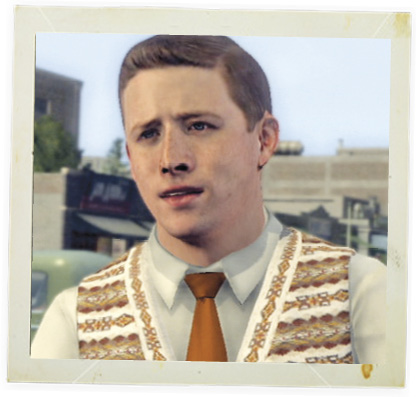
Cole wonders why he tried to run from the cops and asks if he has a criminal record. Harrison denies having any police record but this time he blinks quickly swallows and looks from side to side. You have no immediate proof that he may have a record so it would be wise to select Bad Cop.
Correct Assessment: Bad Cop
Cole raises his voice and threatens no leniency. Cliff quickly cracks and admits he ran because he has a little bit of marijuana in the glove compartment.
Topic: Vehicle purchase details
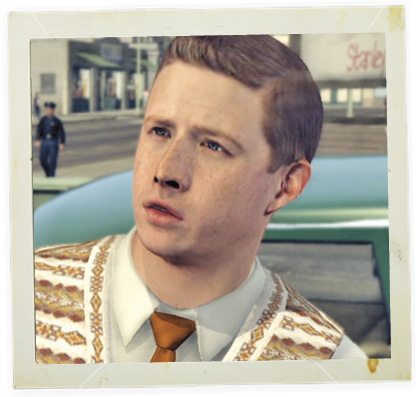
Phelps asks Cliff for the name of the person he dealt with at Coombs Automotive. He responds, “The owner, Richard Coombs”. Richard Coombs becomes your new P.O.I. He finishes his statement with the same look as the first. He’s telling the truth.
Correct Assessment: Good Cop
Select Good Cop, and Cliff offers up additional information. The owner kept a copy of the ownership papers for his records. With that done, Cole arrests Cliff for GTA and will hold him until he can be cleared of the charge using the information just gathered.
Key Clue Checklist: Cliff Harrison Continued
- Harrison’s ownership papers
Drive to Coombs Automotive Co.
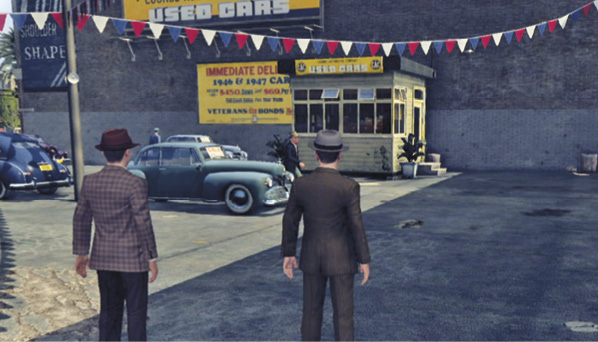
Follow the yellow blip on the mini-map to Coombs Automotive  on 5th Street. Along the way, Phelps tells Bekowsky that he believes the kid was telling the truth. The rest of the conversation deals with their different definitions of communism.
Location: Coombs Automotive Co.
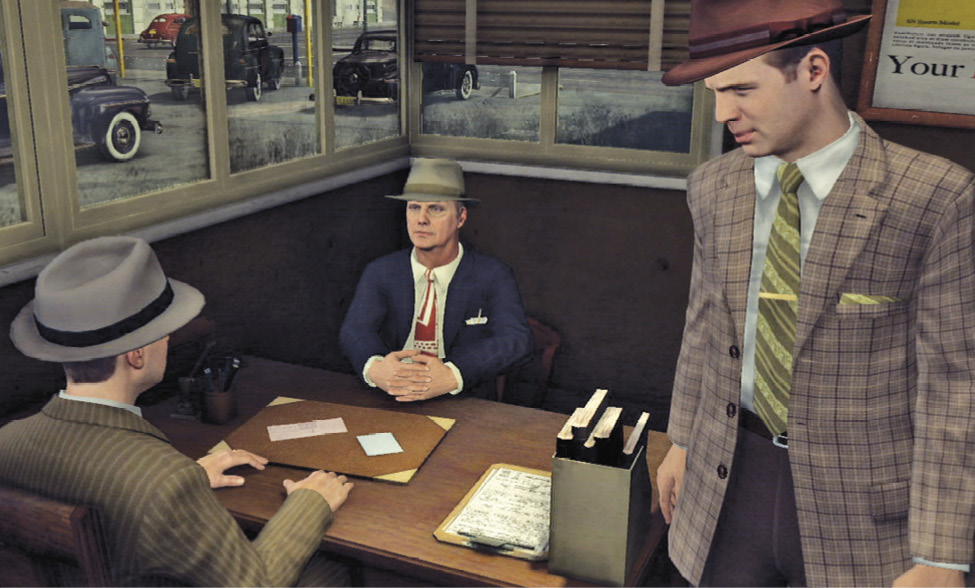
When you arrive at Coombs Automotive, the owner Richard Coombs quickly notices the detectives and introduces himself. Cole asks him if he can confirm that Cliff Harrison purchased a car from his establishment. After joking around a bit, he leads you into his office to show you the bill of sale.
Investigate Richard Coombs’ office.
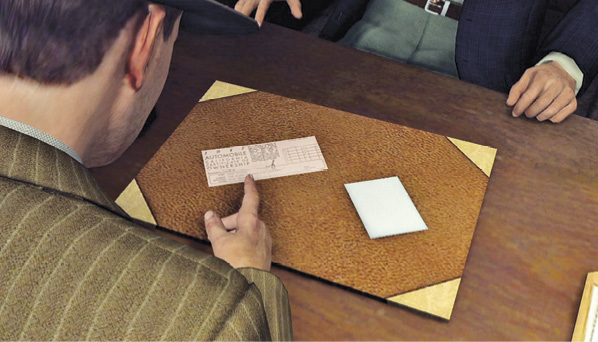
Sit down in front of Richard’s desk. As you do, he places a pink slip and a receipt down in front of you. Pick up the pink slip to obtain the Archer’sOwnershipPapers clue. “146 North Fremont Avenue” is added to your locations in the notebook and a new objective is obtained: Investigate Jean Archer’s Address. Jean Archer becomes a new P.O.I.
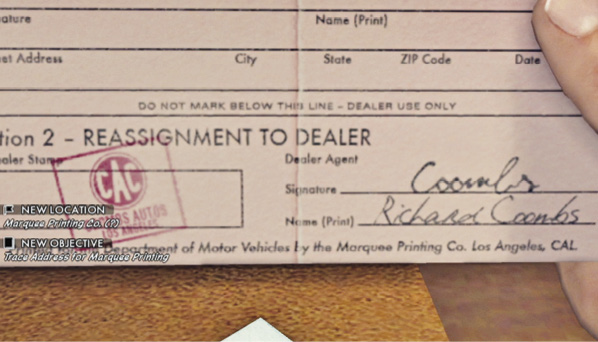
Investigate the pink slip further by flipping the paper over to see the backside. When you scroll down to the bottom of the slip “Marquee Printing Co”. becomes a new location, and the objective “Trace Address for Marquee Printing” is given.
Put the pink slip down and pick up the receipt on the right. This is the Bill of sale. The BillofSale clue is added to your notebook when you investigate this detail.
Key Clue Checklist: Coombs Automotive
- Archer’s ownership papers
- Bill of sale
Interview: Richard Coombs
Topic: Details of transaction
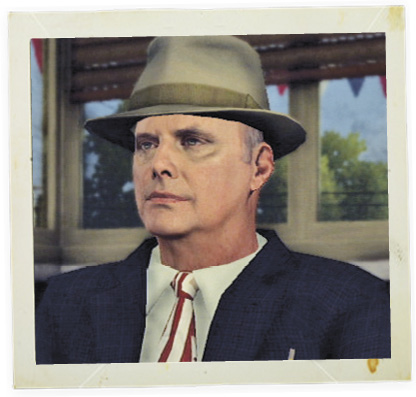
Cole asks Richard how he came to buy the car. He says Jean Archer just wandered in off the street. He looks Cole straight in the eyes without any sign of deception.
Correct Assessment: Good Cop
Cole asks if there was anything unusual about the car. Coombs responds “Not really my usual type of vehicle—the price was certainly right though”. He paid with a check, but the girl wanted it made out to cash but he insisted. Check becomes a new clue.
Topic: Description of suspect
Cole asks Richard to describe Jean Archer. He answers, “Brunette. Maybe 25 or 26?” “A little on the plump side, but not bone ugly”. Richard has no reason to lie about her appearance.
Correct Assessment: Good Cop
Cole asks him his impression of her. Richard says, “Kind of harried and harassed”. “In a hurry to go somewhere, but no place to go”. This updates Jean Archer’s P.O.I.
Topic: Association with Marquee
Cole asks if he knows anything about the company that prints the pink slips. Richard denies knowing anything about that.
Correct Assessment: Good Cop
Coombs adds that Marquee does all of the government red tape, as well as printing the pink slips, and then tells you where you can find them. “Investigate Marquee Printing” becomes a new objective.
Topic: Check payment details
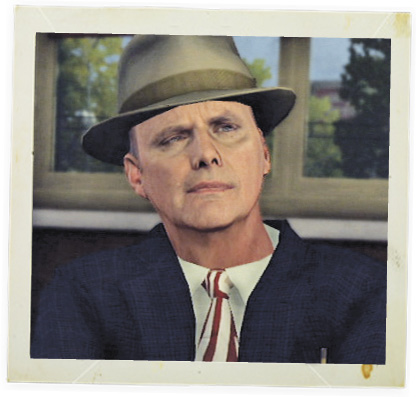
Phelps asks Richard when he actually handed over the check to Jean Archer, to which he responds, “Close of play on Friday”. At this question, he shifts his eyes and folds his arms. You have no evidence to prove he’s lying.
Correct Assessment: Bad Cop
Get rough with Richard, and Cole will ask Richard why he didn’t pay in cash, suggesting he knew the car was dirty. Coombs said he had an idea it was, but when people are in a hurry for money, always pay by check. This gives you a couple days to back out.
Topic: Suspicious transaction
Phelps asks Richard Coombs if this transaction was all above board. Coombs says, “Yes, of course it was”. He gives you the same look he did the last time you doubted him.
Correct Assessment: Bad Cop
Cole presses, “Did this look legitimate to you, Coombs?” Coombs responds, “…you don’t look a gift horse in the mouth”.
Key Clue Checklist: Coombs Automotive Continued
- Check
Use the gamewell.
As you leave Coombs’s office, notice the blue gamewell icon that has blipped on the mini-map near your parked squad car. Use the phone to put an APB on Jean Archer and to check for messages.
While on the gamewell, a message is received that James Belasco is being held at Central Station on suspicion of GTA, and that it’s a possible link to your Harrison case. He waits at Central for our interrogation.
This adds the new objective “Interrogate James Belasco” and adds the Central Police Station as a new location, as well as adding James Belasco as a new P.O.I.
Before visiting Central Station to interview Belasco, it’s a good idea to visit 146 North Fremont Avenue/Jean Archer’s Address  to gain more information on the car theft ring, as well as the new ‘Fake Address’ clue.
Location: Central Police Station.
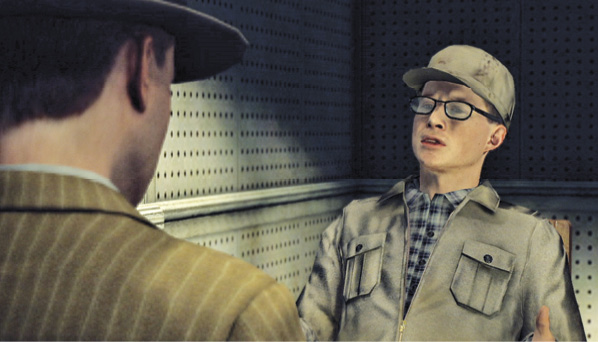
Select Central as your location and follow the yellow blip back to the police station  . When you enter the station, the watch commander at the main desk tells you Belasco is prepped and ready in Interview Room 2. Proceed forward and turn left down the hallway. Turn right shortly thereafter to find Interview Room 2 to the left of a short dead-end hallway. A guard stands outside the closed door.
Question James Belasco.
You find James Belasco sitting behind the table as you enter Interview Room 2. As soon as you sit down, Belasco adamantly claims that he is the owner of the vehicle and hands you the proof: Belasco’s Ownership Papers. This becomes your latest clue. After inspection, you tell him the paper may be real but the car isn’t his. The pink slip is a forgery.
Key Clue Checklist: Central Police Station
- Belasco’s ownership papers
Interview: James Belasco
Topic: Stolen auto courier
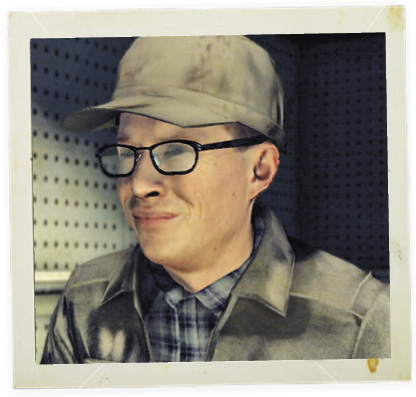
Cole asks James where he was taking the vehicle. He totally disrespects you and tells you that you’ll get nothing from him. He squints and smirks at you. Knowing Cole, it’s a safe bet to doubt that this is true.
Correct Assessment: Bad Cop
Choose Bad Cop, and Cole begins with the insults and ends with the threats of doing a decade in the slammer. Belasco asks for a deal. Bekowsky tells him that depends on the value of the information he has. James says his job is to drive the cars out of state…Nevada, Arizona, sometimes New Mexico. This adds Auto Theft Racket as a clue, as well as Stolen Auto Courier.
Topic: Association with Archer
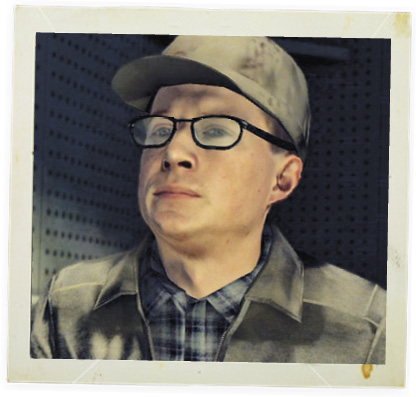
Cole asks James if he recognizes the name “Jean Archer”. He denies knowing her. He swallows, looks to the side and squirms.
Correct Assessment: Accuse
Evidence: Archer’s ownership papers
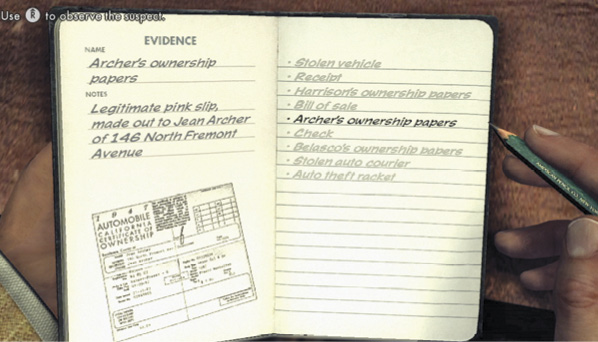
Use Archer’s ownership papers to back up your lie accusation. With that, Phelps points out that both he and Archer have the same address printed on their pink slips. “She’s a mule for these stolen vehicles…same as you”, says Cole. James confesses that he knows her and that she’s the stupidest broad he ever met.
Topic: Auto theft racket
Phelps asks Belasco what happens to the cars once they cross over state lines. He replies, “I don’t know. I just deliver them”.
Correct Assessment: Bad Cop
Cole threatens James with jail time with the rumor leaked to the cell that he’s a child molester. This shakes up the suspect and he quickly spills the beans. The cars are sold in Chicago or back east. Sometimes he brings back cars coming the other way.
Topic: Stolen vehicles warehoused
Cole asks James where he picks up the cars. “Warehouses in East Downtown”, he replies.
Correct Assessment: Bad Cop
Doubt the answer, and Cole pushes for an address. Belasco says it’s a place on Industrial Street. “Industrial Street (?)” becomes a new location. You’ll have to call it in to get the exact address.
Ray Pinker conversation
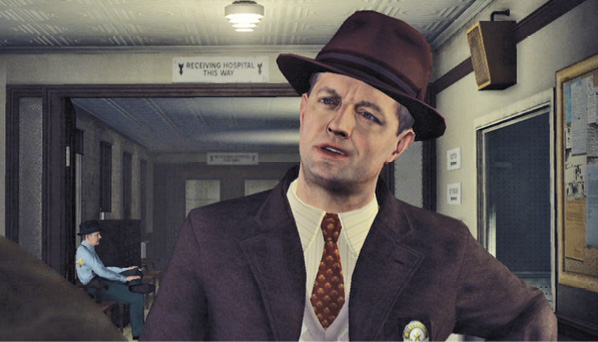
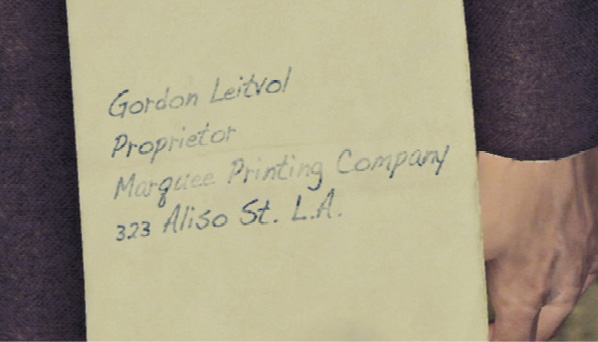
As you exit the interrogation room, Ray Pinker from Technical Services stops you in the hallway. He informs you that the pink slips are all real. Marquee Printing Company is the only company in CA that prints them and they confirm the numbers are legit. He hands you a sheet of paper with the contact name and address to the printers. Pink Slips and the Note from Ray Pinker become new clues, and “Gordon Leitvol” becomes the latest P.O.I.
As you exit the station, the watch commander yells “Your GTA suspect, Jean Archer, was spotted by a patrolman”. “Western Union Office” becomes a new location and “Apprehend Jean Archer” becomes your latest objective.
Key Clue Checklist: Central Police Station
- Auto theft racket
- Stolen auto courier
- Pink slips
- Note from Ray Pinker
Race to the Western Union Office
You have 45 seconds to reach the Western Union Office  a block south from the station before you miss an opportunity to interview Jean Archer. If you are late, you will not find Jean there.
Location: Western Union Office
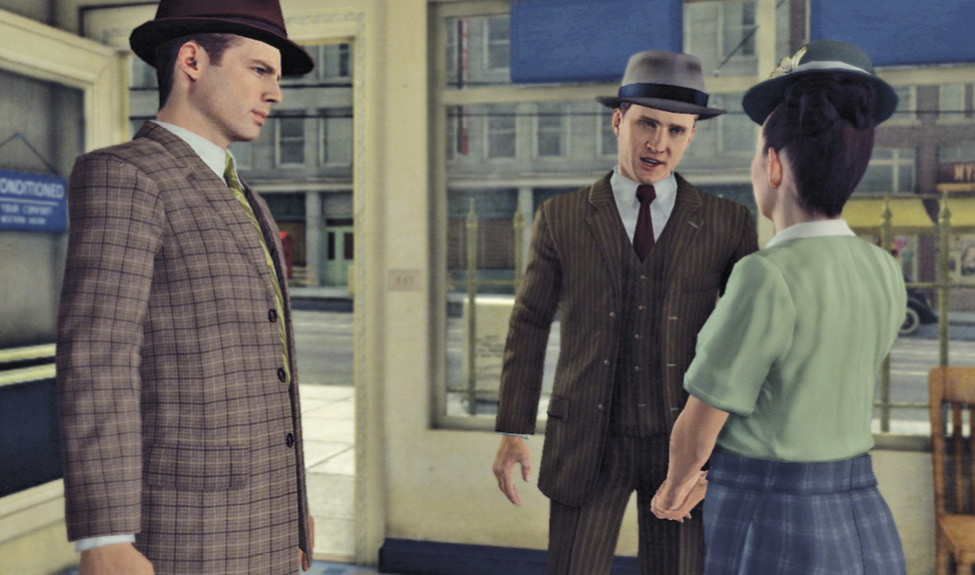
When you arrive at the Western Union, you catch Jean Archer at a check-cashing window arguing with the teller. When she turns around and sees you and your partner, she remains calm and plays it very cool, asking you to give a girl a break.
Interview: Jean Archer
Topic:Stolen Kaiser Frazer
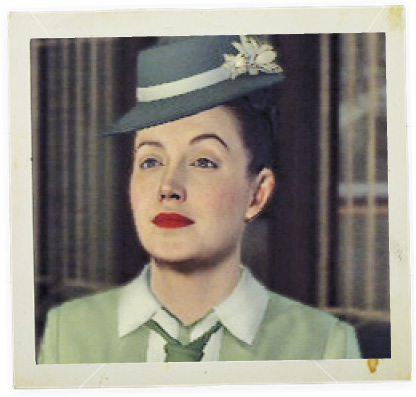
Cole tells Jean that the car she sold to Coombs was stolen. She replies, “I handed over all the right paperwork when I sold it”.
Correct Assessment: Bad Cop
Choose the correct response, Bad Cop, and Cole accuses her of blowing open the entire operation because she was dumb enough to try to sell one. He asks her, “What do you think they’re going to do to you?” She claims that she was just doing what they do. They only pay her 50 bucks to drive the car.
Topic: Association with Belasco
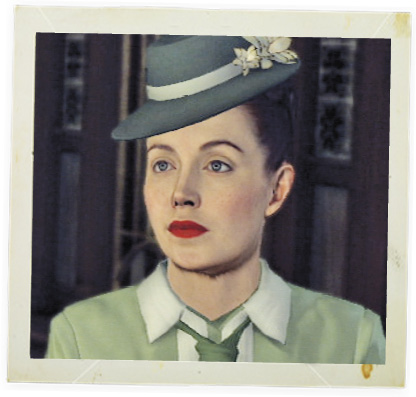
Cole asks Jean how long she and Belasco have been delivering vehicles. In her response, she claims not to know James Belasco, using his full name even though you never said his first name. She looks you directly in the eye, but she looks nervous and swallows and licks her lips.
Correct Assessment: Accuse
Evidence: Belasco’s ownership papers
Choose Accuse, and Cole states that he never used Belasco’s first name. She sticks with her lie until you choose the clue: Belasco’s ownership papers. With that, you point out that they both share the same address on both pink slips. She confesses that the slips are real but the addresses are always vacant lots. While explaining this, she mentions the name “Bigelow”, which is added as a new P.O.I. A new clue is earned: Known Associates of Archer.
Topic: Stolen auto courier
Cole demands Jean to tell him where she picked up the car, but she claims she can’t remember. She gives you a look similar to the one you doubted before.
Correct Assessment: Bad Cop
Cole returns, “I’ll have reporters down here and shove your picture in all the papers”. “You’ll have nowhere to run”. She breaks. She picks up the cars from Bigelow at 58 Industrial Street. “Investigate 58 Industrial Street” becomes a new objective. We suggest first visiting the Marquee Printing Company. Along the way, Bekowsky jokes with Cole about Jean’s feminine charms not working on the impenetrable Cole Phelps. Cole stresses that he is married, and when pressed he admits he has a weakness for blondes.
Key Clue Checklist: Western Union Office
- Known associates of Archer.
Drive to MarqueePrinting Company
When you enter Marquee Printing Company  , Cole questions Gordon Leitvol about their printing of the California vehicle titles. Gordon claims that he has a government contract to print pink slips. Good answer. Cole asks if any equipment or goods have been stolen because they’re running against stolen cars with legitimate paperwork. Gordon suggests maybe forgery is the cause.
Interview: Gordon Leitvol (first time)
Topic: Knowledge of theft racket
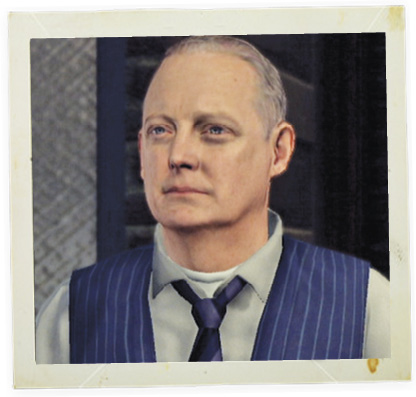
Cole tells Gordon that they are working on a couple auto theft cases and asks if he knows anything about a car theft ring. Gordon flat out denies any knowledge of such things. His weird smile may not be enough to give him away, but all the evidence that points his way is enough to doubt his answer.
Correct Assessment: Bad Cop
Cole points out the pink slips that were printed at Gordon’s company and threatens to bring the entire department down on him. Gordon tries to explain that away by comparing it to a similar situation that happened a couple years ago. A number of used car lots were selling blank documents to a criminal organization.
Topic: Pink slip supply
Cole asks Gordon if the names “Cliff Harrison” and “James Belasco” mean anything to him. Gordon replies, “They do not”.
Correct Assessment: Bad Cop
Choose Bad Cop and Cole asks Gordon to confirm that Harrison bought his car from Coombs, reiterating that the pink slips look good and point to here. Gordon claims that Coombs has been involved in stolen documents in the past.
Topic: Coombs Auto deliveries
Cole asks Leitvol for a delivery ledger to crosscheck against the Coombs Automotive Emporium. Gordon refuses to produce this ledger.
Correct Assessment: Bad Cop
Choose Bad Cop and Cole demands the ledger. Gordon produces the ledger and the interview ends. Head to the
counter where the ledger is laid. Open the ledger and turn to the last page. Point to and select “S. Bigelow” from Jan 4, 1947, ordering two boxes to 58 Industrial Street, signed by Bigelow. This creates “S. Bigelow” as a P.O.I. and reminds you to Investigate 58 Industrial Street. Finally, Delivery Ledger becomes your latest clue.
Key Clue Checklist: Gordon Leitvol Interview
- Delivery ledger.
Drive to 58 Industrial Street
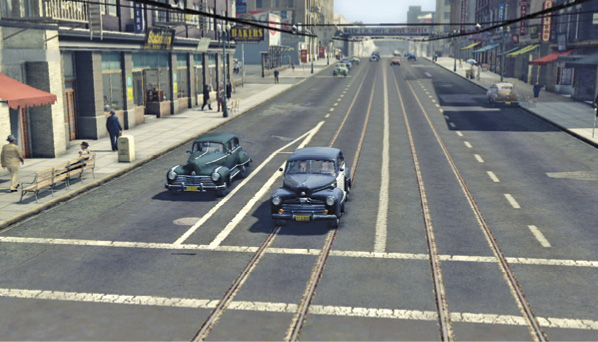
Exit the Marquee Printing Company and enter your vehicle. Set your destination for 58 Industrial Street  .
.
Location: 58 Industrial Street Warehouse
When you arrive at the warehouse on Industrial Street, Phelps and Bekowsky move toward an entrance with guns drawn. You consider waiting for backup, but Bekowsky strokes your war-hero ego and persuades you to move in without support…or fear. You cover the nearby entrance while he goes to the rear.
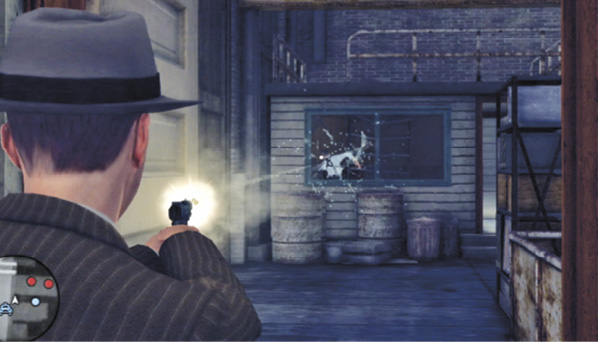
You gain control of Cole as he covers next to an open door looking into the warehouse. You announce yourself and warn the employees that they are to come downtown with you. Three red blips appear on the mini-map inside the warehouse.
Wait a few moments at the door, and a gunman in the back of the room, behind an office window, shows himself to fire a few rounds. This is your first target. Take him out and then move cautiously into the warehouse, using the shelves and other objects on the right for cover from the remaining gunmen’s attacks.
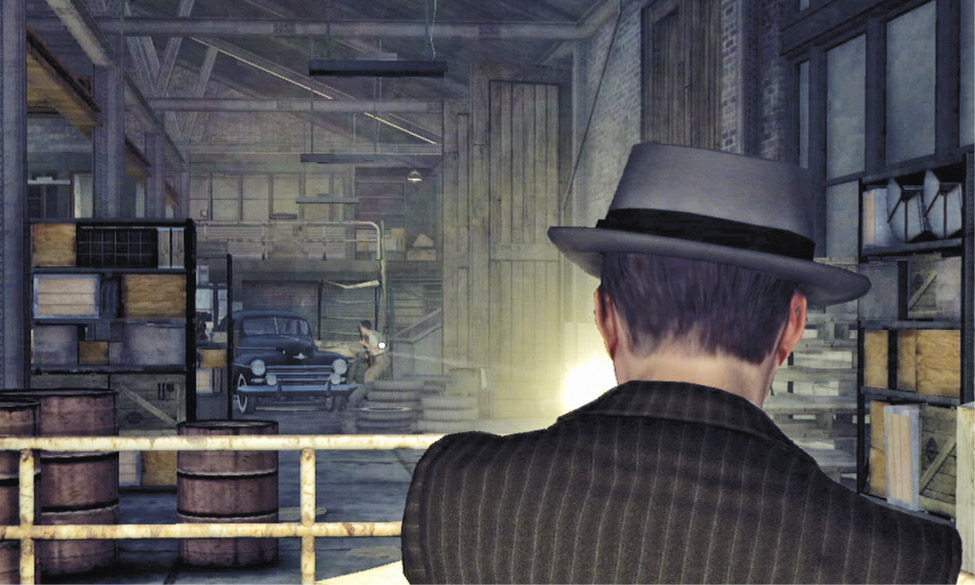
Select one target at a time, and try to keep your exposure to others down as you pick a target to shoot. Four more red blips appear on the mini-map as you work your way deeper into the warehouse. You can find some explosive containers around the room—shoot them to help take out those in cover nearby.
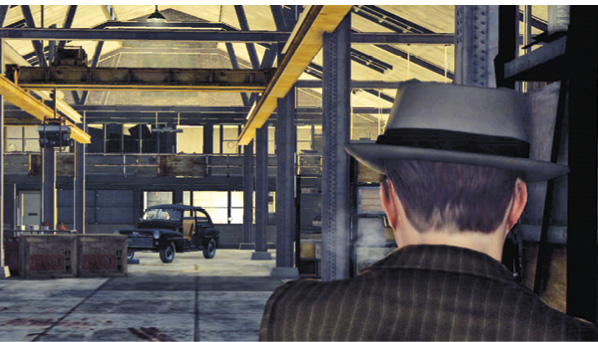
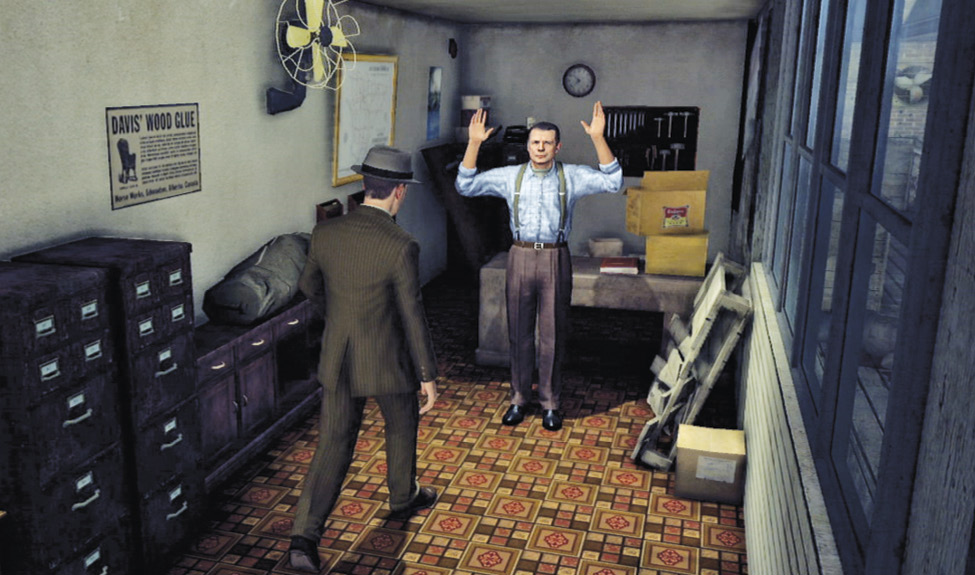
Make your way to the back of the room and take out all targets. Climb the stairs in the back-right corner, and join Bekowsky in a gunfight with the remaining two targets at the end of the second-floor balcony. After defeating the final two targets, enter the room at the end of the balcony to find Bigelow with his hands up.
Investigate the crime scene.
Begin searching the office while Bekowsky keeps an eye on Bigelow. Your goal is to find paper, records—any kind of bankable evidence. Find a box of pink slips on the desk behind Bigelow. This adds Box of Pink Slips to your clue list.
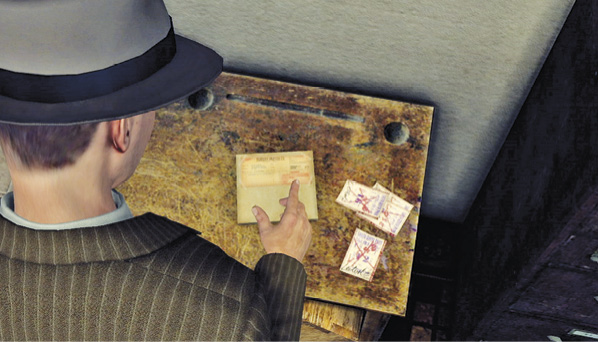
Search the narrow wooden table beside Bekowsky. Here you find a couple items. On the right are Betting Slips (new clue), while on the left is a Delivery Note (another new clue) with Gordon Leitvol appearing as the name of the carrier and Stephen Bigelow as the destination of the delivery. You automatically approach Steven Bigelow once you find all three of these clues.
You tell Bigelow that you’ve got a trail of pink slips and stolen cars that lead right to his door. You don’t believe that Bigelow is the man in charge. Bigelow gives up nothing before the interrogation.
Key Clue Checklist: 58 Industrial St. Warehouse
- Box of pink slips
- Betting slips
- Delivery note
Interview: Steven Bigelow
Topic: Pink slip supply
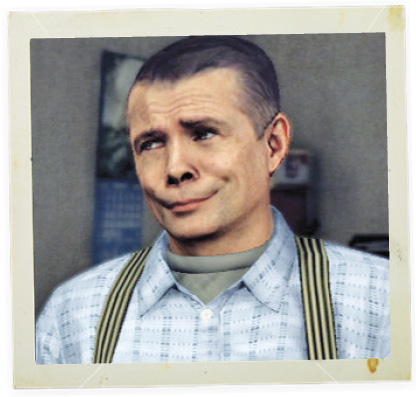
Cole tells Bigelow that they know about Marquee Printing and that he can make things easier if he just gives up the man inside. Steven Bigelow claims he only has the pink slips so he can resell the vehicles after he repairs them. Then he looks at you like he smells something funny.
Correct Assessment: Bad Cop
Choose Bad Cop, and Cole ignores this and threatens Bigelow’s life to get a straight answer. Bigelow fingers Leitvol—the guy who runs Marquee—he’s the big shot with a gambling problem. This adds Gambling Debts to your clue list.
Topic: Association with Leitvol
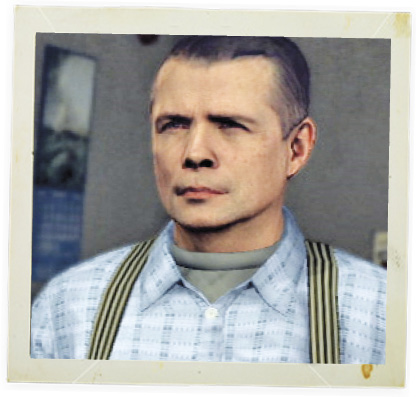
Cole asks for more information about Leivtol. Bigelow points to the floor outside the office and says, “He’s one of the (dead) guys lying over there”. He finishes his sentence and begins squinting and swaying back and forth. It’s a lie.
Correct Assessment: Accuse
Evidence: Note from Ray Pinker
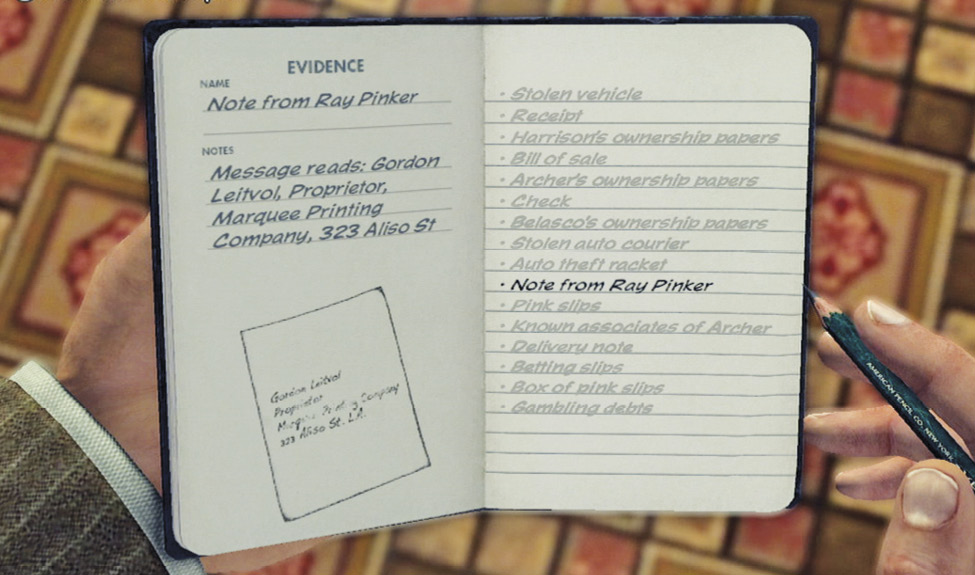
Choose Accuse, and then choose the “Note from Ray Pinker” clue to back up your accusation. You proudly share your knowledge that Gordon Leitvol is the owner of Marquee Printing and that he’s losing big at the track. Bigelow admits that Leitvol is in hock over twenty grand and his government contracts are at risk if the Feds get involved.
The scene ends outside, Bigelow being thrown in the paddy wagon and driven off to jail. A new objective is given: “Apprehend Gordon Leitvol”.
Drive to MarqueePrinting Company
Revisit Gordon Leitvol at the Marquee Printing Company  and Cole informs the owner that he is under arrest. This leads directly into more questioning.
Key Clue Checklist: Steven Bigelow
- Gambling debts
Interview: Gordon Leitvol (second time)
Topic: Deliveries to Industrial Street
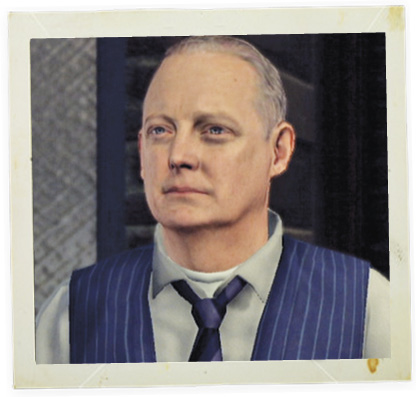
Cole tells Gordon that they found a box of pink slips in a warehouse full of hot cars. There is proof that Leitvol signed for them. Leitvol simply explains that he signs all orders and deliveries and that Cole needs to dig deeper than that.
Correct Assessment: Accuse
Evidence: Betting Slips
Select “Betting slips” to back up your accusation. Cole tells Gordon that they know about the debts. With that, Gordon begins to sing. He says he’ll name names just to keep this story out of the papers. Cole tells him to just shut up while he makes the arrest on grounds of conspiracy and fraud. Afterward, watch the cut-scene as Captain Gordon Leary commends you on the job as he reads the flattering story in the paper.