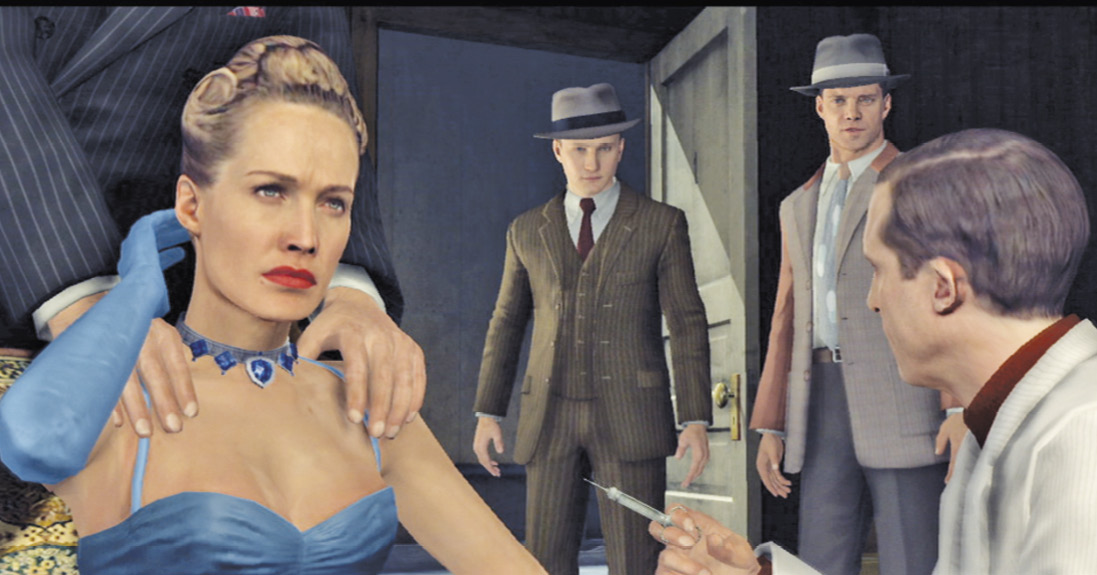
L.A. Noire Guide Walkthrough The Traffic Cases
CASE# AT005: The Fallen Idol
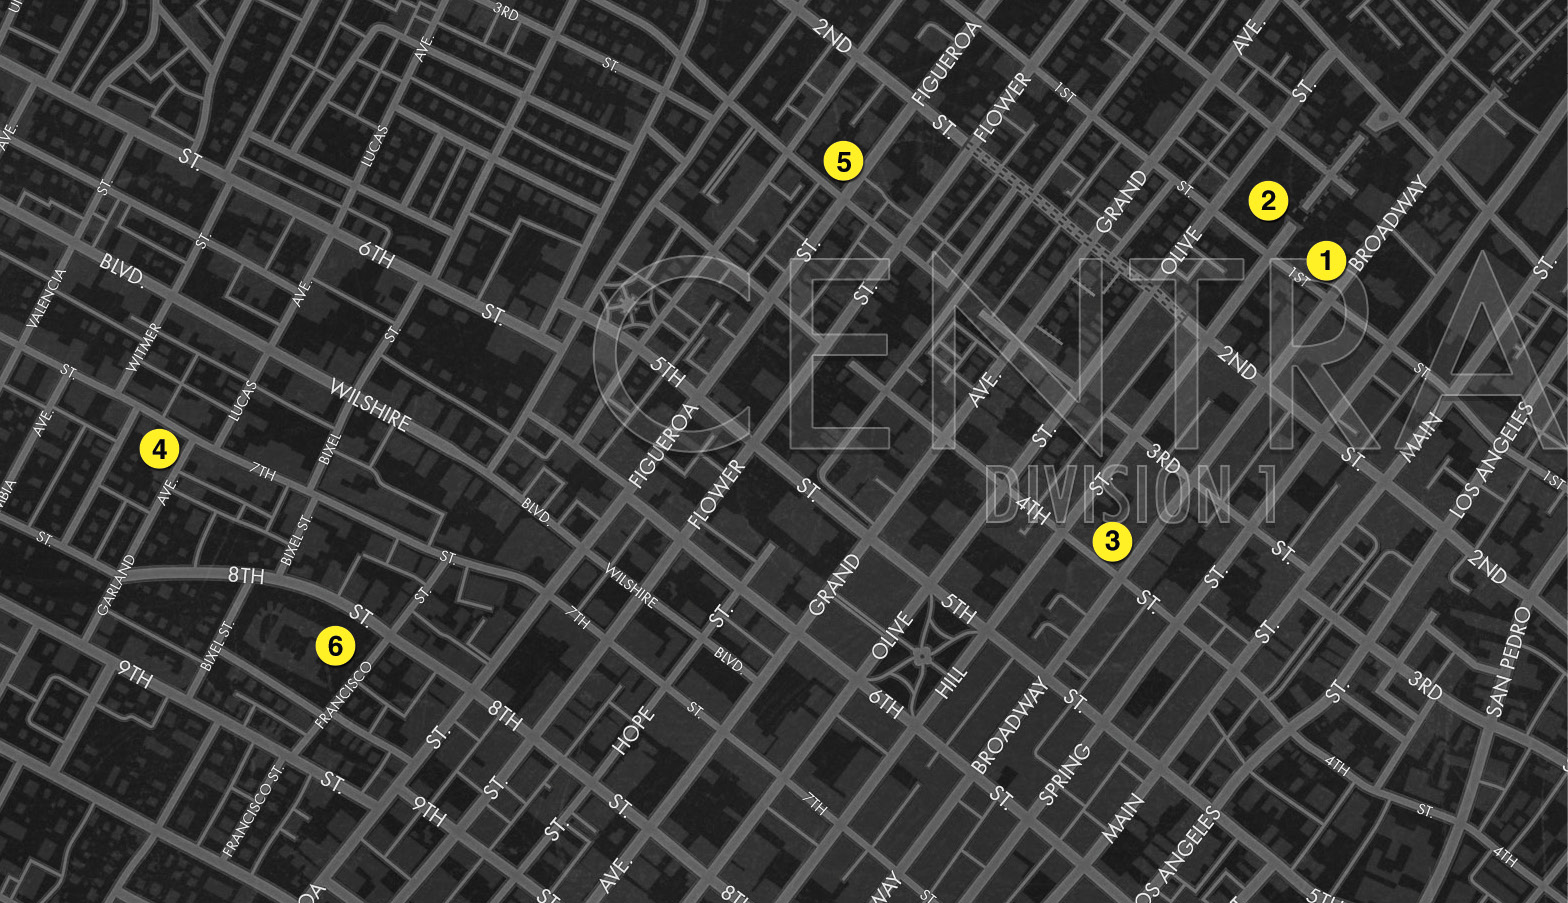
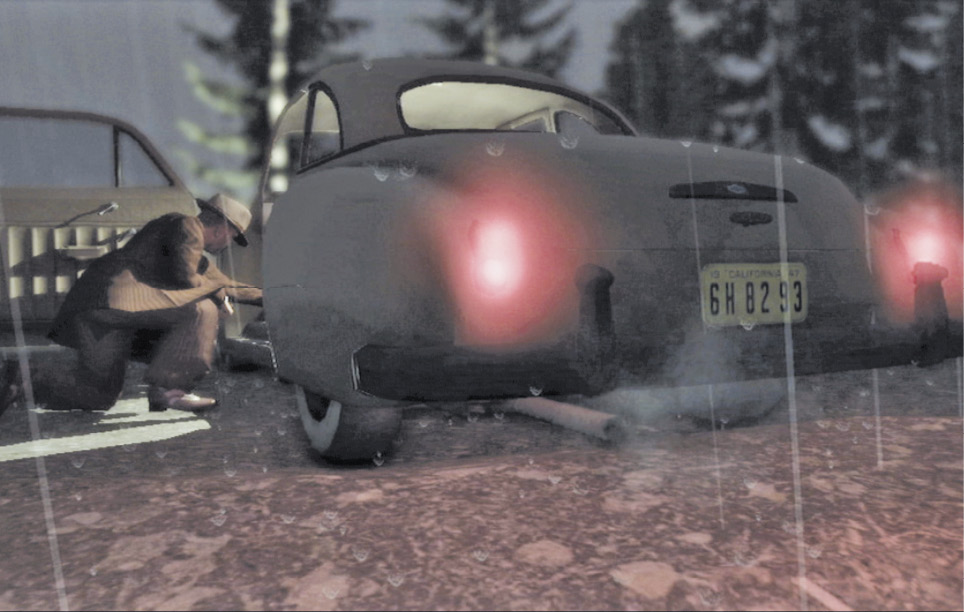
This case opens on a rainy night. We see a Chevy Styleline idling on a wet hilltop, and a murky figure—a man in a suit and hat—jamming something onto its floorboard. Suddenly the car accelerates and flies off the escarpment just ahead.
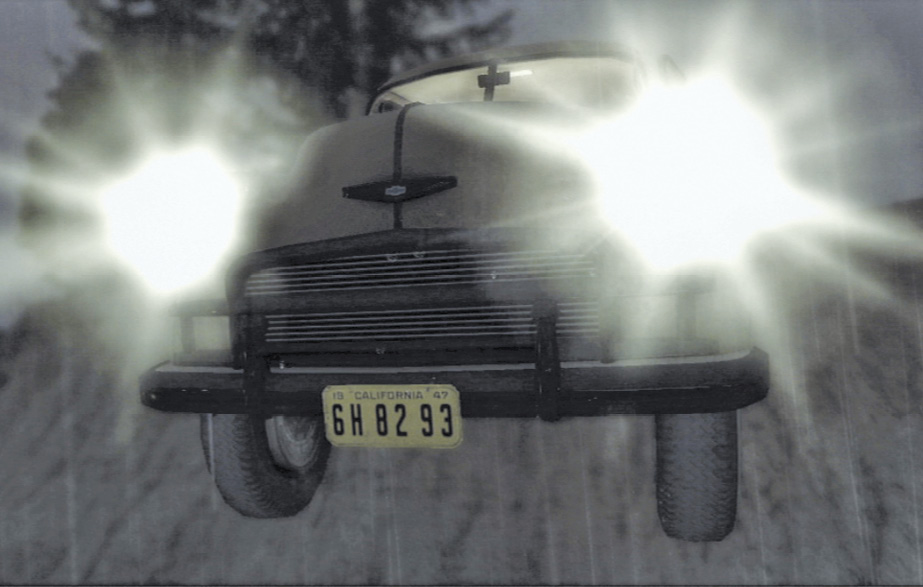
Now cut to the next day in the Central Police Station briefing room. Captain Leary assigns Phelps and Bekowsky to the case. Two women were in that car, but incredibly, both survived. The vehicle got caught on a Cola King billboard on the embankment instead of diving off the cliff. Ironically, the hill overlooks the police station. Leary reports that one of the women claims she was drugged; she alleges that the “accident” was actually attempted murder.
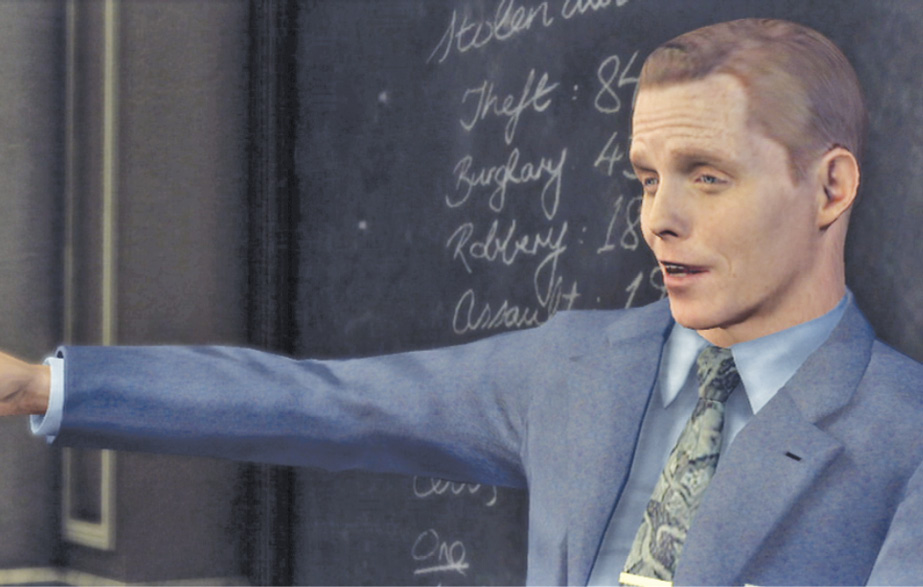
Key Clue Checklist: Station Briefing
- Victims drugged
- Chevy Styleline
Objectives
- Investigate Crash Site.
- Interview June Ballard.
- Interview Jessica Hamilton at
- Central Receiving Hospital.
- Tail June Ballard.
- Investigate Bishop’s Apartment.
- Interview Gloria Bishop.
- Trace Address of Prop Store.
- Investigate Silver Screen Props.
- Interview Marlon Hopgood.
- Evade or Subdue the Mobsters.
- Investigate Movie Set.
- Get Bishop Off the Lot Alive.
Case Report
Total Number of Key Clues 18
Total Number of Interview Questions 16
Fail Conditions
- Phelps or Bekowsky dies.
- Bishop dies.
- Crime scene contaminated.
- Spotted while tailing June Ballard.
Location: Crash Site
Investigate the crash site.
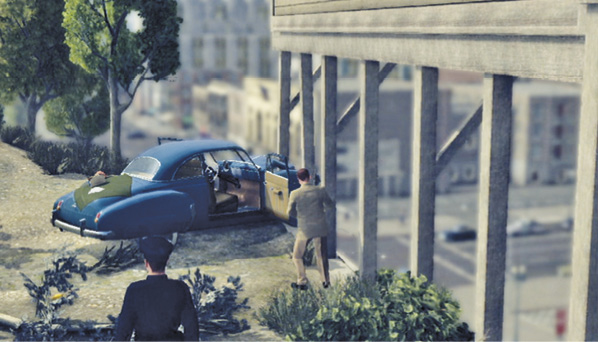
Exit the building and travel the short distance from the Central Police Station  to the crash site
  . Drive toward the police barricade to trigger a cut-scene. The woman sitting in the ambulance looks familiar to Phelps. Bekowsky points out that it’s June Ballard, the B-movie actress; she’s married to Guy McAfee, also well-known.
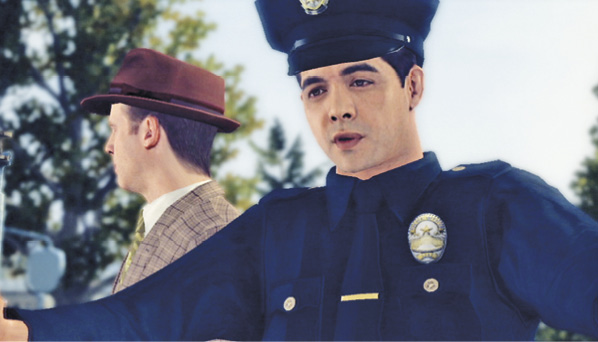
The detectives meet Officer Enrique Gonzales, who provides a quick overview. He refers to Ms. Ballard as the driver and says that the car’s passenger, a young girl named Jessica Hamilton, was beaten up pretty badly. The girl’s been taken to Central Receiving Hospital.
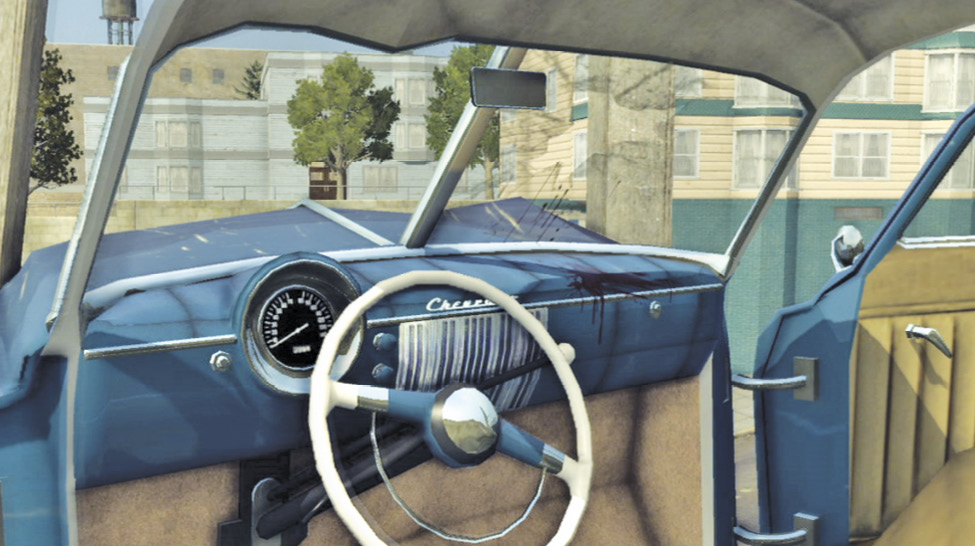
Walk past the police cars and down the trail to the crash site where the coroner, Mal Carruthers, waits for you. He tells you to check out what’s laid out on the trunk of the car. You can also approach the driver’s side door of the Styleline and examine the interior. You see a bit of blood and signs that the passenger hit the windshield, but no notebook-worthy clues.
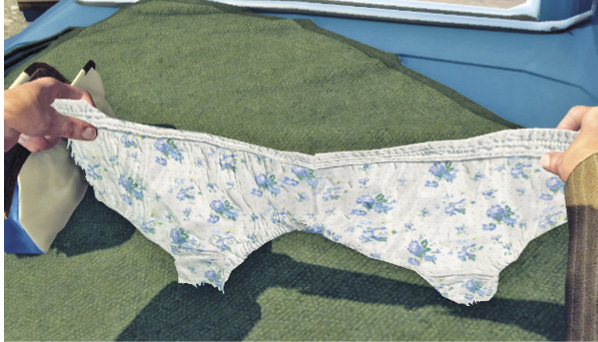
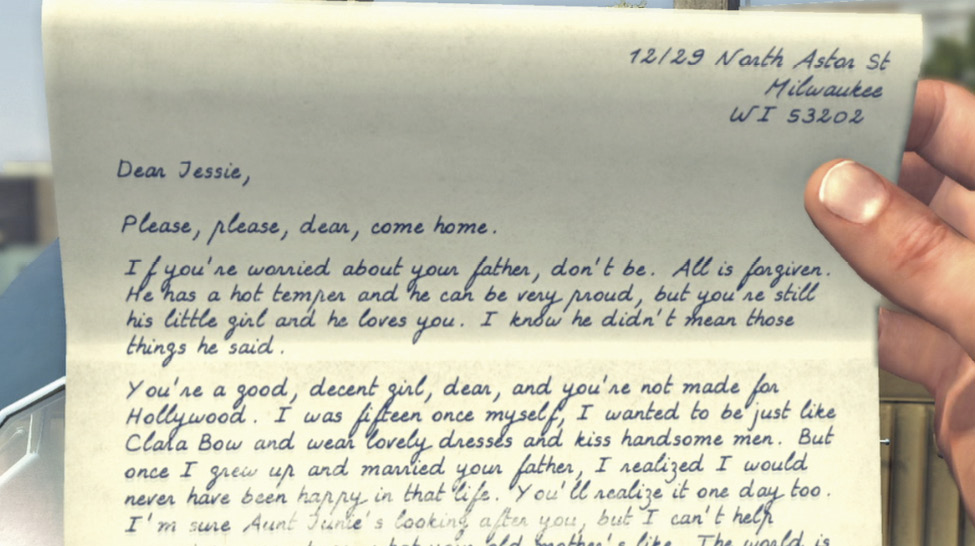
Now examine the two items on the trunk: a pair of women’s Underwear and a purse. Pick up the underwear to find they’re torn; Carruthers says he found them stuffed in the young lady’s purse. Open the purse to find the Letter From Mother—it’s written from Mrs. Camille Hamilton to her daughter Jessica (“Jessie”), begging her to give up her Hollywood fantasies and return home to Wisconsin. It also mentions the girl’s “Aunt Junie”—June Ballard?
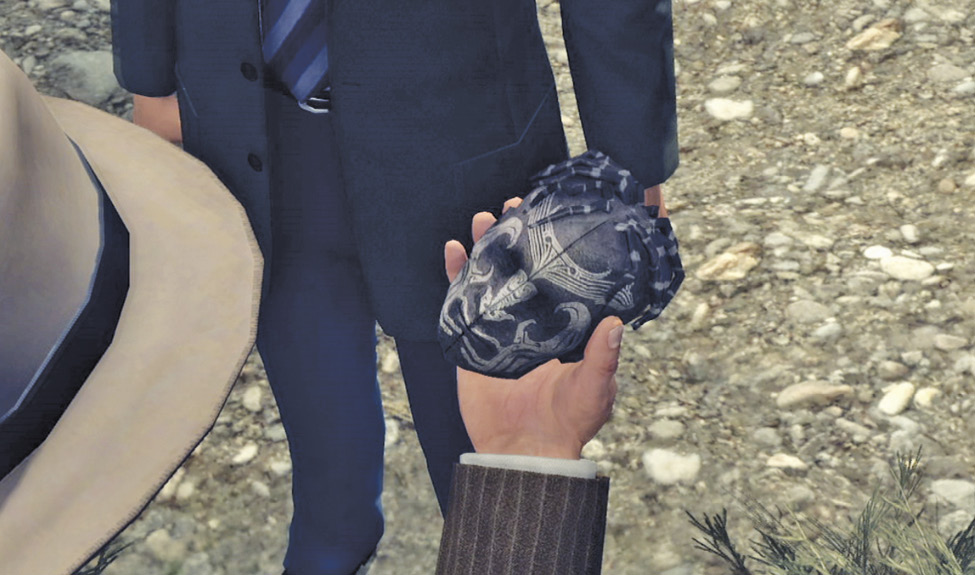
Approach the coroner and press Talk to trigger a short conversation. He hands you a Prop Shrunken Head. After a brief Shakespearean moment, Phelps gets serious and asks if it’s real; Carruthers says it looks like a movie prop. Be sure you turn the head until the camera zooms in on the casting marks to officially add the prop to your Evidence list. Then the coroner drops a bombshell: the head was used to wedge the Styleline’s accelerator to the floor. Whoever did that wanted the car’s occupants dead.
Key Clue Checklist: Crash Site
- Underwear
- Letter from mother
- Prop shrunken head
Interview June Ballard.
Follow the path back up to the ambulance and approach the woman sitting on the back. This triggers your meeting with June Ballard and begins the interview sequence. The cagy, veteran movie actress has a hard time being straight with you.
Interview: June Ballard
Topic: Doping allegation
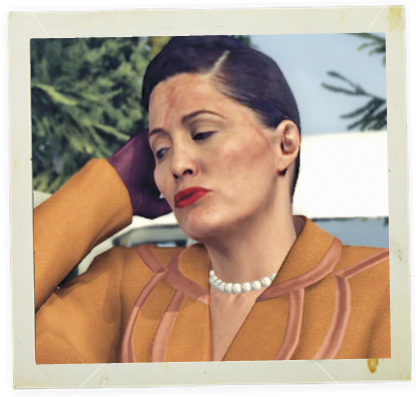
Phelps asks who drugged June and her passenger, as she has alleged. She says she can’t remember. Fortunately, she’s such a hack that it isn’t too difficult to see through her act.
Correct Assessment: Bad Cop
When Phelps reprimands her, June tries a tired trick: she flirts with him. But then she hardens as she vows that her husband will settle the score with Mark Bishop. Which, of course, begs the question: who’s Mark Bishop? This adds a new topic to your Questions page, and we’ll ask it in a minute.
Topic: Injured female passenger
When asked about the passenger in her car, June truly goes into full-scale, B-movie acting mode. She says it’s been a rough day for Jessica, calling her a poor, young girl desperate to break into the movies. But you have some evidence to suggest that it’s been more than just a “rough day” for Jessica Hamilton.
Correct Assessment: Accuse
Evidence: Underwear
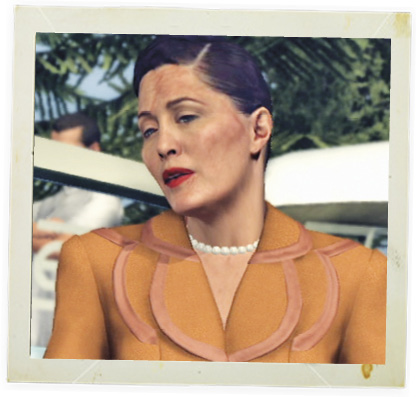
Phelps suggests something happened to Jessica before the crash. June Ballard demands proof. When Phelps notes that the girl’s underwear was physically torn from her body, June suggests it happened during a casting session with Mark Bishop.
Topic: Suspect “Mark Bishop”
Phelps asks if June thinks this Mark Bishop had anything to do with the incident. She explains that Bishop’s a movie producer. But as for his involvement—once again, she reveals nothing and says, “You just leave it to me and my husband to worry about”. Her smile is chilly. She’s not exactly lying, but she’s certainly not telling much truth.
Correct Assessment: Bad Cop
Phelps responds with restraint considering her vigilante answer, but he demands to know her dealings with Bishop. She claims the producer offered her a part in a film, then reneged. She pressed him on the matter and, as she sees it, this incident is Bishop’s response.
Topic: Fake shrunken head
Phelps mentions the shrunken head used to tamper with the car. Ms. Ballard says the last thing she remembers is getting behind the wheel. But then her eyes dart sideways and she avoids eye contact for the first time in the interview. Once again, she’s hiding something.
Correct Assessment: Bad Cop
Phelps tries to pressure her for more, but June claims ignorance of such mundane movie issues because she’s the “talent”. Again, she points the detectives toward Mark Bishop, suggesting they find out which prop company he uses for his films.
After you finish with June Ballard, Detective Bekowsky suggests your next destination: visit Jessica Hamilton, the other passenger in the car. When you return to your vehicle, KGPL reports that the car crash victim has regained consciousness. Perfect!
Location: Central Receiving Hospital
Find Jessica Hamilton.
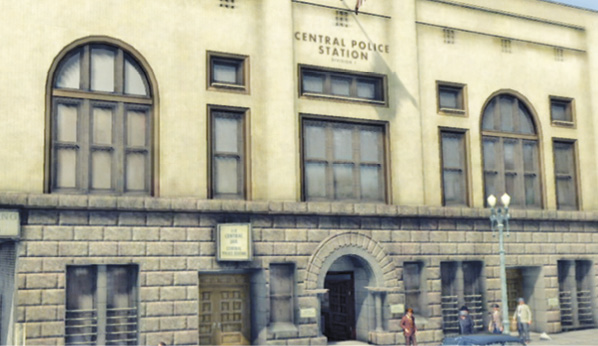
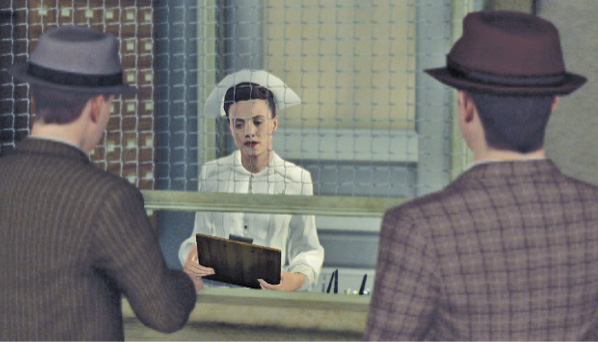
Follow the new yellow map blip to Central Receiving Hospital  , the unit attached to Central Police Station. After you arrive, enter the hospital and approach the Reception desk to ask about Jessica Hamilton. The nurse directs you across the hall to Recovery Room 1.
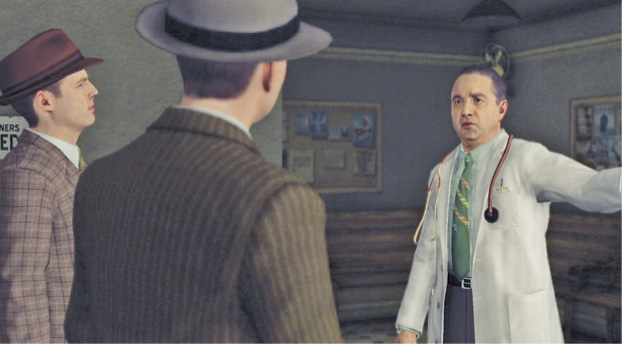
Approach the white-coated doctor writing on a chart just outside Recovery Room 1. This is Dr. Elias Webley, the physician attending to Miss Hamilton. He reports she was indeed drugged, most likely with chloral hydrate. Worse, the doctor has found clear Evidence of Abuse. This is particularly disturbing because the girl is only 15 and still a minor.
Interview Jessica Hamilton.
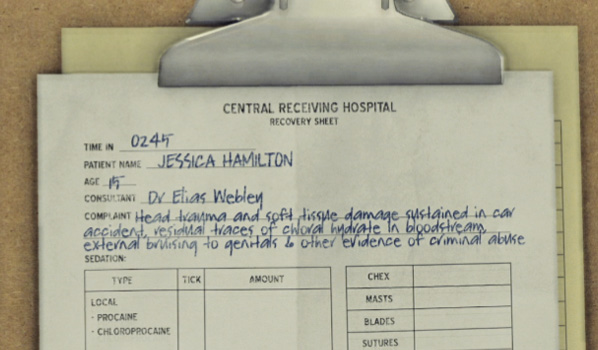
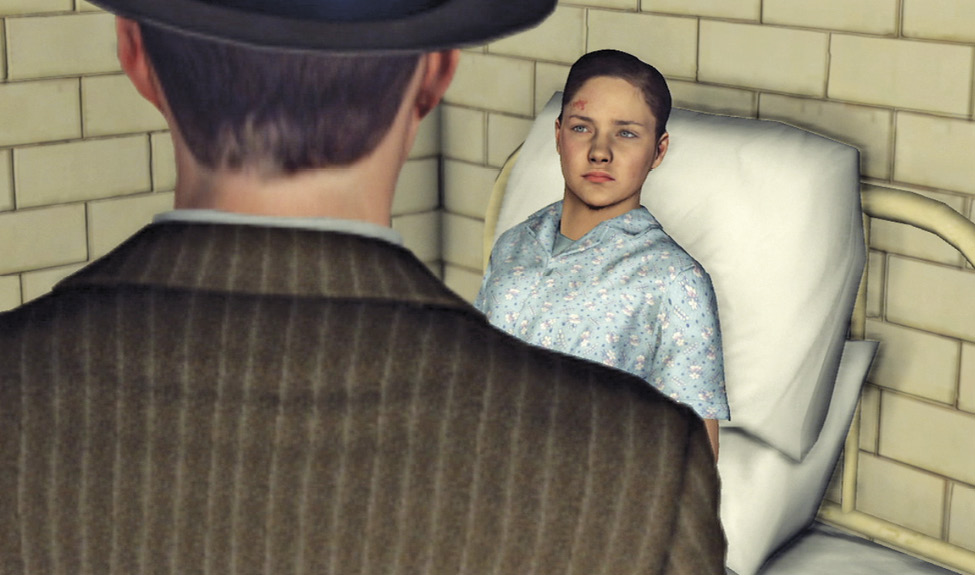
Enter Recovery Room 1 to find Jessica conscious and sitting up in bed. Before interviewing her, examine the patient chart at the foot of the bed to update the notebook. Then talk to the girl.
Key Clue Checklist: Central Receiving Hospital
- Evidence of abuse
Interview:Jessica Hamilton
Topic: Crash incident report
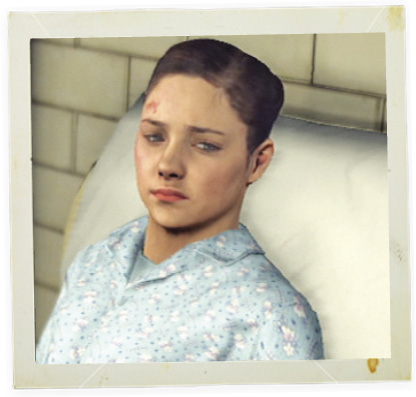
Phelps asks what Jessica remembers about the crash, and the answer is not much. But then she blurts out, “Nothing happened yesterday”. The poor girl looks distraught, almost on the verge of tears. Her statement is clearly not true, and you have disturbing evidence to prove otherwise.
Correct Assessment: Accuse
Evidence: Underwear
Phelps brings up the torn underwear, prompting Jessica to admit that a liaison occurred. Her revelations about the rather cold advice she got
from “Junie” angers Detective Bekowsky, but the girl defends Ms. Ballard, her aunt.
Topic: Contact with parents
When Phelps says he needs to contact Jessica’s parents, the girl says it’s not necessary because they trust her Aunt June to take care of her. Poor Jessica isn’t a very good liar, is she? Her discomfort is almost heartbreaking.
Correct Assessment: Accuse
Evidence: Letter from mother
Once Phelps points out that Jessica is a runaway teen, she makes an effort to remember what happened. She recalls going to a strange place with her Aunt June where she was given a drink that knocked her out: the Mickey Finn, no doubt.
Topic: Associationwith Bishop
Phelps asks how Jessica met Mark Bishop. She answers that her aunt is a big movie star, but doesn’t elaborate further.
Correct Assessment: Bad Cop
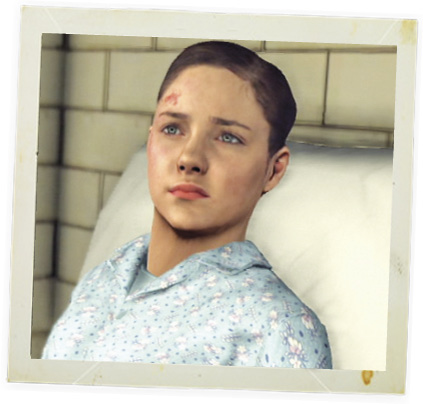
Phelps tries to jolt her into revealing more by wondering why Bishop wants Jessica and June dead. The girl refuses to believe that’s true. She admits she overheard some harsh phone conversations in which June Ballard screamed at Bishop. But she says the actor and producer seemed on better terms the previous day, just before the accident.
Topic: Evidence of criminal abuse
Now Phelps faces the unpleasant task of pressing for more details about the sexual abuse—in particular, where the incident took place. Jessica is understandably upset, and says it’s hard to remember anything. She looks Phelps in the eye then starts to tear up.
Correct Assessment: Good Cop
Phelps gently coaxes Jessica to help. She says, “I remember the mermaid”. This mermaid was on the front of a building where the abuse occurred.
Key Clue Checklist: Jessica Hamilton Interview
- Mermaid
When you leave the room after the interview’s conclusion, you trigger a cut-scene: As the two detectives step out of the recovery room, they spot June Ballard leaving the station with a male companion, who Phelps assumes is her lawyer. She seems in a hurry, and Bekowsky suggests that you tail her. The detectives hop into their car.
Tail June Ballard.
Follow June’s light green coupe. If you lose sight of the vehicle, note that its location is marked on your map as a red car icon. The icon flashes if you get too close to the coupe, fall too far back, or drive recklessly. Try to stay at least half a block behind and proceed carefully to avoid drawing attention. Avoid collisions.
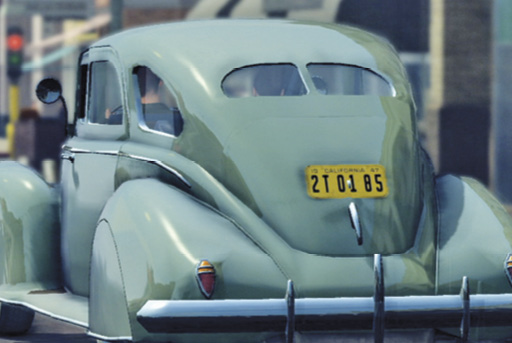
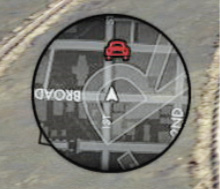
Ballard’s car takes a zigzag route. It starts down 1st, turns right on Spring, right on 3rd, then left on Broadway. Then it travels one long block before pulling to the curb just before 4th Street. June jumps out and walks quickly into Mallory’s Café  .
.
Eavesdrop on June in the café.
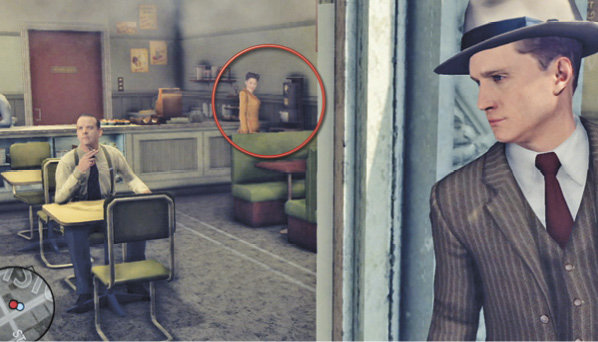
Hop out of your car and take cover outside the café’s front door (by pressing the Cover button indicated onscreen). You can see June waiting for a man to finish using the café’s payphone. She looks around as she waits, so don’t try to enter yet. After the man hangs up and leaves, June glances around some more, so don’t be impatient or she’ll spot you.
Stay in cover until June picks up the phone. Then step into the café and go to the empty booth on the left that has the newspaper on the table. Press the button indicated onscreen to “go incognito”: Phelps sits and opens the newspaper in front of his face.
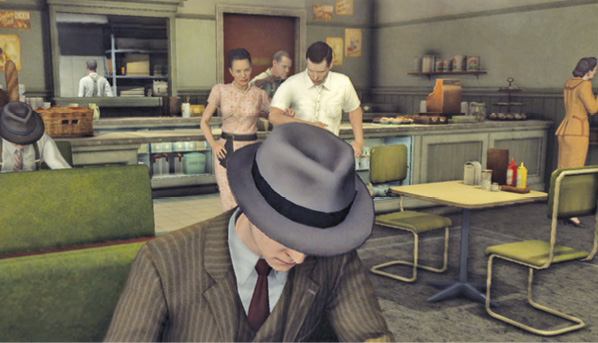
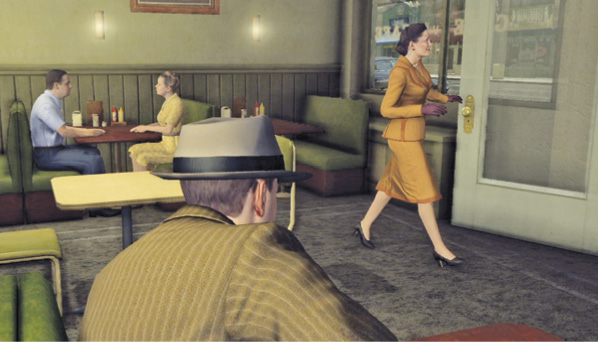
Now you can eavesdrop on June’s phone conversation. She appears to be talking to her husband—she calls him “Baby”—and demands action. She gives an address for Mark Bishop’s apartment. The last thing she says is, “Sure, I got the film!” Then she exits the café and returns to her car.
You can let June go now—you’ve got a new objective. As Phelps says, “Sounds like Mark Bishop has a heap of trouble headed his way”.
Location: Mark Bishop’s Apartment
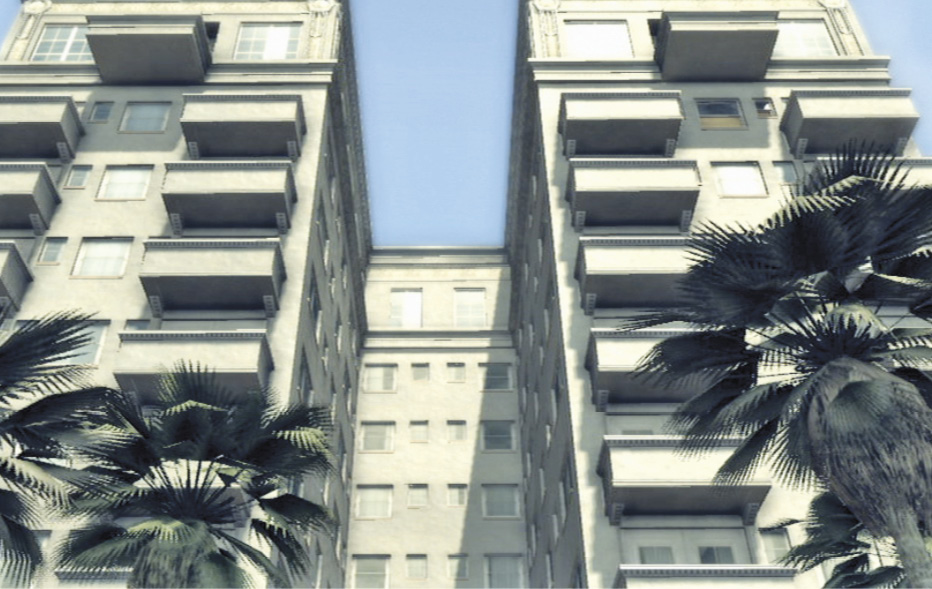
Travel to Bishop’s apartment.
Set Bishop’s apartment as your current destination and travel to the Wilson Apartment Hotel  .
.
On the way, you hear a call from KGPL: there’s a 415 in progress (L.A.P.D. radio code for “Disturbance”) at Bishop’s apartment 803! You are designated Code 3 (emergency call, lights and siren), so haul it fast to the Wilson. After the arrival cut-scene, you run for the entrance.
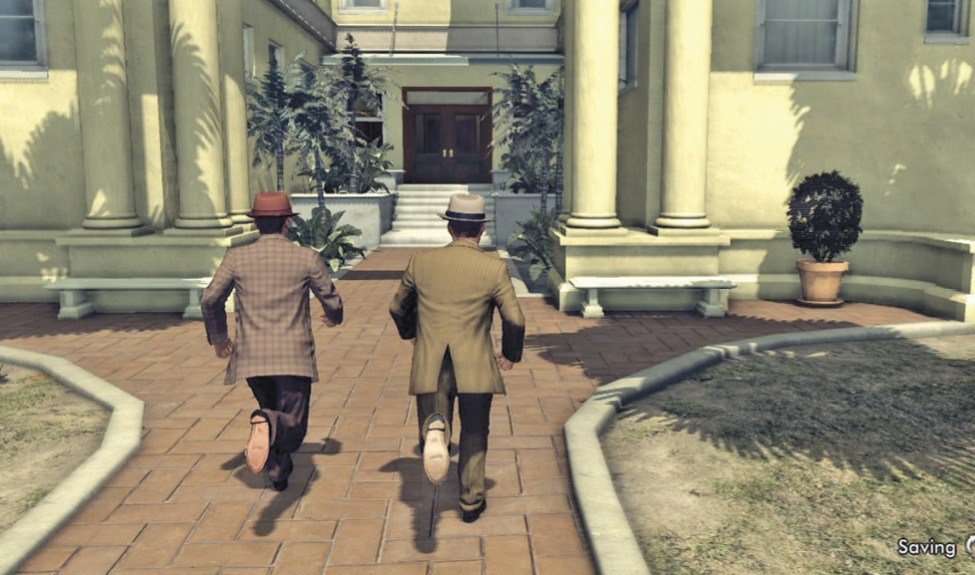
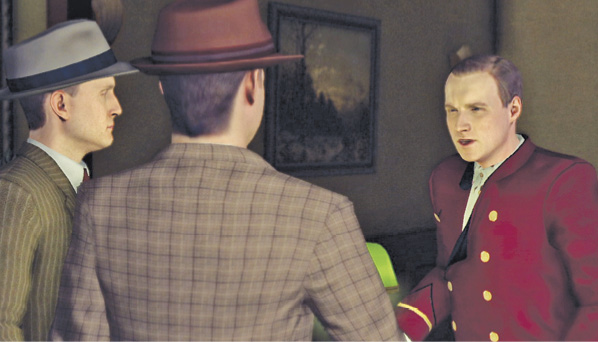
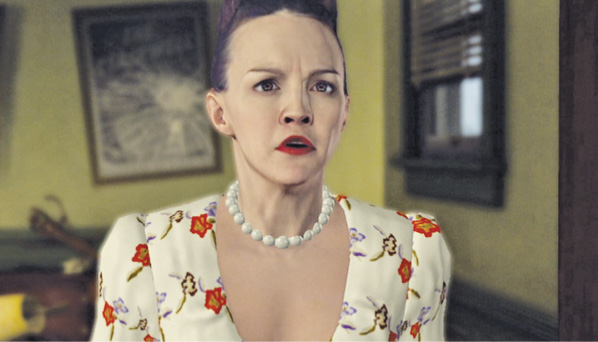
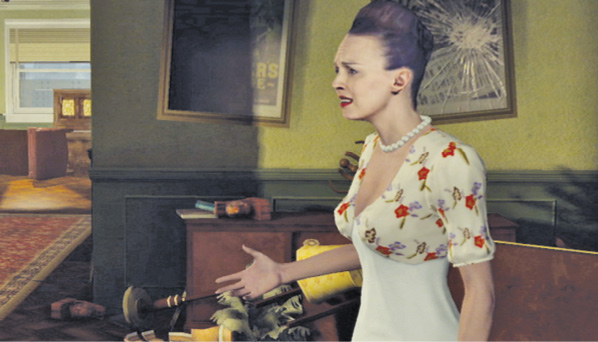
Enter the building to trigger another quick cut-scene. The bellman at the front desk says Mrs. Bishop is pretty upset, then directs you to the elevator and 803. Go left to the elevator and approach the call box to use it. On Floor 8, turn left down the hall to 803, the last door on the right. Gloria Bishop answers the door.
Mrs. Bishop is unhurt, but says you just missed thugs who ransacked the place. Phelps asks Gloria to gather her thoughts while he checks out the premises.
Search the apartment for clues.
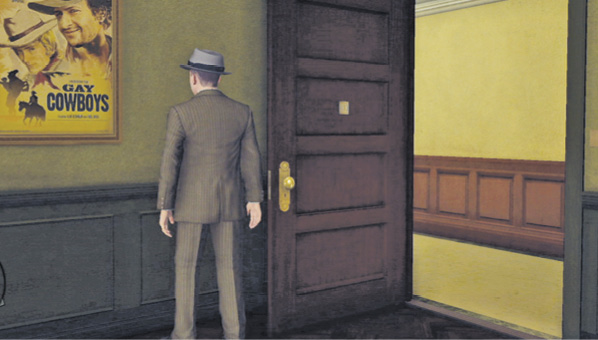
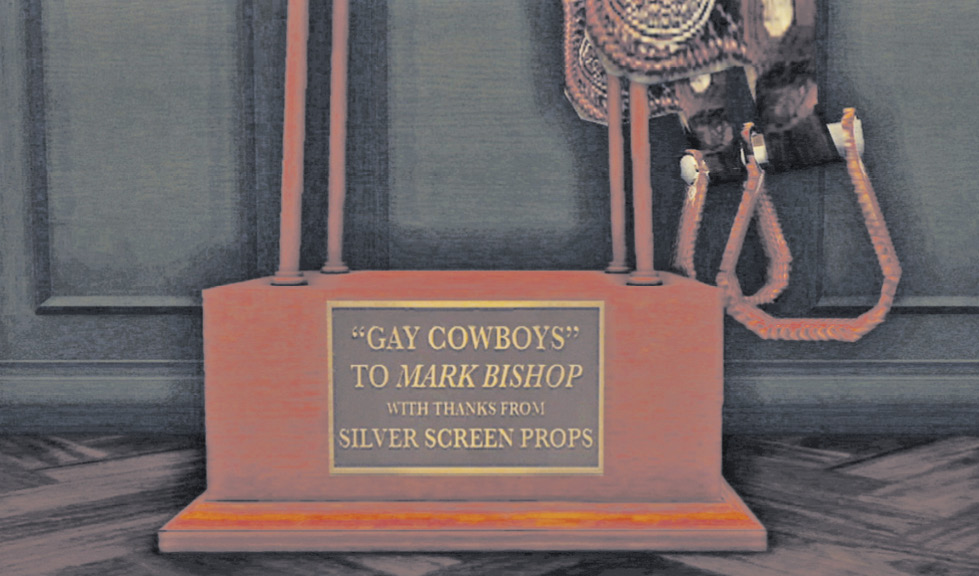
Start looking for clues. You can pick up a number of items, but only five are actual clues. Just inside the front door is a framed poster for the Bishop-produced movie “Gay Cowboys”. It’s not a key clue, but across the entry there’s a prop saddle from that same film, presented to Mark Bishop by a company called Silver Screen Props. (Recall that June Ballard suggested you find out which prop house Bishop uses for his films.)
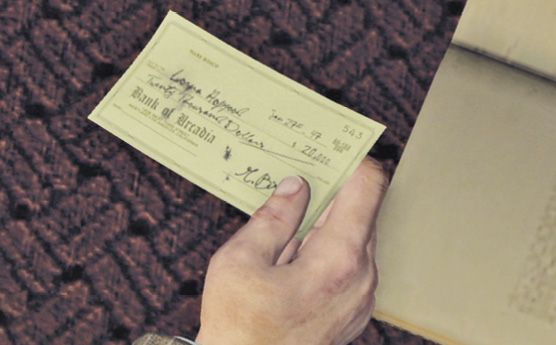
Enter the bedroom near the front entrance. Again, there are a number of examinable objects—ring, lipstick, hairbrush, and so forth—but the only item of interest is the $20,000 check from Mark Bishop to Lorna Hopgood on the floor near the armoire.
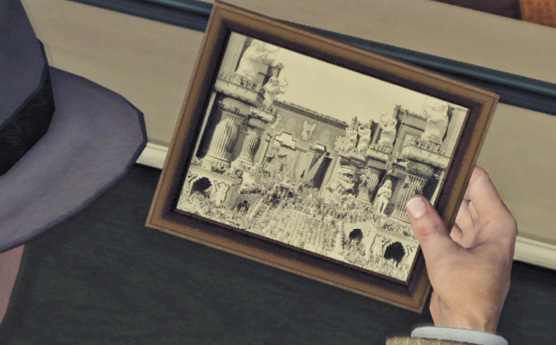
Now search the open office two doors down. You can examine more detritus scattered on the floor, but don’t miss the Movie Set Photograph and the Movie Set Replica, both on the low cabinet. Each depicts the famous Great Wall of Babylon movie set for D.W. Griffith’s 1916 film masterpiece, “Intolerance”. As Phelps points out, the set still exists downtown.
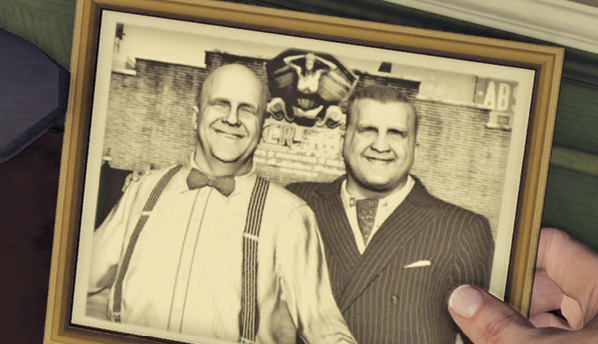
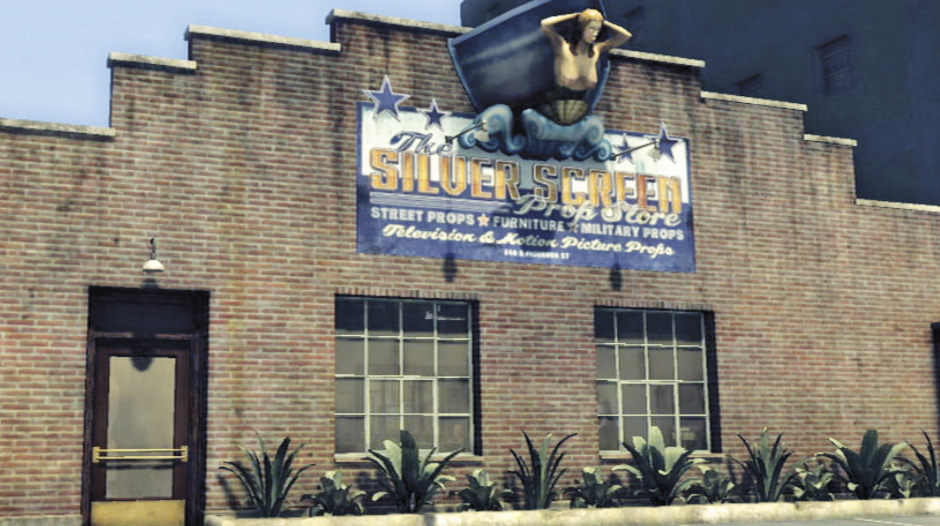
Enter the living room where Mrs. Bishop sits and turn left to find a Prop Store Photograph atop the credenza. The storefront sign for Silver
Screen Props features a mermaid—no doubt the one that Jessica Hamilton recalled during her interview. When Phelps asks about the two men in the photo, Gloria Bishop says they’re her husband Mark and Marlon Hopgood, owner of the prop store.
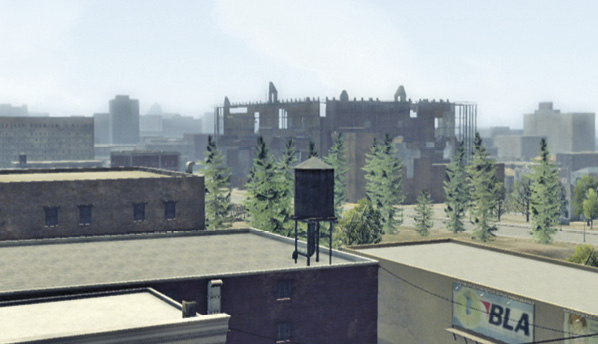
Finally, the investigation music stops, indicating that you’ve found all the key clues. But just for fun, step out onto the balcony before talking to Mrs. Bishop. Phelps points out the massive Babylon movie set looming in the distance: more foreshadowing. Then approach Gloria Bishop and press the Talk button to trigger the interview sequence.
Key Clue Checklist: Bishop’s Apartment
- Saddle
- $20,000 check
- Movie set photograph
- Movie set replica
- Prop store photograph
Interview: Gloria Bishop
Topic: Domestic disturbance
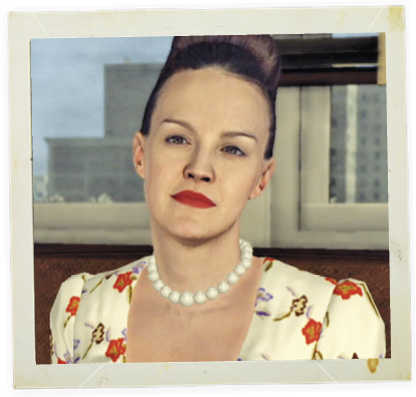
You start with just one topic. Phelps tells Gloria that the thugs likely work for Guy McAfee, June Ballard’s husband. She reacts with disdain, calling Ballard “that slut”. She suggests that the recent incidents are related to Mark Bishop’s new movie, but knows nothing about his business. Yet her smug look suggests otherwise.
Correct Assessment: Bad Cop
When Phelps points out that June Ballard claimed a
deal to be in the new picture, Gloria denies it, saying Mark repeatedly told June no. She explains Ballard made threats, and says she knows the woman from a previous film they were in together.
Topic: Whereabouts of Mark Bishop
Phelps asks where to find Gloria’s husband. She replies that Bishop said he’d be on set. That’s all she knows.
Correct Assessment: Good Cop
When Phelps suggests that McAfee’s men are looking for Mark Bishop with ill intent, Gloria says to check with Marlon Hopgood. This adds a new objective: “Trace Address of Prop Store”.
Topic: Abuse of Jessica Hamilton
Phelps says Mark Bishop was at a casting with a young girl the previous day. Gloria Bishop claims no
Topic: Check for $20,000
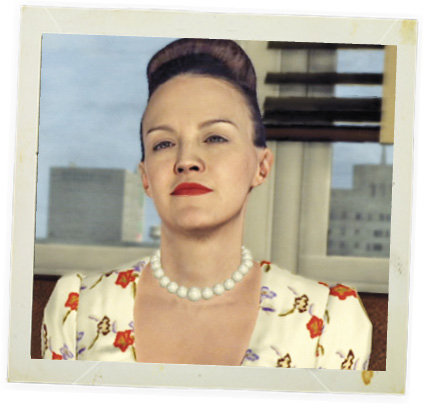
Phelps asks about the payment to Lorna Hopgood, who Gloria identifies as Marlon Hopgood’s ex-wife. Then she asks, “Are you sure?” The question seems honest enough, but her face betrays more of the smugness you saw earlier.
Correct Assessment: Bad Cop
Phelps presents his theory: somebody is trying to Blackmail Mark Bishop. Whatever the blackmailers have on him must be bad if he’s attempting murders to cover it up. When Phelps asks why the payment is going to Lorna Hopgood instead of McAfee, Mrs. Bishop explains that Lorna works at a check-cashing place in Hollywood.
knowledge of this, saying her husband was scouting locations because the picture has already been cast.
Correct Assessment: Bad Cop
When Phelps links Jessica’s memory of a mermaid to the one on the prop store, Mrs. Bishop replies, “This is a sick town, detective”. Then she admits her husband “likes them young”. She herself was 16 when she met Bishop. She speaks of Hollywood’s disillusionment, lechery, and shocking betrayals.
Key Clue Checklist: Gloria Bishop Interview
- Blackmail
Get an address for Silver Screen Props.
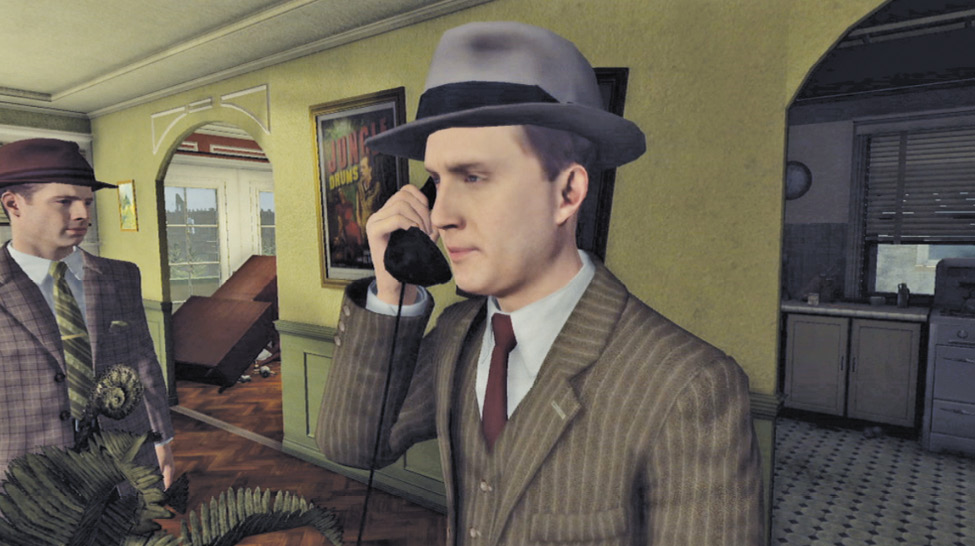
Before leaving Bishop’s apartment, use the telephone on the desk in the hallway. Phelps gets the address for Silver Screen Props from R&I. Then leave the apartment and take the elevator back down. Exit the building and go to your car.
Location: Silver Screen Props
Investigate Silver Screen Props.
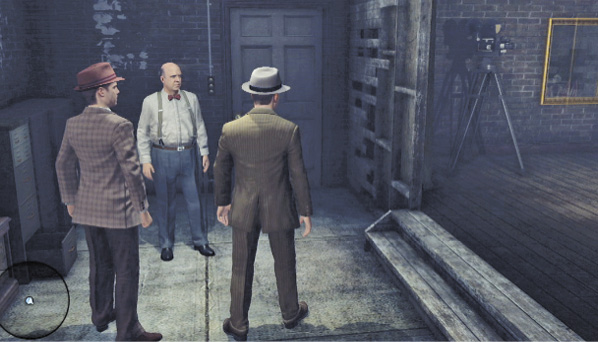
Travel to Silver Screen Props  at the corner of 3rd and Figueroa. Enter the store to trigger a cut-scene. Detective Phelps meets Marlon Hopgood and asks if he holds castings here. Marlon admits having a soundstage out back. Follow Hopgood as he leads you to his seedy-looking stage.
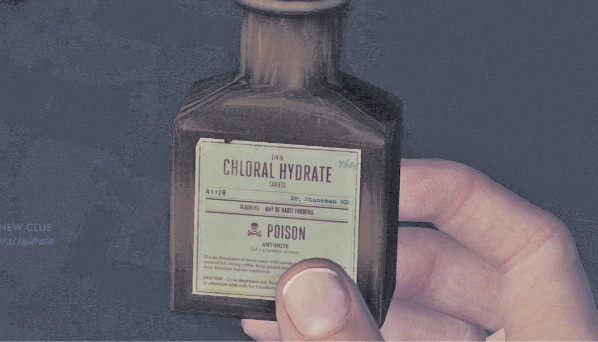
Phelps decides to search the joint and asks Bekowsky to keep an eye on the prop storeowner. Walk up the two steps onto the stage, veer to the right toward the chaise lounge, and find the bottle of Chloral Hydrate on the nearby shelf.
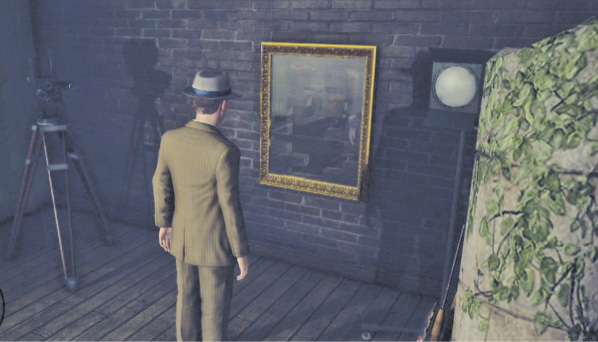
Cross the room and approach the mirror on the wall to trigger a quick cut-scene. Phelps discovers that it’s a one-way mirror that looks into a small room that Bekowsky calls a “peep den”.
You can see a camera in there, aimed through the mirror. Let’s find that room.
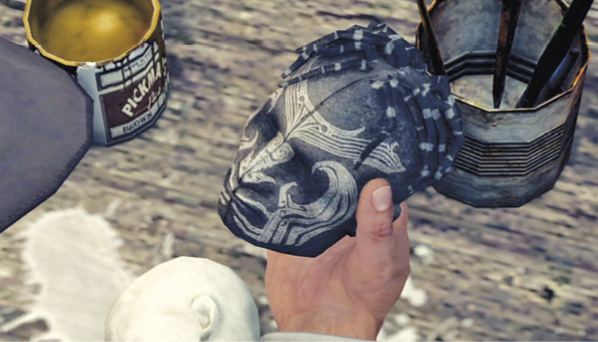
Exit the soundstage and turn left in the lobby. Exit the door at the lobby’s end to emerge into a storage alley. Turn left again and approach the workbench at the end of the alley. It holds paints, buckets… and several shrunken heads! Examine the Prop Shrunken Head Molds to add another clue to your Evidence list.
Find the secret camera room.
Turn left from the workbench and approach what appears to be an empty dead-end alley. But when you examine it further you see it’s actually a wall painted to look like an empty dead-end alley. Phelps kicks it to reveal an alley that has a locked door. Approach the door; Phelps kicks it open, too.
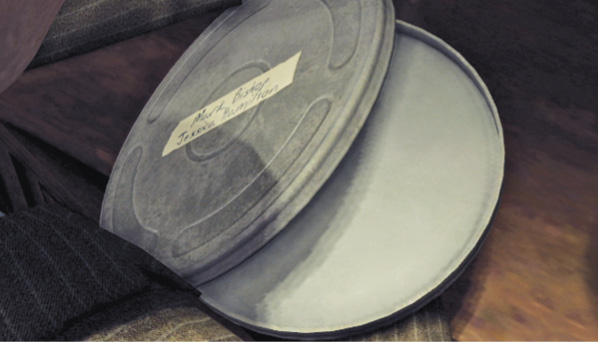
Inside you find the peep room with a camera aimed through the one-way mirror, plus walls covered with pornographic photos. There’s a film canister with the names of Jessica Hamilton and Mark Bishop written on it. Be sure to investigate it further to discover it’s an Empty Film Canister.
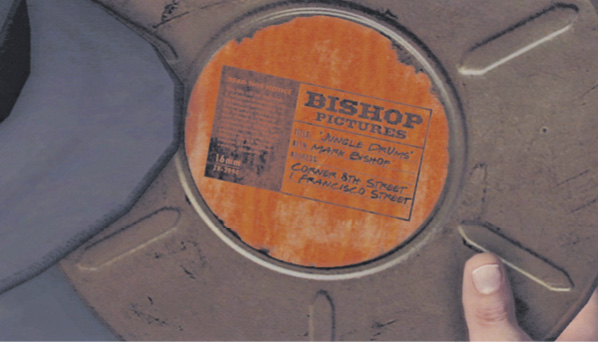
Finally, you discover a “Jungle Drums” Film Reel that may reveal Bishop’s Whereabouts. Apparently, he’s using D.W. Griffith’s old Wall of Babylon set downtown at the corner of 8th and Francisco. The investigation music stops, which means you can go back to Marlon Hopgood and get some answers.
Key Clue Checklist: Silver Screen Props
- Chloral hydrate
- Prop shrunken head molds
- Empty film canister
- Film reel
- Bishop’s whereabouts
Interview: Marlon Hopgood
Topic: Association with Bishop
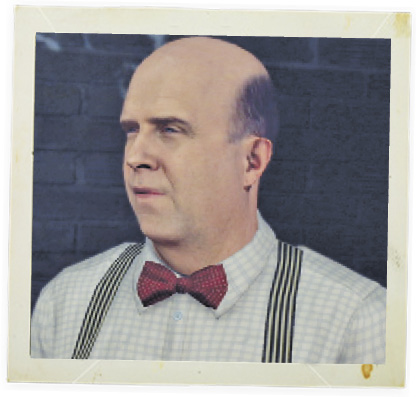
Phelps asks if Hopgood has worked with Mark Bishop. The props proprietor says he mainly works for the big studios, and when Bishop does too, they cross paths. But he claims he hasn’t seen Bishop around in a while. Hopgood is hard to read, but you have evidence that suggests he’s not telling the truth.
Correct Assessment: Accuse
Evidence: Chloral hydrate
Once Phelps brings up the chloral hydrate, Hopgood spills it quickly, saying Bishop was indeed here with June Ballard and the girl just yesterday.
Topic: Whereabouts of Bishop
Phelps explains that McAfee’s thugs are looking for Bishop after his attempt to kill June Ballard. Hopgood says his advice to Bishop would be to skip town.
Correct Assessment: Good Cop
Phelps notes that Hopgood appears to be delivering props to the Jungle Drums movie set downtown. Hopgood says the place is old and dangerous, but might be a good place to hide. This adds a new objective: “Locate Mark Bishop”.
Topic: Relationship with Ballard
When Phelps brings up the topic of June Ballard, Hopgood says he rarely gets to meet the “talent” unless they require some special prop.
Correct Assessment: Accuse
Evidence: Empty film canister
Now Phelps springs his blackmail theory: Hopgood and Ballard are in cahoots, extorting money from Mark Bishop. When Hopgood proclaims his innocence, Phelps brings up the missing film reel of Bishop’s “screen test” with Jessica Hamilton. Now Hopgood admits he filmed their liaison and included Bishop’s face at June Ballard’s request, for blackmail purposes. (You may recall June’s last words on the phone in the café: “I got the film”.)
Topic:Evidence of blackmail
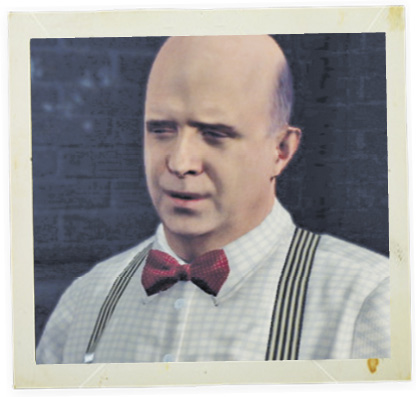
Phelps wonders why money is involved if June Ballard got the blackmail film she wanted. Hopgood’s disingenuous response: “What money?” Of course, you have proof he’s lying again.
Correct Assessment: Accuse
Evidence: $20,000 check
Phelps brings up the check made out to Hopgood’s ex-wife. Marlon reveals June Ballard’s plan to sell the Bishop/Hamilton smut film to Bishop after his new motion picture wraps. Lorna Hopgood works for a check-cashing company, so she can cash a check that large for Bishop.
Meet Roy Earle and the mobsters.
This scene happens automatically after you complete your interrogation of Marlon Hopgood. First, the Ad Vice detective Roy Earle arrives and announces that Hopgood is a Vice informant! He advises Phelps to release the storeowner and go rescue the movie producer.
Afterwards, Phelps and Bekowsky run into two of Guy McAfee’s goons waiting in the lot outside the prop store. They’re looking for Mark Bishop, of course, and Phelps warns them to back off. When Detective Bekowsky reiterates the message in less polite terms, the goons take offense… and start tailing your car with bad intentions.
Evade or subdue the mobsters.
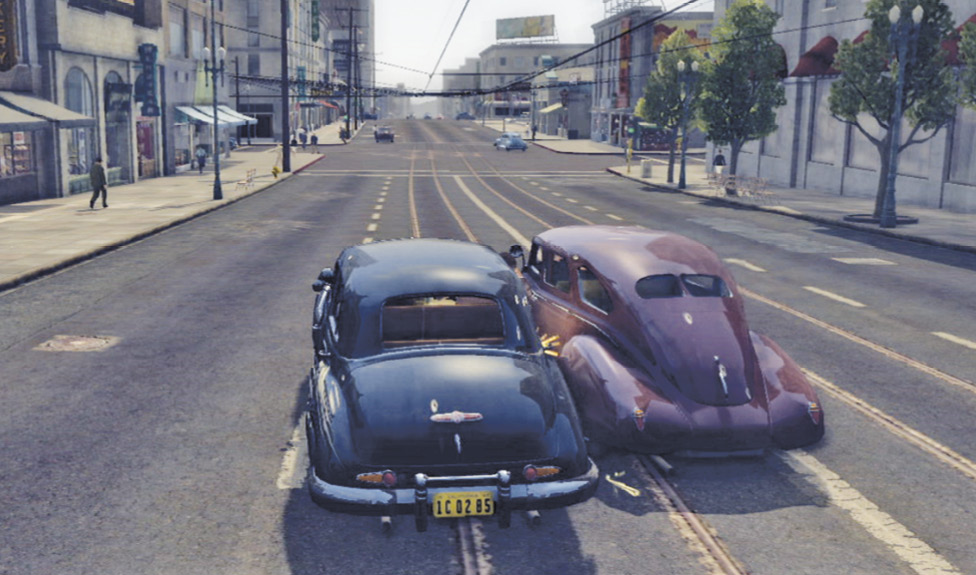
One option is to simply evade the mobsters; drive a zigzag route until you put a good distance between your vehicle and the mob cars. To subdue the mobsters, either nail them in a gunfight or disable their car—i.e., ram it or pull alongside so Bekowsky can shoot out its tires.
Location: “Jungle Drums” Set
Chase Mark Bishop.
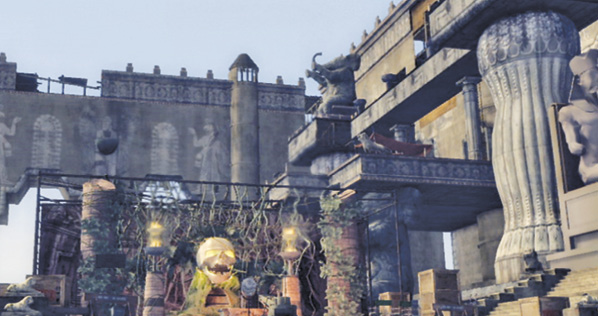
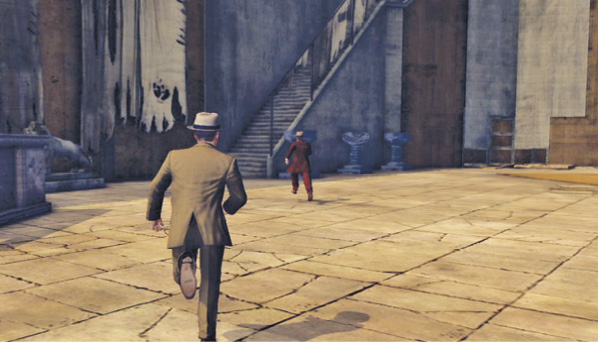
Travel to the Jungle Drums set  and get ready for a slam-bang action finale. When you arrive, the detectives immediately spot Bishop, who takes off running. Run after him! Remember that the suspect is marked as the red blip on your mini-map. Stay on his tail as he dodges through the rickety old Babylon set that dwarfs the Jungle Drums set in the middle.
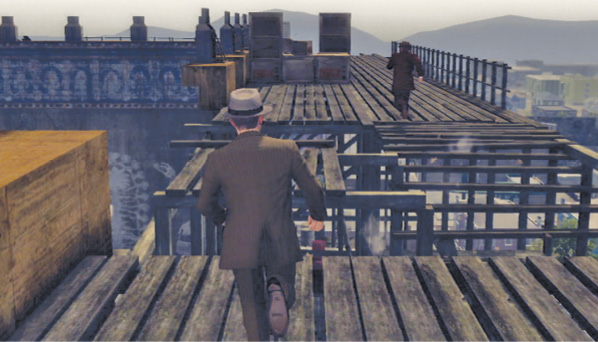
Bishop leads you up a towering staircase, then across gaps and collapsing platforms. Just keep running after him to get past hazards. Don’t stop! Follow him up ladders and around the parapets of the great wall set. At one point, the planks of a ramp collapse behind him, so stick to the left side and leap across the gaps to stay on his tail.
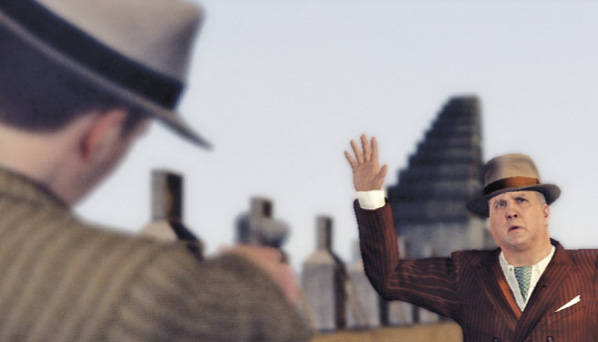
Shortly after that, Phelps automatically pulls out his gun as he runs and finally corners Bishop, who surrenders. But then Bishop spots carloads of McAfee’s goons arriving on the scene. He tells Phelps he knows another way out of the set, and leads the way.
Get Bishop off the lot alive.
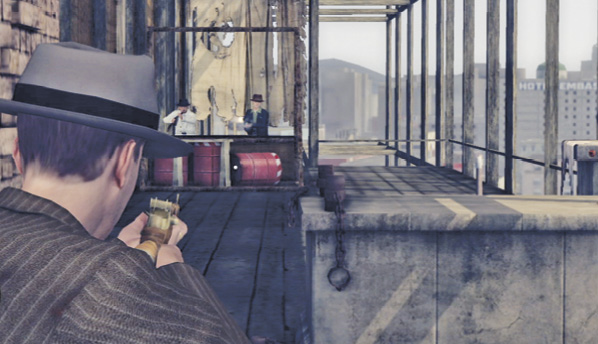
Bishop is now the white blip on your map; a yellow blip shows the exit. Keep following Bishop until he stops and takes cover. Each time he does so, it means armed gangsters are deployed up ahead. Use cover and gun down the attackers. Look for explosive barrels that you can shoot to take out multiple targets in one shot.
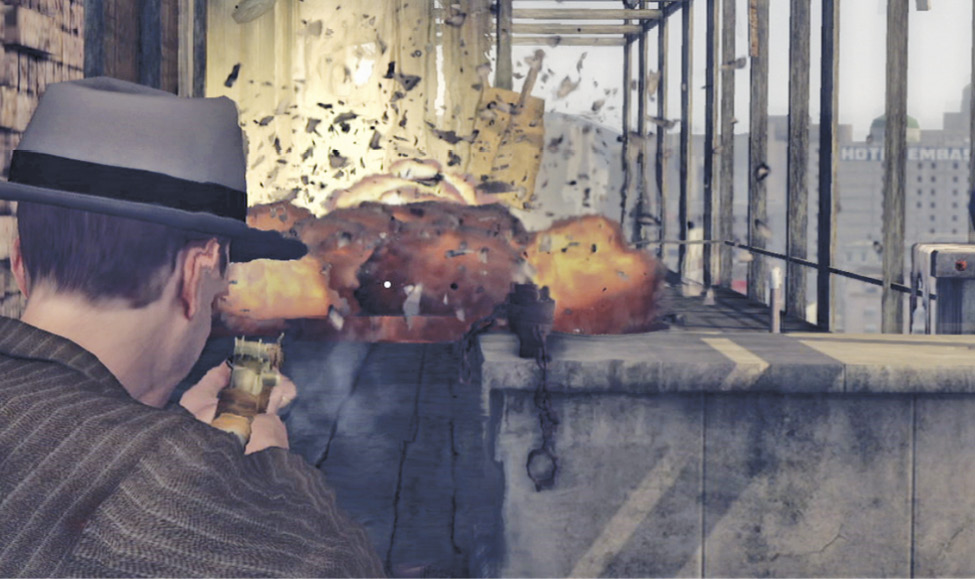
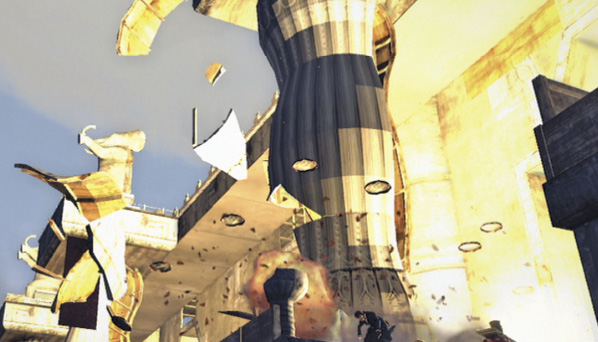
Whenever the immediate area is clear, Bishop starts leading the way again. Stay with him! Follow as he leaps across a big gap (created when you shoot explosive barrels), then nab the M1 Garand Rifle leaning against the statue. Use it to pick off McAfee’s men on the far side of the set. Look for the lone sniper on a high platform above the wall. Keep looking for explosive barrels to detonate as you move with Bishop.
When you finally reach the long ladder, slide down to trigger a quick cut-scene: Bekowsky steps up to cover you and leads Bishop down to the ground. More gunmen are posted below in the lot. You can pick off most of them from the platform above or slide to the ground and join your partner. Target the explosive barrels at the base of the huge column to bring it tumbling down onto enemy shooters.
Move across the lot with Bishop and Bekowsky, eliminating the last few goons before you reach the parking area. L.A.P.D. units are arriving, but a strong contingent of McAfee’s thugs open fire from behind their cars in the lot. Pick them off to clear the way for your final escape.
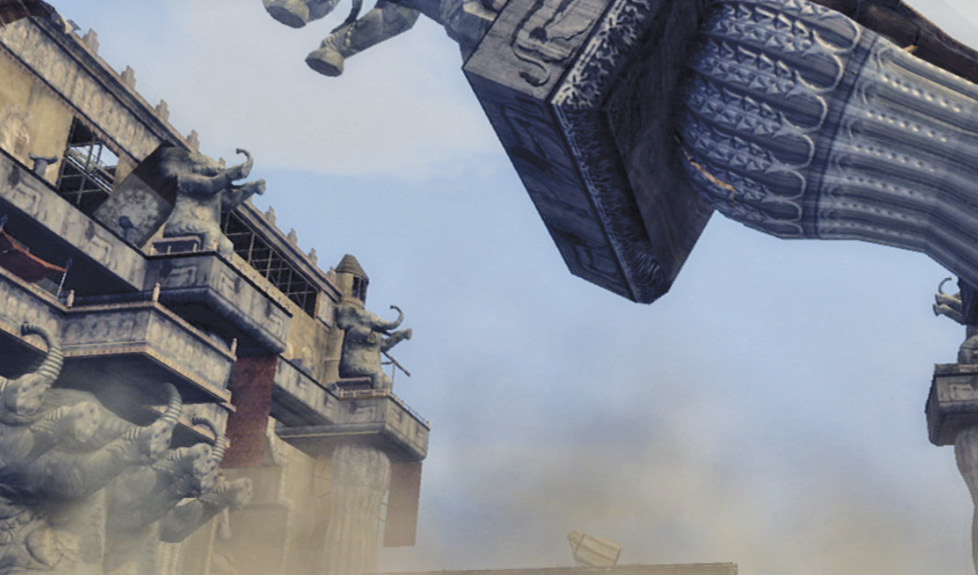
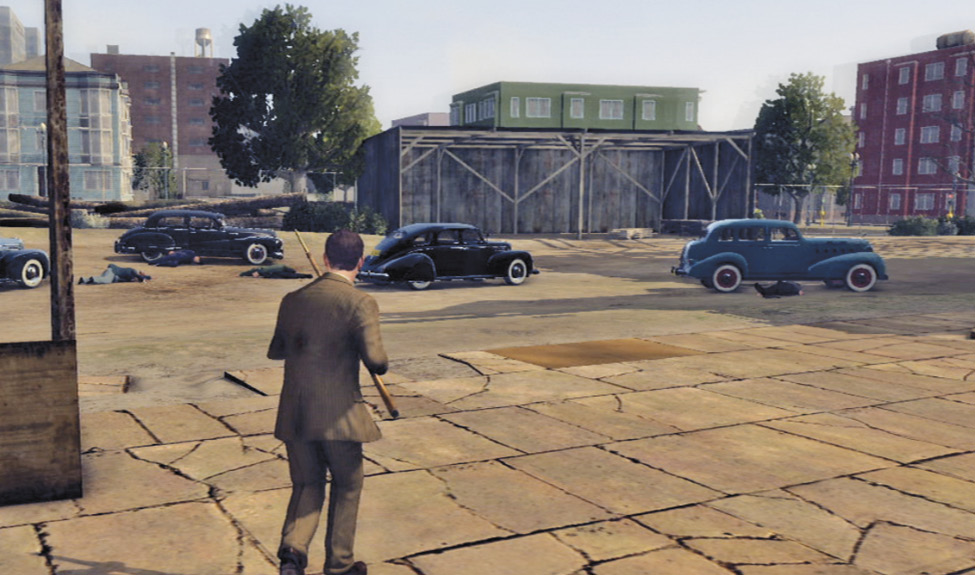
Watch the Traffic finale.
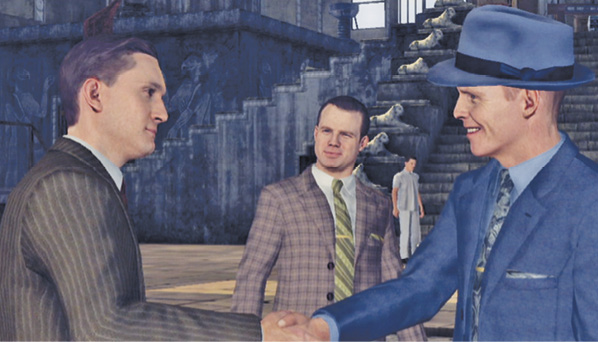
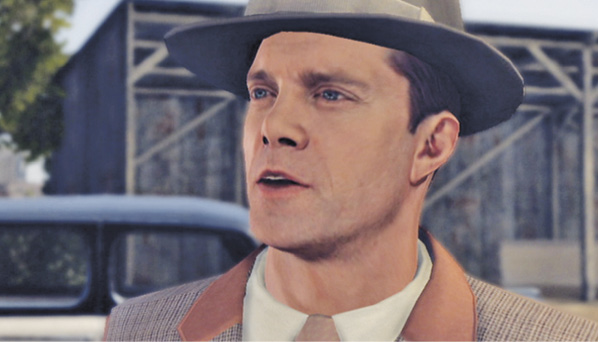
After the shootout, Captain Leary is pleased once again with the performance of young Detective Phelps. He informs his star that he’s been promoted to a new assignment. But the moment is upstaged by the arrival of Roy Earle, who congratulates the Traffic detectives and takes them to The Blue Room Jazz Club for a celebratory drink.
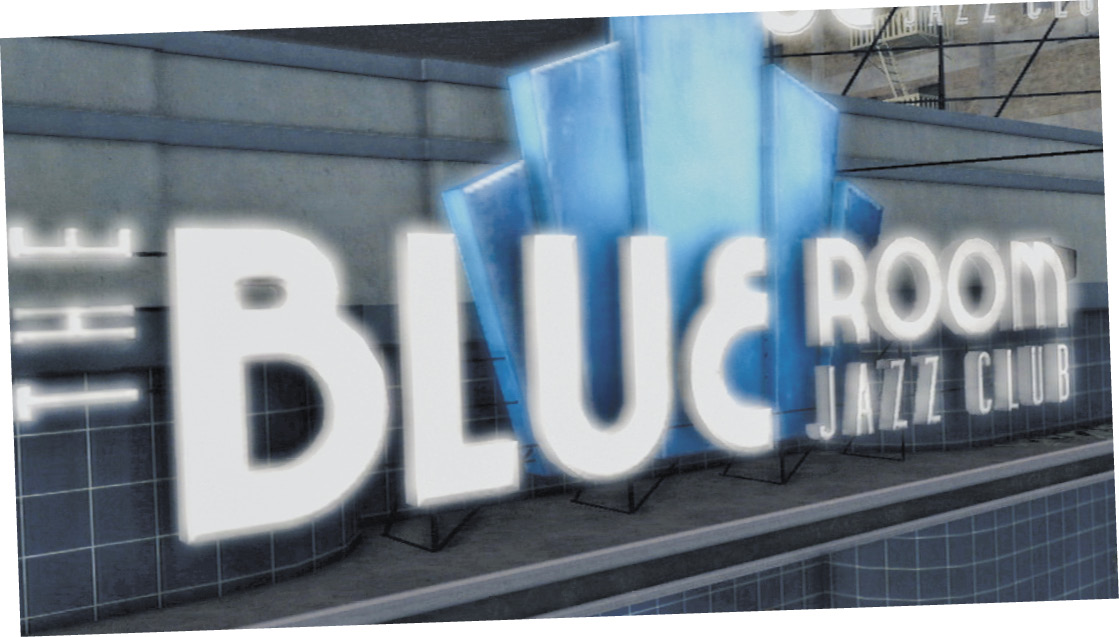
Detective Earle bullies his way into the establishment and leads Phelps to the dressing room of singer Elsa Lichtmann, star of the club’s current show. But Elsa is distraught and attended by none other than Doctor Harlan Fontaine, the same man we’ve seen earlier in some of the newspaper cinematic scenes. Roy Earle is not gentle with Miss Lichtmann… and Phelps is left bewildered.