L.A. Noire Guide Walkthrough The Vice Cases
CASE# AV001: The Black Caesar
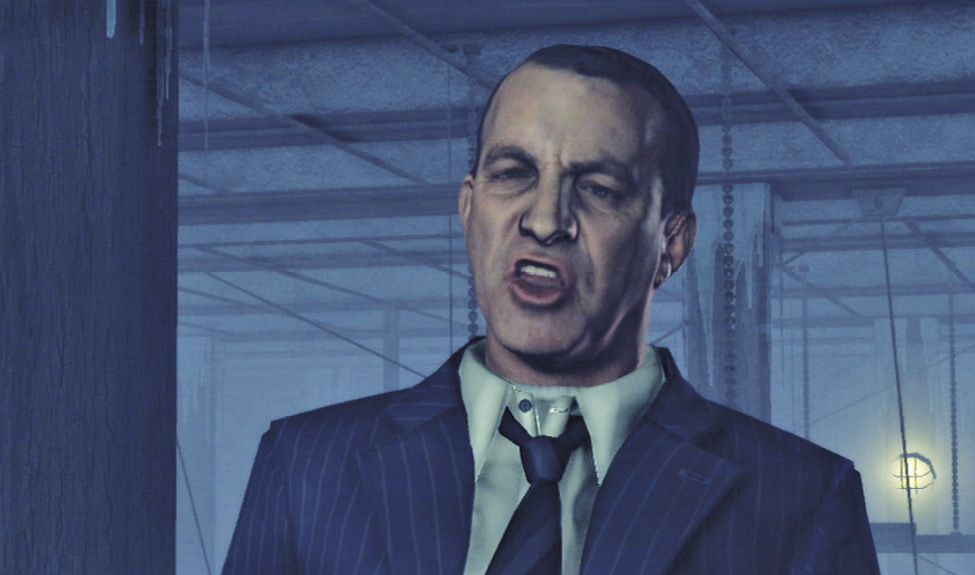
Lieutenant Archibald Colmyer welcomes Cole Phelps to the Ad Vice desk, working out of the Hollywood Police Station in L.A.P.D.’s Hollywood Division. “Vice” in L.A., like everything else, seems to have more sizzle. With a new partner, the flashy cynic Roy Earle, Phelps now focuses on such leisure activities as gambling, drugs, pornography, and prostitution.
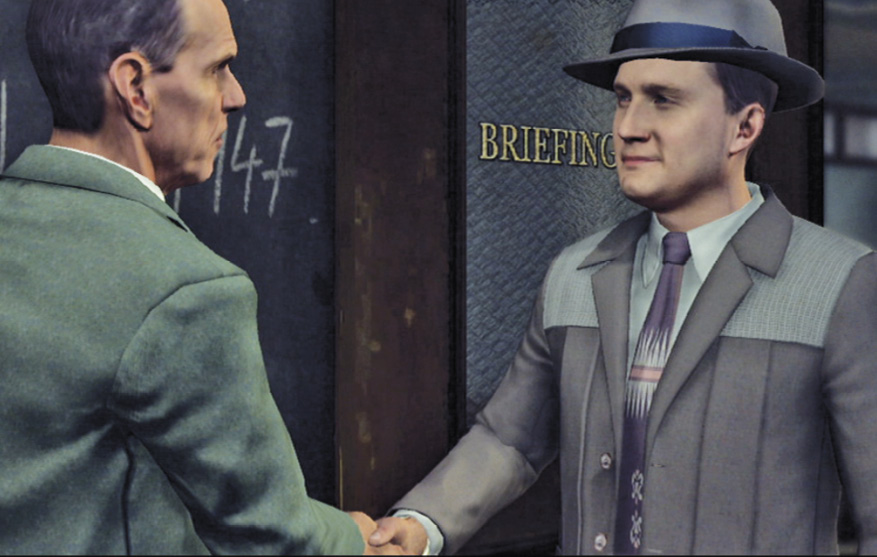
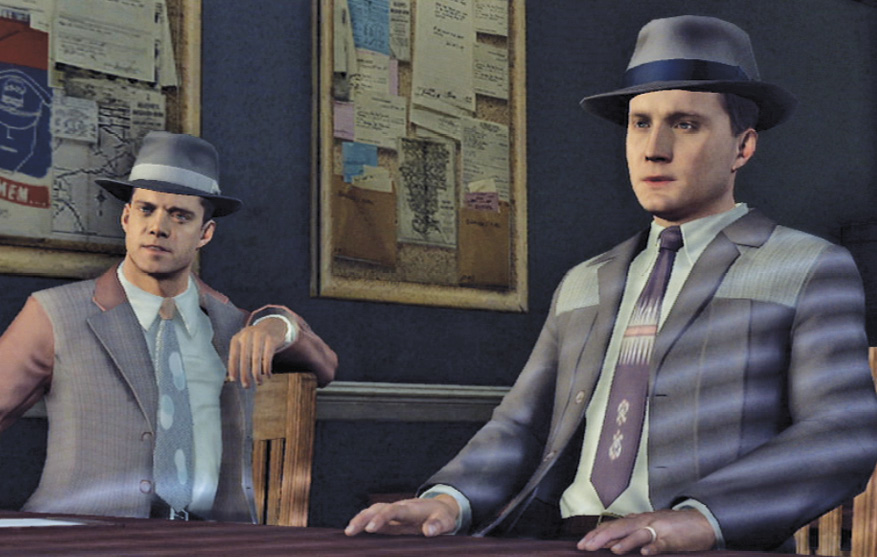
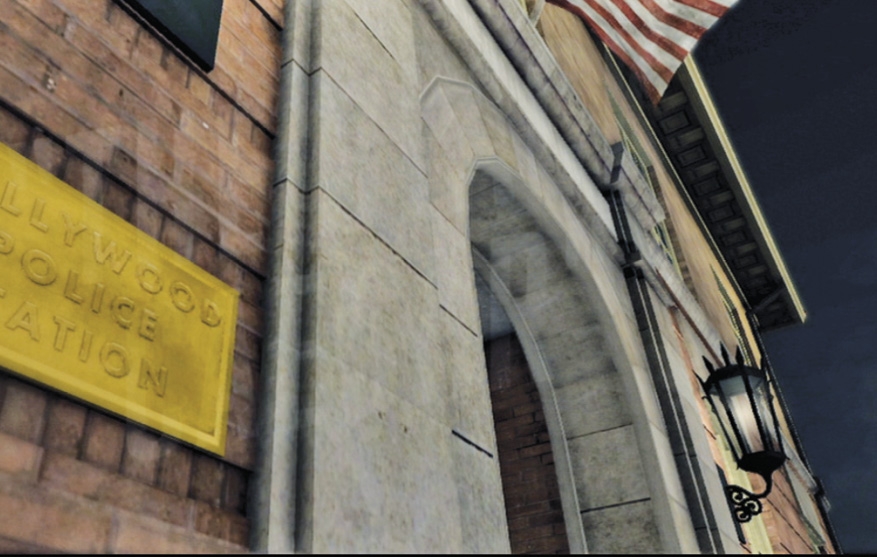
The team’s first case is a pair of junkies found dead, both overdosed on pure, powerful Army Surplus Morphine. As they walk through the station, Phelps learns that Earle has personally requested his reassignment as partner… and that Phelps has become “the department pin-up boy”.
Key Clue Checklist: Hollywood Police Station
- Army surplus morphine
Objectives
- Investigate Crime Scene.
- Investigate Black Caesar Food Hut.
- Apprehend & Interview Fleetwood Morgan.
- Investigate Jermaine Jones’ Booking Agency.
- Subdue Thugs & Interview Jones.
- Investigate Merlon Ottie’s Numbers Operation.
- Apprehend & Interview Ottie.
- Investigate Ramez Removals.
- Disable Fleeing Truck.
- Use Crane to Gain Access to Ramez Cold Room.
- Chase & Subdue Jose´ Ramez.
- Investigate Polar Bear Ice Company.
- Eliminate Thugs to Reach Finkelstein.
- Examine Supply Crate.
Case Report
Total Number of Key Clues 13
Total Number of Interview Questions 8
Fail Conditions
- Phelps or Earle dies.
- Ottie, Morgan or Ramez escapes.
Location: Yucca Street Crime Scene
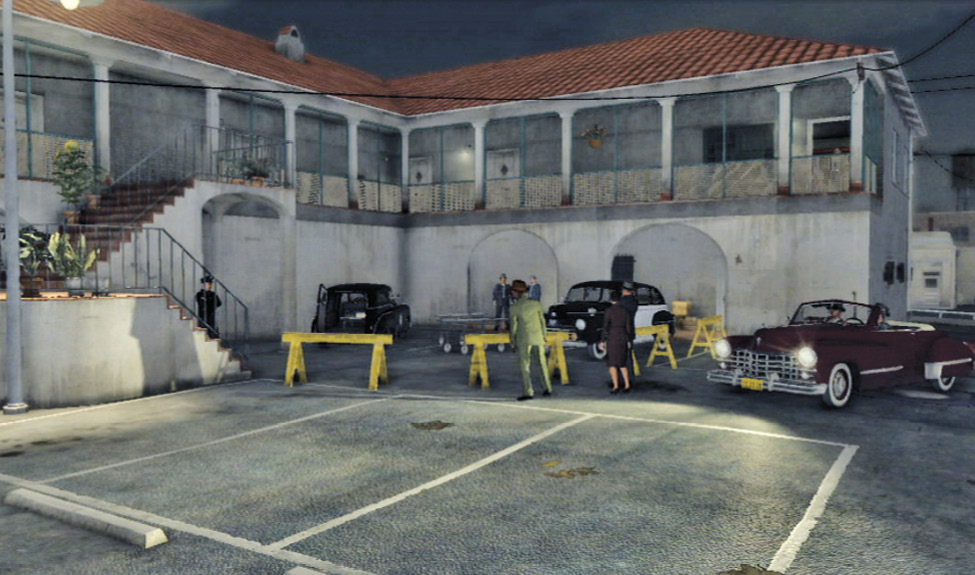
Investigate the crime scene.
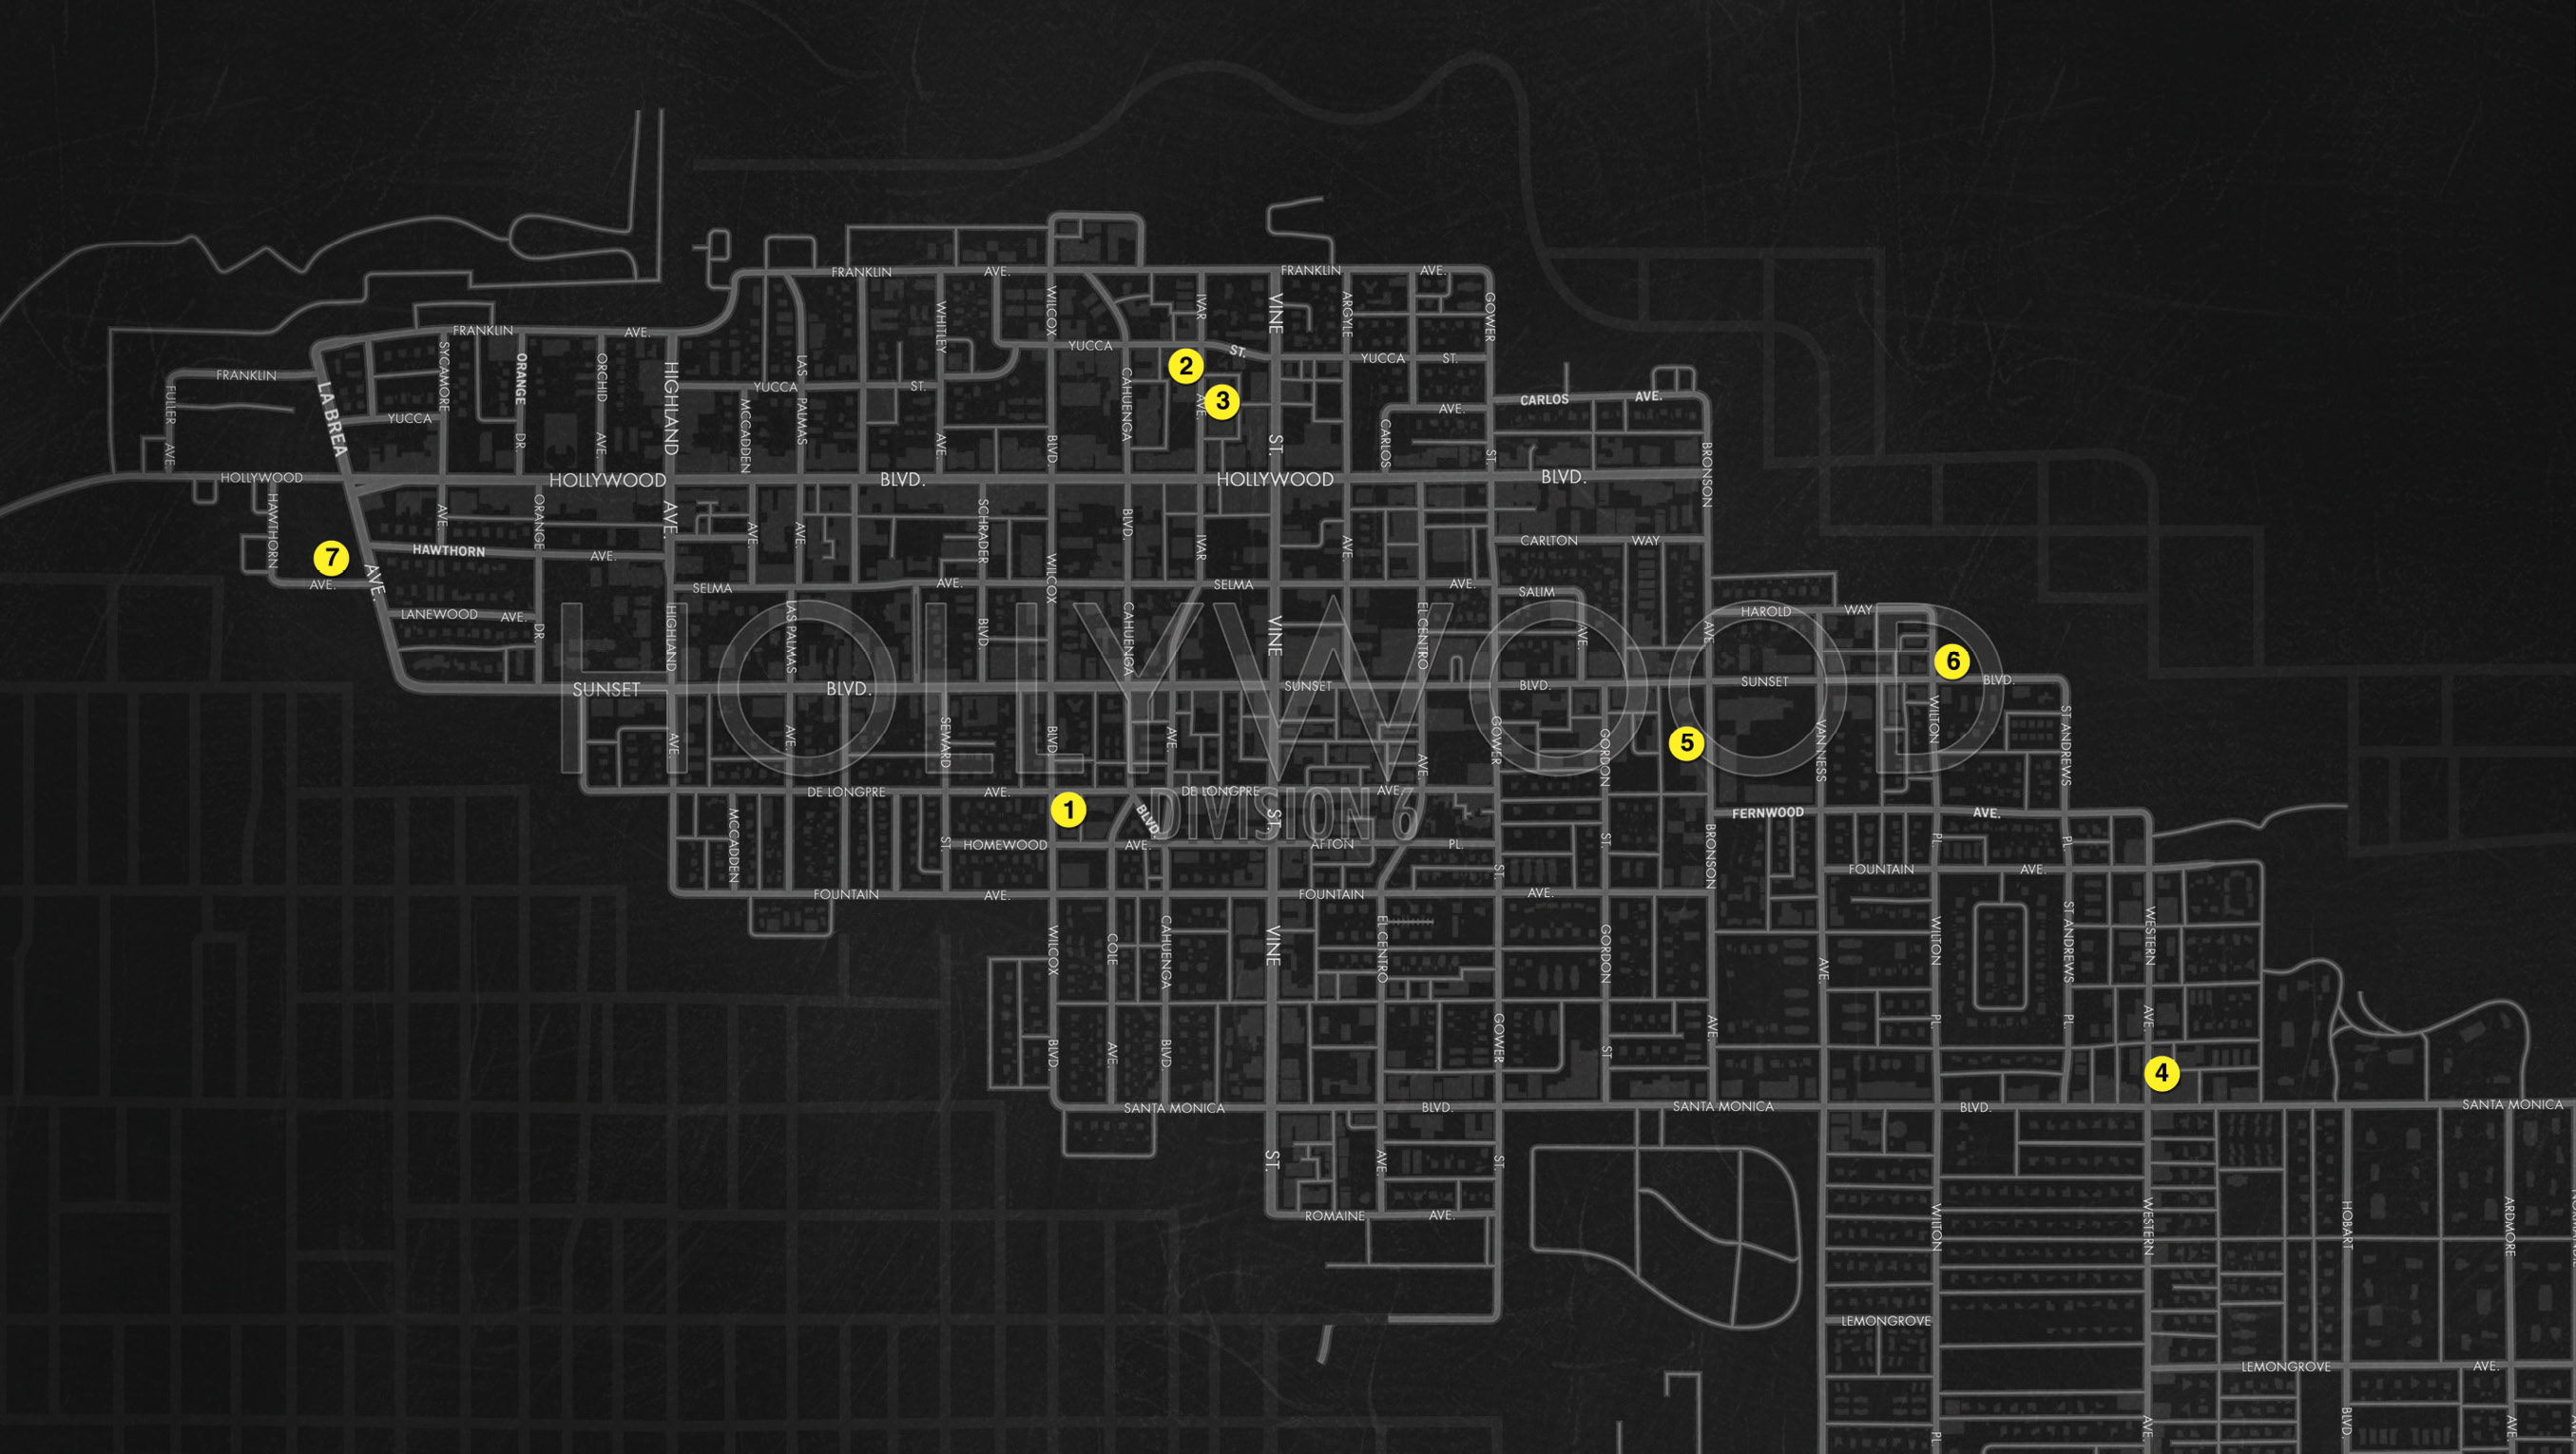
Travel from the Hollywood Station  to the crime scene
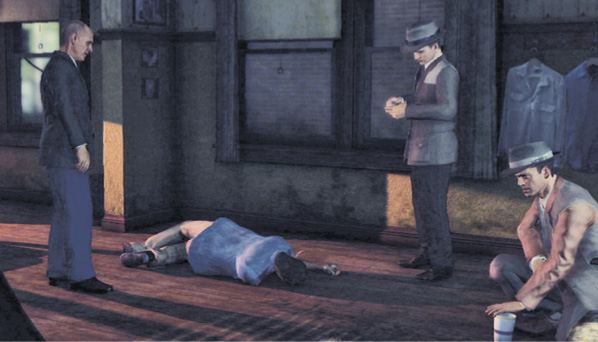
  , an apartment building at Yucca Street and Ivar Avenue. Climb the stairs and follow the walkway to the open door, the last one on the left. Enter to trigger a cut-scene: Coroner Malcolm Carruthers greets the detectives and gives a preliminary report. Two overdose victims, Tyrone Lamont and Cornell Tyree, dead for two days, victims of too-pure Army-issue morphine lifted in a big robbery at the San Pedro wharves—a hit that has upended the L.A. dope scene. After Phelps and Earle have an interesting exchange of law enforcement philosophies, you can start investigating the scene.
Search the bodies.
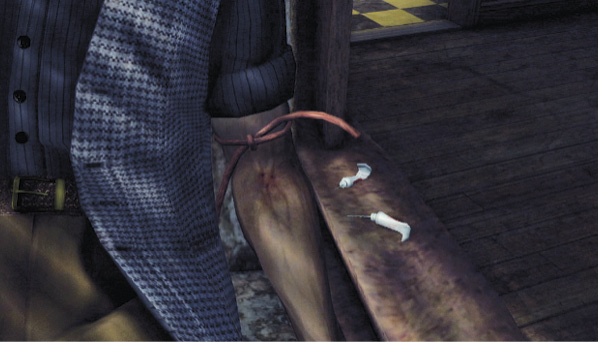
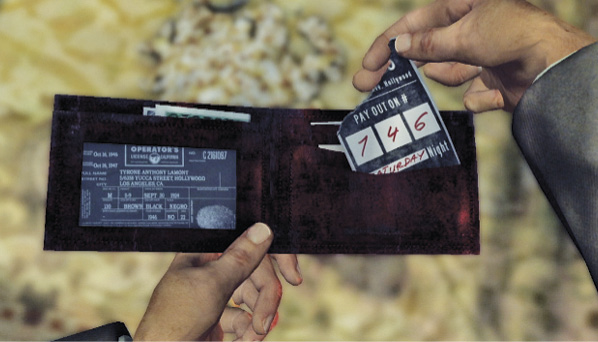
Start with the victim in the chair, Tyrone Lamont, to see that he used two of the morphine syrettes. Lamont’s wallet is on the floor in front of the chair. Examine both sides to find his driver’s license for positive ID and a Numbers Slip.
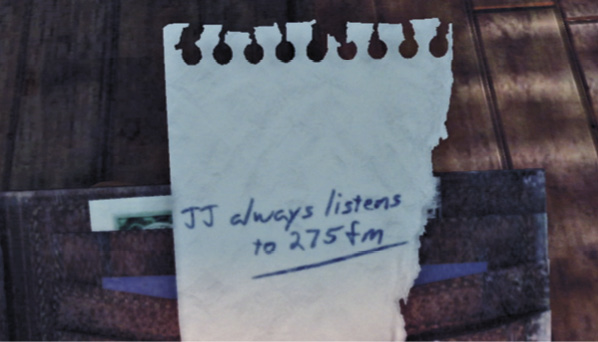
Move to the body on the floor, Cornell Tyree. Phelps notes that on Okinawa one syrette was enough for combat trauma, but “two of them will stop your heart”. Tyree’s arm is riddled with needle marks. Check his pockets for a wallet—examine both sides to see his driver’s license and a Radio Station Note that reads, “JJ always listens to 275 FM”. As Phelps says, “Who is JJ? And why do these two care about his taste in music?”
Search the apartment.
Start at the small table in the living room. You find some sheet music and a folded piece of paper with a Strange Doodle. Pick up the Black Caesar cup on the table, one of many scattered about the place. Phelps turns it upside down to see that something was taped to the bottom, but is now removed. (This adds the Popcorn Cups clue to your Evidence list.)
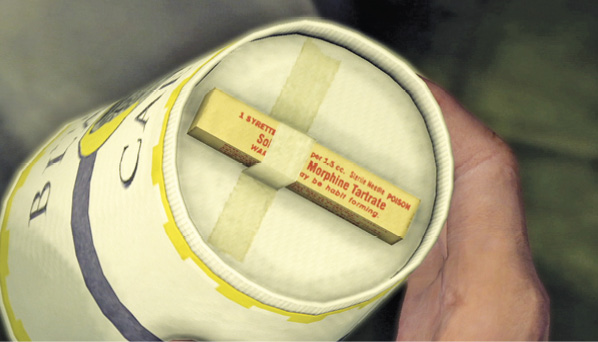
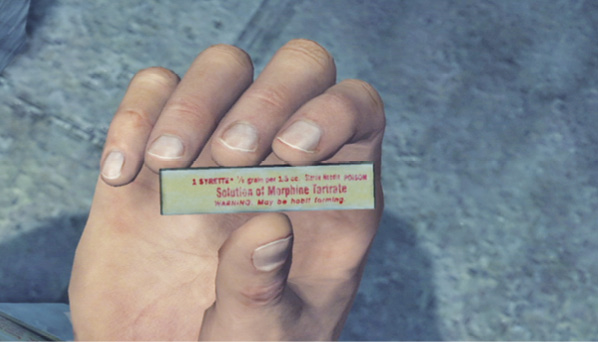
Enter the kitchen and pick up another popcorn cup on the counter. Phelps notes that it feels heavy for an empty cup. Examine it closer, turning it over to reveal an unopened box taped to the bottom that holds one of the Morphine Syrettes. (This also updates your previous clue to Popcorn Cups with Morphine.) You can also find more syrettes on the floor near a popcorn spill, just outside the kitchen.
When the investigation music ends, exit the apartment with Roy Earle and head just down the street to the popcorn place, The Black Caesar.
Key Clue Checklist: Yucca Street Crime Scene
- Numbers slip
- Radio station note
- Strange doodle
- Popcorn cups (with morphine)
- Morphine syrettes
Location: Black Caesar Food Hut
Apprehend the fry cook.
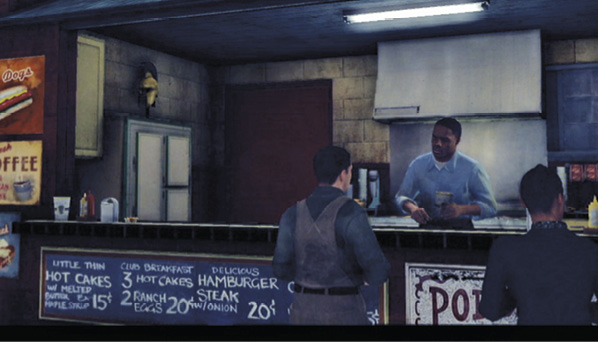
Travel to Black Caesar Food Hut  . (You can just walk if you want; it’s just half a block up Ivar Avenue.) Your approach triggers a quick cut-scene: Earle demands that the fry cook at the counter turn over the popcorn, but the cook takes off running out the hut’s back door.
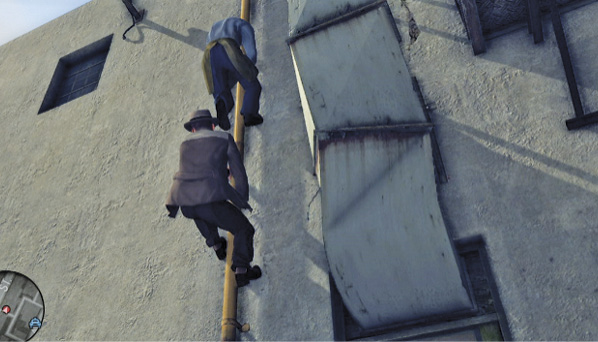
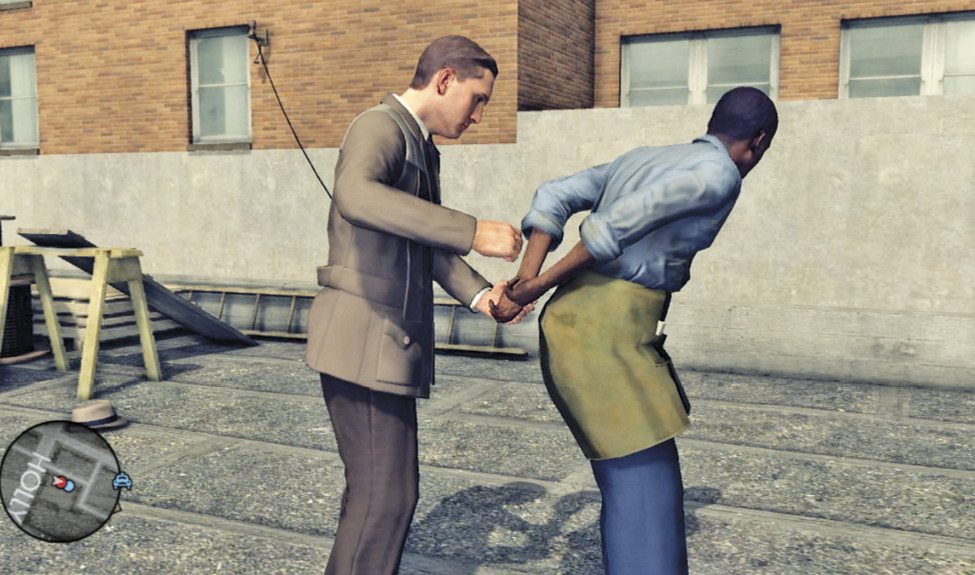
Chase him down! He leads you over the back wall, down an alley, then up a drainpipe to the rooftops. Try to tackle him, but if you can’t, he eventually stops behind a roof stairwell exit and clotheslines Phelps, then calls over a friend named Eddie just as Roy Earle arrives. (Tip: You can avoid the clothesline move if you walk instead of run around the corner of the roof stairwell exit.) Keep fighting until you can arrest the fry cook. Afterwards, Phelps and Earle automatically haul the cook back to the food hut. He gives his name: Fleetwood Morgan.
Search the food hut.
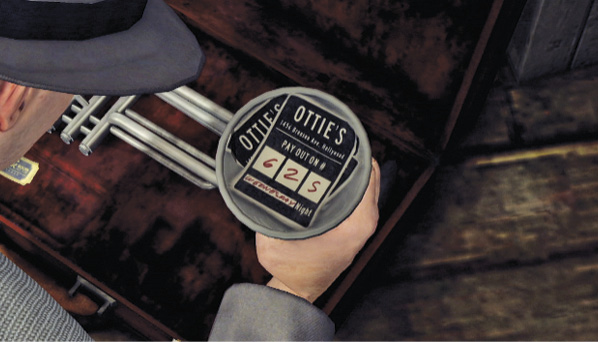
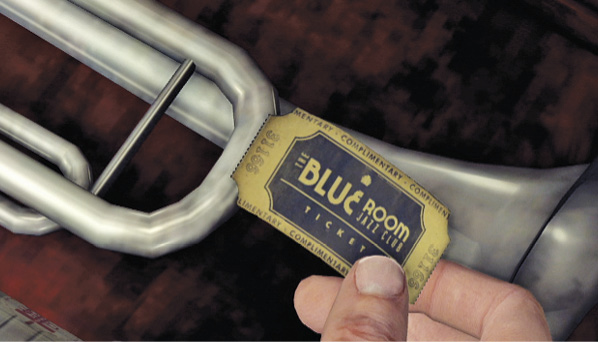
While Earle keeps an eye on the suspect, enter the hut and look for clues. Open the music case in the corner and examine the trumpet’s mute to open it and find Numbers Racket slips inside; you also get a Bronson Avenue address for the numbers operation, called “Ottie’s”. Examine the complimentary Blue Room Pass in the case and turn it over to find its issuer: a booking agent named Jermaine Jones.
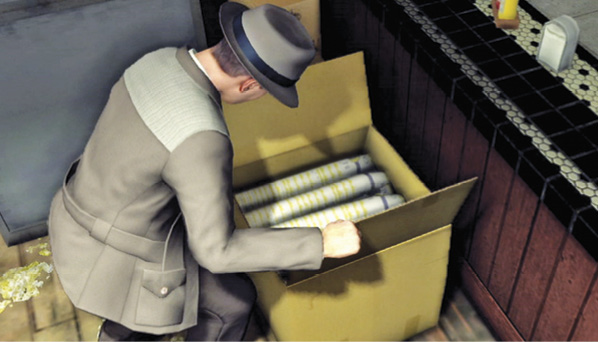
Now inspect the cardboard box to open it. Inside, you find a shipment of Morphine for Distribution. Now you’re ready to interview Fleetwood Morgan.
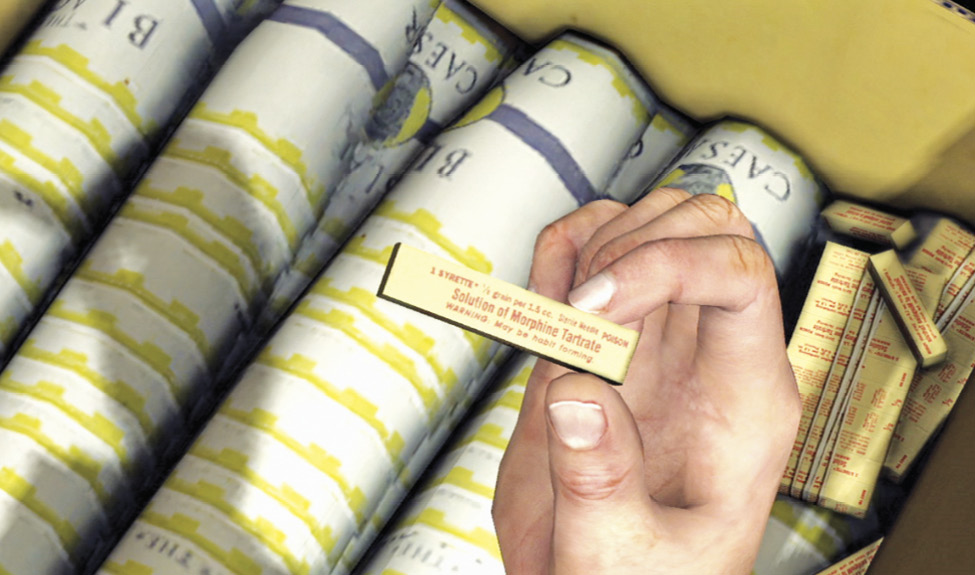
Interview Fleetwood Morgan
Approach the suspect to trigger the interview sequence. Morgan seems agreeable, and promises to do his best. We’ll see if he does.
Key Clue Checklist: Black Caesar Food Hut
- Morphine for distribution (updates “Morphine syrettes”)
- Numbers racket
- Blue Room pass
Interview: Fleetwood Morgan
Topic: Morphine overdose victims
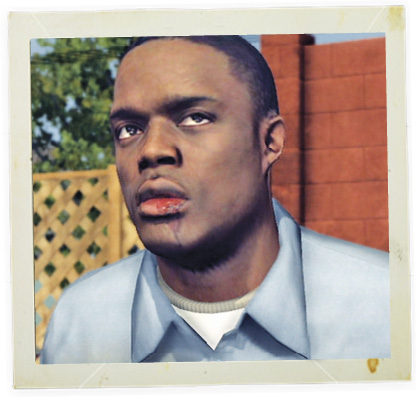
First, Fleetwood denies that he sold the drugs to Tyree and Lamont, claiming he’s just a burger flipper. Understandable that he won’t make eye contact after telling a whopper like that one.
Correct Assessment: Accuse
Evidence: Popcorn cups with morphine
Confronted by the evidence, Morgan gives up the name of the delivery contact and the boss, Jermaine Jones. With the Distributor Identified, you have good reason to visit Jones.
Topic: Numbers slips recovered
When Phelps asks him about the numbers operation, Fleetwood gives an angry, flippant response, calling it “the white man’s tax on poor folk”.
Correct Assessment: Bad Cop
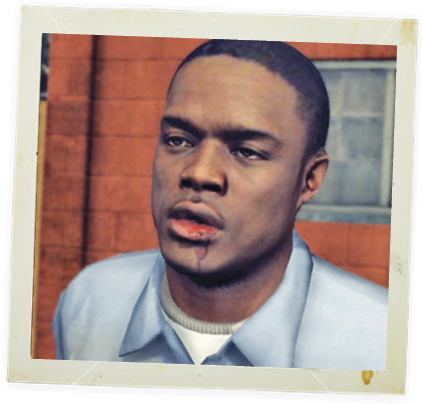
When Phelps threatens to give up Fleetwood as a snitch, he gets humble fast. The head of the numbers racket is named Merlon; Morgan calls him “a real slick dude… wears a hat and swings a cane”.
Key Clue Checklist: Fleetwood Morgan Interview
- Distributor identified
Call in for Jones’ address.
You’ve got confirmation on the name of the drug supplier, Jermaine Jones. Use the public telephone booth next to the Black Caesar stand to call R&I and trace an address on Jones’ booking agency.
Location: Jermaine Jones Musical Booking Agency
Investigate the agency.
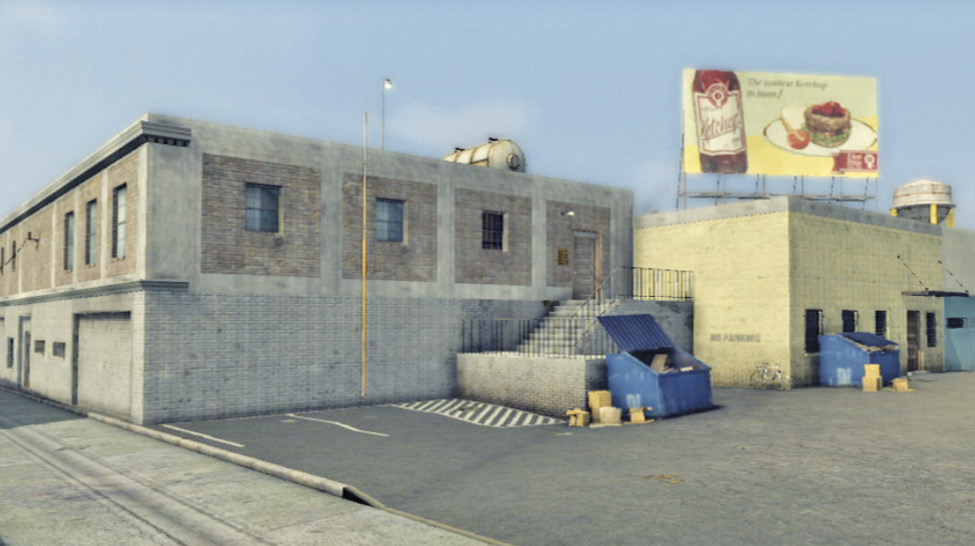
Travel to Jones’ Booking Agency  on Santa Monica Boulevard. Climb the staircase and check out the building directory by the door to find the office number, 238. Then go inside and follow the hall, entering the first office on the left. Approach Jones and press Talk to trigger a cut-scene: after some friendly coaxing from Earle, Jermaine Jones agrees to let you search the place.

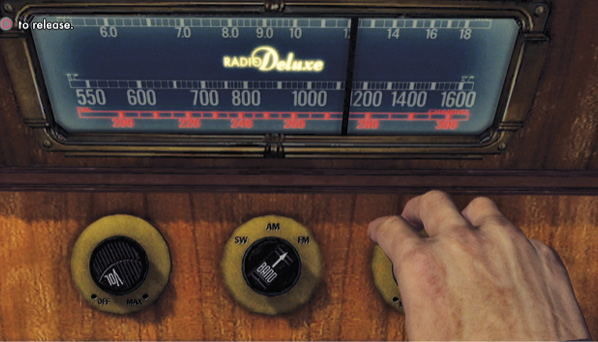
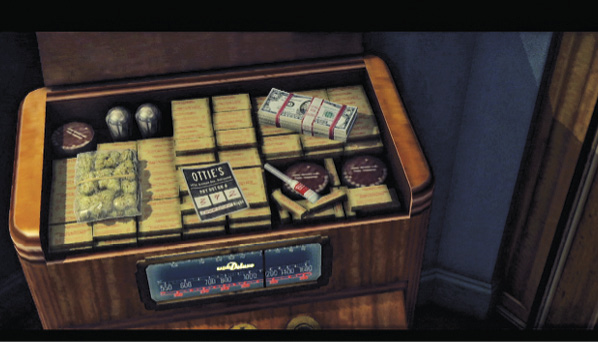
Approach the Scott Phantom floor radio in the corner, next to the piano. Remember your radio station note, the clue you found in Tyree’s wallet? It read, “JJ always listens to 275 FM”. So twist the VOL dial to turn on the radio, switch the BAND dial from AM to FM, then turn the TUNE dial until 275 is selected. This trips a hidden switch and the radio’s top pops open, revealing a very interesting stash of items.
Subdue the goons.
Jones immediately calls in his two thugs to take you apart. K.O. the fellows, then take Earle’s advice and inspect the stuff in the radio.
Search the radio.
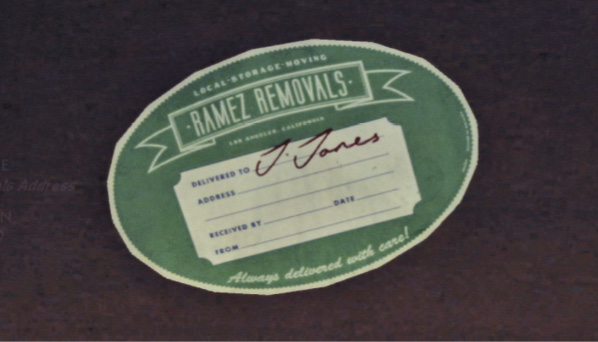
You find a stack of cash, plenty of Morphine Syrettes, another numbers slip from Ottie’s, and a big bag of cannabis. Don’t forget to inspect the sticker on the underside of the lid; it gives you a new location, Ramez Removals, but you still need the address.
Interrogate Jermaine Jones.
Now approach Jermaine Jones and press Talk to start the interview process. After Roy Earle lays out the unpleasant options for non-cooperation, Jones is more than willing to talk.
Key Clue Checklist: Jermaine Jones
Musical Booking Agency
- Morphine syrettes (updated)
Interview: Jermaine Jones
Topic: Army surplus morphine
Jones says he knows nothing about who supplies the morphine. Doesn’t seem like a good business model, does it? Nor does it sound plausible. But you have no proof otherwise yet.
Correct Assessment: Bad Cop
Jones explains that he gets his cut, but that Lenny Finkelstein draws the action. Earle explains that Lenny is head mobster Mickey Cohen’s brother-in-law. This gives you a new P.O.I.
Topic: Involvement of “Ottie”
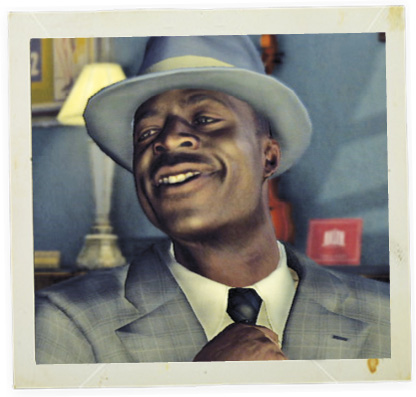
When Phelps asks about the connection between the morphine ring and the numbers slips, Jones scoffs and claims there is no link, and he doesn’t know anyone named Merlon. But you have a statement from Fleetwood Morgan that contradicts this assertion. Let’s wipe that overconfident grin off his face.
Correct Assessment: Accuse
Evidence: Distributor identified
Jones admits in a good-natured sort of way that Merlon Ottie runs the lottery for “the Jew-boy”: this gives you Finkelstein Identified. Jones also reports that Ottie is a gambler by nature, who bets on almost anything.
Topic: Link to Ramez Removals
When Phelps asks about Ramez Removals, Jones will only admit to buying a radio from there. But watch his face to see twitches that belie some level of prevarication.
Correct Assessment: Bad Cop
Jones will say only that Ramez is a good friend of Lenny the Fink. That’s good enough to warrant an investigation of the Ramez operation, certainly.
Key Clue Checklist: Jermaine Jones Interview
- Finkelstein identified
call in for the ramez removals address.
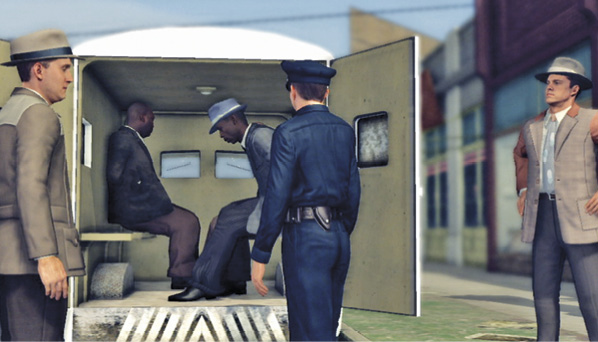
Afterwards, the paddy wagon hauls off Jones and his men. Find the nearest gamewell to call KGPL for an address on Ramez Removals. You also get the owner’s name, José Ramez. This gives you a new place to investigate.
Location: Ottie’s Numbers Operation
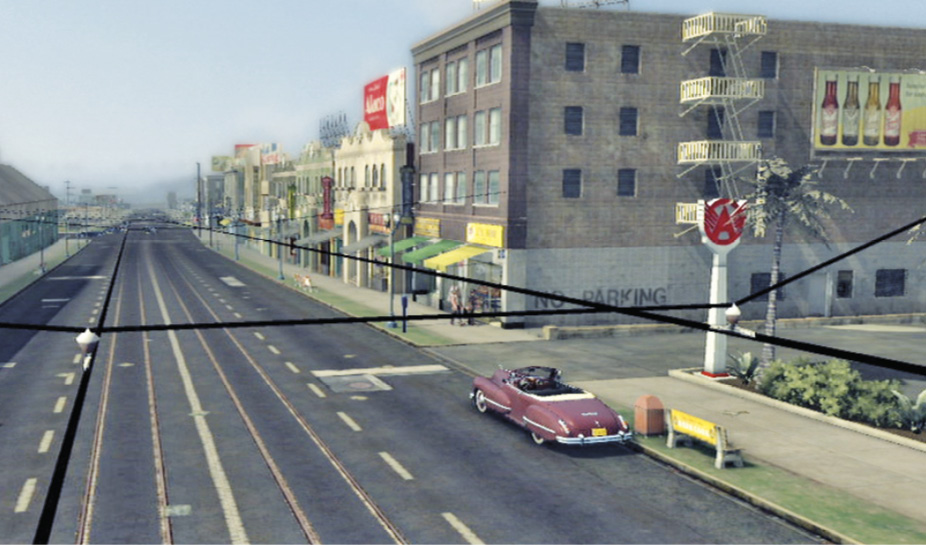
Investigate the operation.
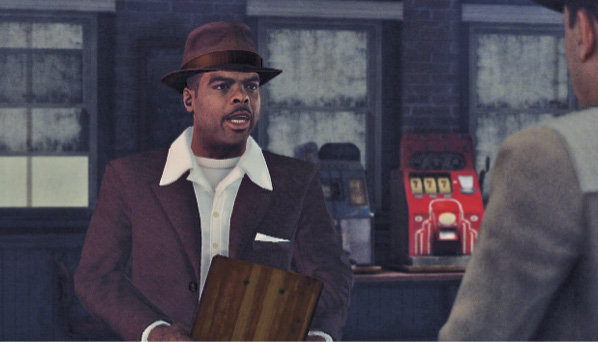

Travel to the Numbers Operation  and enter the door directly in front of you, following the arrival movie. Climbing the stairs to the second floor triggers a cut-scene: the detectives arrive and meet Merlon Ottie, who claims he runs a legitimate operation.
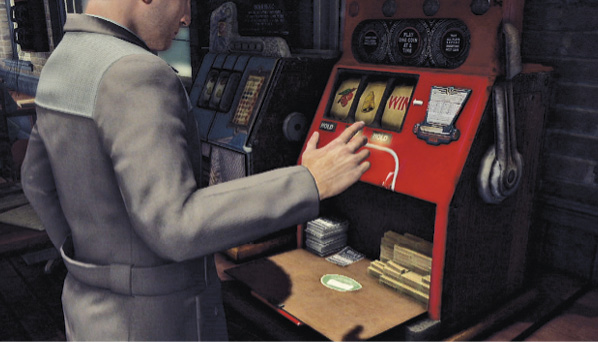
Take a look around. A bank of telephones near Ottie’s desk suggests a possible wire operation. Next, approach the two slot machines at the back of the room, behind Ottie. Examine the red slot machine. Your task here is to match the three symbols in the order of the “strange doodle” you found at the overdose crime scene on Yucca Street: Cherries, Bell, WIN.
Press the button indicated onscreen to pull the slot machine’s lever. When you get one of the three slot symbols correct, follow the onscreen instructions to press the Hold button underneath the correct symbol. Keep pulling the lever and locking symbols until you have all three correct as shown in our screenshot. This opens the machine, revealing its secret compartment.
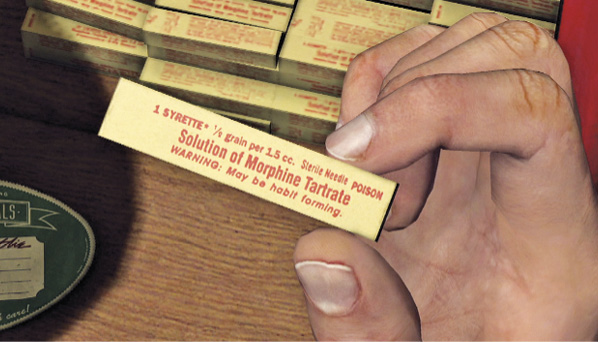
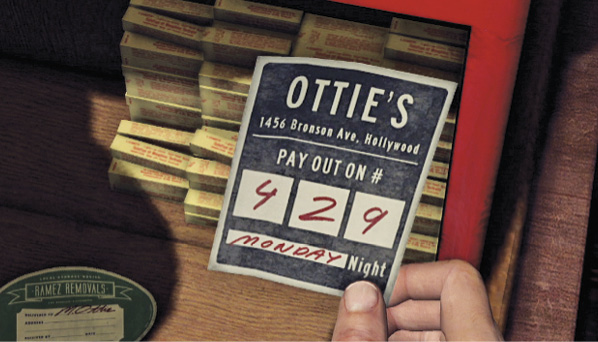
Now examine the items inside: the Ramez Removals Sticker, the Morphine Syrettes, and more Numbers Slips. When you exit the examination, Merlon Ottie suddenly takes off running.
Apprehend and interview Ottie.
Chase Ottie downstairs, across the parking lot, and down Sunset Boulevard. (Tip: When Ottie crosses the lot he runs around the right side of the restaurant; circle around the left side to cut him off and he’ll surrender.) Tackle him when you can; Phelps marches him back for an interview.
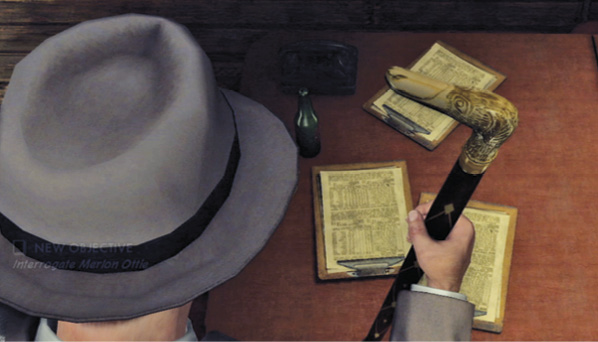
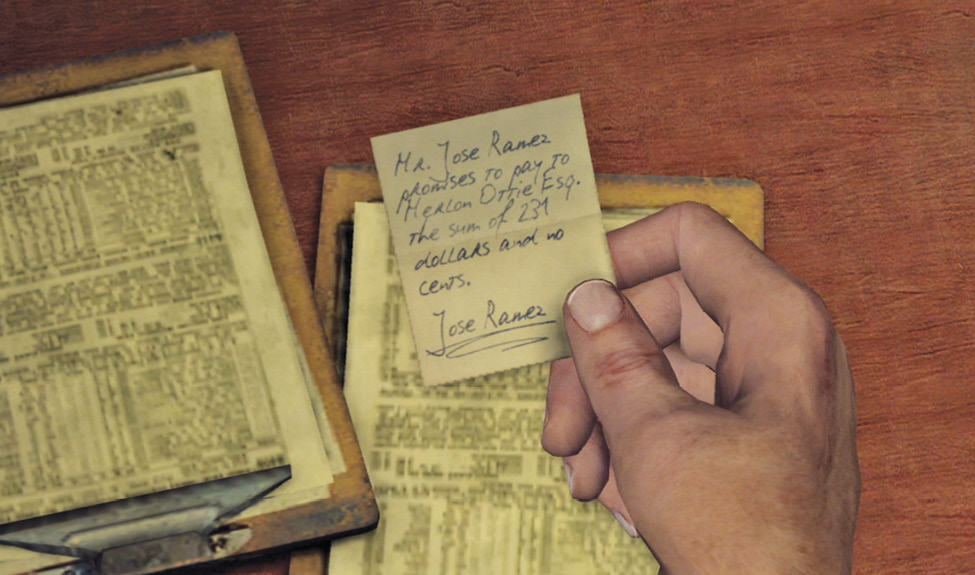
In Ottie’s office, Roy Earle hands Ottie’s cane to Phelps for a look. Examine it to flip open the top and find an IOU Note from José Ramez to Ottie. Then Phelps orders Ottie to sit and answer some questions.
Key Clue Checklist: Ottie’s Numbers Operation
- IOU note
Interview: Merlon Ottie
Topic: Army surplus morphine
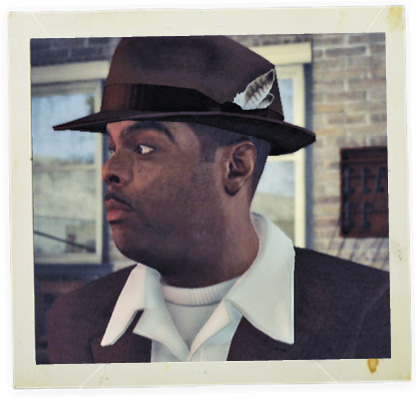
Phelps asks about the Army-issue morphine, but Ottie insists it’s not his line of work—he prefers sports betting. But his suddenly dry lips and shifty looks don’t look very convincing, and you have a statement from Jermaine Jones, as well.
Correct Assessment: Accuse
Evidence: Finkelstein identified
When Roy Earle presents the evidence, an angry Ottie admits he moves the dope that José Ramez brings him, but he doesn’t like it. He seems frank about this, anyway.
Topic: IOU note from JosÉ Ramez
When Phelps points out that Ramez seems to owe Ottie a lot of money, Merlon responds, “We all owe
somebody”. Hard to argue with that.
Correct Assessment: Good Cop
Ottie explains that the money has nothing to do with the morphine shipment; it’s just a gambling debt. This ends the short interview, and a uniform takes Ottie off to jail.
Location: Ramez Removals
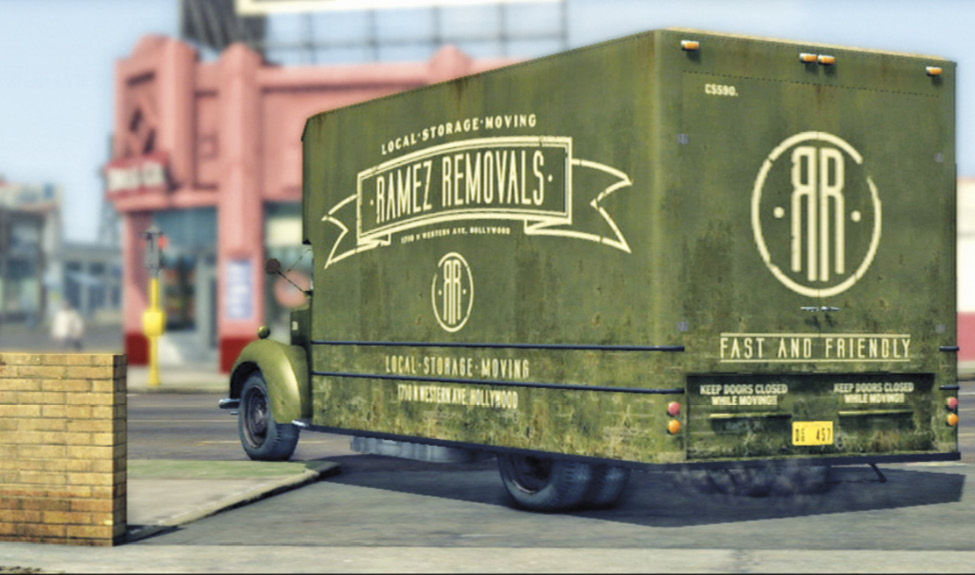
Pursue the removals truck.
Travel to Ramez Removals warehouse  . As you arrive, Ramez is just leaving in a truck. Hop in your car and give chase. Get close so your partner can shoot out the truck tires, or try to nudge the truck off the road.
Soon the truck’s back doors swing open and the guy in the back starts pushing out crates and furniture at your car.
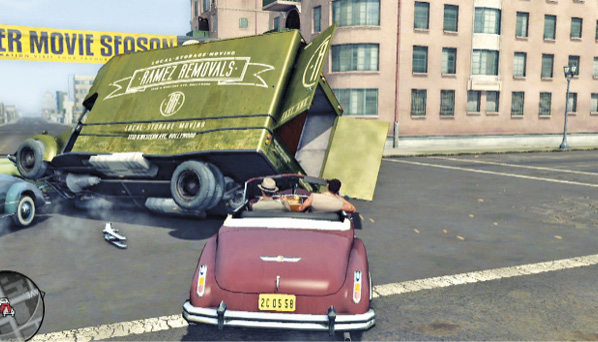
After you finally halt the fleeing truck, the detectives bring Ramez back to his warehouse. He tries to play cute, so Phelps and Earle decide to explore the warehouse.
Search the warehouse.
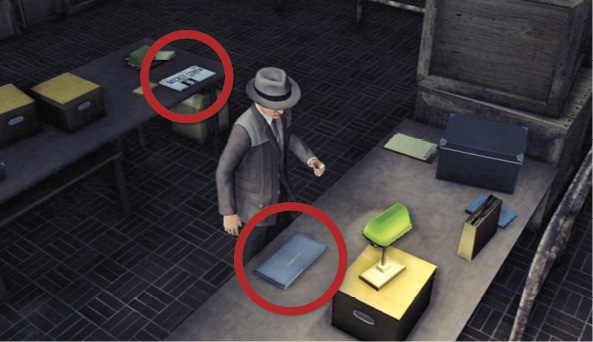
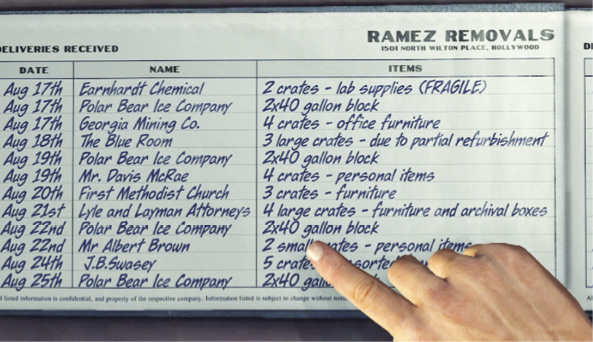
Turn left and find the Ramez Removals ledger on the desk. (Note the newspaper on the opposite desk, as well. See our Tip below.) Open it to find a number of deliveries to both Merlon Ottie and an entity known as the Polar Bear Ice Company.
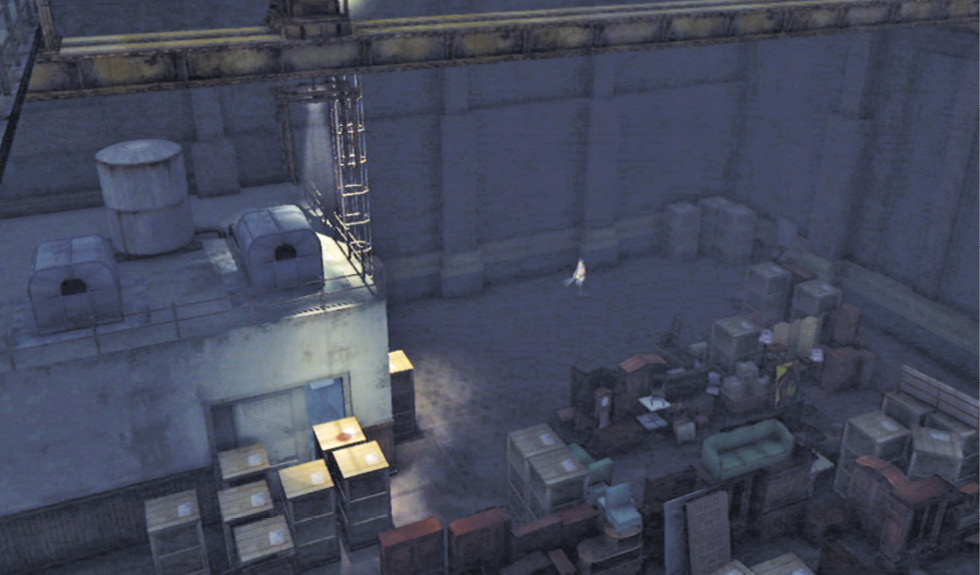
Earle notices a trail of water puddles running through the furniture stacks. If you follow the trail, it leads you to a stack of tall crates—one is blocking the entrance to a well-lit room. Find the ladder just to the right of the crates and climb up to the catwalk high above the warehouse floor.
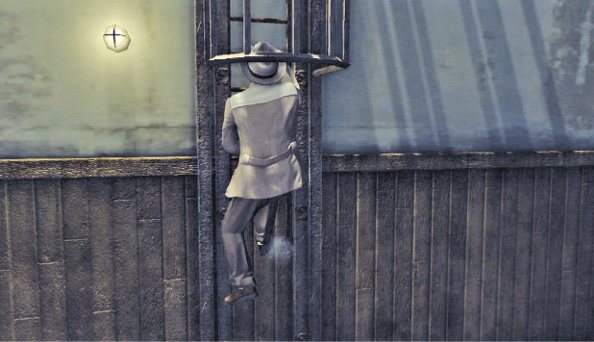
Use the crane to move the crate.
Follow the signs to the cargo crane operator’s post and press the button indicated to take control. Your goal is to use the crane to move the crate that sits directly in front of the door below. Use the controls to center the lighted crosshairs directly over the target crate as shown in our screenshot. Then lower the crane to snag the crate and lift it out of your way.
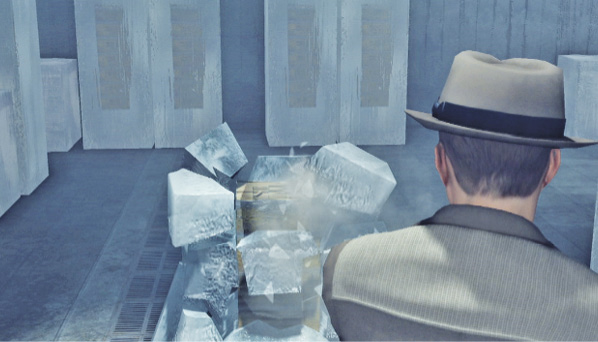
Now you can go back down the ladder and enter the cold room with Roy Earle. It’s filled with ice blocks that have something frozen inside. Shoot at the ice block sitting alone to shatter the ice and reveal what’s
inside: boxes of Morphine Syrettes. As Earle says, “It’s like Santa’s grotto for hopheads in here”. Take a closer look at one of the syrettes to trigger a cut-scene outside.
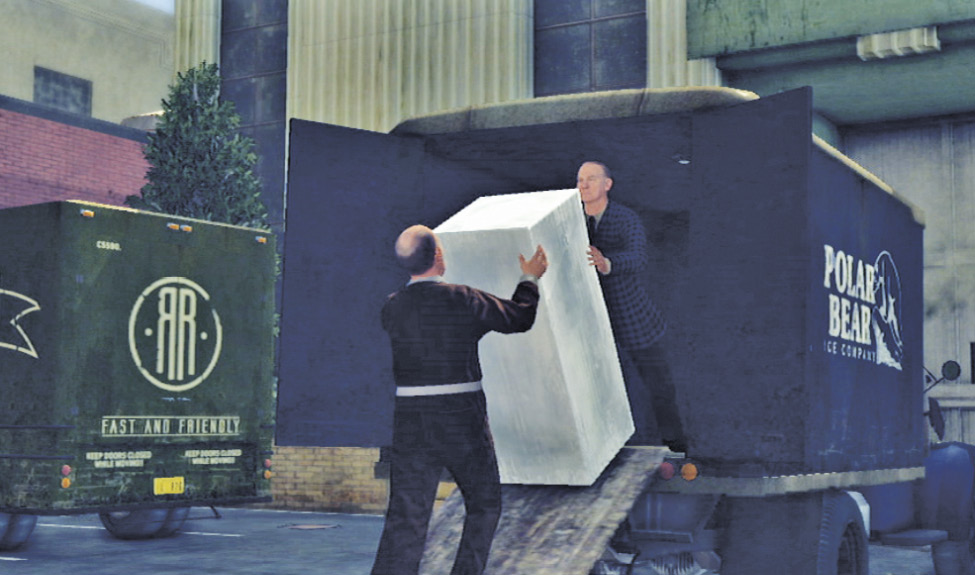
A truck from the Polar Bear Ice Company pulls up in front of warehouse and starts unloading a big block of ice. Phelps and Earle emerge, spot the object in the ice, and put the truckers under arrest. But Ramez takes their shift in focus as an opportunity to escape!
Chase down JosÉ Ramez.
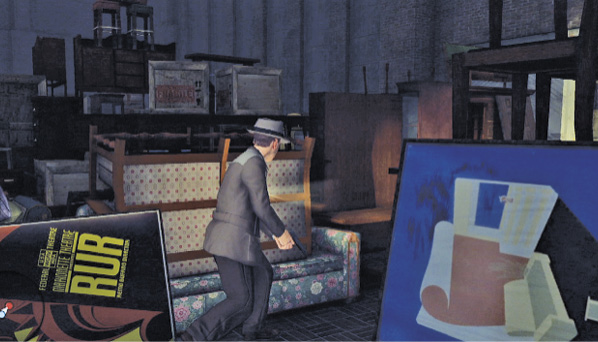
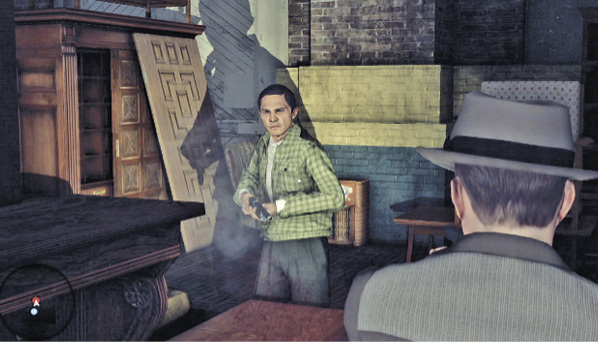
Chase him up and down the aisles of furniture in the darkened warehouse, then gun him down. Careful—he’s armed with a shotgun.
Location: Polar Bear Ice Company

Apprehend Lenny Finkelstein.
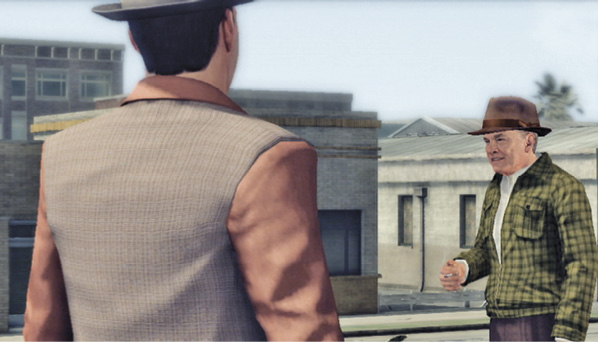
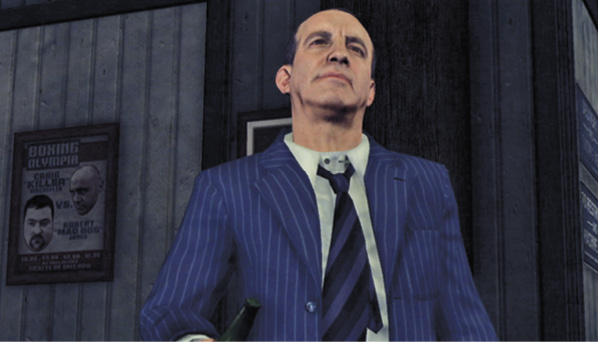
Travel to the Polar Bear Ice Company  . Outside, a “janitor” tries to tell you the factory is closed, but Earle sees through the ruse. Inside, Lenny Finkelstein lets two of his thugs absorb your opening shots while he takes off running. Chase him down!
Unfortunately, Lenny has a small army at his disposal and they’re determined to block your path. Fight your way across the Delivery & Loading Area to a room with a bar and dart board. Watch out for the shooter in the window directly behind the bar! Remember to check your mini-map for the red blips that mark enemy positions.
Continue down the hallway into the Machine Room. Fight your way around the pumping machine in the center of the room and approach the doorway leading into the Cold Room, a huge freezer filled with ice blocks—many of which encase boxes of Army surplus morphine. First, fight your way across the ground floor level. Then climb the stairs to the upper level.
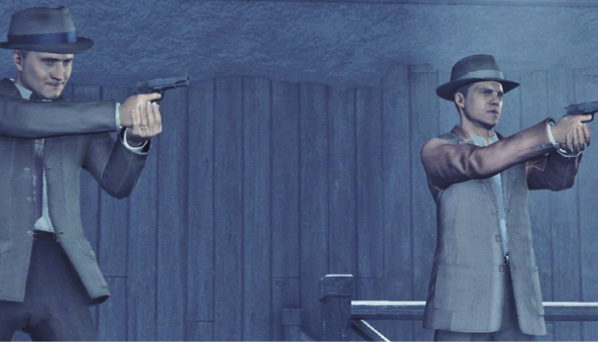
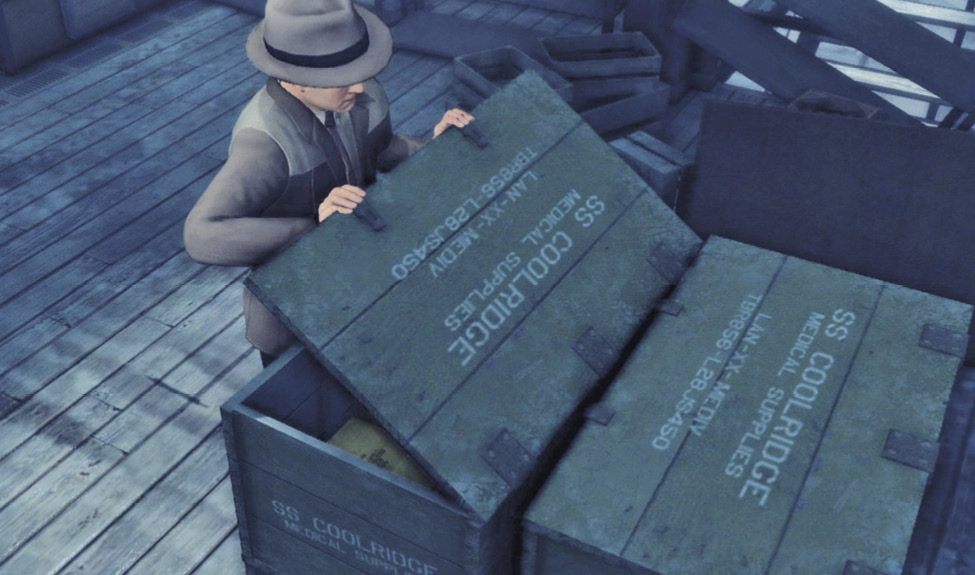
Reaching the top of the staircase in the Cold Room triggers a quick cut-scene: Phelps and Earle hold Finkelstein at gunpoint, but he refuses to go quietly. When the cut-scene ends, immediately gun him down. Then follow Earle to the crates from the USSCoolridge and examine them. That wraps up the case.