L.A. Noire Guide Walkthrough The Vice Cases
CASE# AV004: The Naked City
Key Clue Checklist: Station Briefing
- Morphine
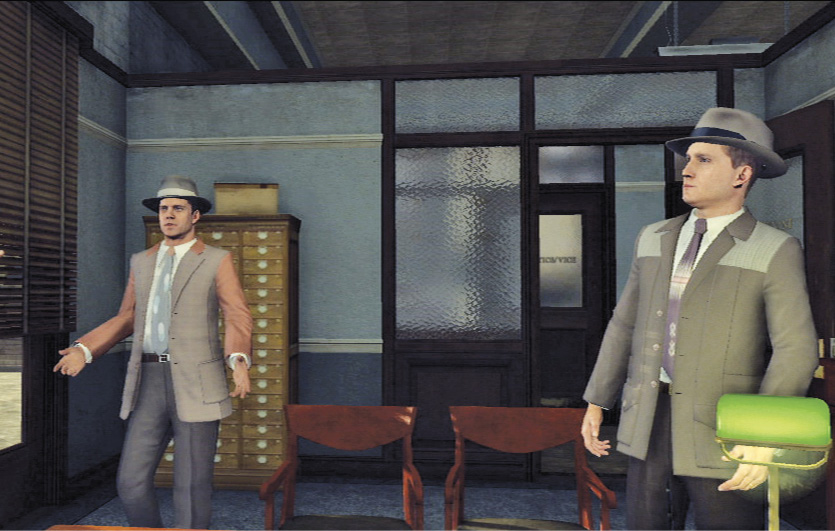
This is a vice squad case originating in L.A.P.D.’s Hollywood Division, and your partner is Roy Earle. Lieutenant Archibald Colmyer explains the latest case.
There was a death at an apartment at 5810 Mirada Avenue. Carruthers is at the scene of the crime and has a theory: He believes the woman was murdered with an Army surplus morphine syrette.
Objectives
- Investigate Julia Randall’s Apartment
- Interview the maid, Virginia Reynoldson
- Drive to Dr. Stoneman’s Practice
- Interview Dr. Stoneman
- Investigate D’Assine Dress Store
- Interview store owner
- Interview Heather Swanson
- Use gamewell
- Talk to Mal at Hollywood Receiving Hospital
- Interview Henry Arnett at Hollywood Police Station
- Tail Henry Arnett
- Assist Patrolman Wallis on the Hollywood 9th Beat
- Use gamewell
- Return to Hollywood Station
- Inspect burglary list from watch commander
- Interview Mrs. Evestrom
- Apprehend suspect fleeing from Arnett’s apartment
- Investigate Arnett’s apartment
- Interview Henry Arnett
- Return to Stoneman’s practice
- Apprehend Wilson Reade at Willy’s apartment
Case Report
Total Number of Key Clues 16
Total Number of Interview Questions 16
Fail Conditions
- Phelps dies.
- You are spotted.
- Lose Reade.
Location: Hollywood Police Department
Investigate Crime Scene
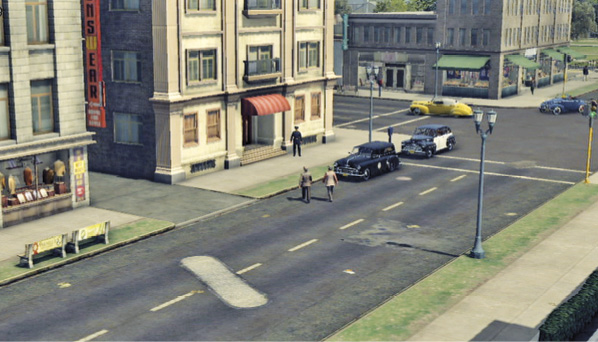
After receiving your orders at the Hollywood station, exit the building and enter Roy’s cruiser in the side parking lot. The crime scene is already selected as your location. Drive or be driven to the crime scene.
Location: Julia Randall’s Apartment
Investigate the crime scene
The uniformed police officer at the entrance of the crime scene  directs you to apartment six in the back. Head inside and take the stairs at the end of the hallway to the second floor. Enter the open room at the end of the second-floor hallway.
Bekowsky, who just made Homicide, is there to greet you. Bekowsky identifies the victim as a 26-year-old fashion model. She was found in the tub by a cleaning lady, Mrs. Reynoldson. Mal Carruthers is sure that it’s murder.
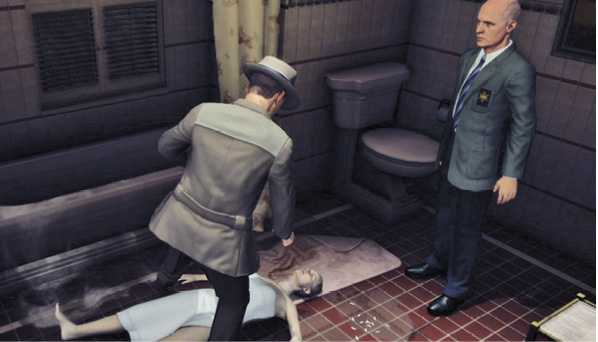
When you enter the living room to begin the investigation, you are given Mrs. Reynoldson as a P.O.I. New clue: Possible Suicide.
Investigate the living area
Approach the pictures to the right of the record player. Pick up all three photographs to receive a Location Update for Julia’s Apartment and the clue: ModelingJob. Investigate the middle picture further to flip it over. Cole removes the back to find a written message: “D’Assine, 6582 Hollywood Blvd. I’m working Tuesday, 11–4pm… Come keep me company? Ask for Ms. Randall. XXX Julia”. This unlocks the new objective: Investigate D’Assine.
Investigate the bathroom
In the bathroom you find Carruthers over the body. Mal says, if the victim was alive when she entered the tub, then there would be water in her lungs. There are no signs of drowning here. When control returns to you, investigate the body of Julia Randall. Move her head to the side to reveal bruising on her neck, then investigate the left arm. Look closely, as a ring is located on her ring finger. Black SapphireRing becomes your latest clue.
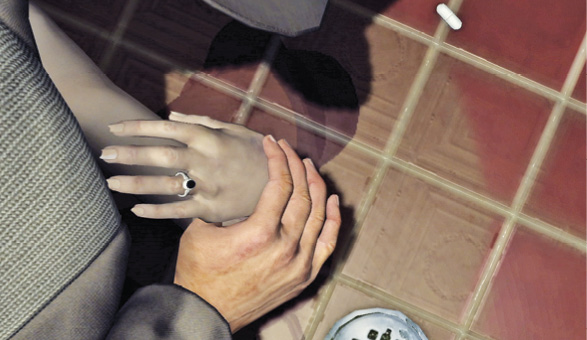
Next, look closely at her right hand and arm. Notice the bruising on the forearms. Cole identifies them as bite marks. Carruthers adds that the eyes are a classic sign of morphine and the bruises tell their own story. He believes one man held her down while a second man injected her with the morphine and then tried to make it look like a drowning. The clue, Two Suspects is added to your notebook.
Investigate the bedroom
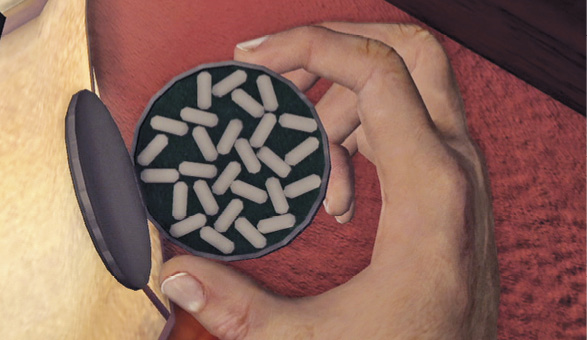
The next room down the hall past the bathroom is a bedroom. Find a Men’s Smoking Jacket hanging on the edge of a screen. This becomes a new clue. Investigate the drugs spilled on the floor before the foot of the bed. Cole identifies them as barbiturates but they aren’t added as clues. Pick up the little, round container on the nightstand to find something solid: Sleeping Pills. Make sure to investigate the case more closely to find a secret stash: a Benzedrine Prescription. The doctor’s name is on the prescription. “Check Dr. Stoneman’s Practice” becomes a new objective, and Dr. Stoneman becomes a new P.O.I.
Speak with the maid.
After you collect all the evidence in the apartment, approach the maid sitting at the table in the apartment’s living area. Before you begin, Virginia informs you that Julia doesn’t have any family in town. She mentions Mr. Henderson may be able to help with her personal affairs. Mr. Henderson becomes a new P.O.I.
Key Clue Checklist: Julia Randall’s Apartment
- Possible suicide
- Modeling job
- Black sapphire ring
- Two suspects
- Men’s smoking jacket
- Sleeping pills
- Benzedrine prescription
Interview: Virginia Reynoldson
Topic: Victim’s state of mind
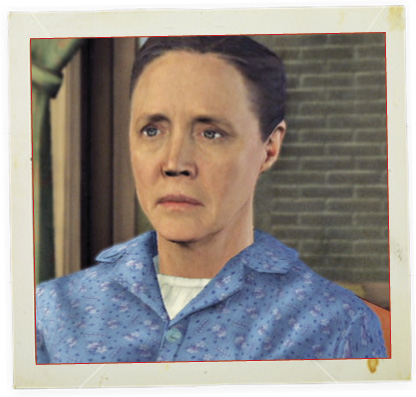
Cole asks if Miss Randall was depressed about something. Reynoldson responds that she was no more depressed than normal, yet she looks as if she is lying.
Correct Assessment: Accuse
Evidence: Sleeping pills
Cole can’t understand why the maid is hiding things. Select the “Sleeping pills” to prove your point. The maid now realizes you found her pillbox. She adds that she lived like a princess or movie star and can’t understand how a model can get paid so well to allow her to live like she did.
Topic: Victim’s personal life
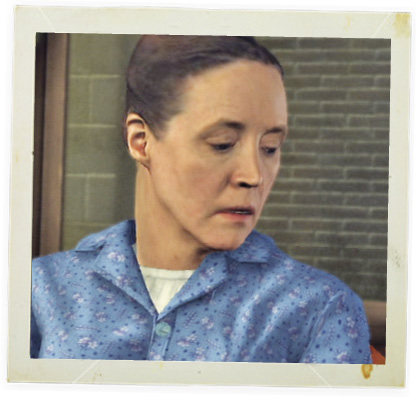
Phelps asks the maid if Julia had many friends over. The maid says that she only comes twice a week, so she wouldn’t know. After she says this, she looks away, avoiding eye contact altogether. She’s lying.
Correct Assessment: Accuse
Evidence: Men’s smoking jacket
Cole believes the maid is lying, but she claims that you can’t prove it. Select the “men’s smoking jacket” out of your list of clues. The maid admits that the jacket belongs to Mr. Henderson. She adds that this man seemed very much in love with her. This adds Housekeeper’s Statement to your list of clues.
Topic: Relationship with victim
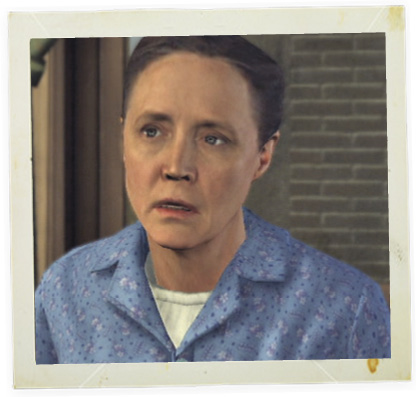
Cole asks the maid what it was like working for Miss Randall. She responds that everything was perfectly fine, but she looks around the room and seems slightly nervous.
Correct Assessment: Bad Cop
Cole presses the maid a little more strongly and she admits that Julia was very high-strung. “She wanted it all and she wanted it damn quick”, she says.
Drive to Dr. Stoneman’s Practice.
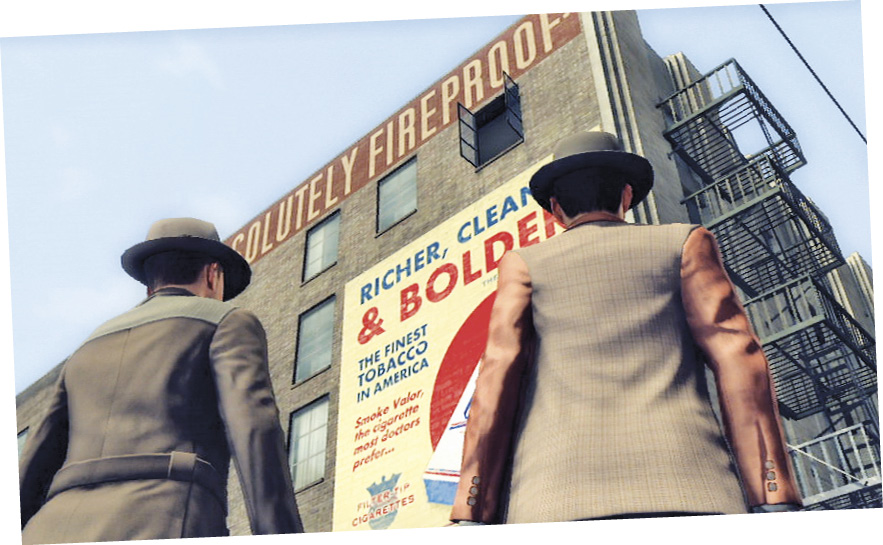
On your way out of the apartment, you tell Stefan and Rusty that you’ll have a look around outside and then follow up on the new leads. You ask them to follow up on the smoking jacket. Head downstairs and find the clue, Morphine Syrette, inside the very small trashcan on the right, just before the exit. Select Dr. Stoneman’s Practice  as your next destination.
Key Clue Checklist: Post-Apartment Investigation
- Housekeeper’s statement
- Morphine syrette
Location: Dr. Stoneman’s Practice.
When you enter the doc’s practice  , check the floor directory on the right wall to figure out which room is Dr. Stoneman’s. You find him on the fifth floor in room 505. Take the trusty elevator; it only stops on 5.
Enter the last office on the left and speak to the secretary behind the reception desk. Roy announces the arrival and the secretary relays the message to her boss over intercom.
Speak to Dr. Stoneman
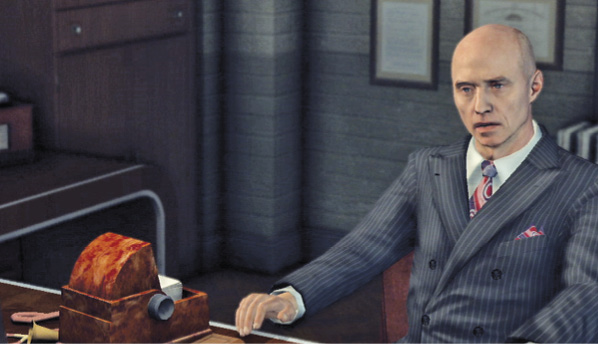
Cole tells the doc that he’s been investigating the death of his patient, Julia Randall. The doctor agrees to talk as long as it doesn’t compromise doctor-patient privilege.
Interview: Dr. Stoneman
Topic: Relationship with victim
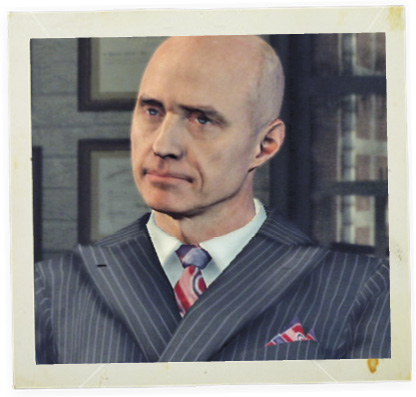
Cole asks the doctor how he knows Miss Randall. He responds, “barely at all”. She’s only been a patient of his for around six months. He looks around the room and swallows nervously.
Correct Assessment: Accuse
Evidence: Benzedrine prescription
Cole accuses the doctor of lying, because he knows that she’s been a patient of his for nearly a year and he can prove it. Select “Benzedrine prescription” to back up your claim. Cole follows up with, “Your prescriptions contradict you, Doctor”. The doctor admits that she was jumped up on Benzedrine by day and knocked down by sleeping pills at night. He adds that it is not illegal and that many use it for weight loss.
Topic: Additional medications
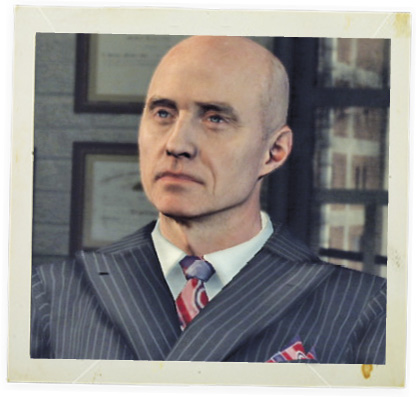
Cole asks the doctor to explain the Benzedrine prescription. The doctor explains that it was for her weight control. He looks out the corners of his eyes and fidgets.
Correct Assessment: Bad Cop
Cole questions the doctor about Benzedrine’s addictive side effect. The doctor says he warned her about that. It’s apparent that Stoneman knew Julia pretty well.
Drive to D’Assine
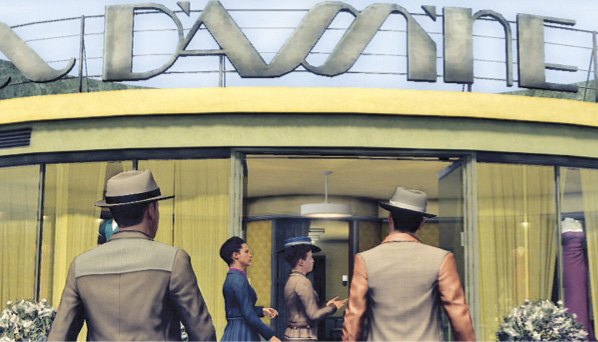
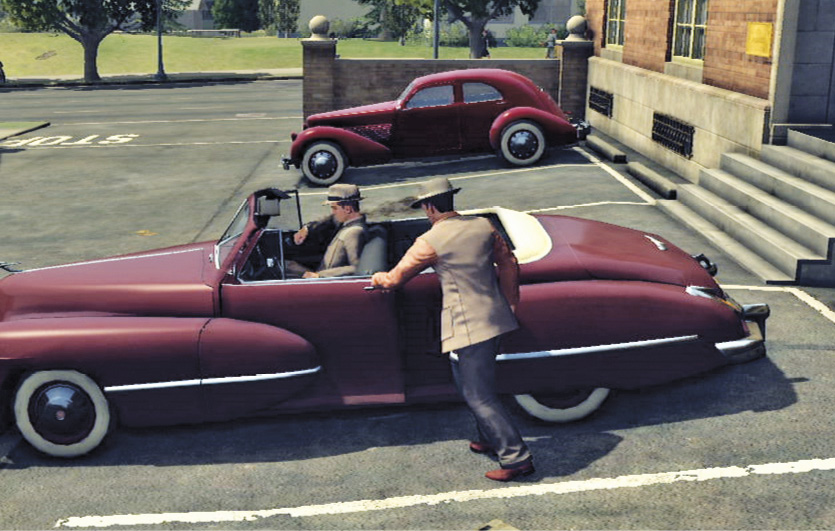
After interrogating Dr. Stoneman, Cole decides it’s time to head to D’Assine, the dress store  . Exit the building via the elevator to reach the first floor. Enter Roy’s convertible, select D’Assine as your location, and follow the yellow blip to the dress store.
Location: D’Assine Dress Store
Enter the dress store and speak with the lady at the desk to the left. This adds a new P.O.I. to your notebook: Dress Store Owner. You explain to the owner that you’d like to ask her some questions about Julia Randall. The owner says that she had to let her go. Just before your interrogation, you tell the owner that Julia was found dead this morning.
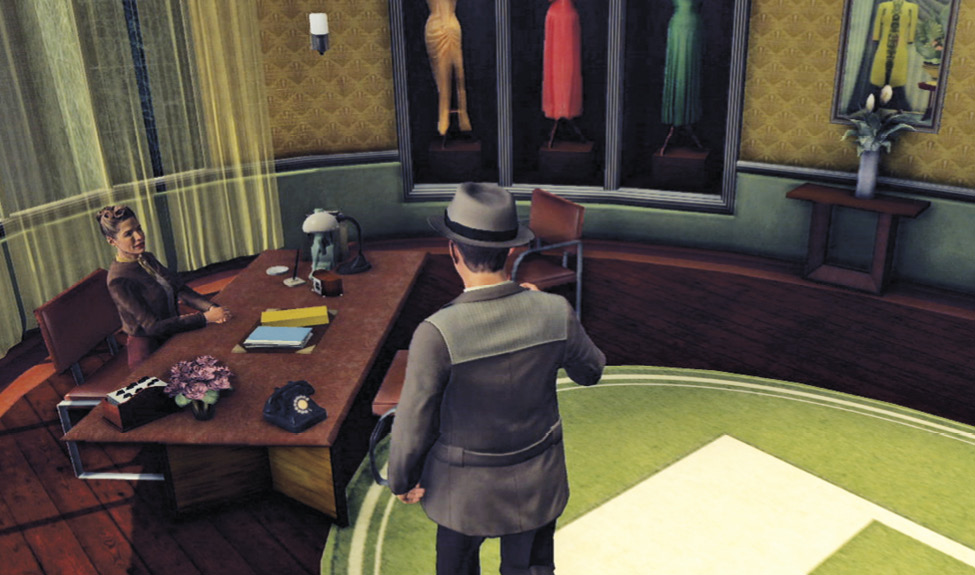
Interview: Dress Store Owner
Topic: Victim’s employment history
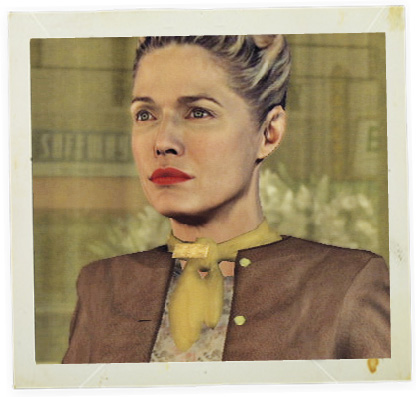
Cole asks the owner how long Julia worked as a model. The owner says that Julia used to work in New York before coming here. She looks you straight in the eye. No flinching.
Correct Assessment: Good Cop
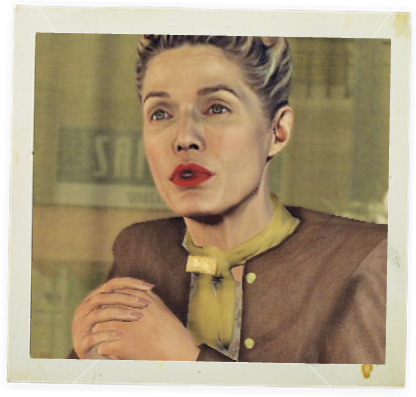
Next, Cole asks why she let Miss Randall go. The owner says because she was so pretty that the husbands that shopped with their wives would pay more attention to Julia than their wives. That didn’t go over very well with her.
When asked about friends, the owner tells Cole about Julia’s friend, Heather Swanson. This adds “Heather Swanson” to your list of P.O.I.’s. She too is an employee at the dress shop, so Cole asks the owner not to mention Julia’s death.
Speak with Heather Swanson
The shop owner introduces you to Heather Swanson, Julia’s friend. She says that Julia helped her get her the job there. Heather begins to worry that Julia is in some kind of trouble. Cole notices Heather’s engagement ring on her finger. She says that Henry gave it to her. Cole inspects the pearl ring and notices that it is probably very expensive. The Pearl Ring is added to the list of clues.
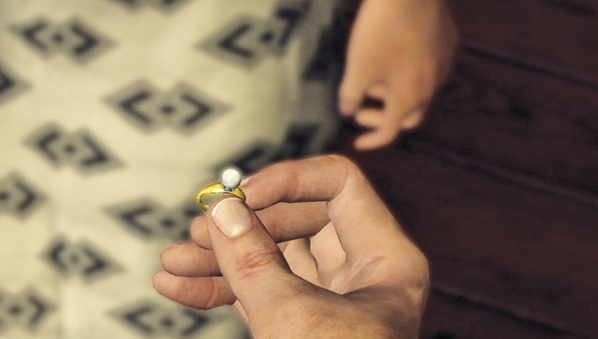
Key Clue Checklist: D’Assine Dress Shop
- Pearl ring
Interview: Heather Swanson
Topic: Relationship with victim

Cole asks Heather how she met Julia. She responds that they met through her fiancé, Henry Arnett. Henry Arnett becomes a new P.O.I.
Correct Assessment: Good Cop
Cole asks Heather for more information on Henry. She goes on to tell Cole how he has a fashion business and that he and Julia have been friends for years.
Topic: Informed of “Mr. Henderson”
Cole asks Heather if Miss Randall and Mr. Henderson are engaged. She looks puzzled and asks, “Who’s he?”
Correct Assessment: Good Cop
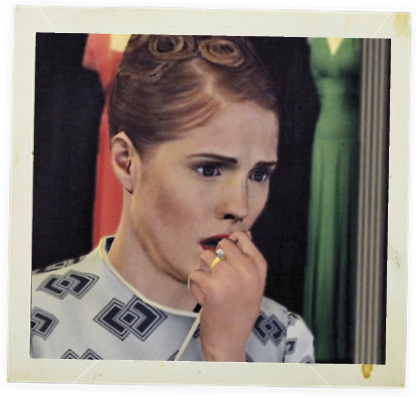
Cole mentions the sapphire engagement ring she was wearing. Someone must have given it to her. Heather says that Julia never mentioned it to her. After the interrogation, Cole asks that her fiancé come to visit the Hollywood Police Station and then tells Heather that Julia was found dead. Heather takes the news badly.
Use the Gamewell
Head outside the dress shop and use the nearby gamewell to get an update on the crime scene reports. The operator connects Cole directly with Mal, the coroner. Mal requests a meeting with you at the receiving hospital. “Hollywood Receiving Hospital” becomes a new location, and “Investigate Hollywood Morgue” becomes a new objective.
Drive to Hollywood Receiving Hospital
Set Hollywood Receiving Hospital as your location. Along the way, Roy commends you on how you approached the interrogations in the dress shop and not telling Heather that her friend was dead until you were nearly out the door.
Location: Hollywood Receiving Hospital
Enter the hospital  beside the Hollywood Police Station and speak to the receiving nurse at the main desk. She tells you that Mal is waiting for you in the examination room. Head down the hallway to the right from the administration desk. Enter the first open room on the left to find the morgue.
Talk to Mal
In the morgue, Mal tells you the bruising confirms two sets of hands. So we have two killers. Death was caused by heart failure due to an overdose of morphine. Everyone agrees that it was murder. Murder becomes your latest clue. Mal shows you to Jimmy Leblanc’s body on the second gurney. Mal says his head was smashed in with a two-by-four. “Jimmy Leblanc” becomes a new P.O.I. Mal also found two syrettes in his jacket pocket. He had no sign of morphine in his blood. He died an hour or two after Randall. Leblanc may very well be one of the killers.
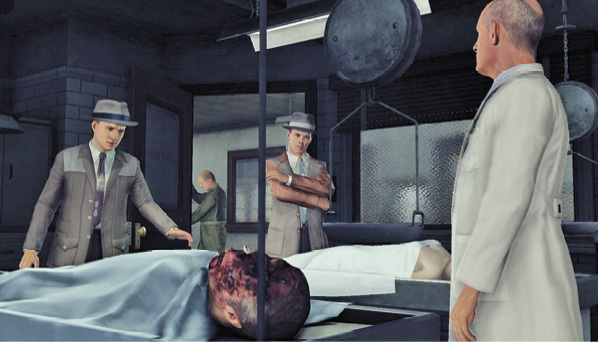
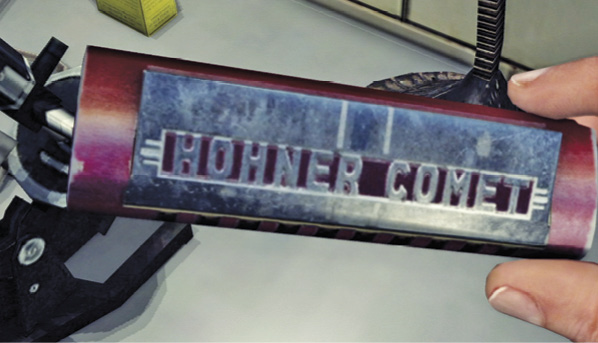
You can inspect both bodies somewhat closely, but the most important thing to do is pick up the harmonica from the right edge of the counter near the sinks. Mal said all Leblanc was carrying was the harmonica, the morphine, and an empty wallet. Picking up the harmonica triggers a cinematic where Mal takes a message for Cole over the office phone. Henry Arnett is in Interview Room 2 waiting to be interrogated. “Hollywood Police Station” is your new location, and “Interview Henry Arnett” is your new objective.
Key Clue Checklist: Hollywood Receiving Hospital
- Murder
Location: Hollywood Police Station
Exit the hospital and cross the parking lot to enter the Hollywood Police Station. Speak to the watch commander, and he lets you know Arnett is in Interview Room 2. This is the first room to the right of the reception desk.
Interview: Henry Arnett
Topic: Relationship with victim
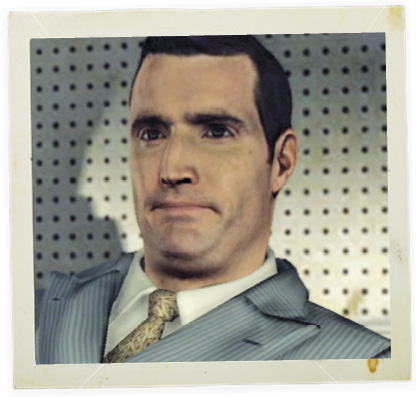
Cole asks Arnett how he knows the victim, Julia Randall. Henry says he’s in the clothing business and Julia occasionally modeled for him. Despite looking straight at Phelps, Arnett swallows and moves his jaw nervously.
Correct Assessment: Bad Cop
He denies having a relationship with her, as he is engaged to be married. But when pressed and assured that his fiancée wouldn’t hear of this, he admits that he had relations with Julia.
Topic: Informed of “Mr. Henderson”
Phelps says that Miss Randall’s maid said she was seeing an older man. Henry says he wasn’t privy to all the details of Julia’s private life. Now he looks even more nervous than the last time you doubted his statement.
Correct Assessment: Accuse
Evidence: Housekeeper’s statement
Cole expresses how he hates when people lie to him. You tell him she was seeing a man named Henderson. Henry admits knowing the last name but not the first. Select “Housekeeper’s statement” to prove he’s lying. Julia told the maid that he lived in San Francisco. Henry admits that Julia wanted money and thought she could get some from that guy. You both assume that her engagement ring was from Henderson.
Topic: Burglary Suspect Leblanc
Phelps asks Henry if he’s heard of Jimmy Leblanc. Henry plays dumb but looks like he’s lying again.
Correct Assessment: Bad Cop
Choose Bad Cop, and Cole asks Henry if he would have any reason not to believe that Leblanc was involved in Julia Randall’s murder. Henry admits that if this guy is a criminal, he might have been involved. However, Henry sticks to his guns and says that he has not heard of Leblanc.
After the interview, Cole tells Henry that he understands that his field of work is in fashion. Henry hands him a business card: Director of Arnett Clothing Emporium. Henry tells a story that begins with him in the Corps. This sparks Cole’s curiosity, as he too was in the Marines. Henry continues his story, giving details of service. Cole is doubtful about the accuracy of his military service story and ends the interview. As Henry leaves, Cole tells Roy that he let that story slide because they are about to tail Henry.
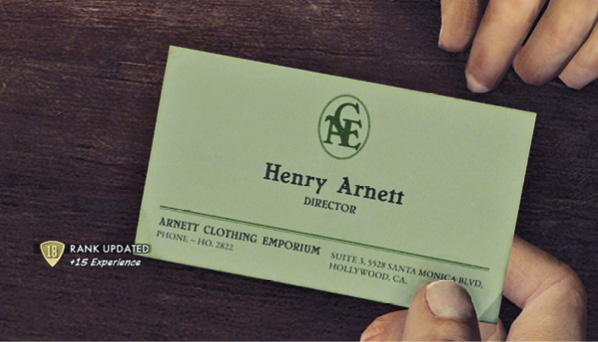
Cole hands Henry’s business card to the watch commander at the reception desk. He asks that the card be passed on to Bekowsky to check out the place and to go through Henry Arnett’s records. While there, Cole also requests R&I to run the records on Jimmy Leblanc and find out who was his last arresting officer.
Tail Henry Arnett
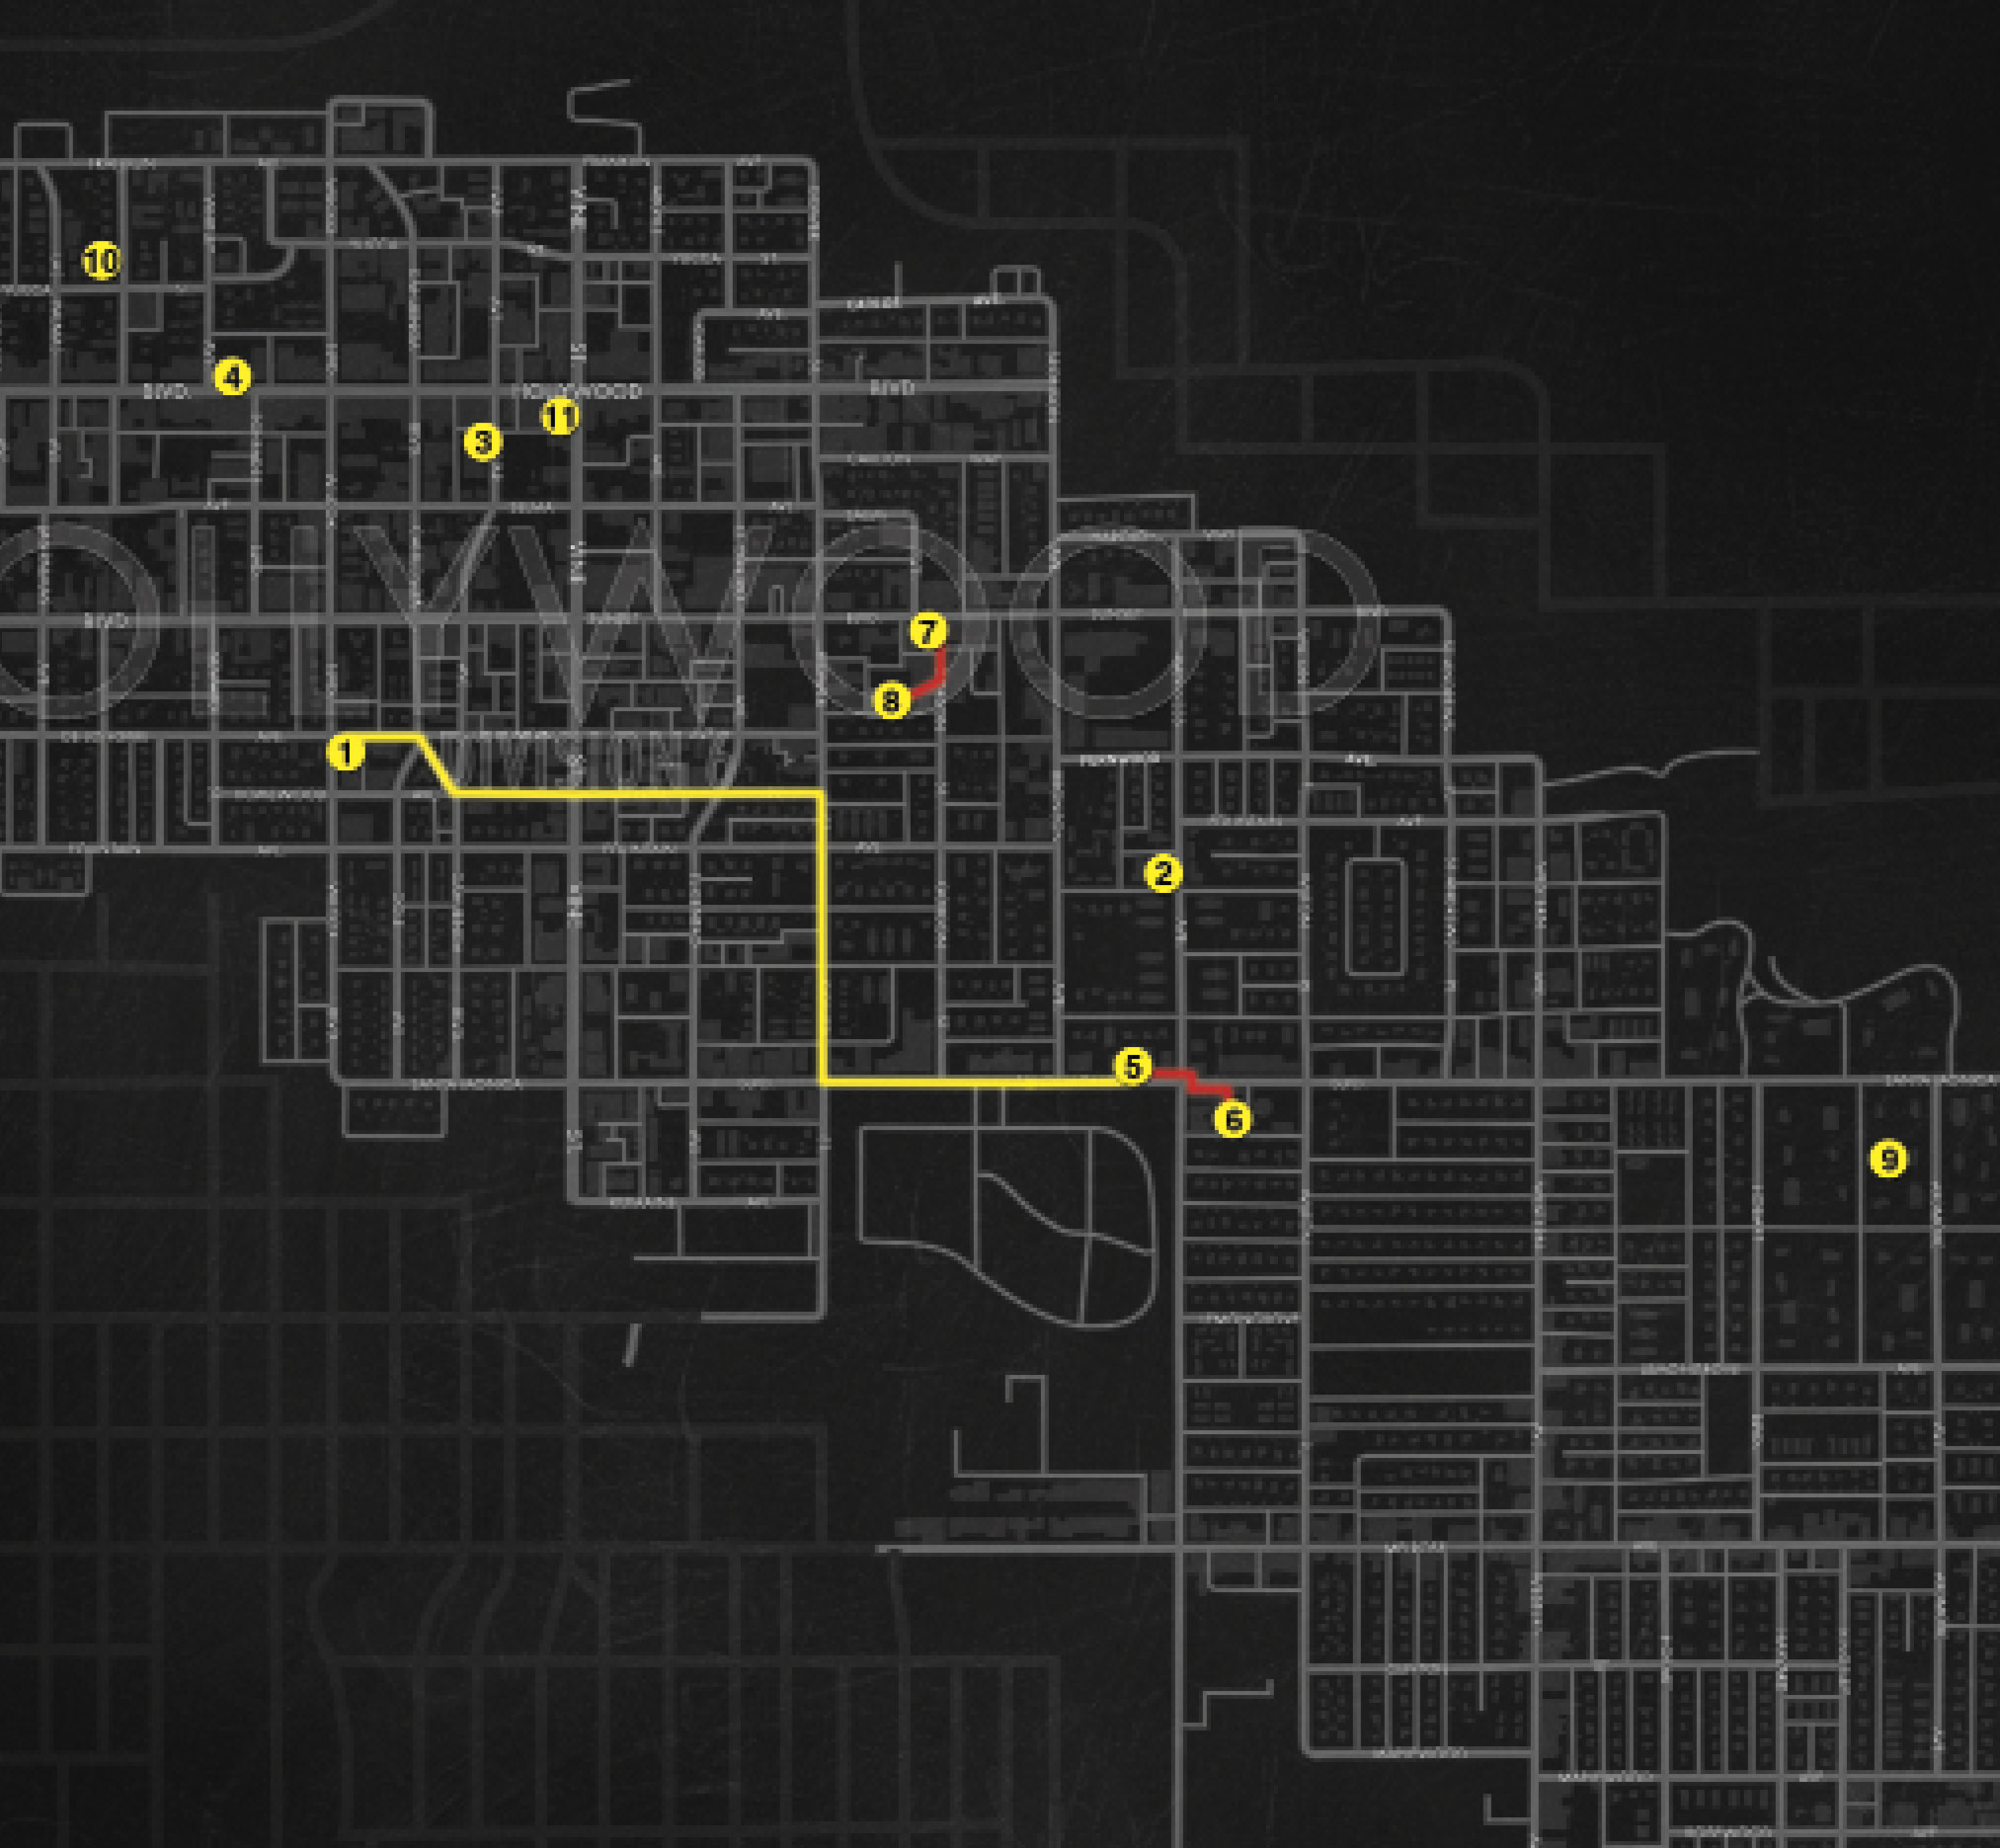
When the Police Station exit cinematic ends, you find yourself with Roy in his cruiser at the beginning of the Arnett pursuit. Tail the suspect from a safe distance. Arnett’s vehicle appears as a red car blip on the mini-map. Follow the yellow route on our map to where Henry stops on Santa Monica Blvd.  , between Bronson and Van Ness Ave. Henry darts out of his vehicle and into a nearby “Furniture and Loan” store. The guy needs money, and fast.
Location: Santa Monica Blvd. at Bronson & Van Ness
Follow Henry on foot
Exit the vehicle and begin following Henry on foot as he heads east on the Santa Monica Blvd. sidewalk. “Pawn Shop” becomes a new location, but now’s not the time to check it out. Use the corners of buildings, benches, and signs to go incognito so Henry does not see you when he looks back.
Henry crosses the street at Van Ness and enters Ao-Kuewa Travel Co  . Sneak up to the agency, covering beside the nearby metal gate. When you get close enough, a cinematic shows Henry entering and buying a one-way ticket to Mexico City. When Henry leaves, Cole enters and questions the agent who sold Henry the ticket. Cole gets the journey information and tells the man not to mention that he stopped by to ask questions.
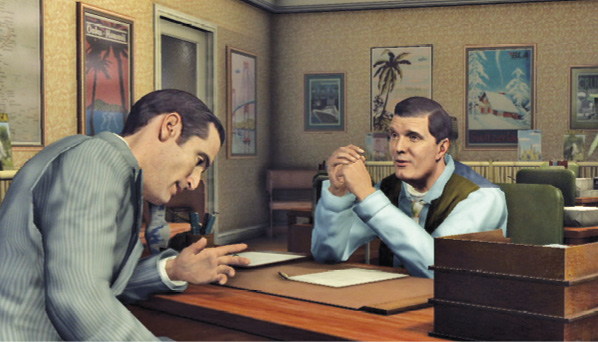
Cole meets Roy outside. Roy hands Cole a new clue: Fabergé Cigarette Case. The Train Ticket clue from the travel agency is also given at this time. “Ao-Kuewa Travel Agency” becomes a new location in your notebook.
The pawnbroker wasn’t happy that he had to turn over the Fabergé cigarette case, as he priced it at ten thousand dollars. After inspecting the cigarette case, use a gamewell, or Cole and Roy will get a call from R&I over the car radio. R&I reports the last arresting officer for DOA Jimmy Leblanc was Patrolman Fred Wallis. He’s working a shift on Hollywood ninth beat, Sunset Boulevard between Gordon and Wilcox.
Key Clue Checklist: Travel Shop and Pawnbroker
- Faberge’ cigarette case
- Train ticket
Drive to Hollywood Ninth Beat
“Hollywood Ninth Beat” becomes your new location, and “Meet with Patrolman Wallis” is your new objective. Drive to the corner of Sunset and Gordon St.  to trigger a cinematic where Patrolman Wallis is seen chasing two crooks on foot down a city sidewalk.
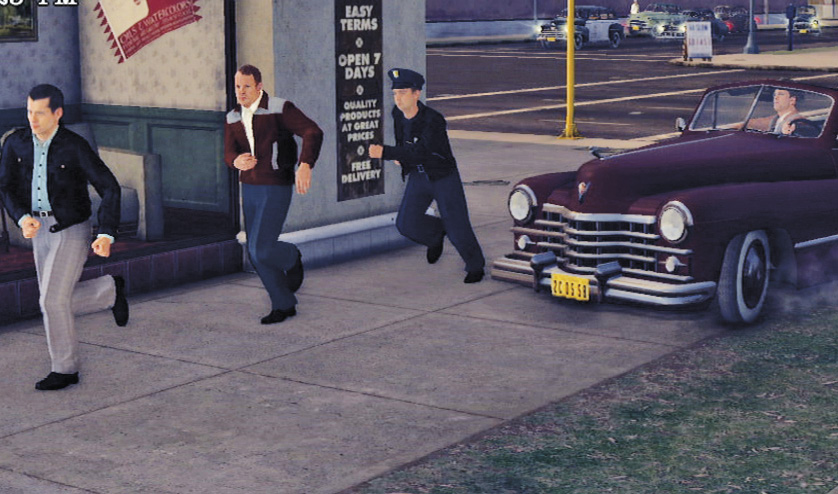
Location: Hollywood Ninth Beat
Assist Patrolman Wallis
Follow the patrolman or Roy, as they part ways at the first alley you reach, running south on Gordon St. Both lawmen are running to the same location: a construction site  behind a tall chain-link fence. Proceed though the fence opening and take cover behind the large stack of 4x4’s.
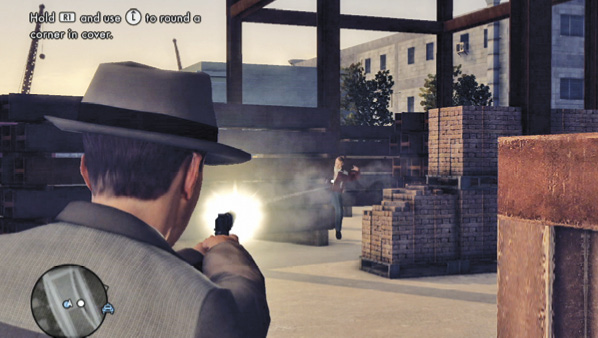
Four enemies appear in the building frame area, all taking cover behind various building supplies. Shoot the closest two enemies behind the plywood entrance to the building’s framework. Move up to this opening to hunt down the remaining targets. Using cover, work your way deeper into the battleground, taking out enemies when it’s safe to do so.
When all the enemies are dead, Patrolman Wallis tells you that these guys just knocked over a drug store. Cole takes this opportunity to question Wallis about Jimmy Leblanc. Wallis says he nabbed Jimmy on a burglary beef a couple years ago. He cut through a music shop and into a jewelry store and got four years. Wallis says he missed his partner. This piques Cole’s interest. Wallis knows that Leblanc called him “Willy” and that he has to be a strongman, wrestler, or a boxer. Willy(?) becomes a new P.O.I.
Use the Gamewell
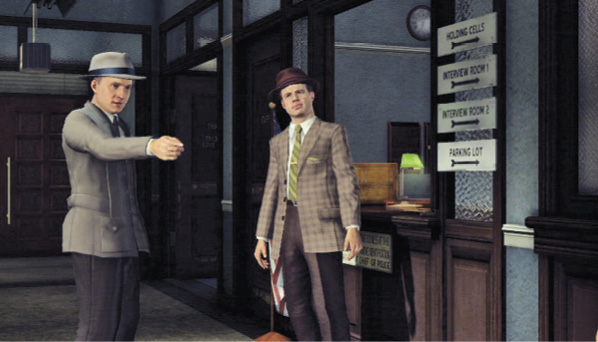
When the cinematic ends, follow up on Bekowsky’s information and return to the police station. They have information on your case. “Return to Hollywood Station” becomes a new objective.
Location: Hollywood Police Station
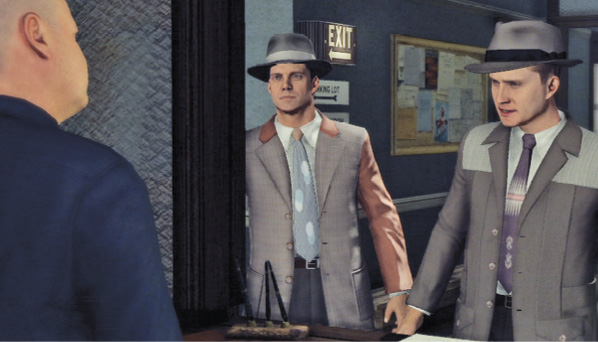
When you enter the police station, Cole and Roy discuss the case with Bekowsky and Galloway. Cole asks Bekowsky to follow up on boxing gyms, the Y, promoters, and so forth. Cole says he’ll follow up by talking to Lacey about a list of recent burglaries, which is where Arnett fits into the case. Next, Cole asks the watch commander for the contraband list.
Inspect Recent Burglary List
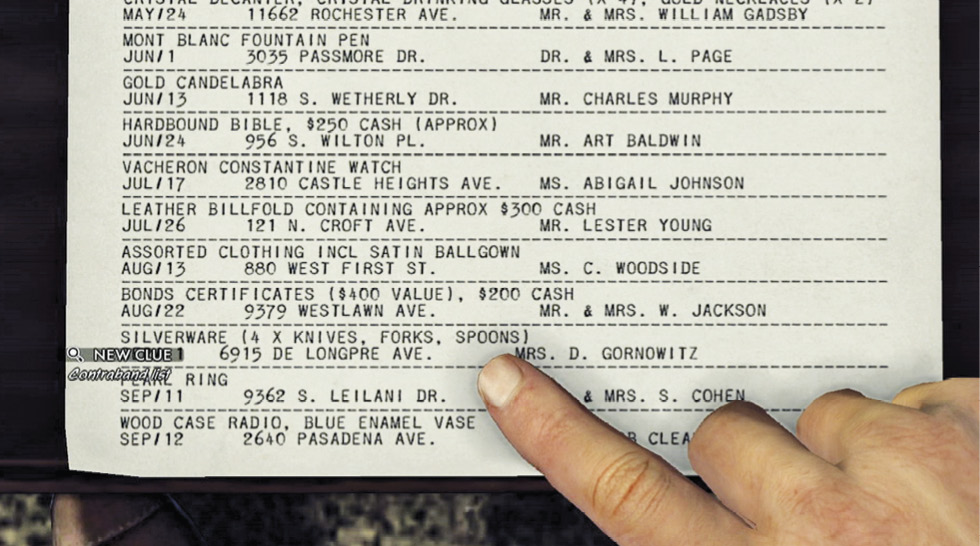
The watch commander hands you the recent burglary list. Drag your finger up the list of stolen items. Stop and tap on the following entries: “Fabergé Gold Cigarette Case”, “Black Sapphire Ring” stolen from Mrs. Beverly Evestrom, as well as the “Silver Pill Box”, and “Pearl Ring”. From this, you receive a new objective: Investigate Evestrom Residence; a new P.O.I.: Mrs. Evestrom; and a new clue: Contraband List. Cole comments on the Silver Pill Box and a Pearl Ring on the list when you tap on them.
Location: Evestrom Residence
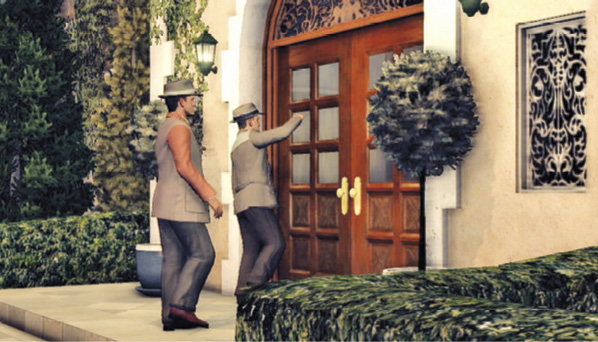
Select Evestrom Residence  as your next location, and drive or be driven there in Roy’s convertible. In the arrival cinematic, the maid invites you into the home and introduces you to the elderly Mrs. Evestrom, who is in a large room, playing the piano. Cole tells her about the recovered stolen goods that belong to her.
Key Clue Checklist: Hollywood Police Station
- Contraband list
Interview: Mrs. Evestrom
Topic: List of stolen items
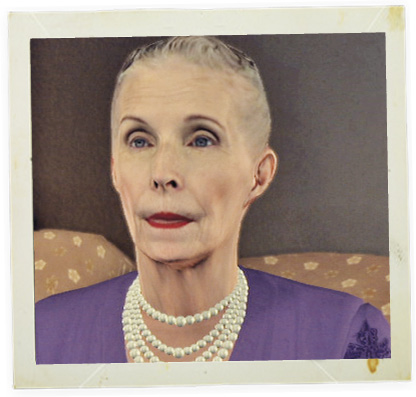
Cole asks Mrs. Evestrom to describe the items that were stolen. She responds, “A priceless tiara… a Fabergé cigarette case worth twenty-five thousand dollars”. Seems the old lady is lying. She licks her lips and fidgets while looking away from Cole.
Correct Assessment: Accuse
Evidence: Fabergé cigarette case
Cole knows the amount at which the pawnbroker valued the case, so he knows she’s lying. Select “Fabergé cigarette case” from your list of evidence to catch her in a lie. Mrs. Evestrom admits that she inflated the actual price to get more out of the insurance company. She adds that her daughter’s boyfriend was quite taken with the case.
Topic: Burglary incident report

Cole asks Mrs. Evestrom for details of the burglary. Mrs. Evestrom says it happened at night about a year
ago. She stops and does not want to discuss details any further. She changes the subject by asking what was recovered.
Correct Assessment: Good Cop
It seemed odd how she changed the subject, but lo and behold, the old lady was telling the truth. Cole asks Evestrom if she was in the house when the burglary happened. “Good heavens, no!” she responds. Evestrom says she was at a social function held by Dr. Harold Stoneman and his lovely wife.
After the interrogation, Mrs. Evestrom’s daughter enters the room. She just so happens to be Heather Swanson, the same lady you interviewed at D’Assine’s dress shop. She explains that she took her father’s name after the divorce. Cole tells Heather that the police have recovered a sapphire engagement ring on the corpse of Julia Randall. It was one of the proceeds from a burglary. Cole suggests Heather ride with them to Henry Arnett’s place to sort out this mess.
The cinematic ends with the trio (Roy, Cole, and Heather) in the convertible cruiser. You receive a new objective, “Interrogate Henry Arnett”, and a new location, Arnett’s Apartment.
Drive to Arnett’s Apartment
Follow the yellow blip on the mini-map to North Hollywood, and find Arnett’s Apartment  on Yucca St. between Las Palmas and Whitley. During the drive, Cole speculates that Arnett, Heather’s fiancé, obviously arranges the burglaries, and Randall is obviously his partner. Leblanc and Willy were more likely the ones breaking and entering apartments. Leblanc is dead, so that makes Willy the suspect.
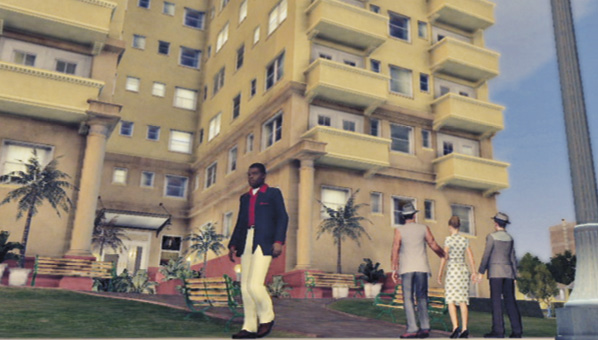
Location: Arnett’s Apartment
Enter the large apartment building with Heather and Roy. The doorman asks if you are a resident. You announce your title and that you are here to speak to Henry Arnett. The doorman tells you he is in apartment 30 and to take the lift.
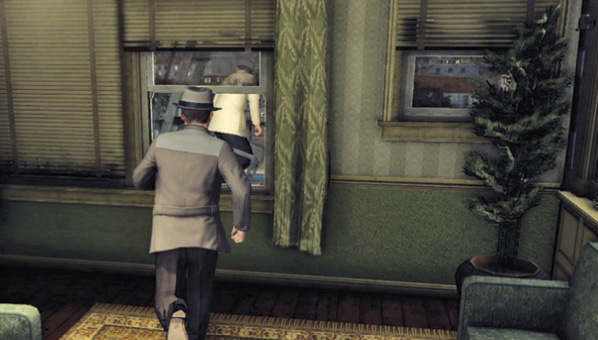
Find the lift to the left of the doorman. Press the button next to the lift to open the doors. Get on the elevator and ride to the third floor. Cole automatically kicks in Arnett’s door and moves in with gun drawn. Arnett is unconscious on the floor, and a man runs through the apartment, making his escape through an open window.
Apprehend Suspect
Crawl out the window that the suspect used as an exit. On the fire escape, move down the ladders on each level until you reach a low rooftop. Climb the pipe on the adjacent green building. At the next rooftop, you spot the suspect crossing a board laid between your building and the next.
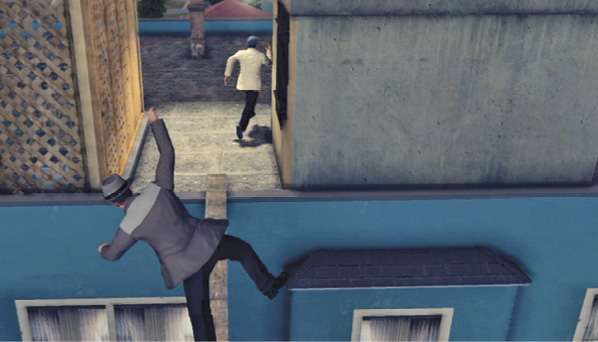
Cross the board, keeping your balance as you go. There’s no reason to go back or even to slow down as long as you counter the direction Cole begins to lean. You are allowed only two fall saves (if you fall, Cole latches onto the board at the last second to pull himself back up). On the third fall, you fail and start back in the apartment before the chase sequence.
Once you conquer the plank between buildings, run past the rooftop-access stairwell on the right. The suspect ambushes you and then takes you out with a wooden plank. You are knocked out cold, but the following cinematic takes you back to the apartment. Roy says that you miraculously brought yourself back.
Investigate Arnett’s Apartment
Open Arnett’s suitcase and pick up the rightmost object. It’s the train ticket to Mexico City. Cole asks Arnett if he has told Heather that he’s going on the honeymoon without her. Next, pick up the watch beside the ticket. Inspect it closely to discover the new clue: Vacheron Constantin Watch. Henry says the watch was a very expensive present from his parents. Cole closes the case and the interrogation begins.
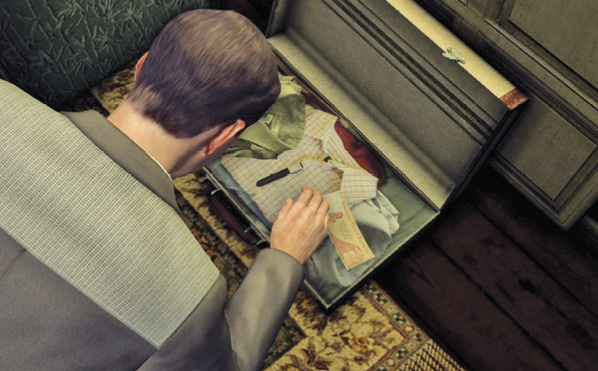
Key Clue Checklist: Arnett’s Apartment
- Vacheron Constantin watch
Interview: Henry Arnett
Topic: Professional burglary ring
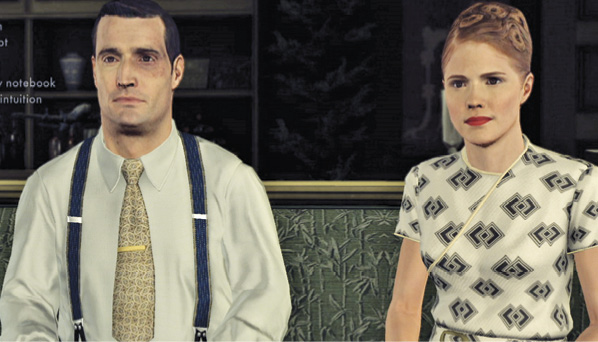
Cole tells Henry that they know about the jewelry ring, and he goes on to name the players. Henry sticks with his fashion business story. He looks down to his lap and looks away from his fiancée.
Correct Assessment: Accuse
Evidence: Fabergé cigarette case
Again, select the Fabergé cigarette case to prove that Henry is lying. You tell him that this item was on a list of stolen objects. Henry blames it on Julia. Says it was her idea. The scheme was to get a list of society parties, find out where and when, and then burgle the guests. Henry said that no matter how much money they made, Julia always wanted more.
Topic: Motive for Randall murder
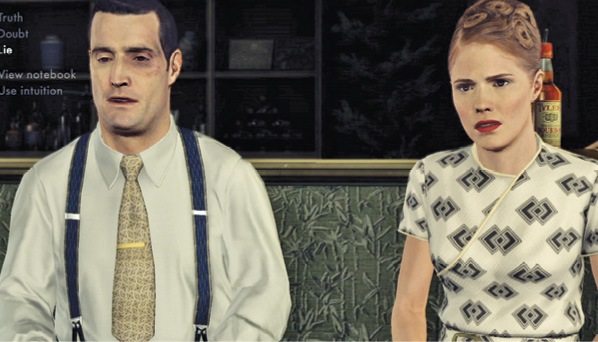
Cole asks “why did Reade and Leblanc kill Julia?” Henry says Julia told the others that they were out and she was going to create a new gang. Henry ends with the same lying expressions you’ve seen before. He sticks to his story that he was involved only in the burglaries and not her death.
Correct Assessment: Accuse
Evidence: Train ticket
Select “train ticket” from your list of clues, and Cole asks Henry if he has told Heather that he’s leaving for Mexico City tomorrow night—a one-way ticket. Heather begs Henry to tell him that this isn’t true. Henry continues, “I told Julia I wanted out and she laughed in my face”. Henry had to pay Willy and Jimmy a fortune to kill her, and now he’s completely broke.
Topic: Identity of “Mr. Henderson”
Cole asks Henry about Henderson’s role in all of this. Heather tells Henry that she’ll stand by him only if he tells the truth. Henry admits that there is no Henderson. Again, he lies. Oh well, so much for his relationship with Heather.
Correct Assessment: Accuse
Evidence: Contraband list
Select “Contraband list” from the evidence to prove that Henry is again lying. Cole points out that Henry’s first burglary was a Dr. Harold Stoneman. Cole gives Henry a chance to explain himself. Henry admits that Henderson is Stoneman and he was crazy about Julia. He threw the parties, and the gang arranged the burglaries, while Julia kept Stoneman hanging on a promise—drove the doctor to the brink of insanity.
Cole arrests Arnett on the spot, and Mr. Henderson’s P.O.I. information is updated. Your new objective is to interrogate Doctor Stoneman.
Location: Dr. Stoneman’s Practice
Manually set the location. Get into a vehicle and drive back to Dr. Stoneman’s office  . Enter the doctor’s building, ride the elevator back up to his floor, and enter the doctor’s office. The receptionist begins to announce your arrival via intercom, but Roy tells her to instead announce “Henry Arnett”.
When you enter the doctor’s room, he begins to tell you to never come back, thinking you are Arnett… He is actually relieved to see you, as the grief was beginning to drive him insane. He admits that he loved Julia. You ask the doctor if he’ll testify in court that Arnett and Randall did the robberies. Stoneman admits that Julia would get the names of the guests attending his wife’s parties. After telling the doc that he’s under arrest, the guilt becomes too much for him and he leaps out the window to his death.
While calling in the suicide on the doctor’s desk phone, Cole receives a message from Bekowsky about Wilson “Willy the Wolf” Reade. The former wrestler is the suspect you are looking for. Bekowsky wants you to meet him at the suspect’s last known address, at the corner of Hollywood and Vine.
You receive a new objective: Locate “Willy”. Wilson Reade becomes a new P.O.I., and “Willy’s Apartment” is added to your locations.
Location: Willy’s Apartment
Drive a block east, following the yellow blip on the mini-map, to Willy’s apartment  at The Broadway Hollywood on the corner of Hollywood and Vine. When you arrive at the location, Bekowsky meets you outside the apartment in a cinematic. He tells you that Willy is around here somewhere. Neighbors say he always wears basketball shoes and a cream jacket.
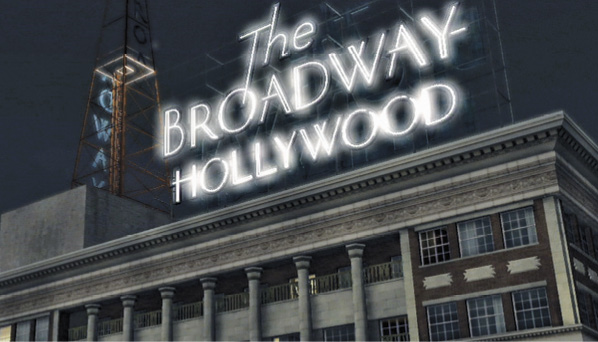
Locate Willy
After the cinematic, walk north on Vine Street and turn left around the building at the corner of Hollywood Blvd. Walk halfway down the street to an alleyway, and a cinematic shows people congregated around a harmonica-playing street musician. That’s your target. Roy and Cole pull guns and yell at Wilson Reade to give himself up.
Apprehend Wilson Reade
As soon as control returns to you, aim your drawn gun on Wilson Reade as he climbs a pipe, scaling the wall to your left. Follow him up the pipe that runs up the alley’s left wall.
When you get to the roof, you can see the suspect climbing a ladder on the next rooftop. This ladder leads to a catwalk across a billboard. Follow his route.
At the end of the billboard catwalk, enter the window to gain access to a stairwell. Run up the stairs quickly.
Run to the top floor in the stairwell, exit through the open doorway, and veer right, out onto the rooftop. Find another pipe to climb on the wall to your right.
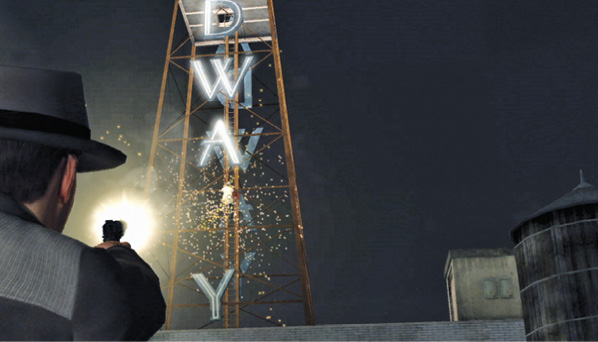
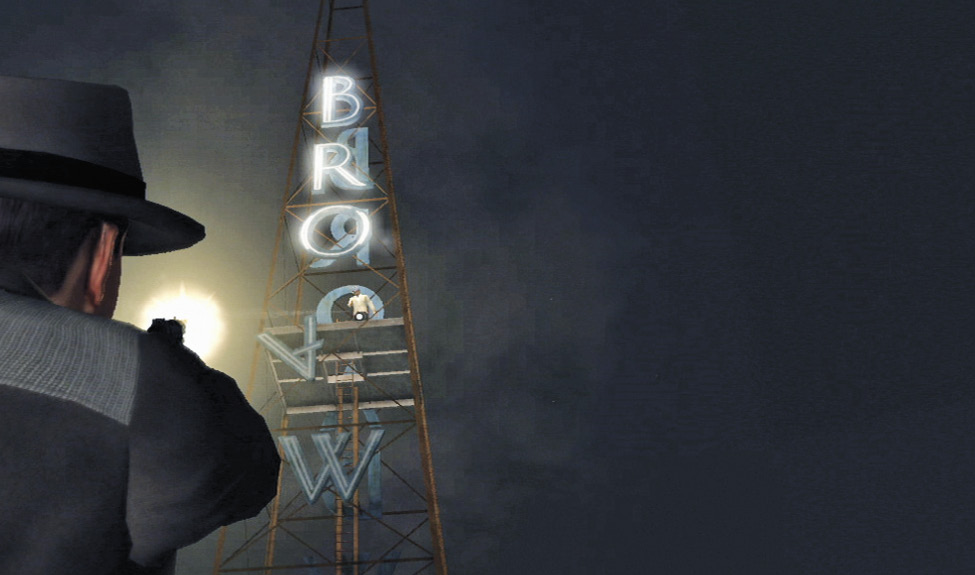
Once you reach the final rooftop with the illuminated neon sign, you enter a quick cinematic. You see the suspect climb up a tower behind more “Broadway” neon letters. When control returns, begin targeting and shooting the suspect. After you shoot out a few neon lights, the suspect reaches a platform near the “A” in Broadway. Here, you can get a clear shot. Take him out and end the case. If you shoot out all of the neon letters, you unlock the “Give My Regards” achievement/trophy/accomplishment.