L.A. Noire Guide Walkthrough The Arson Cases
CASE# AA006: A Different Kind of War (VR)
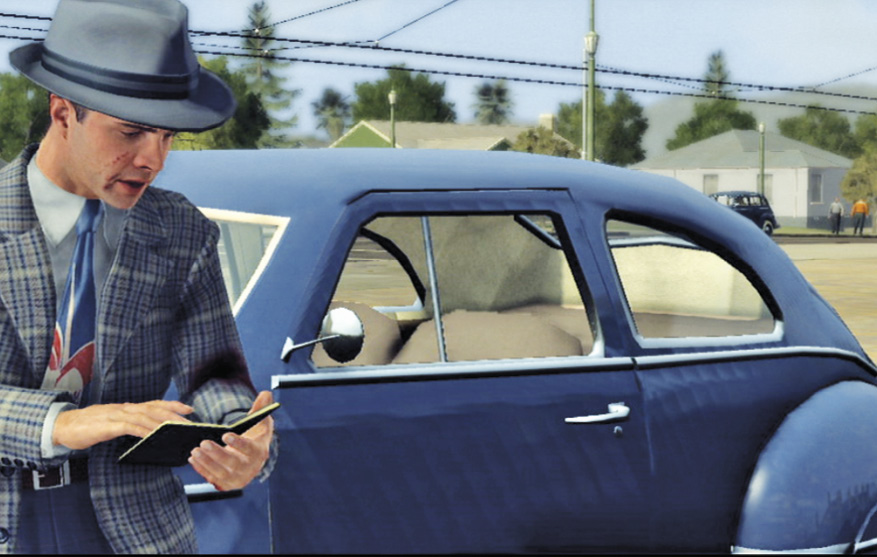
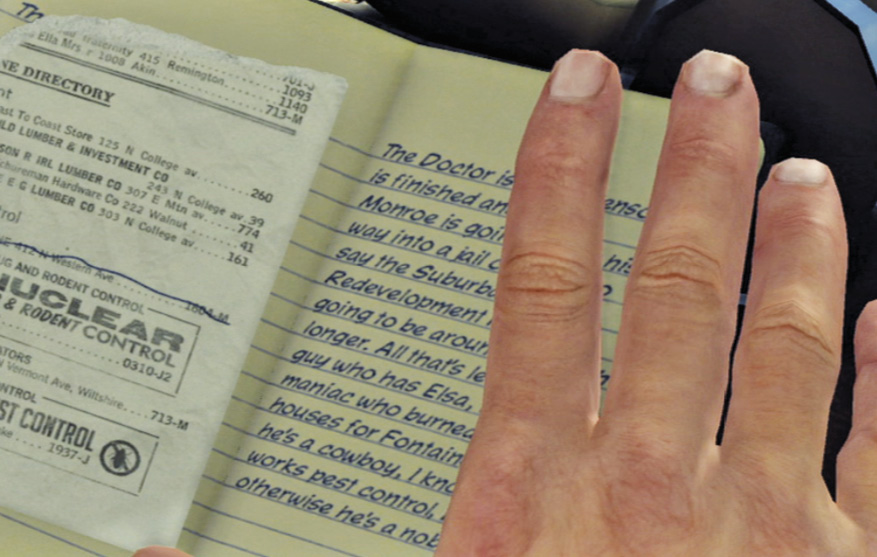
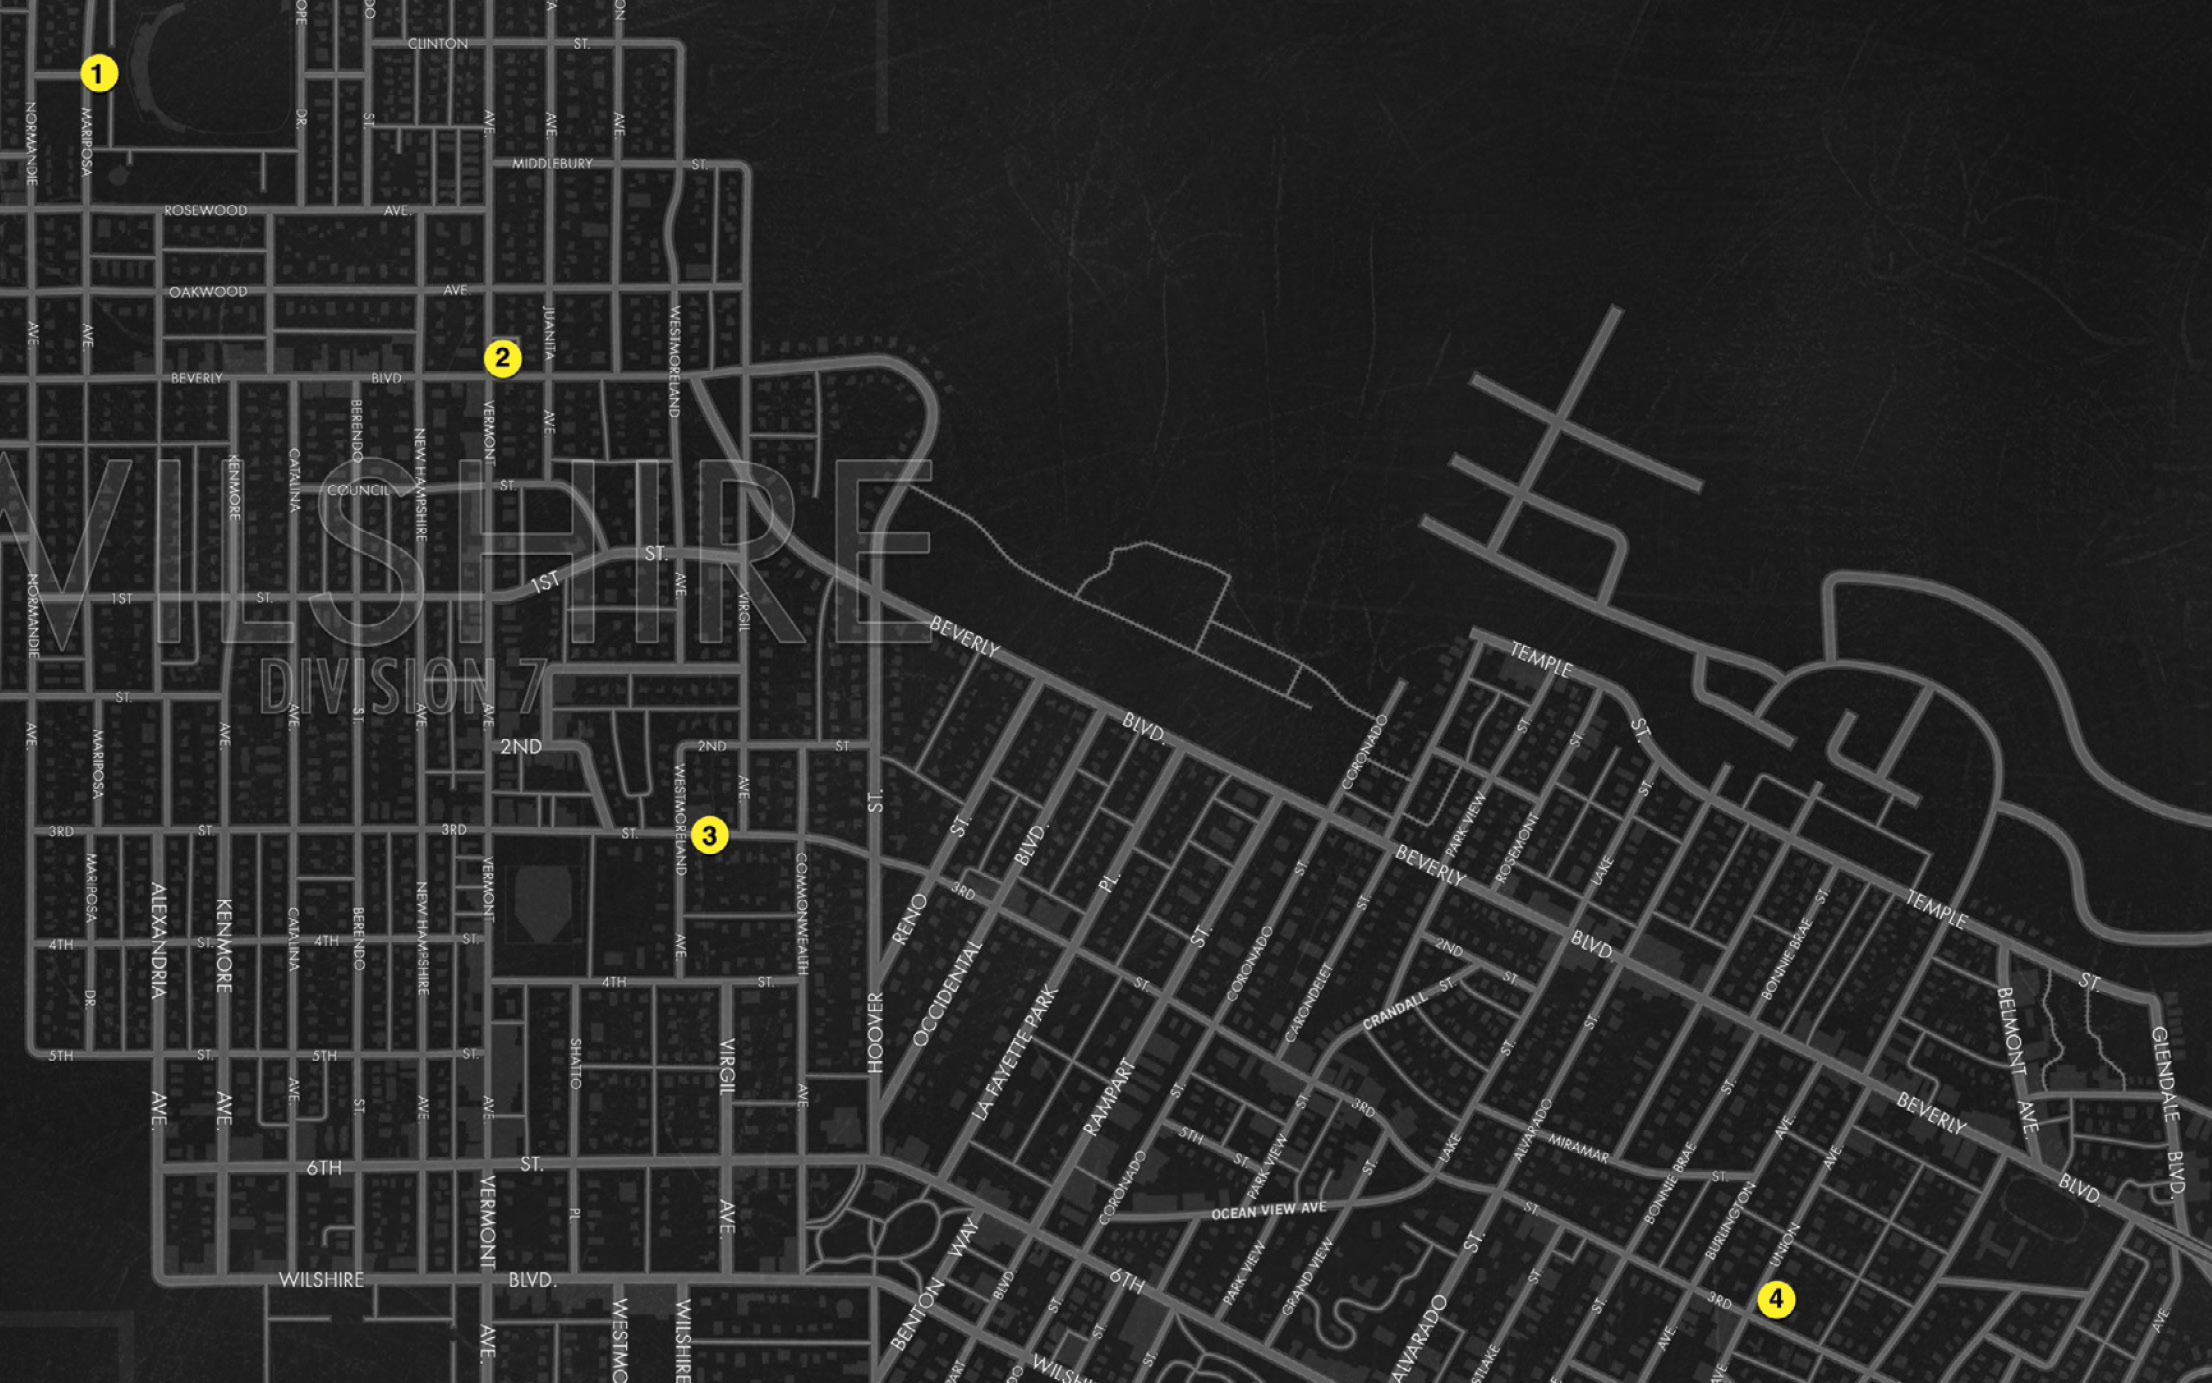
Kelso knows that the arsonist who killed Dr. Fontaine and then kidnapped Elsa is a bug sprayer and a big “cowboy” type. As your notebook explains, this suspect is the missing link between Elysian Fields, California Fire & Life, and the Suburban Redevelopment Fund. To identify and track down the “bug sprayer arsonist”, Kelso has torn the listings for L.A. area pest exterminators from a phonebook. This gives you three new locations to visit: Westlake Pest Control, Nuclear Bug & Rodent Control, and Rapid Exterminators.
Objectives
- Investigate Rapid Exterminators.
- Investigate Nuclear Bug & Rodent Control.
- Investigate Westlake Pest Control.
- Search Dr. Fontaine’s Offices.
- Search Rancho Rincon Bunkhouse.
- Escort Kelso to L.A. River Tunnels Entrance.
- Fight Through Tunnels to Pump House.
- Watch L.A. Noire Finale.
Case Report
Total Number of Key Clues 7
Total Number of Interview Questions None
Fail Conditions
- Phelps dies.
- Kelso dies.
Location: Rapid Exterminators
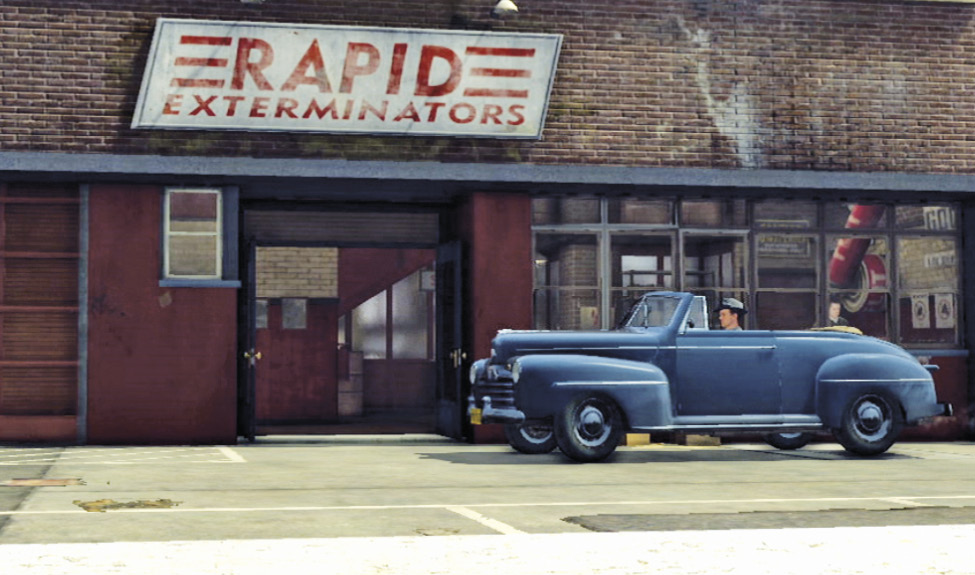
Check in at the service desk.
Travel from your starting point in the parking lot of the Los Angeles Speedway  to Rapid Exterminators
  . Enter the building and approach the man at the desk, then press Talk to trigger a cut-scene: Kelso asks the deskman if he’s got a big cowboy working as a bug sprayer, and the answer is no. Be sure to check out the newspaper on the counter.
Location: Nuclear Bug & Rodent Control
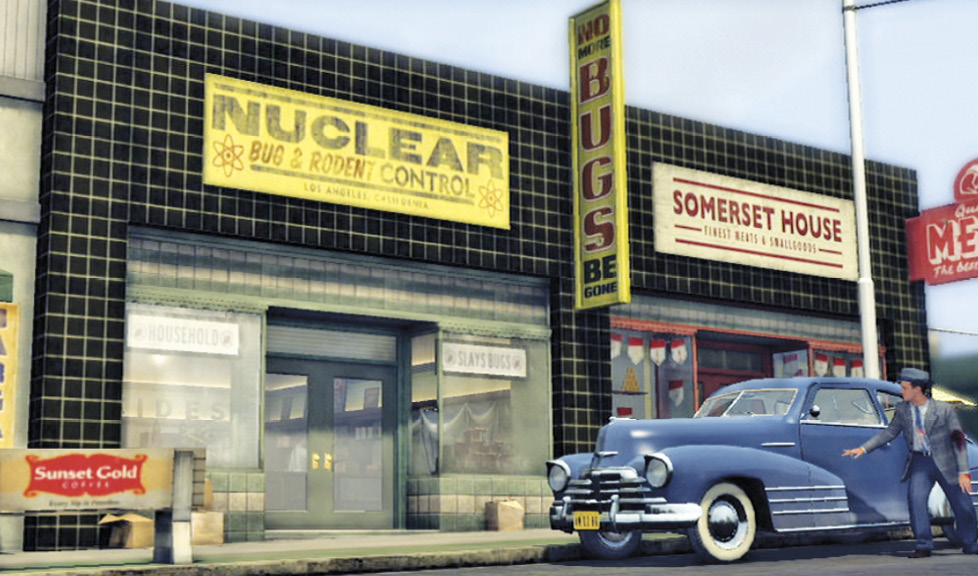
Check in at the service desk.
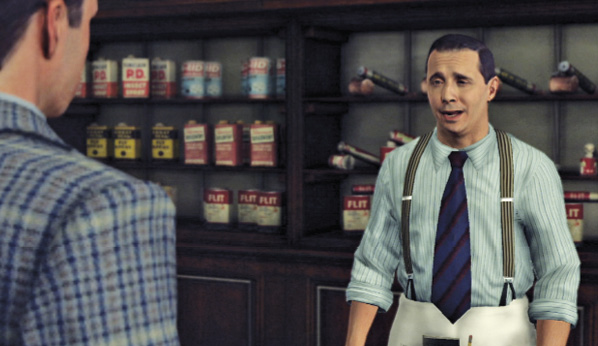
Travel to Nuclear Bug & Rodent Control  . Approach the service counter to trigger a cut-scene: Kelso asks about a bug sprayer with a cowboy accent, but nobody matching that description works there either.
Location: Westlake Pest Control
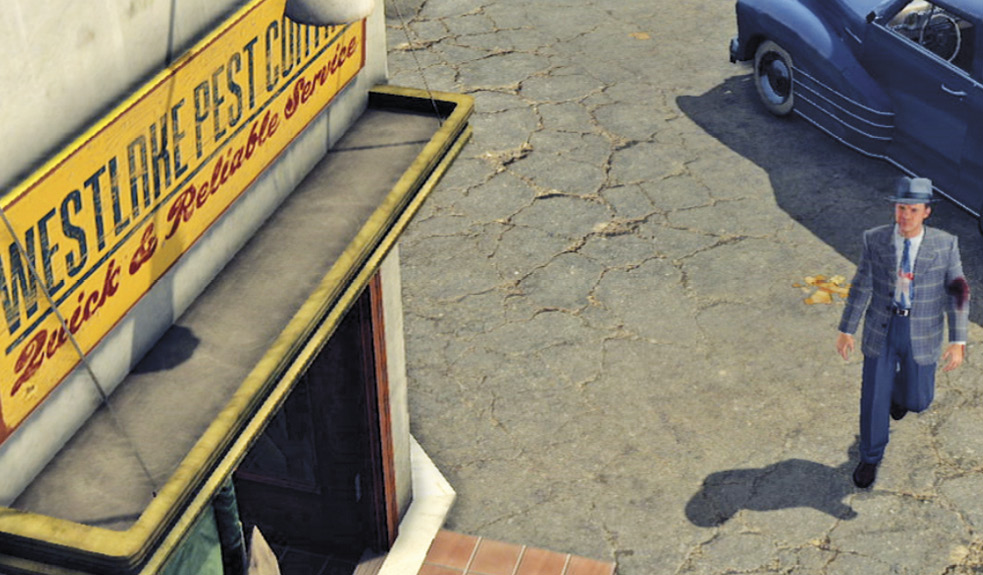
Check in at the service desk.
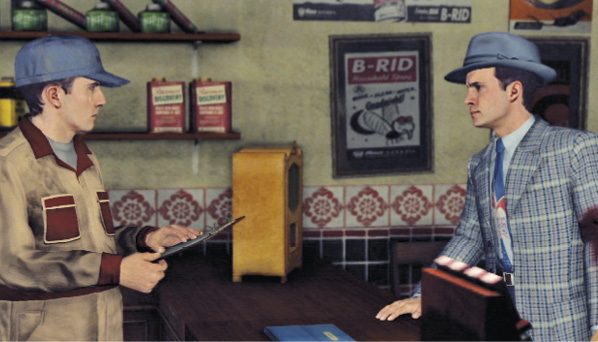
Travel to Westlake Pest Control  . Once again, approach the service desk to trigger a cut-scene: Kelso finally gets information on the cowboy bug sprayer. The deskman says the fellow lives in a bunkhouse at the remains of the old Rancho Rincon. Then the scene automatically flashes back to Dr. Fontaine’s surgery the previous day.
Location: Dr. Fontaine’s Surgery
(The Day Before)
Search Fontaine’s office.
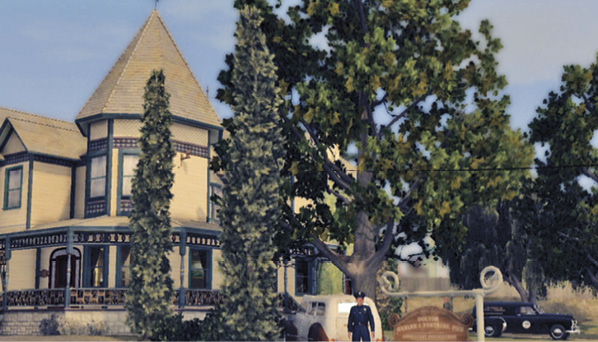
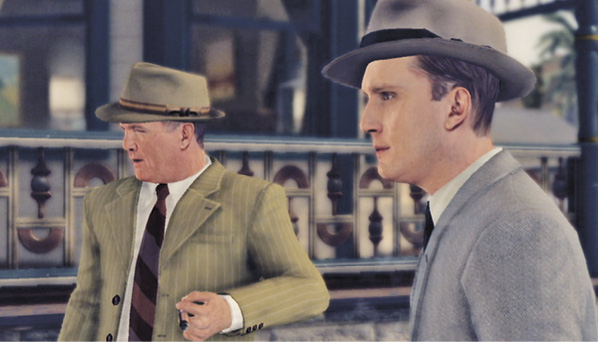
Watch the introductory cut-scene: Phelps and Biggs arrive at the scene, where Cole’s ex-partner Rusty Galloway briefs them. Dr. Fontaine is dead, and a nurse saw one of his patients—“some big Boris Karloff type”—carry out Elsa Lichtmann.
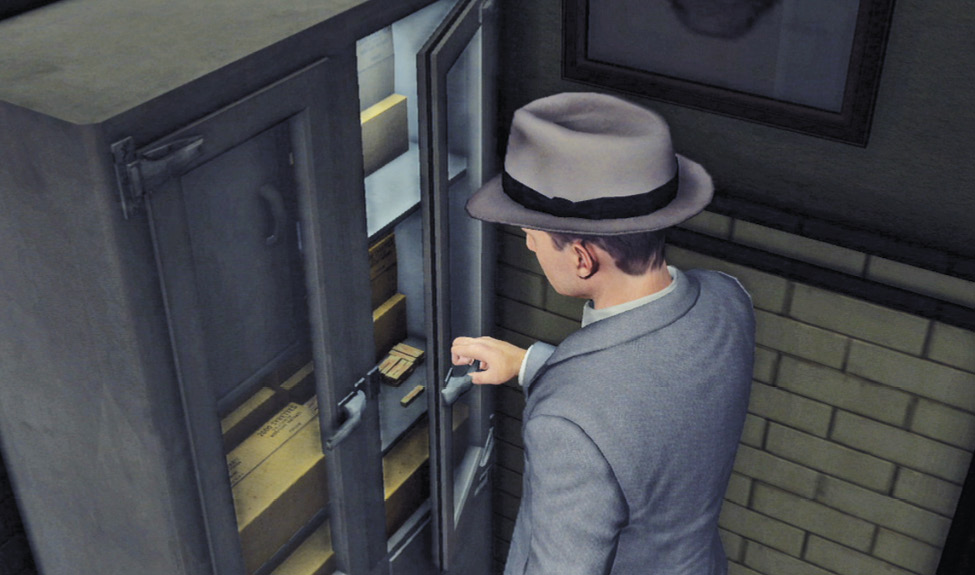
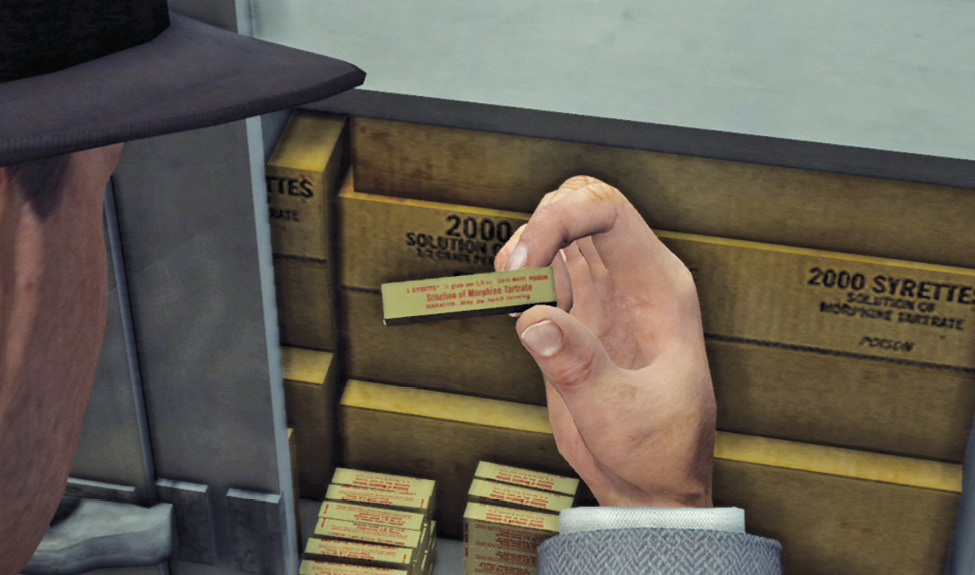
Follow Galloway through the secretary’s office into a small anteroom outside Fontaine’s office. Open the cabinet and examine a morphine syrette box to see that this is Fontaine’s Morphine Cabinet.
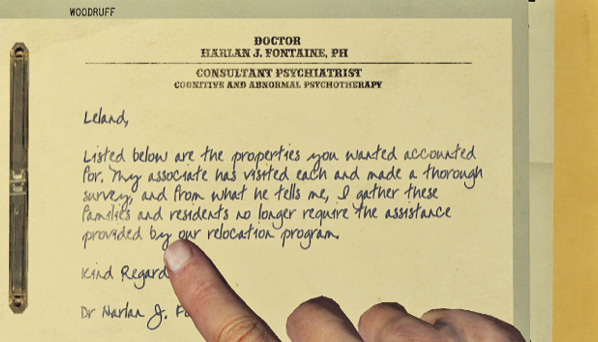
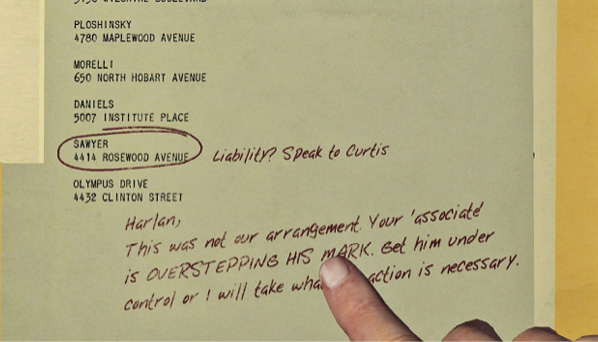
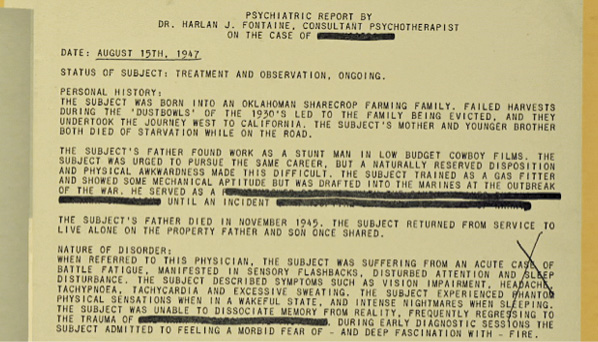
Continue into Fontaine’s office. First, find the folder on the small table beside the entry door. Examine it to find Fontaine’s Blackmail Papers that tie Leland Monroe to the arsons. Read Fontaine’s note, but be sure to turn pages to see both the arson list (select the circled Sawyer name to get the key clue) and the psychiatric report on the cowboy arsonist; his name and other specifics are redacted. Doesn’t look good….
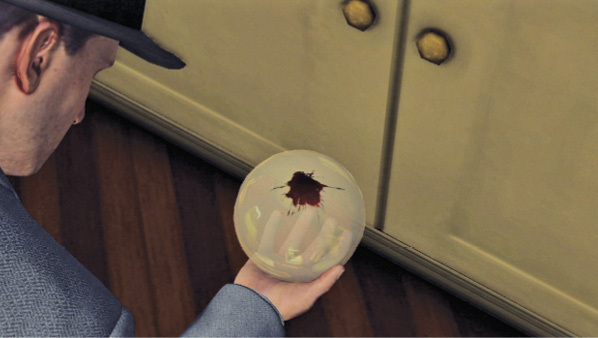
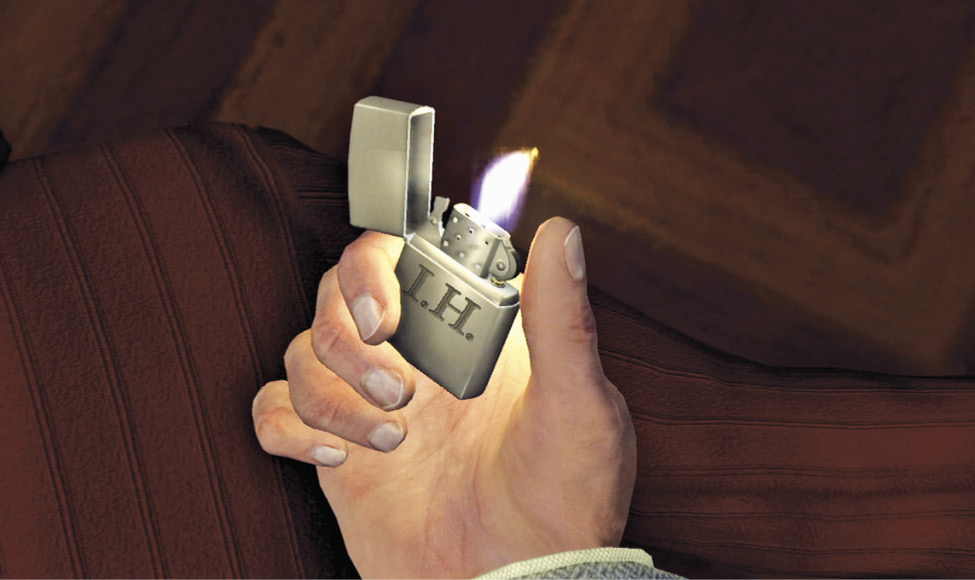
Now turn and pick up the bloodstained Crystal Ball lying on the floor. You can also examine the shattered glass of the break-in. Finally, examine the body of Harlan Fontaine. The only item of interest is the lighter engraved with the initials “I.H”. clutched in his left hand. Who is I.H.?
Finally, inspect Fontaine’s desk. Examine the map on the left; Phelps notes that Fontaine has been marking the map, and moves it to reveal a blank pad of paper underneath. Use the charcoal marker to shade the blank paper and reveal the doctor’s markings: he’s placed Xs on a number of places along a curving line. The marked locations—Edgewood Grove, McCarthy Vista, Rancho Escondido, and Crescent Heights—are all new Elysian Fields housing developments. But what does it mean?
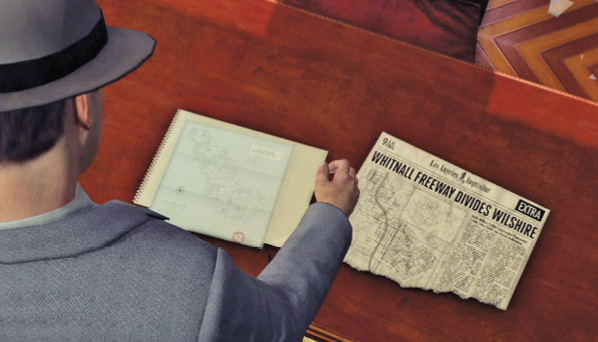
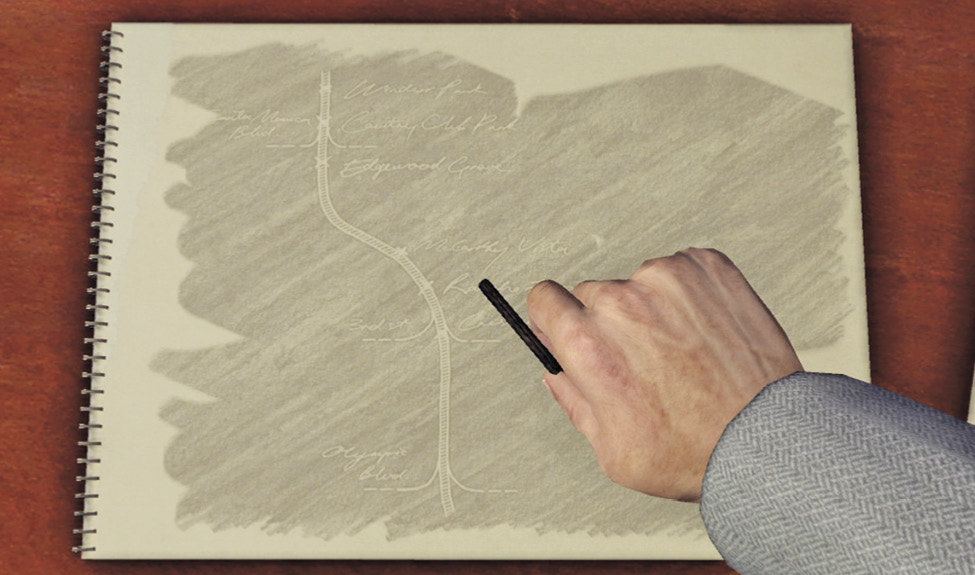
When you select the front page torn from the newspaper on the right, Phelps slides it underneath the shaded tracing you just made. It reveals that all of the new houses are being built directly in the path of the proposed new Whitnall Freeway! Now Phelps realizes the true nature of the Suburban Redevelopment scam.
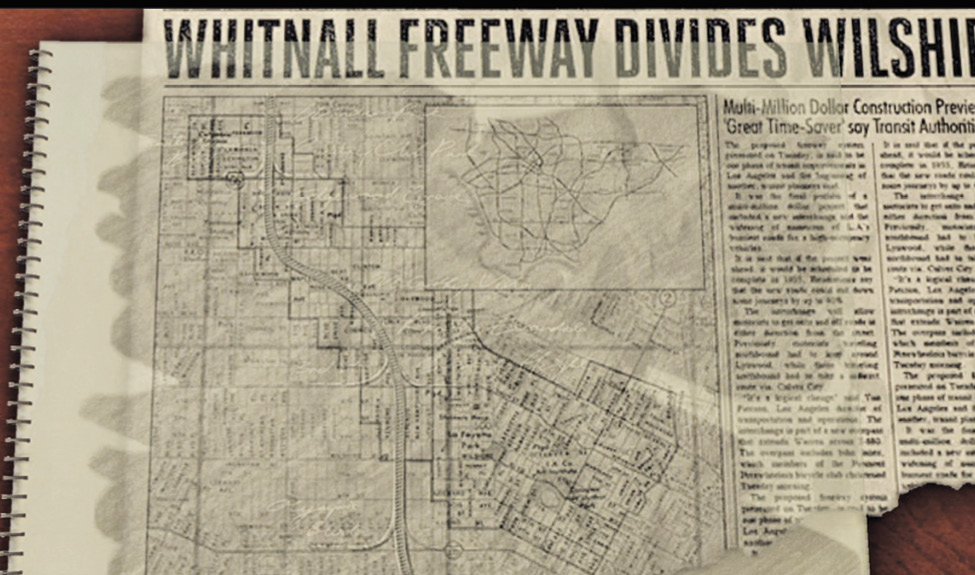
Be sure to view the “story behind the headlines” via the newspaper on the desk, as well.
Key Clue Checklist: Dr. Fontaine’s Office
- Morphine cabinet
- Fontaine’s blackmail papers
- Crystal ball
- Freeway route
Location: Rancho Rincon Bunkhouse (Today)
Search the bunkhouse.
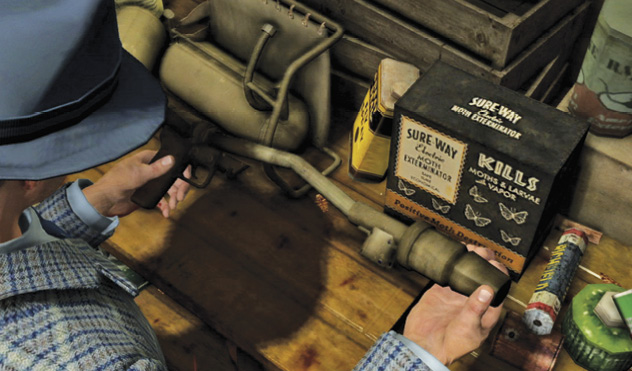
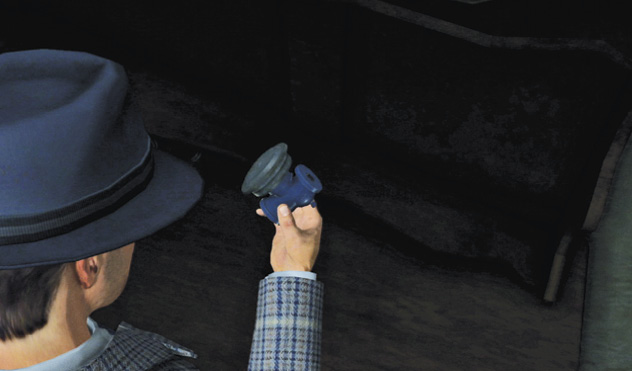
Now you return to the game-time present as Kelso automatically arrives at the Rancho Rincon address  . Approach the bunkhouse door to knock. Nobody answers, so kick in the door and enter. Just inside, search the worktable on the right to find a Flamethrower. In the kitchen through the first passage on the right you find a familiar item: a pressure valve for an InstaHeat 70 water heater.
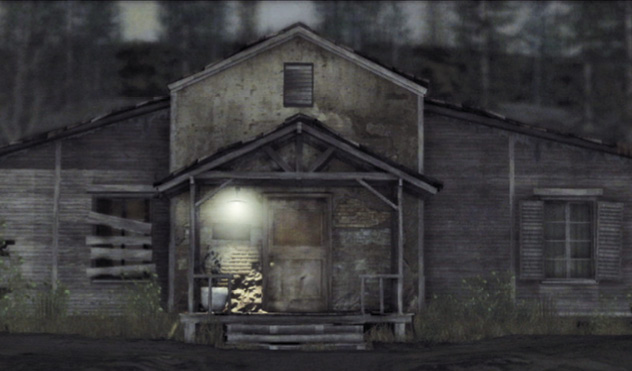
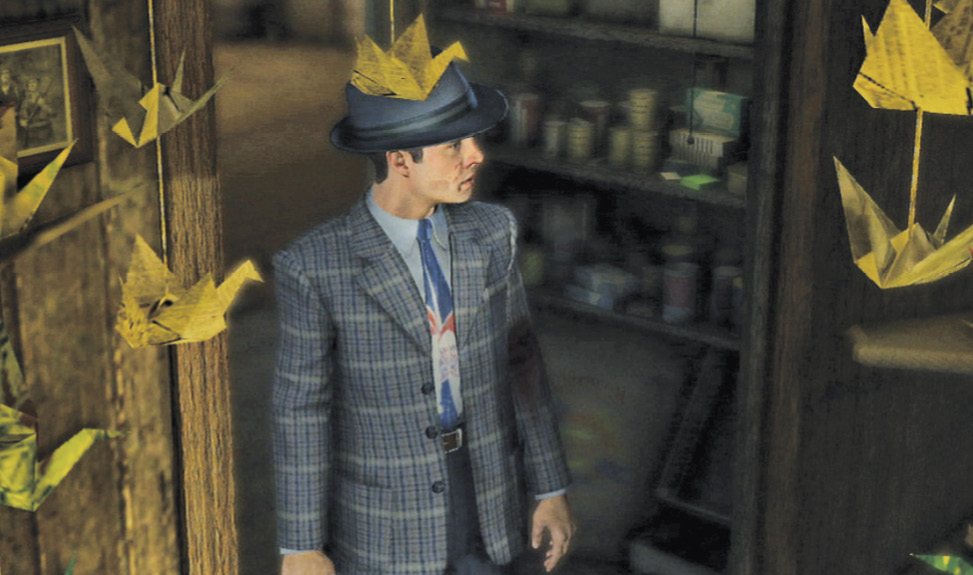
Enter the doorway on the right, just off the living room, to trigger a cut-scene: Kelso enters to find a candlelit room hung with hundreds of folded paper birds. Pick up and examine an Origami Crane amidst the candles.
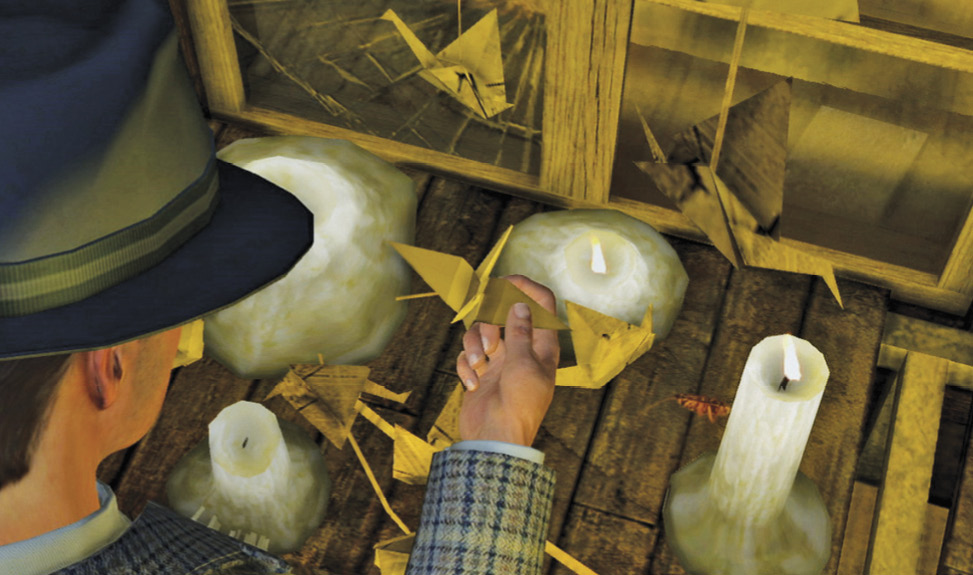
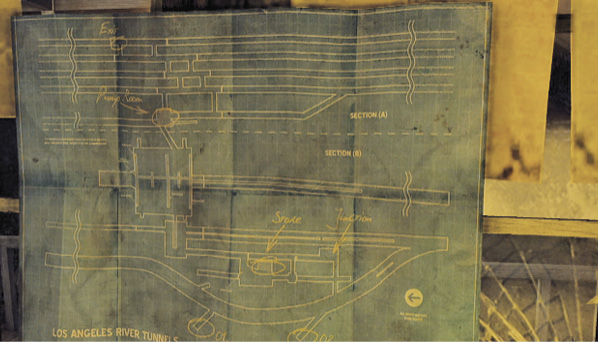
Examine the map of the Los Angeles River tunnels, hanging on the wall behind the candles, to add those to your New Locations page. As Kelso says, “This guy’s a tunnel rat”. Then examine the wall to the right to find some photographs of Okinawa; Kelso recognizes the soldiers’ faces. Then it hits him: he knows the identity of the Okie cowboy with the flamethrower.
This realization triggers a cut-scene: Kelso uses the bunkhouse phone to call his new boss, the Assistant DA, and reports his findings. He tells Peterson to meet him at the L.A. tunnel entrance , north of the 1st Street bridge. Then Kelso calls in an urgent radio message for Detective Cole Phelps.
Key Clue Checklist: Rancho Rincon Bunkhouse
- Flamethrower
- Origami crane
- Photographs of Okinawa
Location: Wilshire Police Station
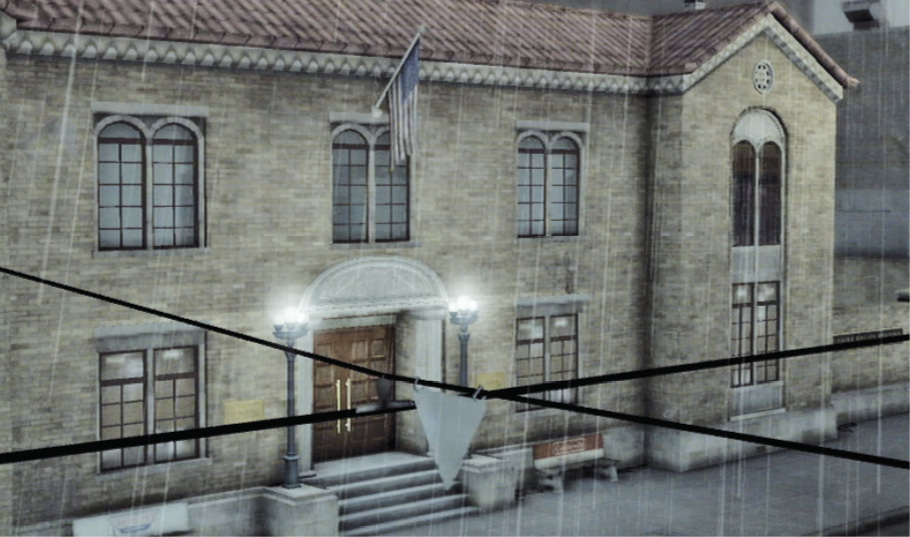
The scene automatically shifts to the Wilshire Police Station as Phelps and Biggs get Kelso’s message, which directs them to the same tunnel entrance. An L.A.P.D. unit soon spots Kelso’s vehicle on Sunset Boulevard, and Phelps decides Jack will need help to make it to the river—because plenty of crooked cops now want Kelso dead.
Location: Streets of L.A.
Escort Kelso to the L.A. River tunnels.
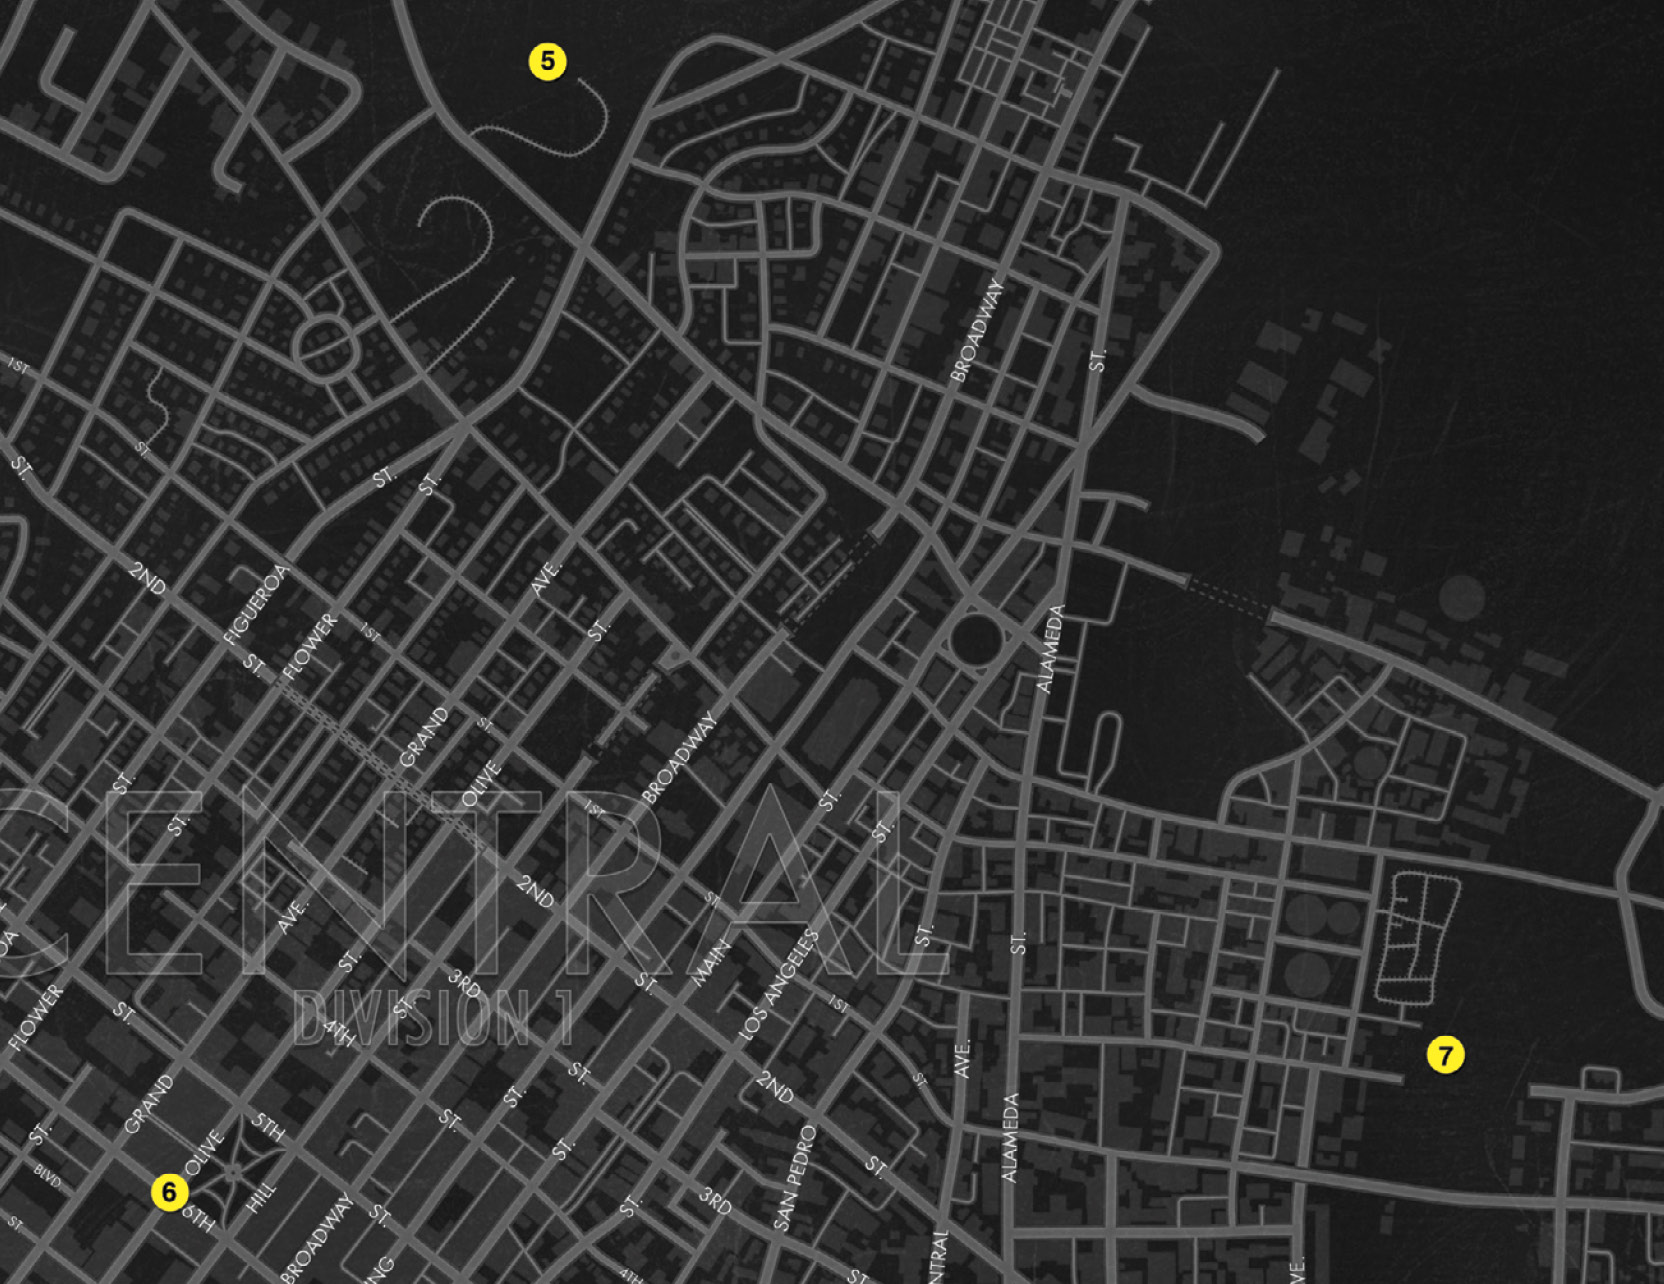
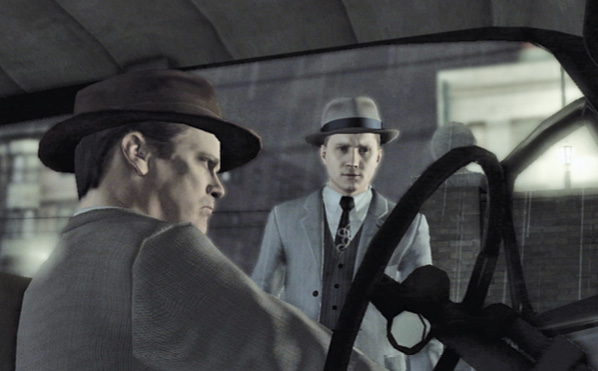
At the corner of 6th and Olive  , Phelps and Biggs spot Kelso’s car being hotly pursued by L.A.P.D. patrol units. Your new objective is to help Kelso reach the tunnel entrance in one piece. Catch up to the chase and start nudging police vehicles (marked as red car icons on your map) off the road.
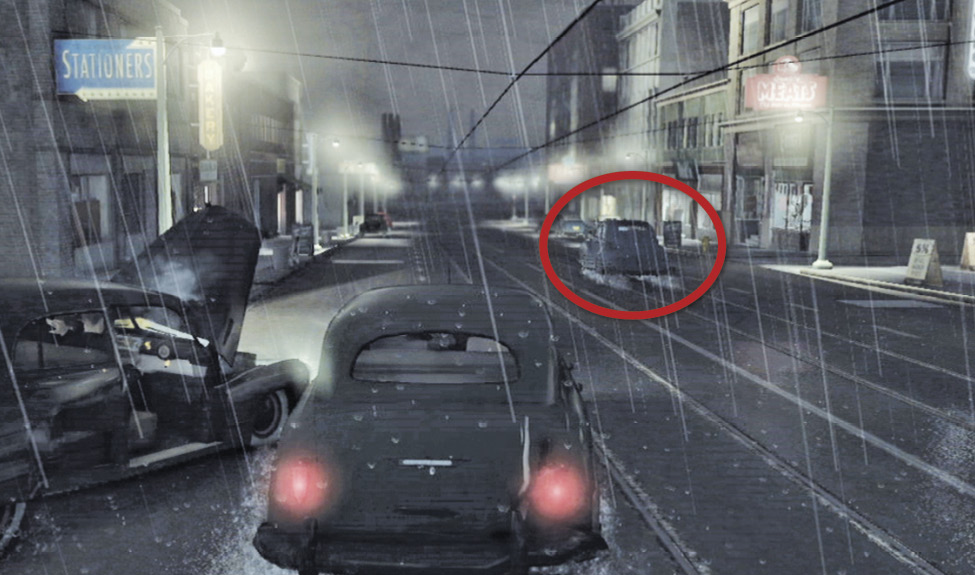
Try to stay close to Kelso’s tail and screen off attackers trying to pull up behind him. Soon police units target your car, too. Kelso eventually works his way to the tunnel entrance  where Phelps and Biggs join him along with Assistant DA Peterson. Kelso shows Phelps the map he found at the ranch house that marks Ira’s tunnel routes.
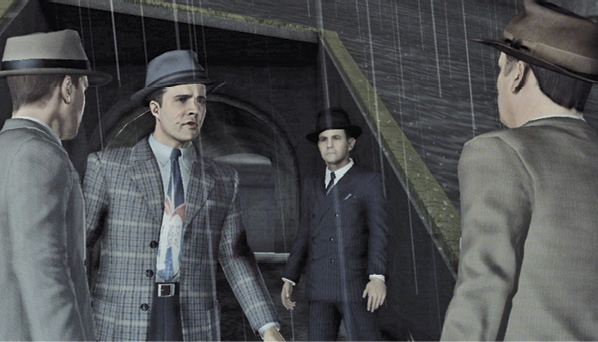
Location: L.A. River Tunnels
Watch the intro cut-scene.
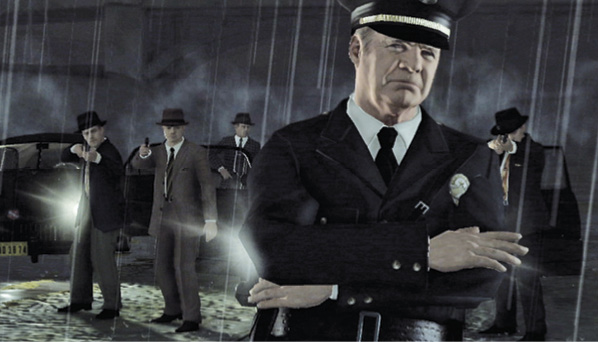
Kelso and Phelps split up and start searching. Chief Worrell arrives to lead the police team, and Asst. DA Peterson goes forward to meet them.
Fight your way through the tunnels.
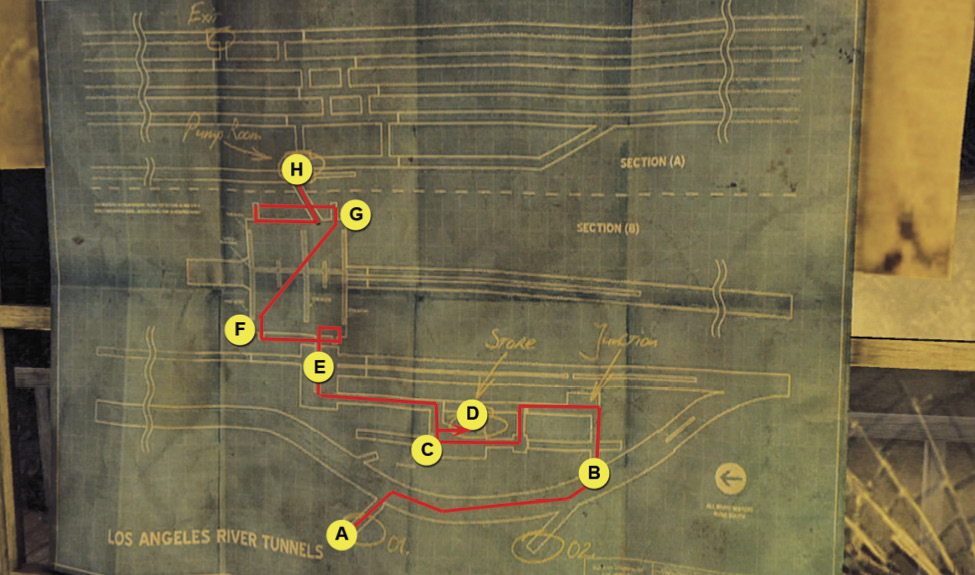
Refer to our maze map made from the L.A. River tunnel blueprint you found in the Rancho Rincon bunkhouse. Kelso enters at the location  marked on our map. Your goal is to work through the tunnels to the Jackson Street Pump Room
  , fighting past crooked cops trying to take you out. Note that you can find two caches of heavier weapons en route.
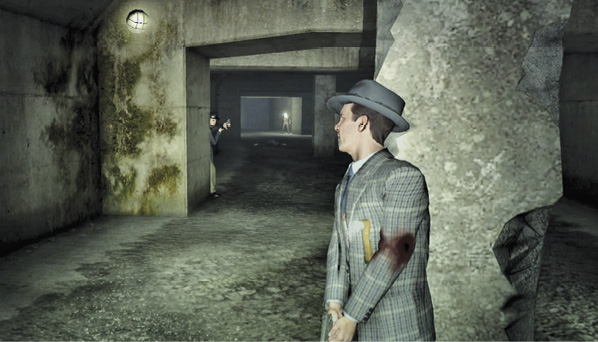
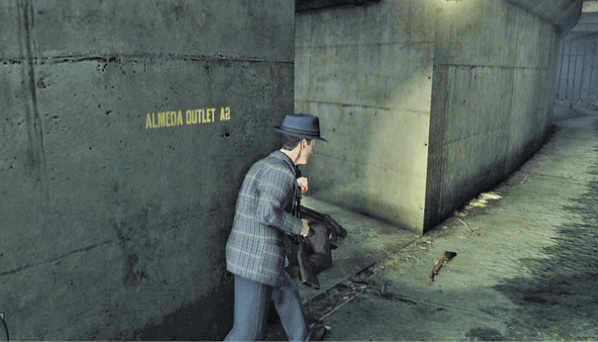
Check your mini-map for the red blips. Spot and take out the initial squad of enemy gunmen in the first tunnel. As you move past fallen foes, be sure to pick up dropped weapons for better firepower.
Enter the side tunnel on the left wall  —it’s marked as Almeda Outlet A2. Follow that passage to its end.
Around the next corner, there’s a Caution sign at the head of a low, narrow tunnel with a closed gate at the end. Proceed to the spillway about halfway down the tunnel—the water runs from right to left—and hop in.
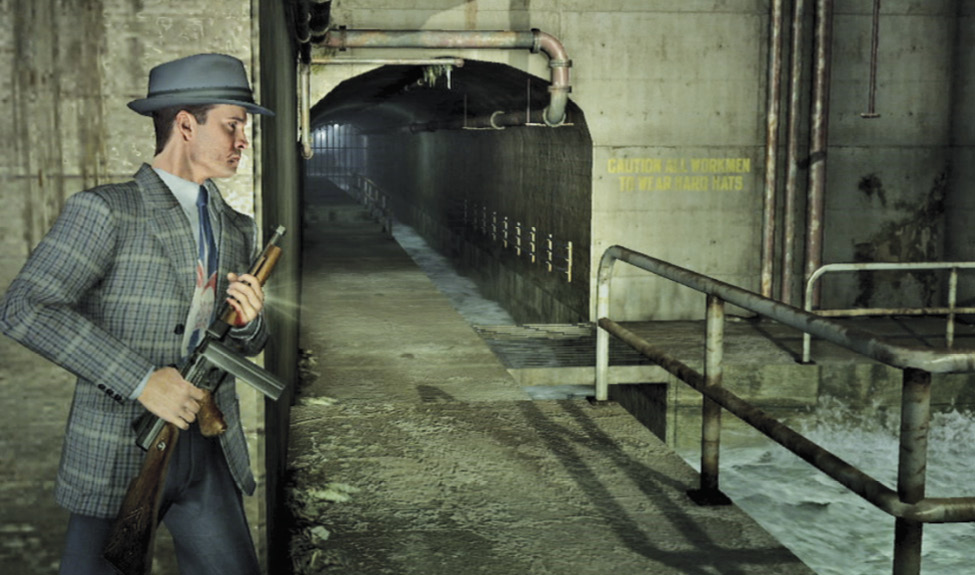
Follow spillway to the next tunnel, then turn right and follow the water flow to the ladder beside the gate. Nail the gunman crawling down the ladder as you approach!
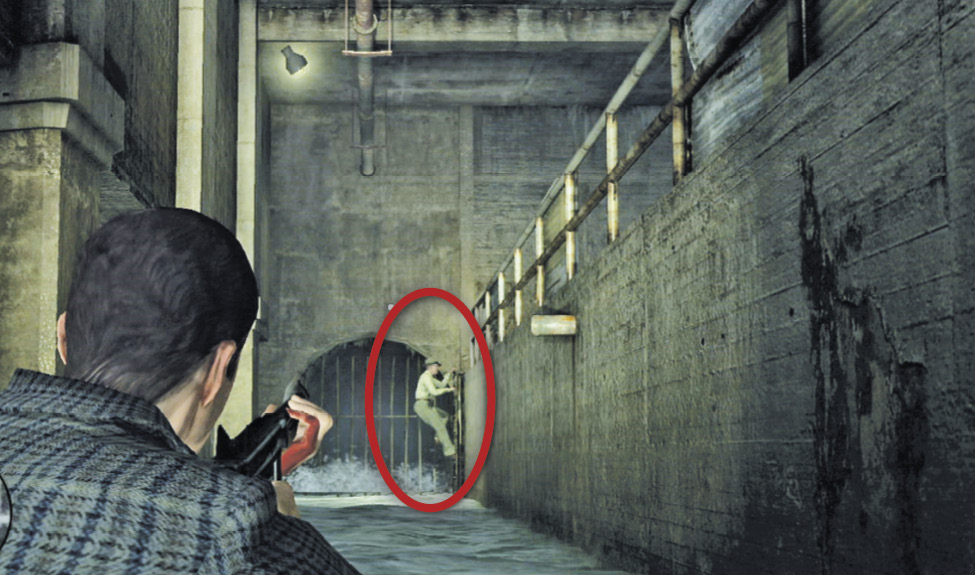
Find the first storeroom.
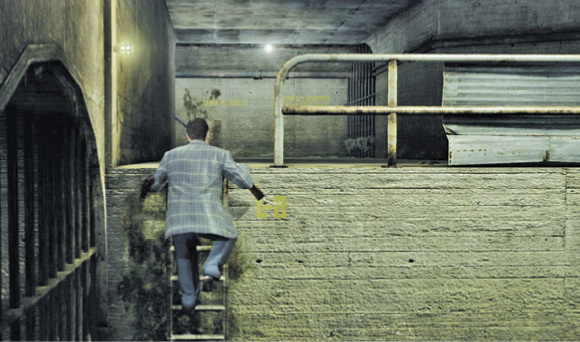
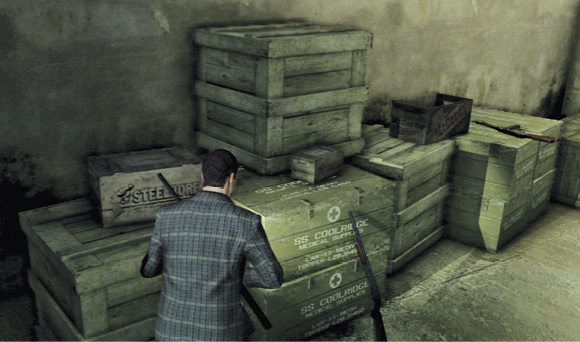
Climb the ladder (it’s labeled “L2” at the top) and turn right, ready to shoot. Follow the walkway overlooking the water to find the small room marked as “Store” on Ira’s blueprint map.
The room is stocked with weapons, including Thompson machineguns and military BARs stolen from the SS Coolridge. Grab a bigger gun, exit the storeroom, and go right, then right again to the next tunnel, labeled “Santa Fe Outlet”.
This tunnel is lined with big pipes that you can use for cover; however, they also hide enemy gunmen. As you fight down to the far end, one of the crooked cops gets toasted, literally, by an unseen attacker on the other side of a closed gate. Apparently, Ira has another flamethrower in his personal arsenal.
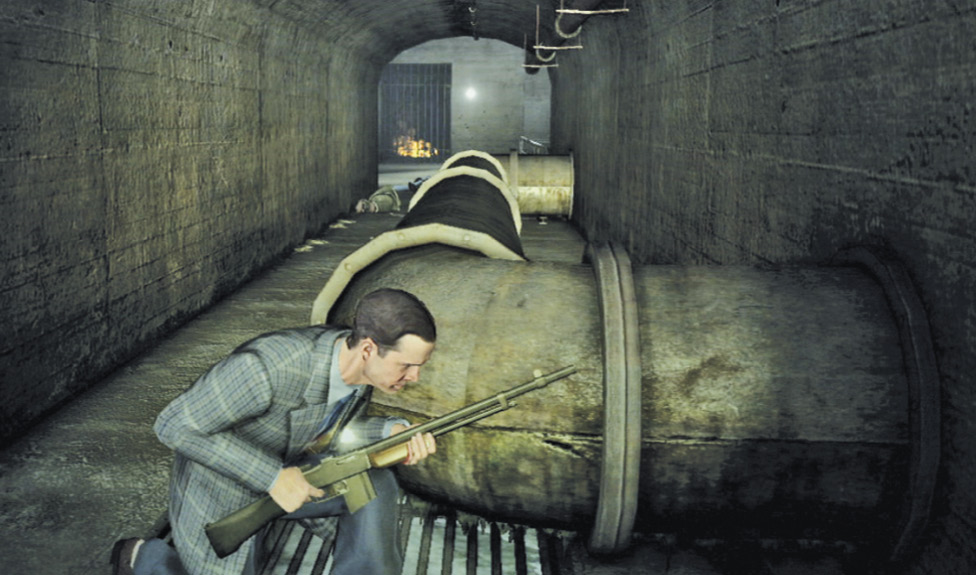
Follow the bridge across the water to the doorway labeled “Santa Fe/Jackson St Vault Room”. This leads to a walkway overlooking a cavernous central room.
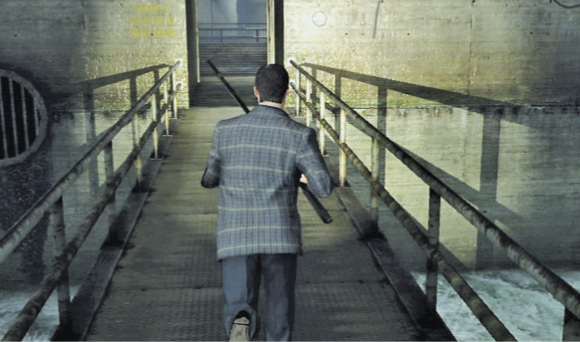
Get across the Vault Room.
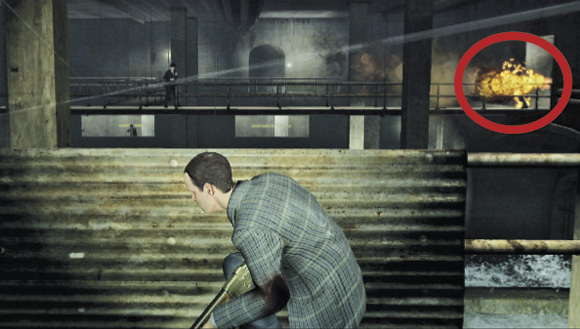
Immediately take cover behind the metal sheeting on the railing and start unleashing gunfire at the numerous shooters deployed on the room’s opposite side. Once again, you’ll get help from Ira’s flamethrower at the far right (see our shot). The shooters are on multiple levels, so keep an eye on your mini-map to see which targets are below you.
When the coast is clear, turn right and go down the staircase to the lower level of the Vault Room. Be ready for another squad of shooters in the corridor at the bottom of the stairs.
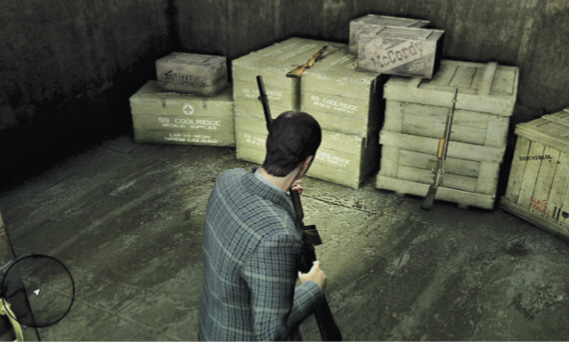
Fight your way down the corridor and find another armory of SS Coolridge weapons in the room  at the far end. Stock up on ammo or switch weapons if you want.
Take a step out of the weapon storeroom and turn left to descend the ladder down into the water. This triggers a quick cut-scene: Water surges into the Vault Room from drainage pipes as the rain outside continues to swell the river.
While the water is low, you can spot a couple of bridges crossing over an otherwise imassable deep channel through the middle of the Vault Room  . Head toward the nearest bridge before water covers up any sign of it and then find the ladder in the back left corner of the room. Hurry! Kelso will drown if you don’t hustle directly to the ladder. Fight your way down the next corridor to the stairs at the end and climb them to the upper walkway.
Find the Pump Room.
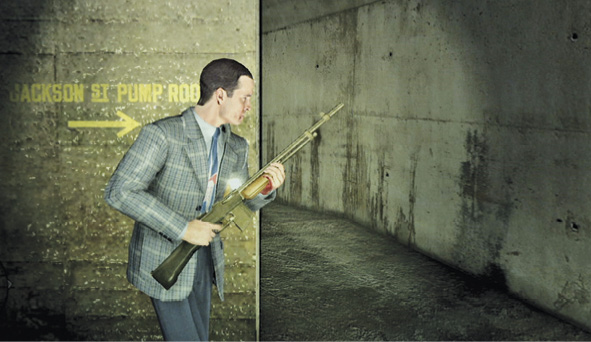
Take cover at the top of the stairs and gun down the shooters waiting on the upper walkways. Then slip around the corner and run down the walkway to the first passage on your left, labeled “Jackson St Pump Room”. Here’s your last move of the main story: go down that corridor to enter the Pump Room  and trigger the game-ending movie sequences.
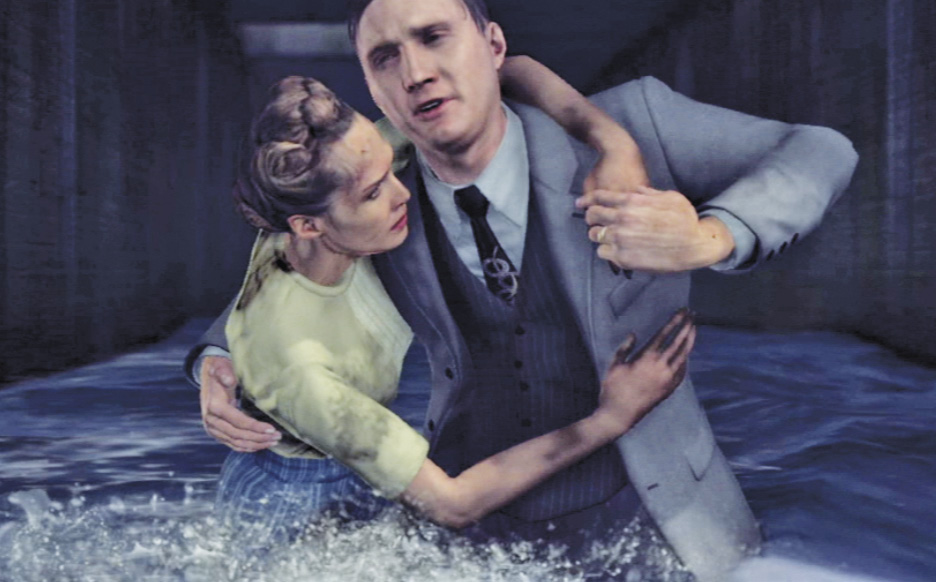
Your gameplay is done. Now watch to see how the story plays out for Phelps, Kelso, and Elsa.