
L.A. Noire Guide Walkthrough Patrol Cases
CASE# AP001: Upon Reflection (VR)
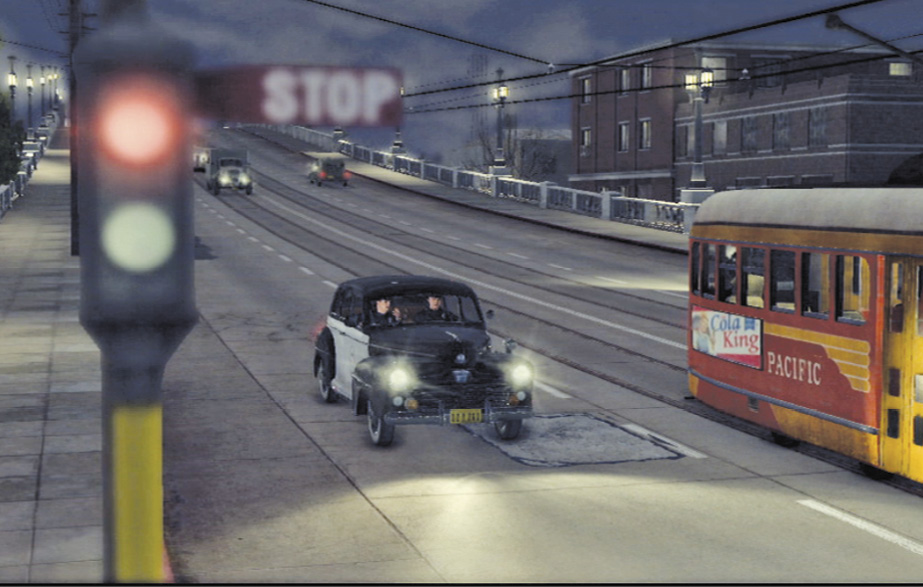
Officers Phelps and Dunn take a call from KGPL, directing them to provide uniformed assistance for an evidence search. A detective unit (“16 William”) is investigating a shooting in an alley between Sixth and Industrial Streets, down in L.A.’s warehouse district by the river. Onscreen, your first objective appears: “Investigate Crime Scene”.
Objectives
- Investigate Crime Scene.
- Investigate Gun Store.
- Investigate Schroeder’s Apartment.
- Search Schroeder’s Apartment.
Case Report
Total Number of Key Clues: 4
Total Number of Interview Questions: N/A
Fail Conditions
- Phelps dies.
- Any friendly NPC dies.
- Crime scene contaminated (e.g., drive a car through it).
Location: Alleyway Crime Scene
Drive to the crime scene.
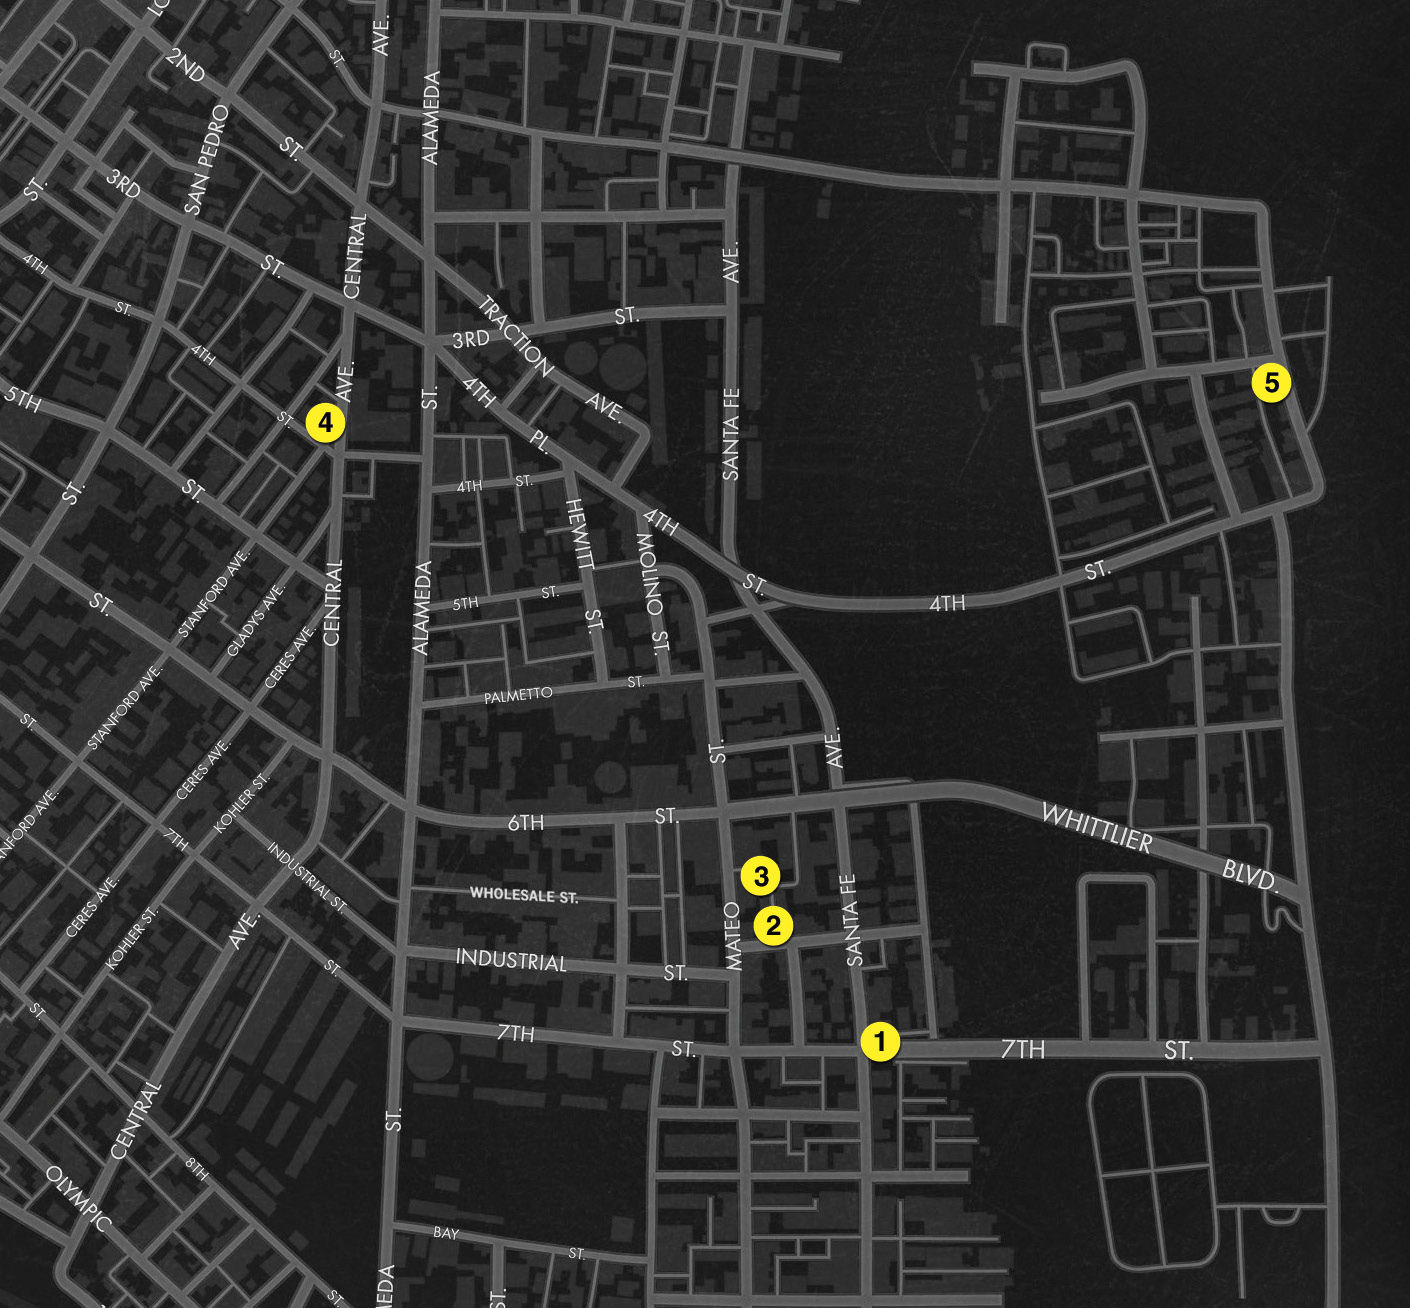
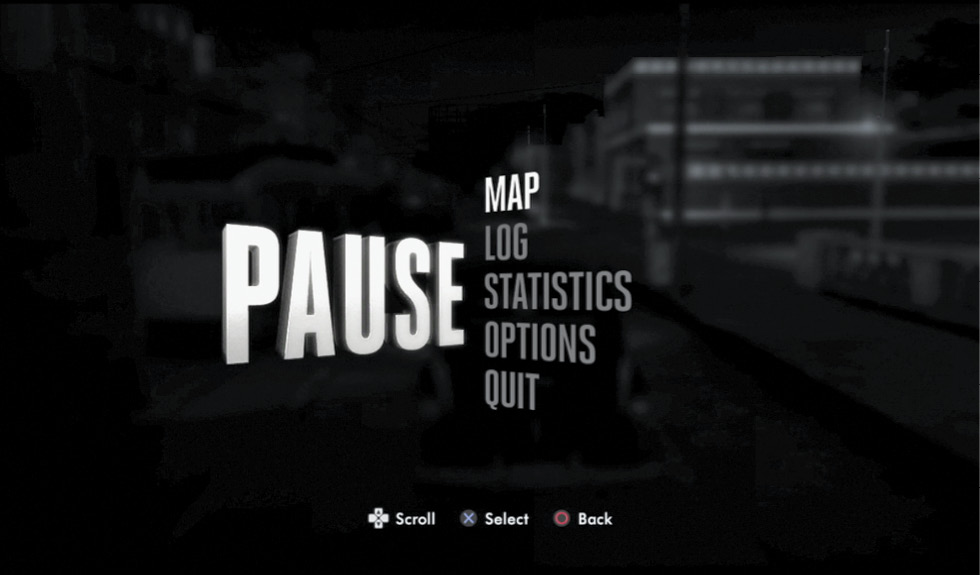
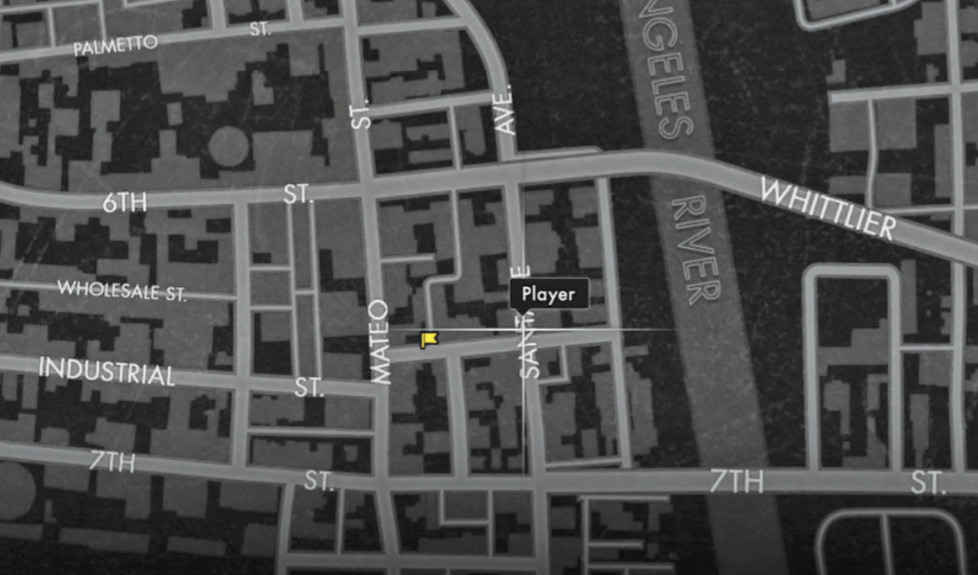
Enter the Pause Menu and select Map for a quick overview of the trip. Your current location  is the white arrow icon. Move the cursor over the nearby yellow flag on the map just a couple of blocks to the northwest
  to see its popup designation: “Alleyway Crime Scene”. This is your first destination.
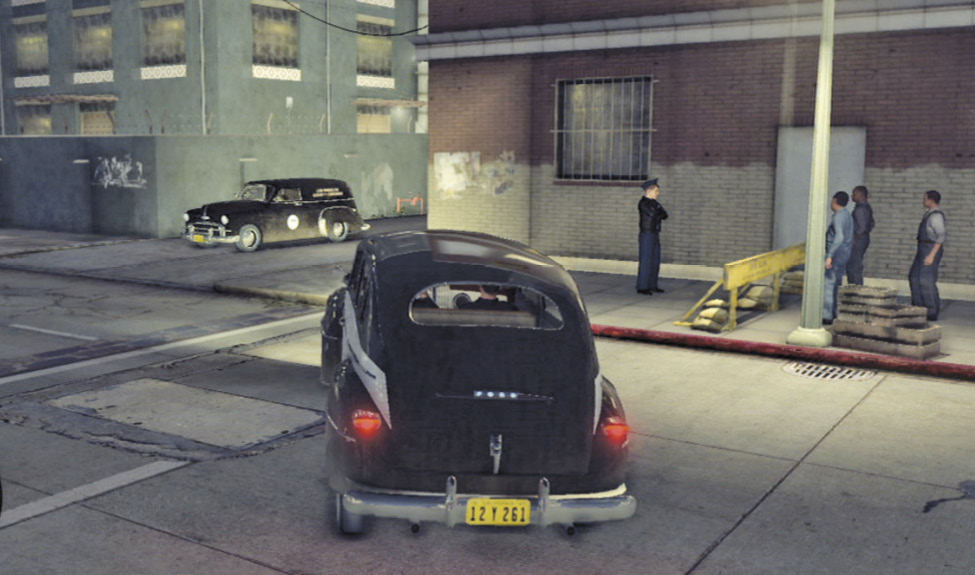
Use the car controls to drive the short distance to the alley, where other uniformed officers have cordoned off the crime scene. The L.A. County Coroner’s wagon is parked at the head of the alley. Approaching it triggers the next cut-scene.
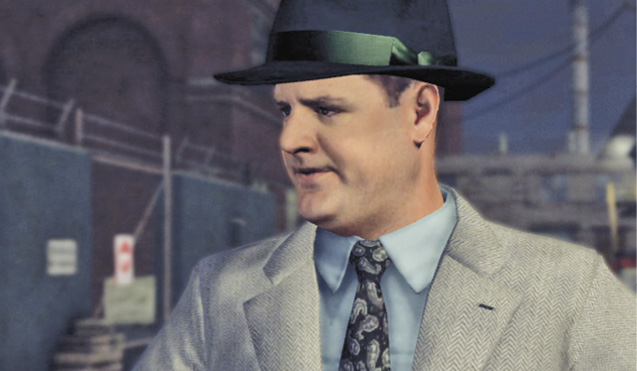
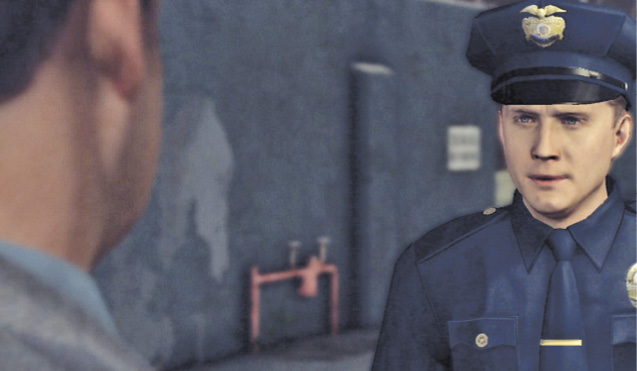
As the coroner drives off, Phelps meets Floyd Rose, the lead Homicide detective at the scene. He reports that the victim (the “vic”), Scooter Peyton, has already been bagged up and sent to Central Morgue. A witness reports that the shooter, a tall white man, shot Peyton twice and then tossed his gun (the “gat”). Rose wants you to find the weapon.
Investigate the crime scene.
You start out at the head of the alley with your partner, Dunn, who immediately moves ahead. The onscreen directive says, “Search locations thoroughly to discover clues”. Take that to heart, and keep in mind that crime scenes are generally littered with objects you can pick up, but only a few that can be categorized as “clues”.
Follow your partner down the alley and start looking for clues. If you have Clue Hints turned on in the Menu, each examinable object will trigger a chime when you get near it, plus you’ll feel your controller vibrate (assuming you have Vibration turned on as well). Press the button indicated onscreen to pick up the examinable object. Officer Dunn stops at the first set: discarded beer bottles and a newspaper (see the next section) on the right side of the alley. Examine a bottle or two for practice.
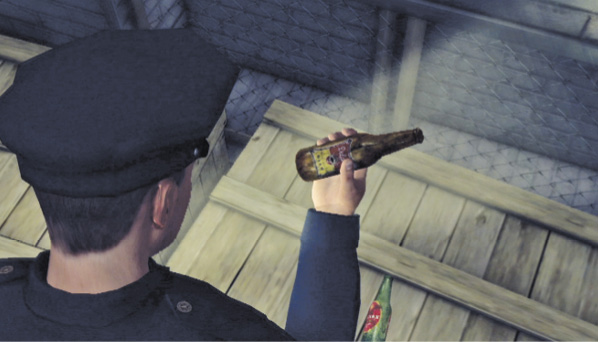
Once you’re holding an object, it’s important to use the left controller stick to manipulate it. Turn the item from side to side and look for markings or other information. In many cases it’s not enough to simply pick up the object; you’ll need to also find key information written or etched somewhere on it.
Trigger a “story behind the headlines”.
The newspaper in the alley is a copy of the Los Angeles Inquisitor. Its headline reads, “Shrink Says: ‘The Mind Is the Final Frontier.’” Pick up the paper and press the button indicated onscreen to trigger a cinematic sequence revealing “the story behind the headline”.
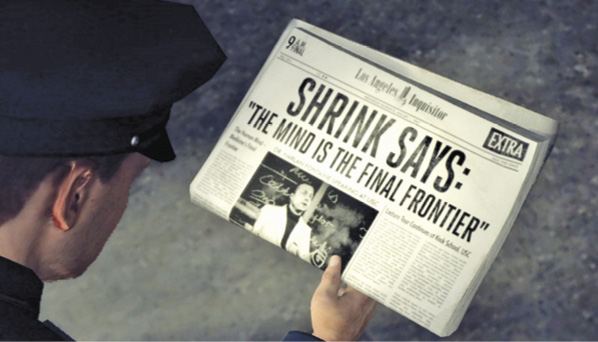
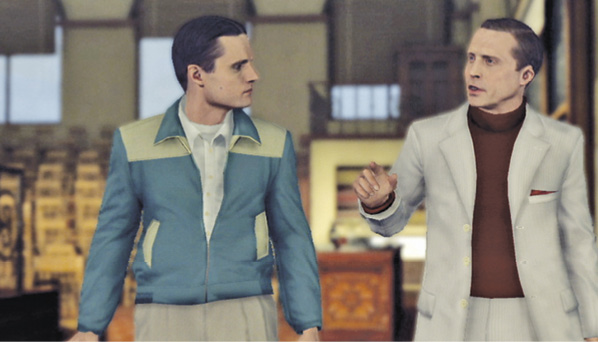
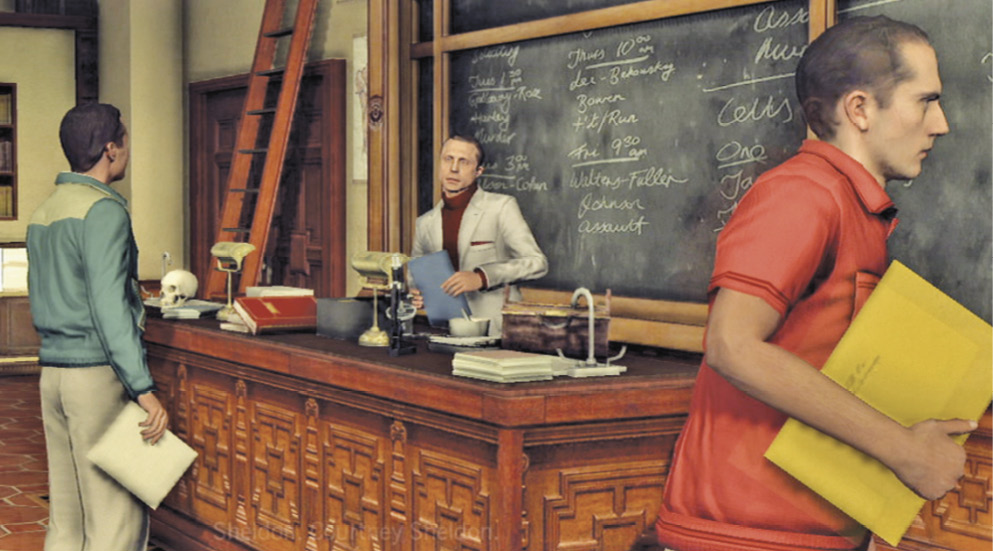
Watch the cut-scene set in a lecture hall at the University of Southern California’s Keck School of Medicine. A second-year medical student named Courtney Sheldon approaches a famous psychiatrist, Dr. Harlan Fontaine, after his lecture. Sheldon asks questions about what was then called “battle fatigue” (known today as post-traumatic stress syndrome, or PTSD); he’s a World War II vet and has a war buddy who suffers from the affliction. Dr. Fontaine offers to make a prognosis for Sheldon’s friend in exchange for volunteer service in one of Fontaine’s L.A. psychiatric clinics. Sheldon enthusiastically agrees to the deal.
Examine the murder scene.
Soon Officer Dunn calls out, “Cole, come take a look at this”. He stands at a blood-splattered door, the spot where the victim was shot. Approach the door. When you hear the chime, examine the Bloodstain. An onscreen message reports that you’ve found your first official clue: “NEW CLUE: Bloodstain”.
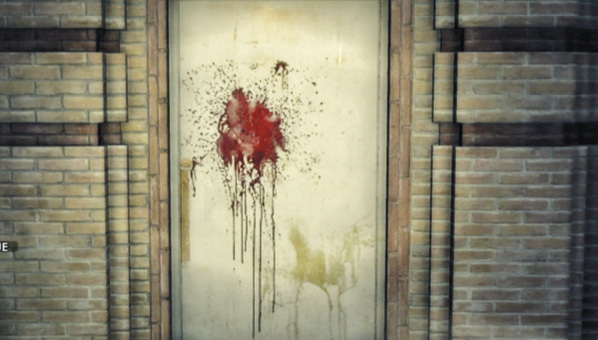
Found clues are automatically added to the Evidence list in your notebook and can be viewed at any time during a case.
Find the murder weapon.
Now turn and continue down the alley to the left of the door, past the dumpster until you hear another chime. Press the Examine button: Phelps looks up at the open window above and spots the image of a revolver reflected on the glass from the opposite roof. An onscreen message tells you to find a ladder or drainpipe to climb up  .
.
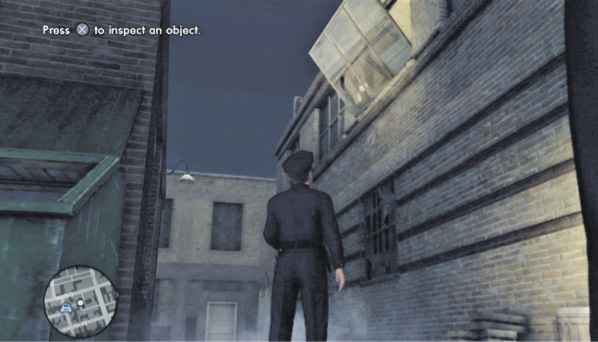
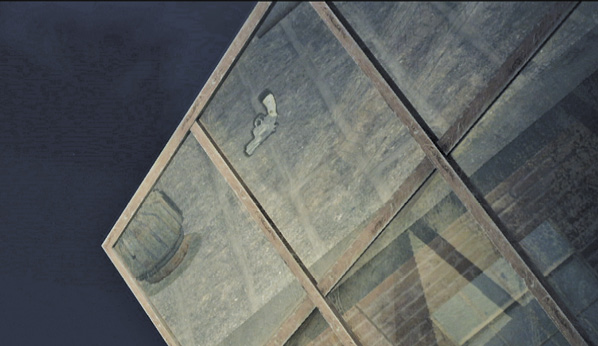
Next move: yep, find a drainpipe. Follow the alley around the left turn and find one on the left wall. Walk toward the pipe—when you reach it, Phelps automatically starts climbing.
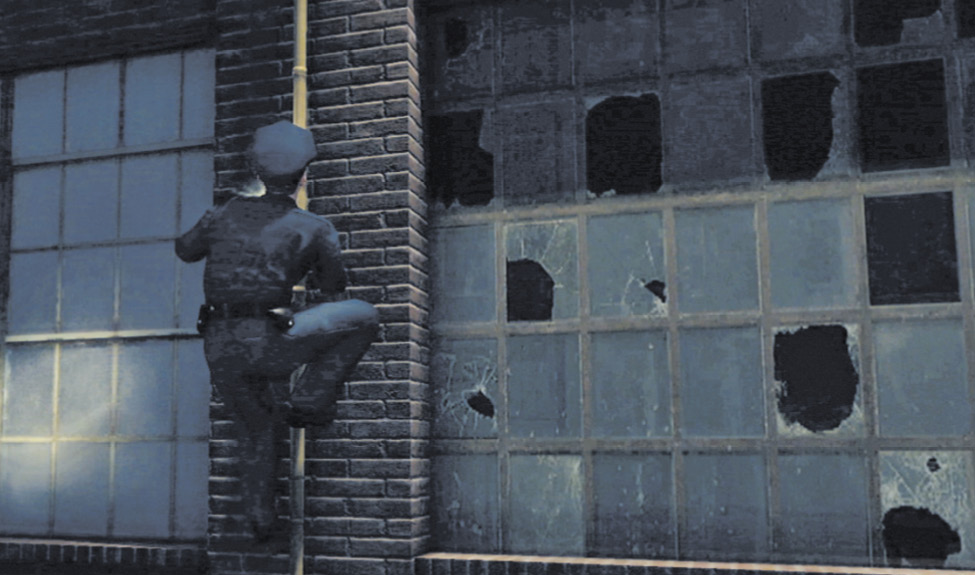
At the top, turn left and find the Smith & Wesson Revolver lying on the roof. Pick up the weapon and use your left control stick to turn the gun in your hand until you see its engraved name (Smith & Wesson) and serial number (S71893). The camera automatically zooms in when you manipulate the gun to the correct angle. Don’t stop there, though—examine the gun even further! Phelps flips open the cylinder and notes that two rounds have been fired.
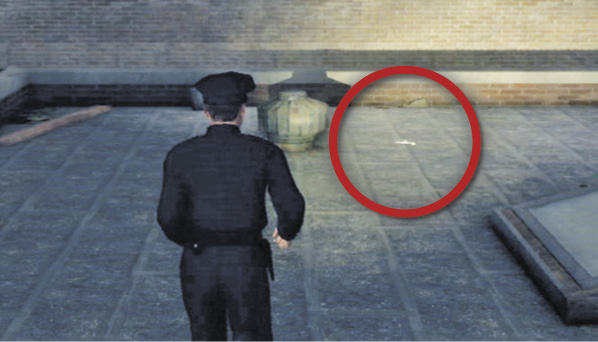
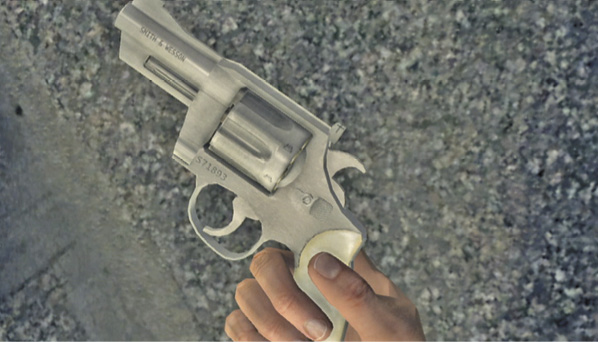
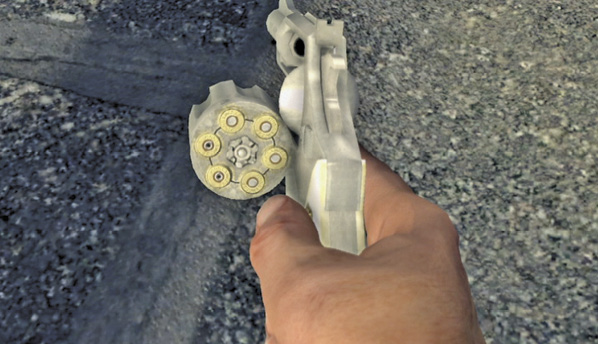
This officially marks the gun as a clue: “Smith & Wesson revolver” is now listed on the Evidence page of your notebook, along with “Bloodstain”. Note also that the investigation music has stopped playing, which indicates that you’ve found all of the key clues at this location.
Return to the drainpipe and climb back down to the ground to trigger a short cut-scene with your partner, Dunn. Phelps wants to show some initiative by tracking down the gun’s owner; he wants to check with a local gun store. Dunn says there’s one just a few blocks away.
Set your next destination.
This puts a new objective onscreen: “Investigate Gun Store”. To set the gun store as your next destination, open your notebook, select locations, and then select Gun Store. Move the pencil cursor down to “Set As Destination” and choose that option. This marks the Central Avenue gun store location  on your map with a yellow flag.
Key Clue Checklist:Alleyway Crime Scene
- Bloodstain (on door)
- Smith & Wesson revolver (on roof)
Location: Central Guns
Investigate the gun store.
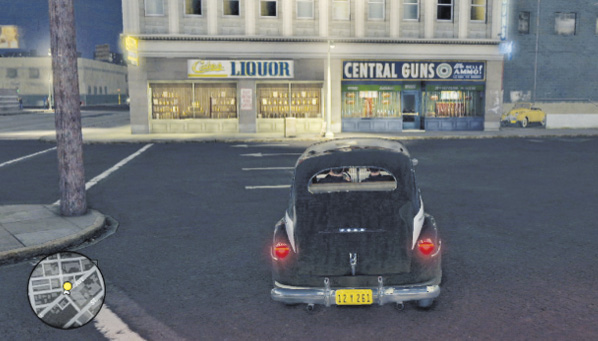
Your patrol car is marked as the blue automobile icon on your map. Return to the car, then get in and drive to Central Guns by following the yellow map flag. Remember that you can ask your partner for directions at any time. Upon arrival, your approach to Central Guns triggers a quick cut-scene of the store.
Walk to the Central Guns front door. Note that it has a gold handle. Any gold-handled door can be opened or interacted with when you approach it. Entering triggers another cut-scene: the storeowner knows the Smith & Wesson revolver well—in fact, he sold it. He hands you his Gun Store Ledger with the proof. This automatically adds a new clue to your Evidence list: “Gun Store Ledger”.
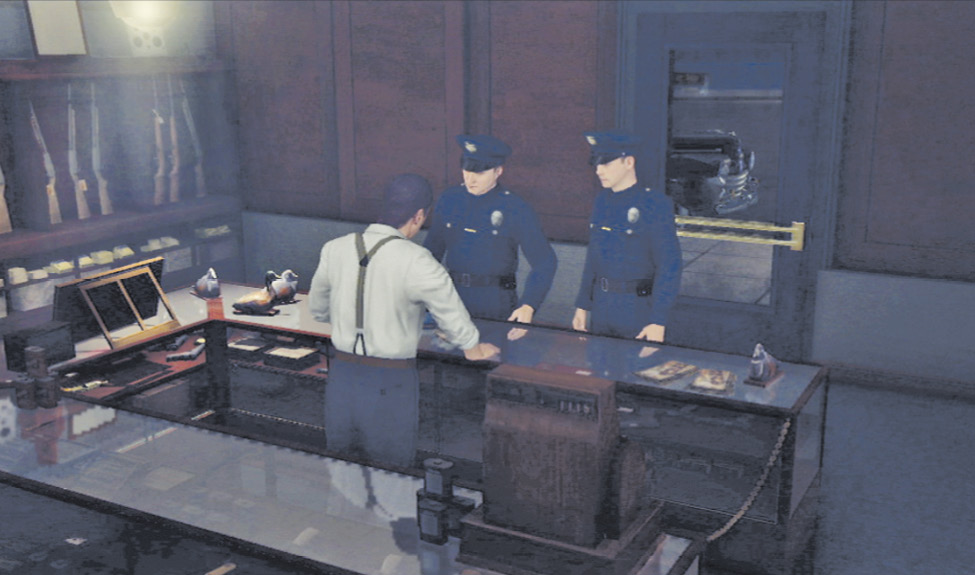
Open the ledger and move Phelps’ finger across to the fifth entry on the second page: a Model 27 with a pearl grip. The purchaser is listed as Errol Schroeder, 203 South Gless Street. Select the entry to add Schroeder to your “P.O.I”. list and trigger a new objective: “Investigate Schroeder’s apartment”.
Open your notebook, select locations, and set Errol Schroeder’s apartment as your current destination. This puts a new yellow flag  on your map, showing the place as almost due east of your current location.
Location: Errol Schroeder’s Apartment
Investigate Schroeder’s apartment.
Follow the yellow map flag. The route takes you over the 4th Street bridge to a building that houses Moxley’s Menswear on the ground floor. Schroeder’s apartment is upstairs.
Enter the door (left of the storefront) and examine the mailboxes on the right to learn that Schroeder lives in Apartment 2. Climb the stairs and approach this unit to knock on the door.
Schroeder answers and admits to owning the Smith & Wesson. When Phelps confronts him about the Scooter Peyton murder, Schroeder seems surprised and tries to present the gun… but the drawer is empty.
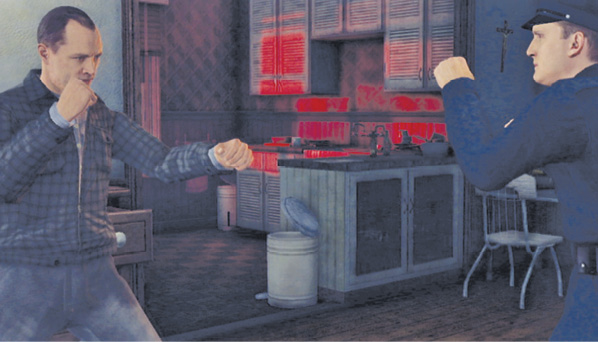
Phelps informs the suspect that he’s under arrest, but Schroeder refuses to go quietly and coldcocks Dunn. This triggers your first brawling sequence.
Key Clue Checklist: Gun Store
- Gun store ledger (Schroeder entry)
Defeat Schroeder in a fistfight.
Face up to Schroeder and hold down the controller button indicated to put Phelps in brawl mode. Press the controller buttons shown onscreen to punch or block/dodge. When the fight’s over, Phelps cuffs Schroeder and you get your final objective for this case.
Search Schroeder’s apartment.
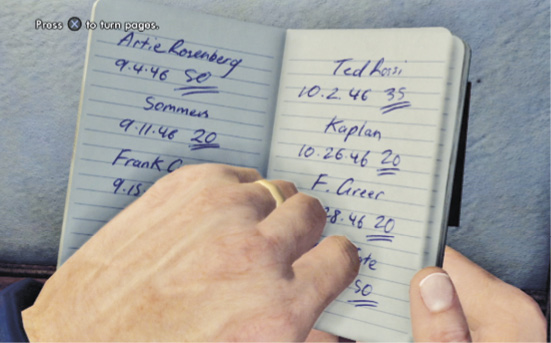
There are several examinable objects scattered around the place, but the only one of substance is in the nearby open drawer where Schroeder sought his gun. Find Schroeder’s Notebook in the drawer and turn a page to find Floyd Rose’s name listed. (This puts the clue “Schroeder’s notebook” in your Evidence list.) Recall that Rose was the lead detective on the scene of Scooter Peyton’s murder.
Officer Dunn strongly recommends leaving the notebook where you found it to avoid stirring up a hornet’s nest. Phelps calls in the arrest, and then a murky flashback sequence plays showing Phelps during the war.
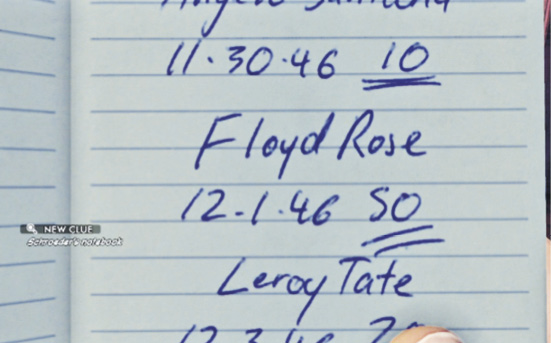
Key Clue Checklist: Schroeder’s Apartment
- Schroeder’s notebook