
L.A. Noire Guide Walkthrough The Traffic Cases
CASE# AT001: The Driver’s Seat
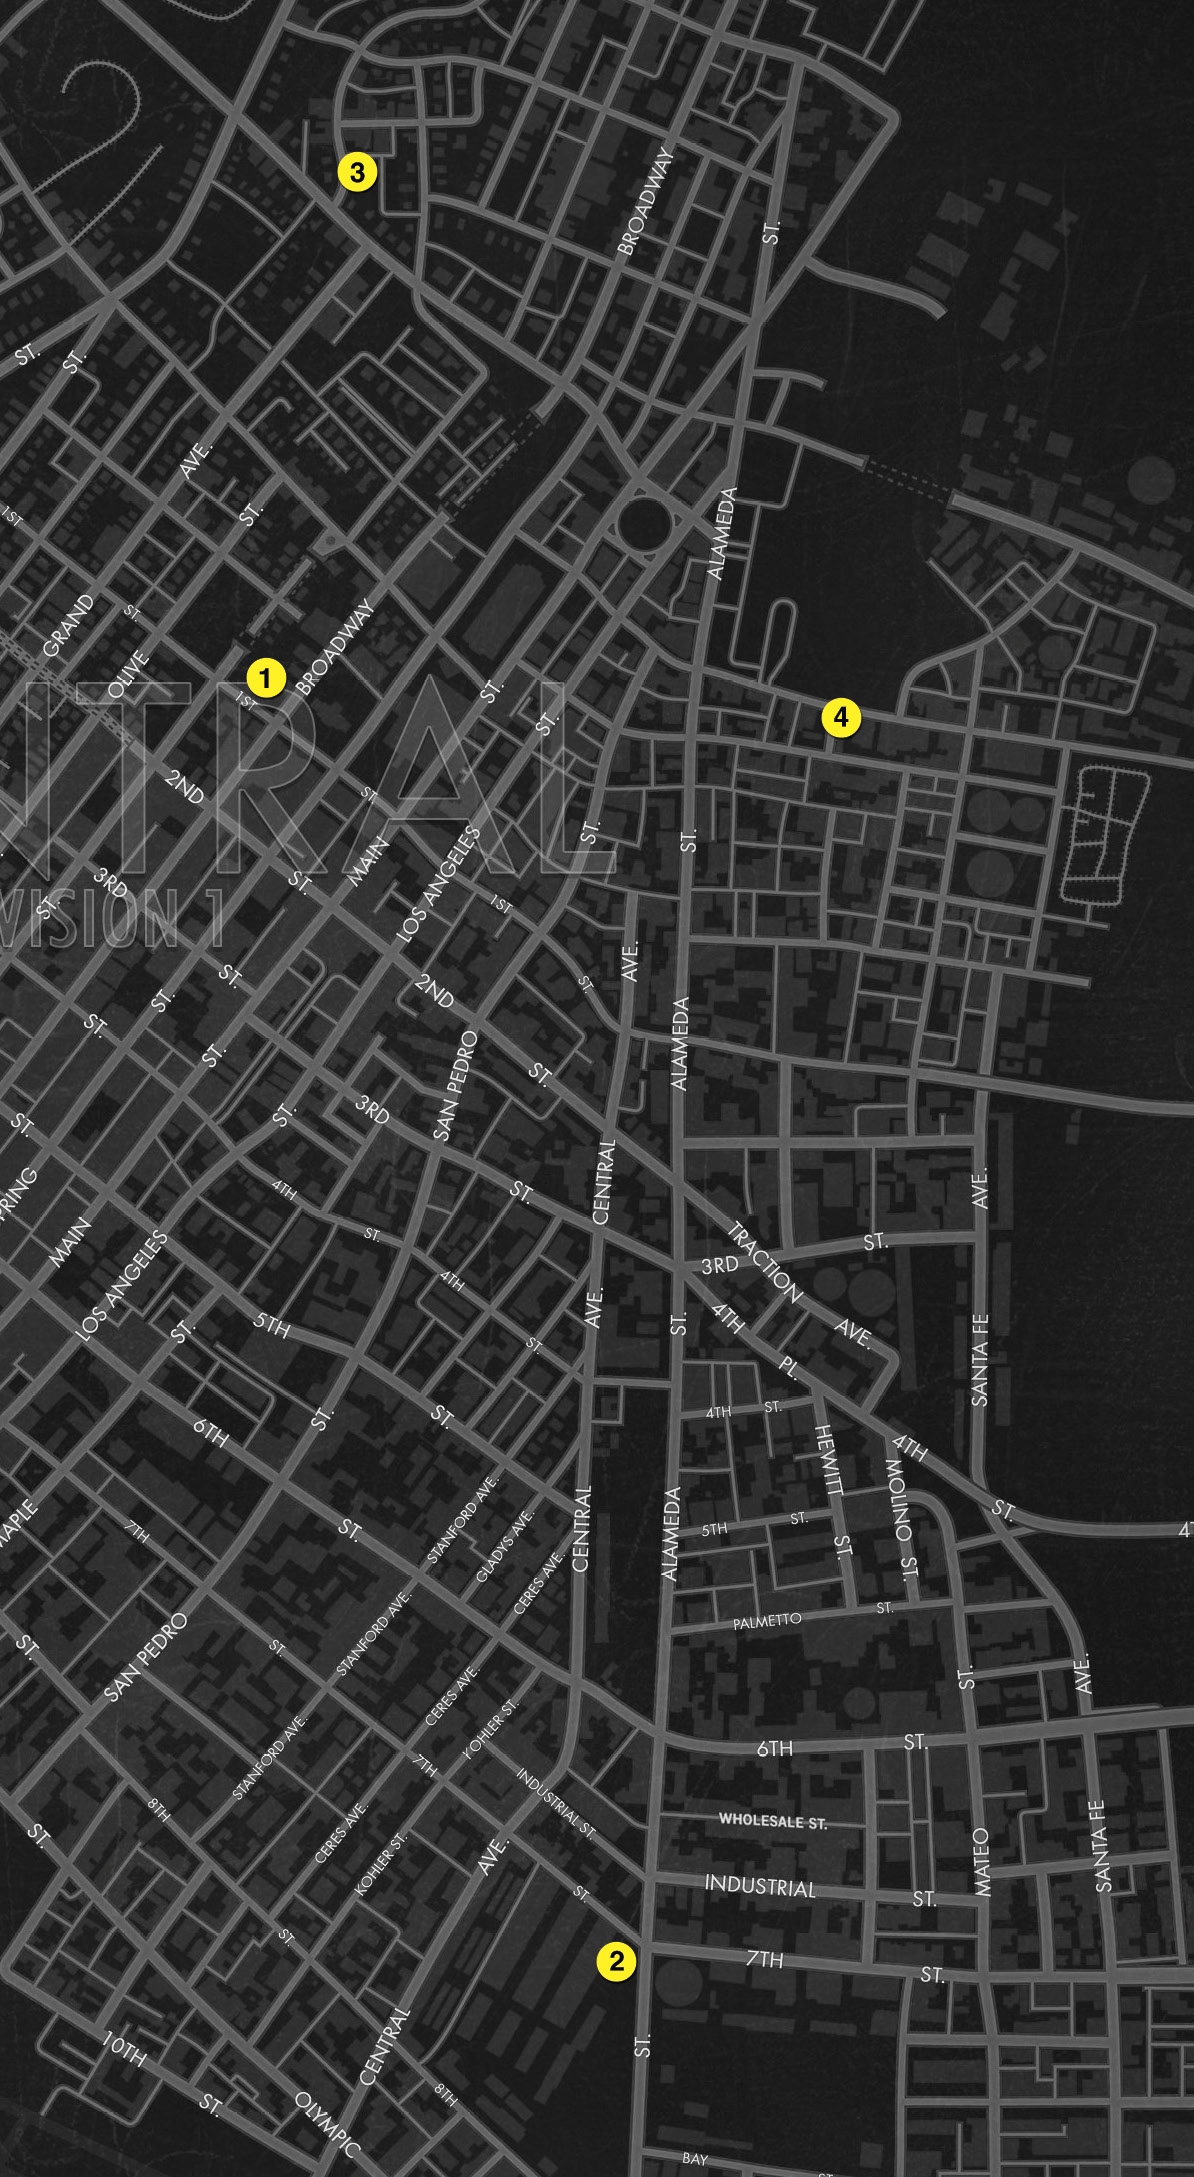
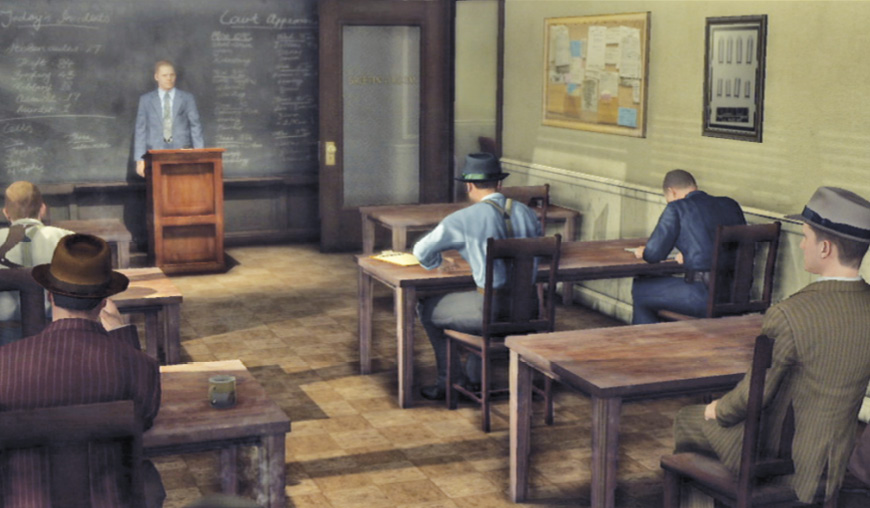
Bekowsky leads Phelps into the briefing room where they get the lowdown from Captain Gordon Leary on an Abandoned Vehicle with signs of foul play at the Pacific Electric Freight Depot.
Key Clue Checklist: Station Briefing
- Abandoned vehicle
Objectives
- Investigate P.E. Freight Depot.
- Interview Nate Wilkey.
- Investigate Black Residence.
- Interview Margaret Black.
- Investigate Cavanagh’s Bar.
- Interview Frank Morgan.
- Investigate Morgan’s Apartment.
- Apprehend Adrian Black.
Case Report
Total Number of Key Clues 14
Total Number of Interview Questions 12
Fail Conditions
- Phelps or Bekowsky dies.
- Adrian Black evades you.
- Crime scene contaminated.
- Lose/spook Morgan if you tail him.
Location: P.E. Freight Depot
Travel to the Pacific Electric Freight Depot.
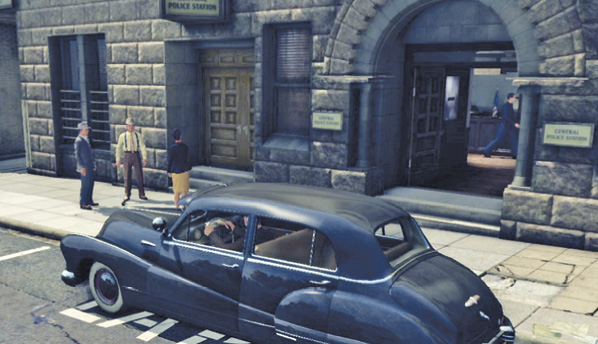
Back at the Central Police Station  , open your notebook to the locations page and you’ll see that the P.E. Freight Depot is already selected as your current destination down in L.A.’s warehouse district.
Exit the briefing room, then turn right and go downstairs. Head straight to the Exit sign on the ceiling and turn left to leave the station. Hop in the black unmarked car at the curb and wait for Bekowsky to join you. You can also let Bekowsky drive; see the Tip on this page.
If you choose to drive yourself, follow the yellow map flag to the P.E. Freight Depot  . En route, listen as Phelps fills in Bekowsky on his background. He grew up in San Francisco and went to Stanford, then enlisted late in the war in the Marine Corps and signed up for Officer Candidates School (OCS) at Camp Elliott near San Diego. He shipped out to the Pacific in 1945 as a First Lieutenant… just in time to participate in the bloody battle of Okinawa. He was wounded there, but won the Silver Star for gallantry in action—the third highest military decoration awarded. After just a year as a beat cop, he landed in the Detective Bureau.
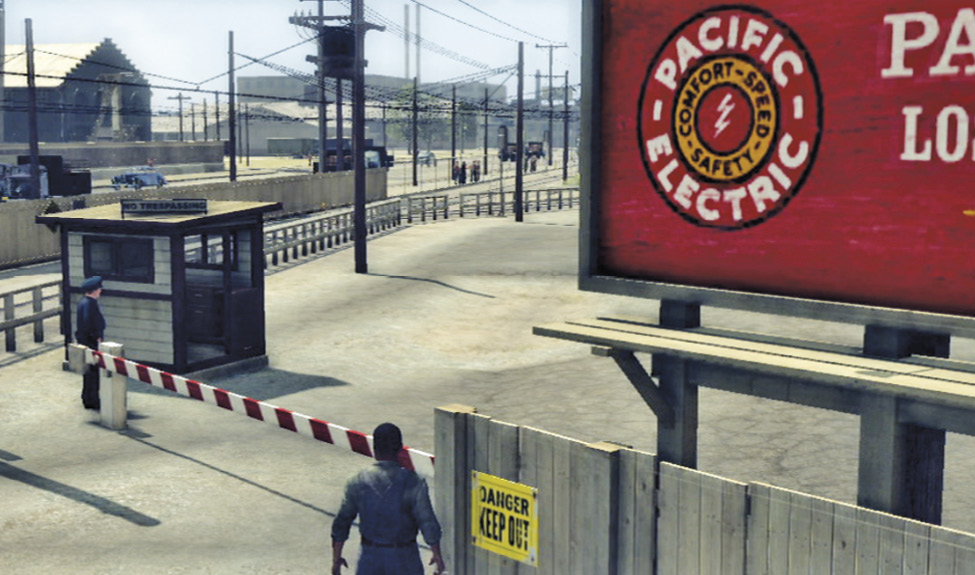
Investigate the Pacific Electric Freight Depot.
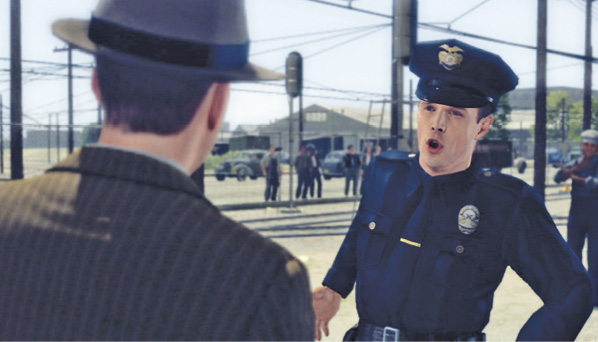
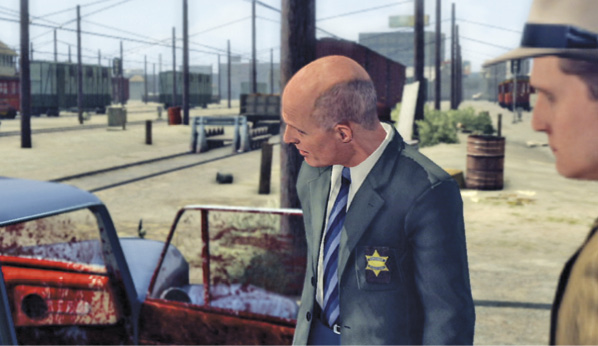
Your arrival at the depot triggers a brief cut-scene: a patrol cop, Officer Clyde Hart, chats with the man who reported the vehicle, Nate Wilkey, as the coroner examines the bloody interior of the car. Other detectives comb the area, tagging evidence.
Walk across the lot and approach Officer Hart to get a rundown of the situation. This adds Nate Wilkey (the witness) and Adrian Black (the abandoned car’s registered owner) to your P.O.I. list. You also get a new clue: Blood Splashes.
Examine the car.
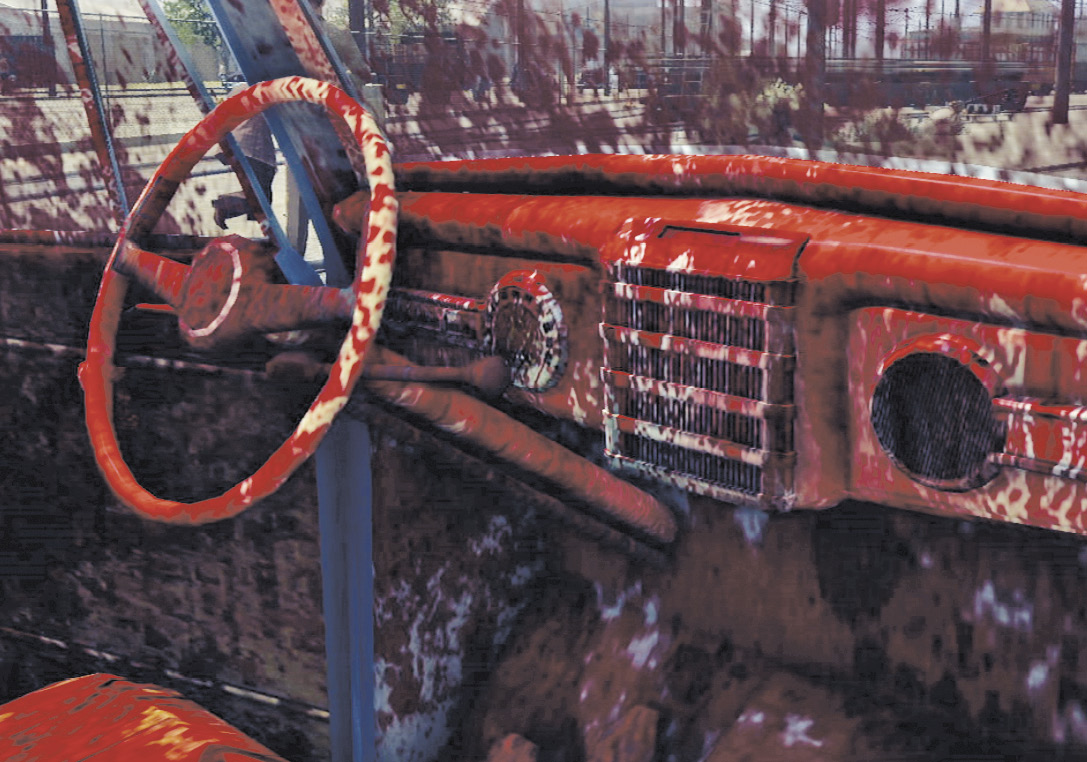
Accumulate more evidence before interviewing Nate Wilkey. Approach the coroner next to the car and press the Talk button to trigger a cut-scene: Coroner Malcolm Carruthers points out the abundance of blood splattered all over the vehicle’s interior. No sign of the victim anywhere, however, “unless he’s in the trunk of the car”—a good place to search next. But first, examine the car’s interior to find a significant amount of blood spilled.
Examine the trunk.
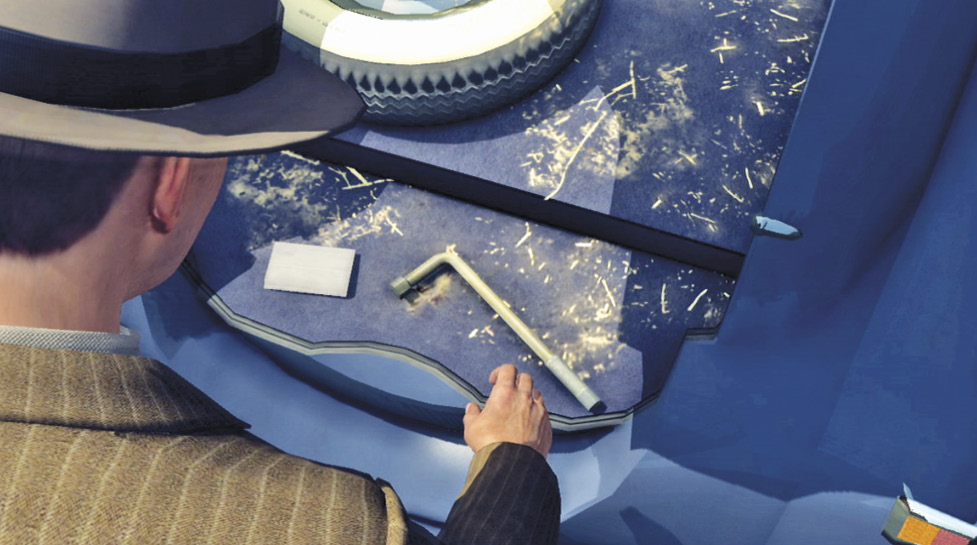
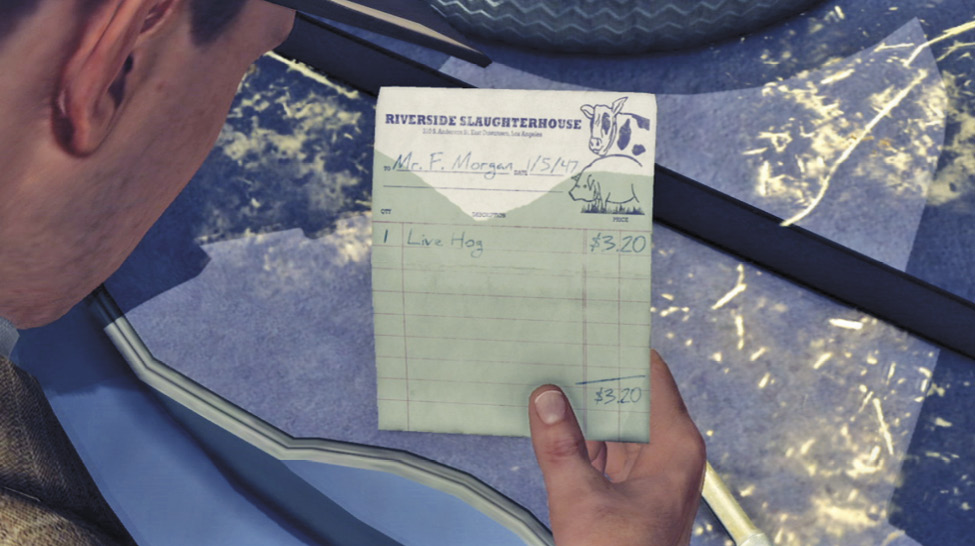
Walk around behind the car and open the trunk. You can examine the tire iron, but nothing about it appears unusual. However, to the left is a Receipt for a Live Hog from Riverside Slaughterhouse, a new clue.
The purchaser is signed as “Mr. F. Morgan”. This also adds F. Morgan to your P.O.I. list.
Examine the wallet and glasses.
Now walk a few feet in front of the car and check out the items next to the yellow crime scene evidence marker labeled “A”: a pair of Glasses and a Wallet. Pick up the wallet and examine the driver’s license on the left side to add the new clue, giving you Adrian Black’s identity and home address and adding his wife as a P.O.I. (This also triggers a new objective: “Interview Mrs. Black”.) You can examine the photo of the Blacks on the wallet’s right side, as well. They look like a nice enough couple, don’t they?
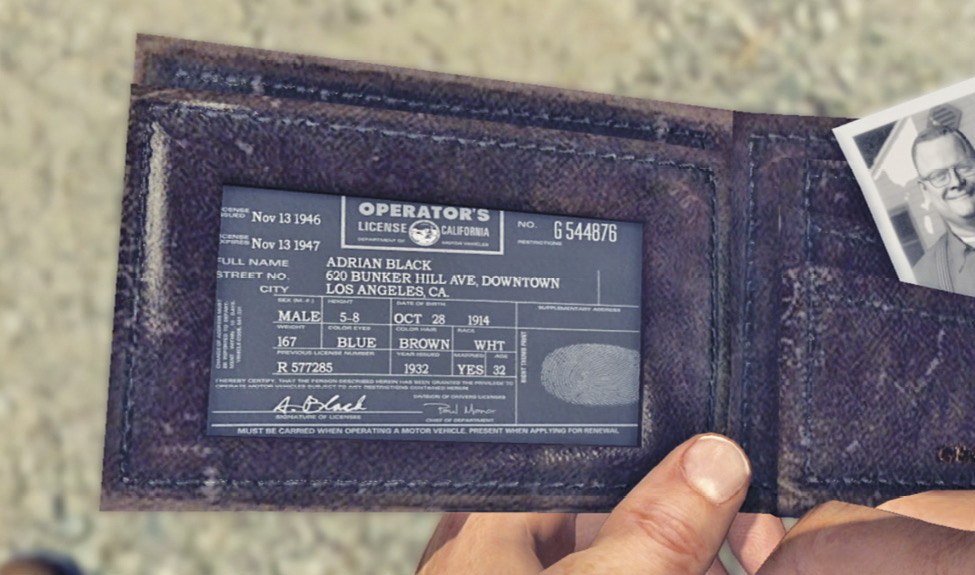
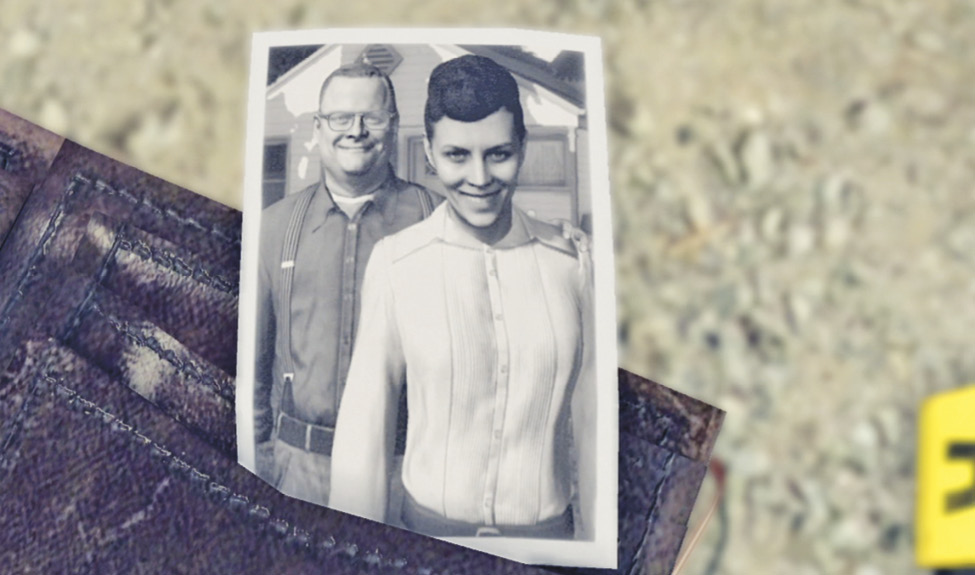
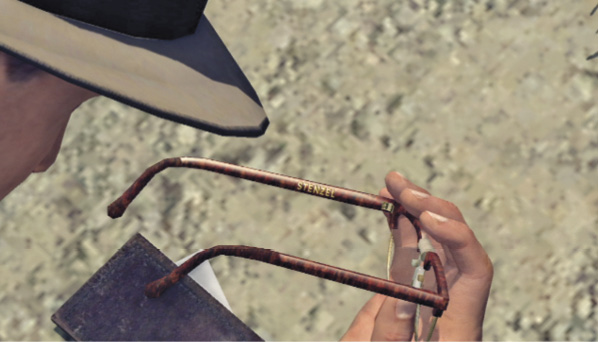
Put the wallet down, pick up the glasses, and turn them until you get a close-up of the name “Stenzel” on the temple piece. This adds the new clue “Glasses” to your evidence list. Note also that the glasses bear the sign of what Phelps calls “home repair”: tape wrapped around the frame’s nosepiece.
Examine the bloody pipe.
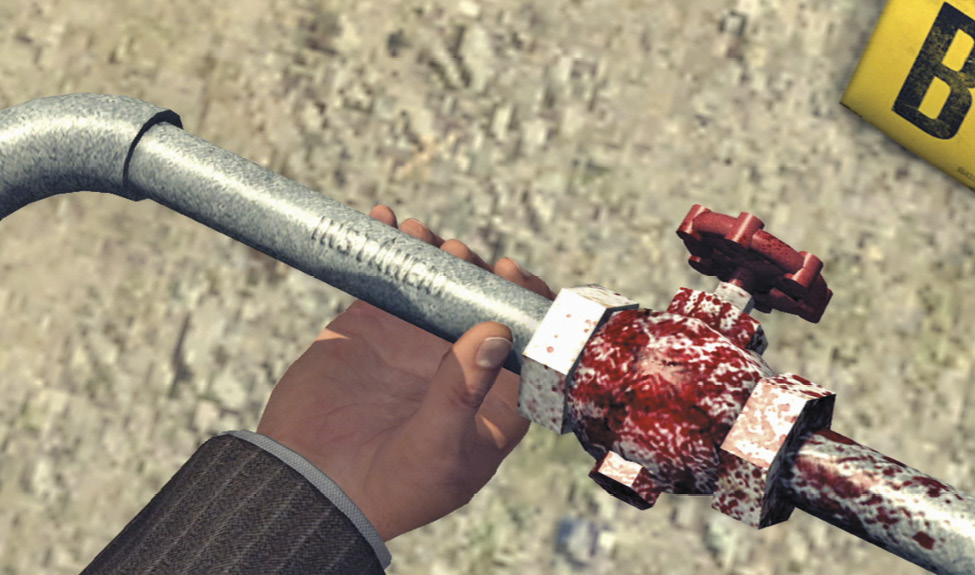
Turn left from marker A and cross the railroad tracks to evidence marker B. Pick up the Bloody Pipe and turn it until you can see the brand name, “InstaHeat”, etched on the side. Phelps suggests that this might give you something to go on.
Interview the witness.
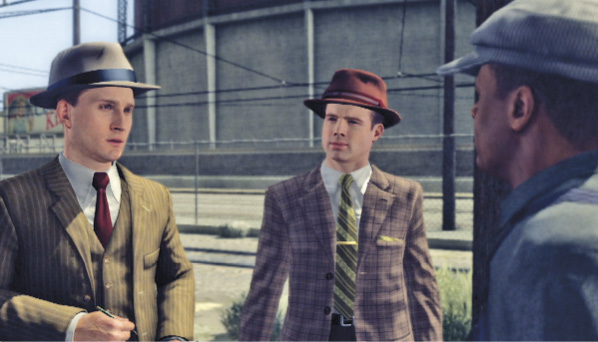
If you’ve followed our directions, the investigation music stops here, indicating you’ve gathered all of the key clues at this location. Now it’s time to interview Nate Wilkey. Walk up to him and press the Talk button to trigger the interview sequence. After Wilkey gives you some preliminary information, the Questions page of your notebook pops up.
Key Clue Checklist: P. E. Freight Depot
- Blood splashes
- Receipt for live hog
- Wallet
- Glasses
- Bloody pipe
Interview: Nate Wilkey
Topic: Purpose at scene
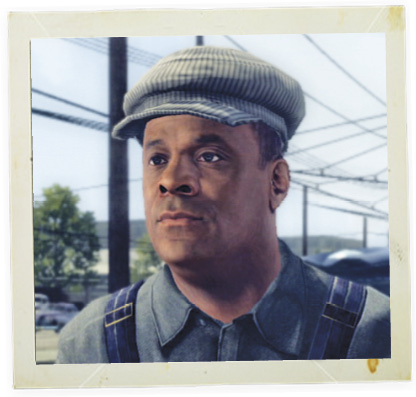
When Phelps asks the witness what he was doing at the scene, Wilkey explains that he was on his way to work for the Railway. He looks directly at the detective and appears straightforward in his answer.
Correct Assessment: Good Cop
Wilkey seems like an honest man. He says he saw no one at the site until the police showed up.
Topic: Knowledge of Adrian Black
Detective Phelps asks Wilkey if he knows Adrian Black, the owner of the vehicle. Wilkey says no, and once again his gaze appears honest and unflinching.
Correct Assessment: Good Cop
Wilkey reports that he noticed the same car a few nights ago in the parking lot. He says it stood out because he’d never seen it before.
Topic: Contents of wallet
When Phelps asks if Wilkey found anything in the wallet near the car, the man gets riled up for the first time. His reaction is defensive, and afterwards he smirks and his eyes shift away. Clearly you’ve hit a nerve with this question, and he seems less than truthful. But you have no evidence to suggest he’s lying, so your only recourse is to express doubt about his response.
Correct Assessment: Bad Cop
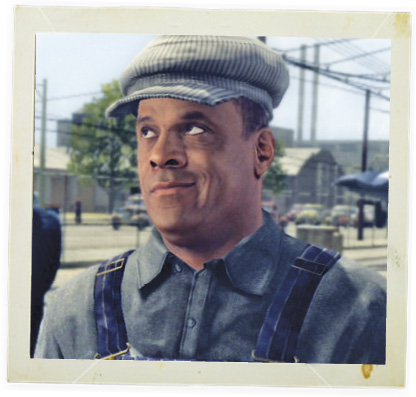
Phelps threatens to have Wilkey searched. Now Wilkey answers honestly that he checked the wallet, but found no money inside.
Topic: Bloodstained pipe found
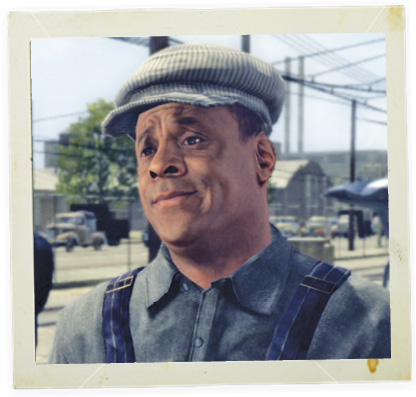
Phelps asks Wilkey if he knows anything about the bloody pipe. Without hesitation Wilkey answers no. He returns to the direct gaze that you saw with the first two questions.
Correct Assessment: Good Cop
Wilkey ends his statement by noting that the blood was dark and looked dry already when he found the vehicle. This suggests that whatever deed created the bloody mess was enacted earlier elsewhere, and then the car was dropped off here.
After the Wilkey interview, Phelps decides that it’s time to report the disturbing findings to Adrian Black’s wife. The address, 620 Bunker Hill Avenue, is automatically marked as a new yellow blip on your map. Use your notebook to set it as your Current Destination.
Location: Black Residence
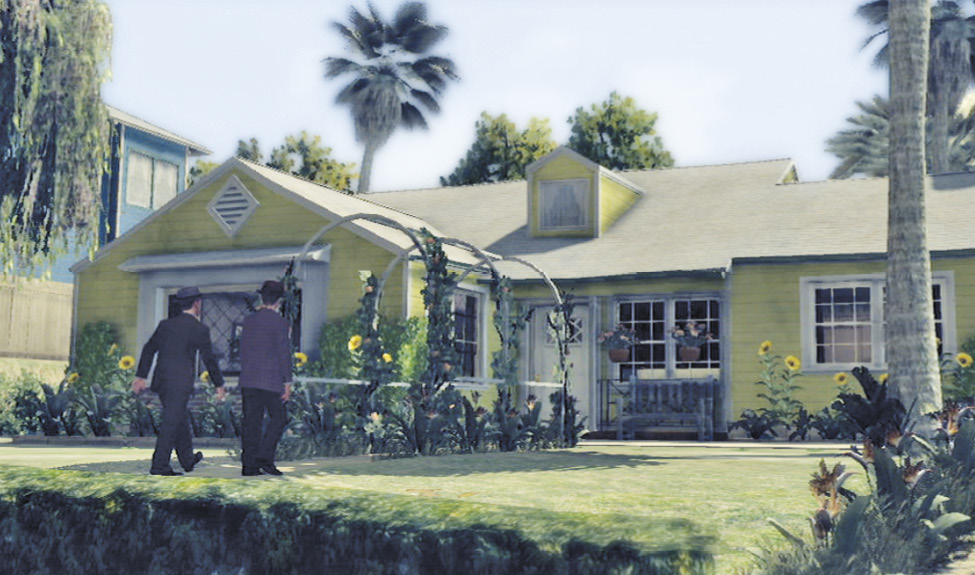
Talk to Mrs. Black.
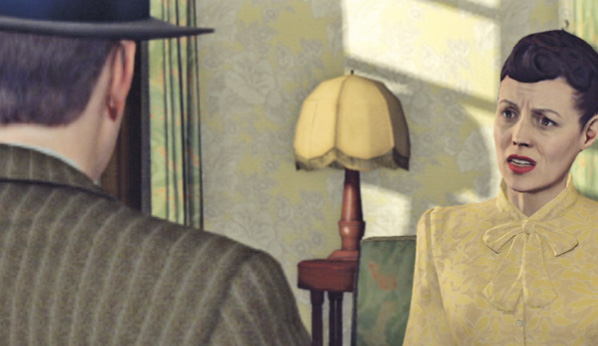
Travel to the Black residence  . Approach the front door to knock, then follow Margaret Black into the living room after she answers. This triggers an automatic conversation. Detective Phelps reports of her husband’s disappearance and she appears genuinely upset.
When Phelps asks about “InstaHeat”, Mrs. Black knows the name. The Blacks just had a new InstaHeat water heater installed right outside the kitchen window. Phelps asks her to recall any details about the previous night while he searches the house.
Investigate the Black residence.
The home contains plenty of irrelevant objects you can pick up—cups, brushes, bibles, laundry detergent, and so forth—but we’ll take you right to the seven key clues. Four are in one bedroom, two in the kitchen, and one outside the house.
Search Adrian’s bedroom.
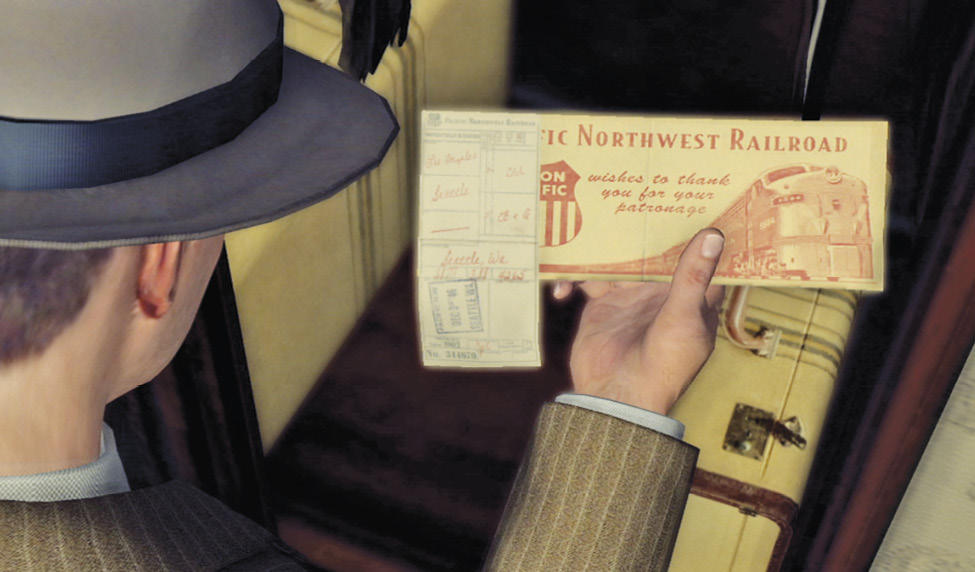
First, note that Adrian and Margaret seem to have separate bedrooms. Start by examining Adrian’s, the disheveled room next to the kitchen. Look in the armoire to find a used Train Ticket to Seattle.
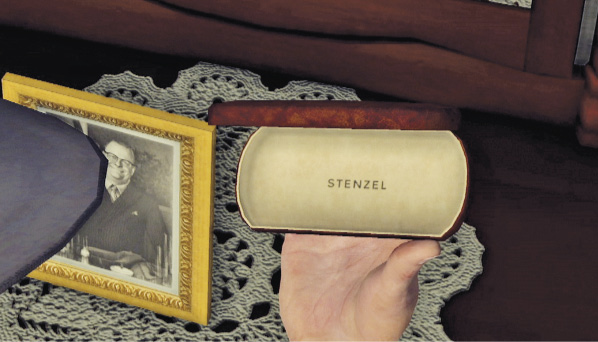
There’s a Glasses Case on the nearby dresser. After picking it up, examine it further to discover that it’s a Stenzel case, and it’s empty.
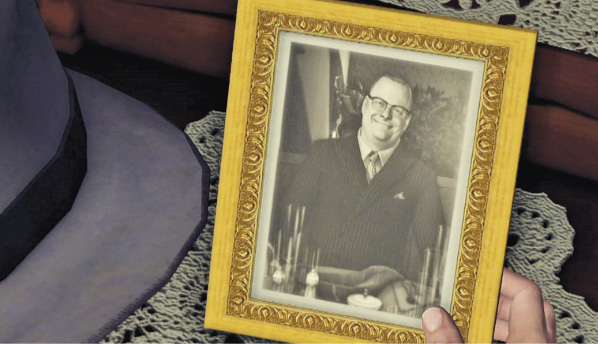
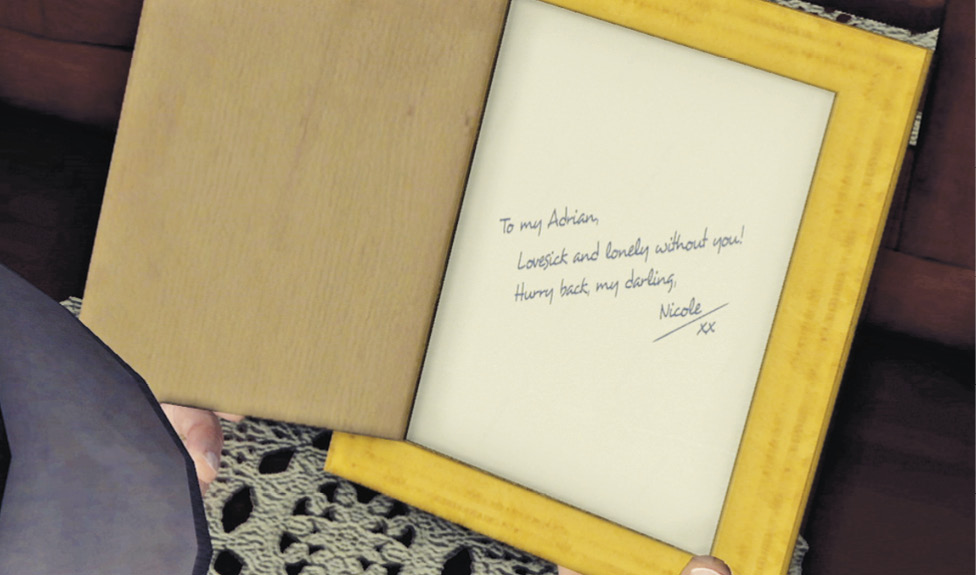
Next to the glasses case is a photograph of Adrian Black in a frame. Examine this further, too; Phelps opens up the frame. This reveals a concealed message—a breathless love note—written on the back of the photo. But it’s not from Margaret Black! The author signs her name “Nicole”. This adds the Concealed Message clue to your Evidence page.
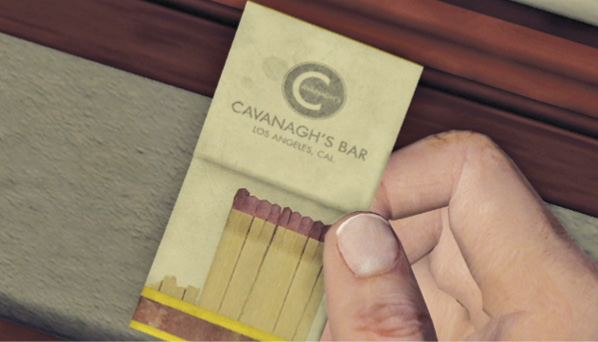
Finally, find the Cavanagh’s Matchbook on the small nightstand next to the bed. It provides you with the name of Cavanagh’s Bar in Los Angeles, which gives you a new objective: “Trace Address of Cavanagh’s Bar”. Phelps says R&I should have an address and you get an onscreen message to look for a phone.
Search the kitchen.
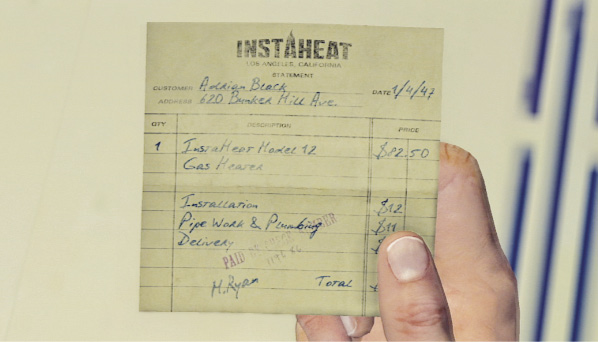
Enter the kitchen and approach the small table where you see two items. Pick up the InstaHeat Receipt on the right to verify that the Blacks did recently install a new water heater. Phelps notes that it might be time to check the installation outside.
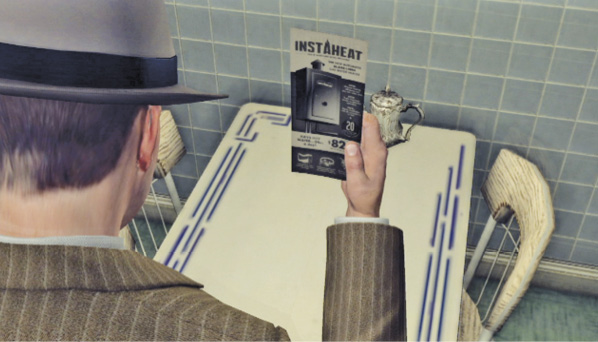
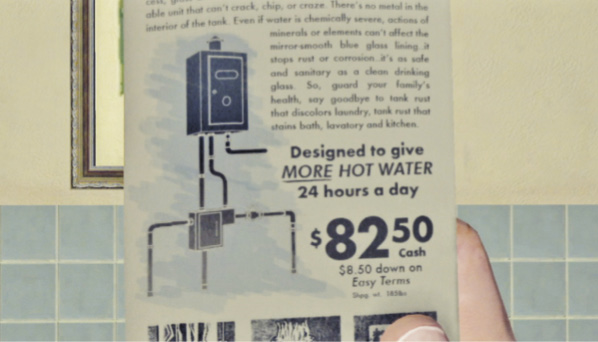
But before you go, pick up the InstaHeat Flyer on the left. Once you get the close-up, examine it further to mark it as a new clue; Phelps turns it over to see a pipe-fitting diagram for the installation. Now you can exit the kitchen, although you can find another Cavanagh’s Bar matchbook on the counter in case you missed the one in Adrian’s bedroom.
Call in for the bar address.
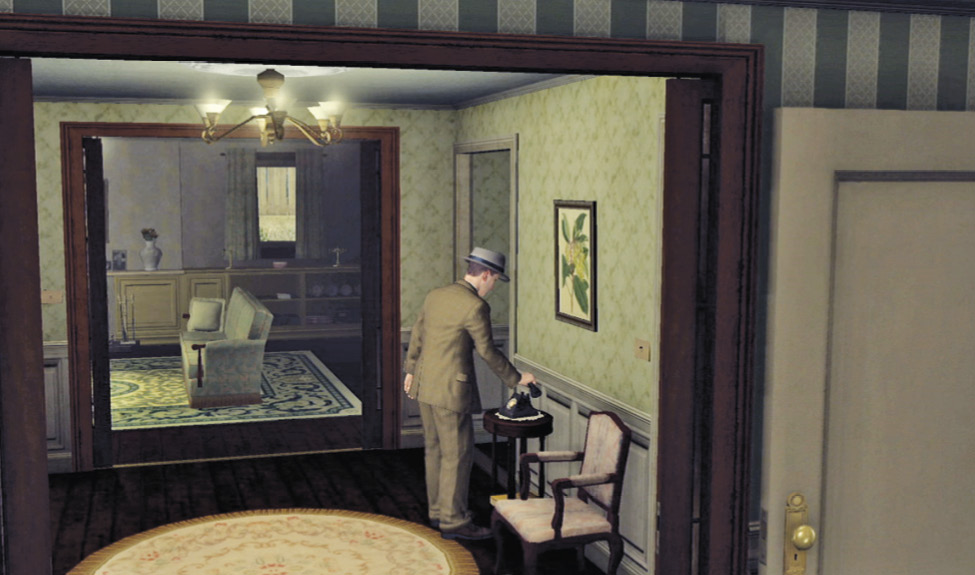
Before going outside, use the phone in the front entry hall. Phelps calls into R&I and gets the address of Cavanagh’s Bar. This puts that location on your map and adds another objective: “Investigate Cavanagh’s Bar”.
Assemble the water heater pipes.
Exit the front door, turn left, and walk around the house until you find the InstaHeat water heater on the wall. The installation is not complete—four pipe segments still lie on the ground. The camera focuses on these loose pipes.
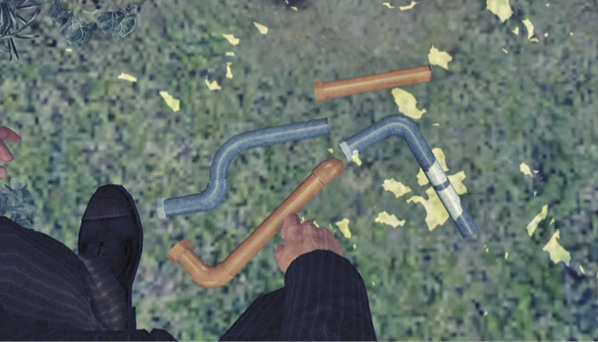
Pick up any one of the pipes; the camera shifts to view the installation. Remember the diagram on the flyer in the kitchen? Place the pipe in its proper place. (An incorrect placement causes Phelps to say, “That can’t be right”.)
When all four pipes are correctly placed, you can see that one pipe is still missing. Of course, it matches the shape of the bloody InstaHeat pipe you found near Black’s abandoned vehicle. This gives you the Water Heater clue. It also updates the information in your notebook on the “Bloody Pipe” clue.
Interview Margaret Black.
The investigation music stops, indicating that you’ve found all key clues. Time to talk to Mrs. Black. Go back inside and approach her in the living room to trigger the interview sequence.
Key Clue Checklist: Black Residence
- Train ticket
- Glasses case
- Concealed message
- Cavanagh’s matchbook
- InstaHeat flyer
- InstaHeat receipt
- Water heater
Interview: Margaret Black
Topic: Slaughterhouse receipt
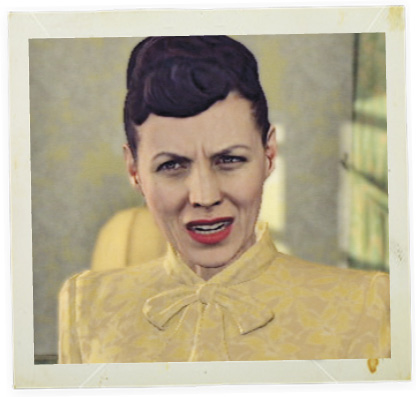
When Phelps asks about the receipt made out to F. Morgan for a live pig found in Adrian’s trunk, Mrs. Black looks stumped. “A pig? Adrian runs a tool business”, she says. But she identifies the recipient as Frank Morgan, someone she clearly doesn’t care for. Then she makes steady eye contact with the detectives.
Correct Assessment: Good Cop
She explains that Frank Morgan is the foreman at her husband’s plant and calls him a “very shady character”. Morgan is also Adrian’s drinking buddy.
Topic: Stenzel glasses case
Phelps asks if Adrian Black was wearing his glasses when she last saw him. She says yes, and adds that he just bought a new pair—an interesting detail. Once again, she looks right at Phelps.
Correct Assessment: Good Cop
Margaret Black goes on to say that she urged her husband to throw away his old pair, which he’d repaired with tape. These old glasses, of course, are what you found near the abandoned car next to Adrian Black’s wallet. If he left home wearing his new glasses, why were the old ones found at the scene?
Topic: Location of Adrian Black
Phelps asks Mrs. Black where her husband said he was going last night. Margaret answers that he simply said he was going to meet Frank for a drink. She seems sad, but no hint of duplicity.
Correct Assessment: Good Cop
Pressed for more detail, Mrs. Black notes that Adrian came home early from work—unusual because “he never comes home early”. He also left early for the bar.
Topic: Photograph signed “Nicole”
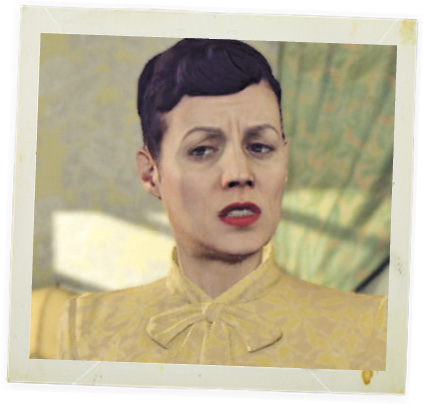
Mrs. Black seems a bit flustered by Phelps’ question about Adrian’s photo in his bedroom. She glances sideways as she explains that it’s from his most recent business trip to Seattle. Although she maintains some composure, Margaret clearly knows more than she’s telling.
Correct Assessment: Accuse
Evidence: Concealed message
Phelps accuses Mrs. Black of withholding information. When she insists she told what she knows about the picture, she sounds upset. Phelps confronts her about Nicole, the name on the back of the photo, and Mrs. Black admits she’s seen the photo frame. She knows what’s going on. There’s another woman in Seattle.
Topic: Cavanagh’s Bar matchbook
When Phelps asks about Cavanagh’s Bar, Mrs. Black says her husband “practically lives there” after work. No reason to doubt this.
Correct Assessment: Good Cop
Lately, however, Adrian hasn’t been frequenting the bar as often because he’s been away in Seattle a lot… on business, says his wife.
Topic: Alibi for Mrs. Black
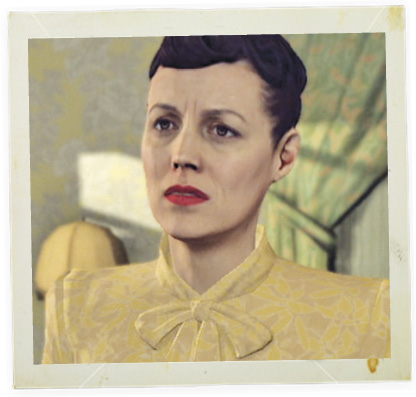
Phelps presses a little harder with this question, asking if she can account for her movements last night. She reacts with honest indignation and says she made dinner, then waited for her husband to come home.
Correct Assessment: Good Cop
Mrs. Black admits she was alone, so nobody can vouch for her story. Then she holds steady eye contact with the detective. She’s clearly an honest woman suffering the pain of a failing marriage.
Once you’ve called in for the Cavanagh’s Bar address, its location appears on your map as a yellow blip. Exit the Black residence and return to your car. Open your notebook, select locations, and then select Cavanagh’s Bar in your notebook to designate it as your current destination and mark its map location with a yellow flag.
Location: Cavanagh’s Bar
Find and interview Frank Morgan.
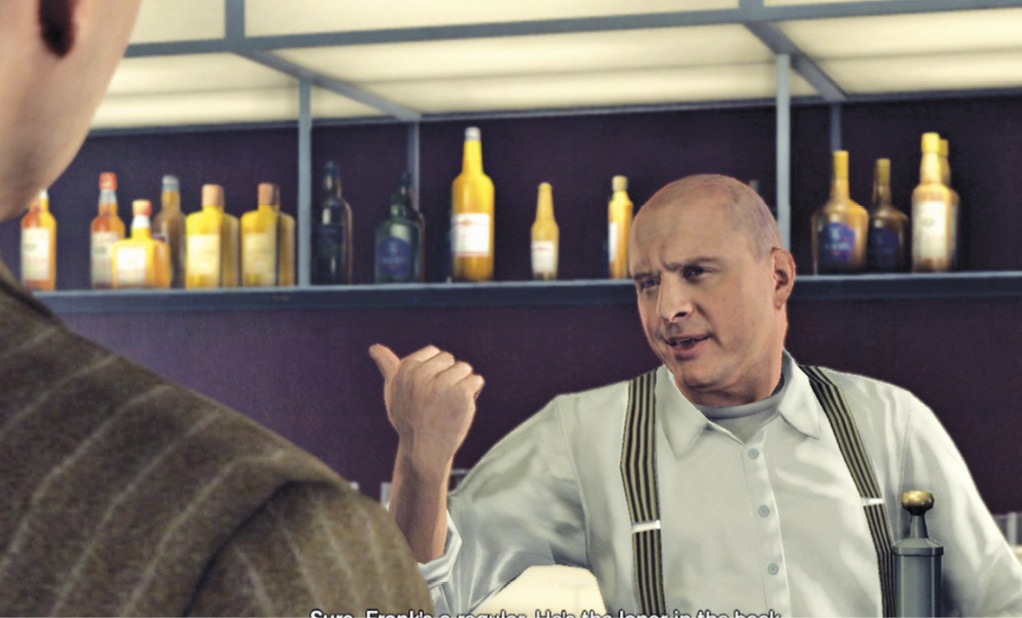
Drive (or let your partner drive) to Cavanagh’s Bar  . Enter, approach the bartender, and press the Talk button to trigger a quick exchange: Phelps asks about Frank Morgan, and the bartender points him out.
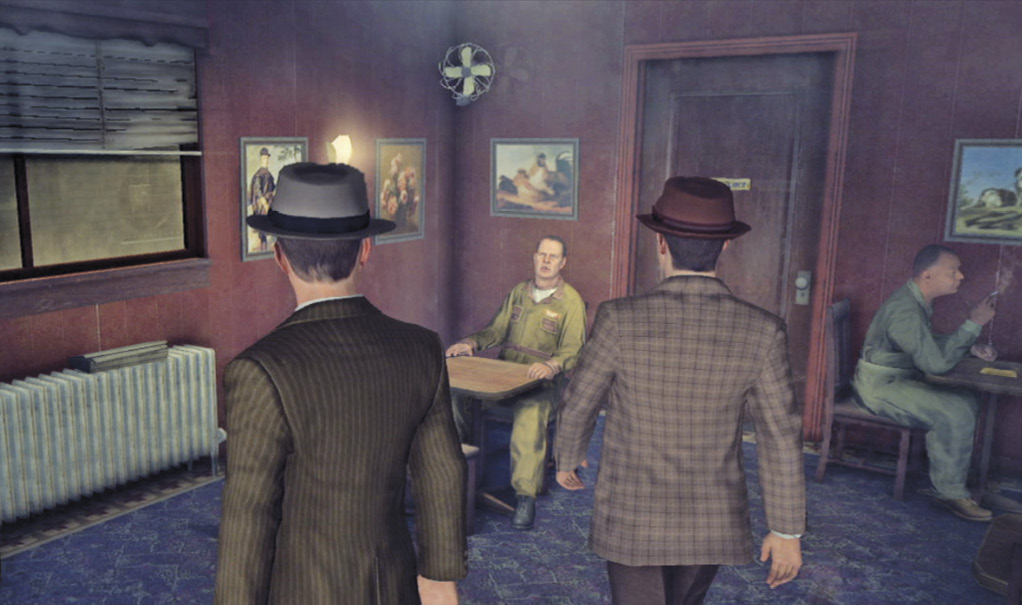
Walk to the back of the bar and approach the man sitting alone in a Saval Tool Co. jumpsuit. Press the Talk button to trigger an interview sequence. Detective Phelps asks if he knows Adrian Black is missing, and Morgan replies, “No. Tough break”. His answer doesn’t seem very believable, does it?
Interview: Frank Morgan
Topic: Link to abandoned vehicle
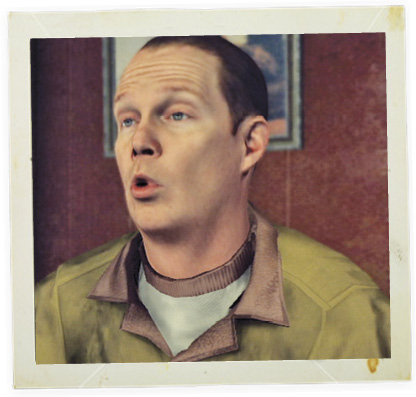
Morgan denies knowing anything about the blood-covered, abandoned vehicle. Bekowsky isn’t buying it, and you certainly have evidence to suggest it’s a lie. Watch Morgan for a few seconds. Although he makes eye contact, his face is restless—he raises his brow nervously.
Correct Assessment: Accuse
Evidence: Receipt for live hog
When Phelps calls his bluff, Morgan gets nasty and demands proof he was at the railyard. When Phelps brings up the slaughterhouse receipt, Morgan cracks like an egg. Your correct assessment adds a new topic to your Questions list.
Topic: Location of Adrian Black
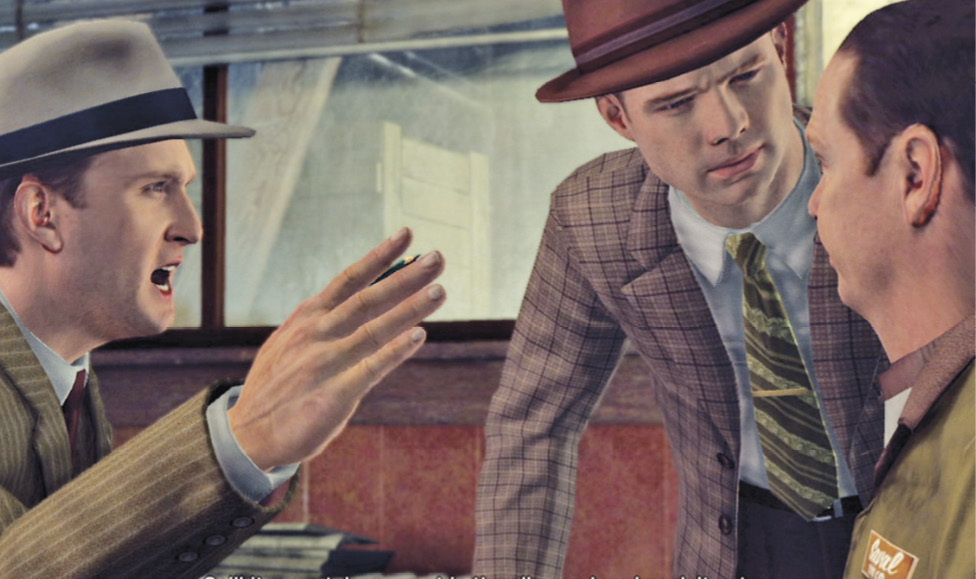
When Phelps asks for Black’s whereabouts, Morgan returns to his smarmy tone, claiming to have no idea. “I think he took off for Seattle”, he says, then tries to smile. More like a smirk, don’t you think?
Correct Assessment: Bad Cop
When Phelps and Bekowsky get tough, Morgan quickly changes his tune. He admits that Adrian Black is holed up at Morgan’s place. He spills the address, adding Morgan’s Apartment to your locations list. Select it as your current destination to mark it on your map as a yellow flag.
Arrest Frank Morgan.
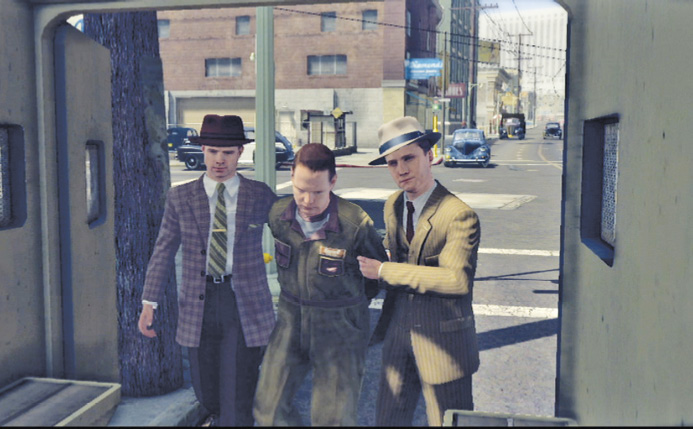
Now you can simply walk away and let Frank Morgan go—hey, he was just helping out a buddy, right? Alternatively, press the button indicated to put Frank Morgan under arrest. We recommend arrest because we don’t like the guy.
Drive to Frank Morgan’s apartment.
Get in your car and drive (or let your partner drive) to Morgan’s apartment at Temple and Figueroa. As you proceed, KGPL calls in with a report from Technical Services on the blood found in Black’s car. No surprise: the blood is not human, and most likely Swine Blood. (This adds a new clue.)
Key Clue Checklist: Black Residence
- Swine blood (call from KGPL)
Location: Morgan’s Apartment
Find Apartment 2.
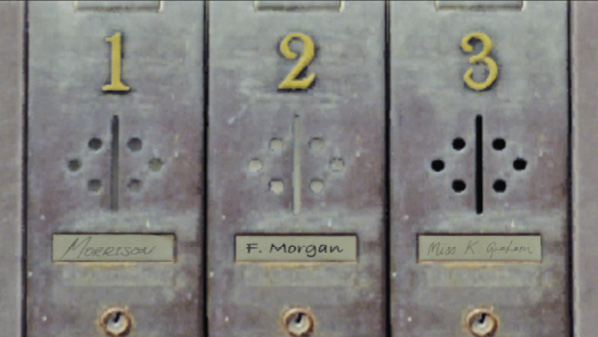
Enter the building—the entrance to Morgan’s apartment is just left of Geiger’s Rare Books. You already know that Morgan lives in Apartment 2, but you can check the mailboxes just inside the entrance just to make sure.
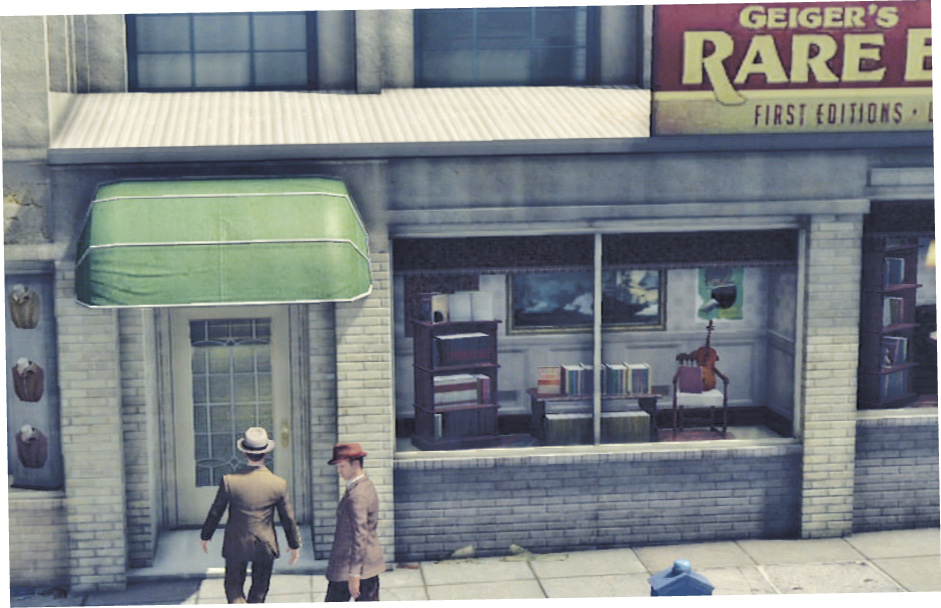
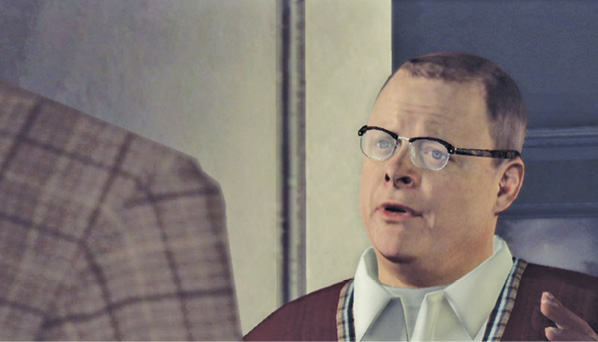
Climb the stairs, turn left, and approach the first door on the left to trigger a quick cut-scene. Phelps knocks on the door and none other than Adrian Black answers. When Phelps announces he’s under arrest, Black apologizes and says he’ll go quietly. But then he suddenly slams the door and bolts.
Apprehend Adrian Black.
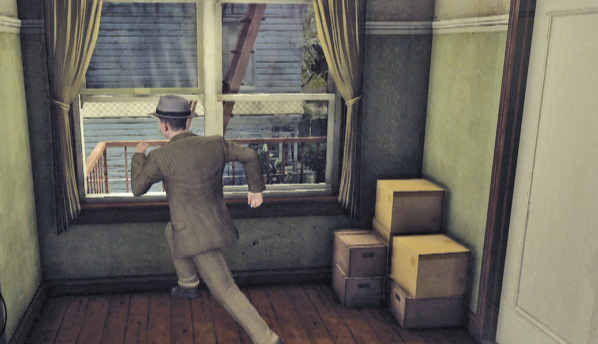
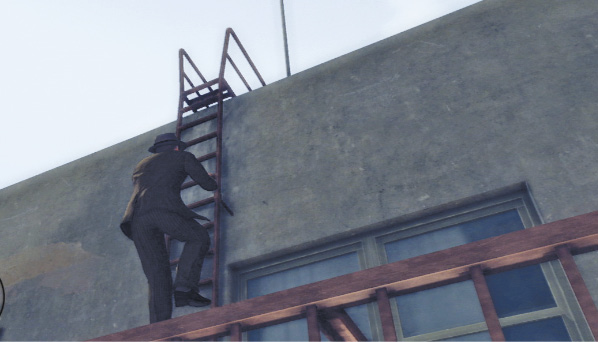
Run at the door to kick it open, then veer left into the bedroom and approach the open window—Phelps automatically climbs through onto the fire escape. Black went up, so climb the fire escape ladders to the roof.
On the rooftop, turn left and leap down to the next lower roof. Follow Black down to another lower roof, then run to the drainpipe and slide down to the ground. Chase after Black until you find Bekowsky holding the suspect at gunpoint.
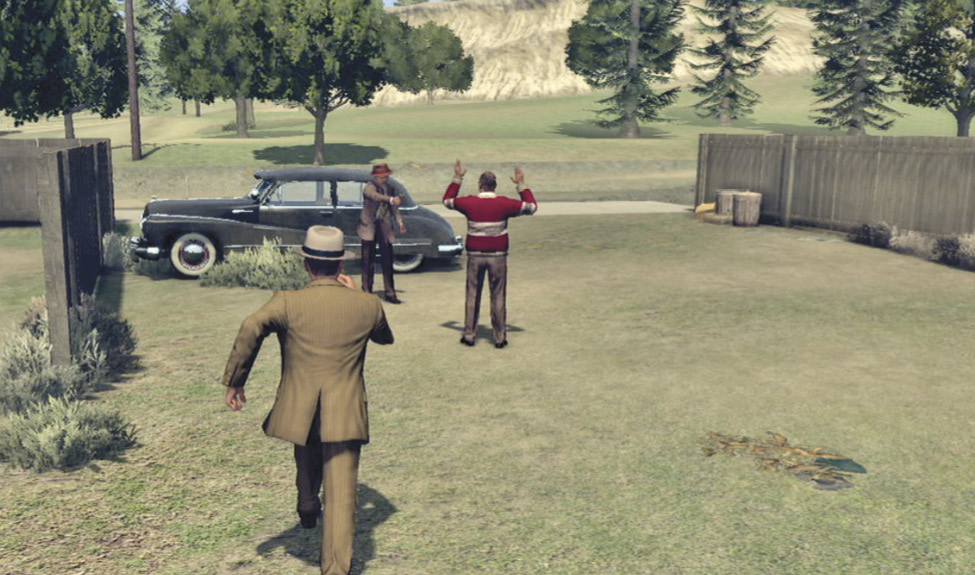
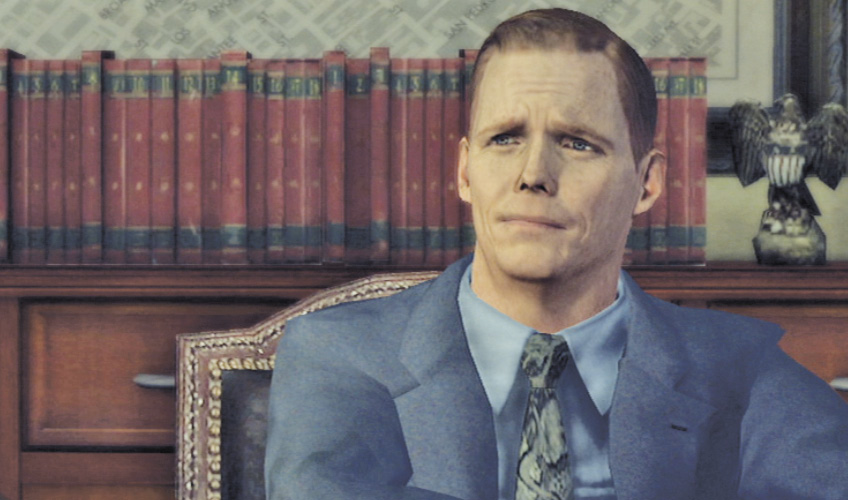
Afterward, watch the cut-scene as you end up back at the Central Police Station in the office of Captain Gordon Leary. If you performed well, the captain commends Phelps for his work.