
L.A. Noire Guide Walkthrough The Homicide Cases
CASE# AH002: The Golden Butterfly
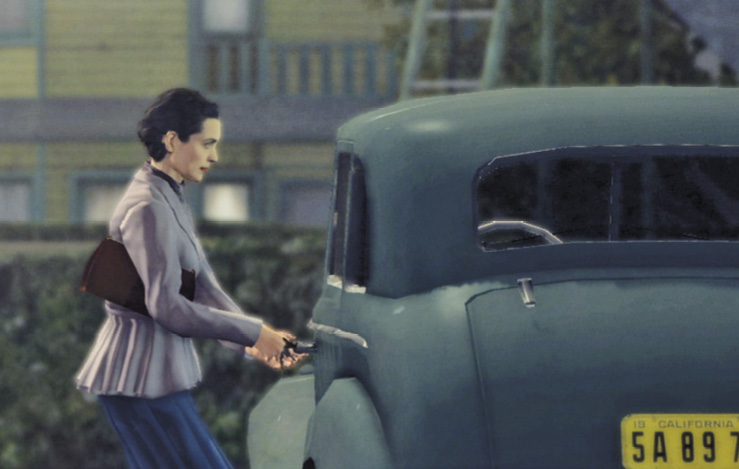
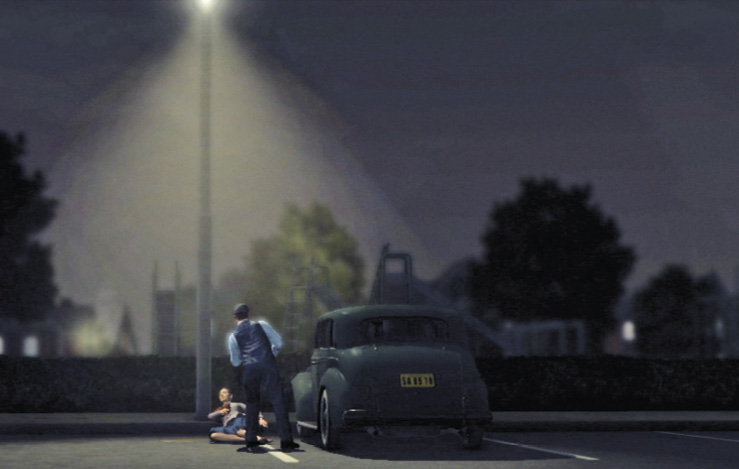
This case opens with another chilling, gruesome attack. A woman steps out of her car in a deserted parking lot and drops her keys. As she bends to retrieve them, a man in a shirt and vest bludgeons her from behind with a tire iron.
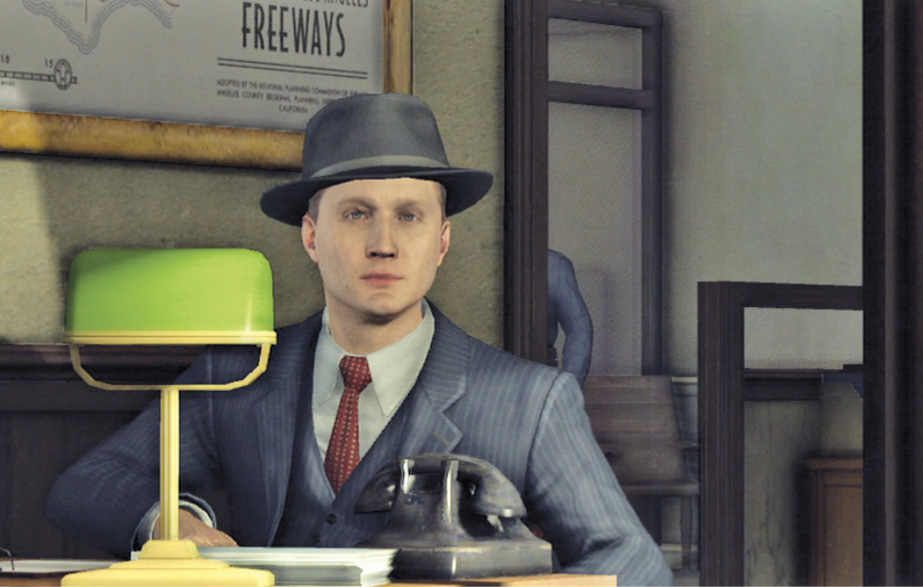
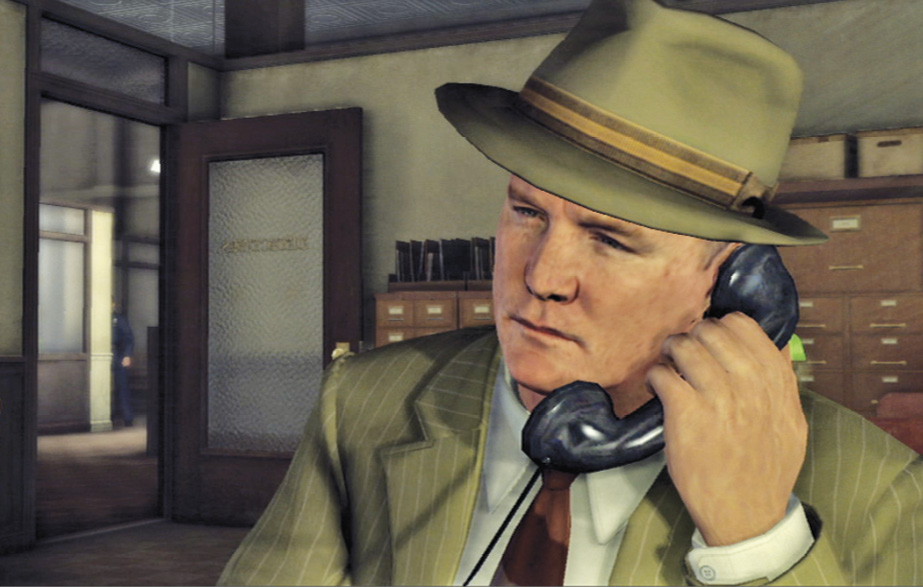
At Central Division the next day, Detective Galloway gets the call: the woman was murdered and dumped in the grass at the end of Hill Street. Phelps points out the similarity to the last case, but Galloway reminds him of the first rule of police work: make no assumptions until you’ve seen the evidence.
Objectives
- Investigate Crime Scene.
- Investigate the Moller Residence & Interview Michelle Moller and Hugo Moller.
- Speak to Moller’s Neighbor & Apprehend Hugo Moller.
- Return to Central Morgue.
- Investigate High School & Apprehend the Molester.
- Return to Cenral Station & Interview Hugo Moller and Eli Rooney.
- Accuse a Suspect.
Case Report
Total Number of Key Clues 12
Total Number of Interview Questions 15
Fail Conditions
- Phelps dies.
- Crime scene contaminated.
- Hugo Moller escapes.
- Eli Rooney escapes.
Location: Crime Scene
Investigate the crime scene.
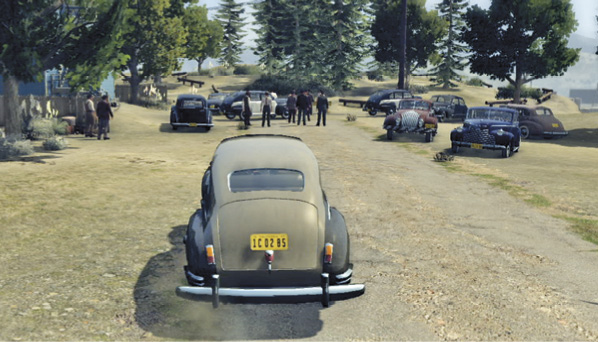
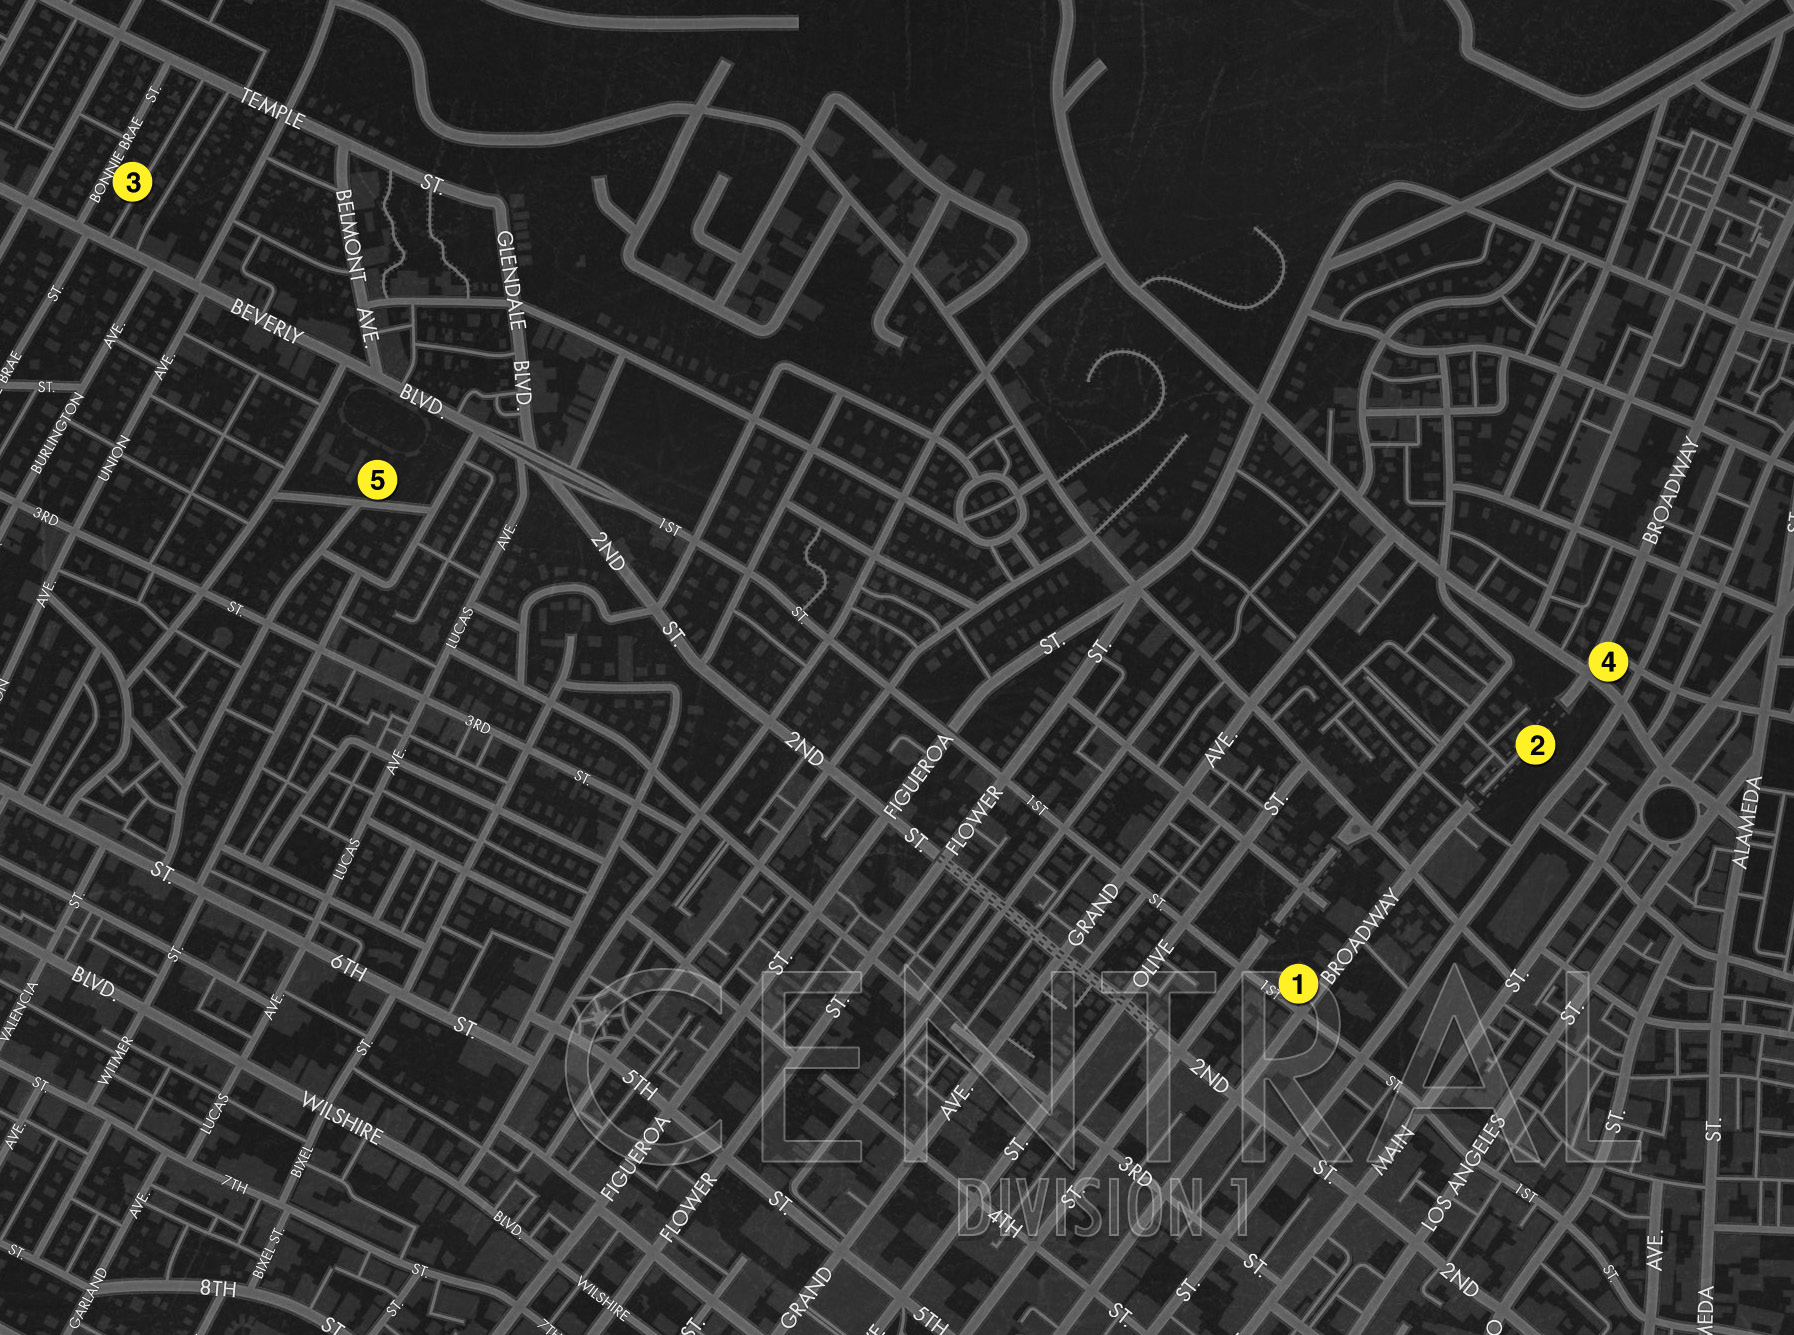
Exit the police station  and drive northeast to the yellow map flag that marks the crime scene
  . As you arrive, Captain Donelly tries to fend off the jackals of the press, who point out this slaying’s similarities to the “Red Lipstick” murder of Celine Henry, as well as the “Black Dahlia” murder of Elizabeth Short.
Walk past the crime scene barricade and talk to the uniformed officer, Gonzales, who leads you to Coroner Carruthers and the victim at evidence marker A. The coroner notes the similar M.O. to the Celine Henry murder: severely battered, left on display, and stomped with a smallish men’s shoe.
Examine the body.
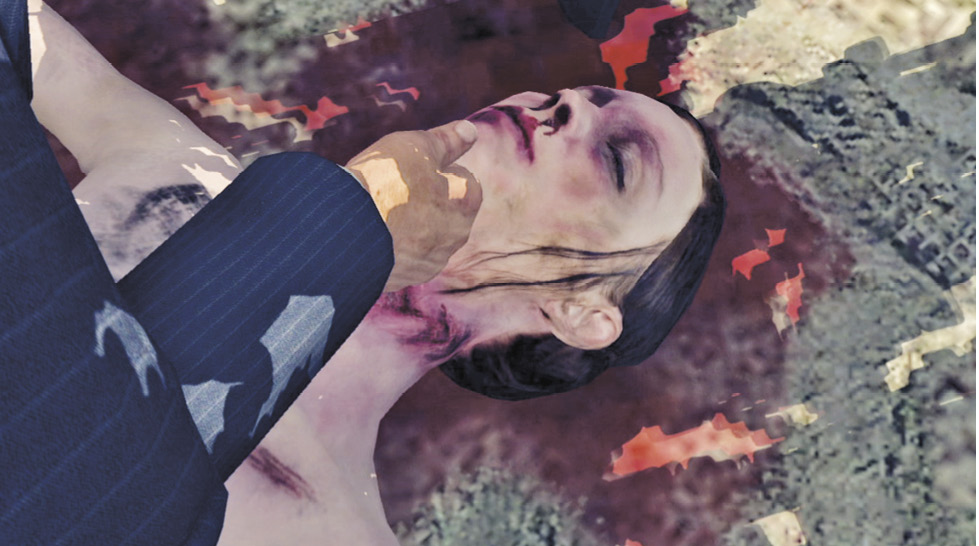
Examine the victim’s head to reveal the braided Rope Pattern on her neck. Carruthers notes that it’s very distinctive; he’ll work up some comparisons at the lab and get back to you.
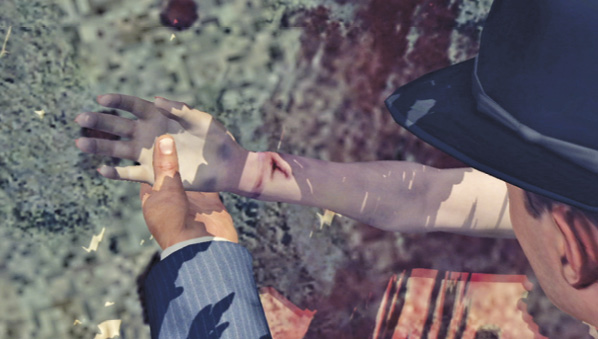
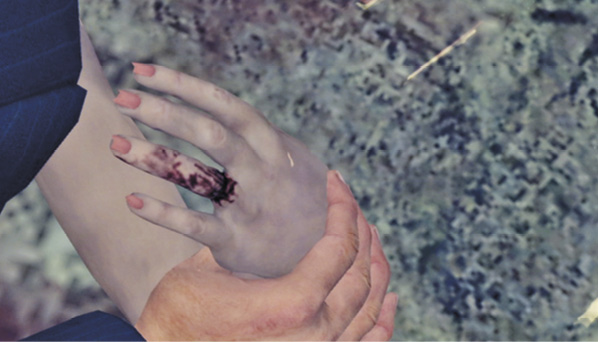
Check her right wrist for more marks; the coroner suggests that her wristwatch may have been torn off. Then examine her left hand to see that her ring has been violently removed, as well. This adds Missing Jewelry to your list of clues. You can also examine her chest to find the stomp marks of Small Men’s Footprints.
Explore the rest of the crime scene.
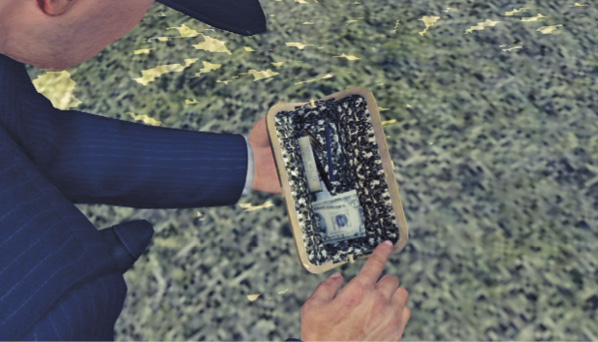
Step to evidence marker B beside the body and pick up the handbag on the ground. Examine the wad of cash in the purse; Phelps notes that the motive clearly wasn’t robbery. Then pull out the PTA nametag to learn the victim’s name, Deidre Moller. Phelps asks Officer Gonzales to run the name past R&I. Put down the purse.
Now find evidence marker C on the other side of the nearby tree. Examine the Small Men’s Footprints (added to your Evidence list if you didn’t find them earlier on the victim) leading to the body. Phelps asks if the stomping attack on Celine Henry was reported in the press; Carruthers confirms that it was and adds, “Every detail a copycat would want was there in the story”.
Once you’ve examined the evidence, Gonzalez returns; R&I says that Deidre Moller was reported missing by her husband Hugo Moller that morning. This adds the Mollers’ address to the locations page of your notebook and gives you a new objective.
Key Clue Checklist: Crime Scene
- Rope pattern
- Missing jewelry
- Small men’s footprints
Location: Moller Residence
Search the Moller residence.
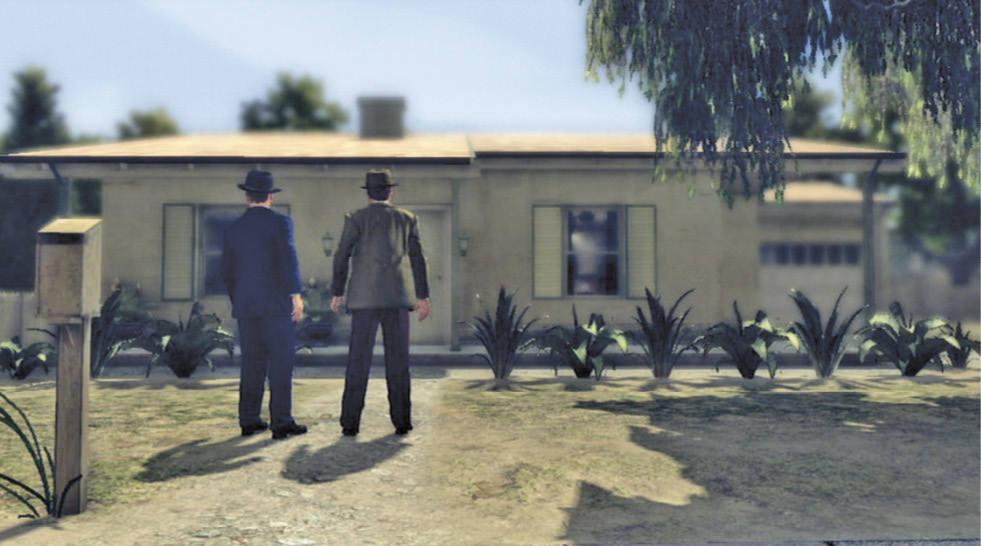
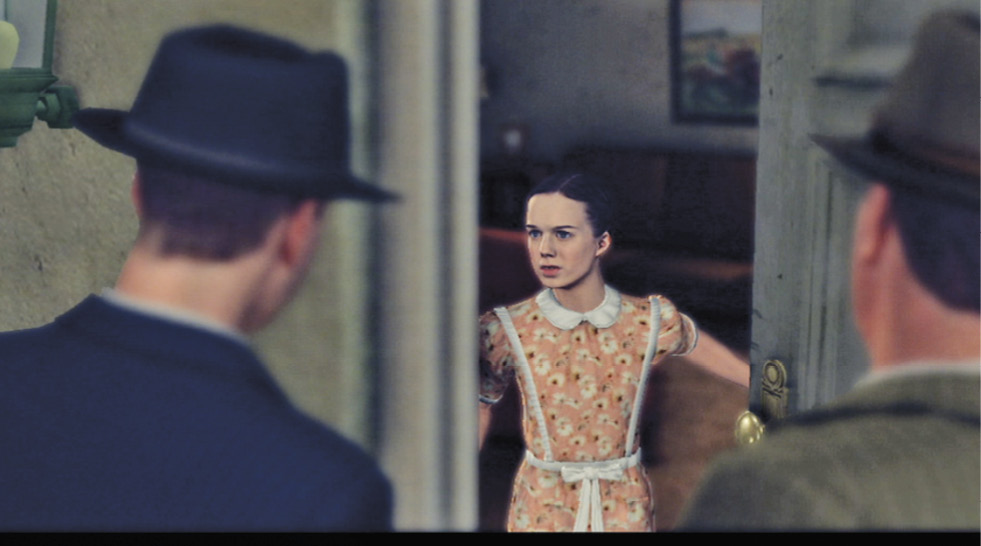
Travel to the Moller residence  and approach the front door to trigger a cut-scene. A young girl answers your knock—Michelle Moller, the 15-year-old daughter of Hugo and Deidre, invites the detectives inside. Phelps asks her to sit while he searches the premises.
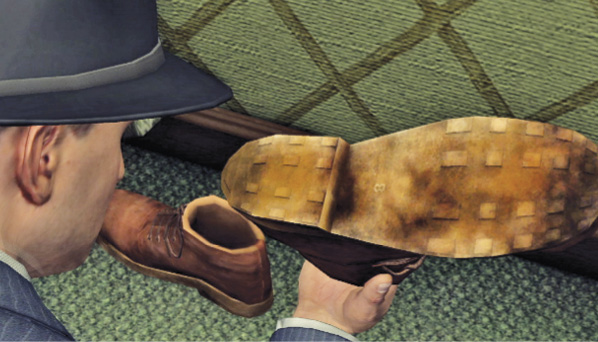
Enter the hallway, turn right, and go into the master bedroom on the left. (You won’t find anything of interest in Michelle’s bedroom.) Examine one of the Size Eight Work Boots on the floor.
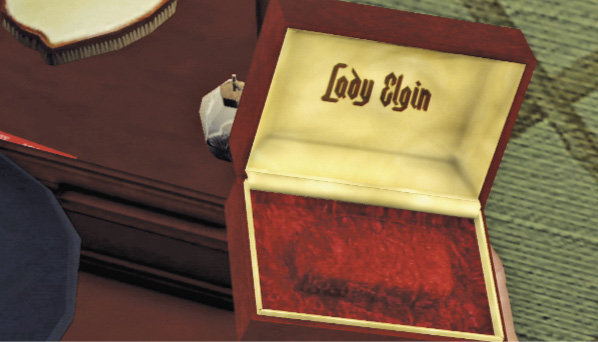
Now examine the items on the dresser top. You find an empty Lady Elgin wristwatch case and an empty ring case. Be sure to get a close look at both to add the Missing Watch and Rings update to your Clue list.
Interview Michelle Moller.
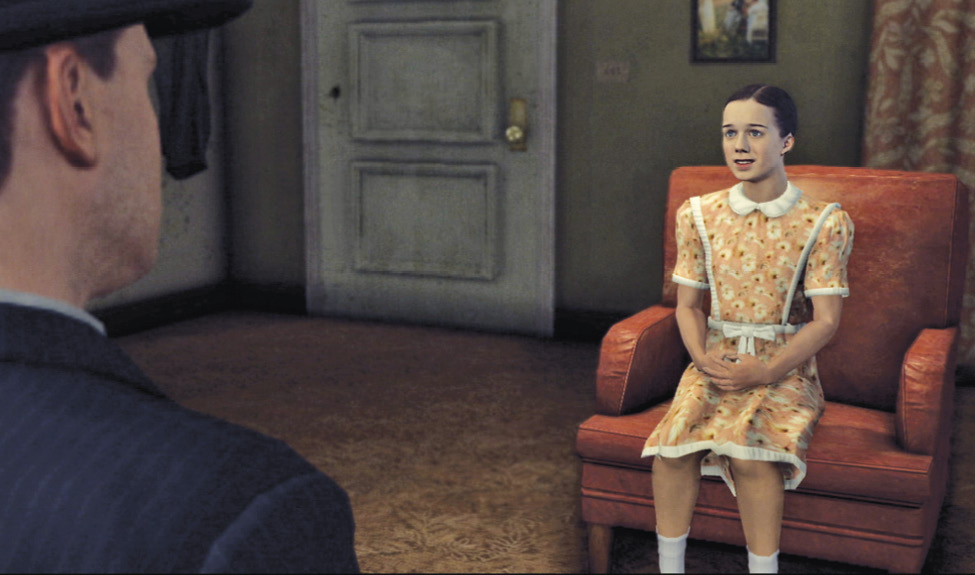
Return to the living room and approach Michelle Moller, then press Talk to trigger an interview sequence. Detective Phelps has to break the painful news about her mother to the poor girl, but she’s a trooper about answering questions.
Key Clue Checklist: Moller Residence
- Size eight work boots
- Missing watch and rings (updates “Missing jewelry”)
Interview: Michelle Moller
Topic: Last contact with victim
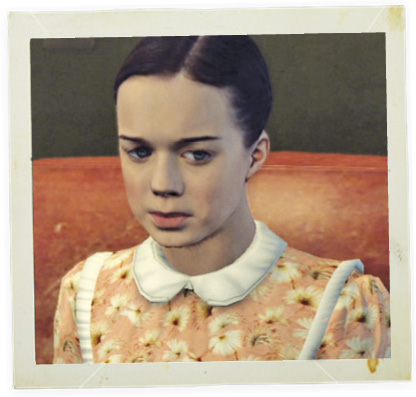
Michelle says she last saw her mother the previous afternoon before the girl attended a dance at her school, Belmont High. When her mother didn’t show to pick her up, her father came instead. But Michelle’s demeanor—averted eyes and a small wince—indicates this isn’t the whole story.
Correct Assessment: Bad Cop
Phelps presses her on what happened, and she responds with distress. She admits that she called home repeatedly, but got no answer at first. Eventually, her father picked up the phone and then came straightaway to get her. This provides important details regarding the Husband’s Alibi.
Topic: Missing watch and rings
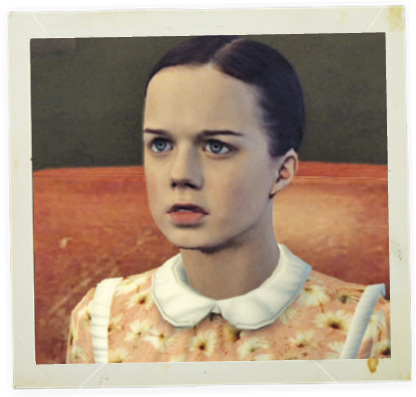
Phelps asks about the missing jewelry. Michelle recalls that her mother had a ring and a watch, but claims she didn’t really pay much attention to such things. Her gaze is steady and direct.
Correct Assessment: Good Cop
Michelle does manage to describe the rings and watch in some detail. She also reveals an interesting bit of info: her mother’s Elgin watch was a makeup present from her father after a fight
Topic: State of parents’ marriage
When Phelps asks Michelle if her parents are happily married, she reacts somewhat defensively in affirming that they are.
Correct Assessment: Bad Cop
Phelps expresses doubt and Michelle admits that her father hit her mother once. To make up, he bought his wife a golden Butterfly Brooch.
Key Clue Checklist: Michelle Moller Interview
- Husband’s alibi
- Butterfly brooch
After Phelps lauds the girl for her bravery, Hugo Moller enters the house. He sends his daughter to her room, then reacts with apparent shock when informed of his wife’s death. He sits and agrees to answer questions.
Interview: Hugo Moller
Topic: Footprints at crime scene
Phelps asks Hugo his shoe size. He replies that he wears size nines, but if you searched his bedroom beforehand you know better.
Correct Assessment: Accuse
Evidence: Size eight work boots
When Phelps brings up the work boots you found, Hugo admits that he’s sensitive because he often gets teased about the smallish size of his feet.
Topic: Missing persons report
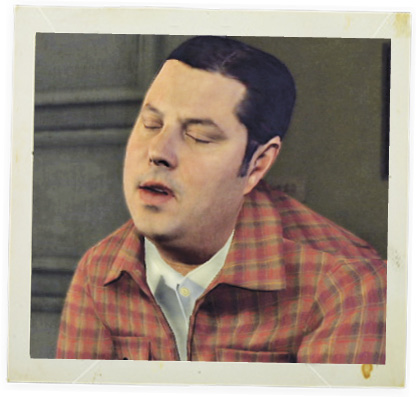
Hugo confirms that he filed a missing persons report for his wife that morning. He says Deidre left home around 9:30 PM, but didn’t arrive to pick up their daughter at the high school dance. This seems true enough, but he’s clearly nervous. He swallows repeatedly as he talks, and then glances away and closes his eyes several times after he finishes.
Correct Assessment: Bad Cop
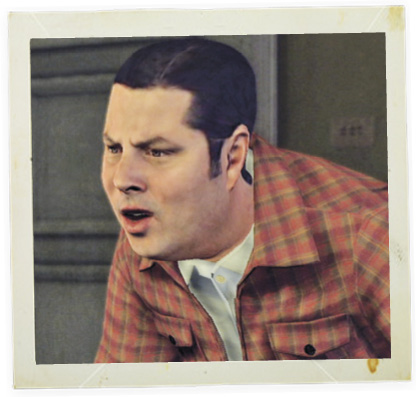
When Phelps asks if Deidre ever went to bars by herself, Hugo suddenly gets animated. He loses his cool and gets to his feet, asking if the detective is suggesting his wife is loose. He explains that their marital argument was about picking up Michelle from the dance.
Topic: Alibi for Hugo Moller
Phelps asks if Hugo stayed home all night, and he answers that he did. Of course, this contradicts what his daughter told you. (You can’t correctly challenge this assertion as a lie unless you elicited the “Husband’s alibi” clue when you interviewed Michelle Moller.)
Correct Assessment: Accuse
Evidence: Husband’s alibi
When confronted with Michelle’s statement, Hugo admits that he drove around for a while in order to relax. Now a new topic appears on your Questions list.
Topic: History of violence
Phelps describes the brutality of Deidre’s murder and points out Hugo’s history of domestic violence. Hugo denies it, of course, but you have evidence to suggest otherwise.
Correct Assessment: Accuse
Evidence: Butterfly brooch
When Phelps brings up the golden butterfly brooch and calls it a “payoff” to buy Deidre’s silence, Moller again vigorously denies that he’s a violent man feared by his wife and daughter.
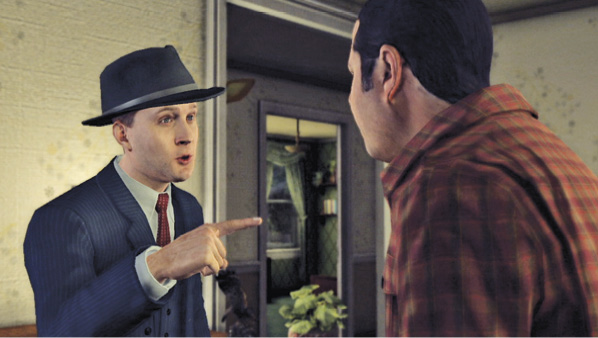
Interestingly, Phelps decides to allow Hugo to report on his own to Central Station for questioning. When Galloway protests and wants to cuff the suspect, Phelps points out that Moller’s daughter is in the next room. He warns Hugo not to run.
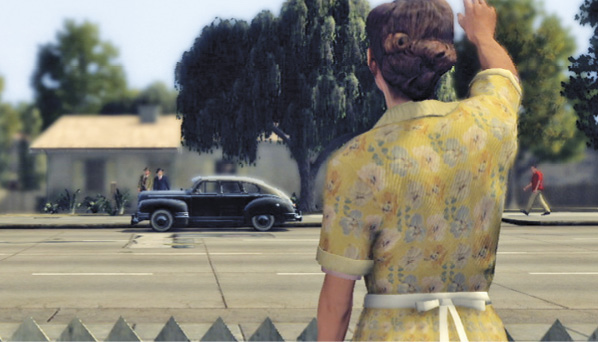
Later, outside, Phelps explains more of his rationale to Galloway: despite Hugo’s history of domestic violence, they still need to break his alibi because there’s no physical evidence tying Hugo to the crime scene. As they speak, a neighbor hails the detectives from across the street.
Speak to the neighbor.

Approach the woman to trigger a conversation. She reports that the Mollers had a loud argument the night before. She also saw Mr. Moller burning something in his incinerator that morning. Suddenly, she spots Hugo at the incinerator, giving you a new objective.
Take Hugo Moller into custody.
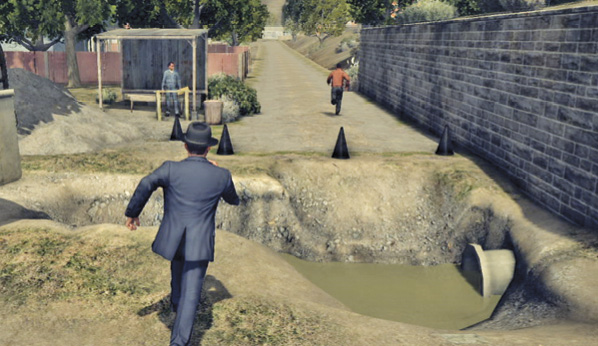
Approach Hugo Moller, who is now marked as the red blip on your radar mini-map. As you get close he takes off running. Chase him down! Follow Hugo as he sprints down the alley, and tries to cut through yards. When you get close, tap the Tackle button indicated onscreen to bring him down. (If you fail to tackle Moller during the chase sequence, you eventually catch him when he tries to open a locked door.) After the capture, you end up back at the incinerator in Moller’s yard.
Inspect the incinerator.
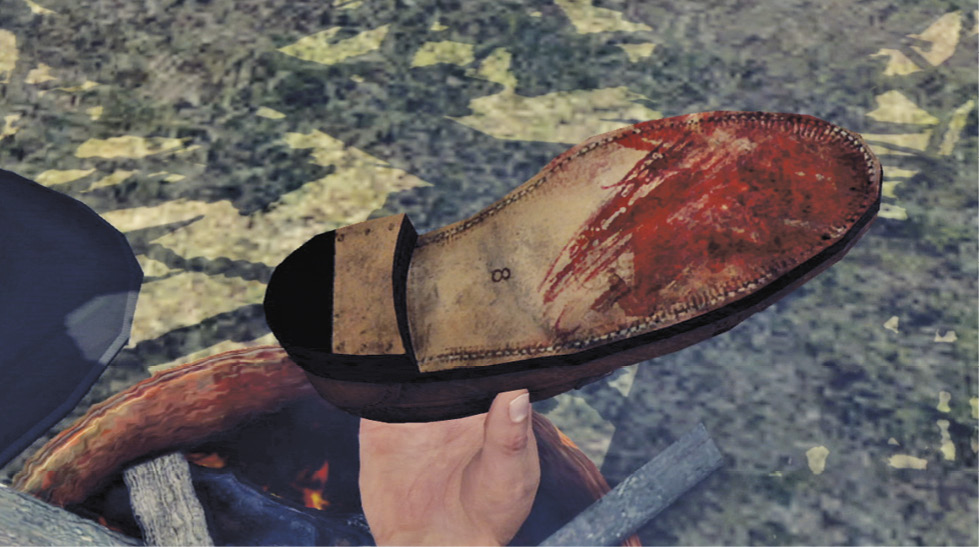
Examine the incinerator and pick up one of the Bloody Shoes (the undamaged one). When you turn it over, you find it’s a size eight! Phelps places Moller under arrest for the murder of his wife, but Hugo insists he can explain the blood.
This triggers an automatic cut-scene: as a paddy wagon hauls Moller off to Central Station, Phelps tends to the welfare of Michelle, instructing her to contact relatives and promising help from Juvenile Hall.
When the scene ends, use the nearby gamewell to get the Belmont High School address while Galloway calls in the request from your car. Soon you get a pair of KGPL calls. First, you learn that Coroner Carruthers has his report ready for you downtown. Swing by the morgue and pick it up.
Key Clue Checklist: Moller Residence
- Bloody shoes
Location: Central Morgue
Return to Central Morgue.
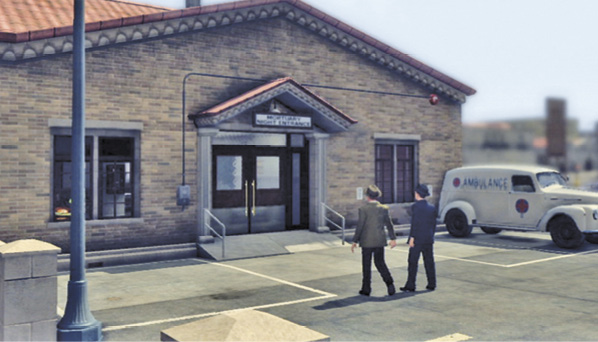
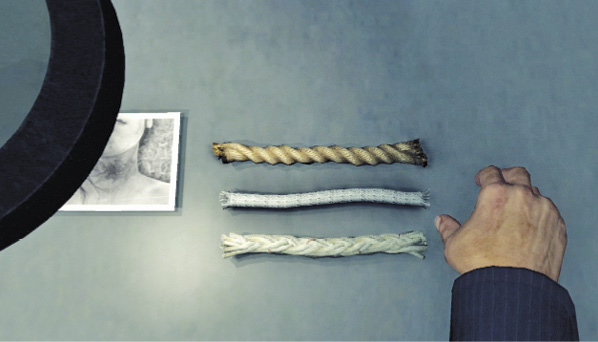
Travel to Central Morgue  , the new yellow flag on your map. Enter the mortuary night entrance; just inside, veer to the right into the examination room to trigger a cut-scene.
Phelps asks if Coroner Carruthers can check the blood type on the shoes you found in the incinerator against the victim’s type. Carruthers confirms strangulation as cause of death and directs you to view the samples on the bench. Examine the bench to see three rope samples next to a close-up photo of the ligature marks on Deidre Moller’s neck.
The bottommost rope, the heavily braided one, is the obvious match. Select it to move it under the magnifying scope and over the photo for comparison. As Galloway points out, braided rope is commonly used on boats as mooring lines; the coroner adds that according to Ray Pinker of Technical Services, it’s sometimes used as a bell rope in churches, too. Carruthers notes that he found no sign of semen on the body, which suggests there was no sexual assault.
Now examine the plaster shoeprint molds taken from the murder scene, just to the right of the rope samples. They’re Size Eight Footprints; Carruthers notes that they’re very similar to the prints in the Celine Henry case.
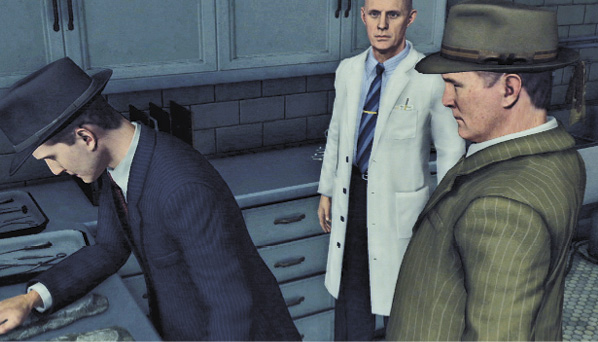
Before leaving, you can also take a look at the body and a sample of the autopsy organ removal on the scale. (You don’t learn anything new from this viewing.)
As you exit the morgue, KGPL calls: “Car 11K, Car 11K, come in”. Start driving and you get a report that Deidre Moller’s green 1946 coupe has been found in a parking lot adjoining Belmont High School and its playing fields. Travel to that location now.
Key Clue Checklist: Central Morgue
- Size eight footprints (update of “Small men’s footprints”)
Location: Belmont High School
Meet the school janitor.
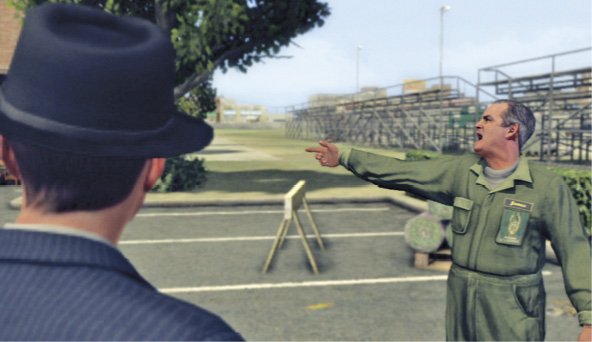
Follow the yellow blip that marks the location of Belmont High School  . Your arrival triggers a cut-scene. Phelps questions the school janitor, James, who reports that he saw a man park the car in the lot around 1:00 AM. He mentions some recent problems with a child molester, but he doesn’t know if it was the same man. Before he can comment further, he suddenly spots the molester!
Apprehend the child molester.
Sprint full speed through the first gap in the field bleachers on your right. (Remember: the suspect is marked as the red blip on your map.) Run at an angle across the football field and aim for the gap between the blocking sled on the left and the track hurdles on the right.
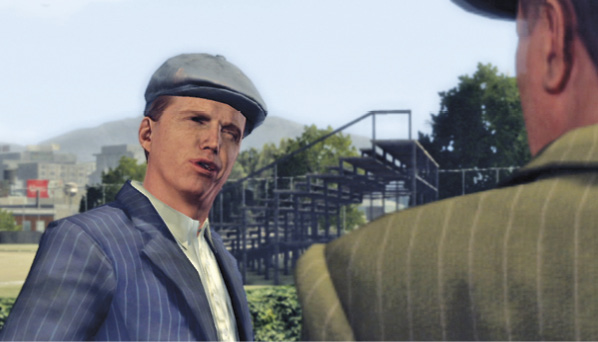
Follow the fleeing suspect around the far bleachers and up the stairs to street level. Stay on his tail as he veers down the alley between buildings on the right and hops over fences, trying to escape through yards. Then tackle him when you get close enough. (If you can’t manage to tackle the suspect during the chase, Galloway eventually cuts him off at the end of an alley with the car; then you must defeat the suspect in a brawl.) This triggers a cut-scene: after Phelps drags him back to the parking lot, he gives his name as Eli Rooney.
Eli claims no knowledge of the woman attacked the previous night, but when the detectives force him to turn out his pockets he produces Deidre Moller’s golden Butterfly Brooch! He claims, however, that he found it in the parking lot.
Search the trunk of Deidre’s car.
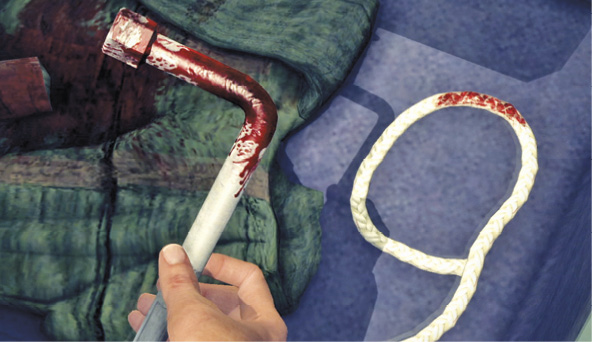
After Eli Rooney is hauled away in the paddy wagon, open the trunk of the 1946 coupe to find a trio of bloodstained items. Examine the Rope, the Bloody Tire Iron, and the Overalls stenciled with “H.M”.—the same initials as Hugo Moller, who also happens to be a mechanic. Then walk away from the car to get a new objective.
Call Central.
Follow the phone icon on your map to the gamewell on the nearby sidewalk. Use it to call in to Central Station and set up both Hugo Moller and Eli Rooney in interview rooms for interrogations.
Key Clue Checklist: Belmont High School
- Butterfly brooch (updated)
- Rope
- Bloody tire iron
- Overalls
Location: Central Station
Interview Hugo Moller.
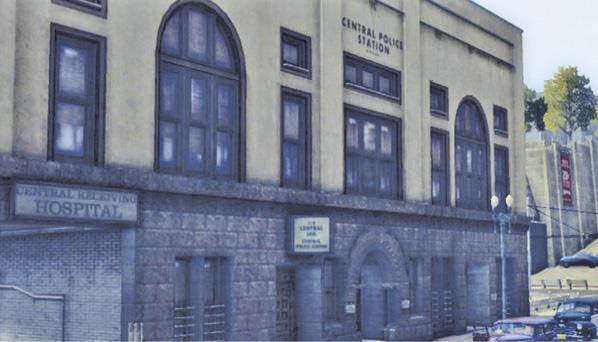
Travel back to Central Station  and enter the building. Your new objective is to charge one of the two suspects with murder. Approach the watch desk to trigger a quick cut-scene with the Watch Commander, Mel Fleischer. He tells Phelps where the suspects are waiting.
Let’s start with Moller. Find him in Interview Room 2. When you approach, Phelps lays out the case, but Hugo continues to protest his innocence. He even offers to take a lie detector test.
Interview: Hugo Moller
Topic: Disposal of evidence
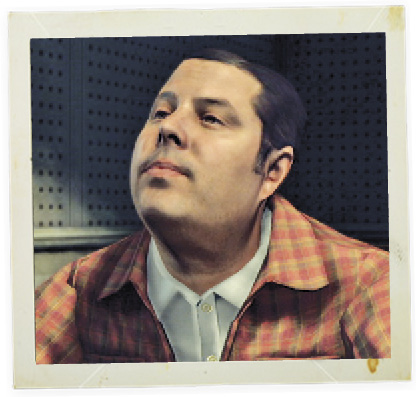
When Phelps asks why Hugo was burning his bloody shoes, the suspect replies, “Because I knew you wouldn’t believe me”. The answer certainly seems straightforward and his look is direct.
Correct Assessment: Good Cop
Hugo claims that the blood came from a skinned rabbit. The coroner’s report should confirm or deny that assertion easily enough.
Topic: Access to braided rope
Phelps asks if Hugo knows anything about ropes. The suspect says he was a Boy Scout and learned a bit more in the Army, but says he doesn’t know much more than the average fellow.
Correct Assessment: Bad Cop
Phelps pushes Hugo about strangulation. Moller answers aggressively, admitting that he learned various ways to strangle someone in the Army. He openly admits that, if he had to choose, he’d use a triple-braid rope—the very kind used to strangle his wife. This would seem like an odd admission if he were indeed the killer.
Topic: Access to tire iron
Phelps points out that Deidre was beaten savagely with a tire iron, then suggests that it’s an appropriate choice of tool for a mechanic like Hugo. Hugo haltingly denies knowing anything about a tire iron. His eyes turn shifty.
Correct Assessment: Accuse
Evidence: Bloody tire iron
Deidre Moller drove a Chevrolet, but Hugo admits he drives a Chrysler Airflow—the same make as the tire iron that helped kill his wife.
Topic: Victim’s vehicle recovered
Phelps tells Hugo about the discovery of Deidre’s car in the school parking lot, then asks where he keeps his work clothes. Hugo claims to keep them in his locker.
Correct Assessment: Accuse
Evidence: Overalls
When Phelps tells Hugo about the bloodstained overalls bearing his initials in the trunk of his wife’s car, he denies that they could be his.
This ends your interview with Hugo Moller. You get the choice to either charge him with murder or exit the room without leveling charges. Let’s talk to Eli Rooney before we jump to any conclusions.
Interview Eli Rooney.
Exit Interview Room 2 and head down the corridor in search of Rooney in Interview Room 1. You run into Captain Donelly just outside the door; he asserts that he’ll be dealing personally with the accused. Enter the interview room to find a battered suspect. Pedophiles are a particularly despised class of criminal.
Interview: Eli Rooney
Topic: Footprints at crime scene
When Phelps asks his boot size, Eli says he wears whatever he can get his hands on—currently size elevens, he claims.
Correct Assessment: Bad Cop
Phelps doesn’t believe it, based on Rooney’s short stature. After a bit more prodding, he admits that he just might wear an eight. When Phelps asks why he “punishes” children with his iniquity, Eli seems to suggest it’s a continuation of abuse he once suffered himself.
Topic: Place of employment
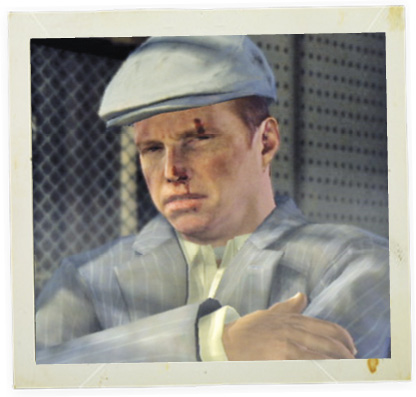
Phelps asks about Eli’s job. He says he worked in San Pedro, but now he’s looking for something new. Eli is not easy to read, but this answer leaves too much unanswered, and his folded arms and surly look suggest he’s holding something back.
Correct Assessment: Bad Cop
Eli says his ex-employer was Hennessy Marine—matching the initials stenciled on the bloody overalls found in Deidre Moller’s trunk. Eli goes on to admit that the company gave him green coveralls to wear for work.
Topic: Access to braided rope
Phelps gets Eli to admit he uses rope to truss some of his victims. He claims to have no particular rope preference.
Correct Assessment: Good Cop
When pressed however, Eli admits that he prefers braid: “You tie a hitch in braid, it stays tied”.
Topic: Motive for Moller murder
Phelps suggests that Eli killed Deidre Moller in order to steal her jewelry. Eli flat out denies that, unlike his reactions to other accusations.
Correct Assessment: Bad Cop
Now Eli tells what he claims to know: he saw the car enter the parking lot late the previous night. A man got out of the car and changed clothes, putting his coveralls in the trunk. Then the man dropped the butterfly brooch in the lamplight and walked away. Eli says he went to pick it up. And that’s his story.
Before the interview ends, you’re given the choice of selecting either Charge or Exit.
You have enough evidence to charge either Hugo Moller or Eli Rooney with the murder. Choose either one to close the case and complete The Golden Butterfly. Our preference is to lock up the admitted child sex offender, plus you earn the five-star award if you charge Rooney. Afterward, Captain Donelly assesses your performance.