
L.A. Noire Guide Walkthrough The Homicide Cases
CASE# AH004: The White Shoe Slaying
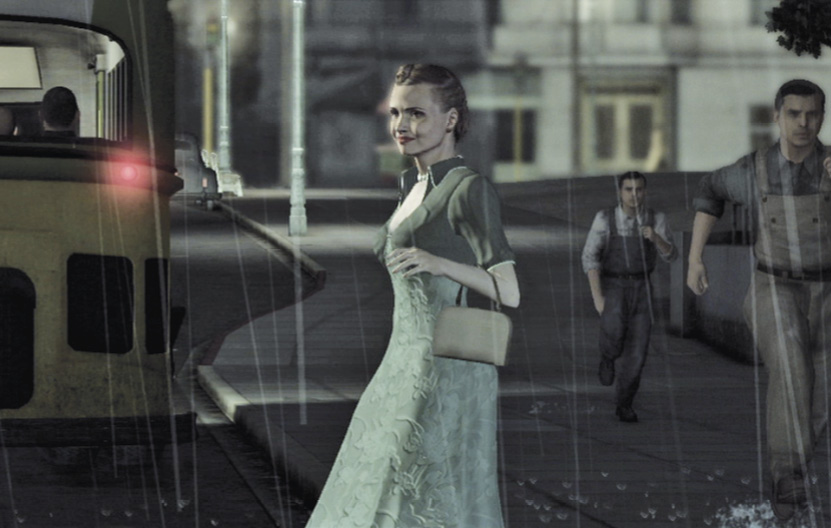
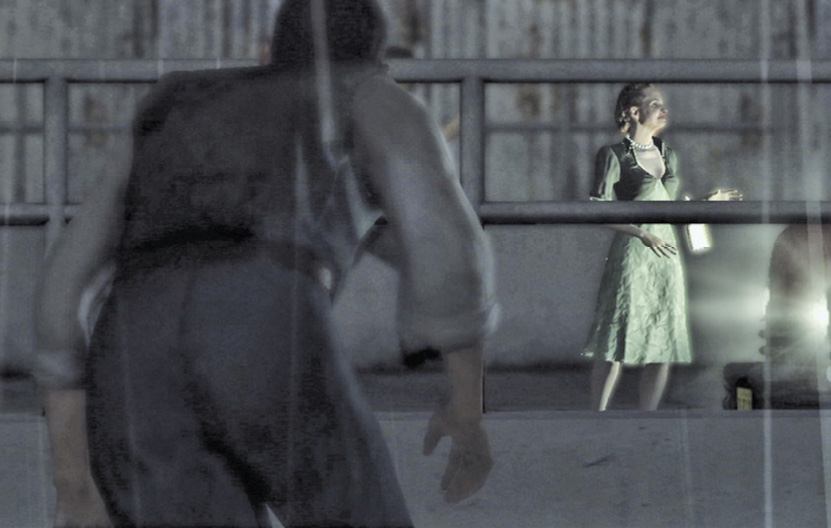
An attractive and visibly inebriated woman steps off a city bus in the middle of a late night downpour. Oblivious to the precipitation, she staggers into the street and nearly gets hit by a car. Across the street, a male figure stoops to watch her with great interest through a railing…
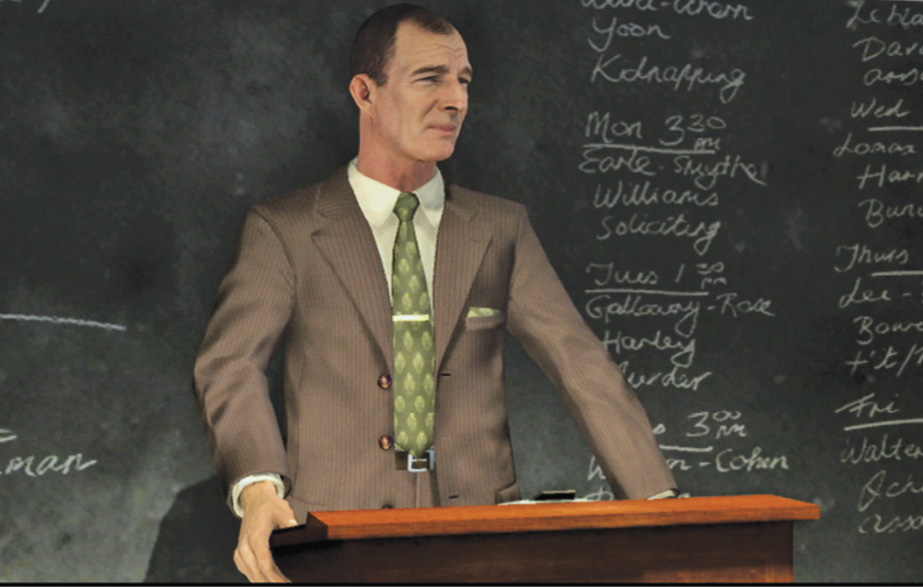
The next day, the storm still rages. In the Central Police Station briefing room  , Captain Donelly announces yet another case for Phelps and Galloway: a fourth woman dumped atop Signal Hill. As you leave the briefing room, other detectives ask Donelly about the latest letter in the Black Dahlia investigation.
Objectives
- Investigate Crime Scene & Interview Catherine Barton.
- Investigate Superior Laundry.
- Investigate Taraldsen Residence & Interview Lars Taraldsen.
- Investigate Baron’s Bar & Interview Benny Cluff.
- Apprehend & Interview Richard Bates.
- Trace Yellow Cab.
- Interview James Jessop at Central Station.
- Investigate Interstate Bus Depot.
- Trace All American Bus 74.
- Investigate Hobo Camp & Arrest Stuart Ackerman.
- Interview Stuart Ackerman at Central Station.
Case Report
Total Number of Key Clues 17
Total Number of Interview Questions 17
Fail Conditions
- Phelps dies.
- Crime scene contaminated.
- Bates escapes.
- Fail to charge Ackerman.
Location: Signal Hill Crime Scene
Investigate the crime scene.
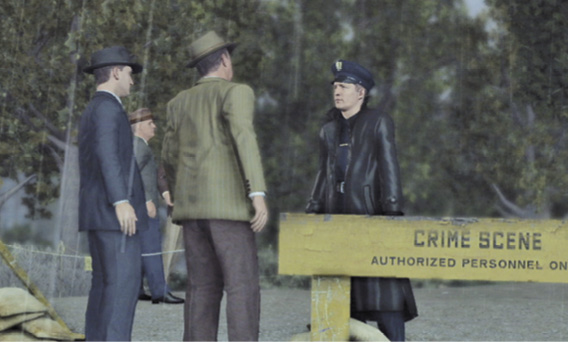
Travel to the Crime Scene  on Signal Hill. Approach Carruthers and Pinker. You see an awfully familiar scene: a murdered woman, dumped at the end of a road, blunt force trauma to the head and likely strangled with triple-braid rope, according to the coroner. He places Time of Death at around 2:00 AM. Pinker of Technical Services says much of the trace evidence has been washed away in the storm.
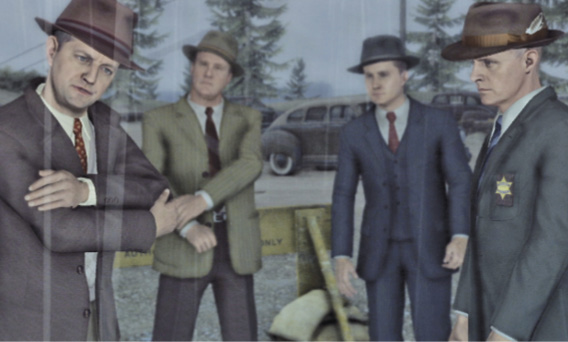
Phelps notes that she was left clothed with no writing on the body; her green silk dress is distinctive, and she’s missing one of her white shoes. Carruthers also points out no handbag or other personal effects lying about, as well as tire tracks leading away from the body.
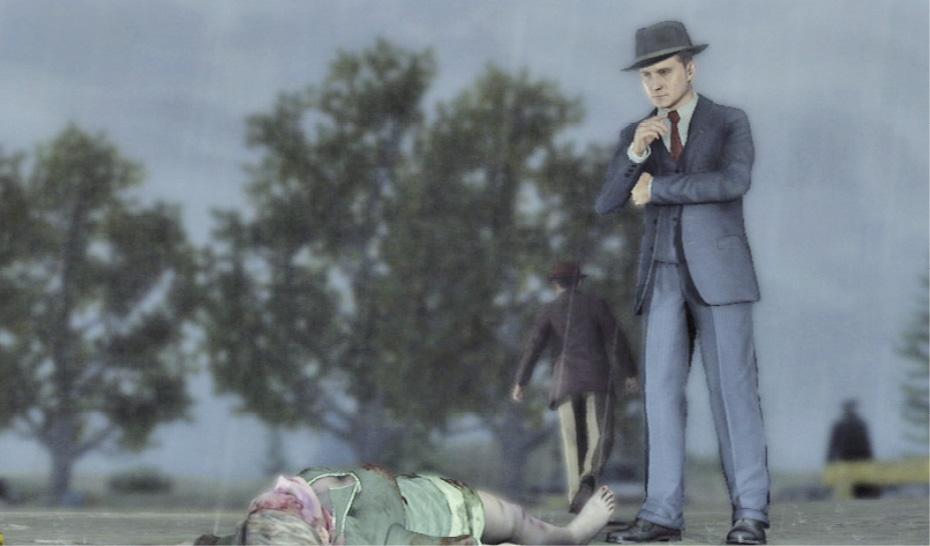
Examine the body.
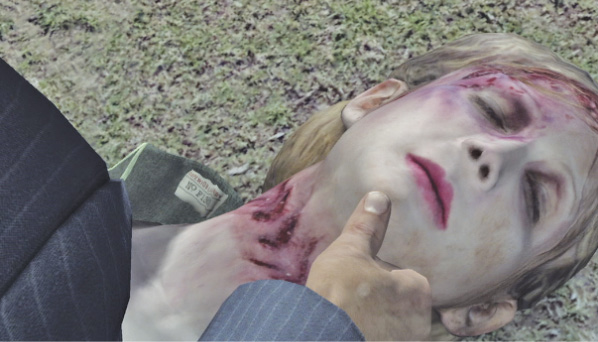
Approach the body at evidence marker A. Examine her head, moving it until you get a close-up of a Laundry Label from Superior Laundry on the collar of her dress. Phelps notes the number: F1363. Examine both of the victim’s arms to find that neither one of her hands shows signs of forcibly removed jewelry.
Explore the rest of the scene.
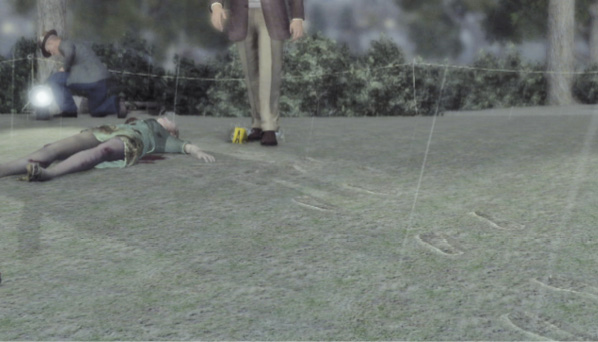
At evidence marker B, you find Boot Prints (but no drag marks) running from the body to a set of Tire Tracks at marker C. That does it for physical evidence at the scene. You need an address for Superior Laundry, so head for the gamewell hanging on the nearby telephone pole.
Key Clue Checklist: Signal Hill Crime Scene
- Time of death
- Laundry label
- Boot prints
- Tire tracks
Interview Catherine Barton.
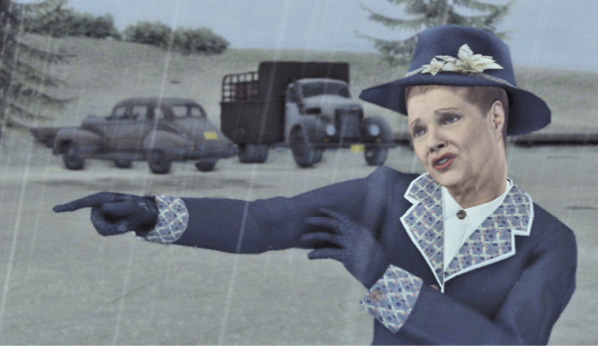
Stepping outside of the crime scene triggers a cut-scene. A squad car pulls into the lot, and the officer delivers a woman named Catherine Barton, who lives just across the way on Signal Hill. After she introduces herself, a short interview sequence begins.
Interview: Catherine Barton
Topic: Suspicious persons

Catherine Barton didn’t see anybody around late last night, but earlier in the evening she spotted “that awful hobo” on the hill. (This adds “Hobo” to your P.O.I. list.) Catherine seems like an honest, respectable woman, so there’s no reason to doubt her word.
Correct Assessment: Good Cop
She describes the hobo as a “very scary, angry man”:
tall, gaunt, and terribly disfigured. She mentions that he seems to be some sort of hobo leader—other hobos look up to him. She expects he can be found in one of the hobo camps around the area.
This updates the hobo’s description in your P.O.I. section to “Disfigured Man” and gives you a new objective: Locate the disfigured suspect.
Use the gamewell for new locations.
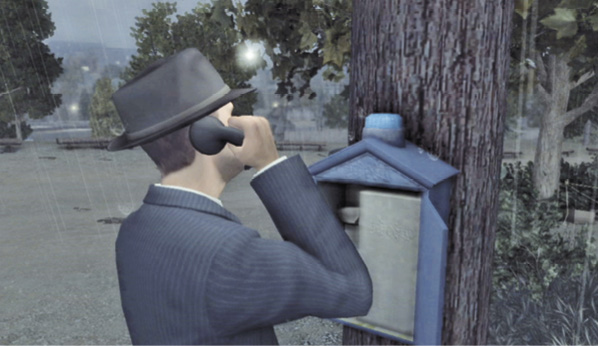
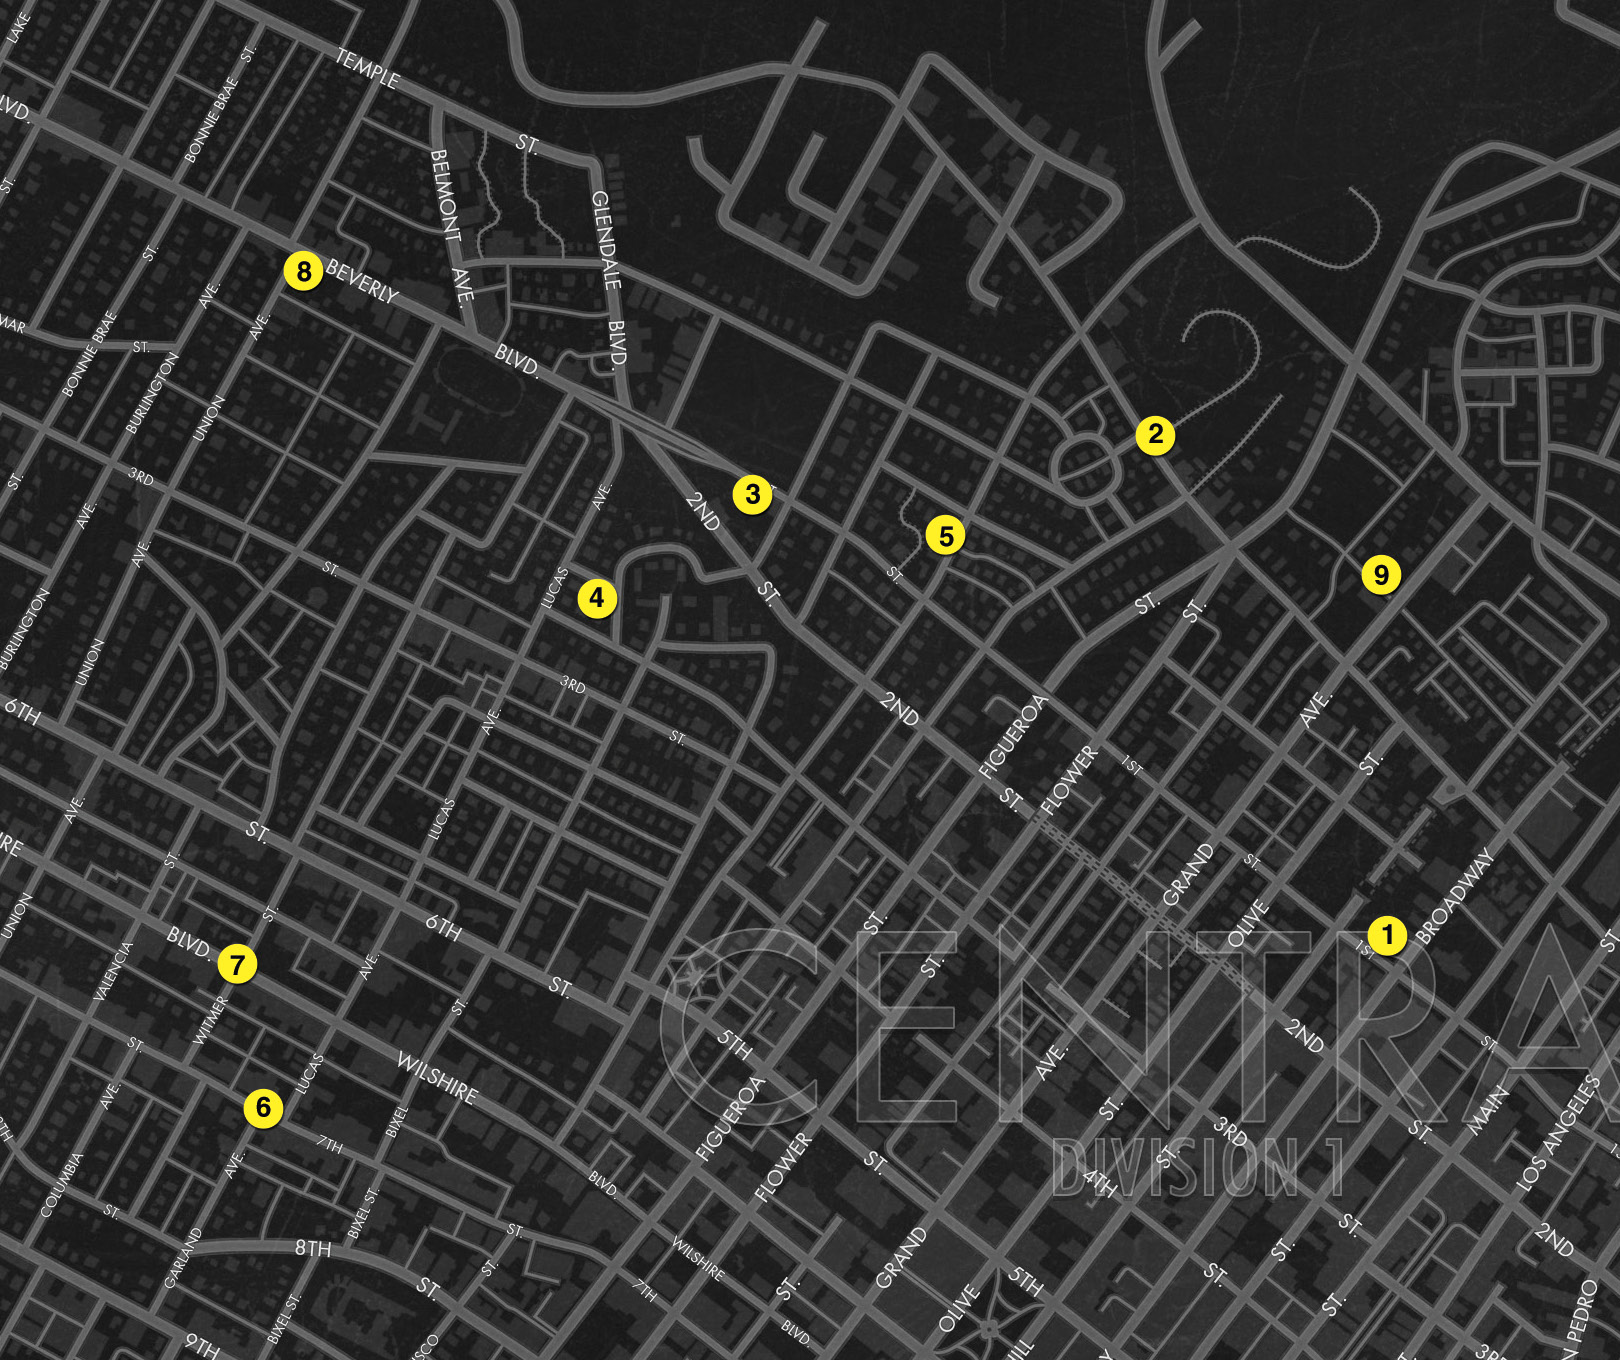
Now go to the gamewell on the nearby telephone pole to call in for the address of Superior Laundry Services. Phelps also asks for reports of hobo camps in the vicinity of Signal Hill. As it turns out, there’s a large camp under the Grand Street Bridge, not far from the hill. Both of these new locations now appear on your map. Time to head for your car.
Location: Superior Laundry Services
Investigate the laundry.
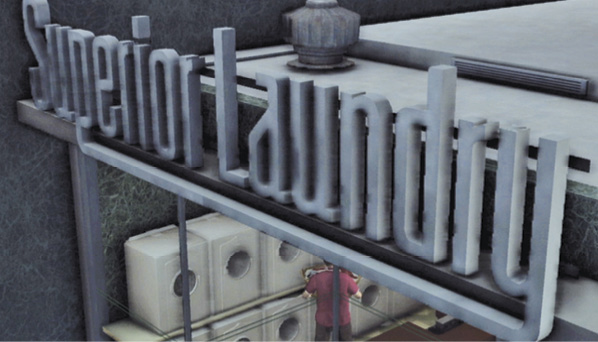
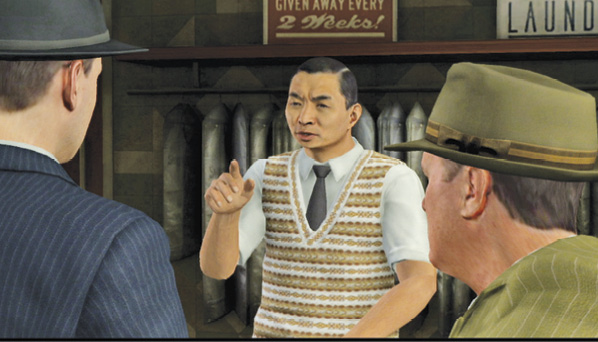
Travel to Superior Laundry Services  and listen to the partner chatter en route—Galloway notes the lack of messages on the body, which he says disconnects this case from the Maldonado murder and the others. When you arrive, enter and approach the service desk to trigger a cut-scene: Phelps asks about laundry label F1363, and the owner gives you his Laundry Ledger.
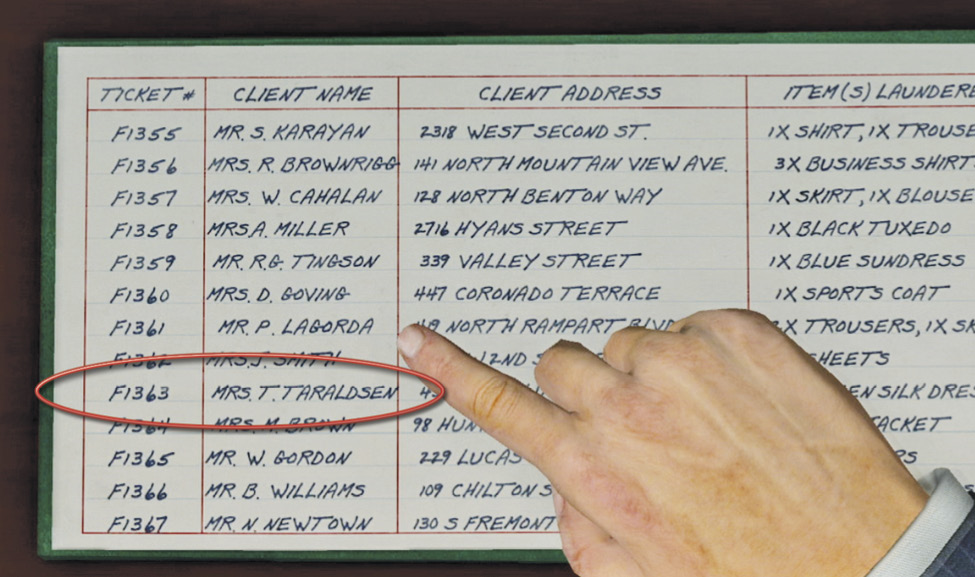
Open the ledger, then find and select the entry for F1363, a green silk dress, to get the name and address of “Mrs. T. Taraldsen”. After Phelps closes the ledger, return to your car.
Key Clue Checklist: Superior Laundry Services
- Laundry ledger
Location: 43 Emerald Street (Taraldsen Residence)
Investigate the residence.
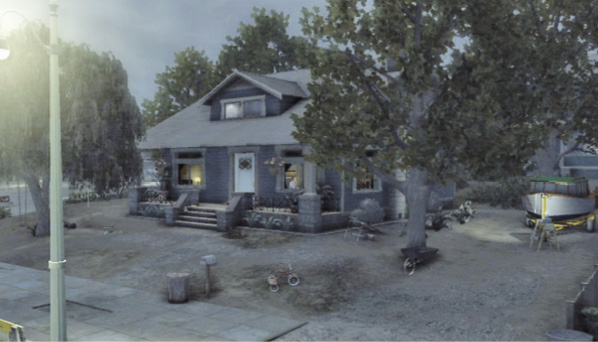
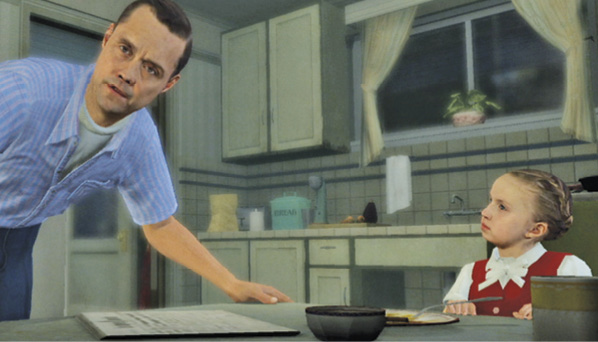
Travel to 43 Emerald Street  and approach the front door to knock and trigger a cut-scene. Lars Taraldsen answers and says that his wife hasn’t returned since the previous night when they went to a party at the house of Bobby Ross. He describes her green silk dress and white shoes, which match those on the Signal Hill murder victim. Phelps reports the bad news, and Galloway tells Lars to look after his young girls while the detectives search the premises.
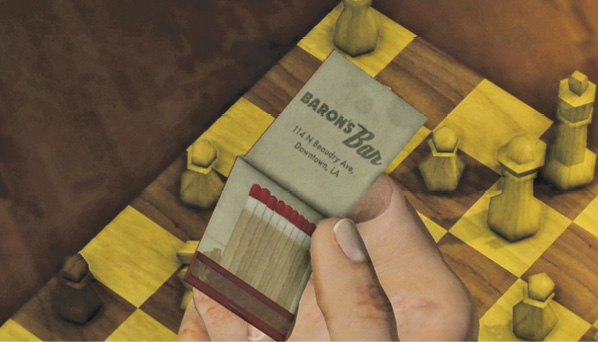
Step around the bookshelf to find the table with the chess set, and pick up the Baron’s Bar Matchbook. This gives you the address and puts the location on your map.
Search the bedroom.
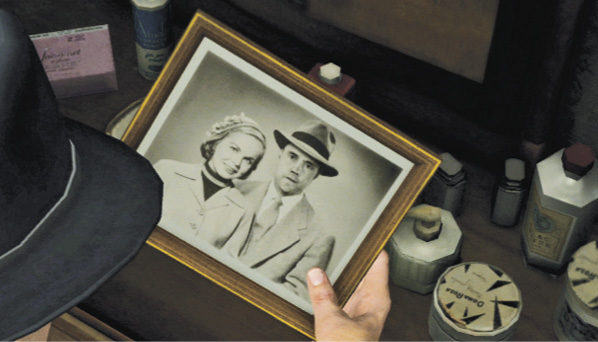
Go into the bedroom on the left and check out the dresser. You find another Baron’s Bar matchbook and a framed photo, curiously turned face down; it’s a picture of Lars and his wife.
Search the laundry room.
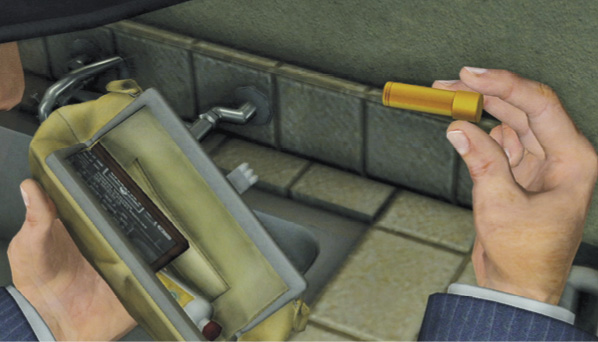
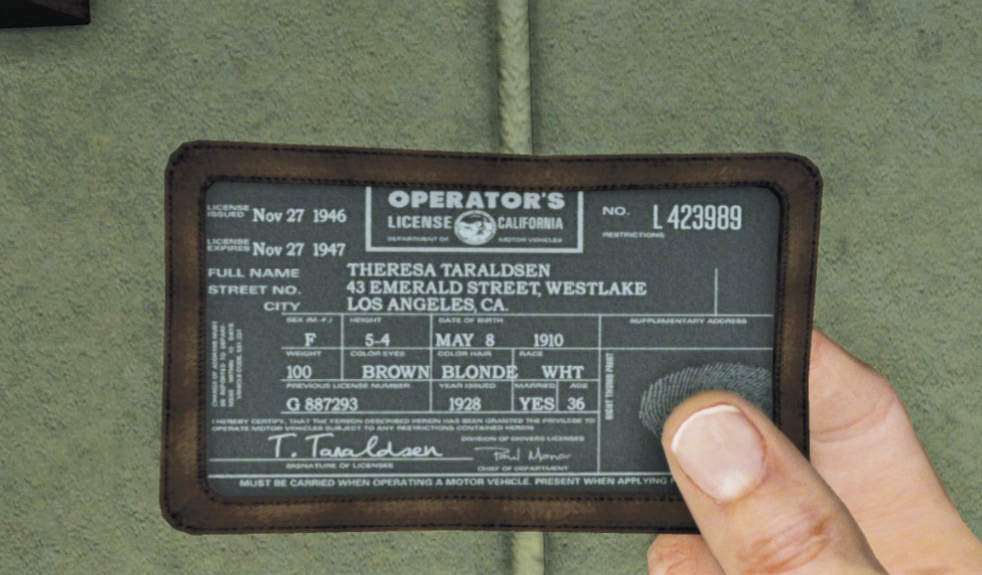
Now go through the kitchen into the laundry room and find the Victim’s Handbag on the laundry sink. Open it and examine the lipstick—as Phelps points out, “at least she was spared that particular indignity”. Then examine her driver’s license: the victim was Theresa Taraldsen.
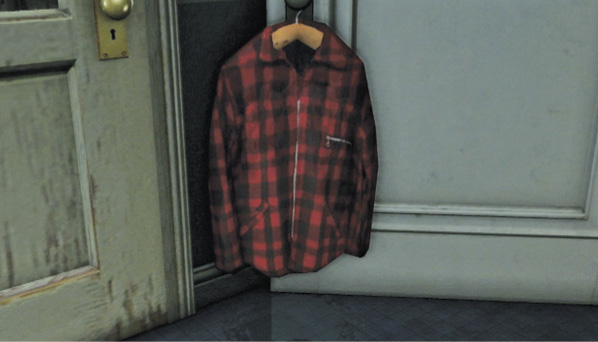
Turn around and examine the dripping Wet Jacket hanging from the doorknob. Phelps notes that Lars must have been out in the rain last night. Then find and examine one of the Muddy Boots on the laundry room floor. Turn it over to discover that it’s a size 8 boot. Phelps wonders if Pinker can match it to the impression at the crime scene.
Search the yard.
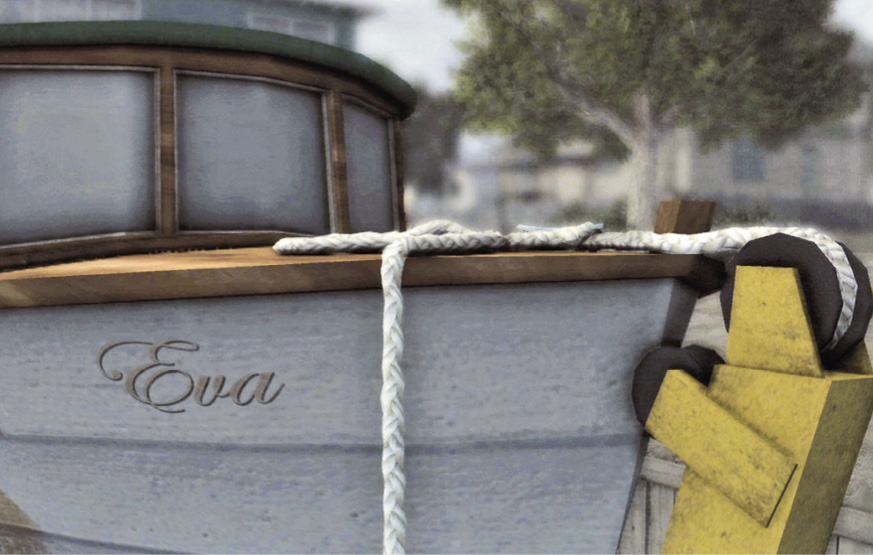
Step through the door beside the hanging jacket to exit the house into the yard. Find the boat on the side of the house and walk around its bow to examine the Bow Rope. Phelps notes that its braid looks like a match to the ligature marks on Theresa Taraldsen’s neck.
Call KGPL.
Use the phone on the bookshelf to call in a request for the address of Bobby Ross and send a uniformed police unit to confirm Lars Taraldsen’s alibi with Ross.
Interview Lars Taraldsen.
Now go back to the living room and talk to Lars to trigger an interview sequence.
Key Clue Checklist: Taraldsen Residence
- Matchbook (Baron’s Bar)
- Wet jacket
- Muddy boots
- Bow rope
Interview: Lars Taraldsen
Topic: Possible suspects
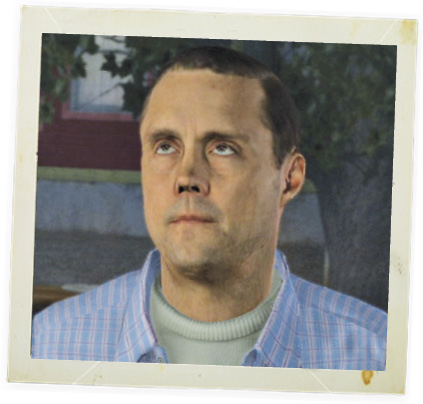
Phelps asks if Lars knows anybody who might have wanted to harm his wife. He replies that everybody loved Theresa; it couldn’t have been anyone who knew her. But after he says this he swallows uncomfortably and avoids eye contact, glancing up at the ceiling.
Correct Assessment: Accuse
Evidence: Bow rope
Phelps goes right for the jugular, accusing Lars of getting angry at Theresa for embarrassing him in front of friends, and then strangling her. When the detective notes the rope match to his boat’s line, Lars just gets emotional about letting Theresa go.
Topic: Alibi for Lars Taraldsen
Phelps asks about the Bobby Ross party; Lars answers that people were having fun, but Theresa got bored and decided to leave. This may be true, but it’s probably not the whole story.
Correct Assessment: Bad Cop
More pressure reveals that Lars was enjoying the Ross party, but Theresa wanted to go dancing. Lars explains that she often goes to Baron’s Bar, drinks too much, and then calls him to bring her home.
Topic: Victim’s state of mind
Phelps asks if Theresa was happy at home. Lars says yes, he thinks so. But he can’t hide a tortured look in his eye.
Correct Assessment: Bad Cop
When Phelps suggests that Lars is a prime suspect, he breaks down and spills some emotion. He let Theresa leave the party alone because he was tired of her impulsive nature—his anger is evident. Finally, he reveals that she left the party around 8:30 PM.
Topic: Last contact with victim
Lars says that after Theresa left, he wrapped up his card game, came straight home, and went to bed. Then he looks you right in the eye. But you saw evidence in the laundry room that this isn’t true.
Correct Assessment: Accuse
Evidence: Wet jacket/Muddy boots
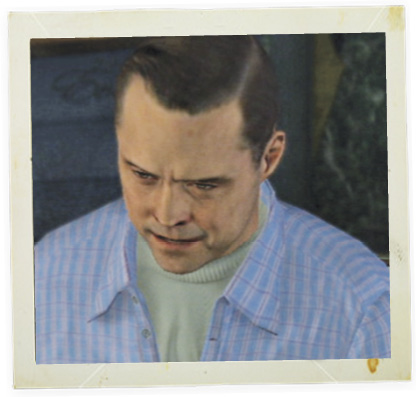
When Phelps confronts Lars about the wet, muddy gear, the suspect claims that he met another woman at the party and walked her home before he came home himself. He seems genuinely distraught, although that doesn’t exonerate him, of course.
Afterward, Phelps lets Lars off the hook, asking him only to come downtown to identify his wife’s body. He tells Galloway that Taraldsen’s story “kind of rings true”. It’s time to check out Baron’s Bar next.
Location: Baron’s Bar
Interview Benny Cluff.
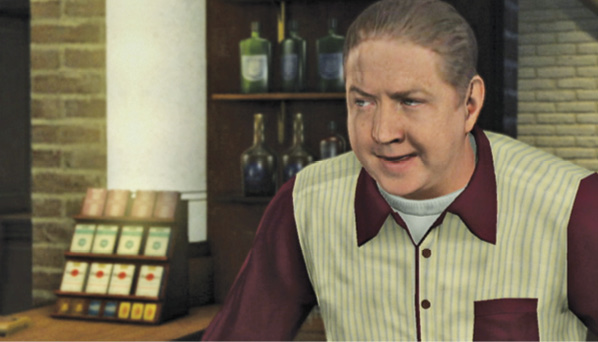
Travel to Baron’s Bar  and enter the establishment to trigger a conversation with Benny Cluff, the bartender. He’s heard about Theresa Taraldsen’s murder on the radio and says he tried calling her husband that night, but the babysitter said he was out. This brings up your notebook for an interview sequence.
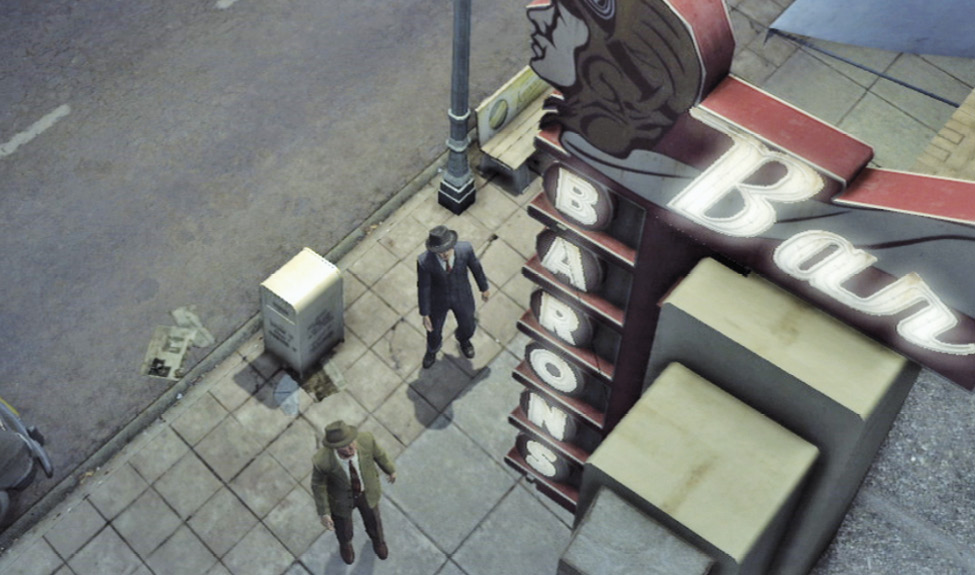
Interview: Benny Cluff
Topic: Last contact with victim
Cluff says Theresa Taraldsen left the bar around 10:30 the previous night.
Correct Assessment: Good Cop
The bartender goes on to say the victim left in a cab, and he has the number. Cluff presents a bar tab with the information scribbled on it: Yellow Cab 3591. This adds a new topic to your Questions page.
Topic: Vagrant male suspect
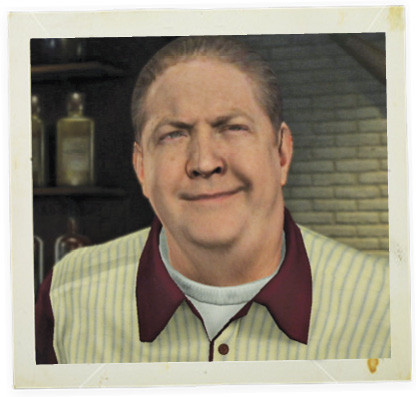
Phelps asks who Theresa was drinking with last night and describes the hobo. Cluff says he gets bums in his place, but nobody who fits that description. His facial expression suggests a hint of trouble; perhaps he’s not telling all.
Correct Assessment: Bad Cop
Phelps demands some detail. Cluff admits that two creeps were all over Theresa. One was a sailor in uniform with “USS Indiana” on his cap. The other guy was named Richard Bates… and Cluff says he’s in the bar right now, the man in the red polo shirt.
Topic: Yellow Cab 3591
This topic appears after you get the cab number from Benny Cluff. Phelps asks if Cluff knows where Theresa was going in the cab, but he has no idea.
Correct Assessment: Good Cop
Cluff does remember that she was trying to talk some of the guys at the bar into going to one of the dance halls. He adds that Theresa always wanted to go dancing after having a few drinks.
Key Clue Checklist: Benny Cluff Interview
- Yellow Cab 3591
After the interview, Cluff points out Richard Bates in the back of the bar. When the detectives present themselves, Bates takes off running out the back door.
Apprehend and interview Richard Bates.
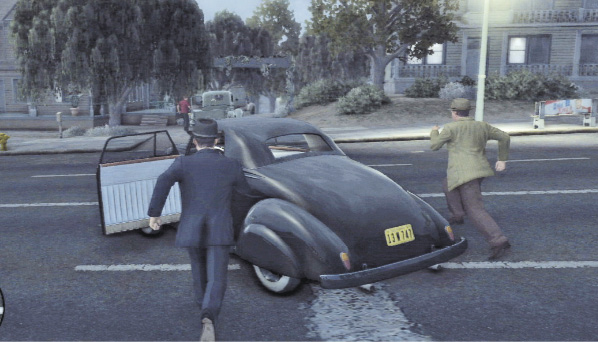
Chase down Bates! He sprints across the street, causing a Ford Custom to screech to a halt. When the driver hops out to yell, commandeer his car because Bates jumps into his pickup truck and drives off.
Stay on his tail as he zigzags through dirt alleys and back roads, veers between the pumps of an Alaco gas station, and speeds down a hill. When you finally disable Bates’ car, Phelps begins his questioning. (If you don’t disable Bates’ car, he eventually stops and tries to escape on foot. You can tackle him, halt him with a warning shot, or chase him until he’s cornered and surrenders.) This triggers a short interview sequence.
Interview: Richard Bates
Topic: Contact with victim
Bates was drinking with Theresa Taraldsen the previous night, but he claims he lost out to a sailor she preferred over him. But when his face screws up into a nervous squint, Phelps wants to know more—a lot more.
Correct Assessment: Bad Cop
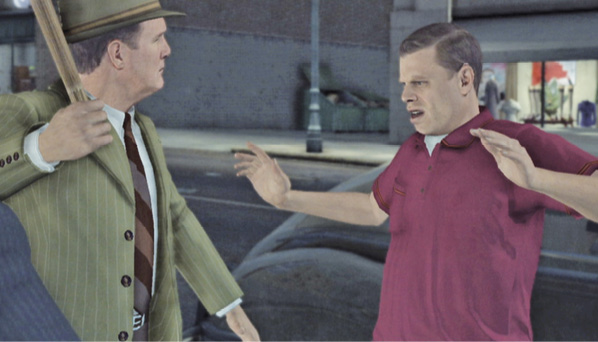
When Phelps threatens to turn Galloway loose on Bates, the suspect expands on the story. It sounds familiar. Mrs. Taraldsen was drunk, angry with her husband, and wanted to go dancing. Sounds like the truth.
Topic: Account of movements
Bates says that the sailor nailed him with a cheap shot after they left the bar. After that, he says he doesn’t remember. But his look says otherwise.
Correct Assessment: Bad Cop
Phelps forces Bates to admit that he did time for sexual assault and is currently on parole. But he sticks to his story that the sailor cold-cocked him, then took off in a taxi with Theresa.
Call in an A.P.B. on the cab and the sailor.
When the interview ends, Phelps has a uniformed officer haul Bates off to a Central Station cell as a material witness to a murder case. You can use a gamewell here to check for information about the sailor mentioned by Bates, but we’ll hold off on that just a minute. Let’s find that cab first.
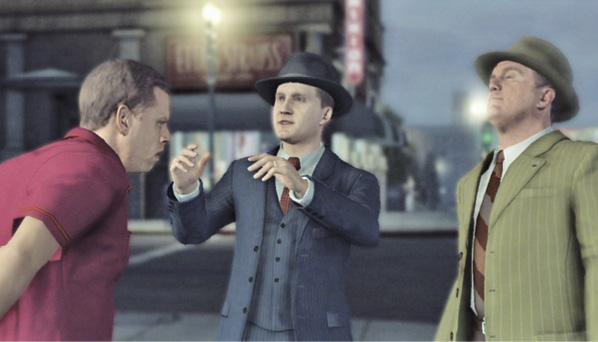
Get in your squad car to have Galloway call in an all-points bulletin for Yellow Cab 3591, with all sightings relayed to Car 11K (yours). Start driving.
Location: Yellow Cab Trace
Find Yellow Cab 3591.
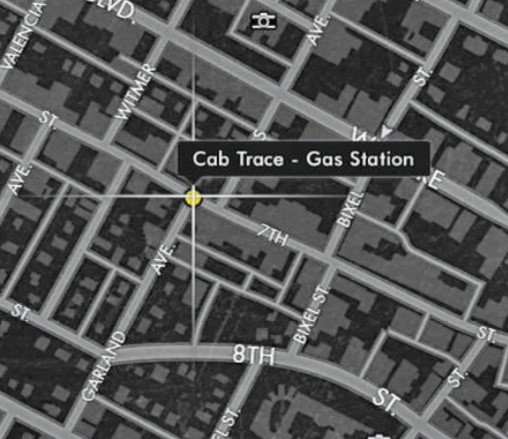
Shortly after hitting the road, you get a radio call on the location of the Yellow Cab you’re seeking. It’s been spotted at a gas station on 7th Street near Garland  , and it appears as a yellow blip on your map. Turn on your siren and drive as fast as you can to the Alaco gas station at that location.
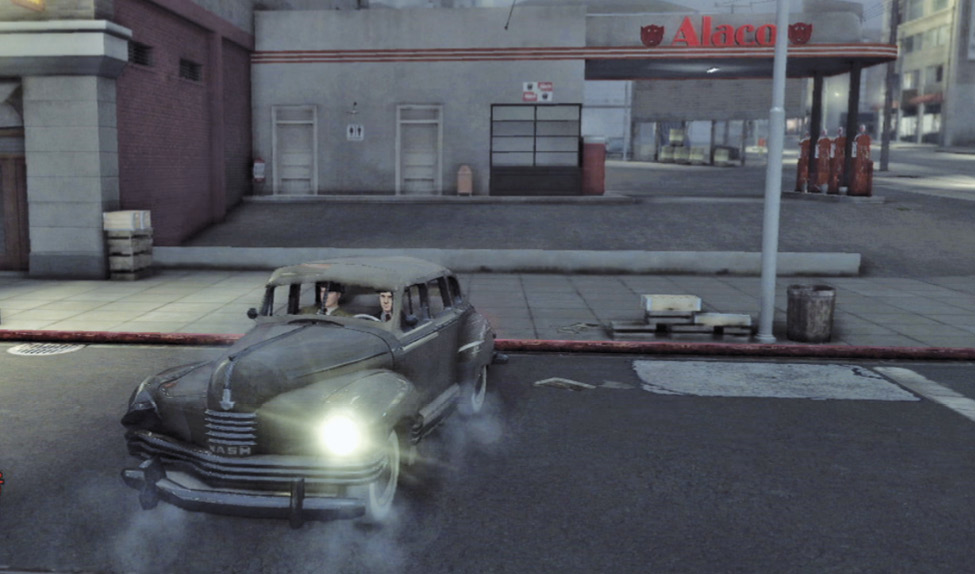
Shortly after arriving, you get an update on the taxi’s location—now it’s at the corner of Wilshire and Witmer  , just a few blocks away, again marked as a yellow map blip. Drive there quickly! As you get close, the yellow blip turns into a red car icon, so you can follow the cab easily if it takes off before you arrive.
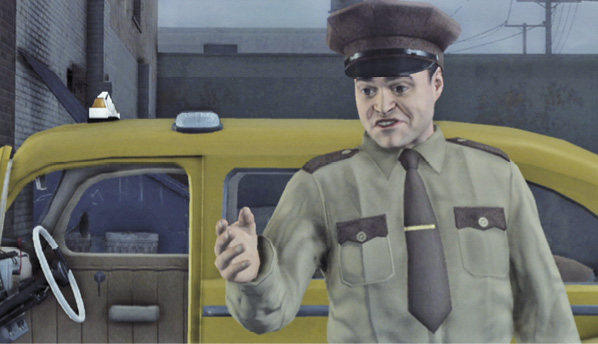
If you aren’t quick enough and miss the Yellow Cab, it will be reported at a new location. Keep racing to each new location until you finally spot the cab. Pulling up to the halted cab triggers a cut-scene. Phelps questions the cabbie, who gives you information about the Victim’s Movements. He remembers the fare. He says the sailor was all over Theresa Taraldsen, but she rebuffed him, saying she just wanted to dance. The cabbie dropped them off at the Crystal Ballroom around 12:30 AM.
Use a gamewell.
Now you can use the nearest gamewell (look for the blue phone icons on your map) to learn that a Navy sailor named James Jessop has information relevant to the case and is being detained at Central Station. Note that if you used a gamewell earlier to call in the A.P.B. on the Yellow Cab (instead of letting Galloway call it in on your car radio), you’ve already got this information on Jessop.
Key Clue Checklist: Yellow Cab Trace
- Victim’s movements
Location: Central Police Station
Interview James Jessop.
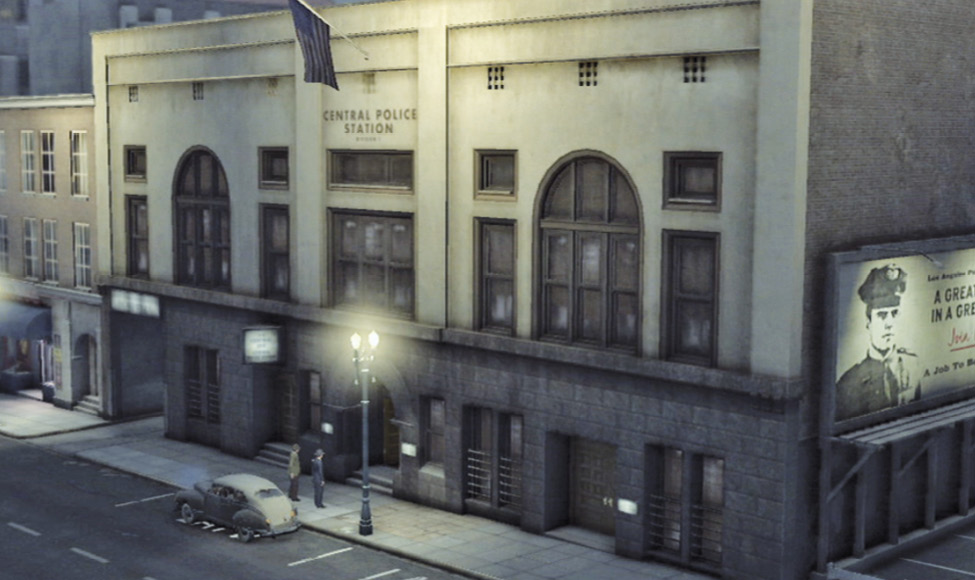
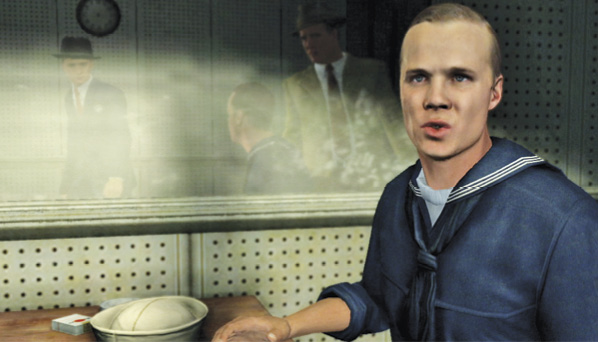
Travel to Central Station  . Enter and approach the watch desk to talk with Watch Commander Fleischer. He says the sailor is in Interview Room 2. Go there to meet US Navy Able Seaman James Jessop. He seems like a nice enough kid, but Homicide cops know better than to make snap judgments about people in trouble.
Interview: James Jessop
Topic: Contact with victim
Jessop says he arrived at Baron’s Bar around 7:00 PM, where he met Theresa Taraldsen. He says they had a couple of drinks, but then averts his eyes nervously.
Correct Assessment: Bad Cop
Jessop admits he was trying to make it with the drunken woman, and they caught a cab to the Crystal Ballroom. This matches the cabbie’s statement.
Topic: Incident with Bates
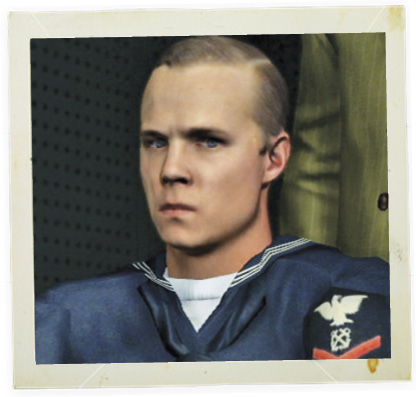
When asked about his fistfight with Richard Bates, Jessop calls Bates a creep and suggests you look into him for the murder. Then he glances off to the side.
Correct Assessment: Bad Cop
When Phelps says Bates is pointing the finger at Jessop, the sailor admits he punched Bates, but says he’d do it again. “She was better off with me”, he says.
Topic: Cab ride with victim
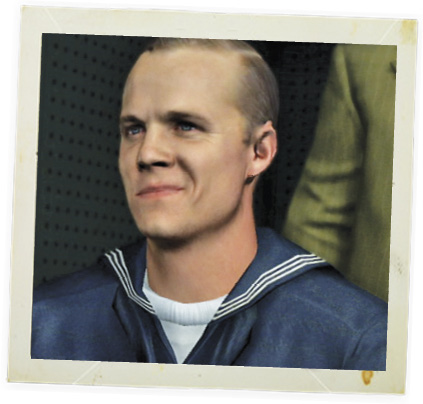
You get this topic only if you tracked down the Yellow Cab earlier. When Phelps reports the cab driver’s assertion that Seaman Jessop was getting too friendly with Theresa, the sailor gives a crooked smile as he says, “That’s not how I’d put it”.
Correct Assessment: Bad Cop
Jessop makes no apologies for his advances on Mrs. Taraldsen, but claims he got nowhere. At the Crystal Ballroom, she just got drunker and focused her attention on a bartender, according to Jessop.
Topic: Movements prior to murder
You get this topic only if you tracked down the Yellow Cab earlier. Phelps asks where they went after the Crystal Ballroom. Jessop says Theresa caught a cab and he took a bus back to the base, but he looks nervous and evasive.
Correct Assessment: Bad Cop
Phelps keeps pressing. Jessop finally admits that Theresa got on a bus with him—All American 249—and fell asleep on his shoulder. When it reached her neighborhood, she got off and he rode on.
Key Clue Checklist: James Jessop Interview
- All American 249
Phelps orders Jessop held until the detectives can clear his story with the bus driver. Then a patrolman reports the sighting of the disfigured hobo on Grand near the hobo camp. He also reports that the man is wanted in connection with two female assaults. Sounds like a hot suspect. But first, Phelps wants to check out Jessop’s bus story.
Location: Interstate Bus Depot
Investigate the bus depot.
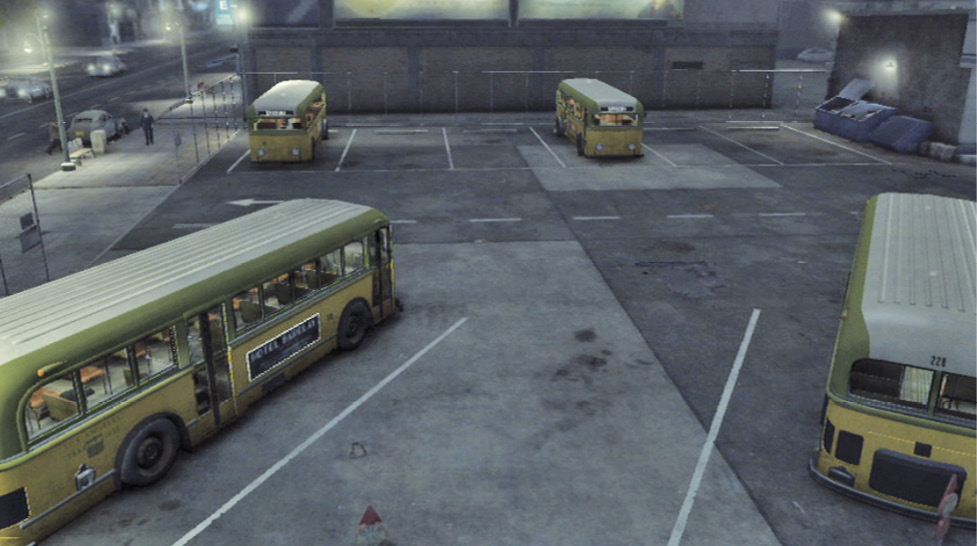
Travel to the bus depot  . Walk between the building and enter the depot to trigger a cut-scene. Phelps and Galloway approach the counter and ask about the driver of the All American 249. The clerk gives them the name Frank Zeferelli, currently out driving route 74. She gives you a Bus Route Map so you can find him.
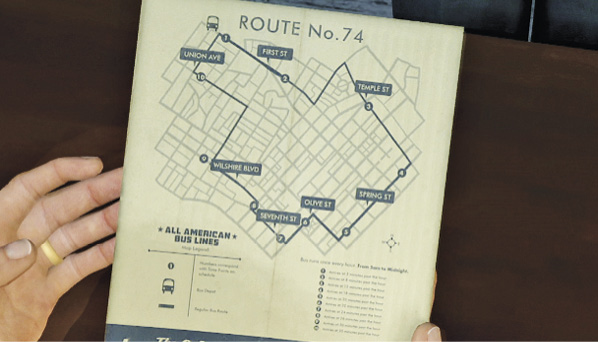
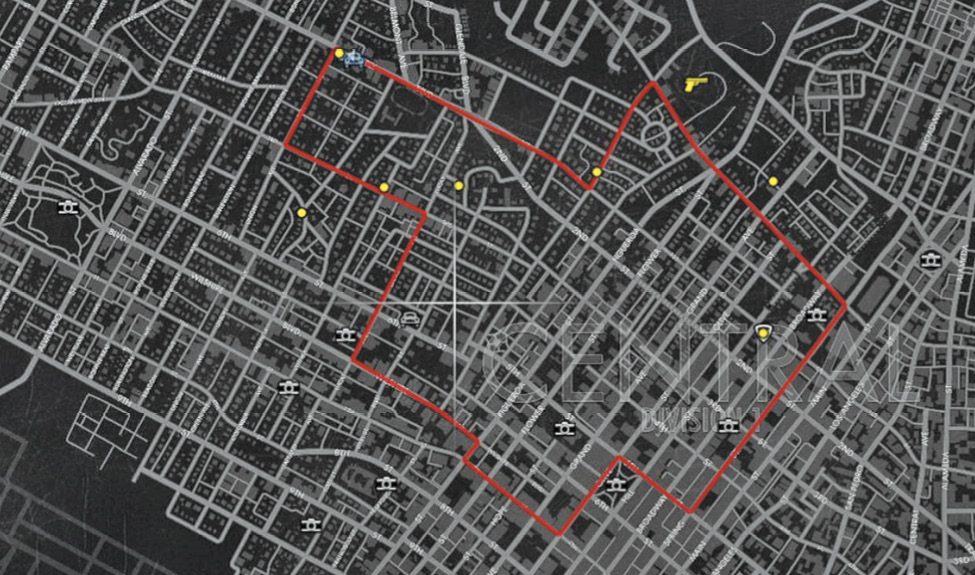
Open the bus route map to see the stops along the loop that route 74 follows. As Phelps says, you “need to run the loop”. Close the map and return to your car. Take a look at your own map (including your radar mini-map) to see route 74 marked in red. Your goal now is to start following this red route until you find the All American 74 bus. Exit the terminal and return to your car.
Key Clue Checklist: Interstate Bus Depot
- Bus route map
Location: Bus Route 74
Find the All American 74 bus.
Travel along the red route on your map. Just keep following the red line until you see the red vehicle blip on your mini-map and Galloway says, “There’s the bus, Cole! Turn on your siren and pull her over!”
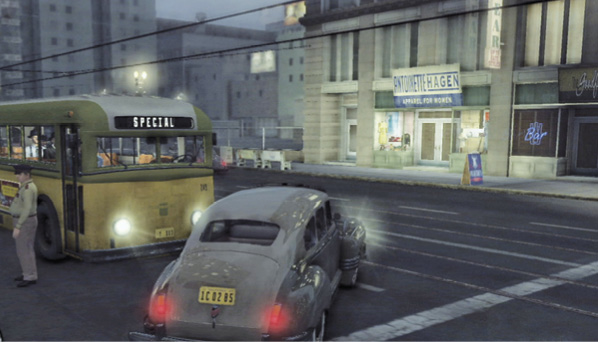
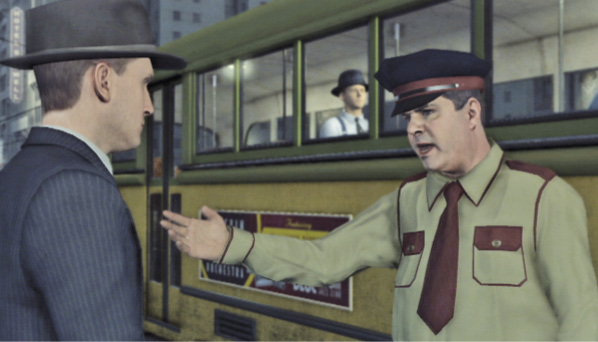
Exit your car and approach the bus driver, Frank Zeferelli, to trigger a cut-scene: Phelps asks him about Jessop and Taraldsen the previous night.
The driver remembers the pair, and says the sailor rode all the way downtown. But Zeferelli let off the woman near a hobo camp, which made him uneasy—she didn’t seem to know exactly where she was. This gives you the clue: Victim Last Seen.
Key Clue Checklist: Interstate Bus Depot
- Victim last seen
Location: Hobo Camp
Arrest the disfigured suspect.
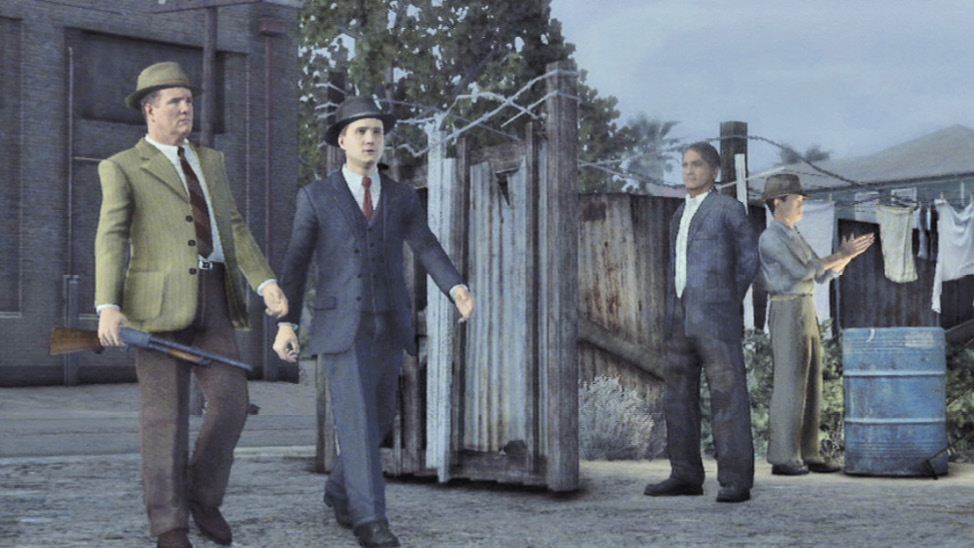
Travel to the hobo camp  to trigger a cut-scene: Phelps and Galloway, who carries a shotgun loaded with six rounds, enter the unfriendly camp. The disfigured hobo leader emerges and calls out the detectives as “fascists” and a target for the campers. Galloway guns down as many attackers as he can, and others run away.
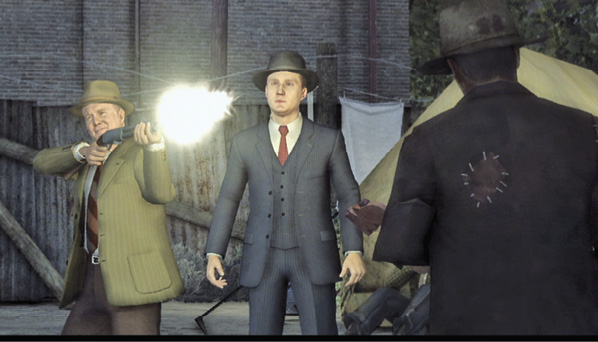
Phelps ends up facing off with the hobo leader in a fistfight. Knock him out! After the fight, Phelps learns the bum’s name: Stuart Ackerman. A uniformed officer arrives and hauls Ackerman downtown for questioning. Now you can search the camp for clues.
Search the camp.
Enter the corrugated tin shack directly ahead. The interior is lit with candles.
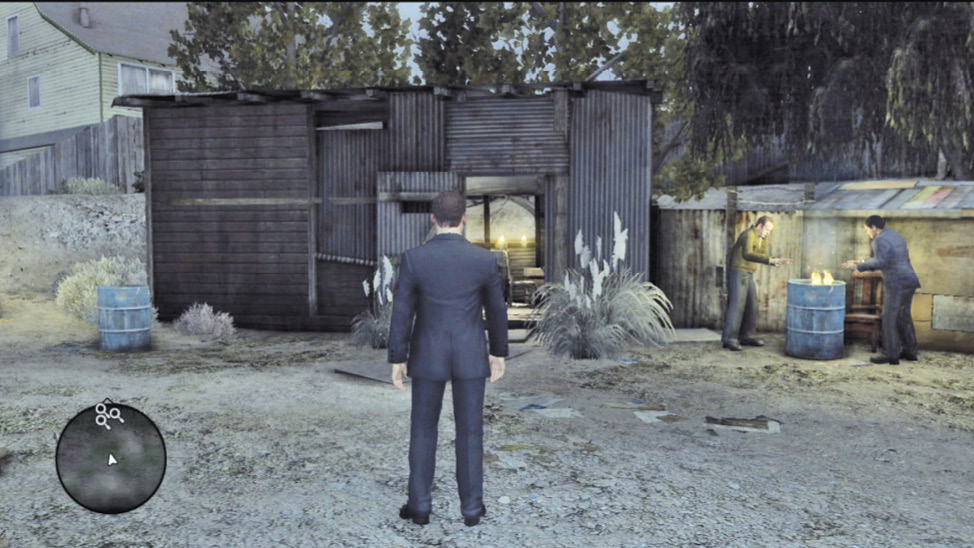
Find the Bloodstained Rope Piece on the nightstand next to the bed; be sure to examine it until you get a close-up view—looks like triple-braid. On the table across the room, you find a war photograph and a Ppurse with the initials “T.T”. on it: Theresa Taraldsen, no doubt. Examine the purse further to find a Crystal Ballroom ticket stub tucked inside. Looks like awfully damning evidence.
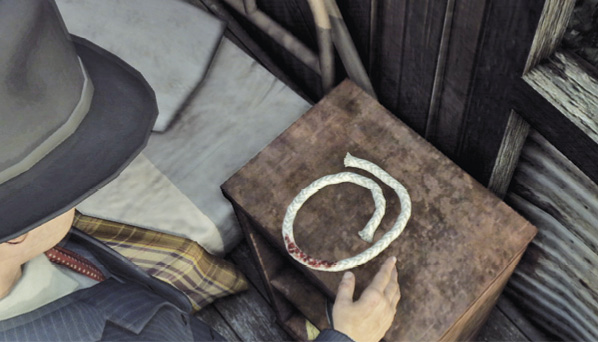
Key Clue Checklist: Hobo Camp (Ackerman’s Shack)
- Bloodstained rope piece
- Purse
Location: Central Police Station
Interrogate Stuart Ackerman.
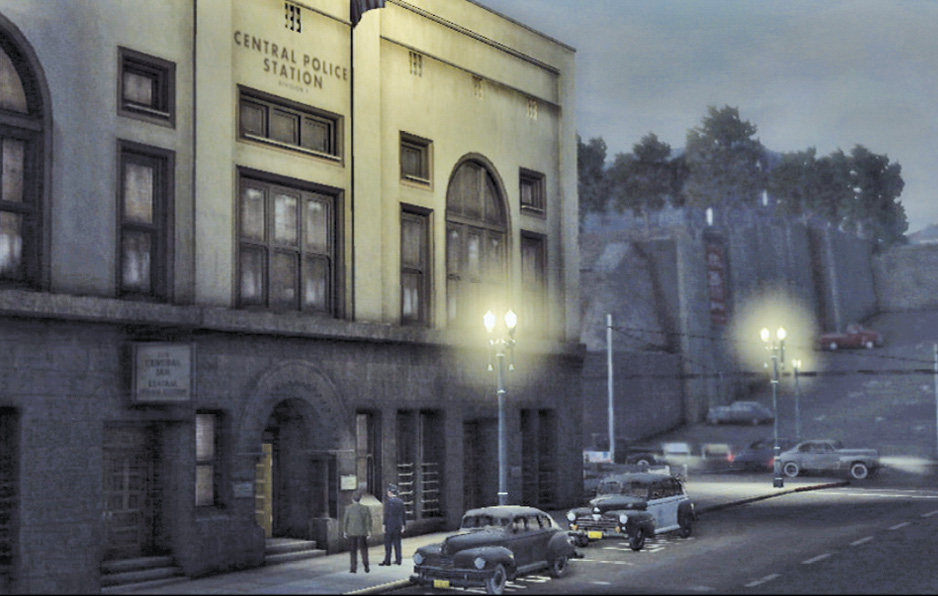
Travel back to Central Station  and find Ackerman in Interview Room 1. Phelps guesses Ackerman’s role in the Marine Corps when he recognizes the type of burns that disfigure the man.
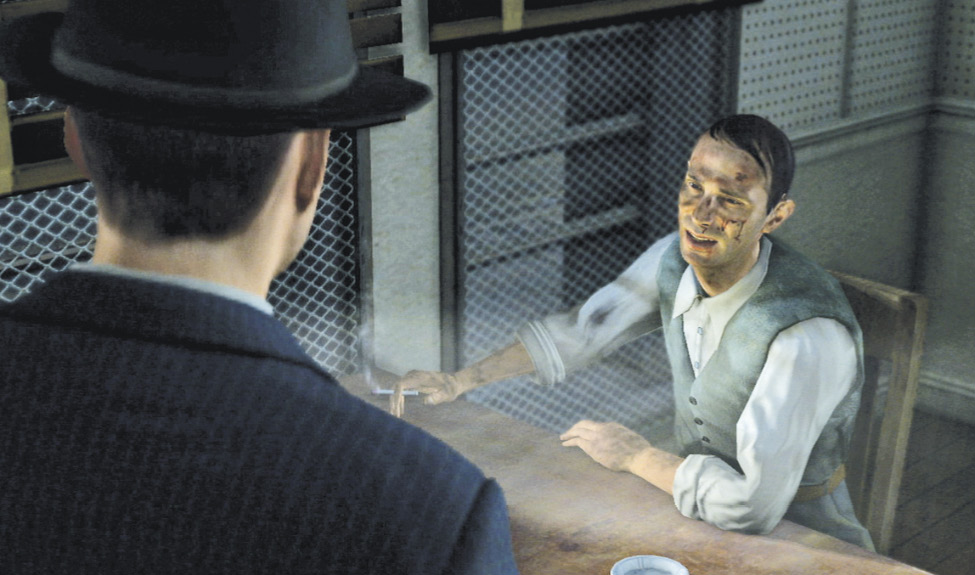
Interview: Stuart Ackerman
Topic: Motive for murder
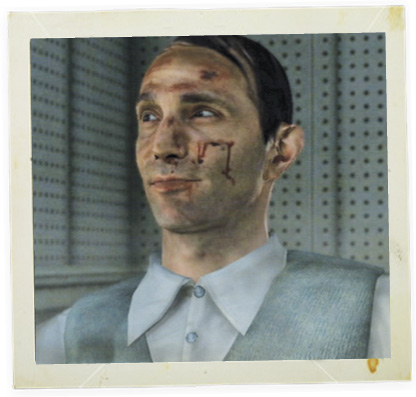
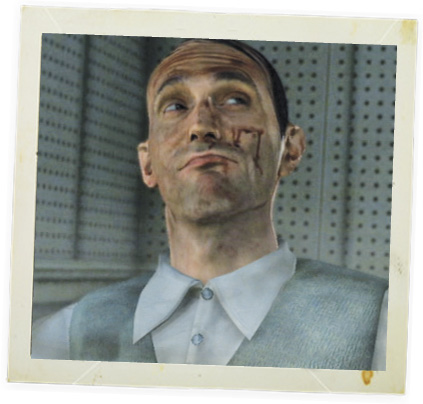
Phelps asks straight out why Ackerman killed Theresa Taraldsen. But instead of denying it, Ackerman gives a vague answer with a series of almost comically evasive looks. Of course, you have solid evidence to confront him.
Correct Assessment: Accuse
Evidence: Bloodstained rope piece
When Phelps brings up the rope, Ackerman simply asserts that he owns no property, so it couldn’t belong to him. Not a very convincing response—not in a court of law, anyway.
Topic: Contact with victim
The odd interview continues. When Phelps asks why Ackerman took his victim up to the hill after she got off the bus, he replies, “Which hill? I have many places”.
Correct Assessment: Bad Cop
Phelps suddenly takes another tack, suggesting that Ackerman is insane and thus won’t face the death penalty. In response, he makes the strange admission that he’s killed many women.
Topic: Alibi for Stuart Ackerman
Phelps wraps up with a simple question, asking for Ackerman’s whereabouts at 2:00 AM the previous night. The suspect replies that he was at the camp.
Correct Assessment: Accuse
Evidence: Purse
When Phelps presents the purse and ballroom ticket as proof of Ackerman’s crime, the strange fellow gives another odd answer that seems incriminating, so Phelps formally charges him with the murder of Theresa Taraldsen.