
Jagged Alliance: Back in Action Guide Essentials Combat Tactics
Cover
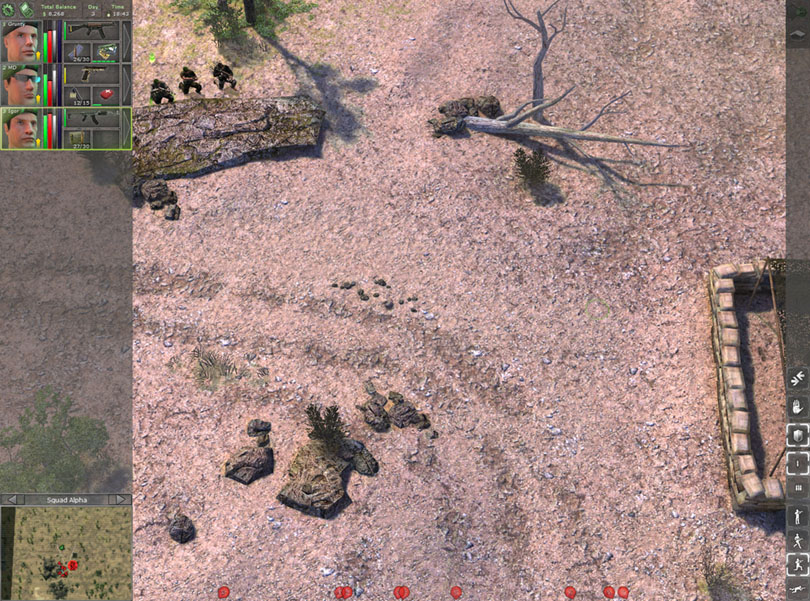
Assaulting a large fully armed group in the open is a very bad idea. The goal of any conflict is to dish out maximum damage while taking little to none yourself. This obvious concept can often be overlooked in the heat of battle, but it is always important to remember that trading bullets with the enemy is not a tactic.
This is why cover and concealment are among the most important parts of game play. The first thing to consider when planning your assault on a compound or group of enemies is how you can fire upon them while reducing your risk of return fire.
Your initial scan should be to find an entry point where you can be protected by the height, angle, or material of some objects. Consider the angle and line of sight when choosing effective cover.
Standing behind a tall brick wall offers great protection but no line of sight. On the other end of the spectrum, hiding behind a weak object like a sheet may help conceal you, but it offers no protection.
At first it can be hard to tell if you can fire above or around an object or corner. It can be very tricky to pick the right type of cover because you won’t know if you can get a bead on the enemy until you attempt to aim from that point.
This is why it is important to sneak into a position of cover and then determine whether it is viable. As you progress through the game, you will gain a lot of experience at picking effective cover.
Initially, look for cover from objects that appear to be around half your height, such as a barrel, short barricade, or pile of sandbags. These spots make great cover while you are crouched.
As you gain more experience, you should be able to estimate what stance you would need to use to shoot over or around an object.
Always keep in mind that the goal behind using cover is protection. If the action gets too hot, drop down low or change your angle to go from being partially exposed to completely behind cover.
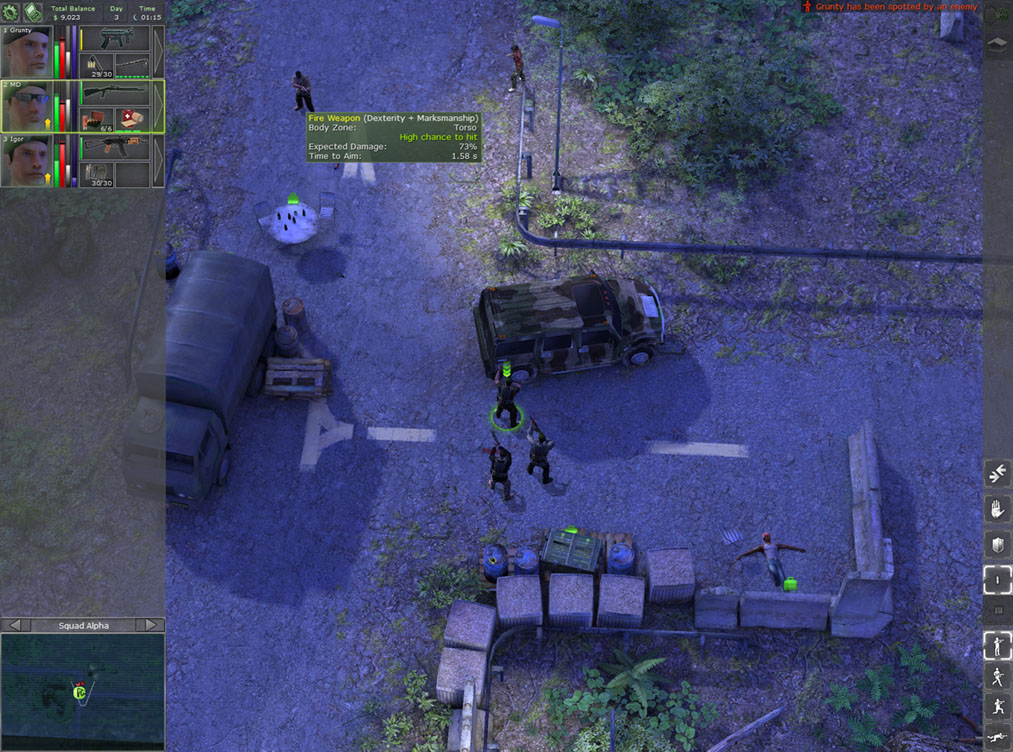
Stance is another important aspect to consider when using cover. Beyond knowing the height and angles around various objects, you must consider how stances will affect your cover position.
There are obvious pros and cons for each stance, and you need to consider them when picking cover. You may feel very secure and have great accuracy on the ground behind a concrete barrier, but it also prevents you from getting a shot off.
It’s possible that a simple change in stance can give you height or line of sight you previously didn’t have. Practice using different stances from behind cover to learn to see opportunities like shooting under, in between, or above objects.
The enemies, even at low levels, have a very good sense of using cover and maximizing the angles to get line of sight. It is not uncommon to see higher level enemies retreat to or camp in spots with great cover.
If you are up against a really tough group of foes with excellent cover, one option is to force them from their position with a grenade.
The AI is pretty savvy; if the enemies notice the projectile, don’t count on them standing around waiting for the explosion. Yet, even if enemies bail to avoid the grenade and its damage, they will expose themselves as they run away and will become easier targets.
Another tactic to deal with opponents using cover is to create a diversion and draw them to you. Several of the sophisticated foes will still use cover as they advance or stick to their ground, but you can usually entice a decent number to come running at you and into your ambush.