
Jagged Alliance: Back in Action Guide Essentials Bootcamp
Combat Deployment Areas
Mercs and Mini Map
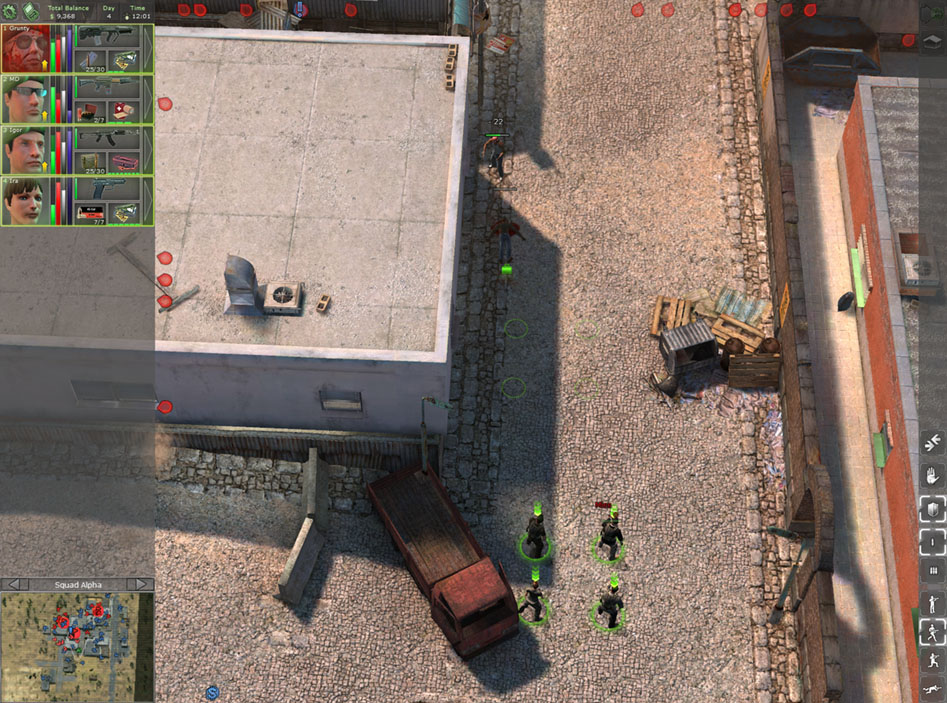
This is place where all the action takes place. Unlike the World Map, which is primarily used for moving, when you enter a combat zone you better be prepared for war.
All your mercs are shown on the left side, with vertical bars representing their stats and the weapon and ammo they are using. Below the mercs is a mini map that gives a larger view of the area than you can currently see onscreen.
This small map gives a good indication of enemy density, and it can reveal the strategic targets, shown as flags, that you must liberate.
It’s important to remember that the goal in each of these combat locations is to take over the strategic targets, not eliminate every enemy. For the most part, it will be worth wiping out the opposition to allow your squad to loot the area of its precious items.
Also, it is very important to explore every inch of the combat area because there are often buildings and other spots that might not be part of the named area you entered. In fact, many locations that you enter can even have two areas on the same map, such as San Mona and Kingpin Mansion, if they are in close proximity. Be diligent when you enter each area and be sure to scan the entire deployment area to check for extra sites to explore.
Stance and Other Options
On the opposite side are all the command functions that allow you to choose stances, enable Guard Mode, and exchange items. Exchanging items simply needs two mercs to be physically next to each other. Guard Mode and combat stance are covered in the tactics section.
There are a few other features on the top right side that allow you to toggle the visibility of roofs to select the view that works best in each situation.
Also, there is the important button that sends you to the World Map. There is some tactical use of the World Map because you can leave the area and approach the combat zone from a different spot to quickly jump across the deployment map.
Note that you must not be engaged in any type of combat to exit to the World Map. Also, it is important to remember that exiting to the World Map will restore your mercs.
This can be a life saver if you are low on health and without a medic. Lastly, and probably the most important use of toggling between the two maps, is that the enemies' positions will shuffle to some extent each time you enter the combat area. If you find the current set up difficult to tackle, simply exit the location and jump back in to see if there is a better opening.