
Jagged Alliance: Back in Action Guide Essentials Combat Tactics
Aiming
Line of Sight
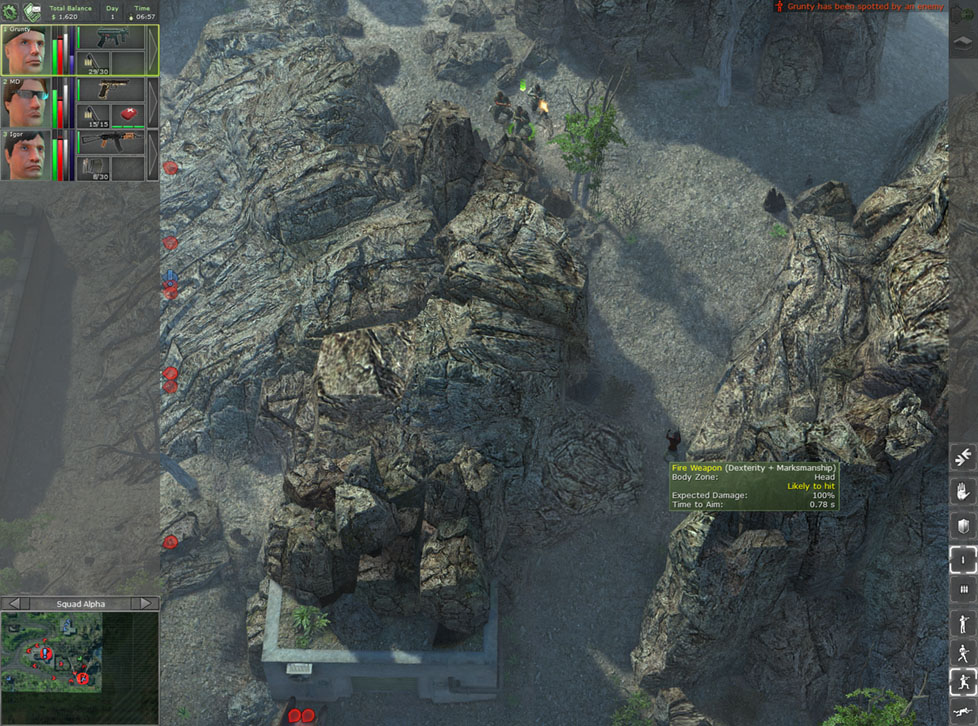
One of the most primary and obvious concepts to utilize in a weapon-based game is line of sight. In real world terms, it means having a visible path to see your target. In the game, the camera is pulled back and you are allowed to see a larger area than your mercs could really “see.”
However, your mercs must have some line of sight with their target in order to accurately hit them. A lot of the core tactics in the game are based around this simple fact, and it becomes obvious when you use the Plan and Go system to try to line up a shot. Because you must have a bead on the enemy to shoot effectively, the task is to get into a position that gives you the opportunity to open fire with confidence.
Lots of obstacles and angles can make it difficult to “see” the enemy, but these can be used to your advantage when you take cover. Of course, that doesn’t mean the goal is to march straight up to your foe to see them better.
Getting a line of sight is essentially about sneaking within range of your target and choosing angles effectively to line up your shots while minimizing your risks. Learning what types of elevation, angles, and obstacles allow or prevent you line of sight is the biggest factor when you first plan your assault on a strategic target.
The best way to master line of sight is to enter Command Mode and rotate the map to look at your position from various angles. Any single view does not give you a complete picture of what is around and even in front of you.
The default camera position is a great starting point, but never rely on a single view to determine the best position. By looking at various spots from different angles, you can often find a tactical spot that first appeared to be useless.
Manual Aiming - Shoot through Objects
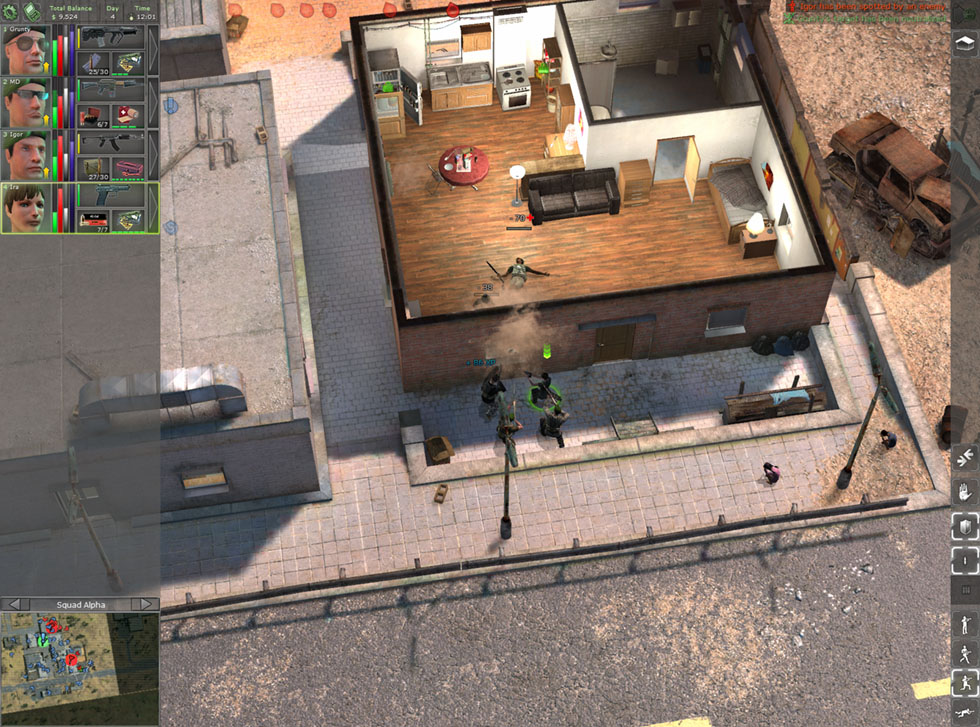
Normally, you will be searching for clear lines of sight to take out your targets, but you can manually make your mercs aim at targets that are out of view. It is not an obvious maneuver, but it is possible to shoot through certain objects. After a few interior battles, you will quickly learn this fact.
If enemies are aware of your location, they can stand their ground and be rather effective at blasting you through walls and doors. This is a very important concept to keep in mind when traversing highly populated large buildings.
It means you can’t walk with impunity through a building’s interior, but it can be used by your squad to waste some foes turtling on the other side of the wall or other penetrable object. However, this only holds true for specific objects that a bullet could pass through, and it applies to all interior and exterior walls.
In other words, you can shoot at or get shot by someone inside or outside a building, depending on the material that stands between you. This tactic is not used often, but it is important to keep in mind because the enemy AI will use it any chance they get.
Time to Aim
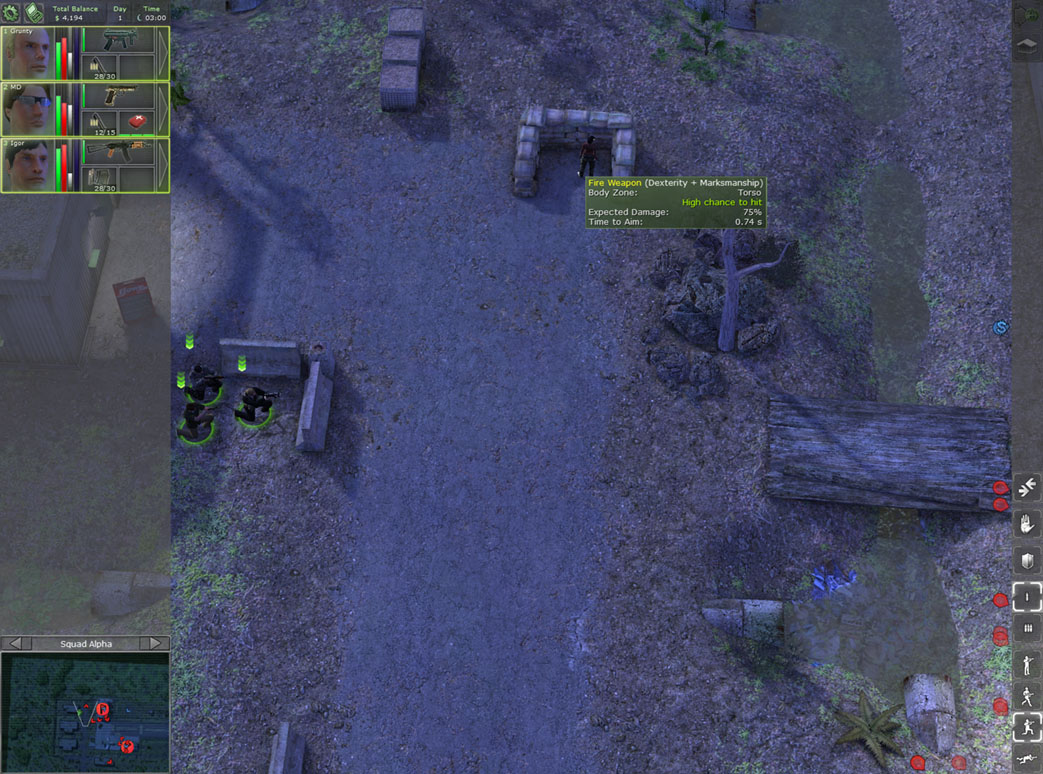
Seeing is only the first part of aiming to hit your target. Aiming takes into account several factors such as the actual time it takes to line up the shot. Time to aim can be seen when you move your cursor over an enemy in Command Mode. It is displayed in hundredths of a second.
Dexterity plays a key role in determining how well a merc can aim. It is one of the many reasons that attribute is so important in the game. All other factors the same, the other major influence on time to aim is stance.
Each of the three tactical stances, ready, crouch, and prone will decrease aim time as you get lower to the ground. [CV1] However, the fastest aim time comes from the run position because you are shooting from the hip.
However, along with that quick-draw response is a significant reduction in accuracy. This mechanism makes sense in real-world terms because the slower you go, the less time it should take you to line up a shot; running with guns blazing will allow you to fire quickly but all over the place.
Accuracy
Each weapon has its own accuracy rating, which is figured into the overall accuracy of a shot. However, except for wide disbursement weapons like shotgun, most guns have 100% accuracy. The real key to aiming accuracy is in the stance.
Similar to the time to aim, the lower you go, the more accurate your shots will be. Of course running with a gun and spraying bullets is going to be the least accurate method while going prone will be the most accurate.
In fact, any good sniper should lie down and line up their shots to guarantee their success. The accuracy of a shot is revealed in the Command Mode, where the chance to hit is listed as impossible, unlikely, likely, high chance, or certain.
Shooting with a low chance of success is a desperation move that should be avoided if possible. Not only does it waste ammo, it draws attention to your location while you are ineffective at keeping your enemies at bay. It is not always possible to get within range and line up a shot with certain accuracy because war is an imperfect scenario.
Each situation on the battlefield is unique and the decision of when to fire should be based on the amount of accuracy and damage you can achieve from a particular location or certain range.
Body Zones
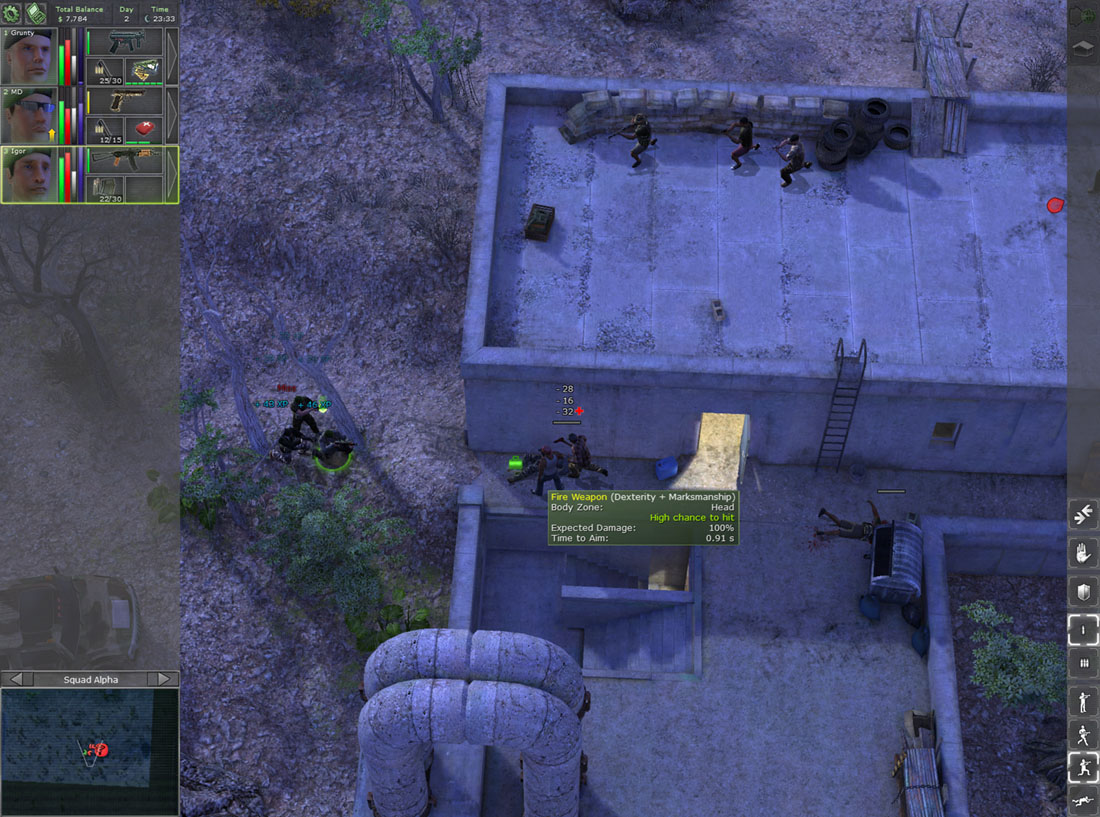
When using the Plan and Go system, you can accurately target several body parts including the head, torso, and legs. By positioning the pointer over each area, you can find which zone you have a better chance of hitting and what percentage of damage you can deliver to that spot.
Any first person shooter fan will tout the damage and usefulness of headshots, but a quick scan of the enemy with the mouse may reveal another zone that has a lot better chance to hit.
Also, like your mercs, enemies wear armor, and some areas might be more heavily protected. The goal is to do as much damage as quickly and as accurately as possible, but sometimes an enemy’s leg might be the only thing you get in your sights