
Gears of War 2 Guide Welcome Back!
Cover
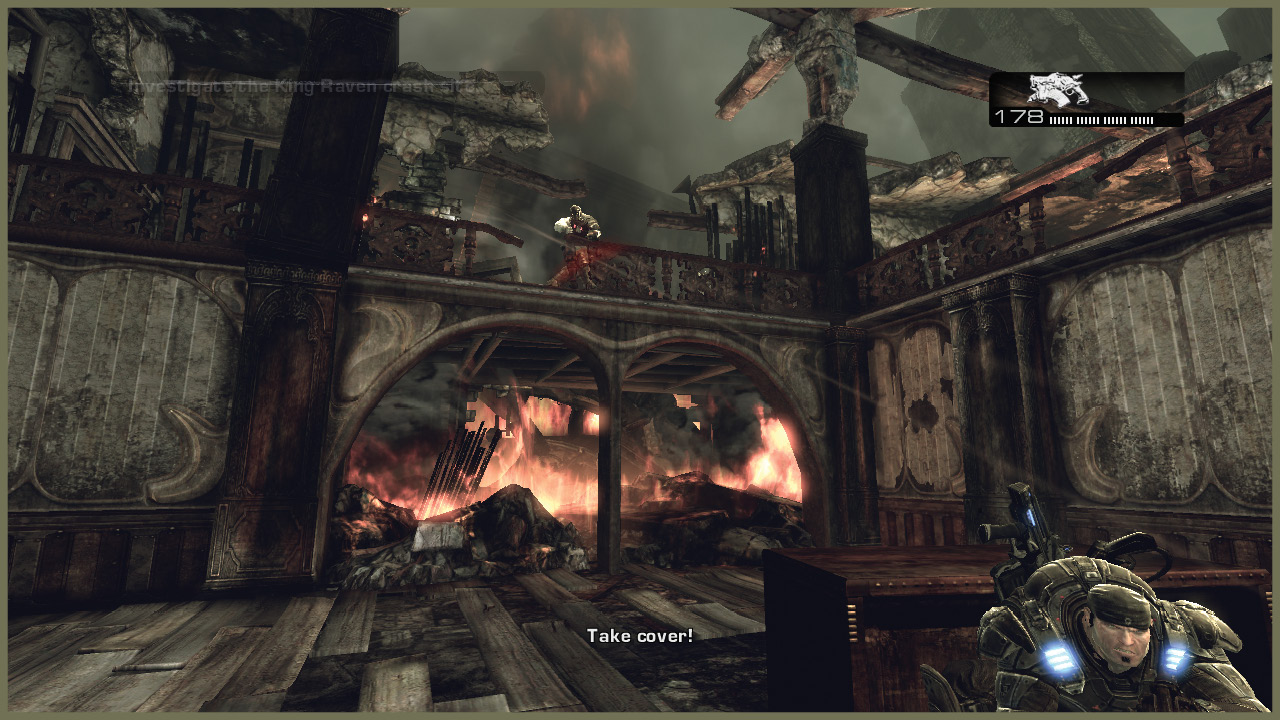
Fighting from behind cover can take some getting used to if you’re not a Gears of War veteran. The flow of combat in Gears of War 2 has its own distinct feel as you move from cover to cover. Often, you fight against opponents who are just as likely to use and move between cover on the battlefield.
Cover can be just about anything: a stone wall, a low barricade, sandbags, a rocky ledge, a wrecked car, and lots of other things. It generally doesn’t matter what the cover is, so much as what shape the cover takes.
High Cover fully conceals your body while you are behind it. You can crouch or stand while you’re pressed against it, allowing you to swing out and fire from a raised or lowered position, possibly throwing off your enemy’s aim. Click the Left Stick to duck down, even when you are in high cover.
On the downside, you cannot fire over high cover, only around it, so you can shoot only from its edges, mildly limiting your offensive options.
Low Cover forces you to crouch when you’re behind it. It is also slightly more exposed than high cover. Your exposed extremities can be shot while you move behind it, or if you reload. You’re fairly safe if you aren’t moving at all, but you have to move or attack eventually. It is also very vulnerable to enemies on different elevations than you, one reason height is so important on the battlefield.
Low cover can be more flexible than high cover, as you can blindfire over the top easily. You can also move from left to right to pop up and shoot, mixing up your attack location. Be aware this is slightly less effective in multiplayer, where savvy opponents can track your movement behind low cover.
Note that some cover is destructible. Concentrated weapon fire or a single explosive can often destroy softer cover (i.e. furniture and other materials that aren’t solid stone or metal). Whenever you enter a new battlefield, scan the area and evaluate the available cover. If much of the cover can be destroyed and only a few places provide hard cover, seize the hard cover if at all possible. You can destroy the soft cover and then mow down your hapless foes as they’re left in the open.
Fighting from Cover
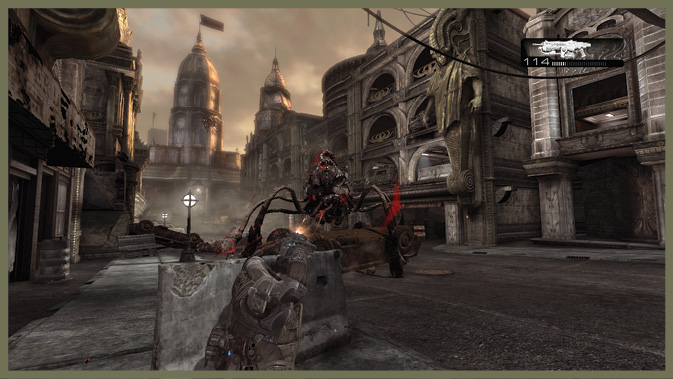
Fighting from cover is pretty simple—take cover, then either blindfire or aim over it or around it. You can move from side to side and stand or crouch behind high cover.
The real trick to master is positioning yourself well in relation to your enemies. Ideally you want solid cover in front of you, facing your opponents. Likewise, you want your target’s cover at an angle to your own, so you can more easily hit parts of your foe’s exposed body.
Throughout the campaign, staying behind cover allows you to recover from even critical damage. As long as you’re motionless behind hard cover and your enemies aren’t flanking you, you’re somewhat safe. This gives you time to recover from damage that you’ve endured, and you will get hurt…a lot.
Certain enemies are still a threat, even when you’re behind cover. Locust mounted on Reavers or Bloodmounts can fire down at you from a naturally elevated position. The Reaver can strike with its tentacles and the Bloodmount can rush around cover and bite you. Tickers and Wretches love stationary targets behind cover. And of course, grenades are always dangerous.
Other than those specific cases, most of your opponents are far less effective against you while you’re behind cover. For this reason, watch out for the enemies that can render your cover unsafe and prioritize them as targets.
Fighting Enemies in Cover
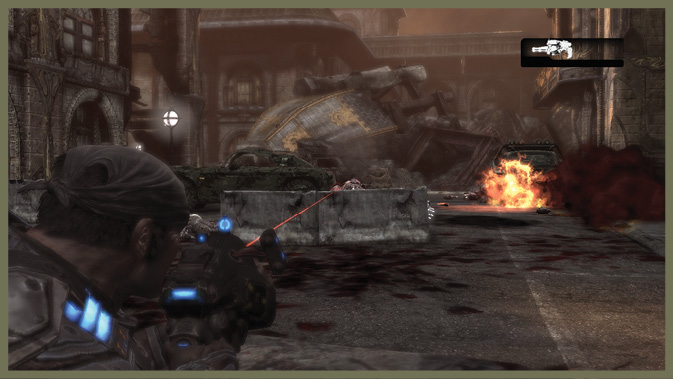
Because you often fire at targets that are behind cover, it’s worth knowing what you can do to damage such targets.
First, you can hurt targets behind hard cover, but it isn’t easy. Some weapons are better suited to it than others; check this guide’s COG Armory section for a better idea of which. In brief, most weapons have reduced effectiveness against targets behind low cover, and next to no effectiveness against targets behind high cover.
Your chance to inflict damage on opponents behind cover comes when they expose themselves. Any time a player blindfires from cover he or she becomes exposed. From high cover, they are also exposed when they aim around their cover. From low cover, you can target opponents when they aim, when they move quickly from left to right, or when they reload.
Depending on your angle to your target, you may also be able to get some shots in from the side. You don’t have to fully flank a target to get a better line of fire, so make a point of moving to positions that give you an offensive edge.
Targets behind high cover may expose themselves slightly when they reload if they’re pressed up against a wall’s edge. Even a slight angle on their position can give you the line of sight you need to deliver damage.
Grenades are ideal for flushing out or eliminating targets behind cover. Blind-throwing grenades at enemies behind cover usually isn’t effective (though Ink grenades can be). But aiming and tossing a grenade beside or behind your target in cover can be lethal. At worst, it forces your foe to move, often in a damaged state.
Moving Between Cover
There’s an art to moving around in Gears of War 2 combat, because exposing yourself is so very dangerous. Not only are you fully exposed to enemy fire, but you also have to deal with a new concept known as stopping power. In short, when you get shot, your rate of movement temporarily slows.
The degree to which your pace slows depends on the type of weapon that hits you. But quite simply, rushing targets head-on, in the open, while they are firing at you is a very bad idea.
Instead, it’s far safer to traverse the battlefield using your cover maneuvers. You can SWAT turn between nearby pieces of cover, and cover slip forward around them to move toward your enemies. You can mantle cover to quickly get out of the line of fire, or to get behind enemy cover to assault targets at close range.
If all else fails, you can Roadie Run in the open, and then dive into a roll before slamming safely into cover.
Flanking
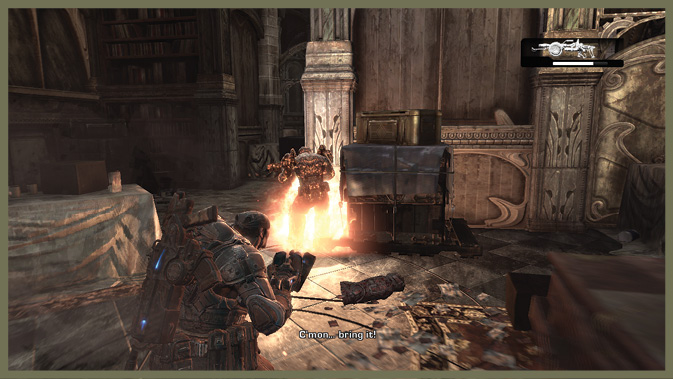
Because Gears of War 2 is so focused on using cover, it naturally follows that flanking is a major part of combat. If you can eliminate the cover that your targets use, they tend to drop very quickly indeed.
Most cover (though not all) tends to be fairly short and very straight. As a result, flanking your target often completely removes any benefit the cover would provide from the frontal arc.
In the campaign, and especially in multiplayer, targets usually move to avoid getting fired at from the flank or rear. But you can still inflict heavy damage in the few seconds they are exposed. In some cases, your target simply may not have any defensible locations to retreat from your assault.
Other factors make flanking lethal, both to you and your opponents. For one, taking aim from cover focuses your field of view on your target and tends to block your ‘peripheral’ vision. This makes you vulnerable to getting flanked while you myopically focus on a single target.
This is more noticeable with some weapons than others. Sniping with the Longshot or zoomed in with the Hammerburst, you’re less aware of your surroundings than if you’re marching around with the Shotgun or Scorcher.
Moving from cover to cover is generally easiest while you face a single direction. For example, it’s tempting to cover-slip forward from one spot to the next, then SWAT turn to another adjacent piece of cover, all while facing toward the bulk of your enemies. But if you don’t scan to your left and right, you won’t be aware of threats creeping up on you until you see the damage indicator flashing…or hear the disconcerting rev of a chainsaw.
Generally, it’s always worthwhile to try to flank your targets. There are times when flanking your target can get you in trouble, exposing you to enemy fire. But in most situations, getting into a flanking position means the rest of your squad can pin down enemies from the front while you devastate them from the side.
If you find yourself getting flanked, quickly assess the situation and fall back to the nearest defensible cover that nullifies the flanking attack. Of course, try to do this without exposing yourself to excessive enemy fire. This can be easier said and done, but the risk of getting shot on the move while you retreat is preferable to staying put and eating fire from the side—at least you’re a tougher target to hit on the move.
Wallbouncing
Wallbouncing is simply sliding into cover from a good distance, detaching from the cover, and then sliding into a nearby piece of cover again. When you do this quickly, it’s much quicker than simply walking around. In some cases, it’s even faster than Roadie Running to a location.
To use wallbouncing effectively, practice the distances from which you can slide into cover. From the front, you get the longest slide, but you can also slam into cover that’s off to your left or right, at about half the distance of a forward slide.
Also, remember that you can cancel a SWAT turn into a Roadie Run in any direction.
Using these moves in combination lets you negotiate the battlefield in a quick and erratic manner, making you a difficult target for anyone firing at you.
Roadie Run
The Roadie Run allows you to travel quickly around the battlefield. This is important, as moving in the open at walking speed is dangerous unless you’re doing so for a very specific reason (e.g. burning close-range foes with a Scorcher).
You can slip from cover directly into a Roadie Run by holding the A Button. This is useful for moving from cover to cover quickly. When you approach cover, if you’re still holding run, you automatically slam into it. Alternately, you can tap the A Button when you’re close to the cover to perform a Cover Slide.
Combining Roadie Run with wallbouncing and cover movement allows you to move extremely quickly, minimizing your exposure to enemy fire in the open.