Gears of War 2 Guide ACT II: Denizens
Chapter 4: Sinking Feeling
Tollen, Montevado, and now Ilima have all crumbled, literally, into monstrous sinkholes created by the Locust.
As you emerge from the Hollow into the ruins of Ilima, the scale of the devastation wrought by the Locust becomes apparent. The city is ruined and Locust swarm the remains, killing the Stranded still in the city.
As you step out onto the ledge overlooking the city’s remains, a Raven gets shot down and crashes in the distance. You set off with Delta to aid the downed pilot.
Encounter 01
ENEMY PRESENCE: Bloodmount, Grenadiers Drones
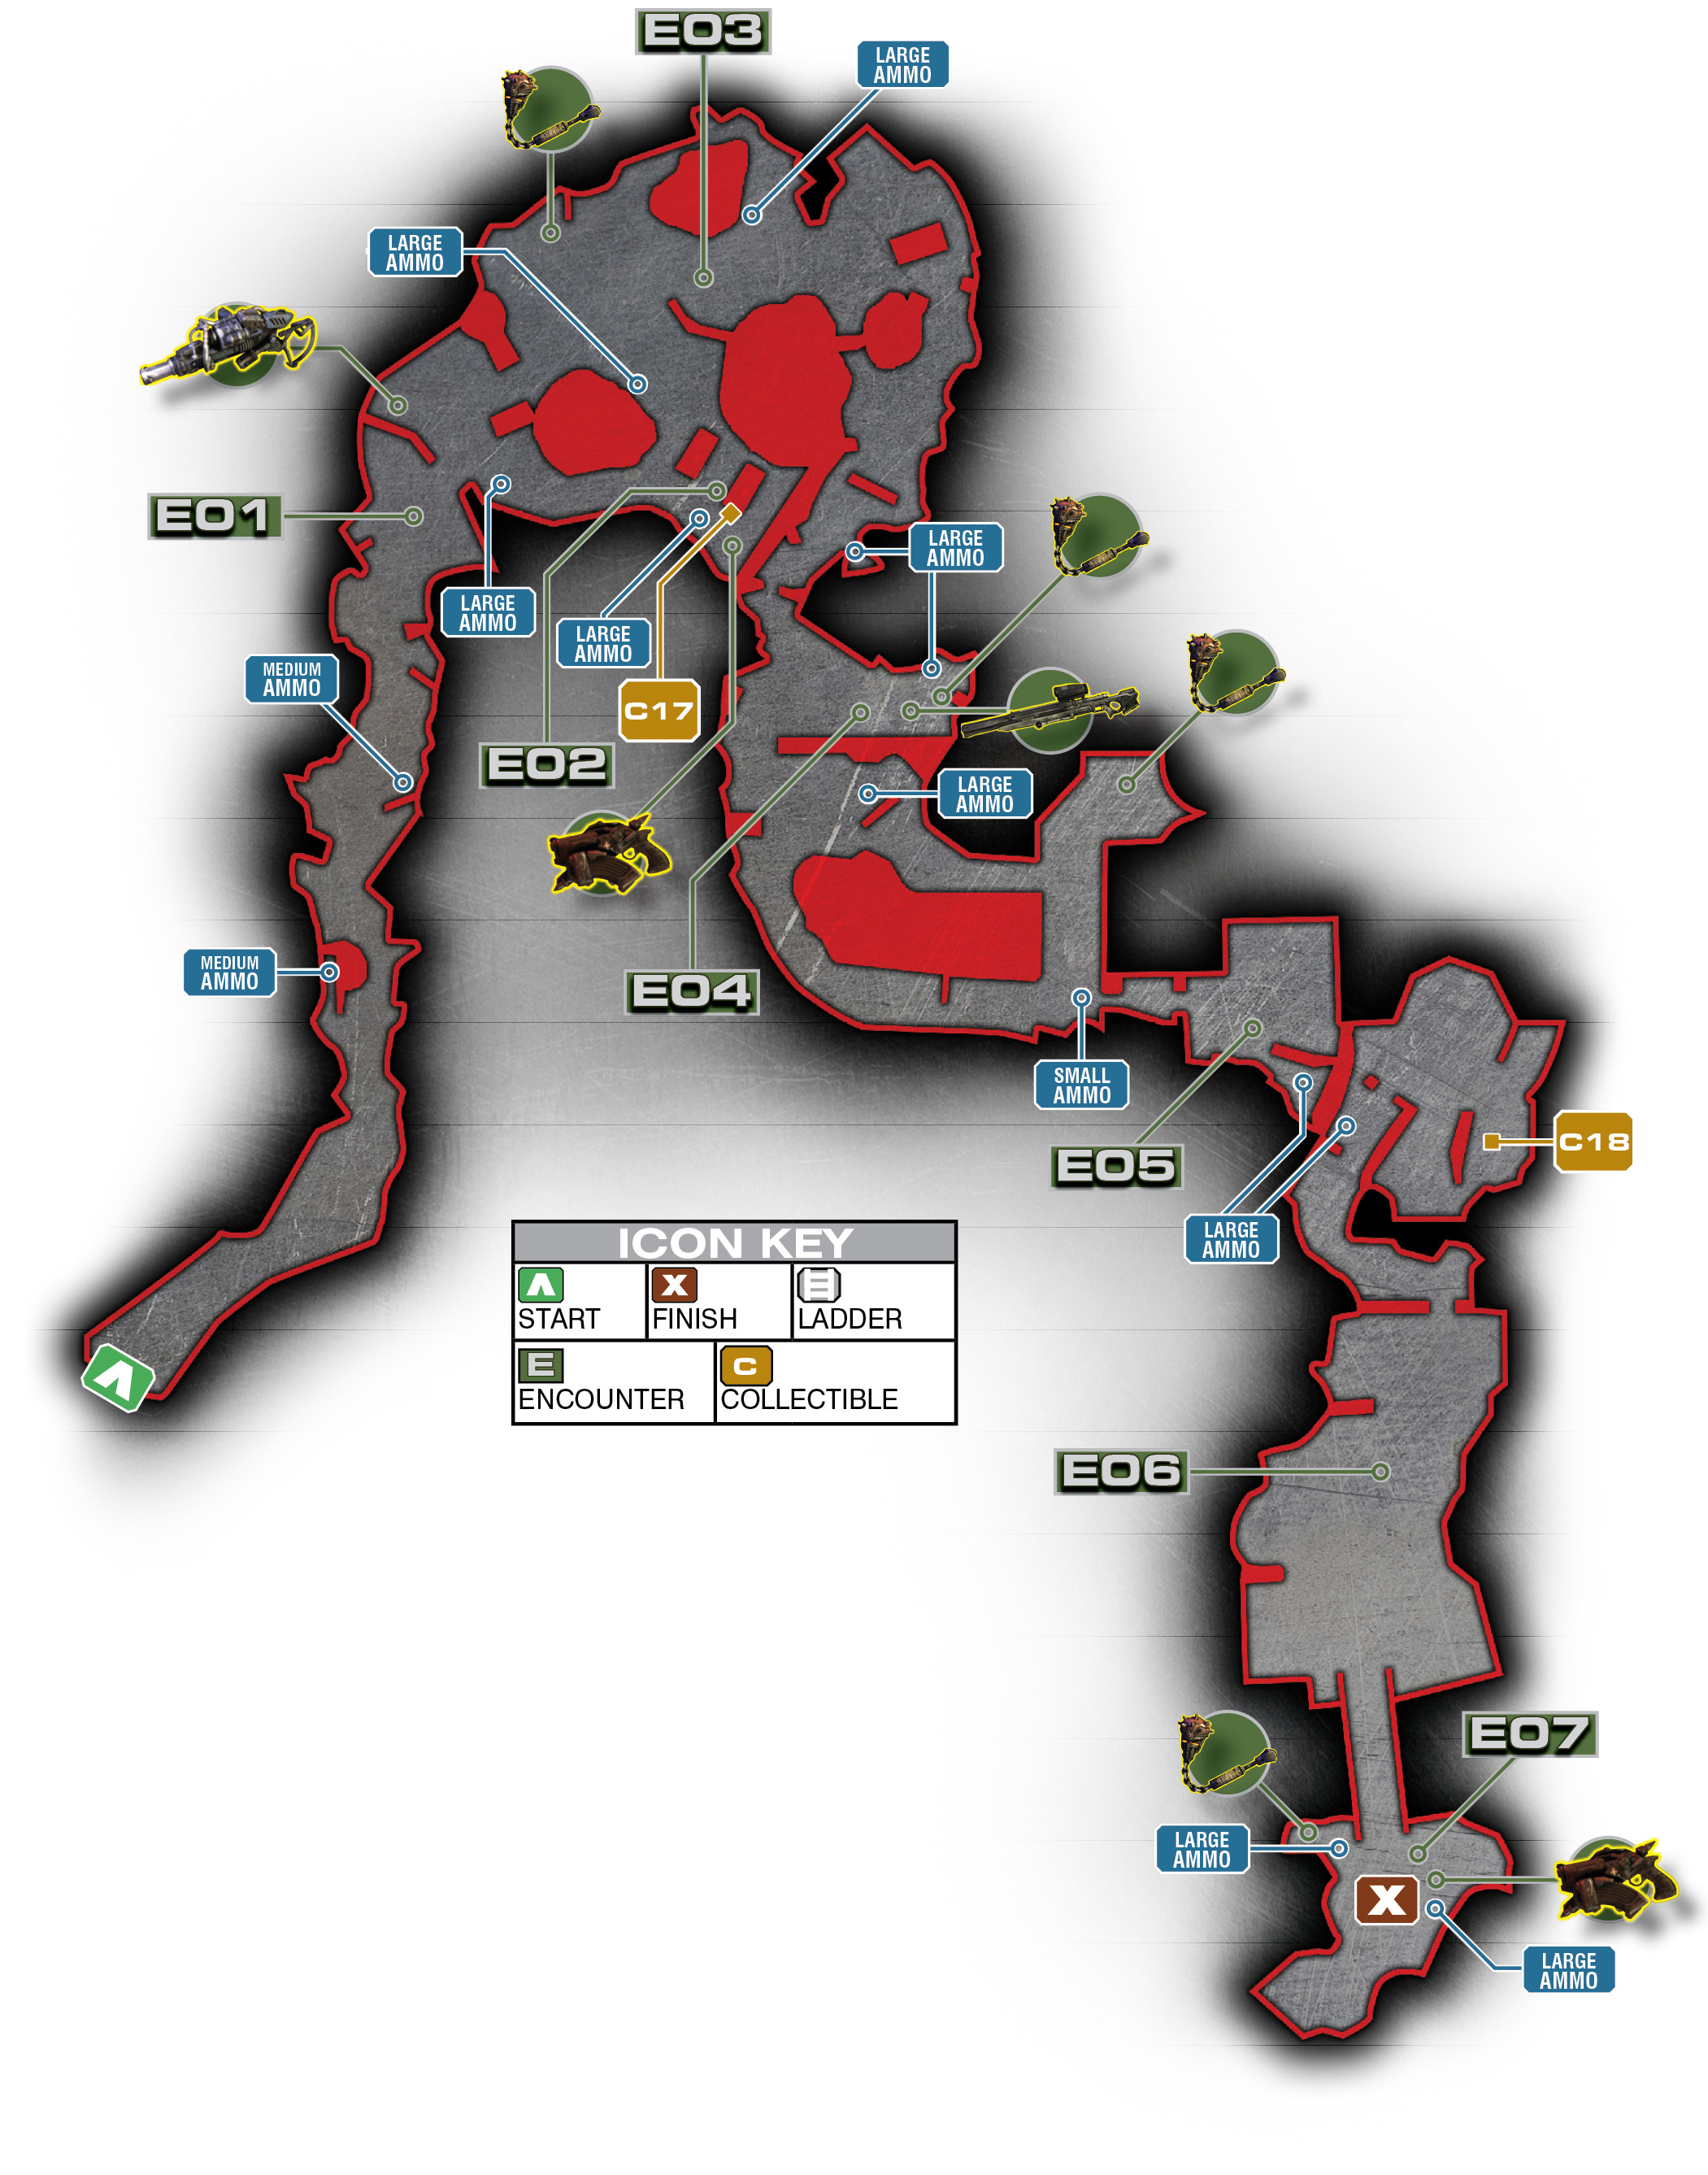
Make your way down into the sunken city, grabbing the ammo on the way. After Marcus contacts Control, you set off into the ruins to help rescue a downed Raven.
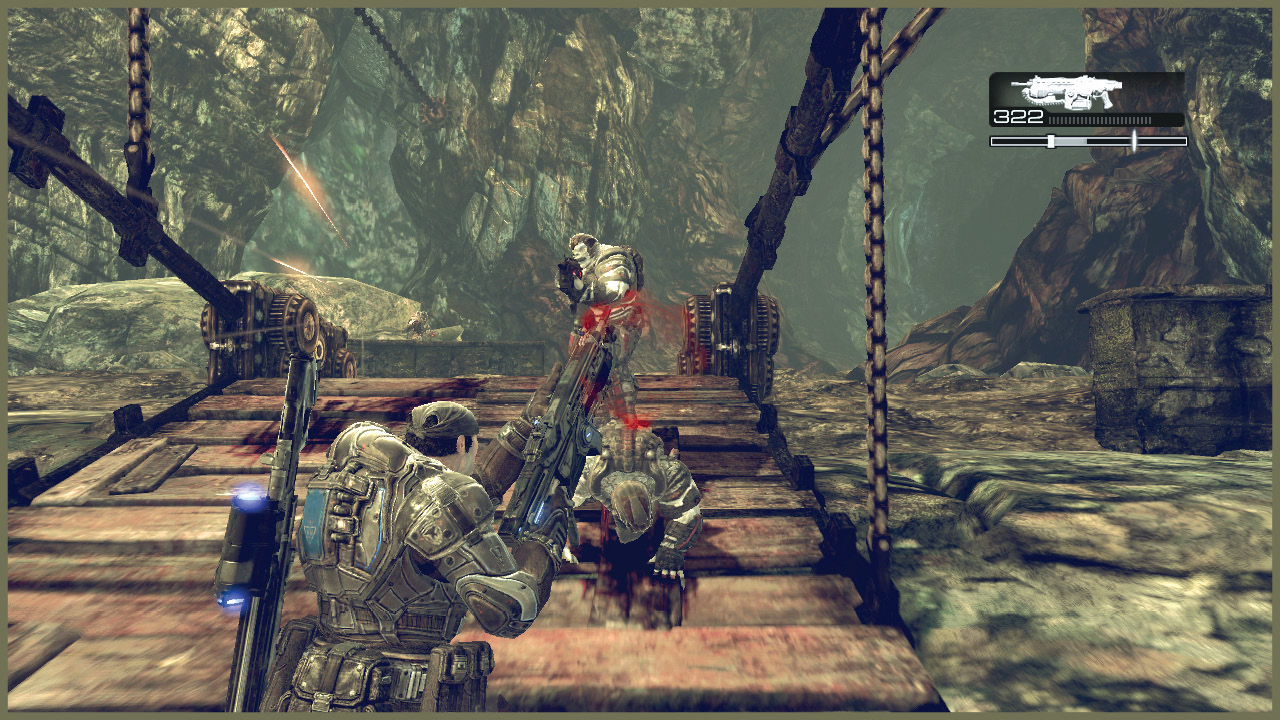
As a Stranded flees from the shattered buildings, you come into contact with three Bloodmounts and their attendant Locust riders (on Normal difficulty). These nasty Locust beasts of burden are equal parts weapon of war and mobile elevation for their riders.
As a result, they are dangerous when you hide in cover. This is because the rider can shoot over low cover, and the mount is more than happy to run up and chew on you at close range.
Make the Bloodmount a priority target during any encounter. You can knock off the rider or kill the Bloodmount directly.
After you deal with the Bloodmount, you can pick up a Mortar on the ground nearby. Use it to shell the Grenadiers or save it for the next few encounters.
Encounter 02
ENEMY PRESENCE: Snipers, Drones
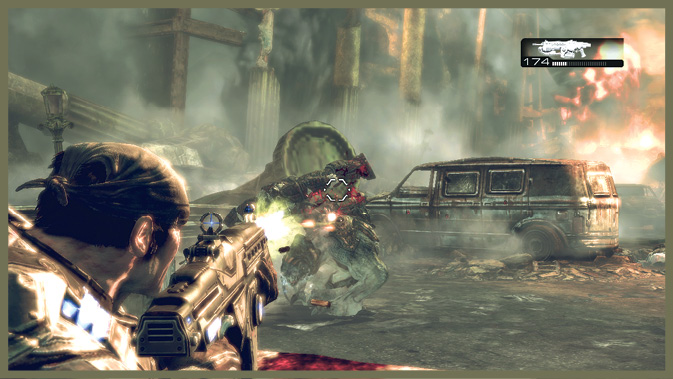
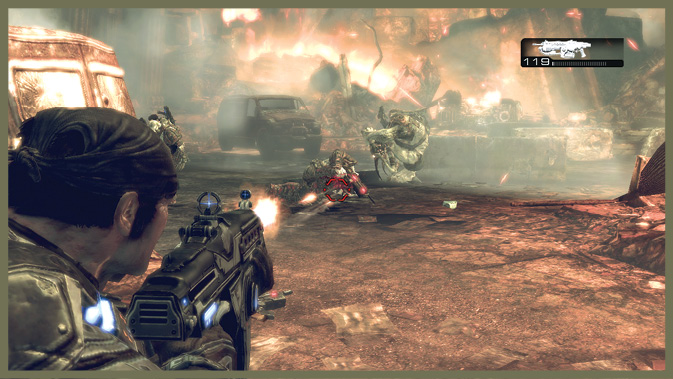
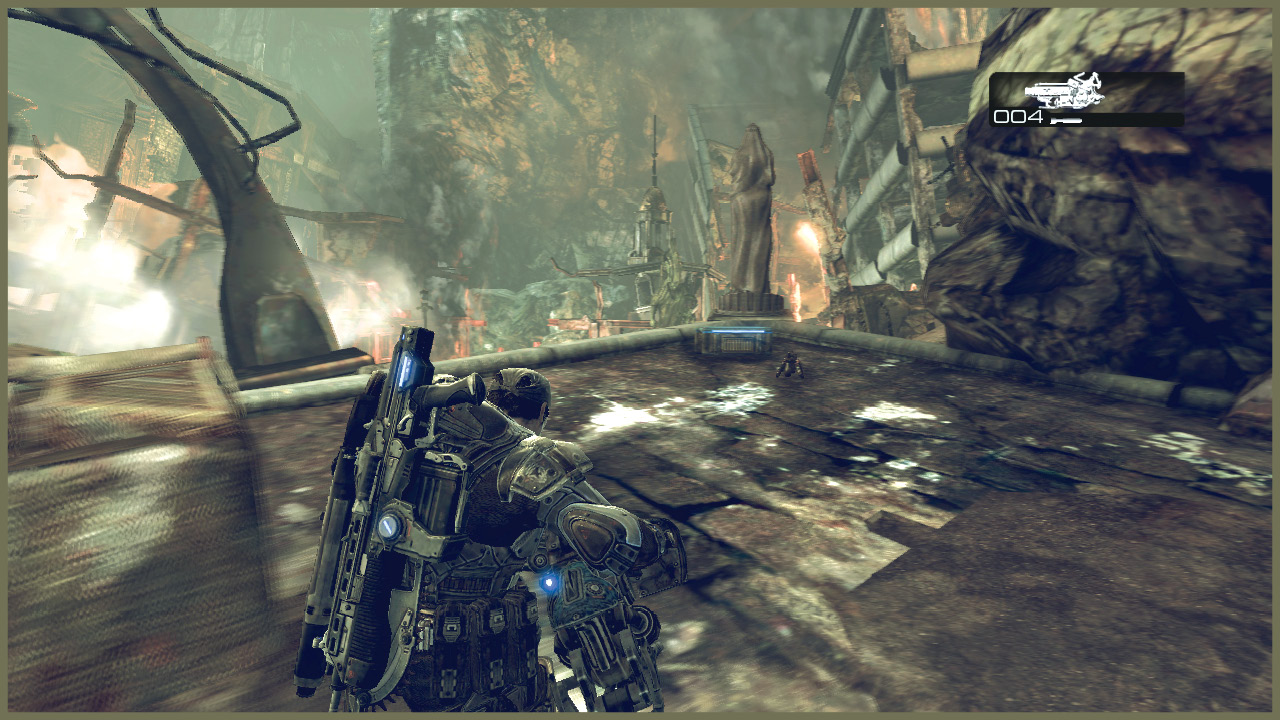
A few Drones secure the path ahead. You can engage them directly or take a detour to the right to find a collectible and a Gorgon Pistol.
From the Gorgon Pistol overlook area, you can shell the Snipers with the Mortar at about 150 meters from the safe area. Doing so frees up the route on the left, so you needn’t worry about getting picked off while you deal with the Locust presence near Encounter 3.
Encounter 03
ENEMY PRESENCE: Reaver
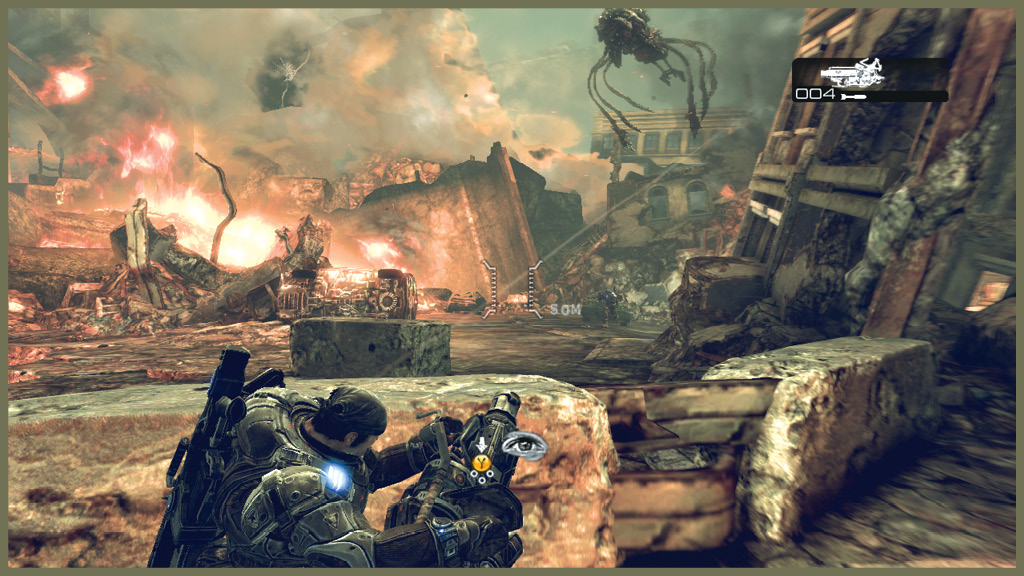
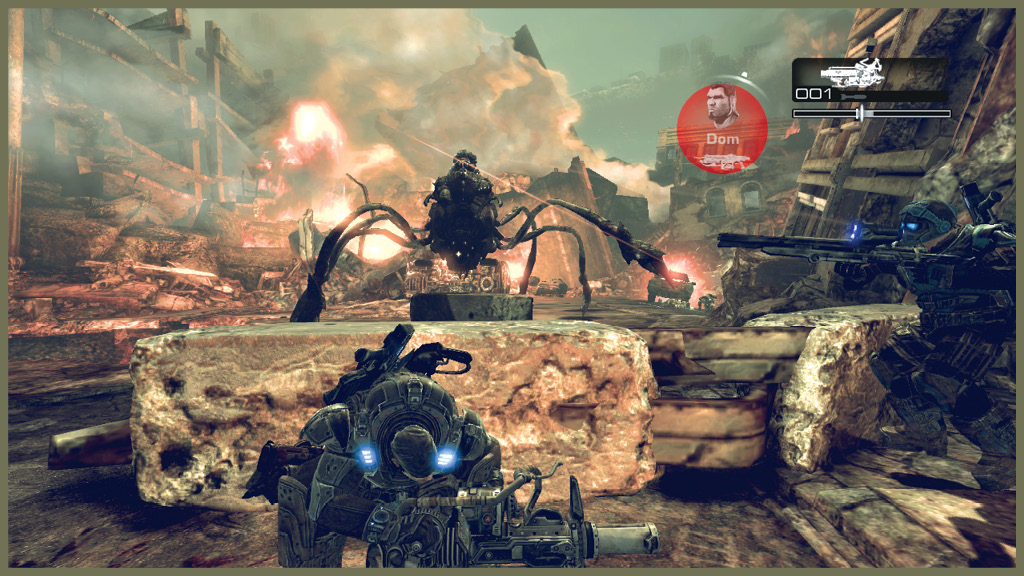
A Reaver that swoops in and lands in the middle of the path bars your progress down toward the Raven. Back off immediately to get some distance whenever you hear the cry of “Reaver!”
If you still have Mortar shells available, they’re effective. You can also use some Frag Grenades. Failing those options, pumping it full of bullets always works; just be ready to retreat and heal if necessary.
Encounter 04
ENEMY PRESENCE: Drones, Snipers, Reaver
As you get closer to the Raven’s position, a Corpser bursts forth from the wall of the sinkhole. This creates a hole from which numerous Drones, Grenadiers, and Snipers emerge.
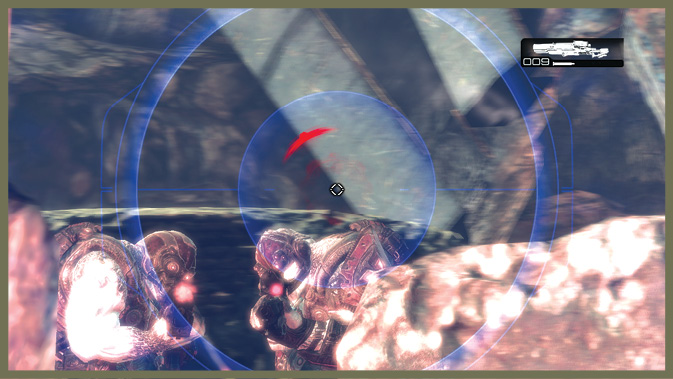
Take cover on the wall facing their position. Pick up the Longshot and ammo nearby, and then settle in to pick off as many enemies as you can. A propane tank becomes exposed on the ground near the shelled-out building next to which the Locust take cover. Shooting the tank causes the building to collapse and take out some of the enemies.
Midway through the battle, another Reaver drops down to join the fun, so be ready. It lands near the right side of your cover, potentially leaving you dangerously exposed. Try to take out its riders quickly to reduce the amount of incoming fire.
Once you deal with the Locust in this area, make your way over to the building containing the crashed hulk of the King Raven. You can pick up some Frag Grenades and a tiny ammo pack just outside the building before you go inside.
Encounter 05
ENEMY PRESENCE: Drones
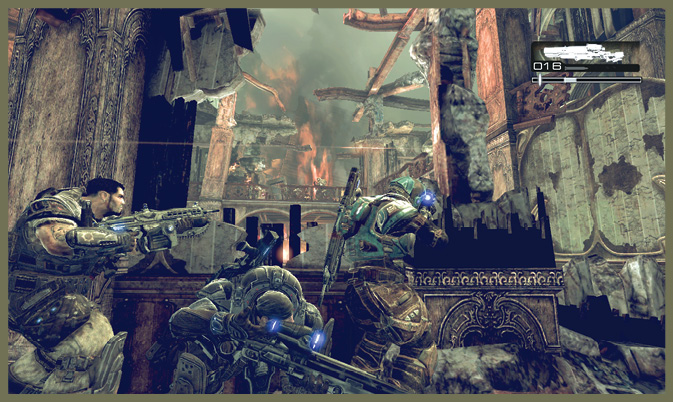
As you step into the building, it quickly becomes apparent that the crew of KR-54 is KIA. A Locust ambush provides an unpleasant answer to the question of who killed them.
Take cover and hold out. The Locust have an elevation advantage and there are too many to manage. Thankfully, you don’t have to hang on for long. In spectacular fashion, Cole arrives, grenade-sticking, head-shooting, and just plain gutting the Locust above you.
When you rejoin Cole after he saws through the building’s wall, you can continue deeper into the sinkhole in an effort to find Baird, who lost contact during the assault.
Don’t miss Collectible #18 on the way out. It’s just inside the building after Cole rescues you.
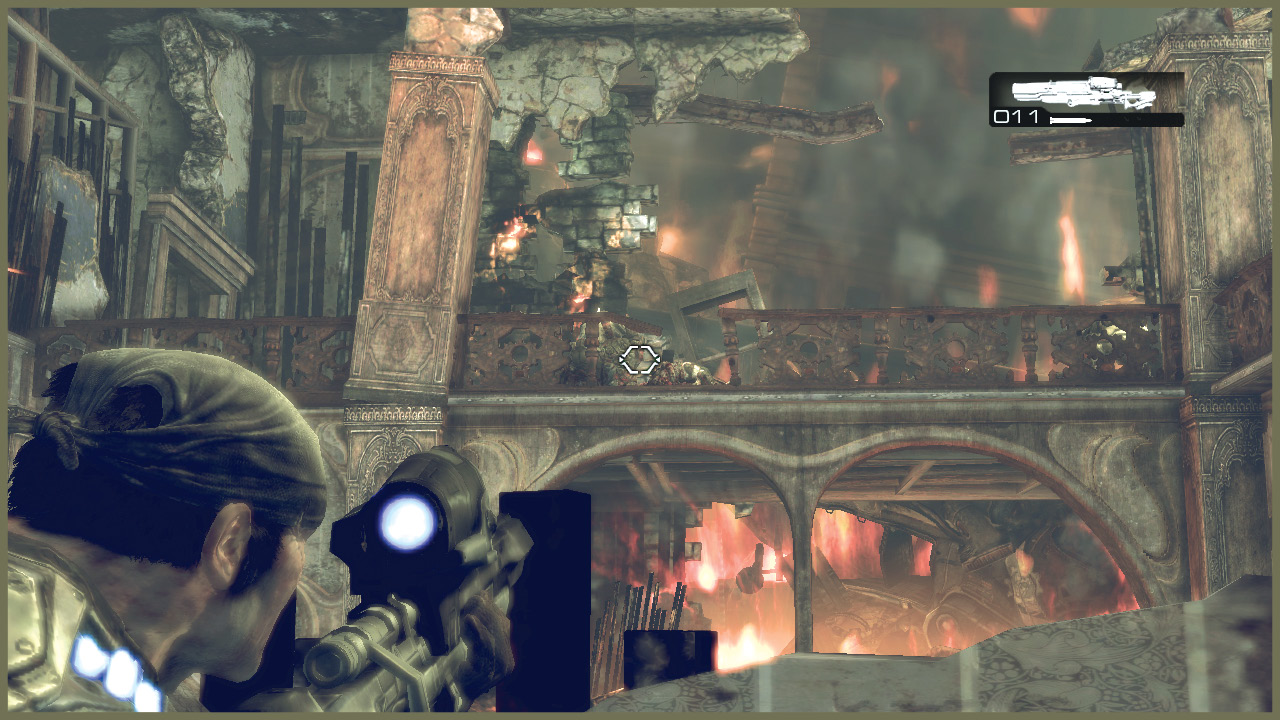
Encounter 06
ENEMY PRESENCE: Reaver
As you exit the building into a graveyard, another Reaver drops down to assault your squad. The headstones supply plenty of cover here. With your full squad, you have plenty of firepower to take down the isolated Reaver.
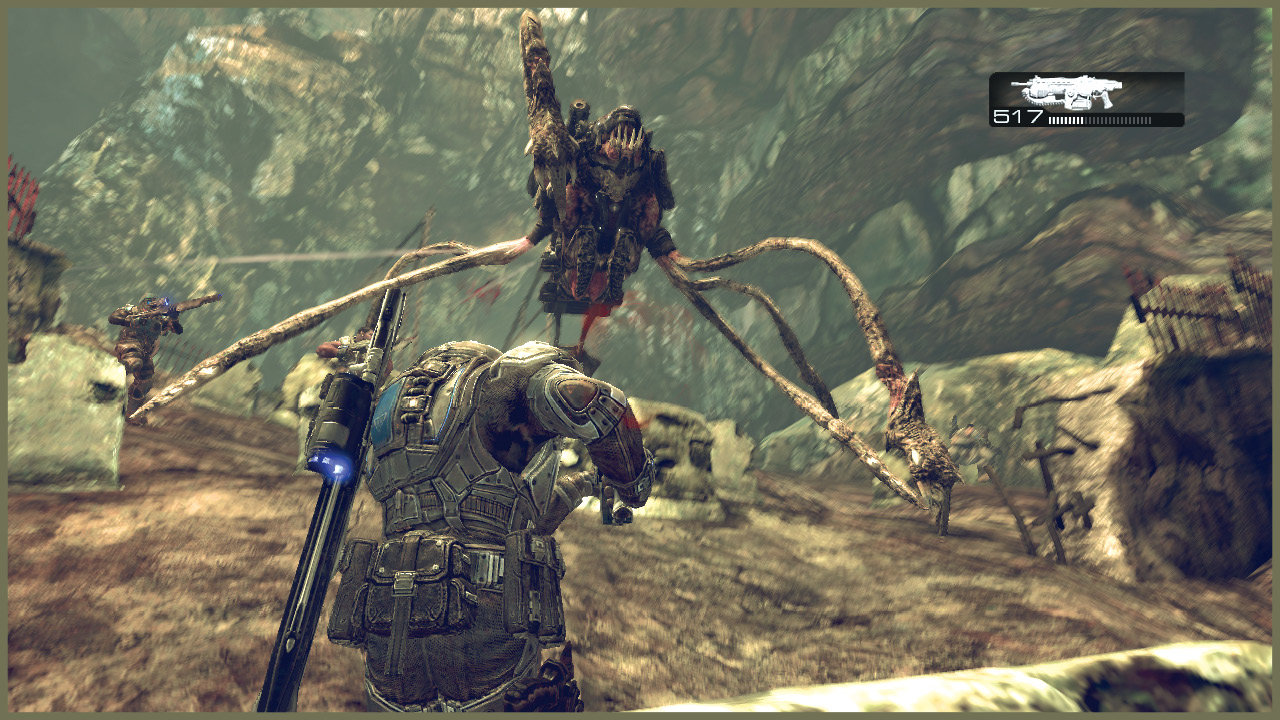
Encounter 07
ENEMY PRESENCE: Drones, Kantus
Up ahead, a bridge leads to a tunnel cut into the rock wall. But first you have to get past a small Locust force comprised of a Kantus across the bridge with two Drones in tow.
Don’t let the Kantus hang back. If you still have the Longshot, take out the Kantus from a distance. Otherwise, be sure to kill his Locust escort fully or he may raise them with his chanting.