Gears of War 2 Guide ACT II: Denizens
Chapter 5: Captivity
Beyond the ruins of Ilima, an unpleasant discovery waits to greet you. The Locust are capturing human prisoners for unknown reasons.
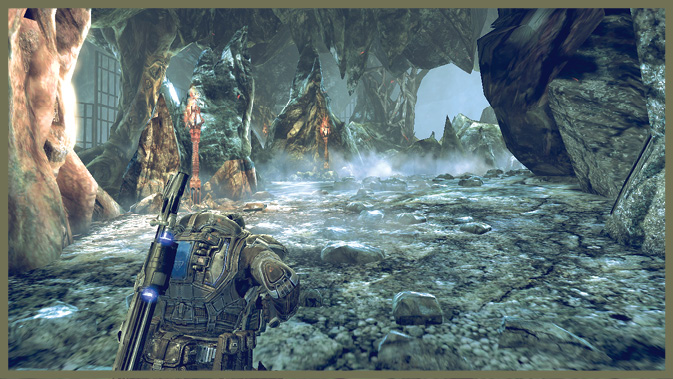
As you make your way through another cavern, you have to free some captured Gears before you can reach an evacuation point for a Raven to pick up your team.
Encounter 01
ENEMY PRESENCE: None
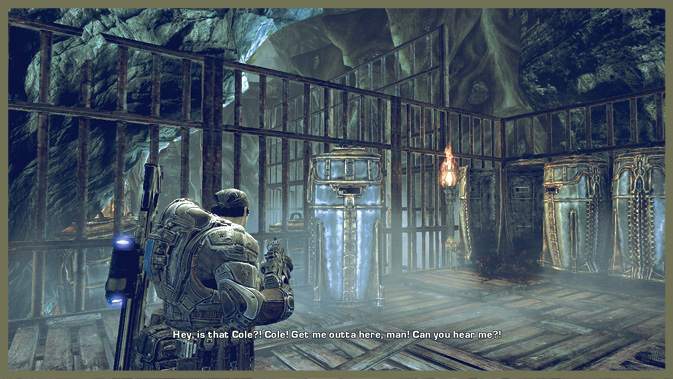
As you enter the cavern, you run into some holding pen areas filled with strange containers. It quickly becomes apparent that humans are the cargo.
You can hear Baird shouting from within one of the containers. Get him out to add another combat-worthy Gear to your squad. Then move on, deeper into the cavern. Don’t miss a collectible just around the corner to the right after you free Baird.
|
 Freebaird!
Encounter 02
ENEMY PRESENCE: Drones, Boomer
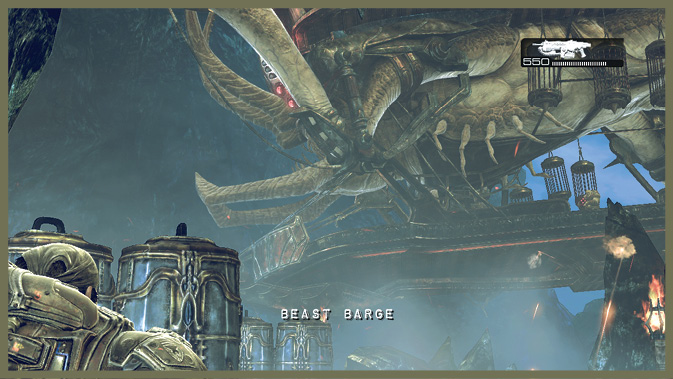
Make your way down the trail, and you soon encounter an unusual sight: a massive Locust creature fitted as a sort of mobile barge.
You have to hitch a ride to move deeper into the cavern. But first you need to deal with the Drones and the Boomer who really don’t want you aboard their vessel.
You may want to take the Boomshot with you for the next few encounters. A nasty new Boomer type is coming up.
Encounter 03
ENEMY PRESENCE: Grinder
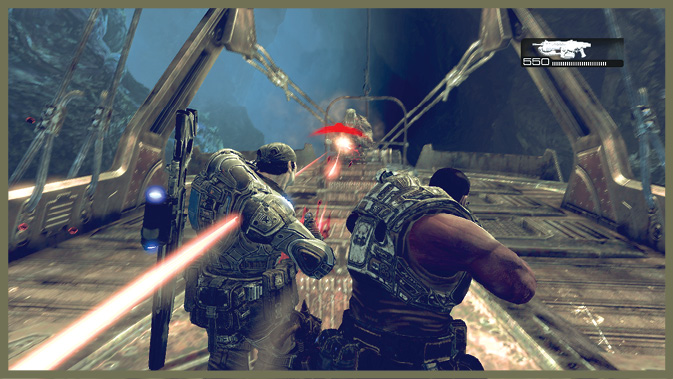
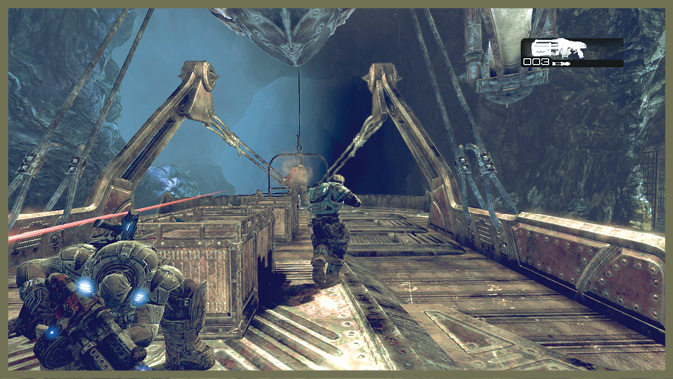
Once you get on the barge, a Grinder comes down a lift from the barge’s middle level. The Grinder is a Boomer variant that wields the mighty Mulcher instead of a Boomshot. Be ready for it to unload when you hear it yelling “GRIND!”
Take it down to secure its Mulcher, and then use the lift on which it came down to get into the heart of the barge.
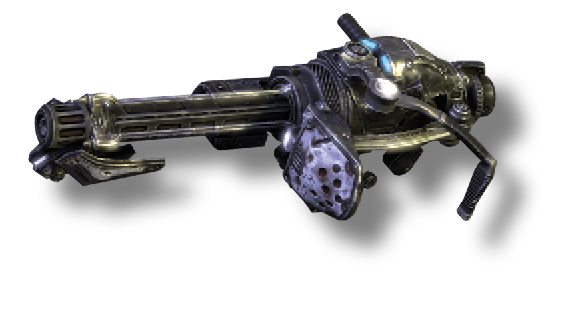 Mulcher
An incredibly powerful heavy weapon, the Mulcher is a chaingun that can unleash a blistering hail of bullets on any unlucky target in your path. Furthermore, rather than reloading, you must simply cool the barrel (by pressing the Right Bumper) periodically to continue firing.
Encounter 03
ENEMY PRESENCE: Grenadiers, Reavers
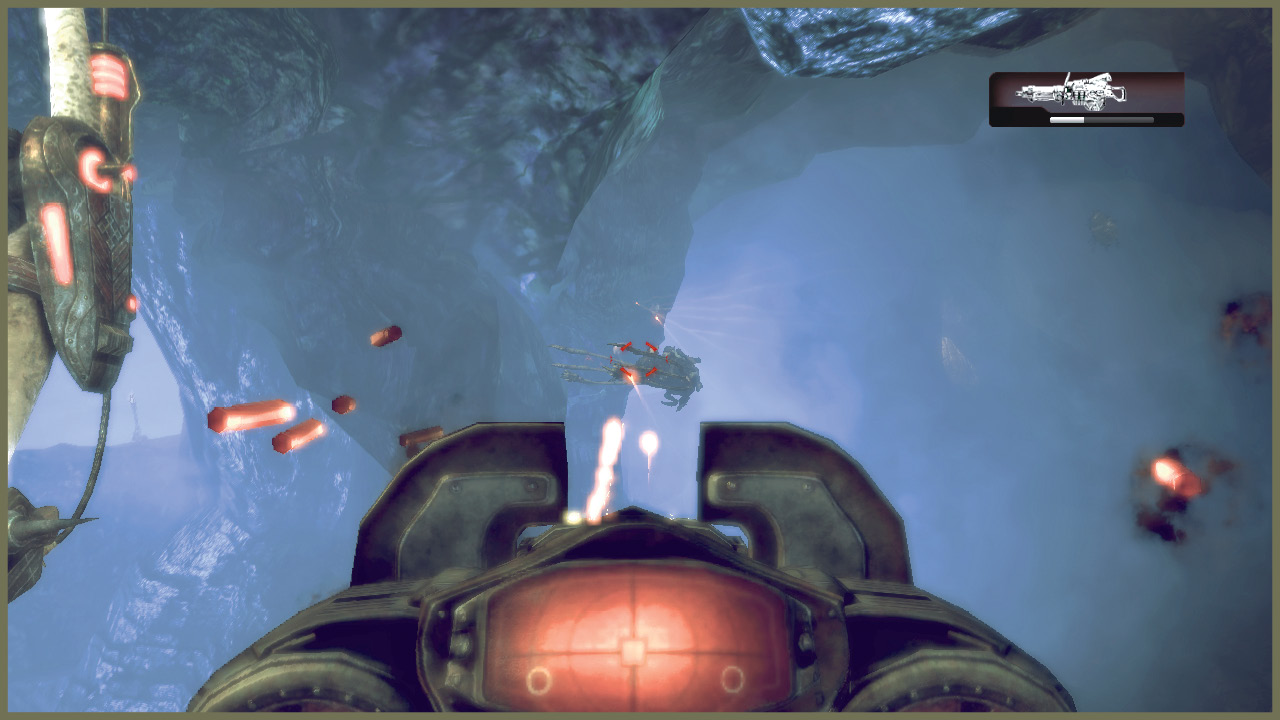
Inside the barge, you can pull a lever to open the prison doors on the sides of the room, but there’s no one in them. Head up to the barge’s top deck, where you encounter several Grenadiers and a Troika.
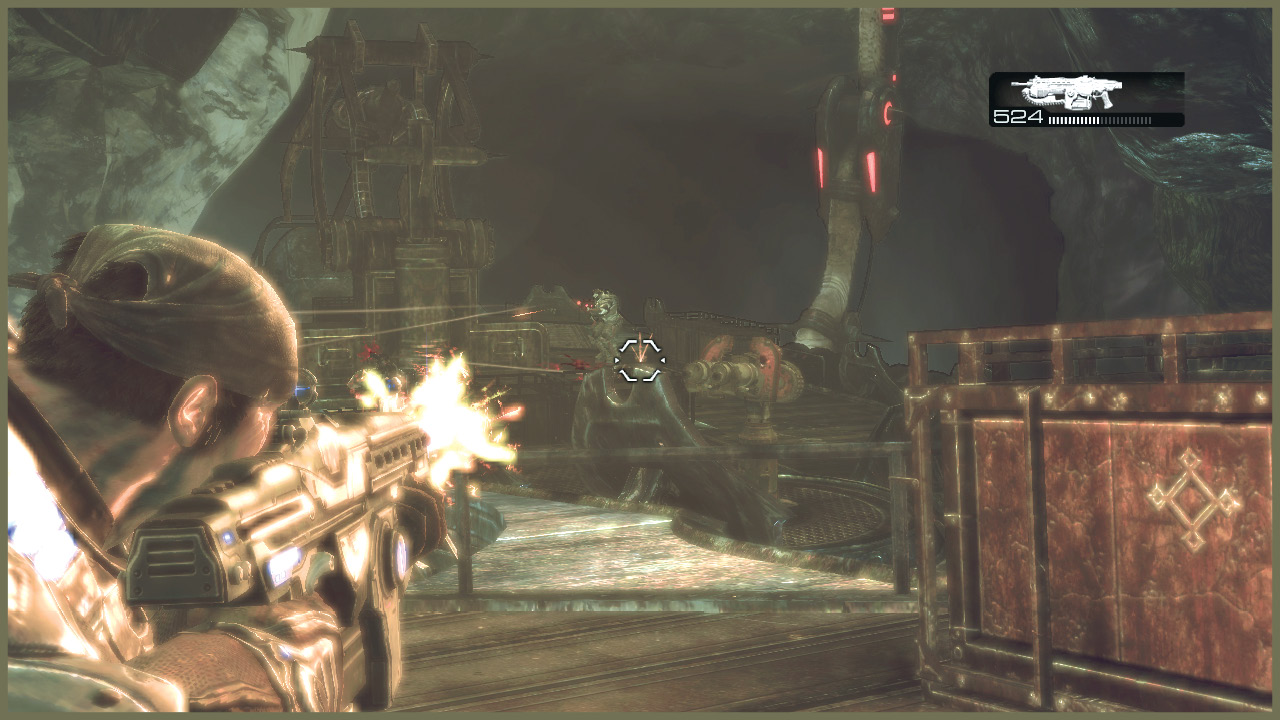
Take down the Grenadiers and then pull the lever in the middle of the top deck to get the barge moving. As soon as it does, man the Troika to deal with the Reavers.
Inside the barge after you push the button, head up top and kill Drones. Then man the Troika to fight off the Reaver wave. Watch out for the Troika on the other barge nearby—there’s a Locust Explosive beside.
Encounter 05
ENEMY PRESENCE: Drones, Grinder
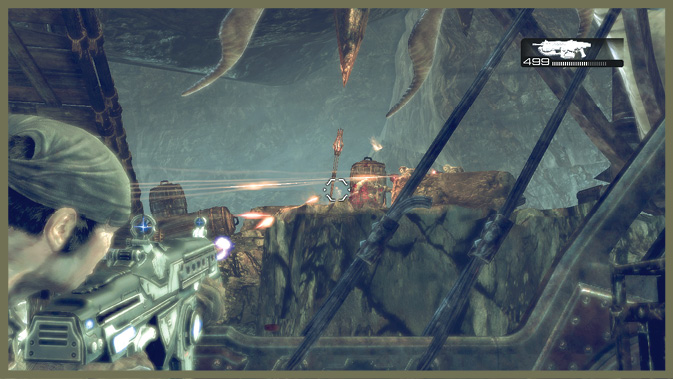
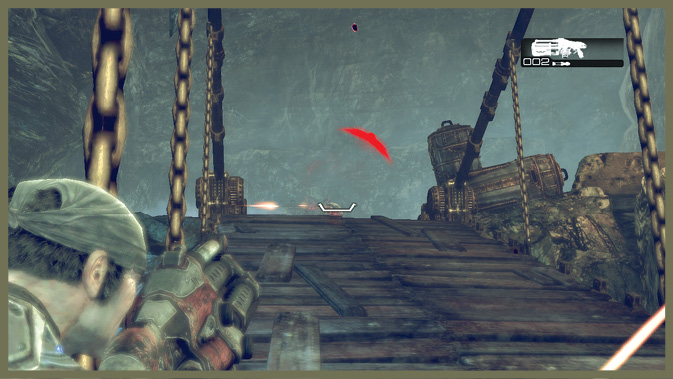
After a short trip, you slam into another barge. Kill the Drones atop it and then board the barge. Pull the lever inside to reveal a gruesome discovery. Then proceed down into the barge to make your way back to solid ground…well, mostly solid.
As you leave the barge, you face a Locust defense of the docks comprised of more Drones and another Grinder. Use the barge for cover to take down the Grinder. Then secure his Mulcher and move on, toward an exit from the caverns.
Encounter 06
ENEMY PRESENCE: Bloodmounts, Kantus, Drones
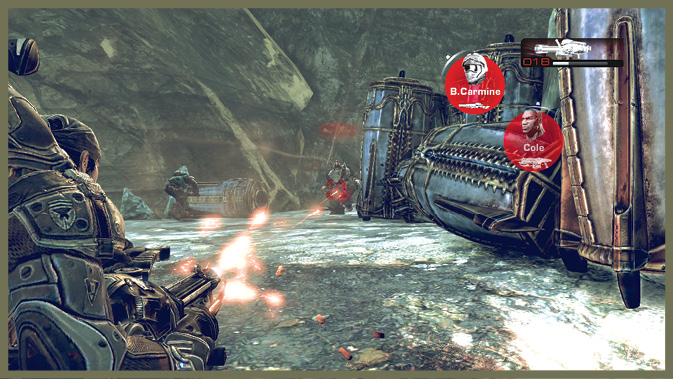
As you make your way through the tunnels, the now familiar shriek of a Kantus announces his presence. More Drones and a pair of Bloodmounts join the party.
Lug along the Mulcher from the Grinder at the barge dock—it makes this encounter a snap. Mow through the Kantus and the Bloodmounts. Save the rest of the ammo for the next encounter.
Encounter 07
ENEMY PRESENCE: Bloodmount, Kantus
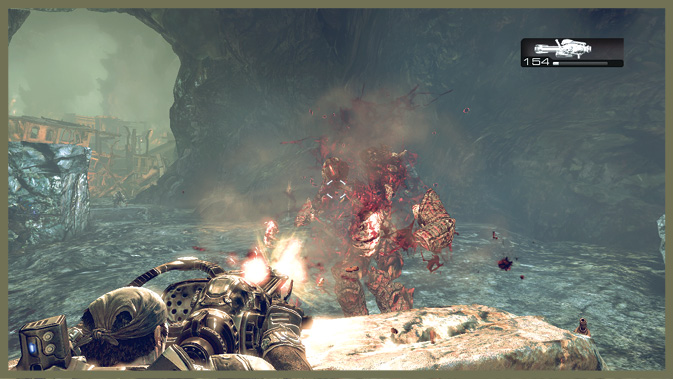
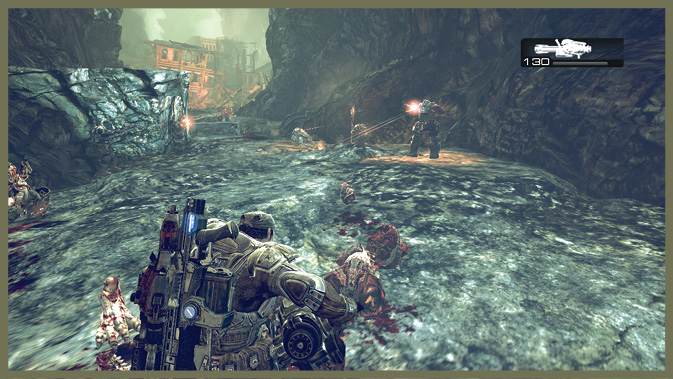
As you approach the exit from the cavern, another Kantus attacks with a Bloodmount (on Normal difficulty). You may still have ammo for the Mulcher to take care of them quickly. If you don’t, just hang back and engage them at long range before they can close with you.
You do have plenty of squad support in this fight, so let your men fight for you. They make better bullet sponges than you do.
Encounter 08
ENEMY PRESENCE: Drones, Kantus
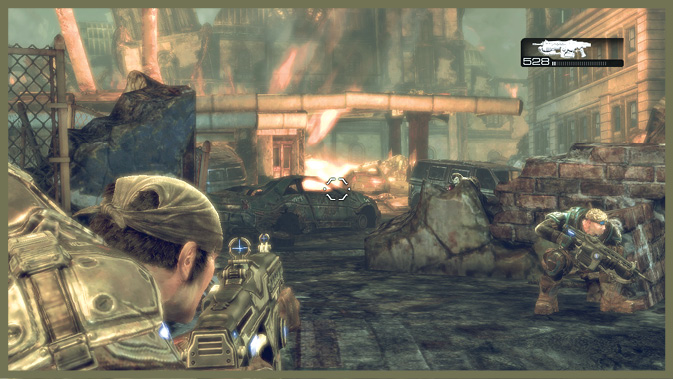
Once you leave the cavern, a handful of Drones oppose your entry into Ilima’s ruined remains. There are several at the entrance to the ruins. A few more are to the left, where you can also find some Frag Grenades and a large ammo crate.
Encounter 09
ENEMY PRESENCE: Reaver
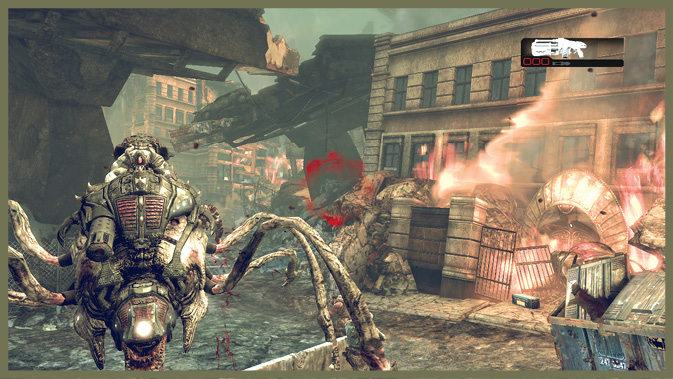
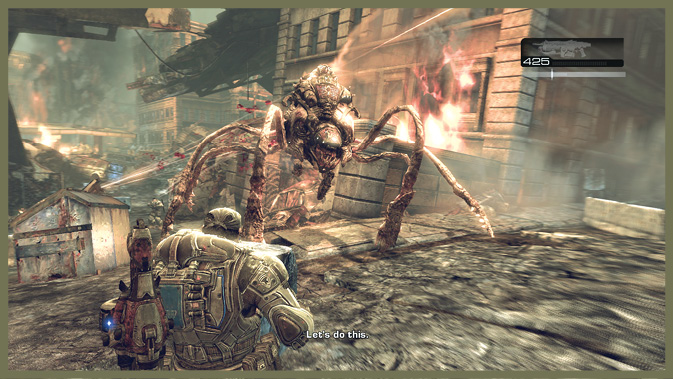
Once you make your way around to the right side of the building in the middle of the street, a Reaver slams down and engages Delta.
If possible, try to come at it from the entrance to the ruins. That is to say, go right where you first came to the split around the large building in the street. Doing so gives you a bit more room to back off. If you come at the Reaver from the left side, it lands nearly on top of you.
Once you dispose of the Reaver, don’t miss the large ammo crate to the right.
Encounter 10
ENEMY PRESENCE: Drones, Ticker
A pack of Drones blocks a potential evacuation point for the Raven to pick up your team. You need to clear your path. Then you can head into the large building at the end of the street, either through the left or the right entrance.
Take down the Drones and then check the area. There’s a large ammo crate in the doorway on the left side of the large building. You may also want to go around the right side to pick up some Frag Grenades on the way in.
It doesn’t matter which way you take to the rooftop, but investigating both ways gets you a bit more ammo.
Encounter 11
ENEMY PRESENCE: Drones, Kantus
The final fight here is simply an endurance test. Waves of Drones assault your position. You must hold out until the Raven lands.
There’s plenty of ammo and a few Frag Grenades on the rooftop, but you don’t want to get caught out in the open as Drones come from all sides.
Instead, hole up in the small, mostly ruined room where most of Delta usually ends up.
The major threat in this fight is the Kantus that comes up from the left staircase (where you entered if you came in on the left side from the street).
Try to take out the Kantus quickly. It’s frustrating to kill Drones from a distance only to have them stand up again.
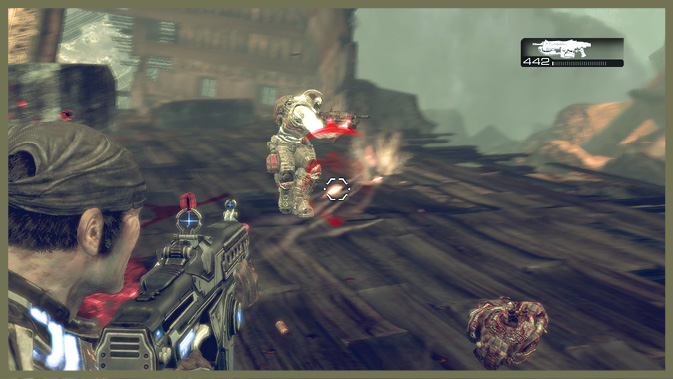
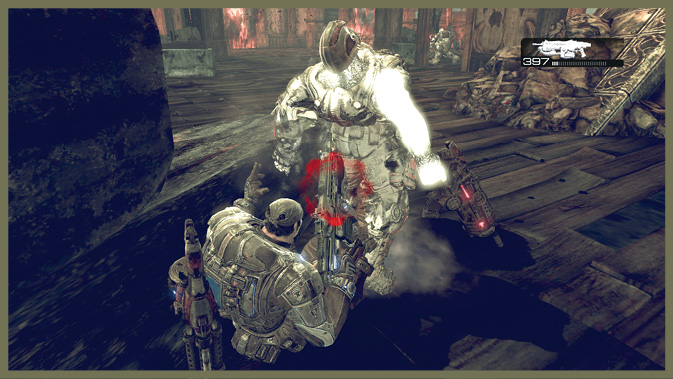
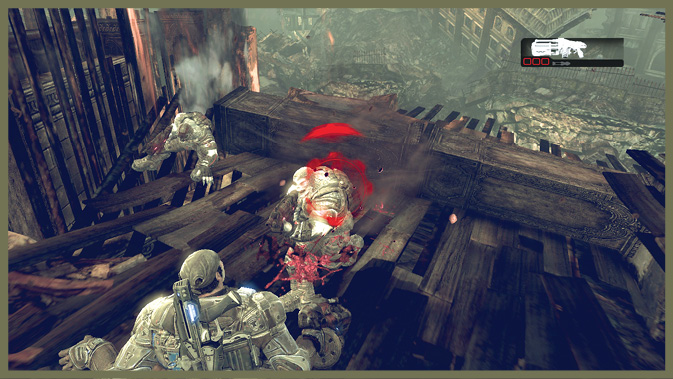
A meat shield is very useful during the fight. The extra bullet soaking it provides makes enduring the seconds until the Raven arrives that much easier.
Affix grenades to the walls near the entry points. There are a lot more Drones than you have grenades, and exposing yourself may not be worth the trouble. Nevertheless, you can at least cover the entrance nearest the ruined room with a few grenades.
Once the timer on the Raven’s arrival counts down to zero, Delta is picked up and this chapter is complete.