
Gears of War 2 Guide Multiplayer Warfare
Tactics
When it comes to playing Gears of War, a lot of fans come for the single-player campaign but stay for the multiplayer action. Gears of War serves up some extremely addictive multiplayer, and Gears of War 2 offers tons more in-your-face multiplayer mayhem. But with so many new weapons, features, and modes added to the game, you might need a little refresher. This chapter discusses all the basics of each mode, the weapon stats, and some high-level strategies to help keep you alive. Following this chapter, we analyze each level in painstaking detail. There you’ll find detailed maps showing all the weapon, spawn, and capture locations, along with a wealth of strategy for every mode—especially Horde—for each of the 10 level maps. We even throw in some extra tips for those favorite maps from the original game that were lucky enough to receive a fresh coat of paint. So read on, fellow fraggers, and let us give you the ultimate head start on the competition!
Combat
Combat in multiplayer Gears of War 2 is significantly different than single-player combat. The most obvious difference is that you’re up against other living, breathing humans. While the Locust are mighty foes, it’s hard to beat the ingenuity of a human opponent. You have to anticipate completely different sets of actions when you play against humans, and you have to be that much more careful how you advance.
Arguably, the most significant change is that cover becomes slightly de-emphasized —though only slightly. Because human opponents do not have perfect accuracy, one can move around the battlefield more freely than in the campaign. And let’s be honest, most players tend to run, somersault, and try to blast you at close range anyway, but this is definitely less prevalent in Gears of War 2 due to stopping power. This does not mean that you should engage in open combat outside of cover. But it does mean that mobility becomes much more important, both as an offensive and a defensive strategy.
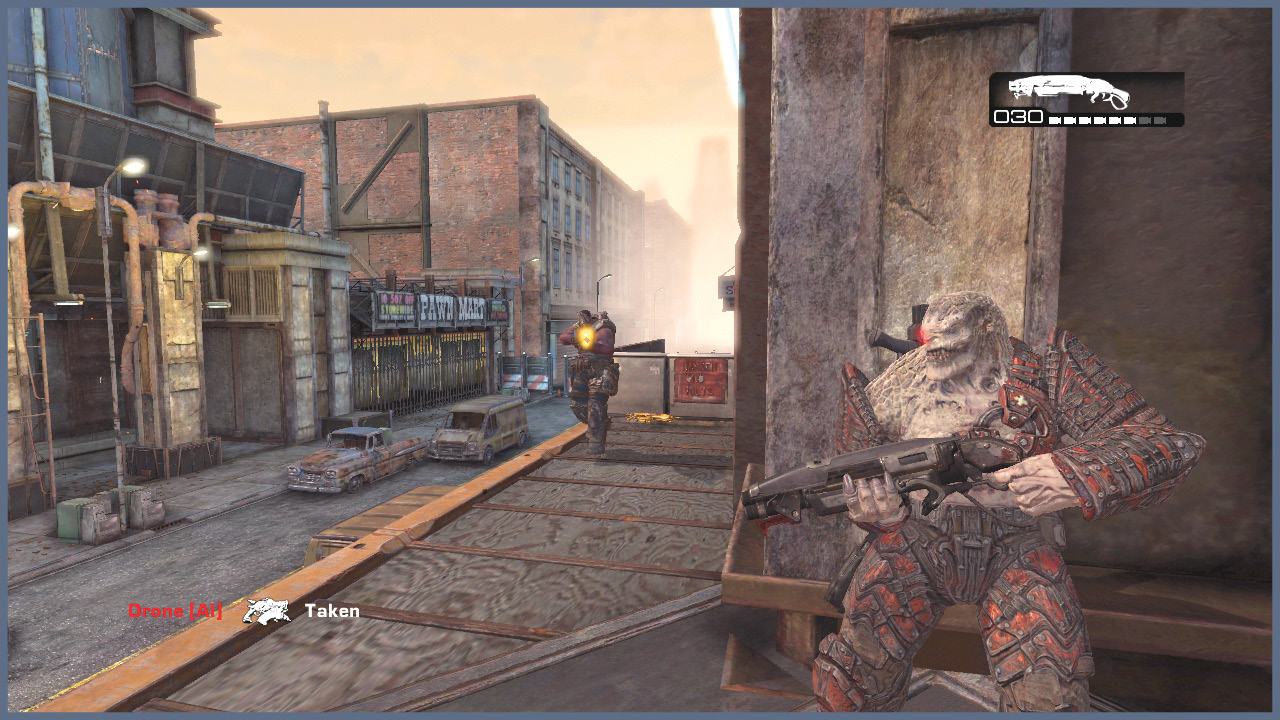
The dynamics of multiplayer combat also change significantly depending on the number of players and the game mode you’re playing. Two-player Wing Man is significantly different than five-player Annex, which, in turn is also considerably different from Execution or even Guardian. Players tend to find themselves intentionally or accidentally in one of the following three situations:
- Lone Wolf:Gears of War 2 is very much a team-based game, and you almost always have at least one or two people (or bots) on your team. Nevertheless, there are times when you feel like you’re on your own. Any number of factors can create such circumstances, from an inability to communicate with your teammates to a disparity in skill level. If you’re forced to fight alone, be prepared to ignore basic team tactics and map-specific strategy and adjust your play style to one that focuses on self-preservation. Use cover and try and funnel enemies toward chokepoints. If you pick up a new weapon, be sure to clear the area immediately. Rely heavily on long-range weaponry, and be sure to set up a defense with proximity mines. Employ hit-and-run tactics and hope that the other team fans out. Thin the enemy herd by preying on foes that leave the safety of the group.
- Deadly Duo: Whether or not you’re playing the Wingman game mode, you sometimes naturally team up with a friend or another player of equal skill and play round after round together as a duo. This can be a particularly fun and effective way to play, particularly if the other people in the match fail to develop any solid partnerships or team tactics. To excel as a duo, you must both make an effort to coordinate attacks, stick together, and to move effectively through the map. Leapfrog one another as you advance, and do your best to lure enemies into your partner’s line of fire. Two players that take their roles seriously, bait their enemies, cover one another, and use the landscape to their advantage can be far more effective than a five-player team that fails to communicate and acts as a group of lone wolves.
- Team Domination: No matter how skilled the individual players on the opposing team, a well-coordinated team will almost always beats one that fails to communicate effectively. Team tactics can be as simple as telling others which weapon pickup you’re rushing toward, or as complex as setting up a crossfire trap and having other players lure enemies into the blender. The keys to successful team-based play change from map to map, but a few simple guidelines almost always apply: Avoid running off in separate directions.Call out enemy locations.Lend a hand to teammates, even if it’s just suppression fire.
- Use the round’s initial moments to agree on strategy and to decide on who’s doing what. Make sure nobody travels alone, unless part of the team strategy is sending a lone wolf get the drop on the enemy. Make sure your team operates with a specific goal and isn’t just running around hoping to spot an enemy.
Flow
Flow is a concept that applies to shooters of all types. It simply refers to where players can move through a level, and where they actually do move through a level most of the time. Knowing a map’s flow is a fundamental aspect of fighting effectively on it. Once you learn a map’s basic layout, the weapon and capture locations, the spawn points, and so on, you need to know where enemies typically flock. Understanding flow is the difference between reacting to enemy movement (and hoping to survive) and using the enemy’s movement to your advantage.
At the basic level, flow is dictated by a combination of spawn location and simple geography. For example, imagine that your team spawns on one end of the map and your opponents can choose one of three possible paths to reach you. If one of those paths is far safer than the others—or if it leads to a highly coveted weapon pickup—then you have insight into the level’s basic flow.
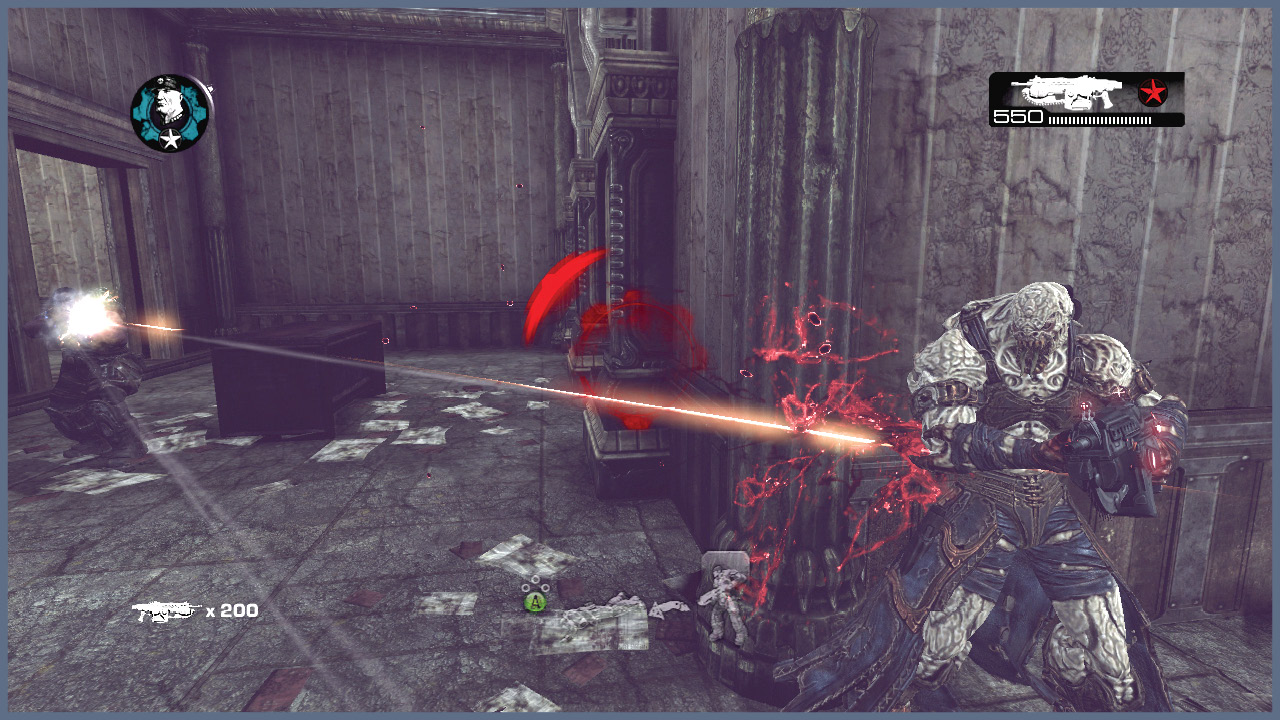
You know that enemies can come from only three directions. You also know that one direction is preferable. As a result, you can quickly examine the terrain on your side of the map and figure out where to take cover, where to watch, and where enemies can be flanked.
Knowing a map’s flow, you’re unlikely to get caught on the wrong side of cover and blindsided by half the enemy team. Similarly, you are much more likely to face your targets as they come into view, preferably from favorable ground. You also have a much better idea of how and where you can approach or flank the enemy advance if you are playing aggressively.
Beyond a map’s basic geography, other factors influence the amount of traffic in certain parts of a map. What game mode are you playing? Where are the power weapons located? Where is the current objective? All of these considerations influence flow.
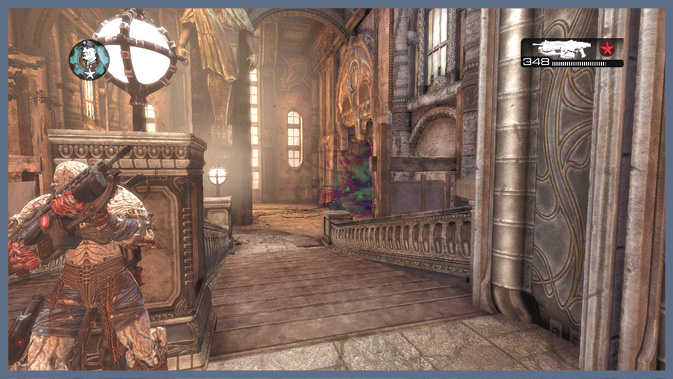
Often, one learns a map’s natural flow through sheer repetition—it’s not uncommon for people to play dozens of matches in a single night. Ever wonder how it’s possible for veteran players to kill you from around a corner with a ‘lucky’ Frag Grenade mere seconds after the map starts? It isn’t really luck at all. They know there’s a good chance that a target will enter a certain area within a few moments after a round starts. Throwing a grenade is simply playing the odds that a player will show up to eat the damage. It’s really that simple.
Weapon Data
Veterans of the original Gears of War are in for a few surprises when they jump online with the sequel. There are several distinct changes in relative weapon power, along with the major addition of stopping power. It’s now possible to slow down charging enemies by shooting them while they roadie run, regular run, or even dodge roll. The following tables provide the power of each weapon. They also reveal the relative changes in power from Gears of War to Gears of War 2 for those weapons that were in both games.
In the following table:“+” = Weapon’s power has been increased. “-” = Weapon’s power has been reduced.
MP Weaponry: Ammo Capacity, Damage at Range, and Firing Rates
| Weapon | Mag Size | Base Damage | Short Range | Medium Range | Long Range | Firing Rate | Reload Rate |
|---|---|---|---|---|---|---|---|
| Boltok Pistol (-) | 6 | 200 | 270 | 250 | 200 | 60 | 2.0 |
| Boomshot (+) | 1 | 525 | 525 | 525 | 315 | 60 | 2.5 |
| Boomshot Bomblet | - | 150 | 150 | 150 | 90 | - | - |
| Gnasher (-) | 8 | 500 | 450 | 450 | 300 | 8 | 3.0 |
| Gorgon Pistol | 24 | 55 | 55 | 55 | 33 | 1200 | 2.0 |
| Hammerburst | 17 | 80 | 80 | 80 | 48 | 250 | 2.0 |
| Lancer (-) | 50 | 38 | 38 | 38 | 23 | 550 | 2.5 |
| Longshot | 1 | 350 | 420 | 350 | 350 | 60 | 3.0 |
| Mortar (hip-shot) | 1 | 1000 | 1000 | 1000 | 600 | 60 | 3.5 |
| Mortar (cluster) | 1 | 800 | 800 | 800 | 480 | 60 | 3.5 |
| Mortar Bomblet | - | 800 | 800 | 800 | 480 | - | - |
| Mulcher | 500 | 50 | 50 | 50 | 30 | 1250 | 6.0 |
| Scorcher | 50 | 700 | 700 | 700 | 420 | 850 | 2.5 |
| Snub Pistol (-) | 12 | 55 | 55 | 55 | 33 | 700 | 2.0 |
| Torque Bow (+) | 1 | 708 | 708 | 708 | 425 | 60 | 3.0 |
| Hammer of Dawn | 20 sec. | 1500 | N/A | N/A | N/A | N/A | 3.2 |
MP Weaponry: Melee and Headshot Damage with Stopping Power
| Weapon | Base Damage | Melee Damage | Stopping Power | Headshot Damage |
|---|---|---|---|---|
| Boltok Pistol | 200 | 338 (Avg) | 0.50* | 200% |
| Boomshot | 525 | 338 (Avg) | - | - |
| Gnasher | 500 | 338 (Avg) | 0.40 | 110% |
| Gorgon Pistol | 55 | 425 (Avg) | 0.25* | 300% |
| Hammerburst | 80 | 338 (Avg) | 0.35 | 110% |
| Lancer | 38 | Chainsaw | 0.25* | 150% |
| Longshot | 350 | 463 (Avg) | 0.25* | 300% |
| Mortar | 1000 | N/A | *(see below) | - |
| Mulcher | 50 | N/A | 0.25* | - |
| Scorcher | 700 | 425 (Avg) | 0.18 | - |
| Snub Pistol | 55 | 338 (Avg) | 0.25* | 200% |
| Torque Bow | 708 | 475 (Avg) | - | 110% |
| Hammer of Dawn | Special | 238 (Avg) | - | - |
*The Mortar either blows targets to pieces or concusses them around. For weapons with equal stopping power values, the effect is most noticeable on weapons with a high rate of fire.
grenades
| weapon | Casual Damage | Normal Damage | Hdcr/Ins Damage | ai damage | radius | melee damage |
|---|---|---|---|---|---|---|
| Ink Grenade | 300/sec. | 300/sec. | 300/sec. | 300/sec. | 512 | 120+Ink |
| Frag Grenade | 2000 | 1400 | 1000 | 1000 | 10 Yards | TAG! |
| Smoke Grenades | - | - | - | - | 512 | Concussion |
The most notable change in multiplayer weapon stats is that the Gnasher’s power has been toned down. You should expect fewer roll-and-blast skirmishes. Additionally, the Boomshot and Torque Bow are more powerful than their predecessors. The Longshot, while still very powerful, is no longer an automatic one-shot-kill with Active Reload. It’s also worth noticing that the Gorgon Pistol, while not a very powerful weapon in general terms, is positively lethal when you manage to land a headshot. The extremely fast firing rate, combined with the 300% damage increase for headshots, makes it a very deadly weapon in the right hands.
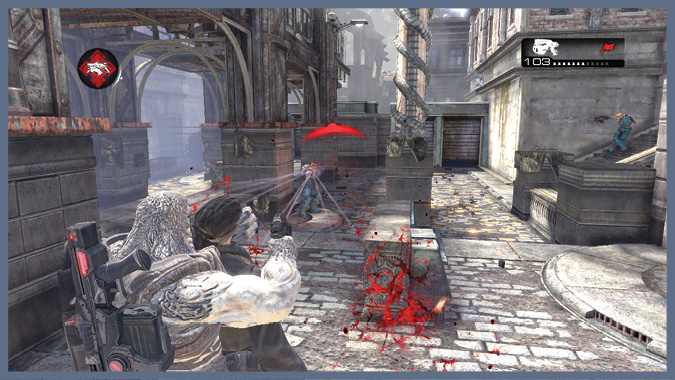
Executions
Gears of War 2 multiplayer gives you more ways than ever to put a blood-soaked exclamation mark on your victory! The Curbstomp and Chainsaw executions were great ways to express your dominance in the original game. Now there are so many butt-kicking executions to perform, you’ll find yourself purposely avoiding headshots just for the thrill of performing the perfect in-your-face finishing move to thoroughly embarrass your opponent. After all, that’s what this is all about, right?
 Kick ‘em When They’re Down
Perform all eleven unique Executions to earn the Kick ‘em When They’re Down Achievement.
1. Curbstomp
2. Neckbreaker (when meatshielding someone)
3. Boomshield Spike
4. Generic Quick Execution
5. Torque Bow Quick Execution
6. Shotgun Quick Execution
7. Longshot Quick Execution
8. Face Punch
9. Boltok Pistol Long Execution
10. Torque Bow Long Execution
11. Longshot Long Execution
Quick Executions
Quick executions are performed by tapping the B Button as you stand over a downed opponent. They come in handy when you need to execute the opponent quickly, before another foe rushes you.
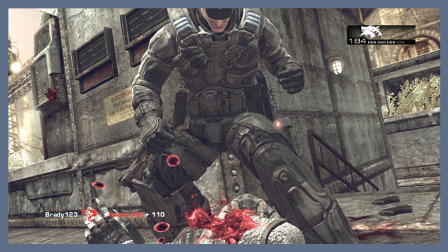
Face Punch: Perform the Face Punch execution after downing an enemy. Press the Y Button while holding any weapon except for the Torque Bow, Sniper Rifle, or Boltok Pistol.
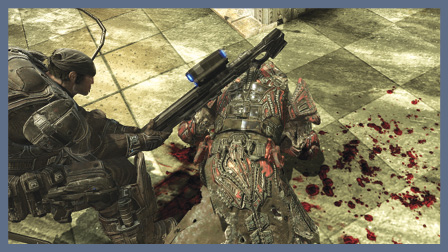
Longshot: Down an enemy and press the Y Button to swing the Longshot overhead like a club and bash the enemy to death with the rifle’s stock.
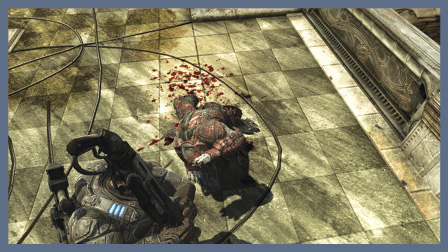
Gnasher: You can use the Gnasher to perform a jaw-breaking execution on a downed enemy. Press the B Button to flip the Gnasher into the air, grab it by the barrel, and swing it like a golf club at the enemy’s head.
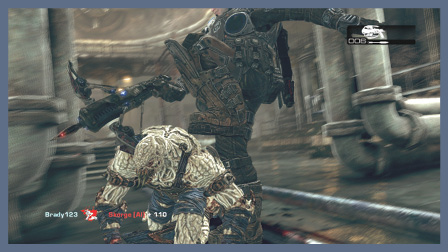
Torque Bow Decapitation: Stand by a downed enemy and press the Y Button while holding the Torque Bow to use its blades and your character’s boot to decapitate the victim.
Grenade: The downed player is tagged with the particular grenade selected. The normal grenade tagging animation is played.
Frag Grenade: When the grenade’s timer expires, the enemy explodes. Nearby enemies suffer damage or explode, depending on their distance. The player that initiates the tag can also be hurt or killed if he does not escape the blast.
Ink Grenade: A DNBO player is not killed instantly when he is tagged with an Ink Grenade. Rather, he suffers damage as if he is standing near it. Of course, he can’t get away from the grenade and it inflicts enough damage to kill the downed player within seconds.
Smoke Grenade: This inflicts no damage, but nearby enemies of the tagging player are affected (according to team damage rules, if applicable). The DBNO player doesn’t die from the detonation and doesn’t suffer any damage.
LONG executions
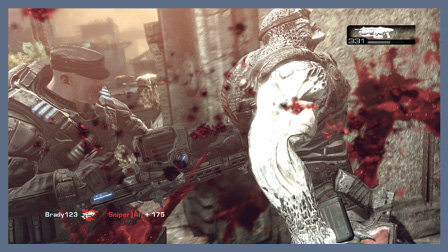
Chainsaw: Use the Lancer to chainsaw an enemy in half by pressing the B Button. You can do this with a downward slice while facing the enemy or by sawing upward, through the crotch, while standing behind the enemy. This is the only execution that doesn’t require downing an enemy.
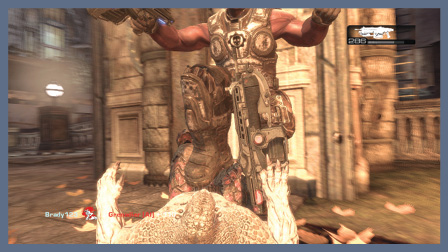
Curbstomp: Rush up to a downed enemy and press the X Button to crush his head beneath your boot.
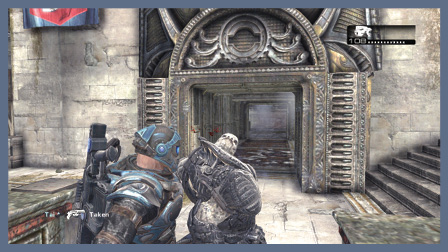
Neckbreaker: You can snap an enemy’s neck while dragging him around as a meat shield. This happens automatically after prolonged use, or you can press the X Button to do it manually.
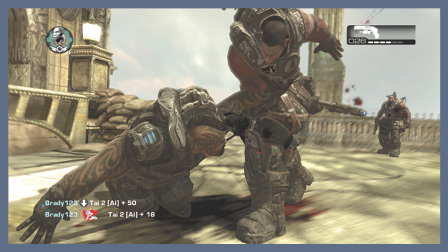
Boltok Pistol: Press the Y Button. Down an enemy while carrying the Boltok Pistol and spin the weapon around in the air before cracking it across the fallen foe’s skull.
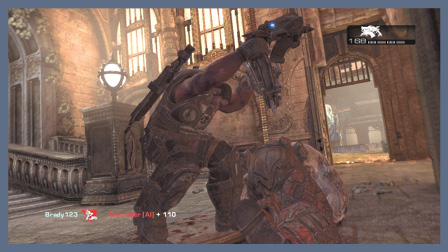
Boomshield Spike: Press the Y Button to slam the Boomshield onto the back of a downed enemy, thus impaling the target with the spikes on the bottom of the shield.