Gears of War 2 Guide ACT V: Aftermath
Chapter 2: Desperate Stand
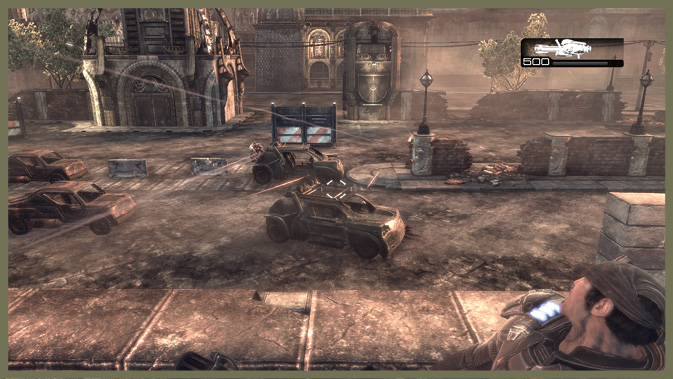
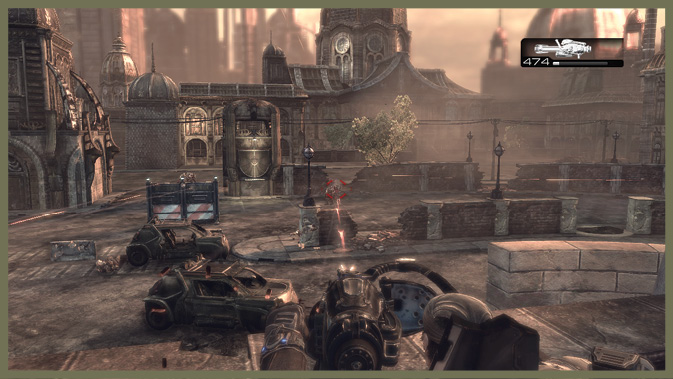
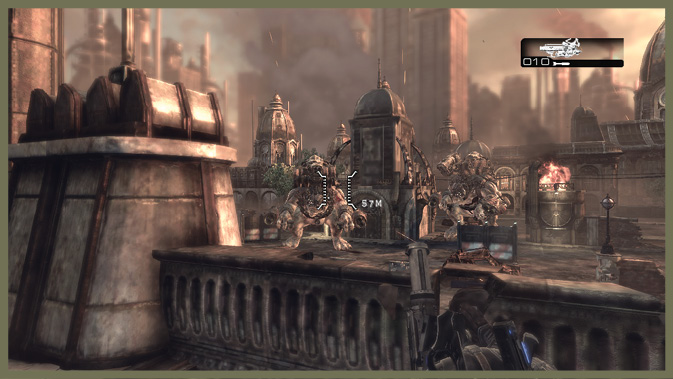
The siege of Jacinto has begun. While Command scrambles to evacuate the city and formulate a plan to sink it, Delta Squad, accompanied by Colonel Hoffman, must defend headquarters against a Locust assault force. The bulk of this mission takes place on the headquarters’ fortified battlements.
Encounter 01
ENEMY PRESENCE: Drones, Reaver
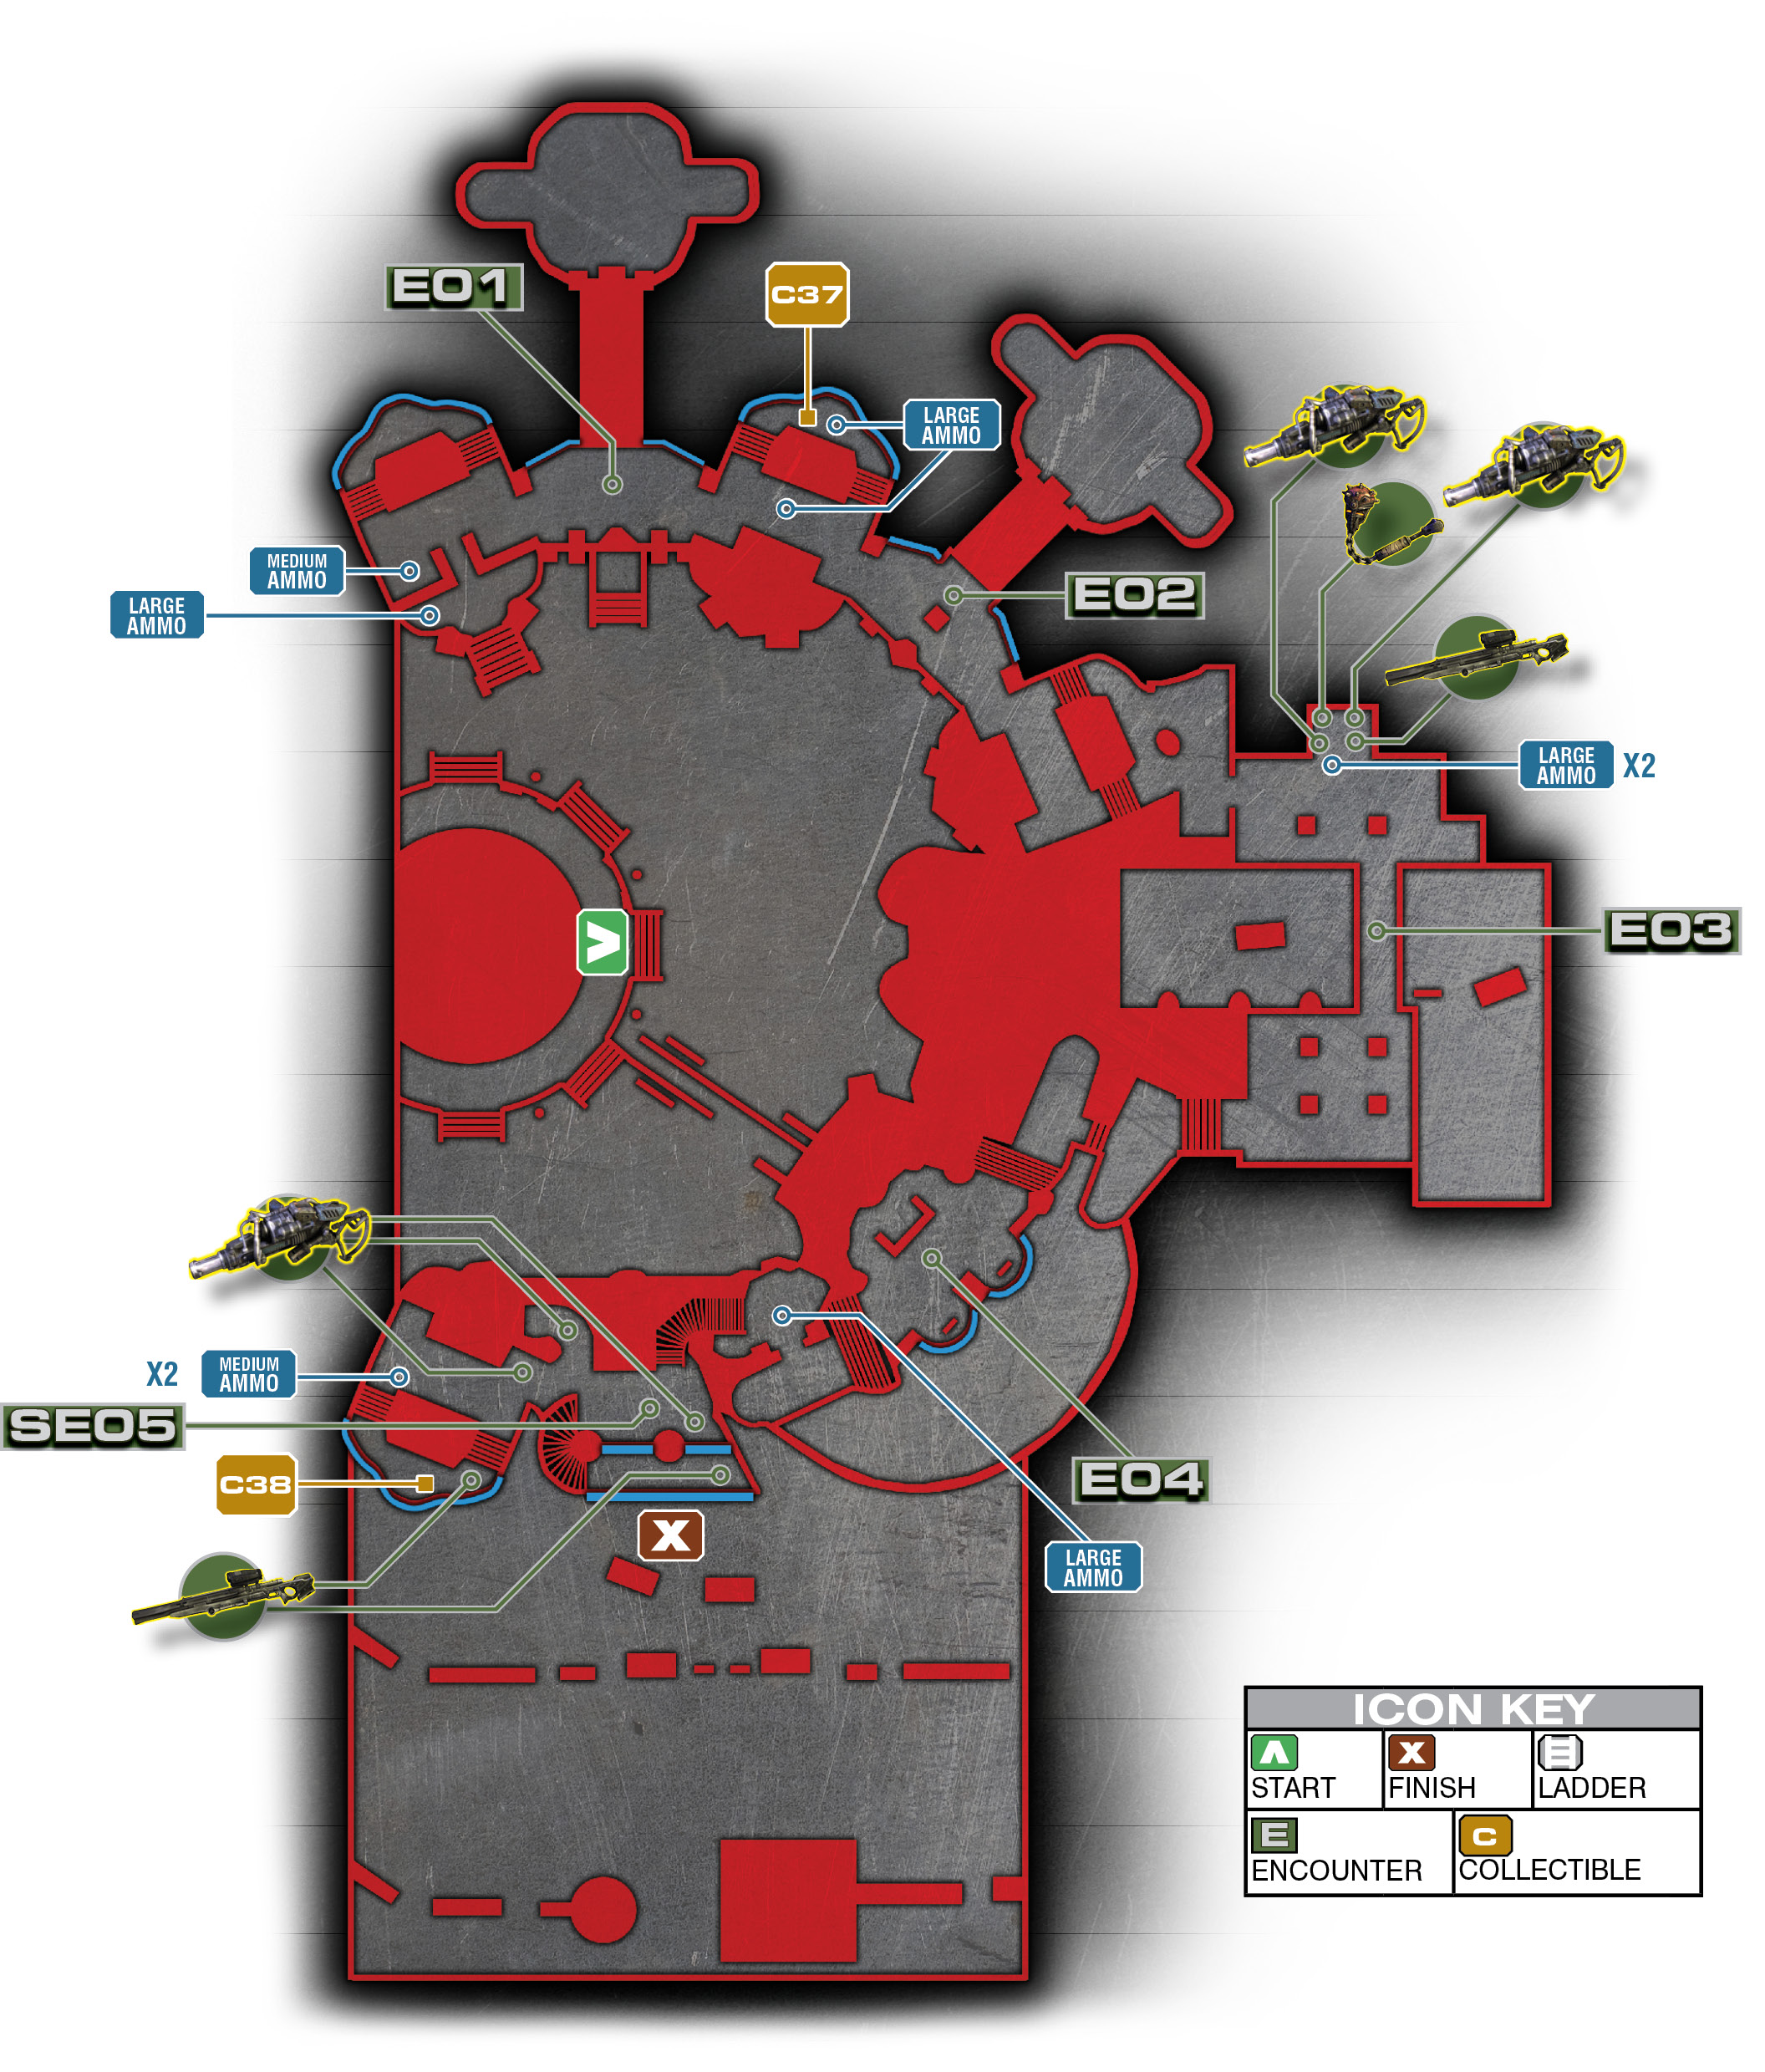
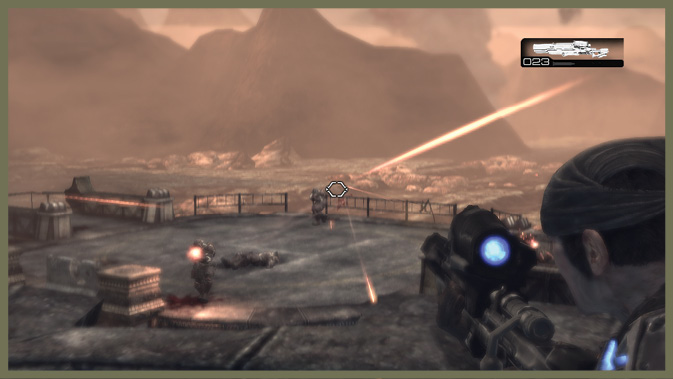
As you exit the courtyard onto the battlements, the first wave of attackers comes up on the platform outside the walls. Grappling Drones begin making their way onto the platform. Hang back and snipe them with the Longshot, or try to shoot down their grapples to prevent them from climbing up.
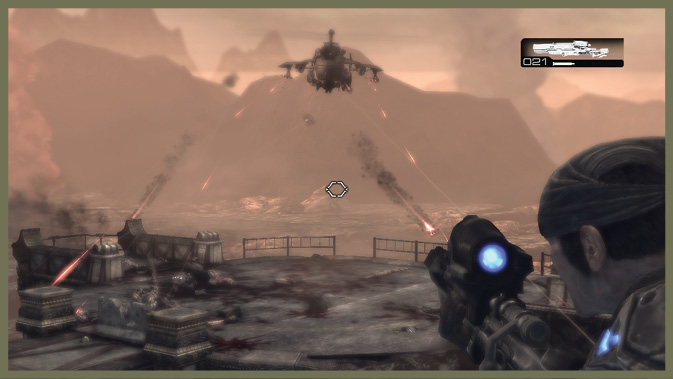
After the first several groups of Drones attack the platform, a Reaver lands and begins shelling your position with rocket fire. Shortly after, KR-36, a heavy attack gunship, strafes the platform, clearing it of any remaining Locust resistance. Grab ammo from the nearby halls if you need it, and then move on to follow Hoffman.
Encounter 02
ENEMY PRESENCE: Drones, Reaver
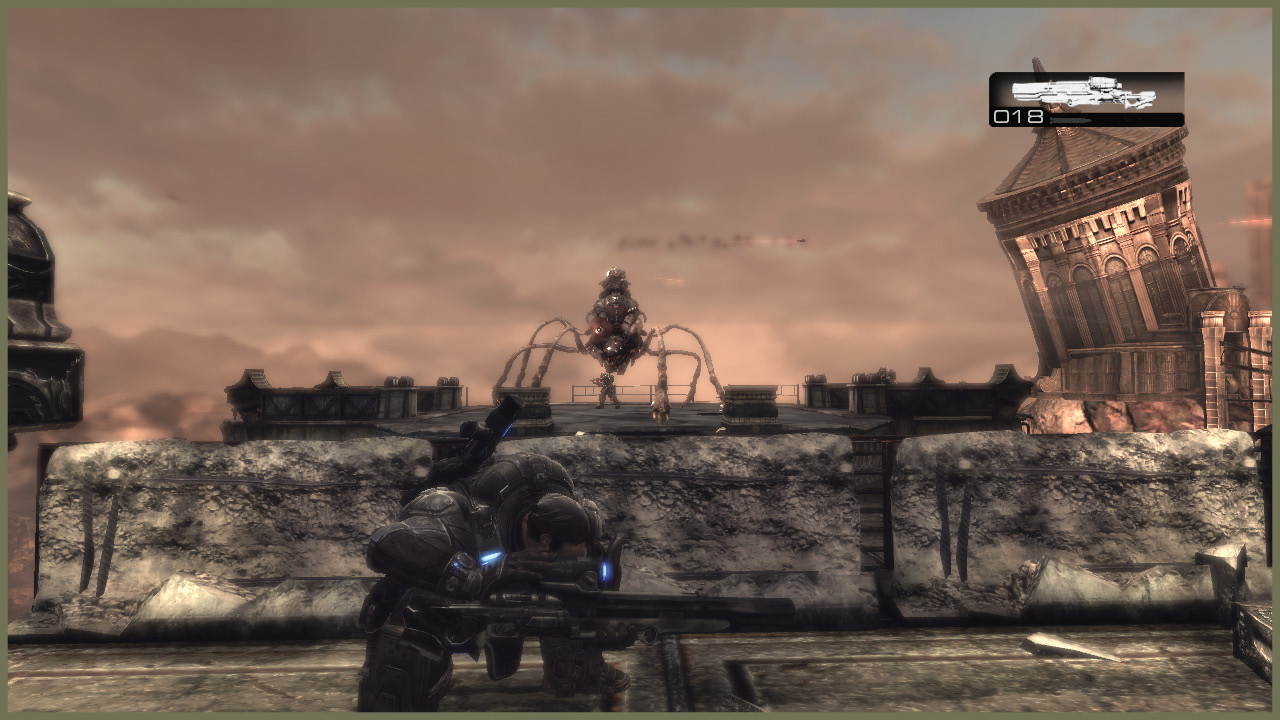
This encounter is similar to the first platform battle. But this time, a Reaver takes out your air support. Finish off the Reaver as soon as it lands. You can snipe its riders fairly easily and then eliminate the unmanned Reaver safely.
Once the platform is cleared, you move on to a small parking garage area for the next battle.
Encounter 03
ENEMY PRESENCE: Drones, Boomer, Reavers
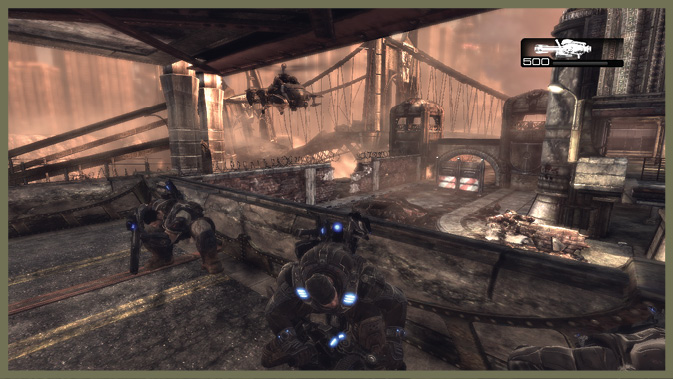
As you enter the parking garage’s second floor, there’s a large weapon cache to your left, including two Mulchers, two ammo crates, a Longshot, and Frag Grenades. Load up, drag a Mulcher over, and set up camp on the edge of the garage.
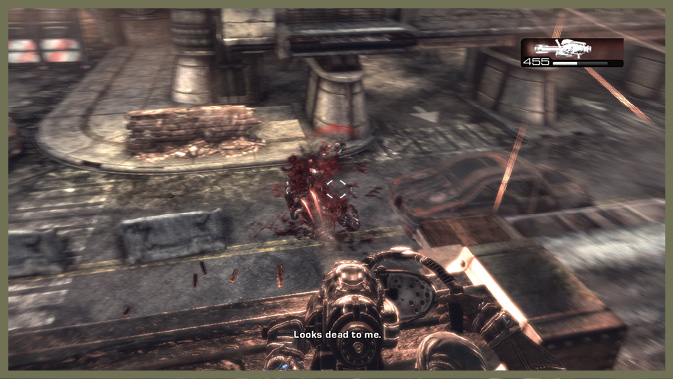
A huge wave of Drones comes in from below, followed up by a Boomer. But your elevated position and superior firepower give you a marked edge in this battle. Mow them down until the Reavers show up. This shouldn’t be a problem with your two Mulchers, but save your ammo.
KR-32 arrives and blasts the street, eliminating the Reavers for you. Unfortunately, KR-32 gets shot down shortly afterward, but at least the sacrifice saved you a fully loaded Mulcher…
Encounter 04
ENEMY PRESENCE: Reavers
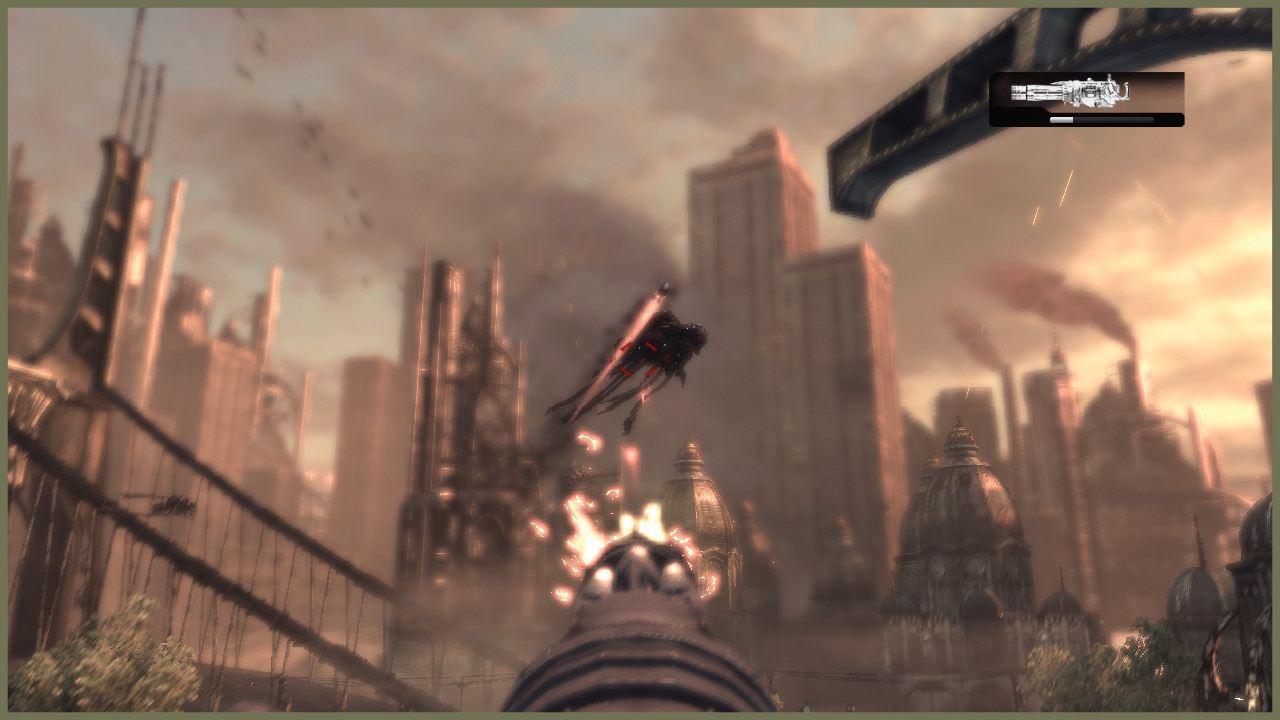
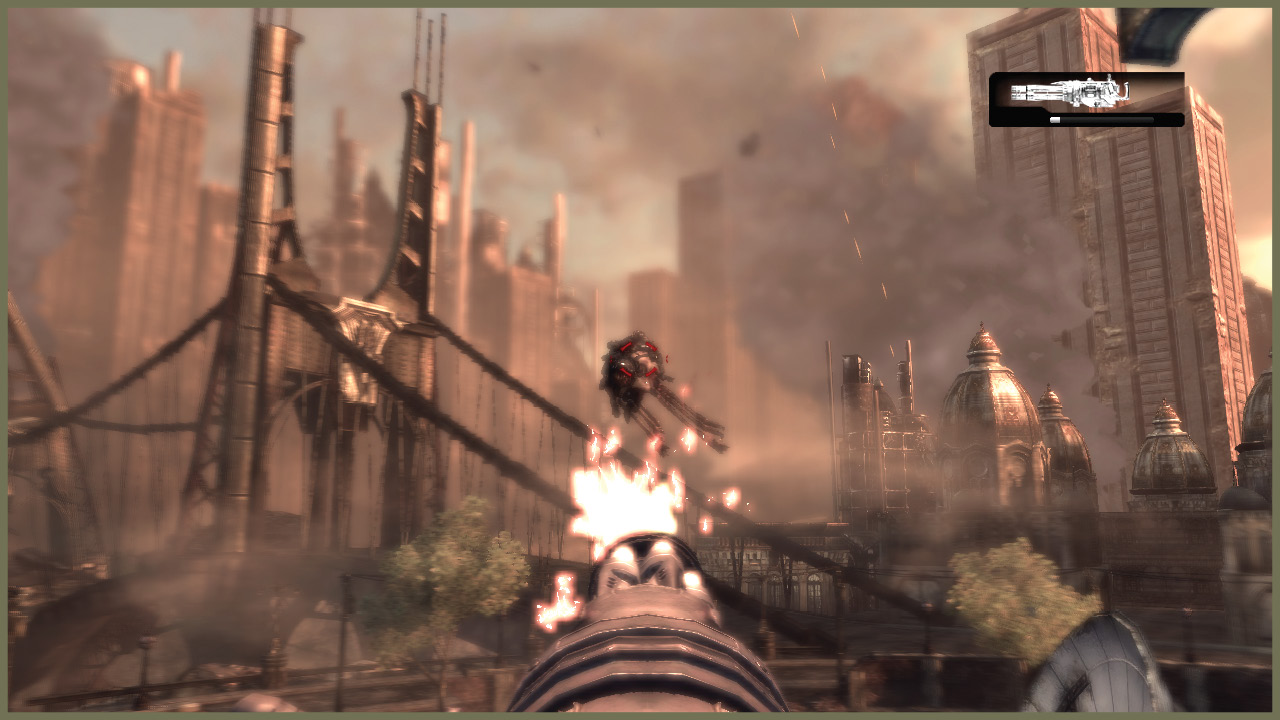
In the next section of the battlements, the Communications Array comes under Reaver attack. Man the turrets on the wall and shoot down at least six of the attacking Reavers to prevent the Array from getting damaged. Without it, Gear forces can’t communicate with Command, crippling the COG contingent.
You don’t have to use much finesse here. Just cool down the turret between Reaver attacks and gun them down on the approach. Once you eliminate the Reavers, move on to the next encounter.
Encounter 05
ENEMY PRESENCE: Drones, Boomers, Brumaks
The final battle to defend headquarters takes place here as the Locust perform a full ground assault.
Again, there is plenty of weaponry and ammo: a Mulcher, two Mortars, a Longshot, and ammo for your weapons. Exploit the heavy hardware to devastate the encroaching waves of Locust.
The initial attack is simply Drones, followed by Grinders, and finally a pair of Brumaks. You can take out the Drones and Grinders easily with the Mulcher or Mortar, saving at least two pieces of heavy hardware for the Brumaks.
The Brumaks move in and set up shop anywhere between 100m and 150m from your cover, depending on where you’re positioned. Once you dial in their range, shell them repeatedly with Mortars to take them down.
When you finish decimating the Brumaks, the defense is a success. You move into the streets to head toward the Locust sinkhole, deeper in the city.