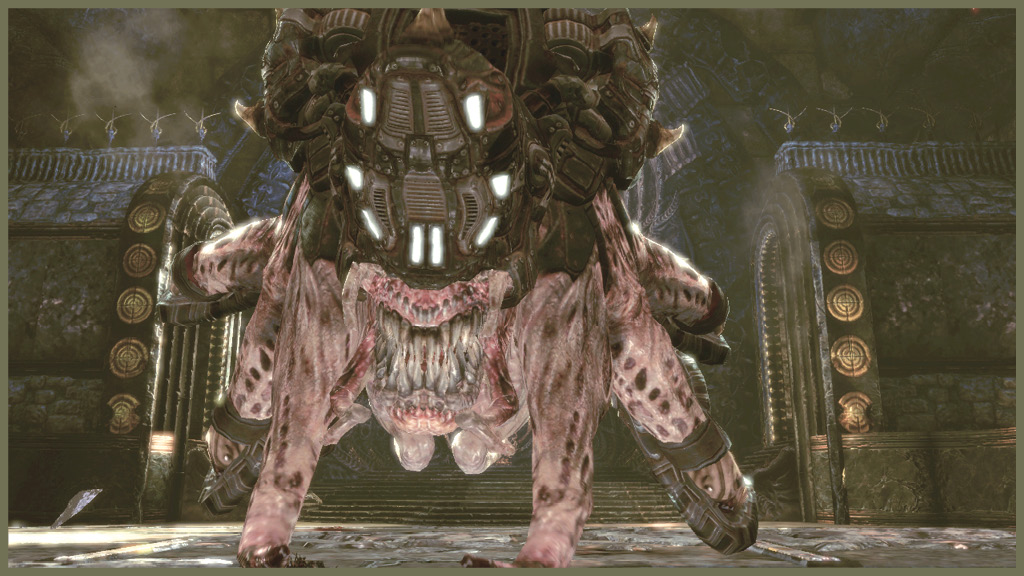
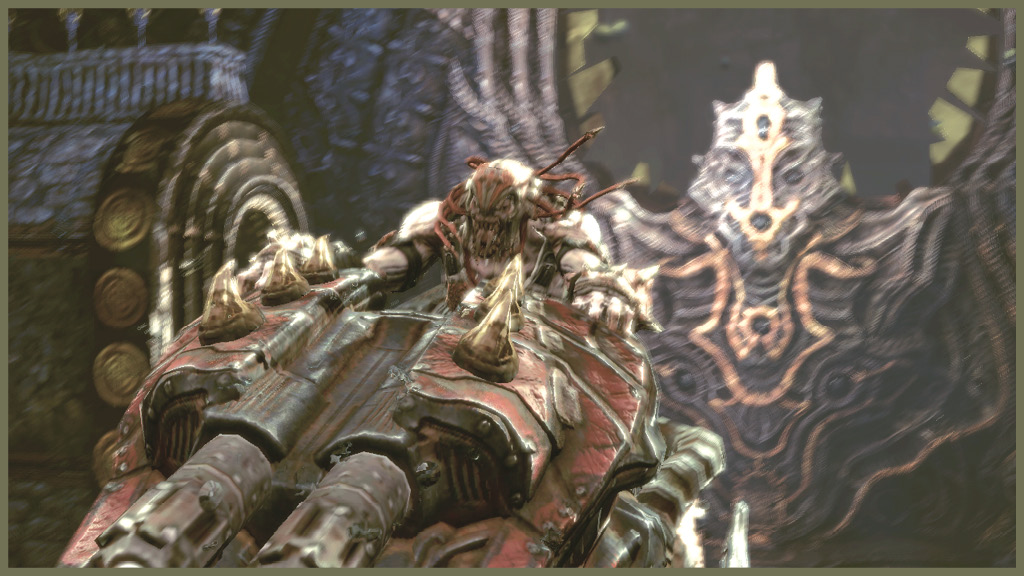
Gears of War 2 Guide ACT IV: Hive
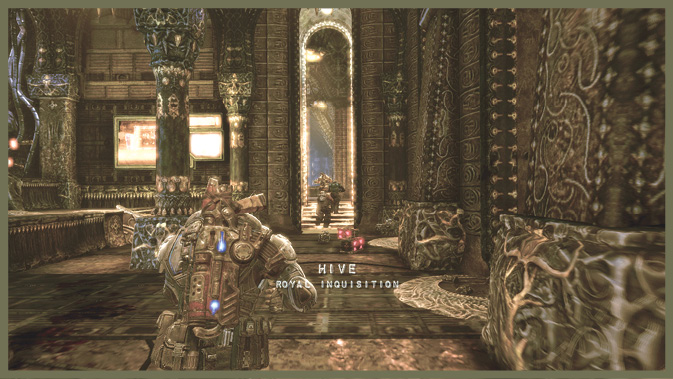
Chapter 6: Royal Inquisition
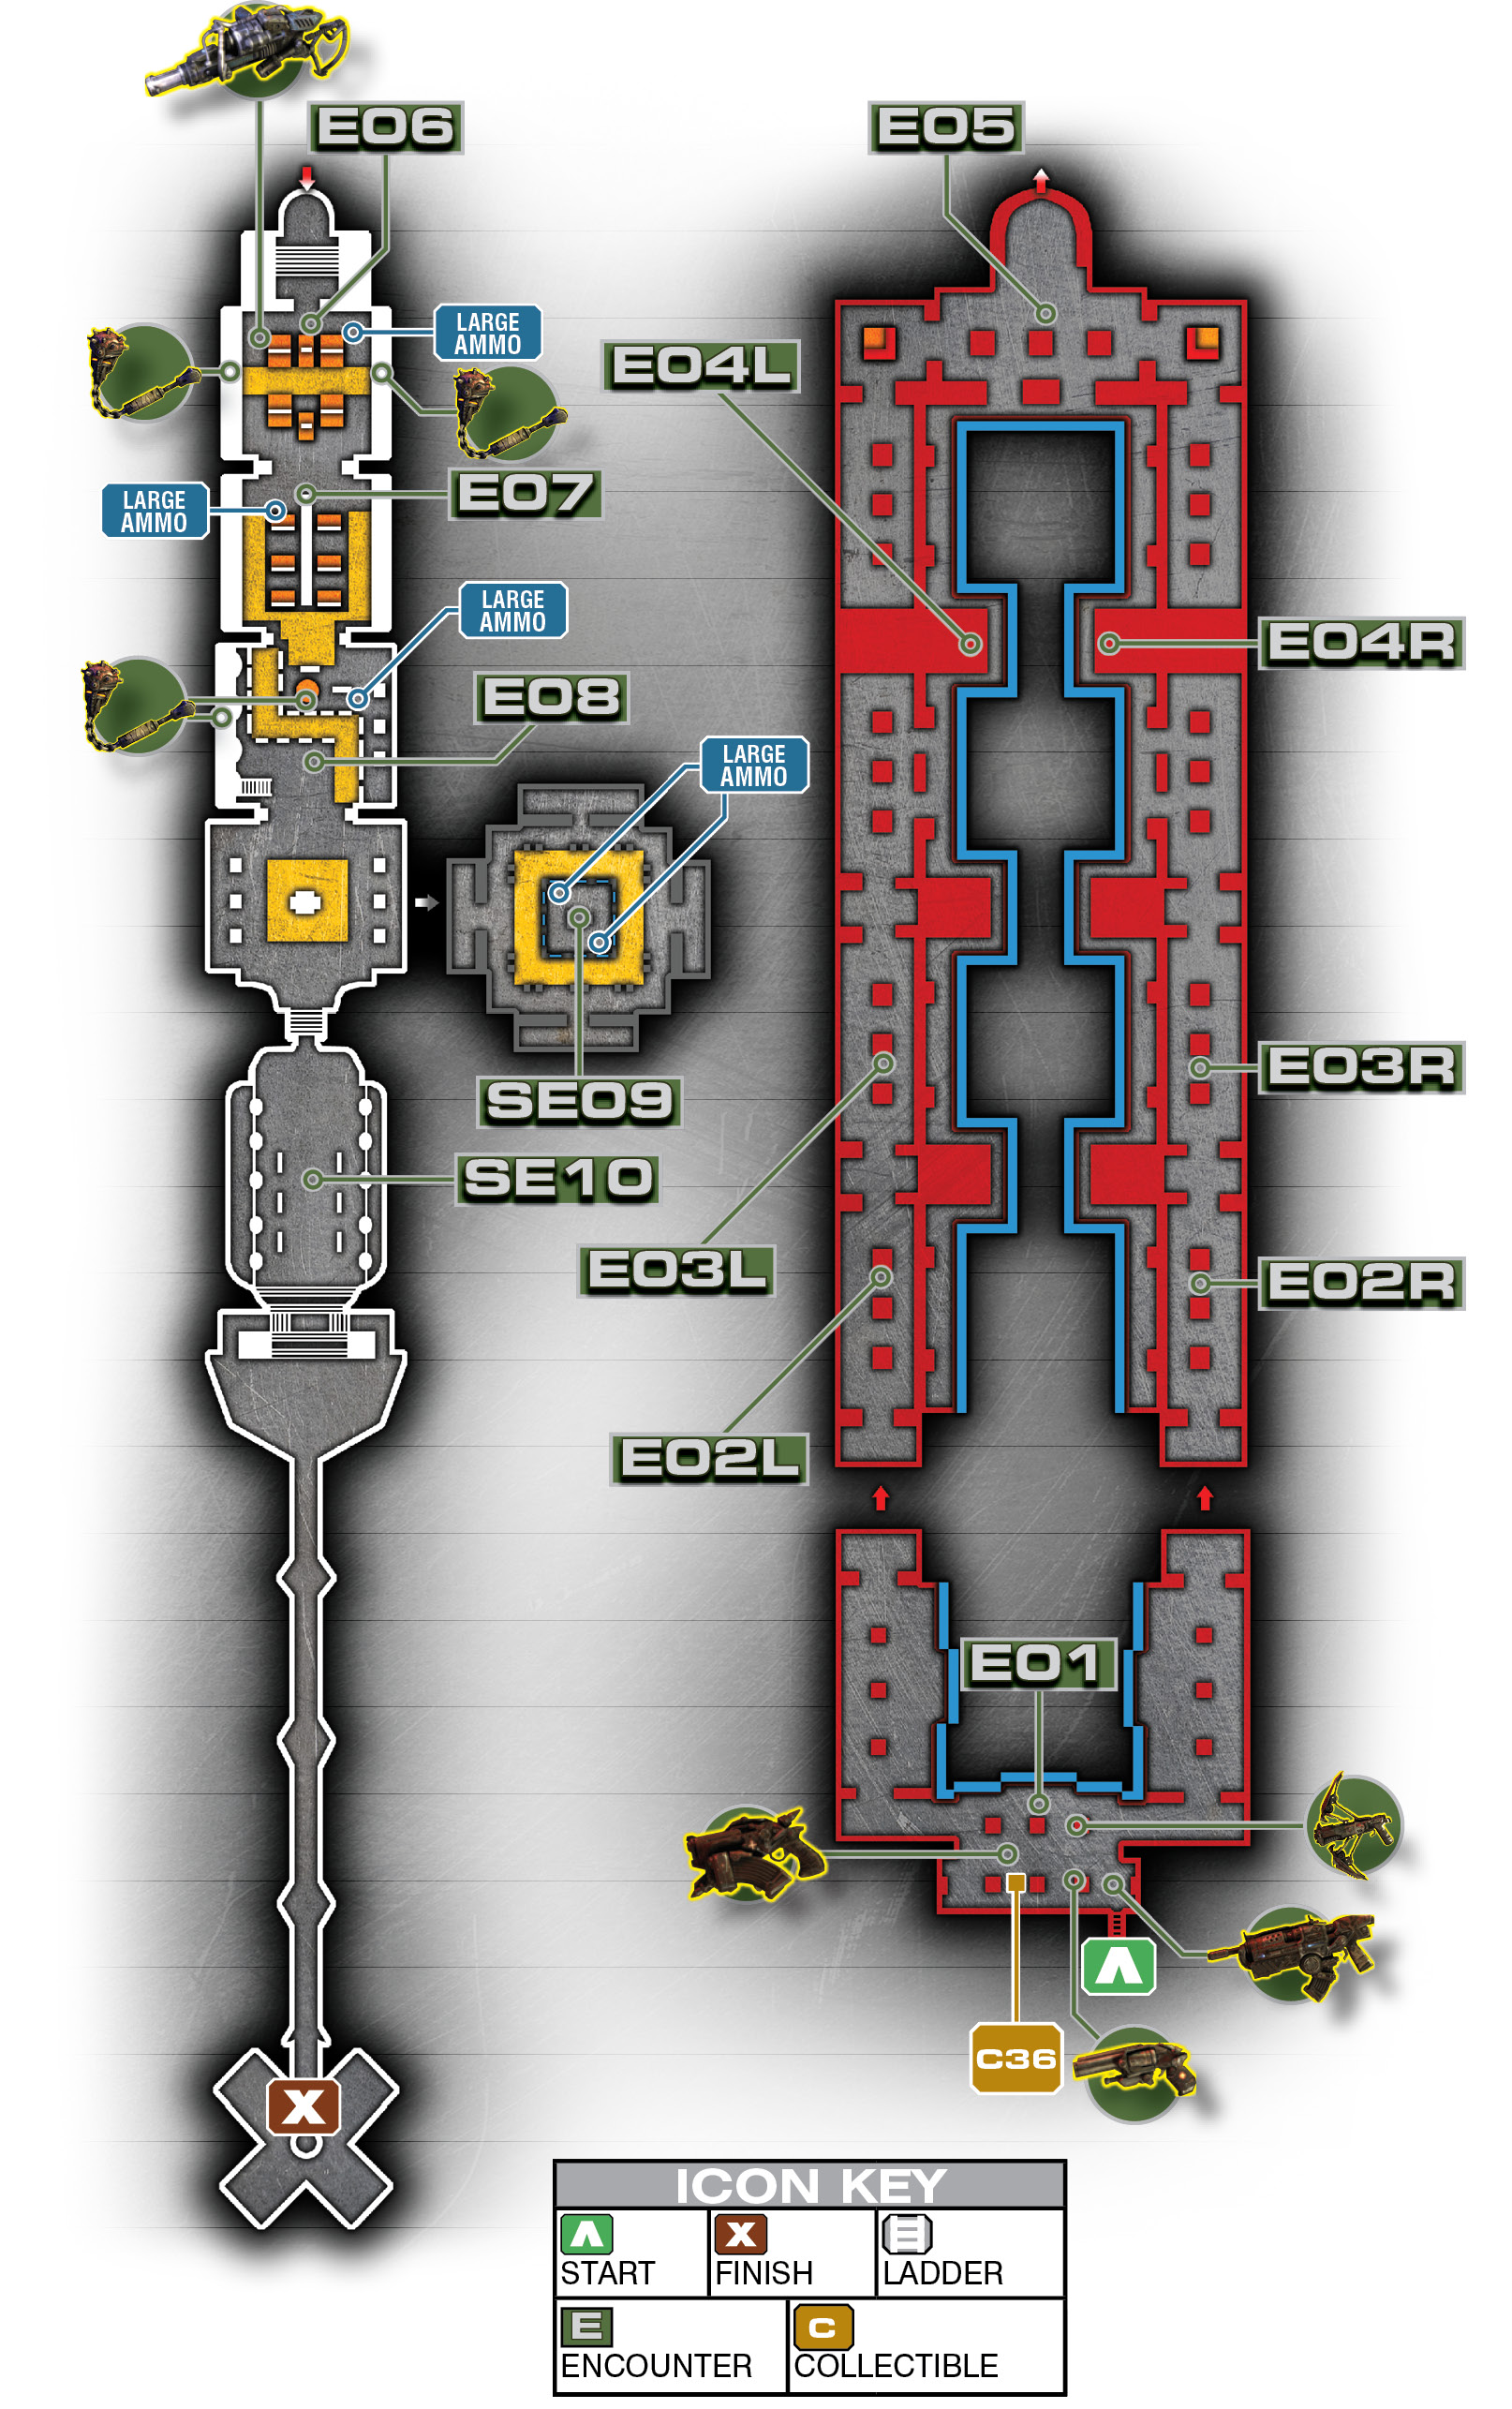
Encounter 01
ENEMY PRESENCE: None
Before you even get started, choose your weapons from the huge array available in these rooms. Then pick up the Locust ammo crates to top off your supply. Consider bringing a Mulcher—it really helps.
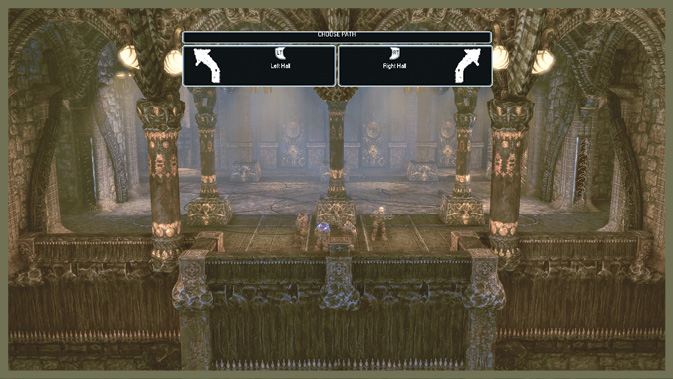
You have to prepare, because as soon as you approach the balcony looking down into the palace’s heart, you must choose a branch. It doesn’t matter which route you select—they’re identical branches into the palace. But you are separated from half of your squad as you work your way to the palace’s opposite end.
The path divides here, but curiously, both paths are completely identical. It doesn’t matter which side you take, and they both end up in the same place.
Encounter 02
LEFT / RIGHT PATH
ENEMY PRESENCE: Mauler, Palace Guards
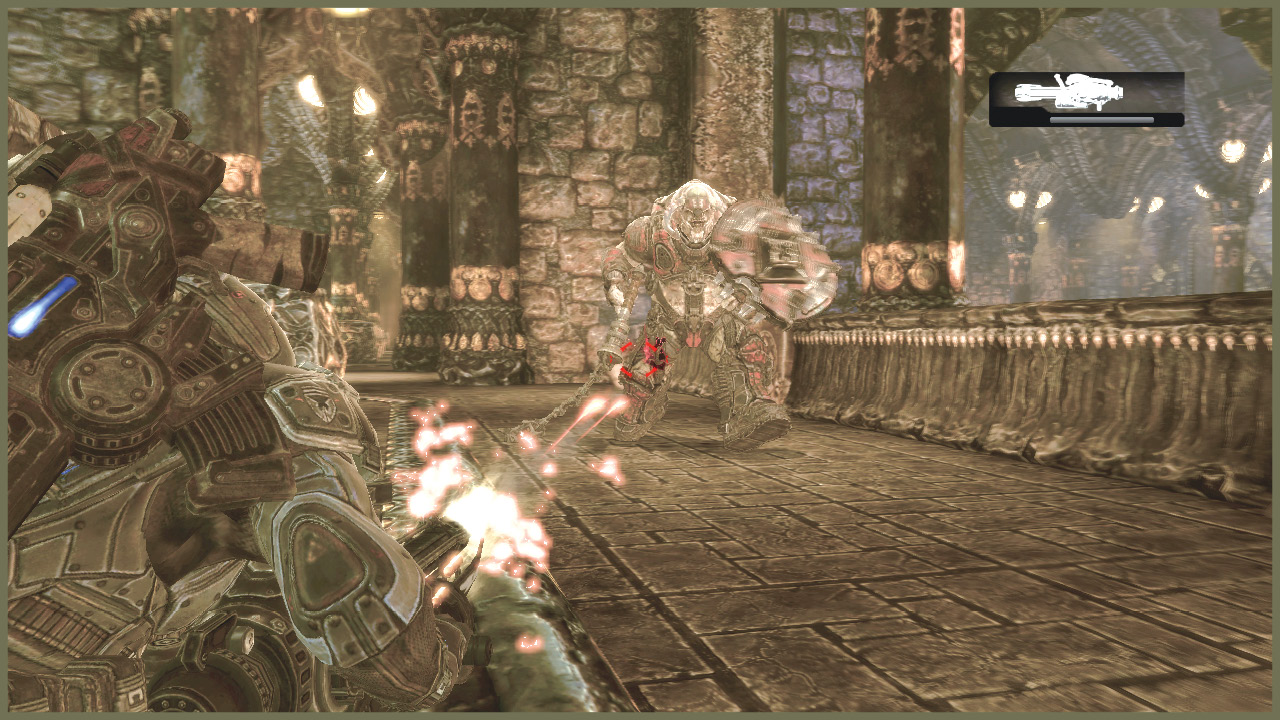
You face a Mauler and two Palace Guards in your first battle here.
Depending on how the situation plays out, you may want to take down either the Mauler or the Guards first. If you lugged along the Mulcher, you can mow them all down before they have much chance to engage you.
Once the Mauler goes down, you can take his Boomshield. It proves invaluable during the mess of fighting you endure as you push deeper into the palace.
Encounter 03
LEFT / RIGHT PATH
ENEMY PRESENCE: Tickers, Palace Guards
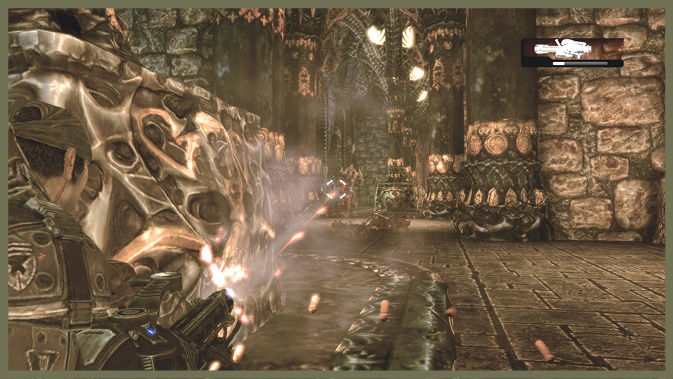
This time, you have to deal with a mix of Palace Guards and Tickers. The Tickers are your first priority. If you engage them quickly at long range, you can destroy them before they get close enough to pose a threat.
Don’t forget you can melee them to knock them back if they do get close. One other thing: watch out for a Lancer-wielding Palace Guard. Don’t let him get close, or you may end up in bits.
Encounter 04
LEFT / RIGHT PATH
ENEMY PRESENCE: Mauler, Palace Guards
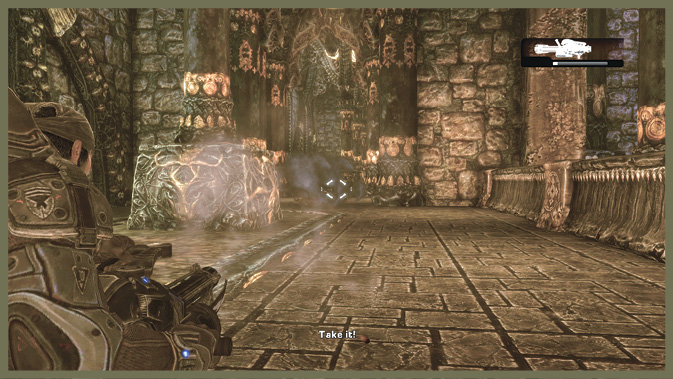
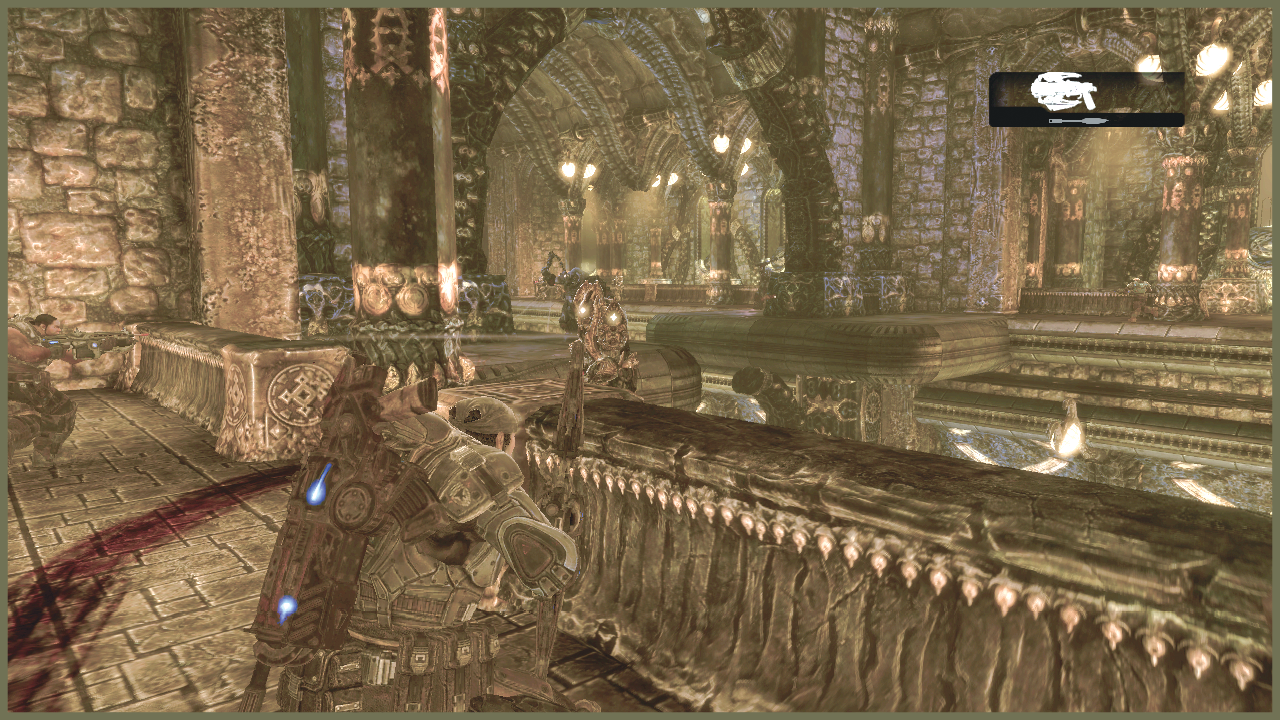
Say hello to another Mauler with Palace Guards. This time, watch out for the Torque Bow in the hands of the guards.
The Mauler can put pressure on you by moving up while the Palace Guards stay back. If you’re still packing grenades, you may want to use them here.
Don’t hesitate to plant the Boomshield and go mobile if you need to. You can always pick it up again after you clear out the opposition.
Encounter 05
ENEMY PRESENCE: Palace Guards, Mauler
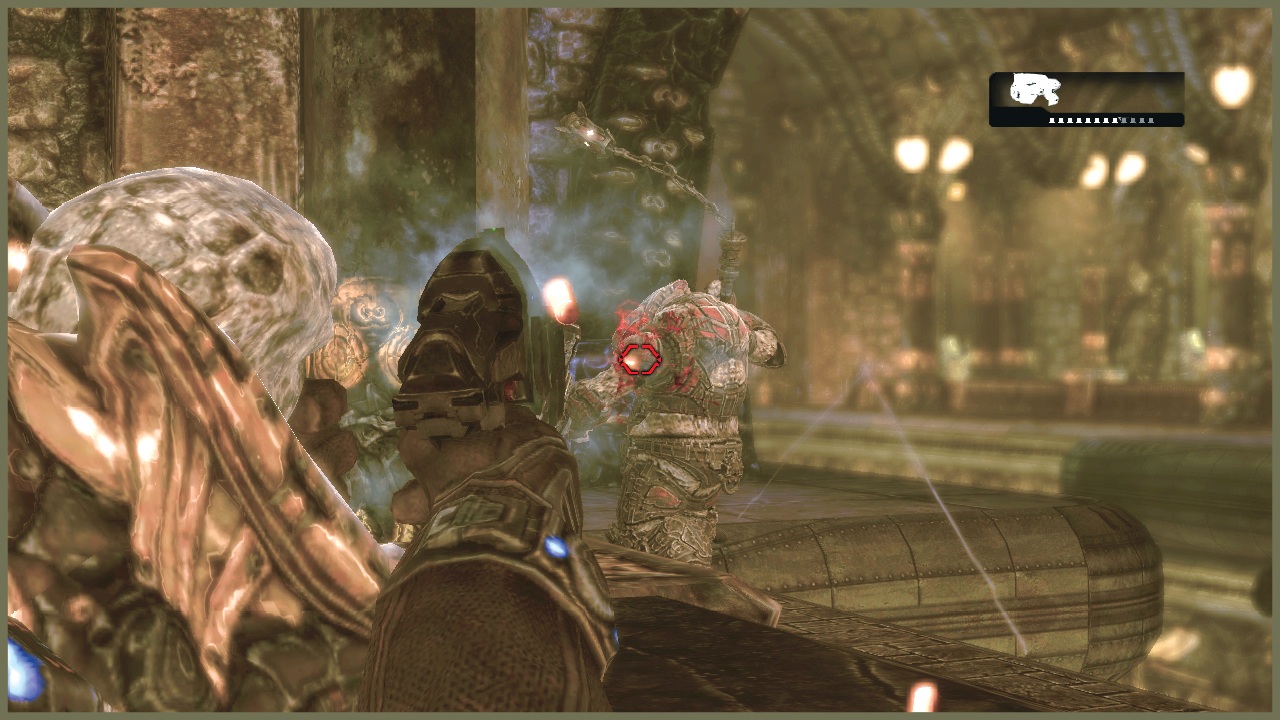
As the path branches rejoin, you must face two Maulers accompanied by Palace Guards, two again armed with Torque Bows.
Keep your distance. Depending on how quickly Dom (or your co-op partner) clears the other side, you may have to deal with only part of the forces.
Just past the Locust forces, a large elevator leads down into the palace’s depths. Once you clear out the opposition here, grab a Boomshield and head down.
Encounter 06
ENEMY PRESENCE: Palace Guards
On the bottom level, it’s a straight shot to the Queen’s room. But first you have to deal with the extensive Palace Guard contingent here. A few defensive mechanisms are also in place.
The room you land in from the elevator is very large and wide-open, but there is pop-up cover. Here’s the trick: as you get near the cover, the floor ahead literally drops away, preventing you from progressing. A swarm of Palace Guards emerges on the other side of the gap.
There are a few ways to deal with this situation. Firstly, a Mortar here makes taking down the Locust a snap—fire at about 100m from cover. The nearby Torque Bow also helps.
The levers at the sides of the room present another option. These levers raise staircases to upper galleries on the room’s sides. Both contain Frag Grenades. You can make your way up and lob grenades down at the Locust or simply fire at them from above—it’s your call.
In any case, once you defeat the Locust, the floor rises and you can move forward again.
Encounter 07
ENEMY PRESENCE: Palace Guards
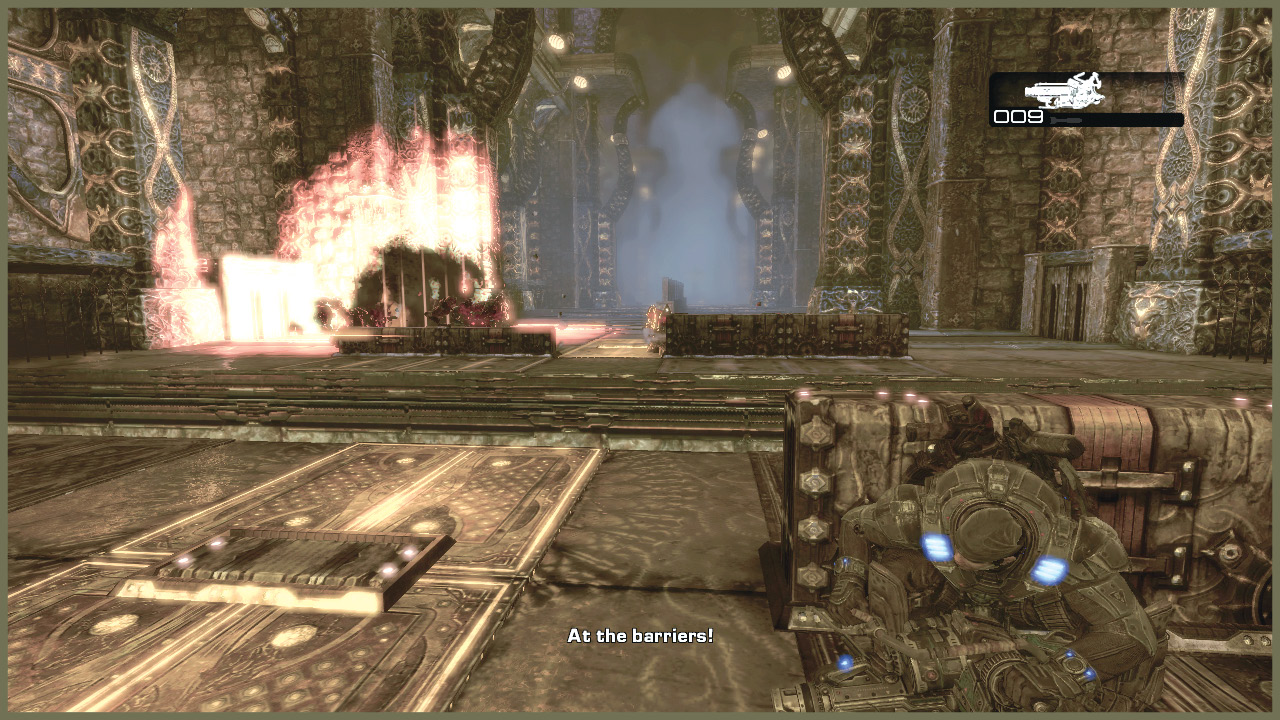
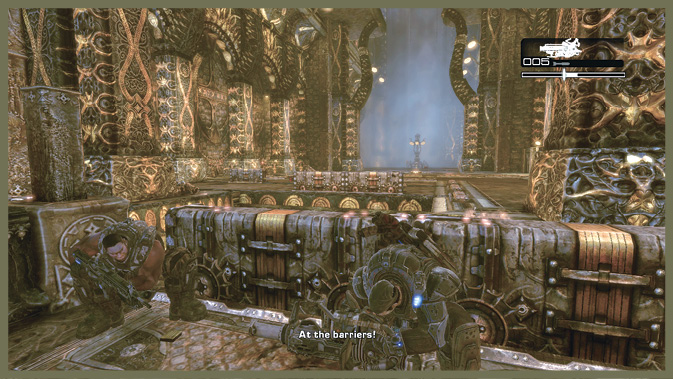
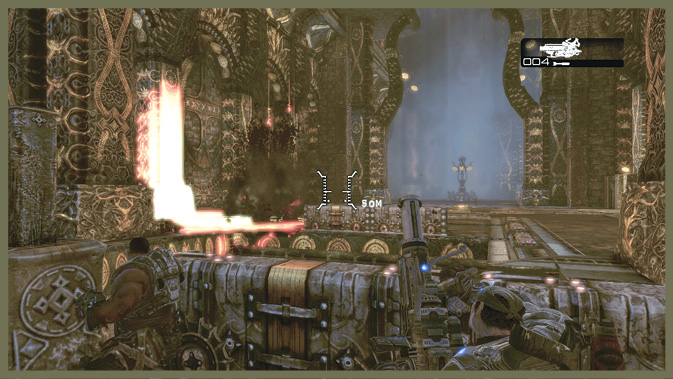
The second encounter on the bottom floor is very similar to the first. The floor drops out and you must deal with more Palace Guards on the opposite side.
However, this time there’s a curious bit of pop-up cover. A central barrier bisects the middle of the room. On each of its sides, pressure pads raise cover as you move across them. You must move from pad to pad to get forward far enough to threaten the Locust on the other side of the pits.
If you still have Mortar shots, you can again nail them from about 100m. If not, move up in cover and pick them off.
Encounter 08
ENEMY PRESENCE: Palace Guards
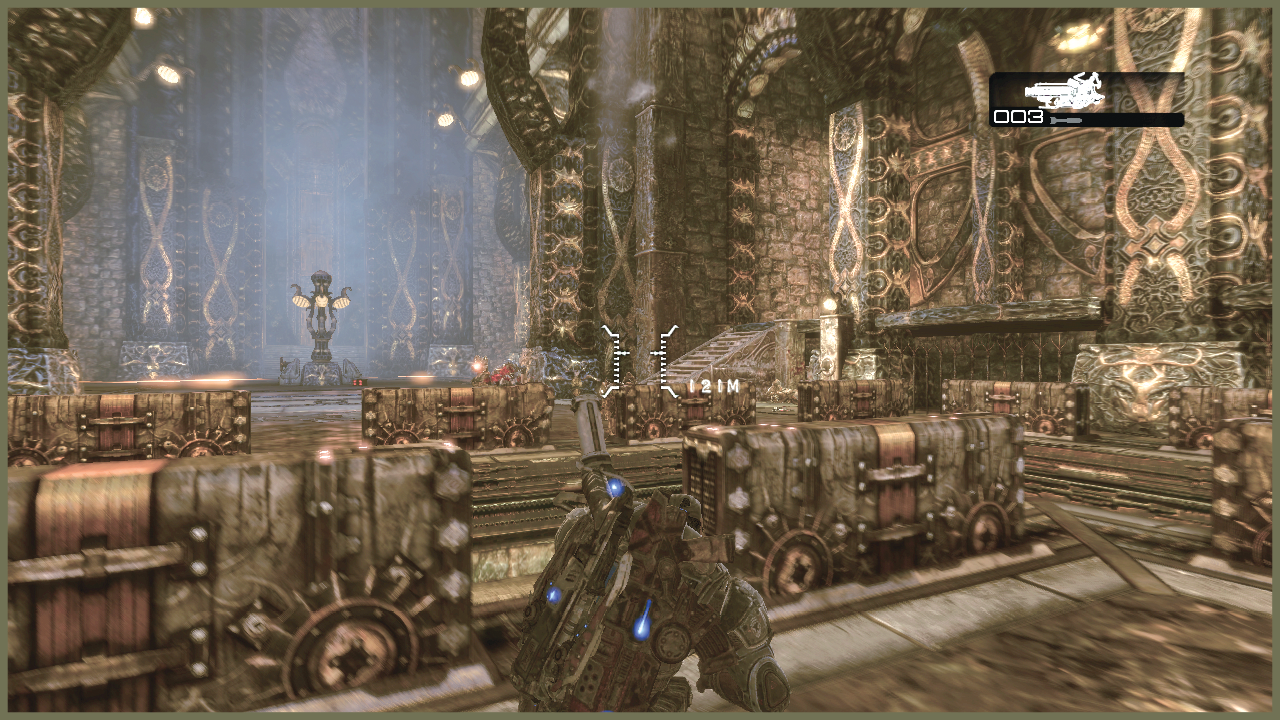
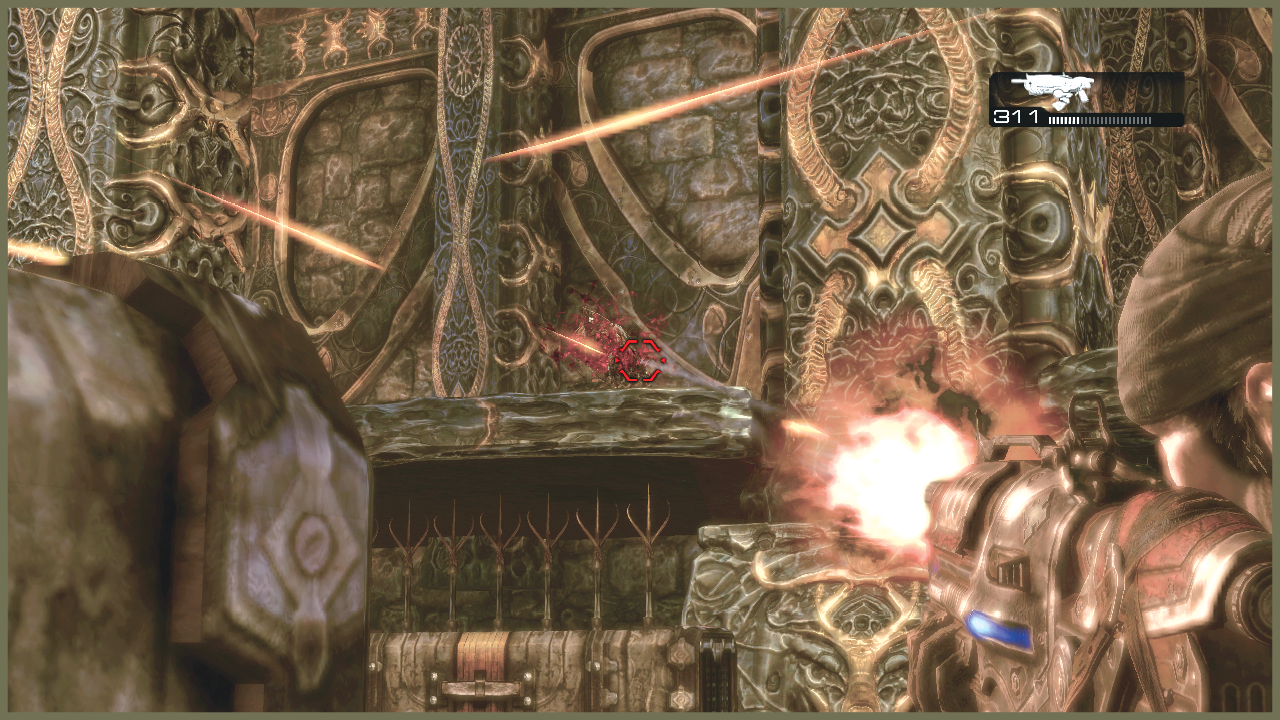
You reach a final cover fight across a dropped floor. Again, more Palace Guards resist you. This time, watch out for their Torque Bows.
If you have any Mortar rounds left, burn off the last of them here. The cover on your side may drop. If it does, step on the switch in the center of the room to raise it up again.
The Locust on the other side try to raise a staircase on the right. This is their attempt to reach the side gallery and fire at you from an elevated flanking position—not good. Focus your fire on any Locust that makes a move to climb the steps.
Encounter 09
ENEMY PRESENCE: Palace Guards
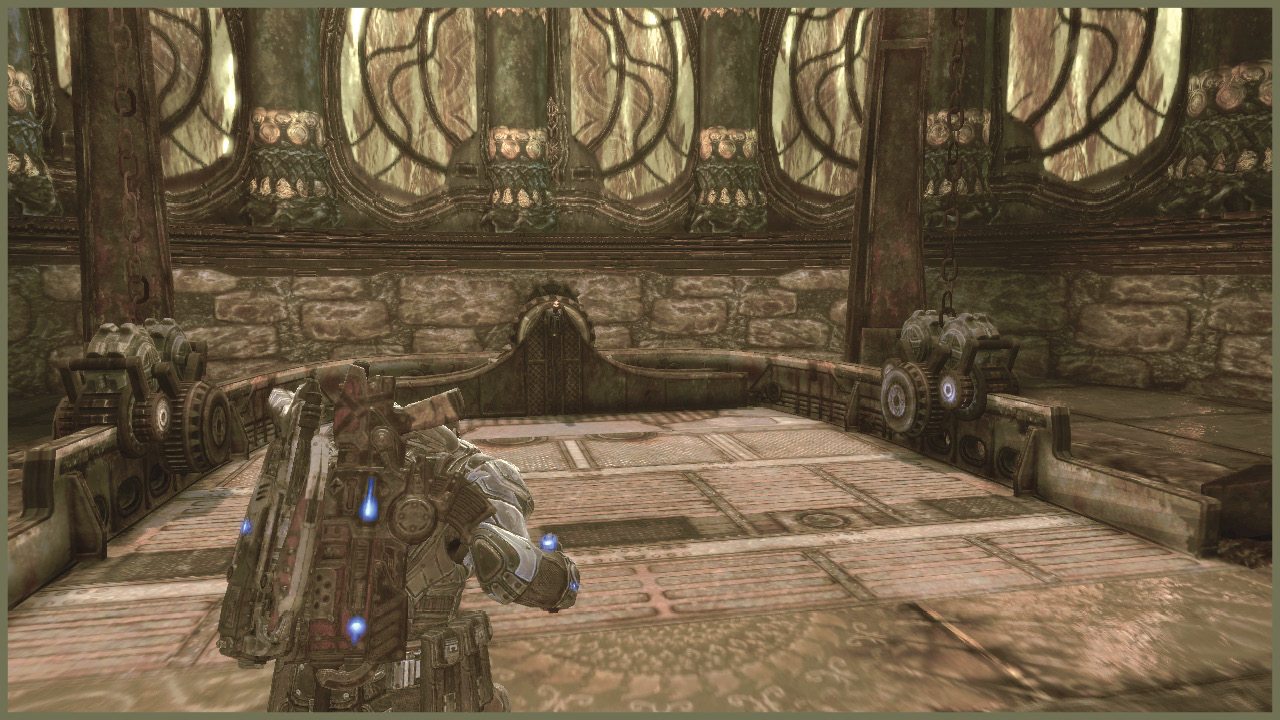
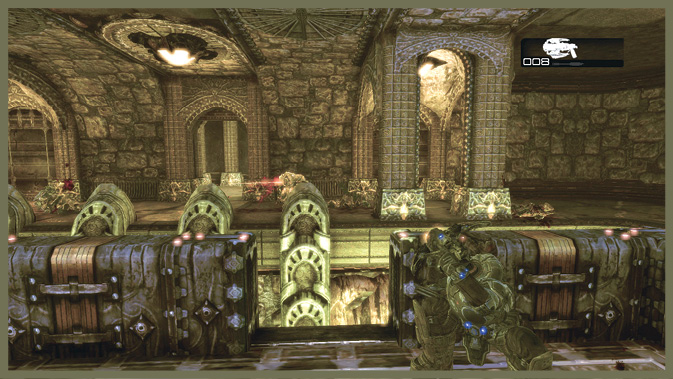
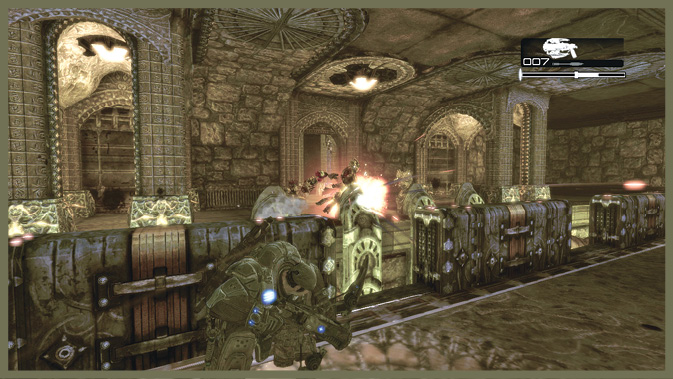
The last room at the bottom of the palace contains a brutal trap. When you reach the middle of the room, the entire floor drops down with you on it.
You end up on a square platform separated from the room’s edges by pits. Each of the four cardinal directions has a door. Each door has a pack of ravening Palace Guards behind it.
The enemies come out from the north and then the east. These foes are ‘polite’ in that they wait for you to wipe out most of the Locust before the next door opens. However, the west-to-south transition is not so accommodating, as the doors quickly open in sequence. Be ready for the onslaught.
To get out, you have to use a wheel mounted on the central pillar. Turning it while you’re under fire is dangerous,
especially because raising the platform elevates you above the level of cover! You have to clear out the Locust to get back up safely.
If you brought along your Boomshield, it’s difficult to use it effectively. But there is cover along the edges, so you can bring your heavier weapons to bear.
Encounter 10
ENEMY PRESENCE: Skorge, Tickers
Success! Your persistence is rewarded with an exceptionally rare event: a face-to-face meeting with the Locust Queen. Curiously, she seems unbothered by your presence and is rather talkative. Of course, the presence of her bodyguard, Skorge, sort of spoils the polite host effect.
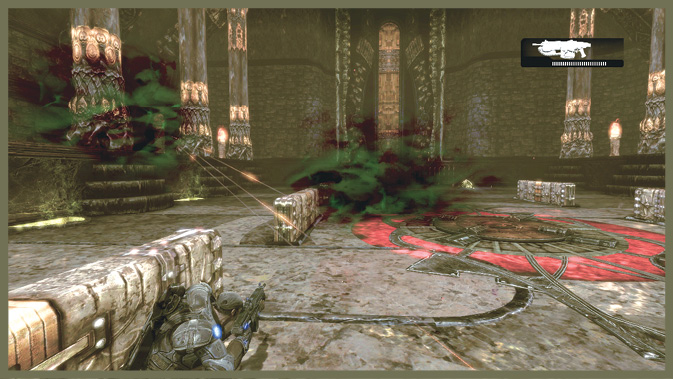
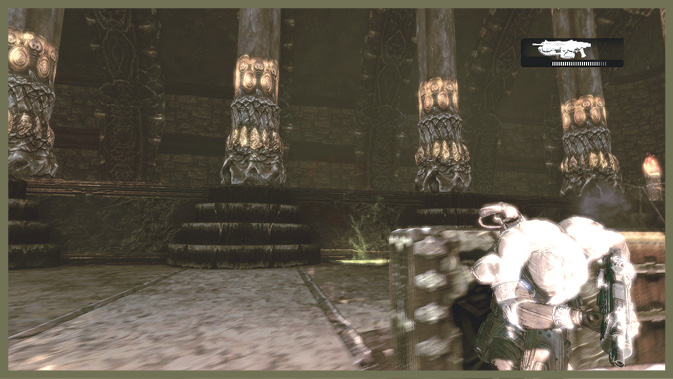
After a lengthy and revealing conversation, the Queen departs and orders Skorge to kill you. Marcus sends Cole and Baird in pursuit of the Queen, but you have to deal with Skorge in a straight-up fight.
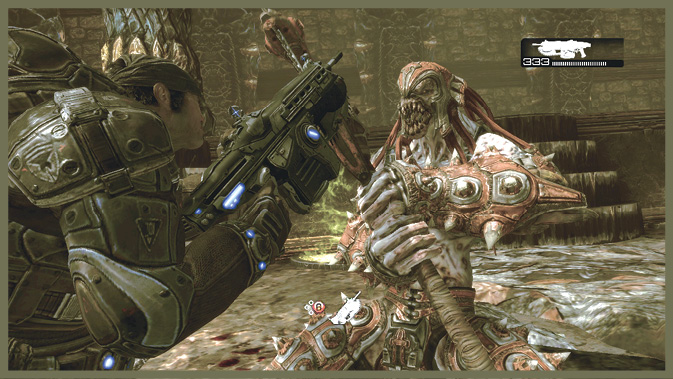
Skorge is a brutal fighter, and he slams into Marcus with his twin-bladed chainsaw staff—how do you like that for a weapon? You have to mash the melee button repeatedly to come out of this in one piece, just as if you’re fighting a Lancer duel.
When Skorge gets knocked away, he begins to attack you in earnest. Skorge comes at you with a variety of attack patterns.
When he leaps away and runs along the room’s sides, he sprays Gorgon Pistol shots and tosses Ink Grenades down at you. Stay mobile, quickly moving around the room to avoid the ink clouds.
Occasionally, he summons nasty glowing Tickers from vents at the floor’s edges. Deal with them quickly while you’re on the move—losing sight of Skorge can be fatal.
He may also leap up into the blackness of the roof and send stalactites plummeting down toward your head. Watch for the falling dust and move quickly to avoid the projectiles!
Skorge can also slice down one of the room’s support columns. If he does this, watch for the column to start falling and wait for Dom to yell. When he does, quickly roll to the side to avoid getting pulverized!
After each pillar collapse, Skorge attacks you directly. He leaps down and engages you in a brutal chainsaw match. Mash the melee button to come out ahead and damage him. You have to repeat the duel three times to come out victorious.
Unfortunately, victory does not lead to Skorge’s death. He summons the Hydra, his massive and mutated Reaver mount, and flees the scene.
You must chase after him! Run through the doors at the end of the audience chamber to reach a long bridge. You can run across the bridge to the Reaver pens. That’s right, you get to mount up on a Reaver to pursue him!