
Gears of War 2 Guide ACT V: Aftermath
Chapter 3: Free Parking
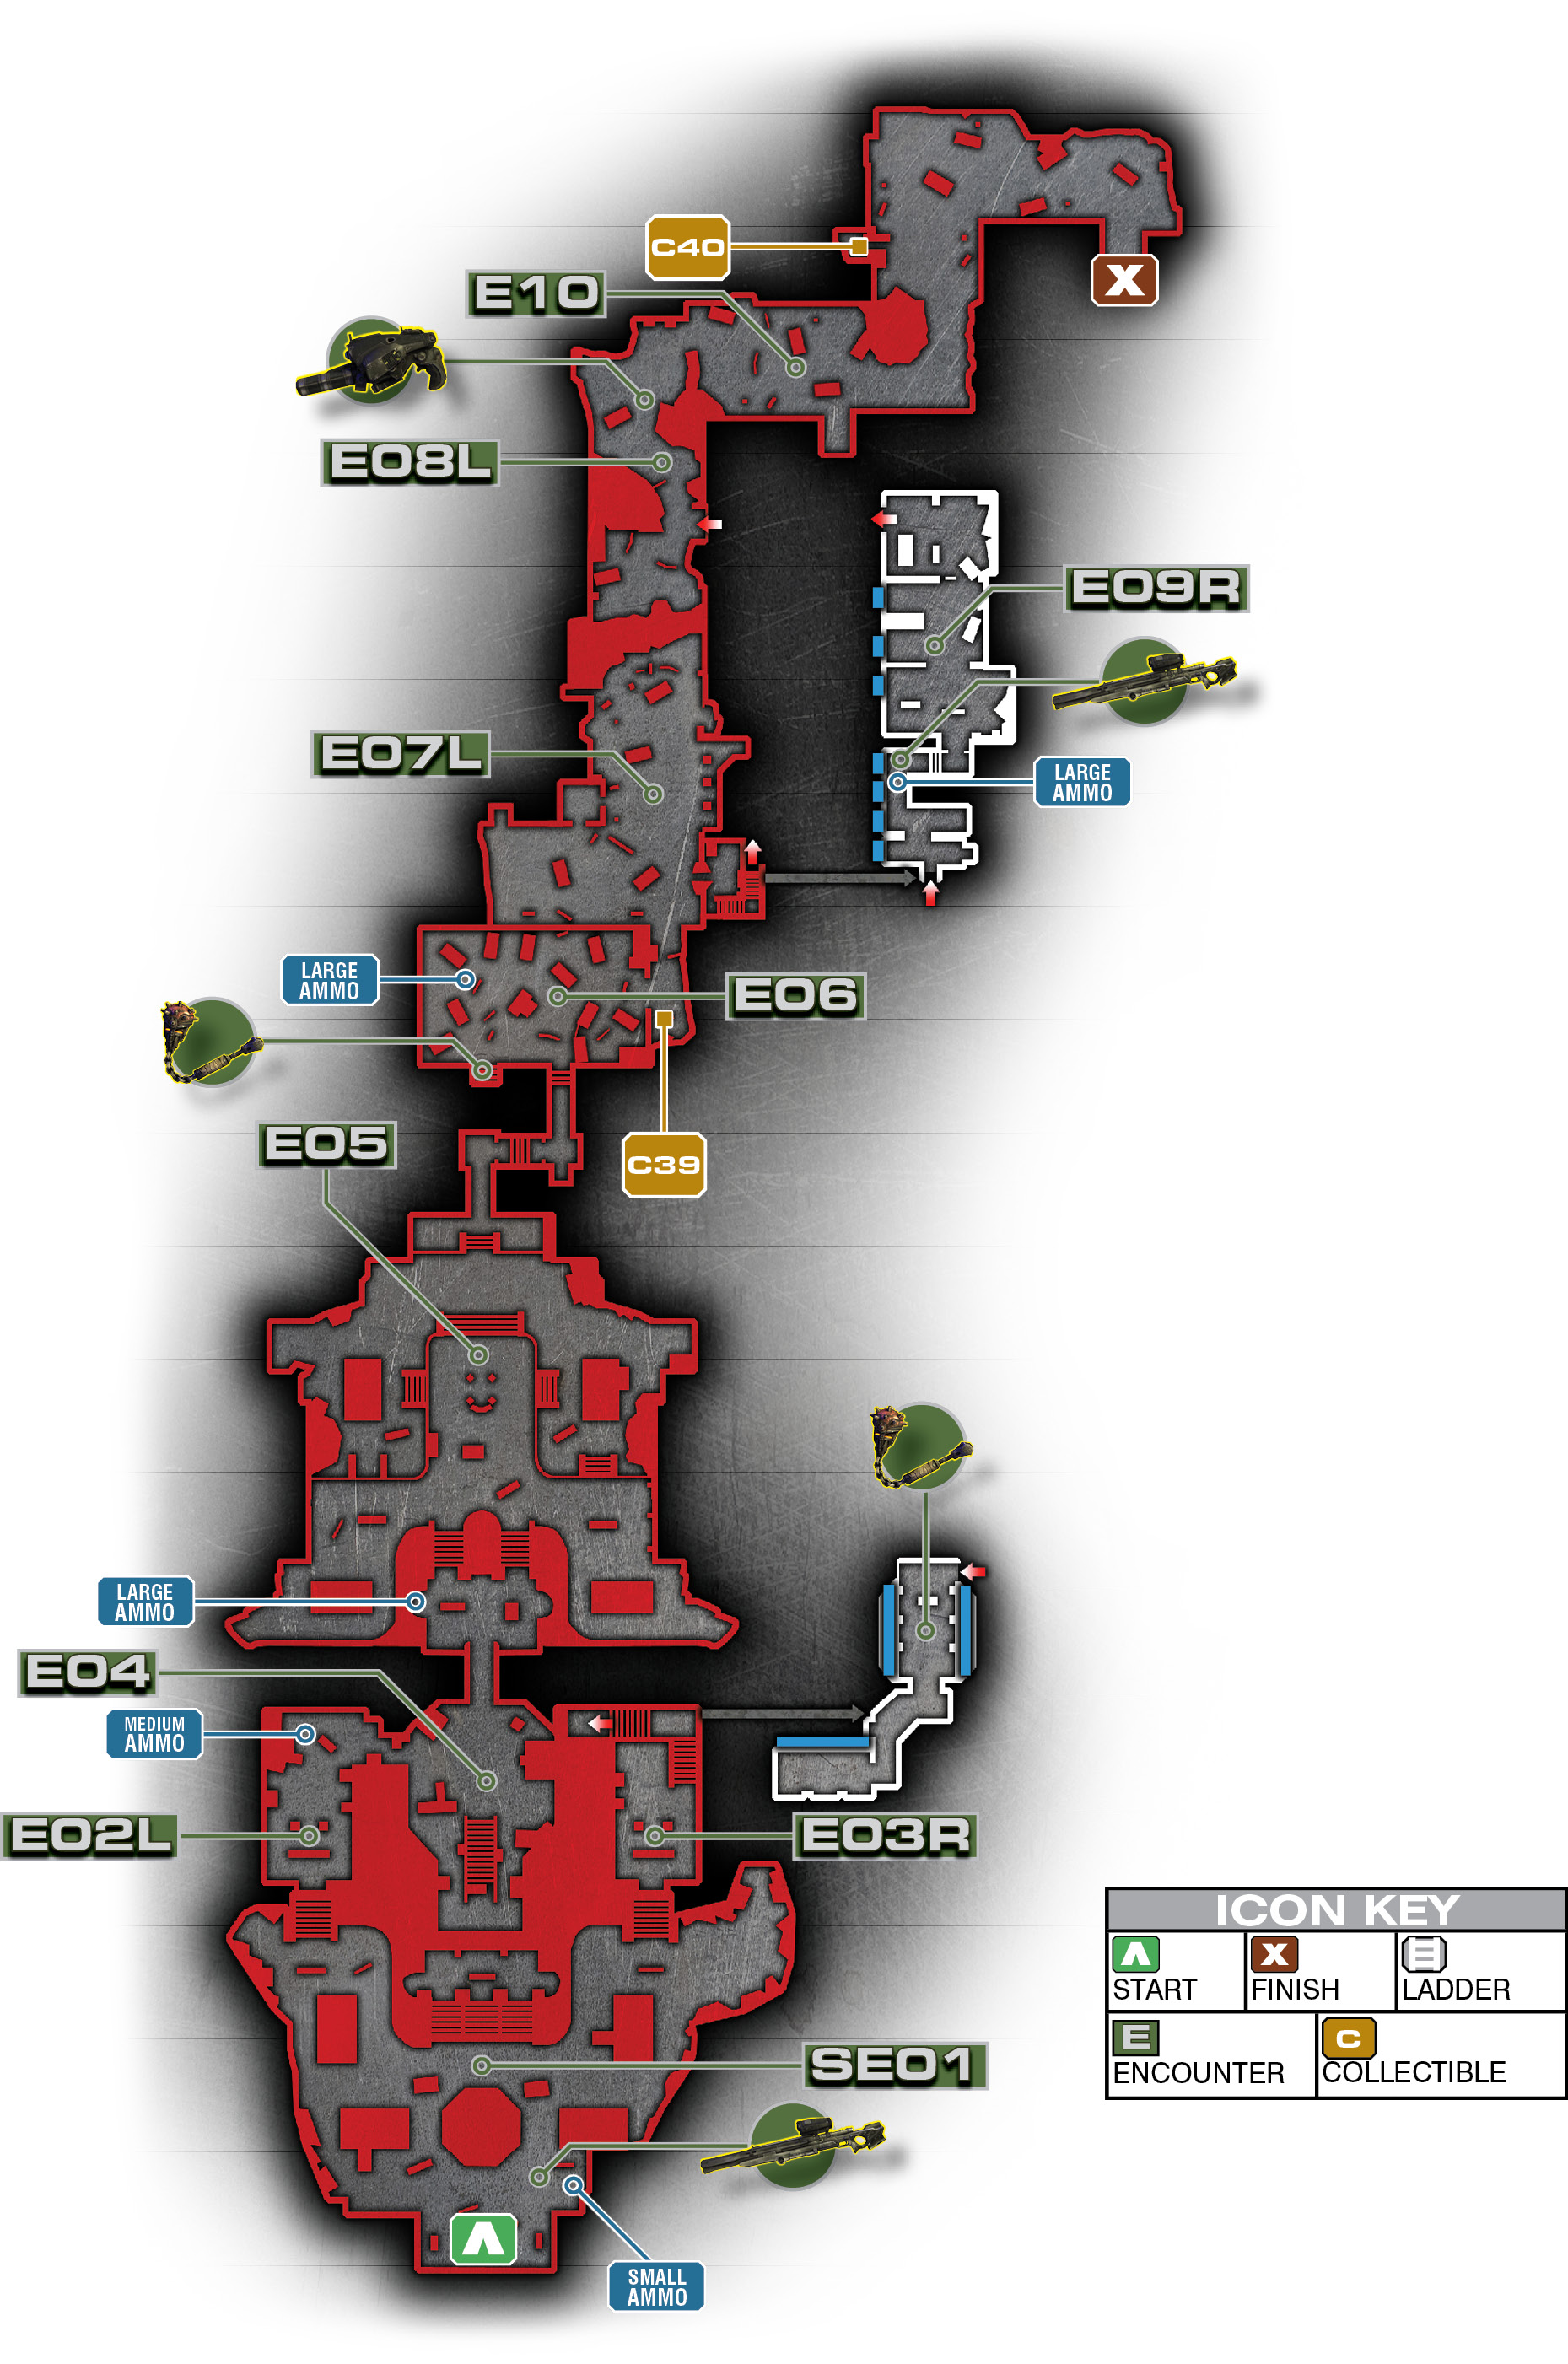
Encounter 01
ENEMY PRESENCE: Drones, Flame Boomers, Snipers
The initial battle in the courtyard is pretty fierce. Before you engage the patrolling Locust in front of the mansion, move over to the right of your starting position and grab the Longshot and the ammo there—you’ll need it.
When you’re ready, pop the head off a Sniper to get the Locust’s attention. A pair of Snipers shows up on the mansion’s second floor balcony. Make them a priority; you can’t have them sniping from an elevated perch while you try to fend off Drone assaults from the courtyard’s left and right sides.
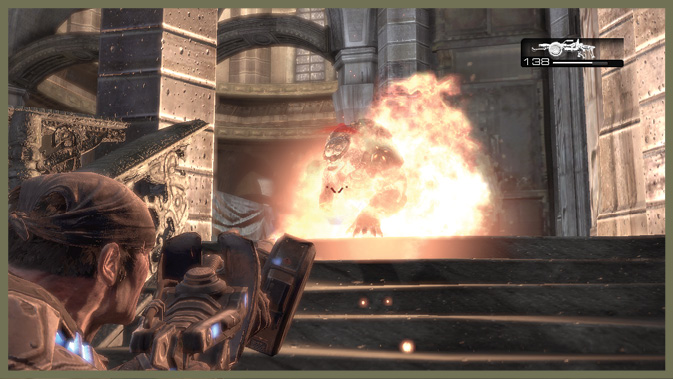
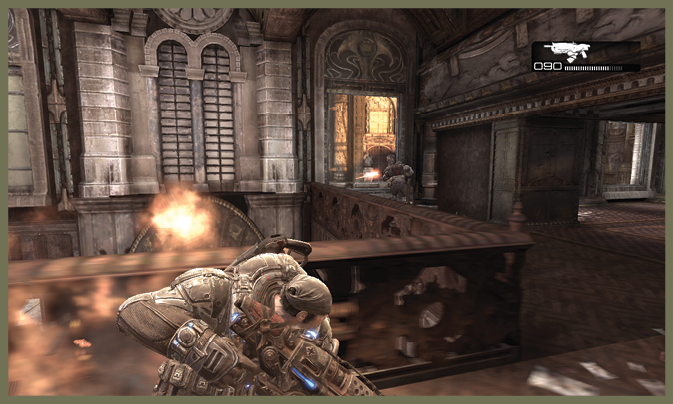
Once you deal with the first force of Drones and Snipers, the mansion doors open and two Scorcher-wielding Boomers emerge. Dispatch them from a distance before they can close on your position. Then grab their weapons, which prove handy in the close quarters combat inside the mansion.
You can choose routes here, though it isn’t an explicit branch choice. You can enter the mansion through the left door (ground floor) or the right door (second floor). Both areas are accessible from the other side of the building, so you can clear out both or ignore the alternate route as you see fit.
Encounter 02
LEFT PATH
ENEMY PRESENCE: Grenadiers, Flame Grenadier
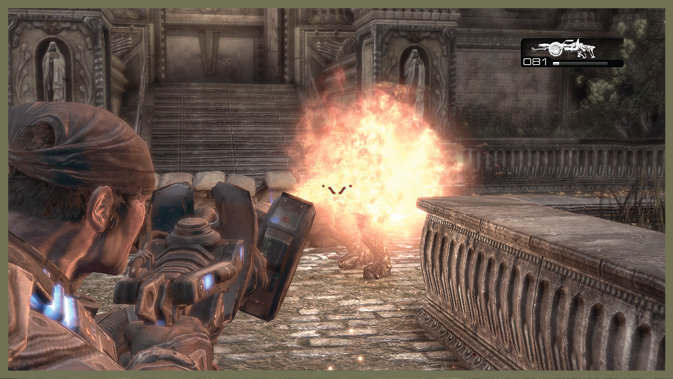
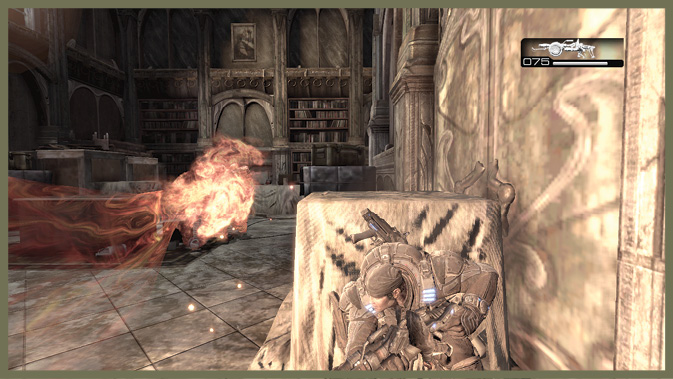
If you decide to use the left door, a Grenadier and a Scorcher-wielding Grenadier oppose your entry into the mansion. Down them to hopefully grab a few extra Frag Grenades before you set foot in the mansion’s center room.
Note that if you take this route, you might have to deal with Snipers still alive on the second floor and the Kantus from above. This is not a desirable situation. It all depends on how fast Dom (or your co-op buddy) is.
Encounter 03
RIGHT PATH
ENEMY PRESENCE: Flame Grenadier, Grenadiers, Snipers, Kantus
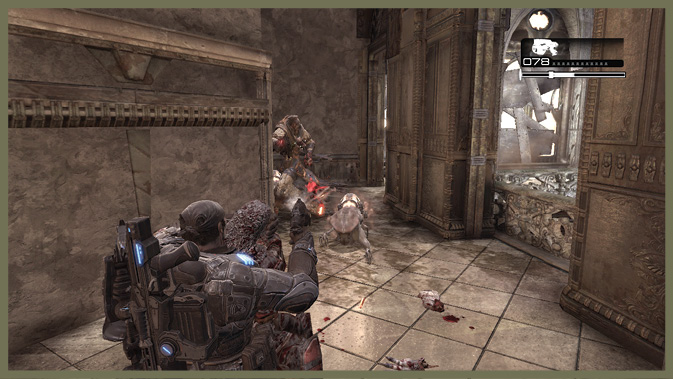
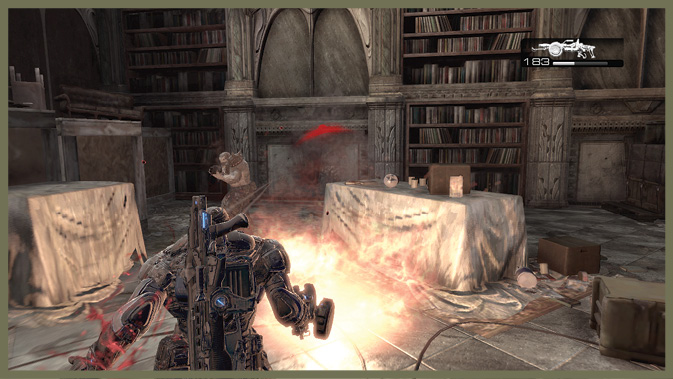
The right door is fairly heavily defended. The ground floor has a Grenadier and a Flame Grenadier, while the second level has a pair of Snipers leading into a Kantus.
Thankfully, you can hang back at the doorway to deal with the ground-floor Locust. Then move in to assault the Snipers. If you time your approach properly, you can rush the stairs to get up close to them. They’re ill equipped to take on an angry Gear in close combat.
The Kantus is a bit farther back on the second floor. It’s just before you reach the master staircase that leads back down to the mansion’s center. Eliminate the beast and then move in to the heart of the building.
This right path is slightly tougher to get through than the left. However, it gets much easier once you’re into the center of the mansion. This is something to consider if you’re playing solo on a higher difficulty level.
Encounter 04
ENEMY PRESENCE: Grenadiers, Drones, Grinder
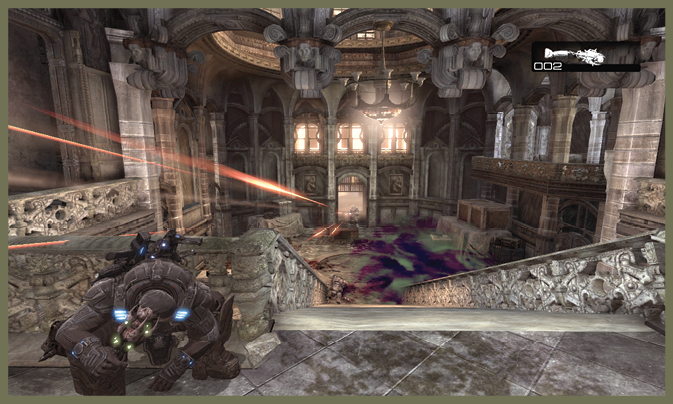
The center room holds a few basic grub grunts, but once you down them, a Grinder bursts through the door that leads out of the mansion. Be sure you’re behind cover when this happens!
Take him down and grab the Mulcher he drops; it’s useful in the next encounter.
Encounter 05
ENEMY PRESENCE: Troika, Kantus, Drones, Grenadiers, Wretches, Maulers
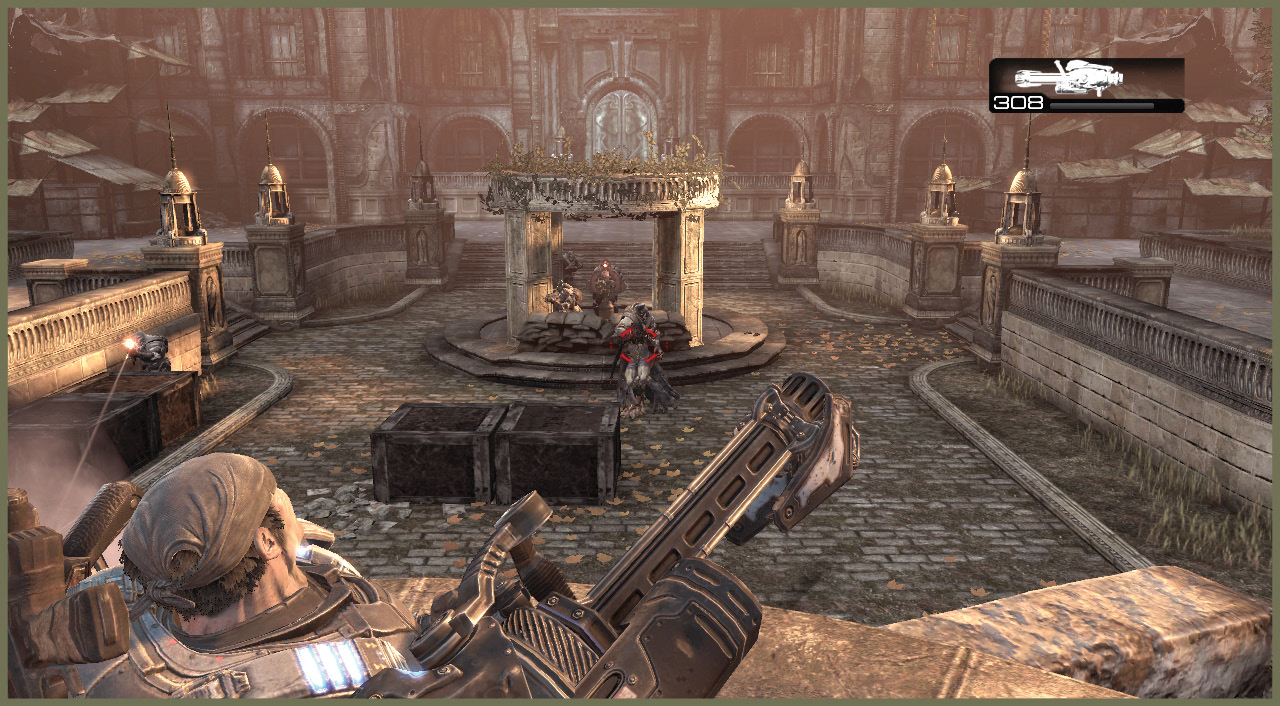
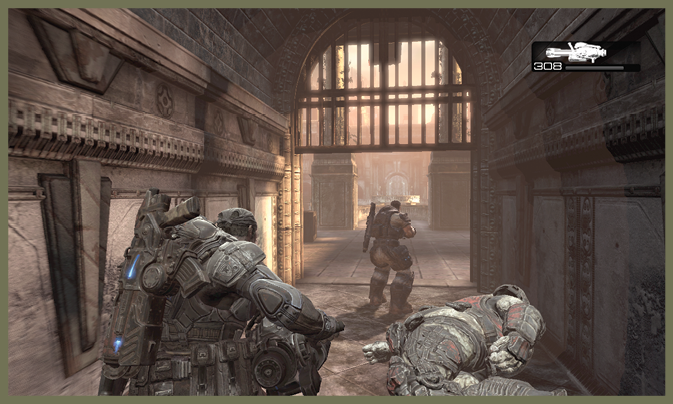
A Troika is planted in this huge courtyard’s center. It covers your approach and most of the courtyard in a most inconvenient fashion.
A Kantus also roams around as you enter the yard, so be sure to kill him quickly to avoid resurrection problems.
The best way to take out the Troika gunner is to use the Longshot. He is vulnerable to sniper fire. Failing that, if you managed to secure any Ink Grenades from the Kantus in the mansion, they’re great for eliminating the Troika gunner.
On Hardcore and Insane difficulty, Bloodmounts also appear in this battle.
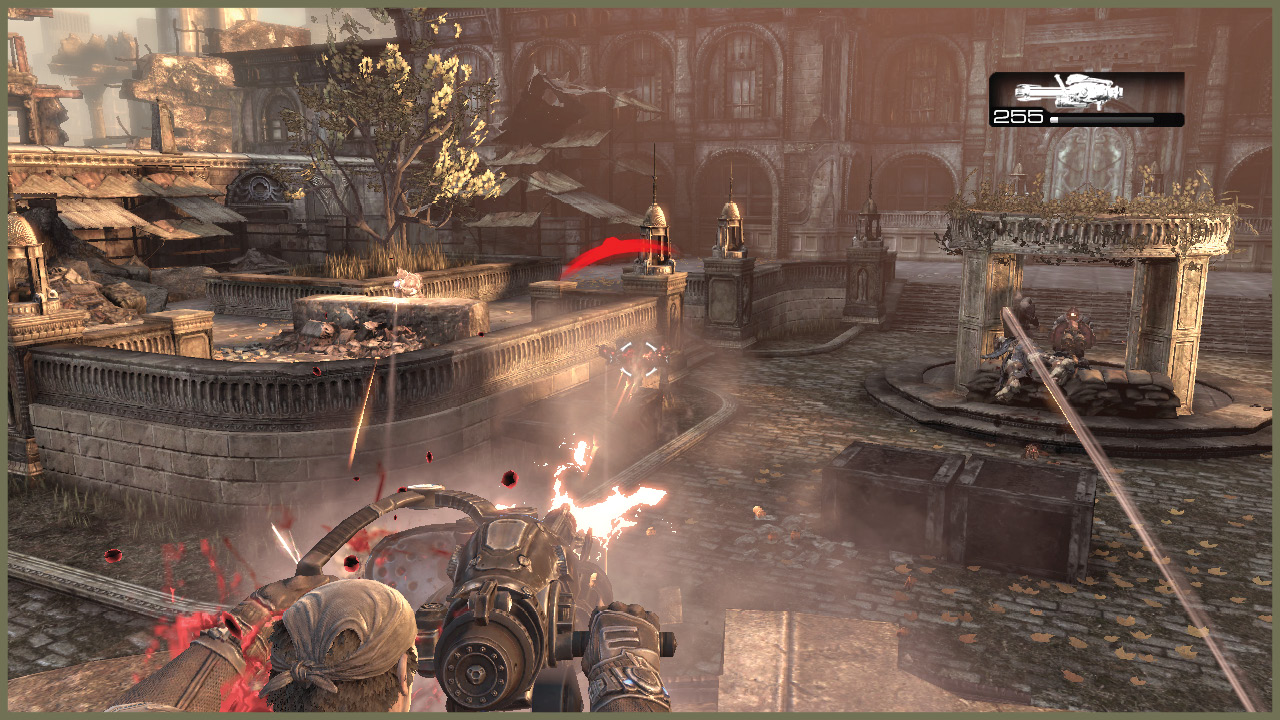
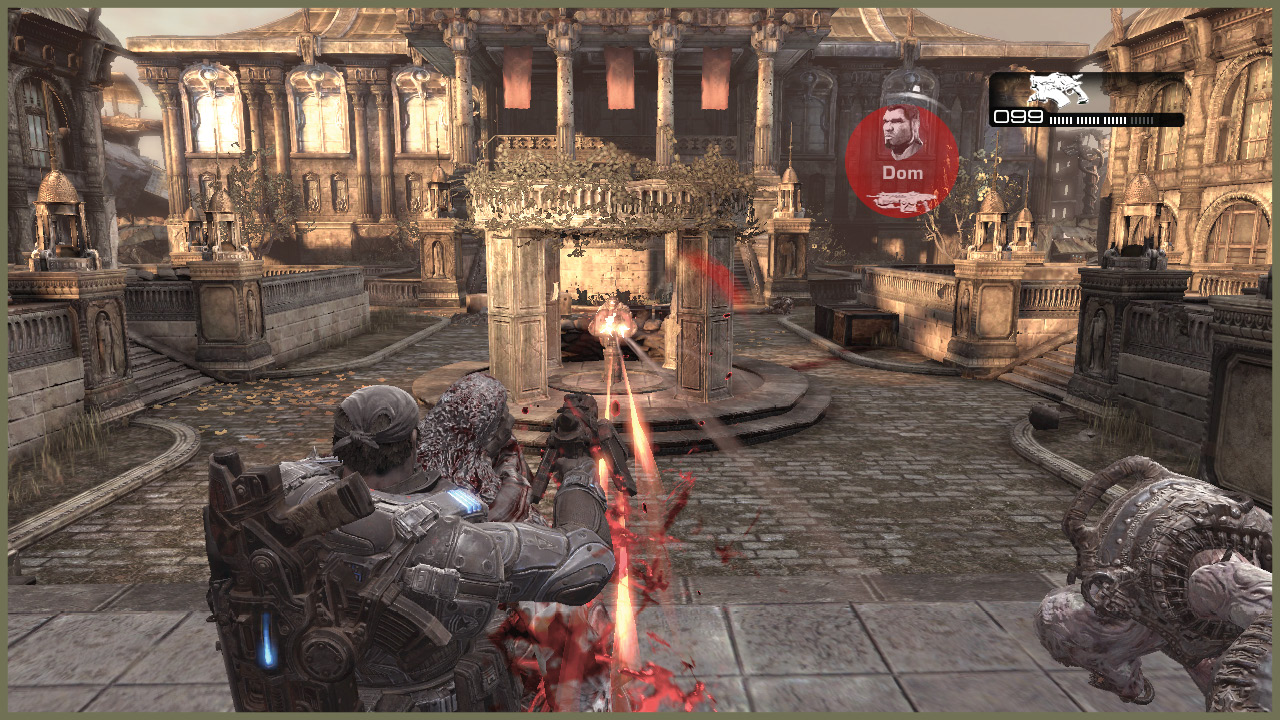
Use your Mulcher to mow down any opposition that readily presents itself. Then dive down to the left or right to quickly evade the Troika’s line of sight.
From either side, you can then move up onto the ledges overlooking the Troika. Either toss down a regular Frag Grenade or simply close with the gunner and take him out at close range while Dom distracts him. A third option is to down a Drone on either side and use him as a meat shield.
Finally, you can also make your way to the back of the yard where several Wretches and a pair of Maulers attack. Taking out a Mauler gives you a Boomshield. This provides a ready answer to the Troika, letting you simply walk up and remove the gunner while you’re shielded.
Once the Troika is clear, man it to mow down the two Bloodmounts that emerge from the doors at the end of the yard.
Once you fully clear the yard, go down the hall where the Bloodmounts emerged. You can turn a pair of hand cranks to open the gate that leads to Cooper street.
Encounter 06
ENEMY PRESENCE: Drones, Grenadiers, Grinder
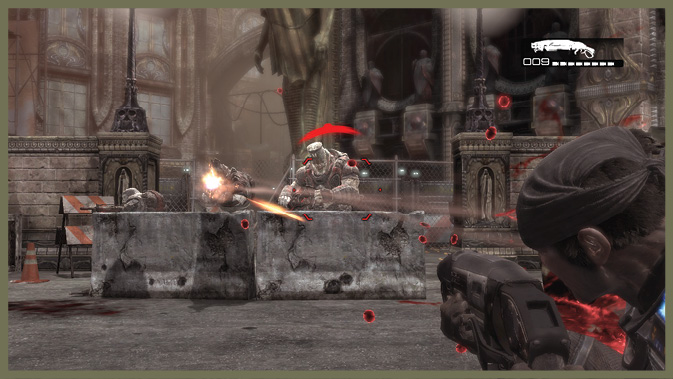
This is a nasty street fight. The central Grinder Boomer presents a major threat. The Grenadiers around him can close in on you fairly easily in the awkward cover provided by the cars.
At the start of the fight, some Reavers strafe the street, blasting several of the cars. To avoid eating the explosions, stay away from the right side of the street as you emerge.
Try to back off to the end of the street opposite the Grinder to pick off the Locust grunts more easily. On the upshot, once you down Grinder, you get a shiny new Mulcher to take to the path branch ahead.
Encounter 07
LEFT PATH
ENEMY PRESENCE: Drones, Flame Grenadier, Reaver
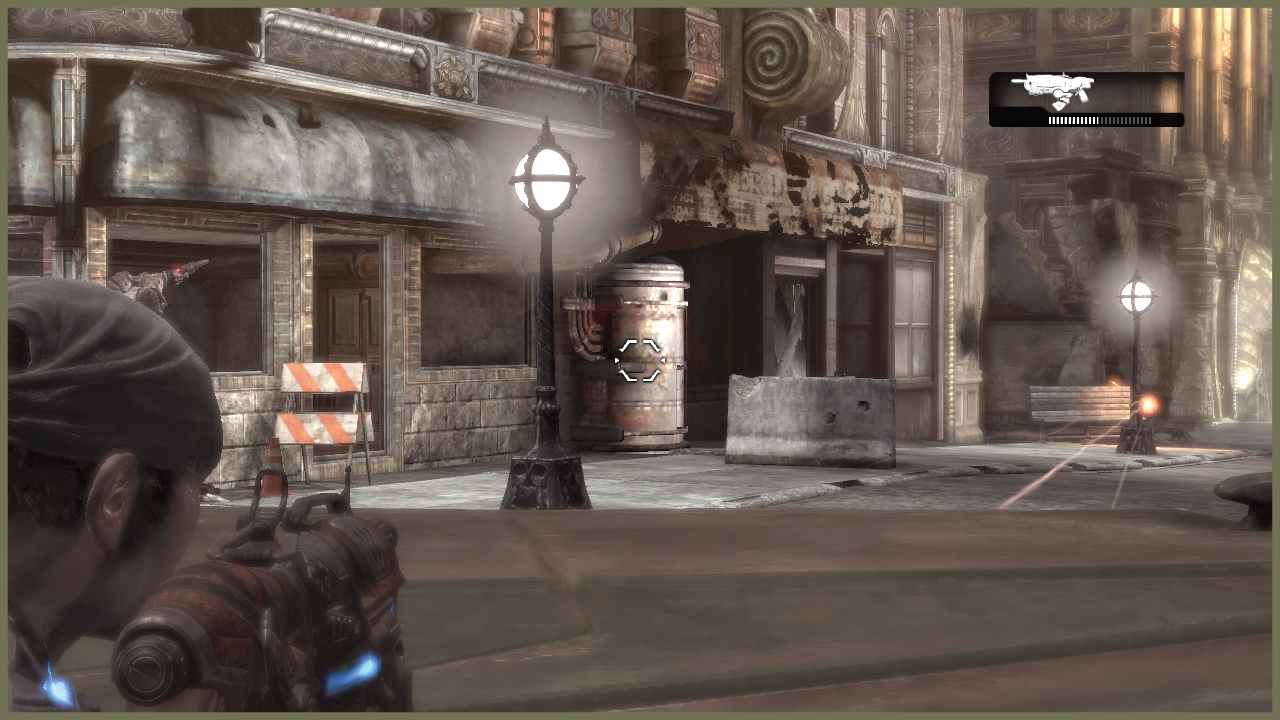
The first threat is a pack of Locust in a building on the street’s left side. Shoot the fuel tank outside the building to trigger a chain reaction that results in a massive explosion, clearing out the building’s interior and removing the Locust infestation. It also causes a sign to drop from the building, providing a wall of half cover.
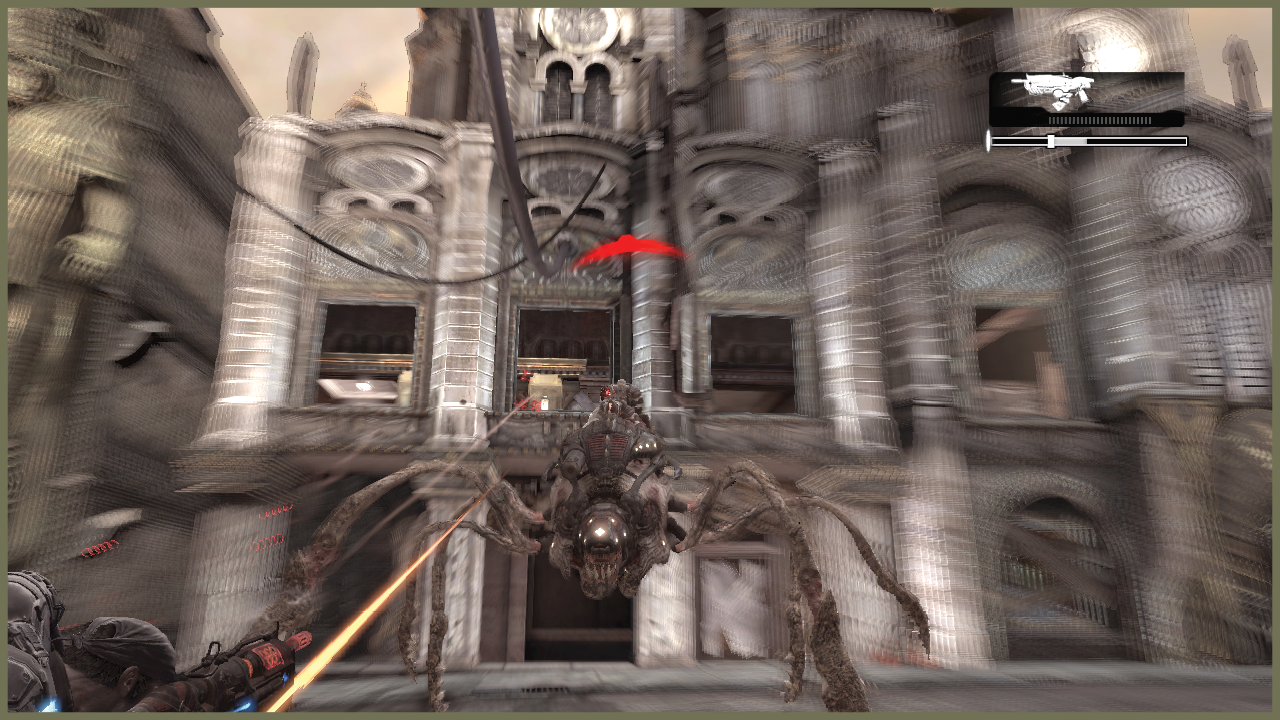
Next, turn your attention to the street ahead. There are more Drones in the street, along with a single Reaver for you to dispatch.
As you move down the street, a car comes flying over the top of the garage, presumably dislodged by a Reaver. It slams into the street, providing another piece of usable cover. Unfortunately, the car is quickly followed by the Reaver itself. Keep your distance and take it down. Dom can kick down a dangling car from the garage to provide more cover once the Reaver is toast. This gives you another position to advance to as you clear out more Drones in the street ahead.
Encounter 08
LEFT PATH
ENEMY PRESENCE: Drones, Grinder
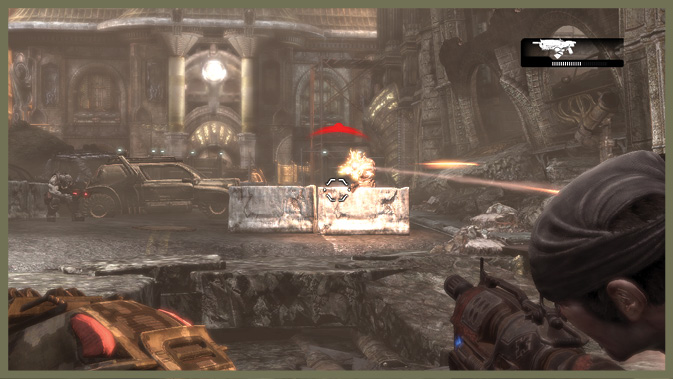
Once you hit the street’s midway point, you have to mop up the remaining Drones. You also have to shoot another explosive fuel tank on the right side of the street.
Doing so dislodges a weakened portion of the garage, causing a few cars to roll out. More importantly, it creates a sloping path for Dom to rejoin you.
When you meet at the end of the street, a Grinder bursts through the barricade. Stay behind cover and eliminate him. Then grab the Mulcher and move on.
Encounter 09
RIGHT PATH
ENEMY PRESENCE: Sniper, Grenadier, Flame Grenadier,
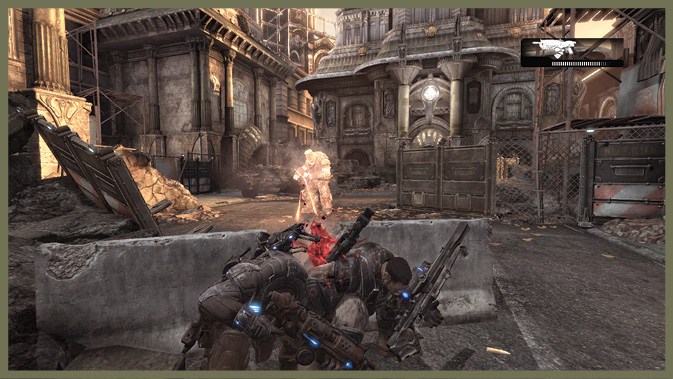
There are two parts to the garage route. The first is simply eliminating a lone Sniper at the top of the steps. You then grab the nearby Longshot and ammo to cover Dom in the street below.
Clear the Locust and the lone Reaver from the first portion of the street. Then move through the building to reach the parking garage’s second floor.
From here, you have to eliminate a pair of Grenadiers and a Flame Grenadier. Once you take them out, walk over to the left side of the garage and push a dangling car out the window. This provides some ground cover for your partner below.
Mantle over the cover to the back end of the garage. A partial collapse in the building provides a convenient path back down to the street, where you can rejoin Dom.
Encounter 10
ENEMY PRESENCE: Drones, Grenadier, Reaver, Mauler
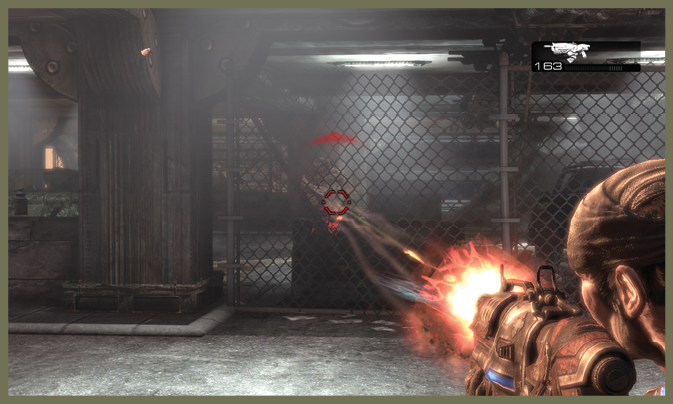
Just after you clear the Grinder at the end of the split path, you can pick up the mighty Hammer of Dawn. This potent weapon provides supreme firepower, making it easy to sail through this area’s last encounter.
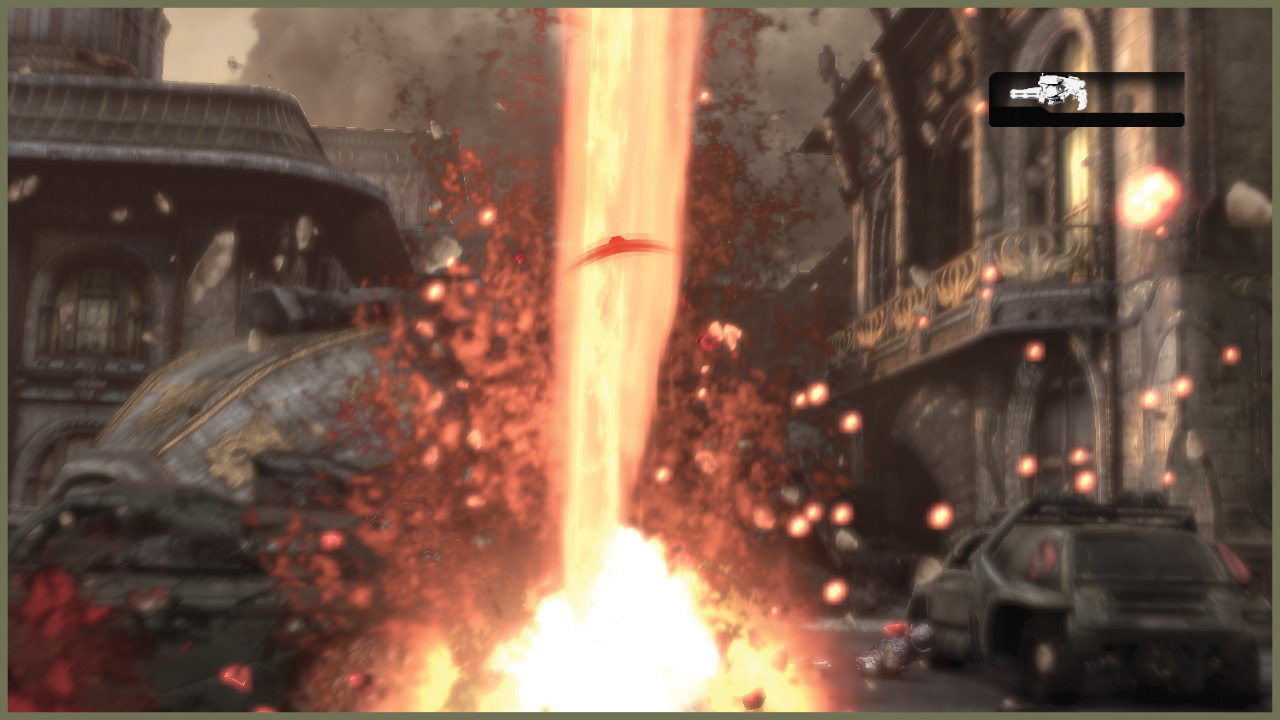
Stay behind cover and incinerate the Locust forces with an orbital bombardment. After the first Reaver lands, a shockwave rocks the area as a building at the end of the street collapses, showering you with a wall of dust.
After the building falls, a Mauler and a few more Locust emerge. Again, they’re no match for the Hammer’s power. Once you eliminate them, make your way down the street to the end of the chapter. Be sure to pick up the second-to-last collectible on the way.
 Hammer of Dawn
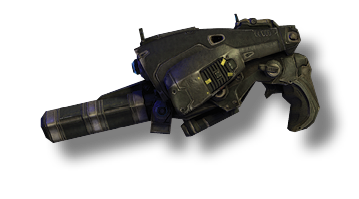
This is the final weapon you acquire in the campaign, and it’s easily the most powerful. The Hammer of Dawn allows you to tap into the orbital satellite network and rain down hell from above.
You don’t get to use it for long, so make the most of it while you can! It makes the remaining encounters here much easier.