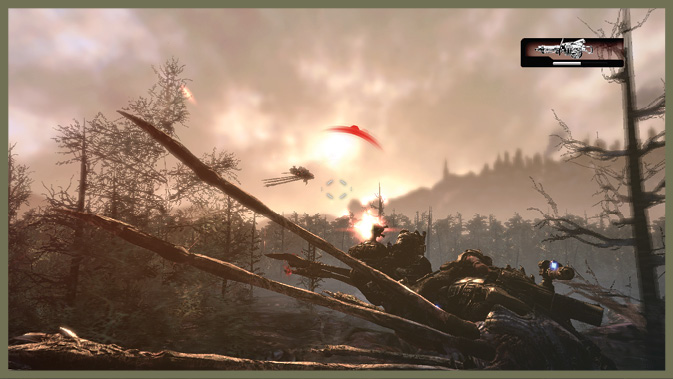
Gears of War 2 Guide ACT V: Aftermath
Chapter 1: Escape
Delta Squad has escaped from the palace and the pursuit of Skorge on the Hydra. Now they must flee the underground and get back to Jacinto. They must help in the last stand against the Locust onslaught…and to sink Jacinto to wipe out the Locust in the Hollow beneath the plateau.
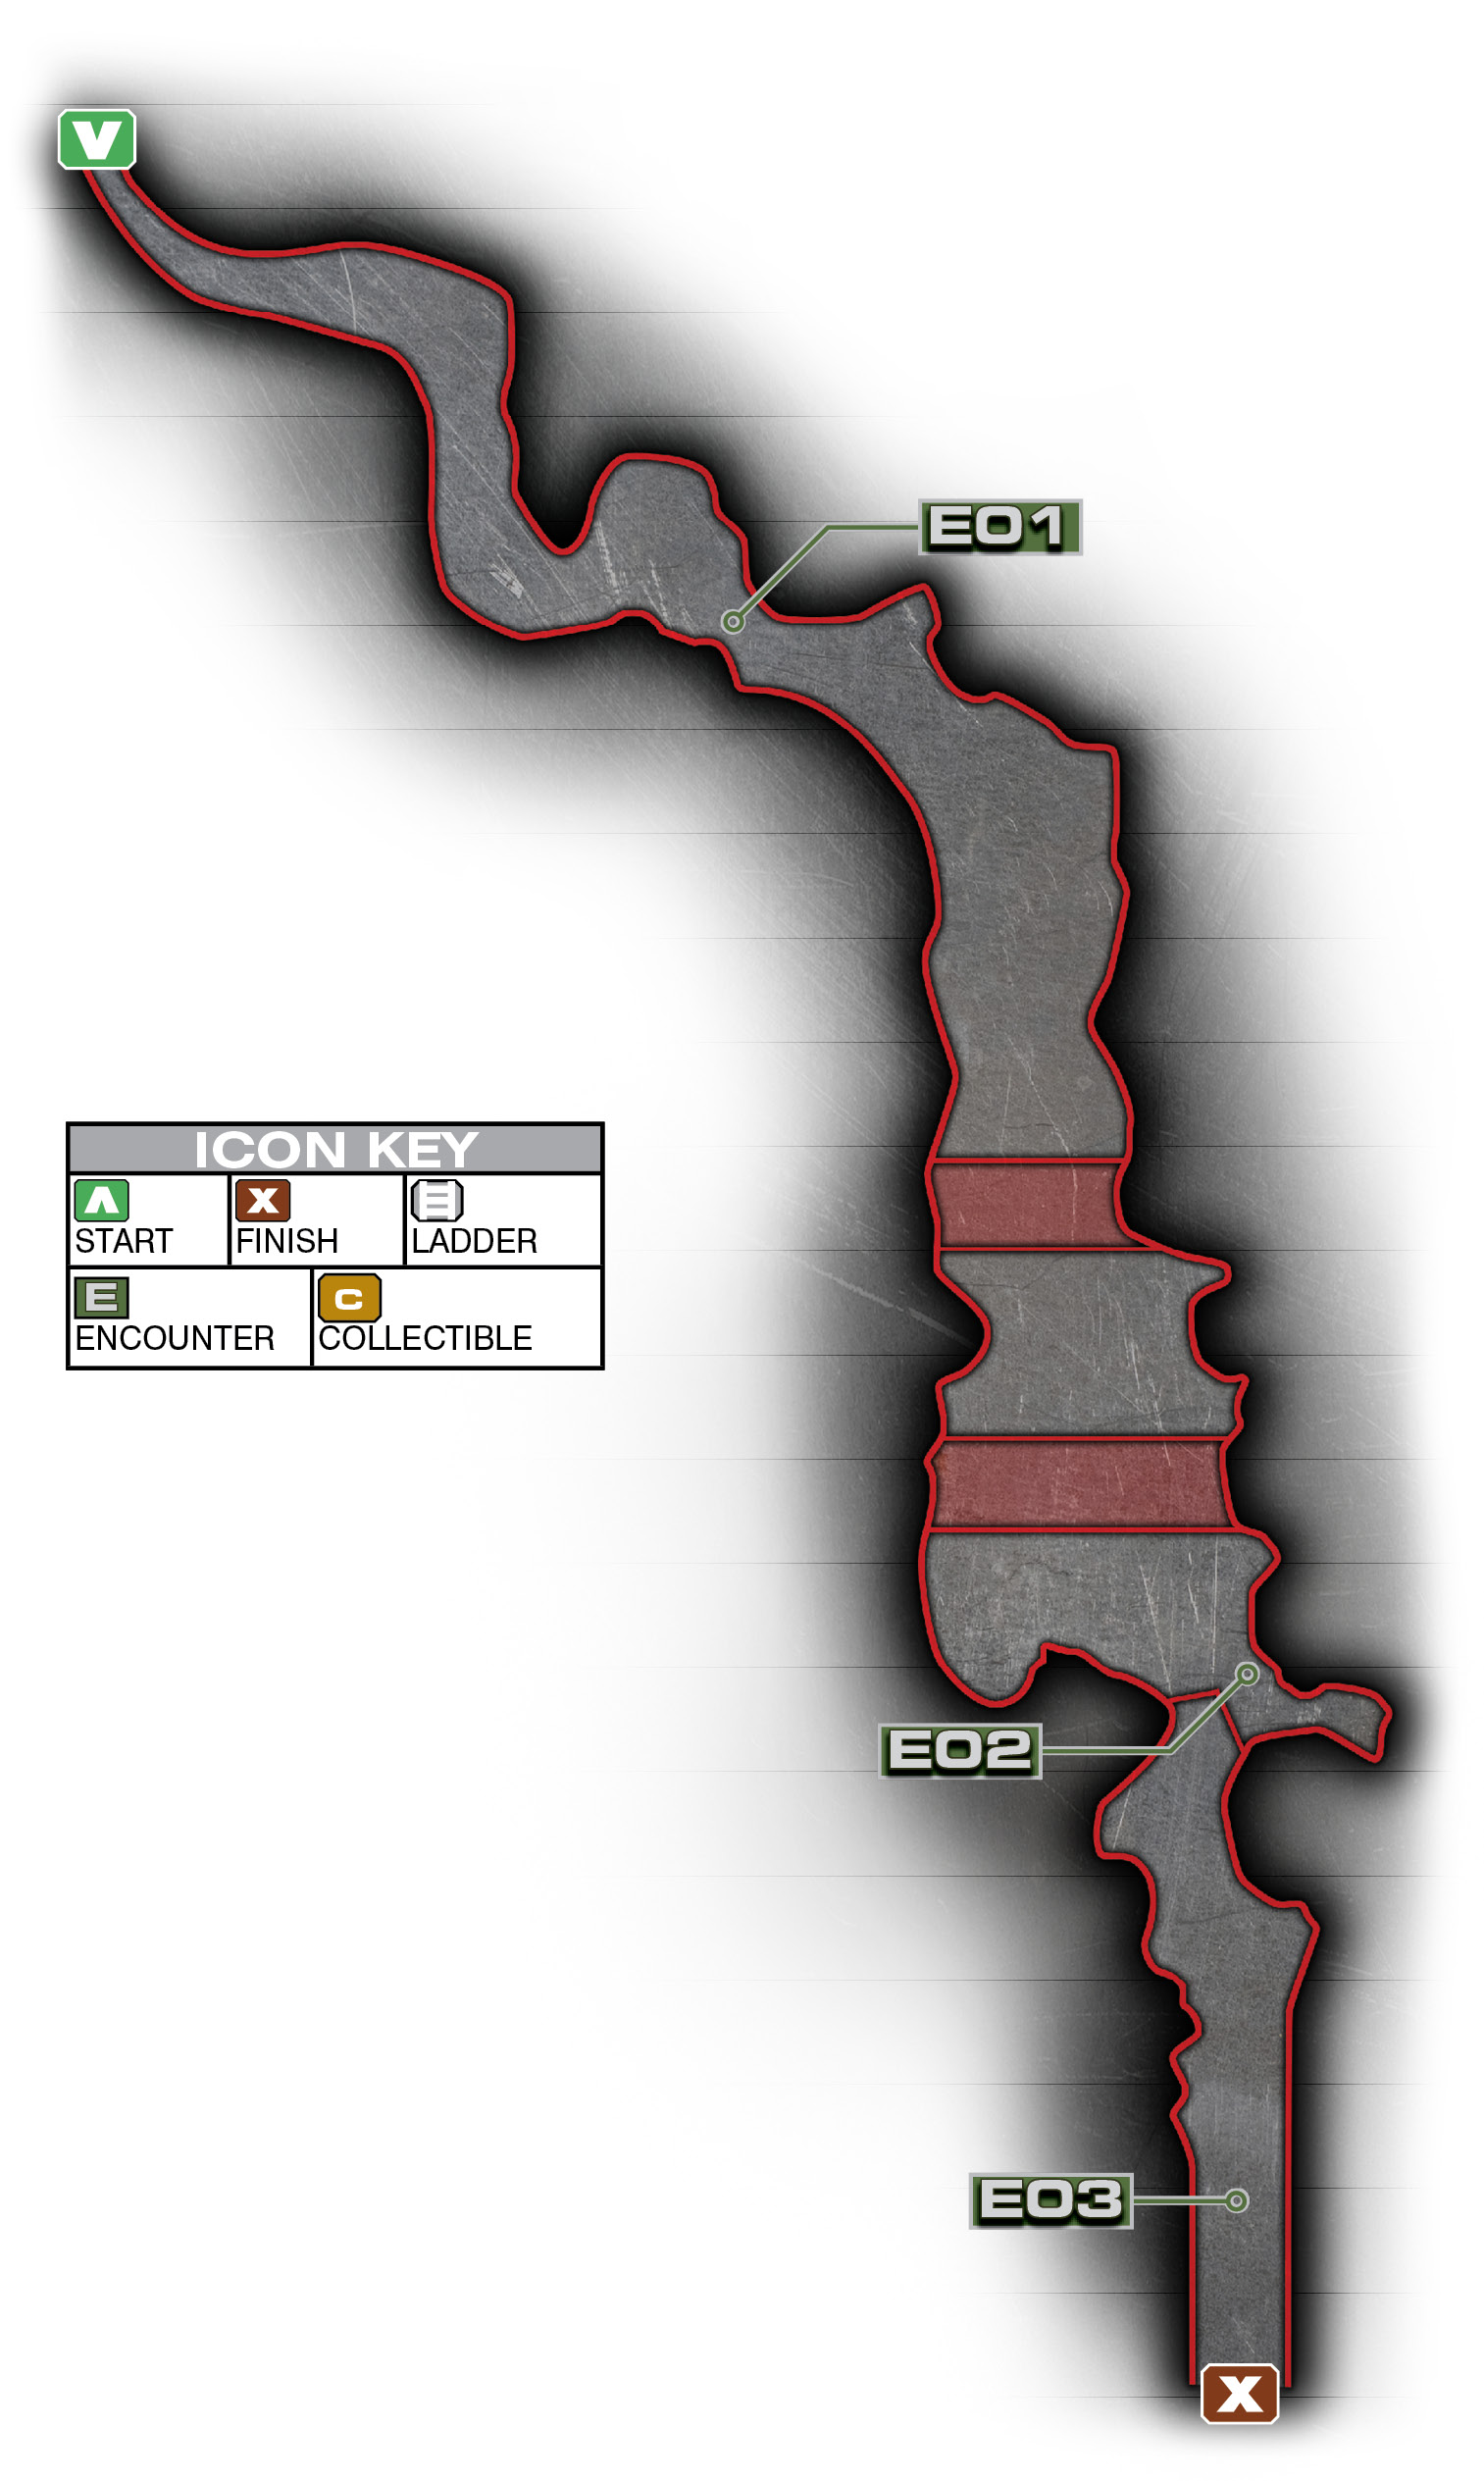
Encounter 01
ENEMY PRESENCE: Troika, Brumaks
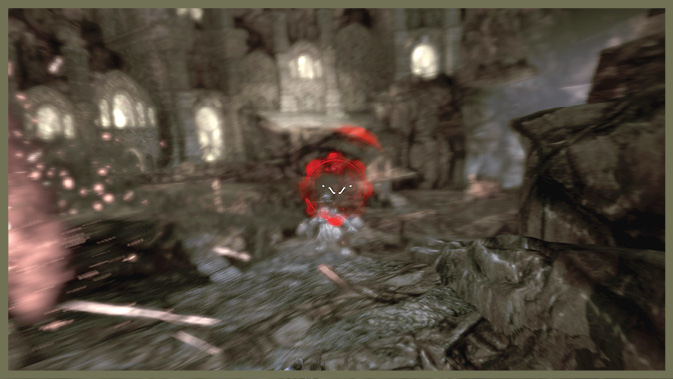
The first section of Escape gives you a chance to get your bearings on your new Reaver mount. You can face forward and fire powerful rockets to destroy turrets and damage the Brumaks taking shots at you. You can also tap the X Button to reverse your facing and fire the chaingun behind you. If you turn to face from front to back (or vice versa), you automatically switch weapons; pressing X is just a shortcut to instantly change sides.
The targets marked on the map are major danger points. Take out the three turrets and repeatedly shell the Brumaks as you make your way toward the second encounter.
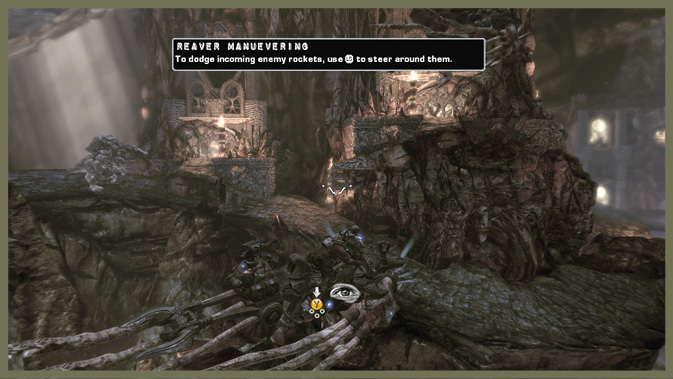
While you’re in the air, you don’t have a full range of motion. But you can dodge incoming rockets. On higher difficulties, you must do so, as you can get taken out very quickly.
Don’t worry about ammo or overheating with the front-mounted rockets. Cut loose and blast everything in sight as you fly through this level’s first portion.
Encounter 02
ENEMY PRESENCE: Drones, Grinder, Brumaks
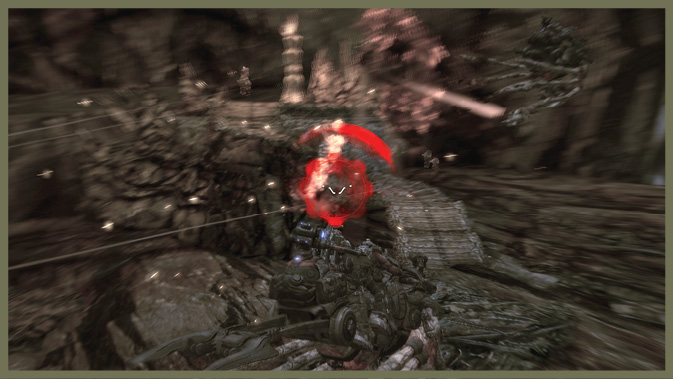
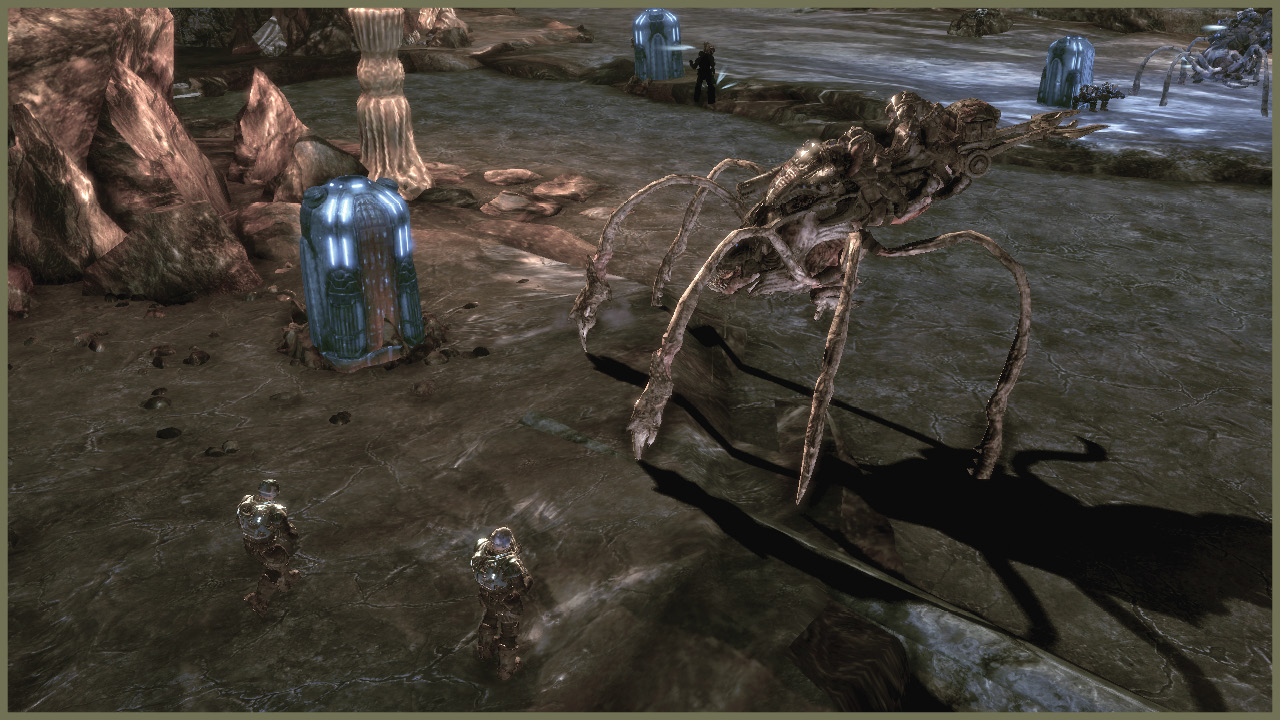
A group of embattled Gears draws Marcus’ attention as you fly toward the exit. Marcus refuses to leave without assisting them, so Delta quickly lands in the area. Target the Locust ground forces and pummel them with rockets until they’re pasted. Once you clear them out, a Brumak bursts through the wall just to your left. Hammer it with rockets until you down it.
When you’ve sufficiently relieved the Gears, Skorge appears on his mount, the Hydra. You quickly take to the air, flying into the tunnel that leads to the surface with Skorge in pursuit.
Encounter 03
ENEMY PRESENCE: Hydra
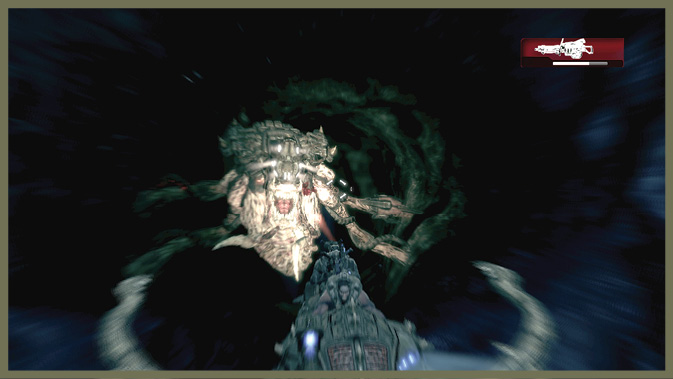
As you enter the dark, spiraling tunnel that leads back to the surface, Skorge catches up to you on the Hydra, his massive and mutated Reaver mount. You have to keep him at bay with the chaingun.
As he chases you, he periodically fires volleys of rockets in a spread pattern. Move to evade them—you have good mobility in the tunnel.
Occasionally, Skorge attacks with the turret mounted atop the Hydra. When he does, direct your fire at the turret to ward him off.
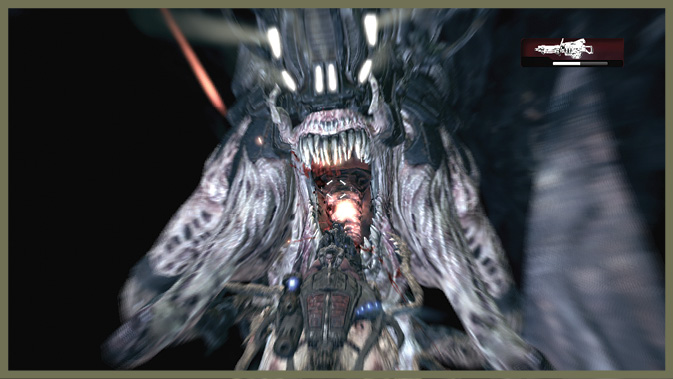
The final and most dangerous attack is the Hydra itself biting your Reaver with its massive jaws. When it comes at you with this attack, its mouth is open. Direct your chaingun fire into its gaping maw to shut it up and keep it away.
You can’t actually kill Skorge here, but you have to survive long enough to get through the tunnel. Once you reach the surface, the final phase of Escape begins.
Encounter 04
ENEMY PRESENCE: Reavers, Hydra
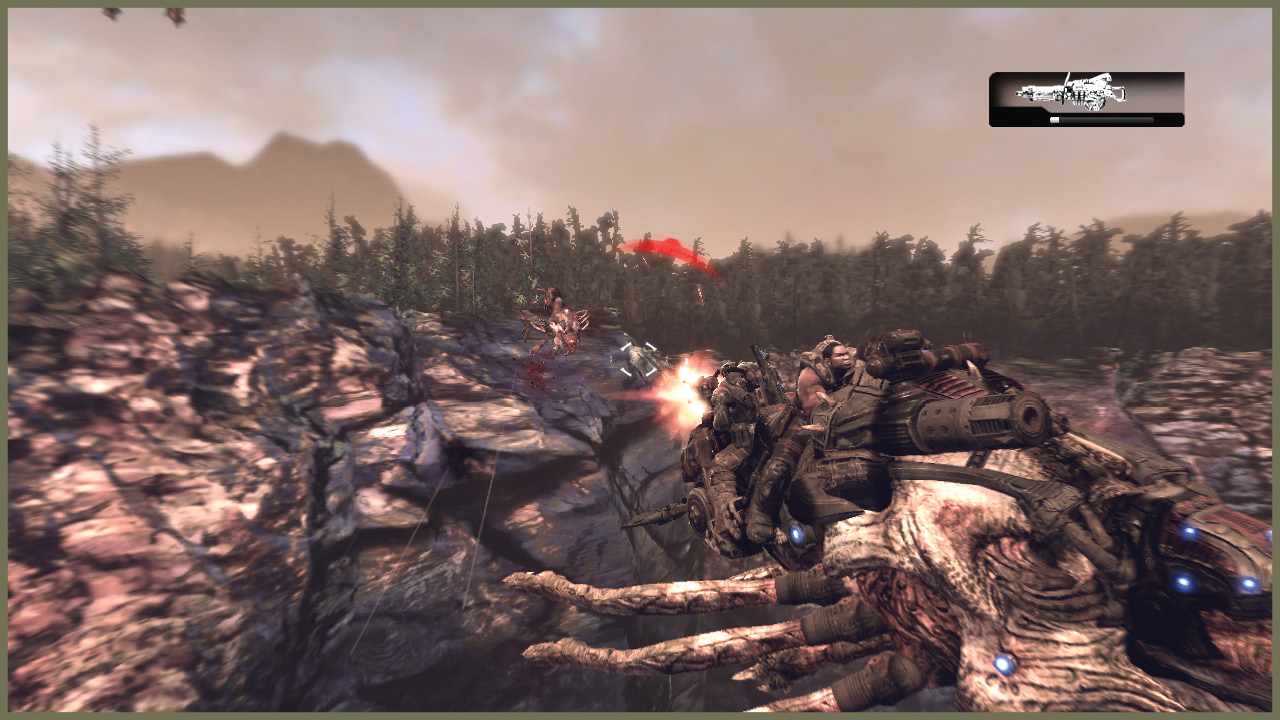
When you burst forth from the Hollow, packs of Locust Reavers rise from the forest below and pursue your hijacked mounts.
Mow down these enemy Reavers with the chaingun. Try to fire quickly and accurately at each Reaver group. Then fully cool the chaingun to prepare for another burst of fire as more Reavers emerge from the forest to pursue you.
After you fight your way past the Reaver patrols, Skorge dispenses with the cat-and-mouse tactics and comes in for the kill.
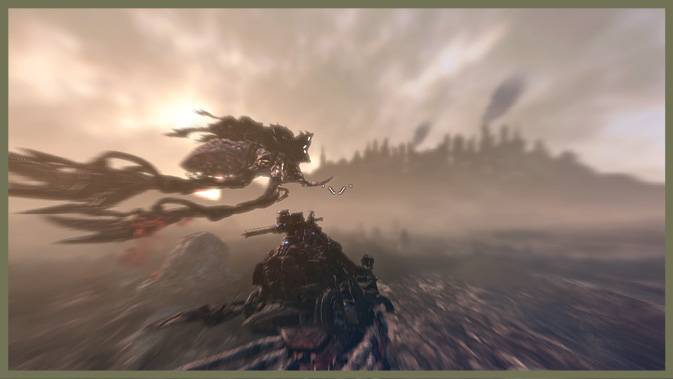
As Skorge attacks, the Hydra lunges from behind and grabs your Reaver with one of its powerful tentacles. Quickly shoot the tentacle right where it’s grabbing your Reaver to prevent the Hydra from taking a vicious bite out of your mount’s rear end.
When this gambit fails, Skorge backs off and then swoops to the front. Quickly switch sides to target him and wait. Dodge any rockets he fires at you. Then, when he lunges toward you, fire at the Hydra’s mouth. If you fire too soon, you can’t stop the rush. If you fire too late, the brutal lunge will hit you.
This pattern repeats until you finish off Skorge’s mount by blasting it enough times in the mouth. When this happens, the Hydra goes down in a spectacular crash, and the route is clear for Delta Squad to fly to Jacinto.