
Gears of War 2 Guide ACT I: Tip of the Spear
Chapter 4: The Big Push
Your crazy ride on Dizzy’s Rig continues, and Locust presence only intensifies as you draw closer to Landown. Hold on for the ride—you’re not in the clear just yet.
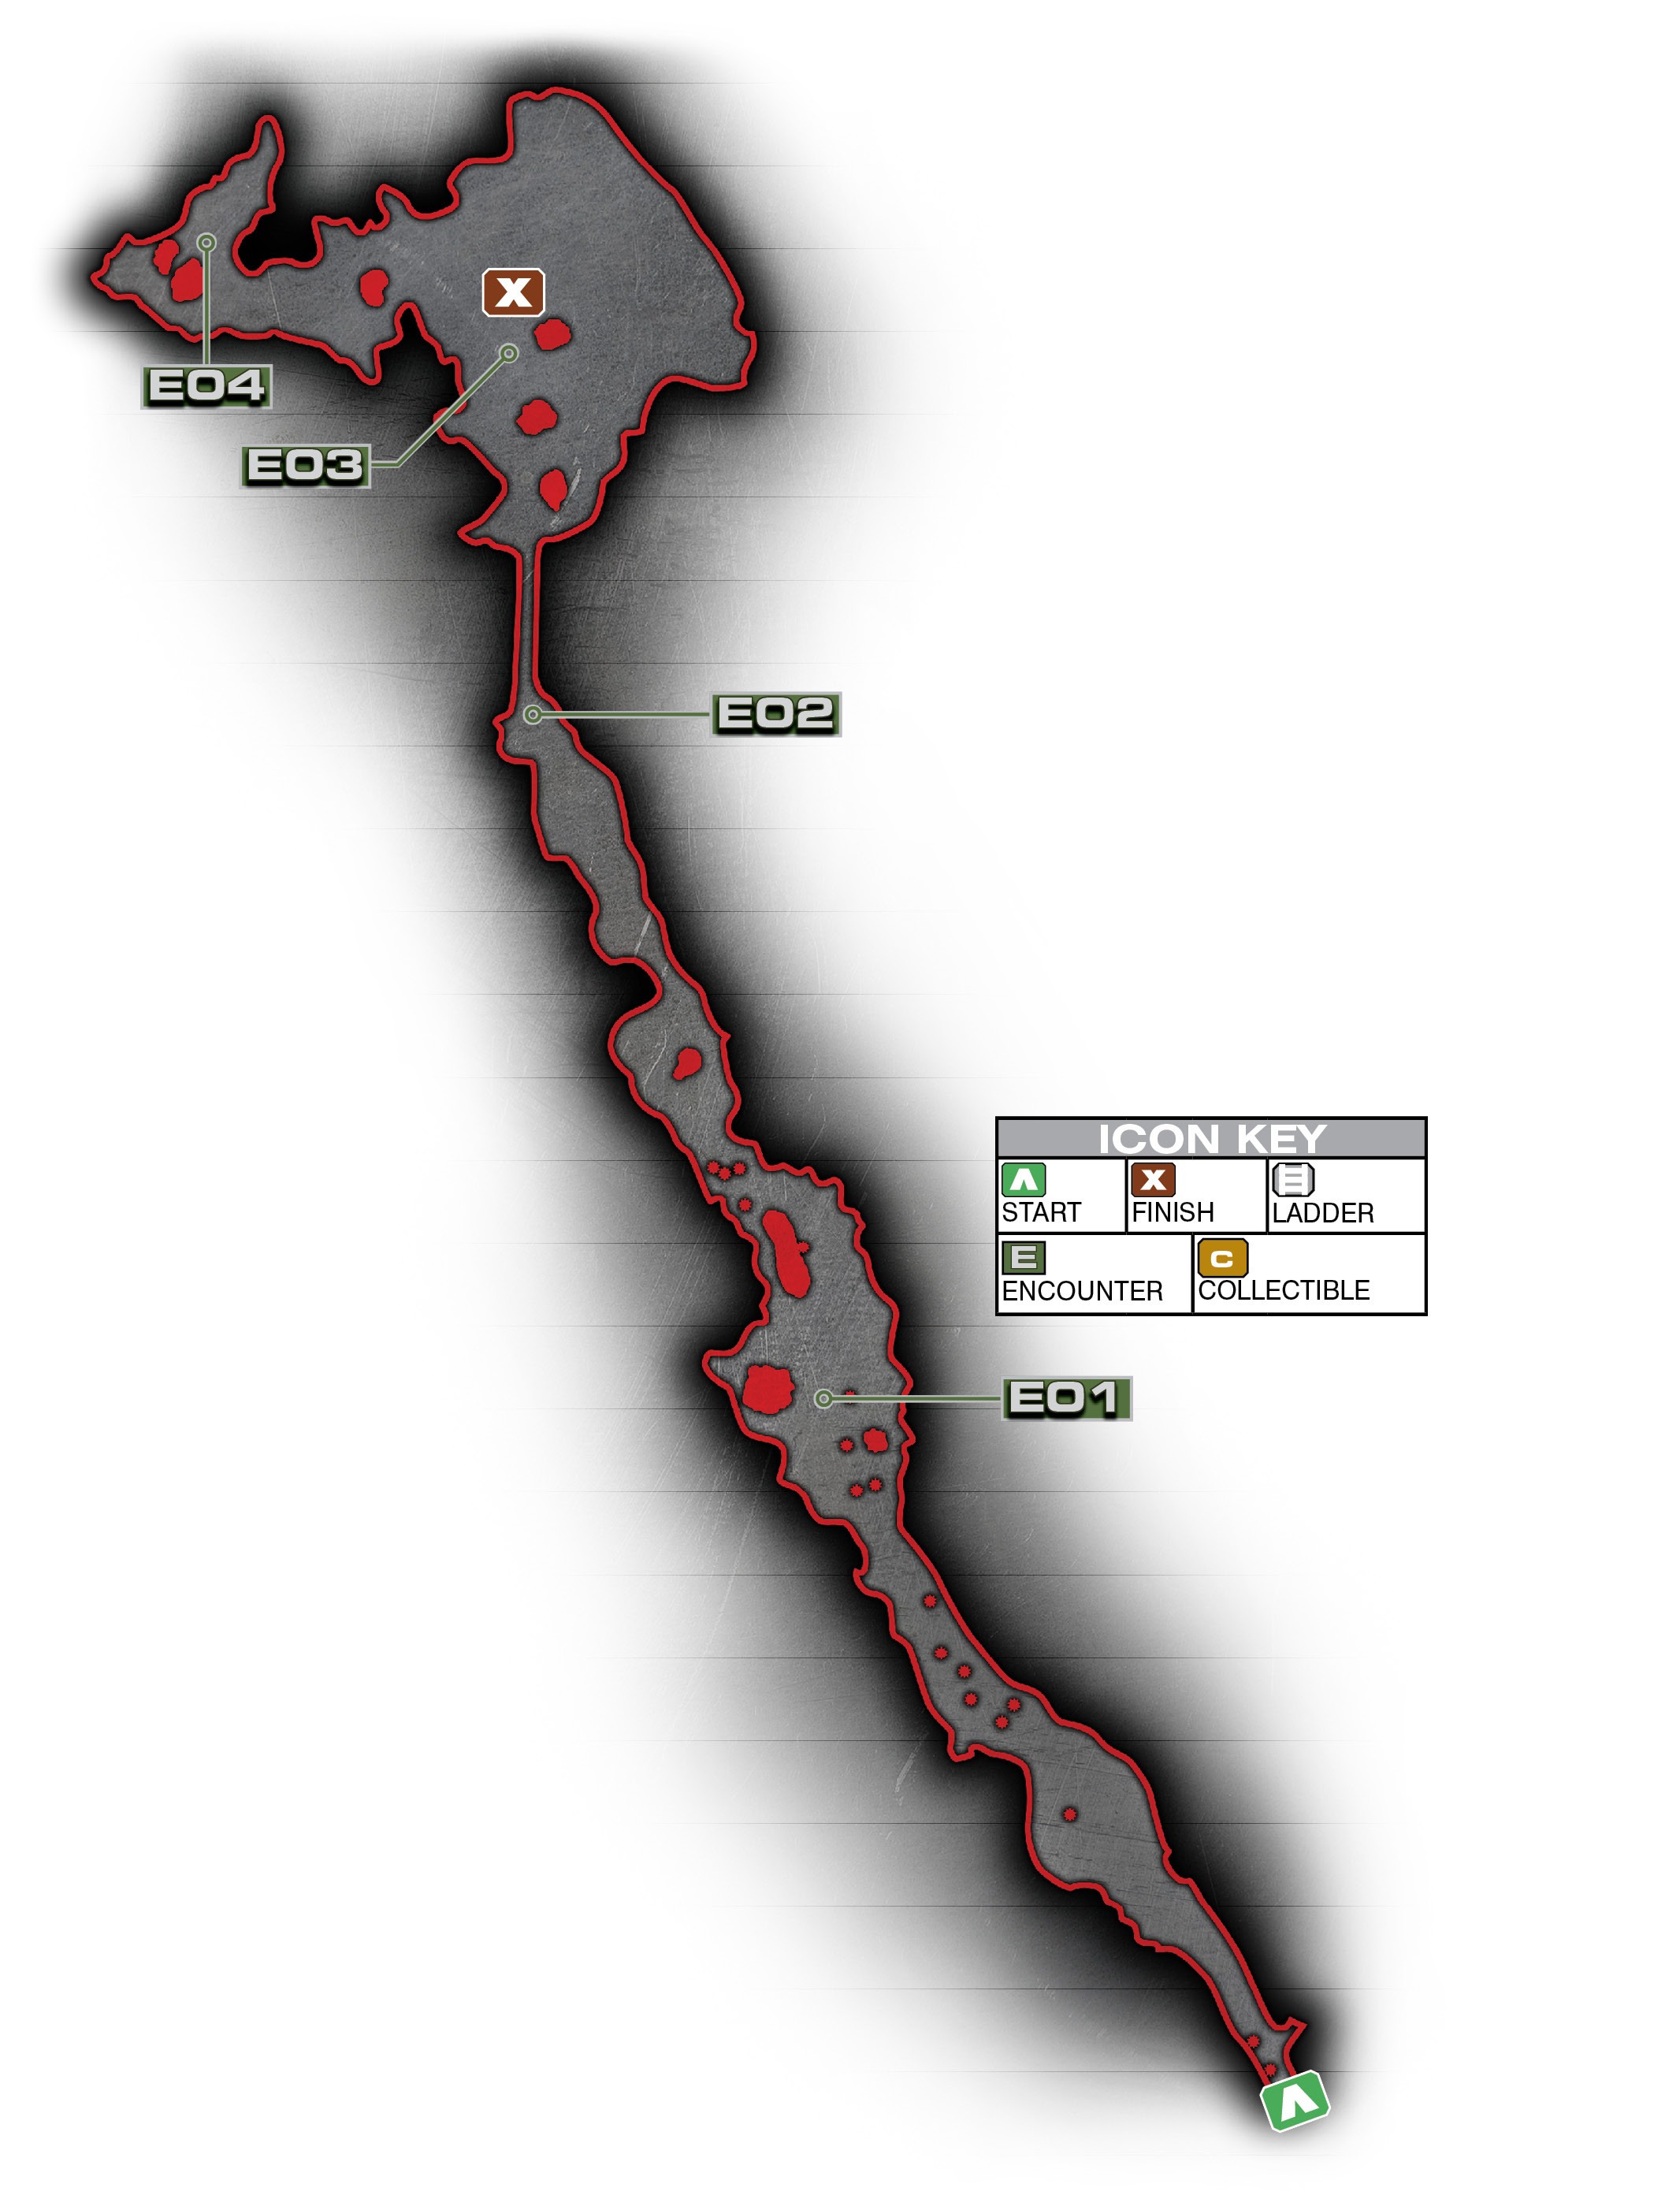
Encounter 01
ENEMY PRESENCE: Drones, Brumak
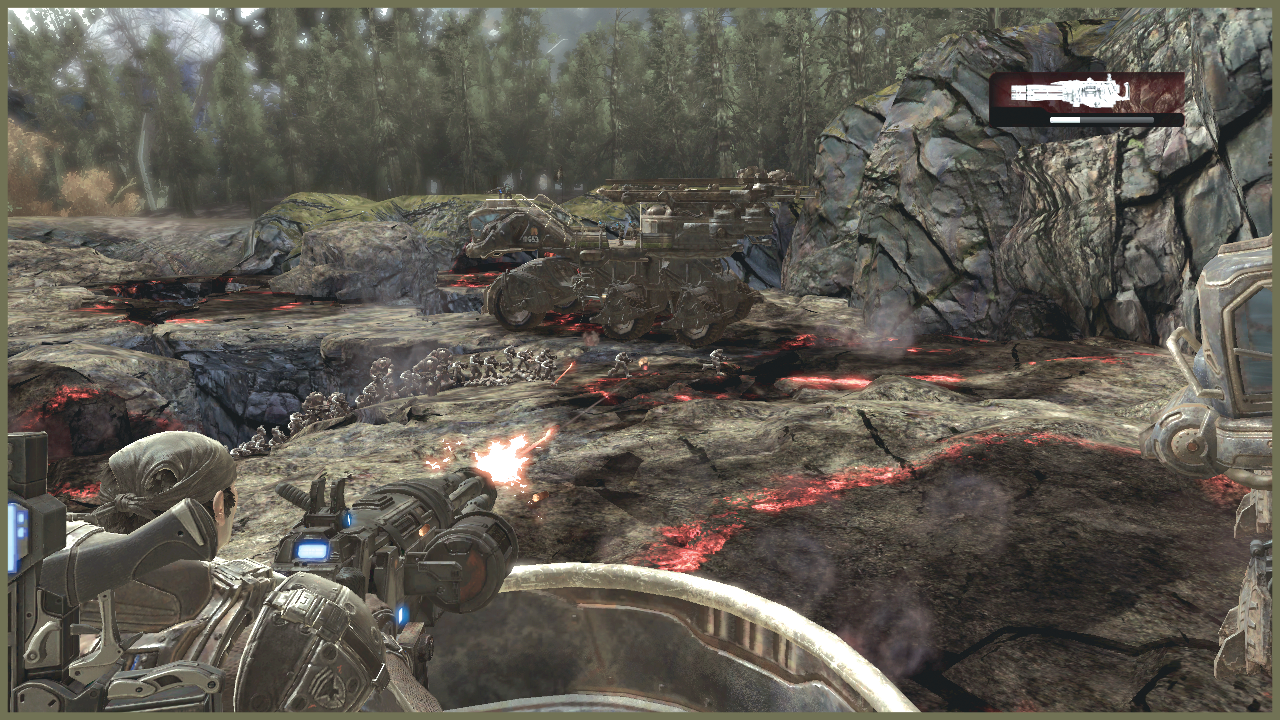
After you remount the Rig, Dizzy takes off from the site of the ambush, but it quickly becomes clear that you aren’t free of the Locust threat. Swarms of Drones pour out of holes in the ground, and a massive Brumak stomps by.
The Drones begin to assault a nearby Rig, quickly grappling aboard and taking over the vehicle. There’s nothing you can do to prevent them from stealing the Rig. However, you do have to deal with them once they hijack the Rig and use it to attack Dizzy’s ride.
As the commandeered Rig comes within shooting distance, take cover on the sides to hide out from any Drones firing at you from the opposing Rig.
Encounter 02
ENEMY PRESENCE: Drones
The fight with the hijacked Rig takes on new urgency as you draw close to a narrow bridge across a chasm in the road. You have to make sure that your Rig is the one that gets on the bridge—there isn’t room for two.
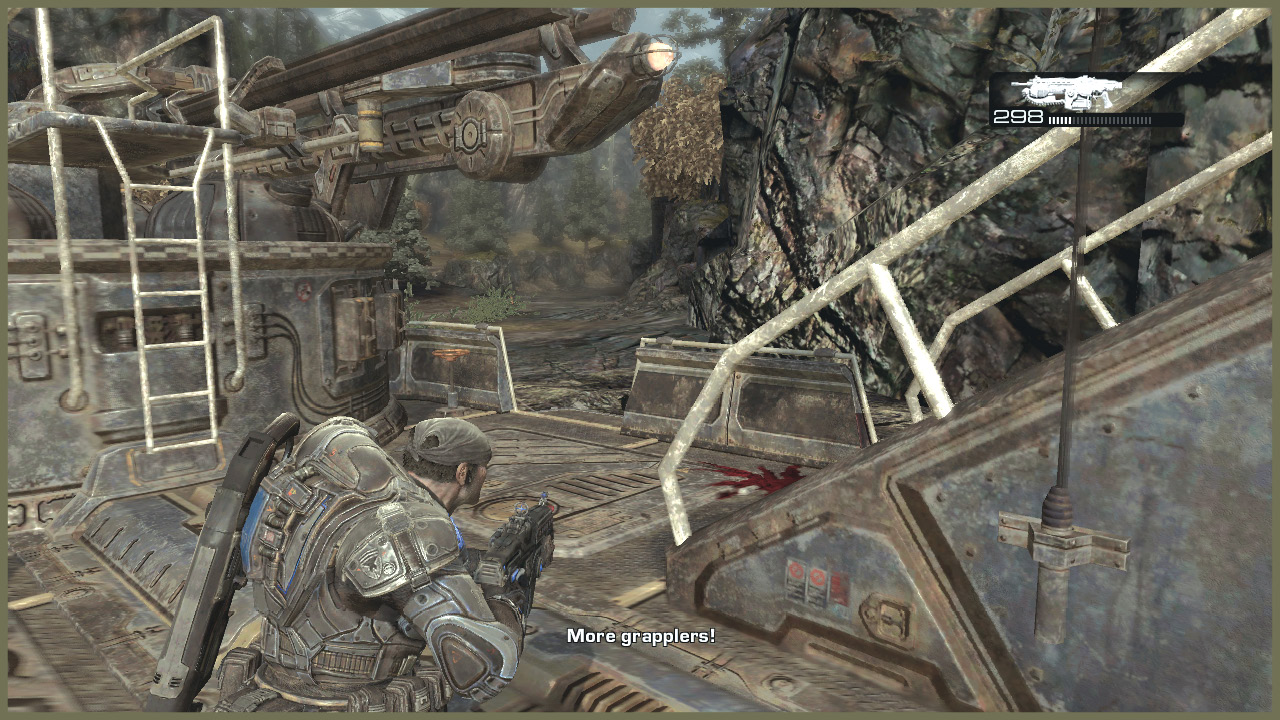
As you get close to the bridge, two Drones leap down from a ledge onto the Rig. Then two grapplers climb up the sides. If you’re quick, you may be able to take out the grappling hooks before the Drones can even climb up.
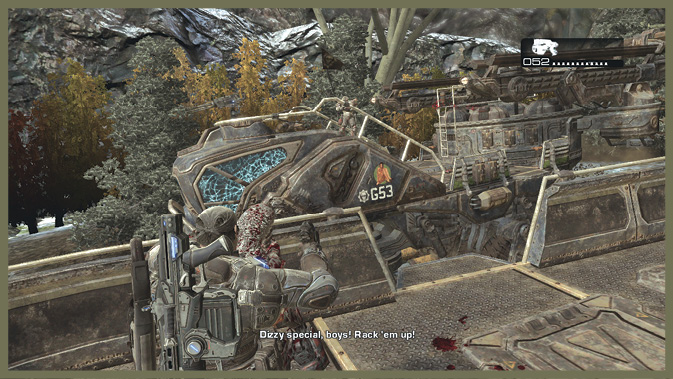
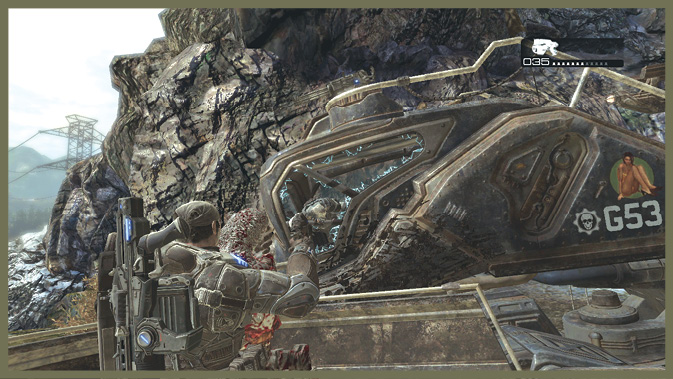
After you deal with the grapplers, Dizzy gives you a chance to take out the other Rig permanently. The Drone driver in the Rig is in a bulletproof chamber at the Rig’s front, but Dizzy rams the hijacked Rig repeatedly, breaking the glass.
Shoot the Drone driver quickly. Once you take him down, the Locust-held Rig plunges into the chasm, while your ride makes it safely across. You must kill the enemy driver before you reach the bridge, or your Rig will be the one that falls into the pit.
Encounter 03
ENEMY PRESENCE: Drones, Brumak, Corpsers
As you near Landown, the Locust resistance intensifies, and you see the truly dangerous opposition emerge. Brumaks and even a Corpser assault the convoy as it approaches the city.
You can’t affect the outcome of the battles that wage here. However, you can kill a Brumak about halfway along the ride. Get on the turret and attack it aggressively, as it shoots down a Raven.
Also about midway to Landown, a pair of grappler Drones attacks your Rig. If you’re ready for them, you may be able to shoot them off the side of your Rig before they can even board it. If not, a chainsaw to the face also works well.
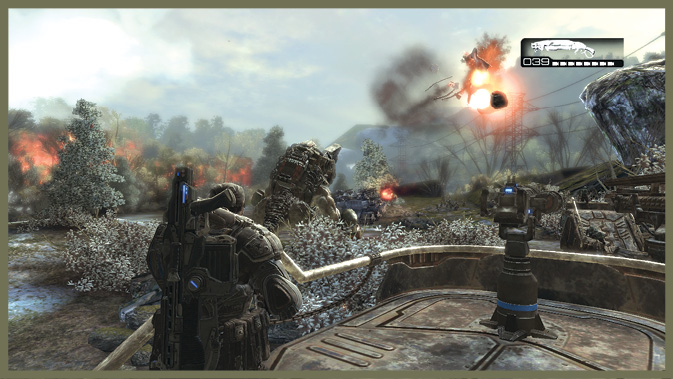
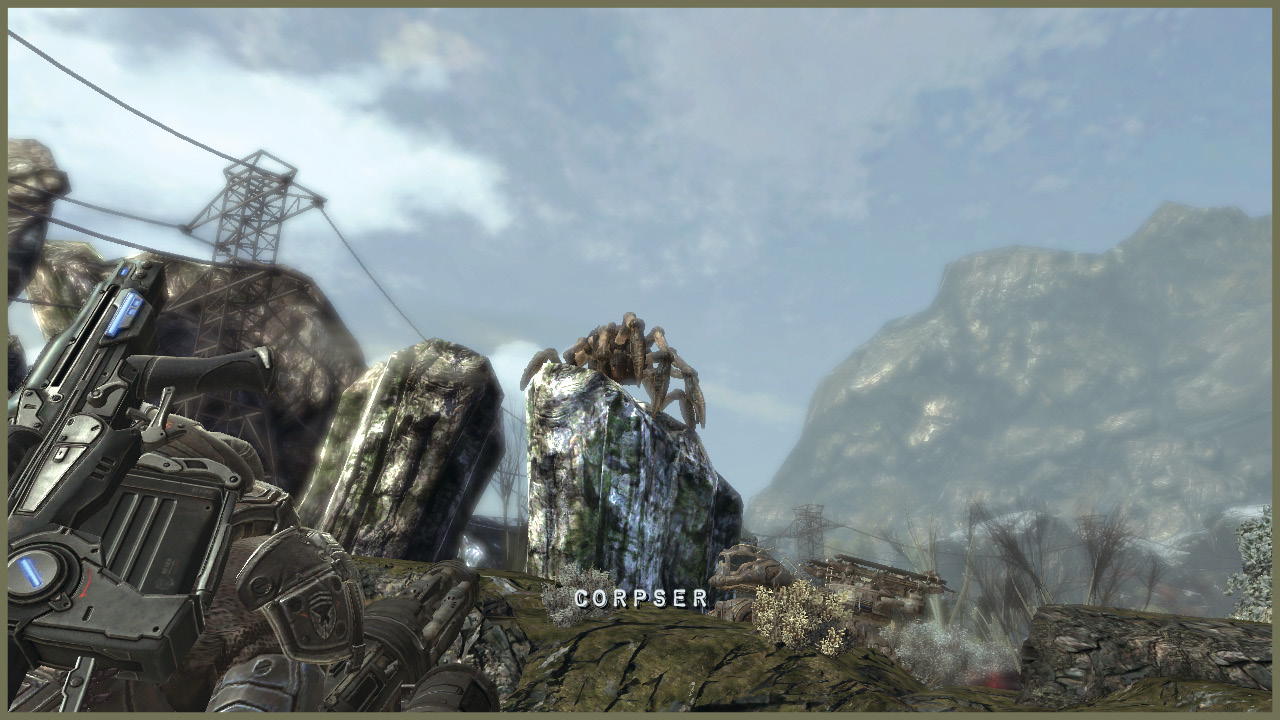
As you reach the end of the ride, a Corpser attacks the convoy, leaping on a Rig from above and sinking it. You can’t help that Rig, but you have a bigger and nastier problem to handle, as a lone Brumak comes into view in your Rig’s path.
Encounter 04
ENEMY PRESENCE: Brumak
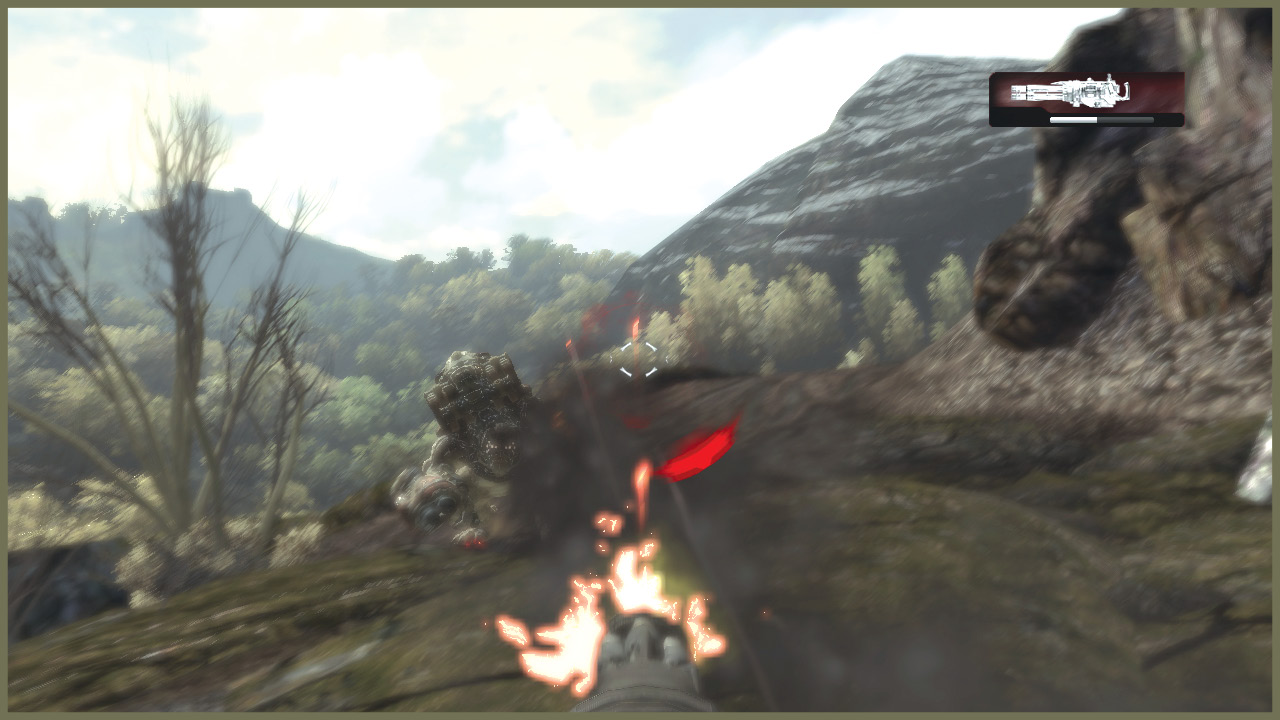
The last danger you must deal with is a Brumak directly in your path. Man the turret on the Rig and mow it down. It’s quickest to simply aim for center mass and unload as quickly as possible, rather than trying to aim for its arms and possibly missing while it bombards the Rig.
Once the Brumak is eliminated, the path to Landown is clear, and Dizzy takes Delta Squad in.
|
 Escort Service