
Gears of War 2 Guide ACT I: Tip of the Spear
Chapter 3: Rolling Thunder
A massive Gear assault force has been assembled, as the COG plans to strike back against the Locust directly in their underground home.
Gears are to be dropped into the hollow in Grindlifts, which are tunneling ‘drop pods’ that can tear through the surface crust and deposit forces directly into the heart of the Locust-held underworld.
To do so, the attack must breach Locust defenses around the town of Landown. This was one of the towns taken over early in the war against the Locust, and has long been under their control.
Delta Squad begins the journey on the rig known as “Betty,” piloted by Dizzy. You see a couple familiar faces, Cole and Baird, briefly during the long ride to Landown.
Most of this mission takes place on the Rig itself. You’ll have to handle the Locust threats that periodically arise.
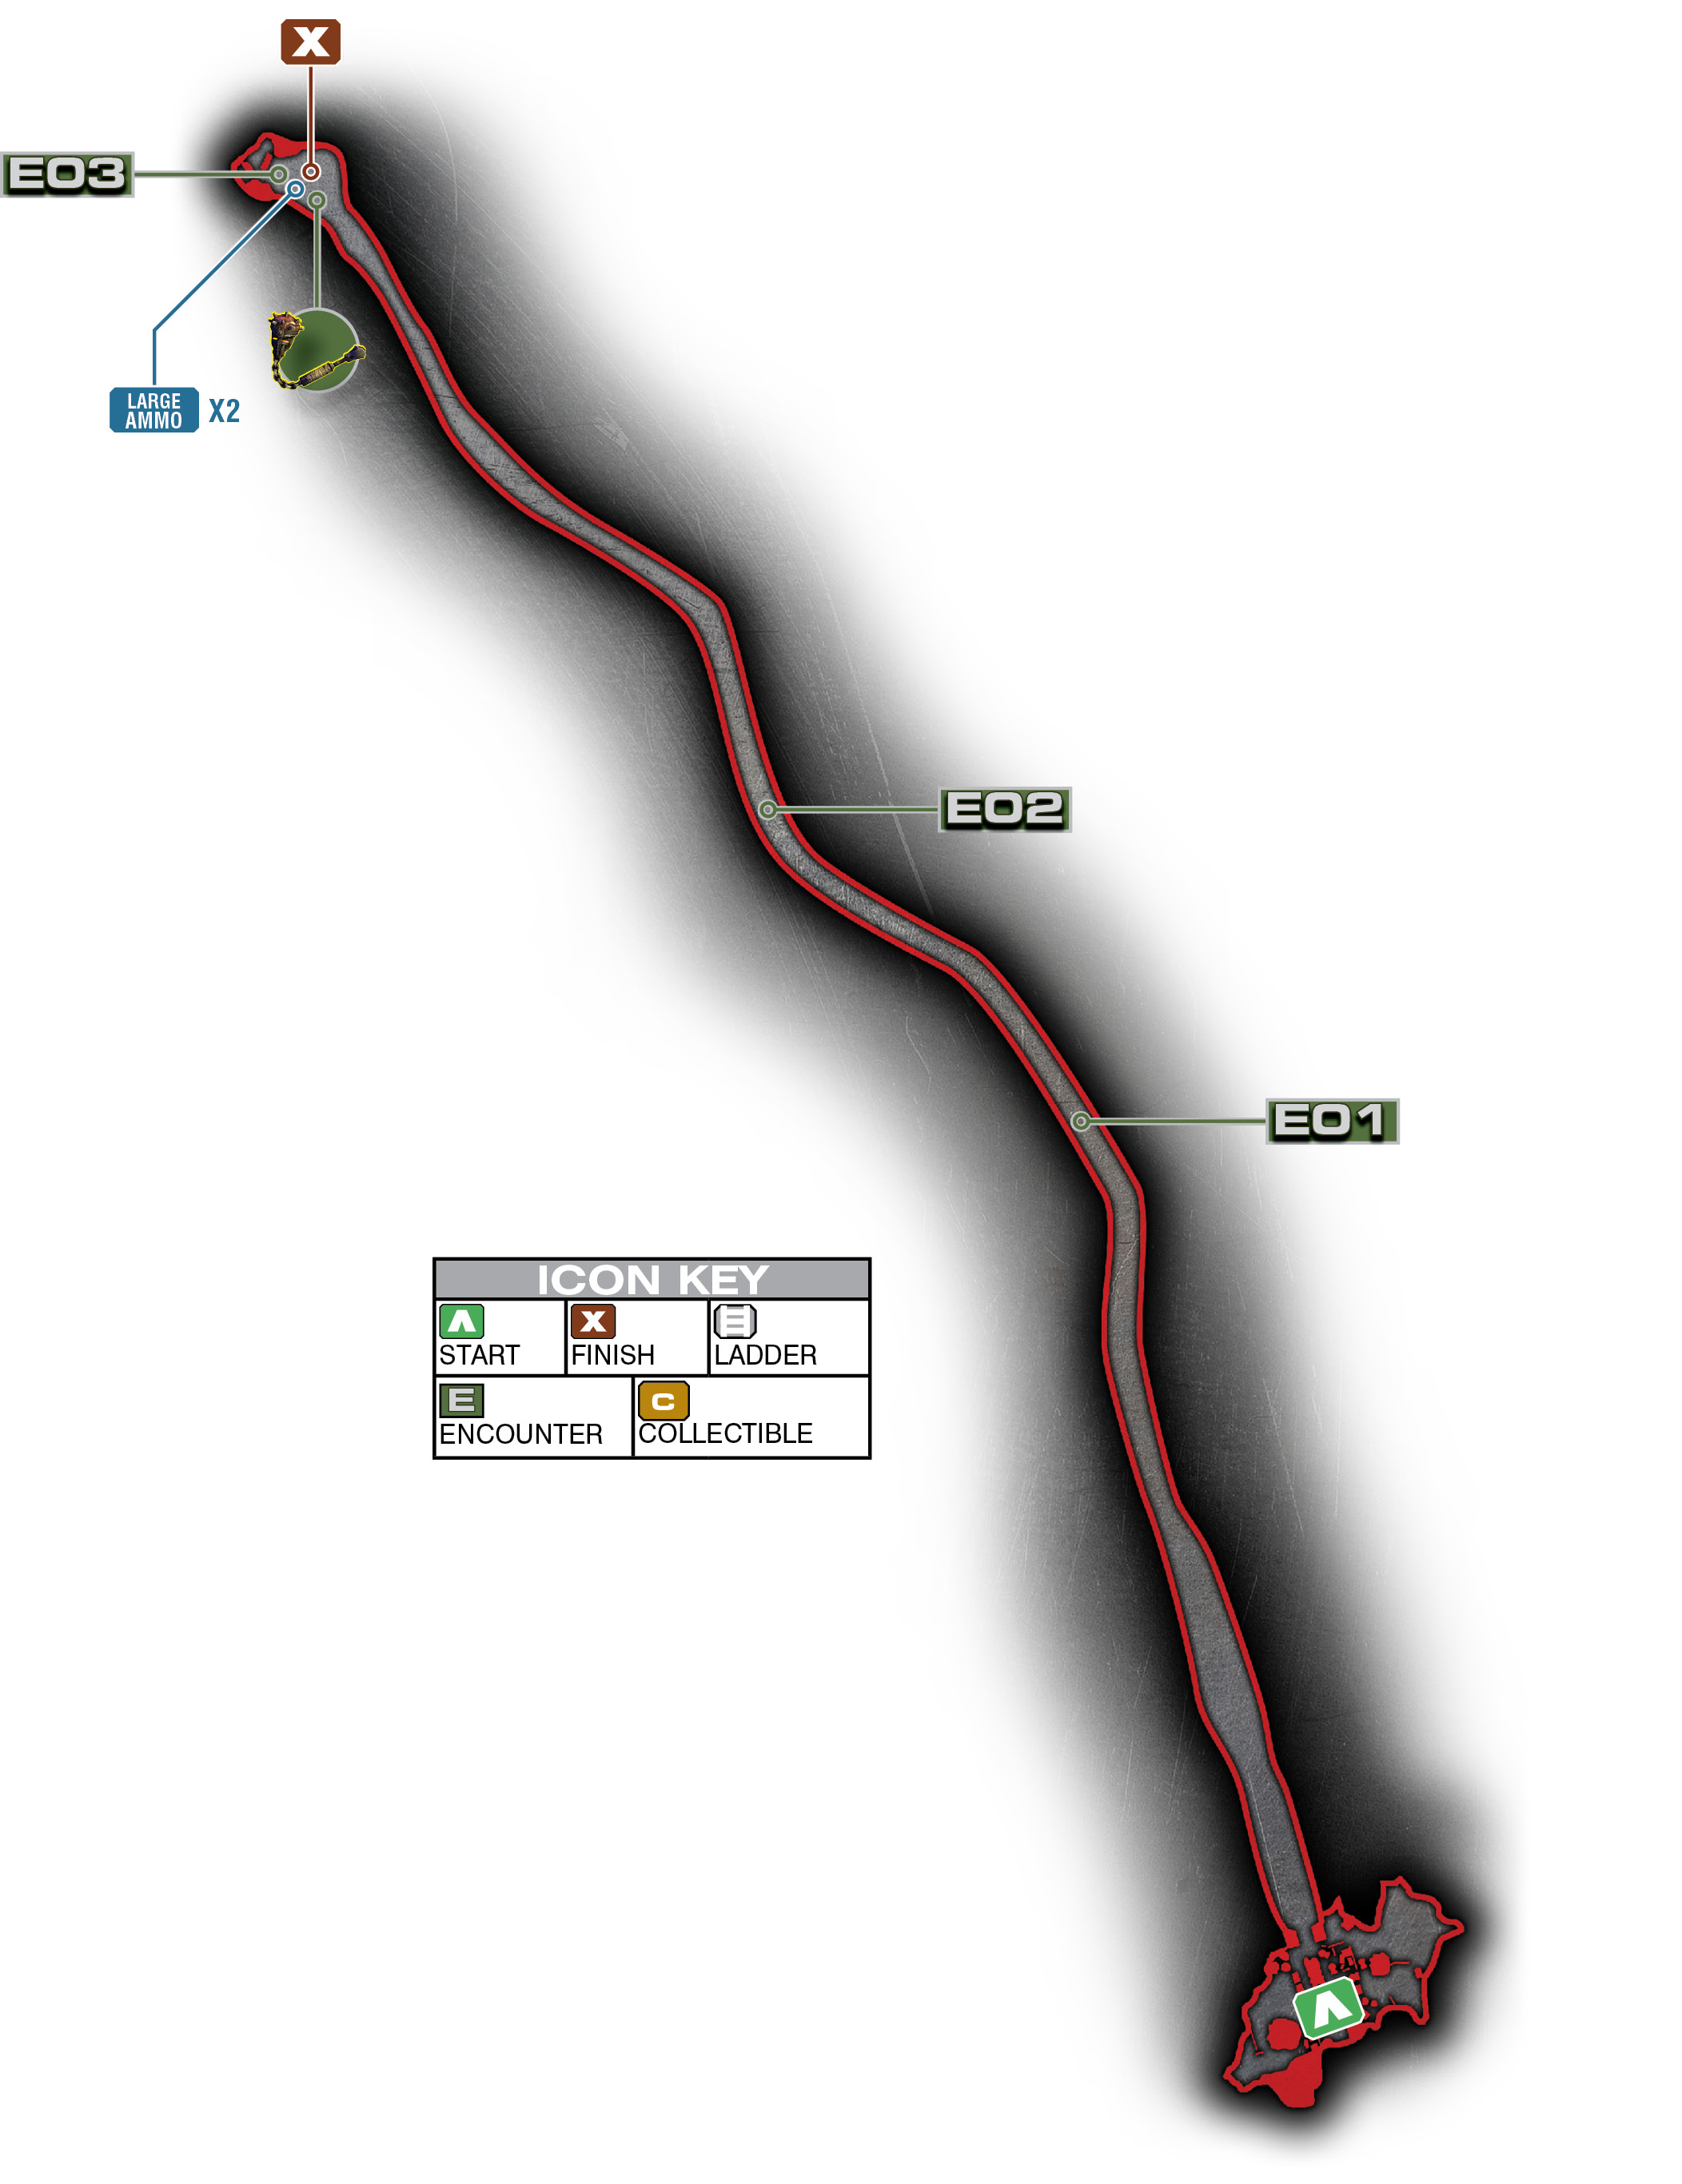
Encounter 01
ENEMY PRESENCE: Nemacyst Mortars
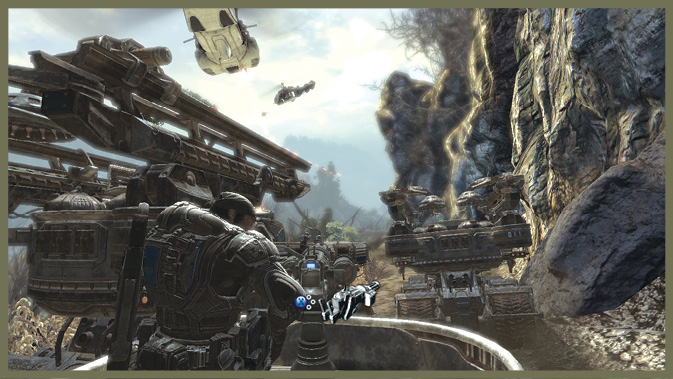
A massive bombardment begins, with Seeders raining Nemacyst mortars down on the convoy. Ravens, Rigs, and Centaurs are all taken down, and even part of the canyon wall comes crashing down in front of the Rig on which Delta is stationed.
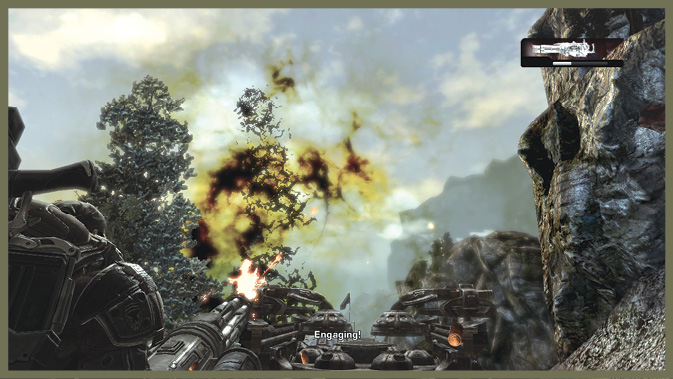
Get up on the turret mounted at the top of the Rig and prepare for directed Nemacyst bombardment. You need to shoot down the Nemacyst before they can critically damage the Rig. If you hold them off long enough, friendly Ravens silence the bombardment by killing off the Seeders in the distance.
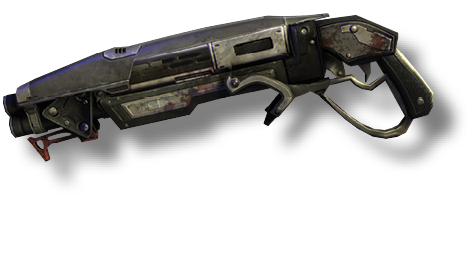 Shotgun
A typical secondary weapon for the Gears, the Shotgun is ideal for close-quarters combat, and it’s handy against the Wretches that so often accompany Locust Drone assaults.
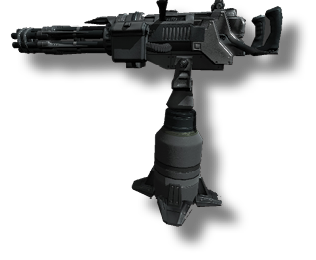 Turret
The turret mounted on the Rig is functionally identical to other COG turrets and Locust Troika that you encounter throughout the campaign.
A very powerful weapon, it does not need to be reloaded, but you can cool the barrel by holding the reload button to prevent it from overheating. This allows to you fire in long, sustained bursts punctuated by occasional cooling.
The turrets are powerful enough to be helpful against even heavy Locust forces, and they are absolutely lethal against normal Drone ground forces.
Encounter 02
ENEMY PRESENCE: Reavers
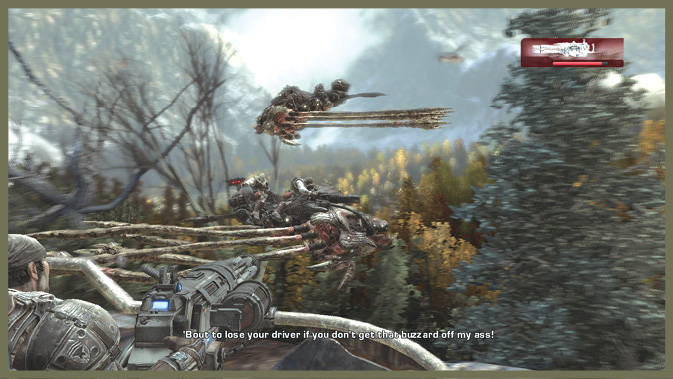
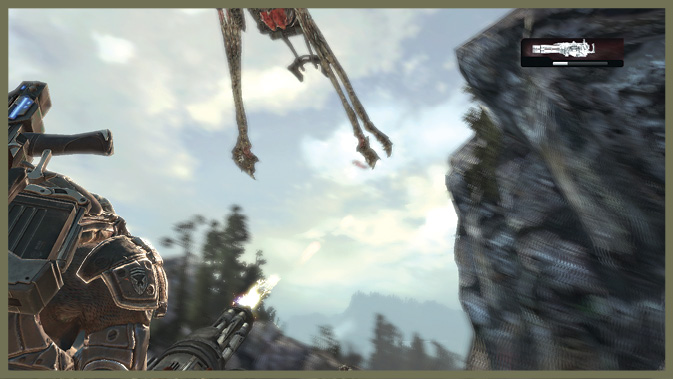
The next threat is a wave of Reavers that assaults the Rig. Again, stay up on the turret and hose down any Reavers that get too close with a spray of turret fire.
To get past this ambush, you need to fend off only a single Reaver that pulls up on the left. Just make sure you quickly dispatch it as it draws near. You can use the turret to take it down quickly.
Encounter 03
ENEMY PRESENCE: Drones
As the Rig reaches the end of the narrow trail along the canyon ridgeline, the brakes give out. The Rig careens to a halt, damaged and smoking. Dizzy quickly gets out to commence repairs, but you must hold off the Locust while he does so.
There are two full crates of ammo and some Frag Grenades off to the left near Collectible #9. Grab the goods and then make your way over to the cover at the fallen pillars.
A Locust Emergence Hole pops up behind the cover. If you want to stymie the attack completely, you can move up to the second layer of cover (closest to the E-Hole) and toss in a grenade. If not, stay back behind cover and pick off the Drones as they emerge.
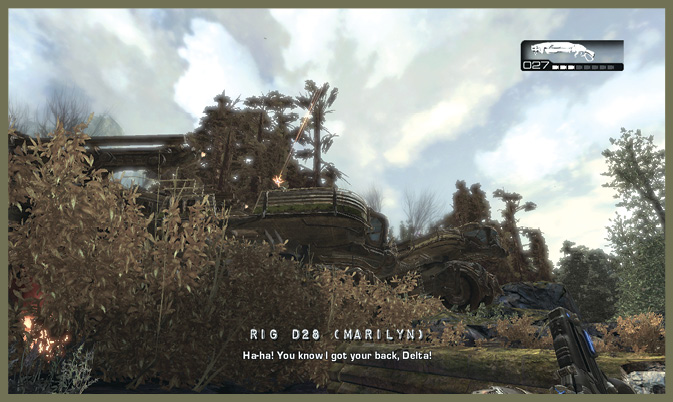
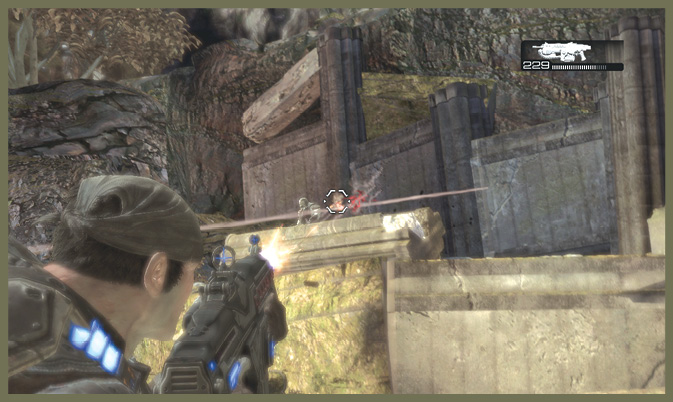
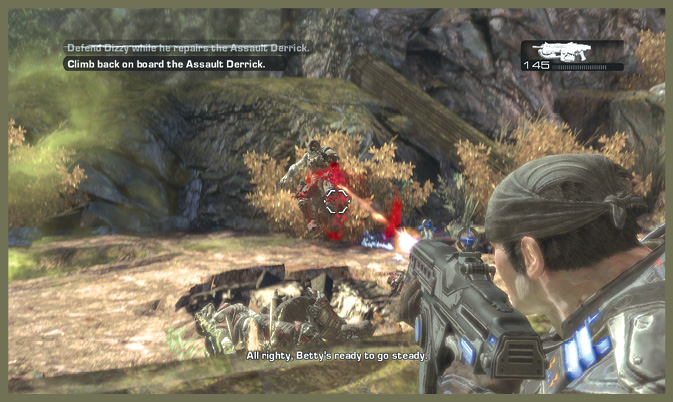
Once you defeat the first wave, a second Emergence Hole opens behind the first. Again, if you have a grenade on hand, you may be able to shut the hole before any more grubs can get out of it.
After a short time, a Reaver flies past, causing a standing pillar to topple. This creates more cover, allowing you to deal with the enemies that flank you up high on the cliff to the right.
Friendly Rigs show up during the fight, and you get covering fire from Baird and Cole, which helps to take off the heat. More Nemacyst Mortars begin to land, and Locust emerge on the ridge above you. Hold out as long as you can. As soon as Dizzy says the Rig is good to go, retreat to the ladder to get out of here!