Gears of War 2 Guide ACT I: Tip of the Spear
Chapter 5: Roadblocks
As the COG forces move into Landown, an attack by Locust Tickers cripples Tai’s Rig and threatens your own.
Your team is forced to disembark and clear the path on the ground so that Dizzy can move the Rig and its cargo of Grindlifts into position.
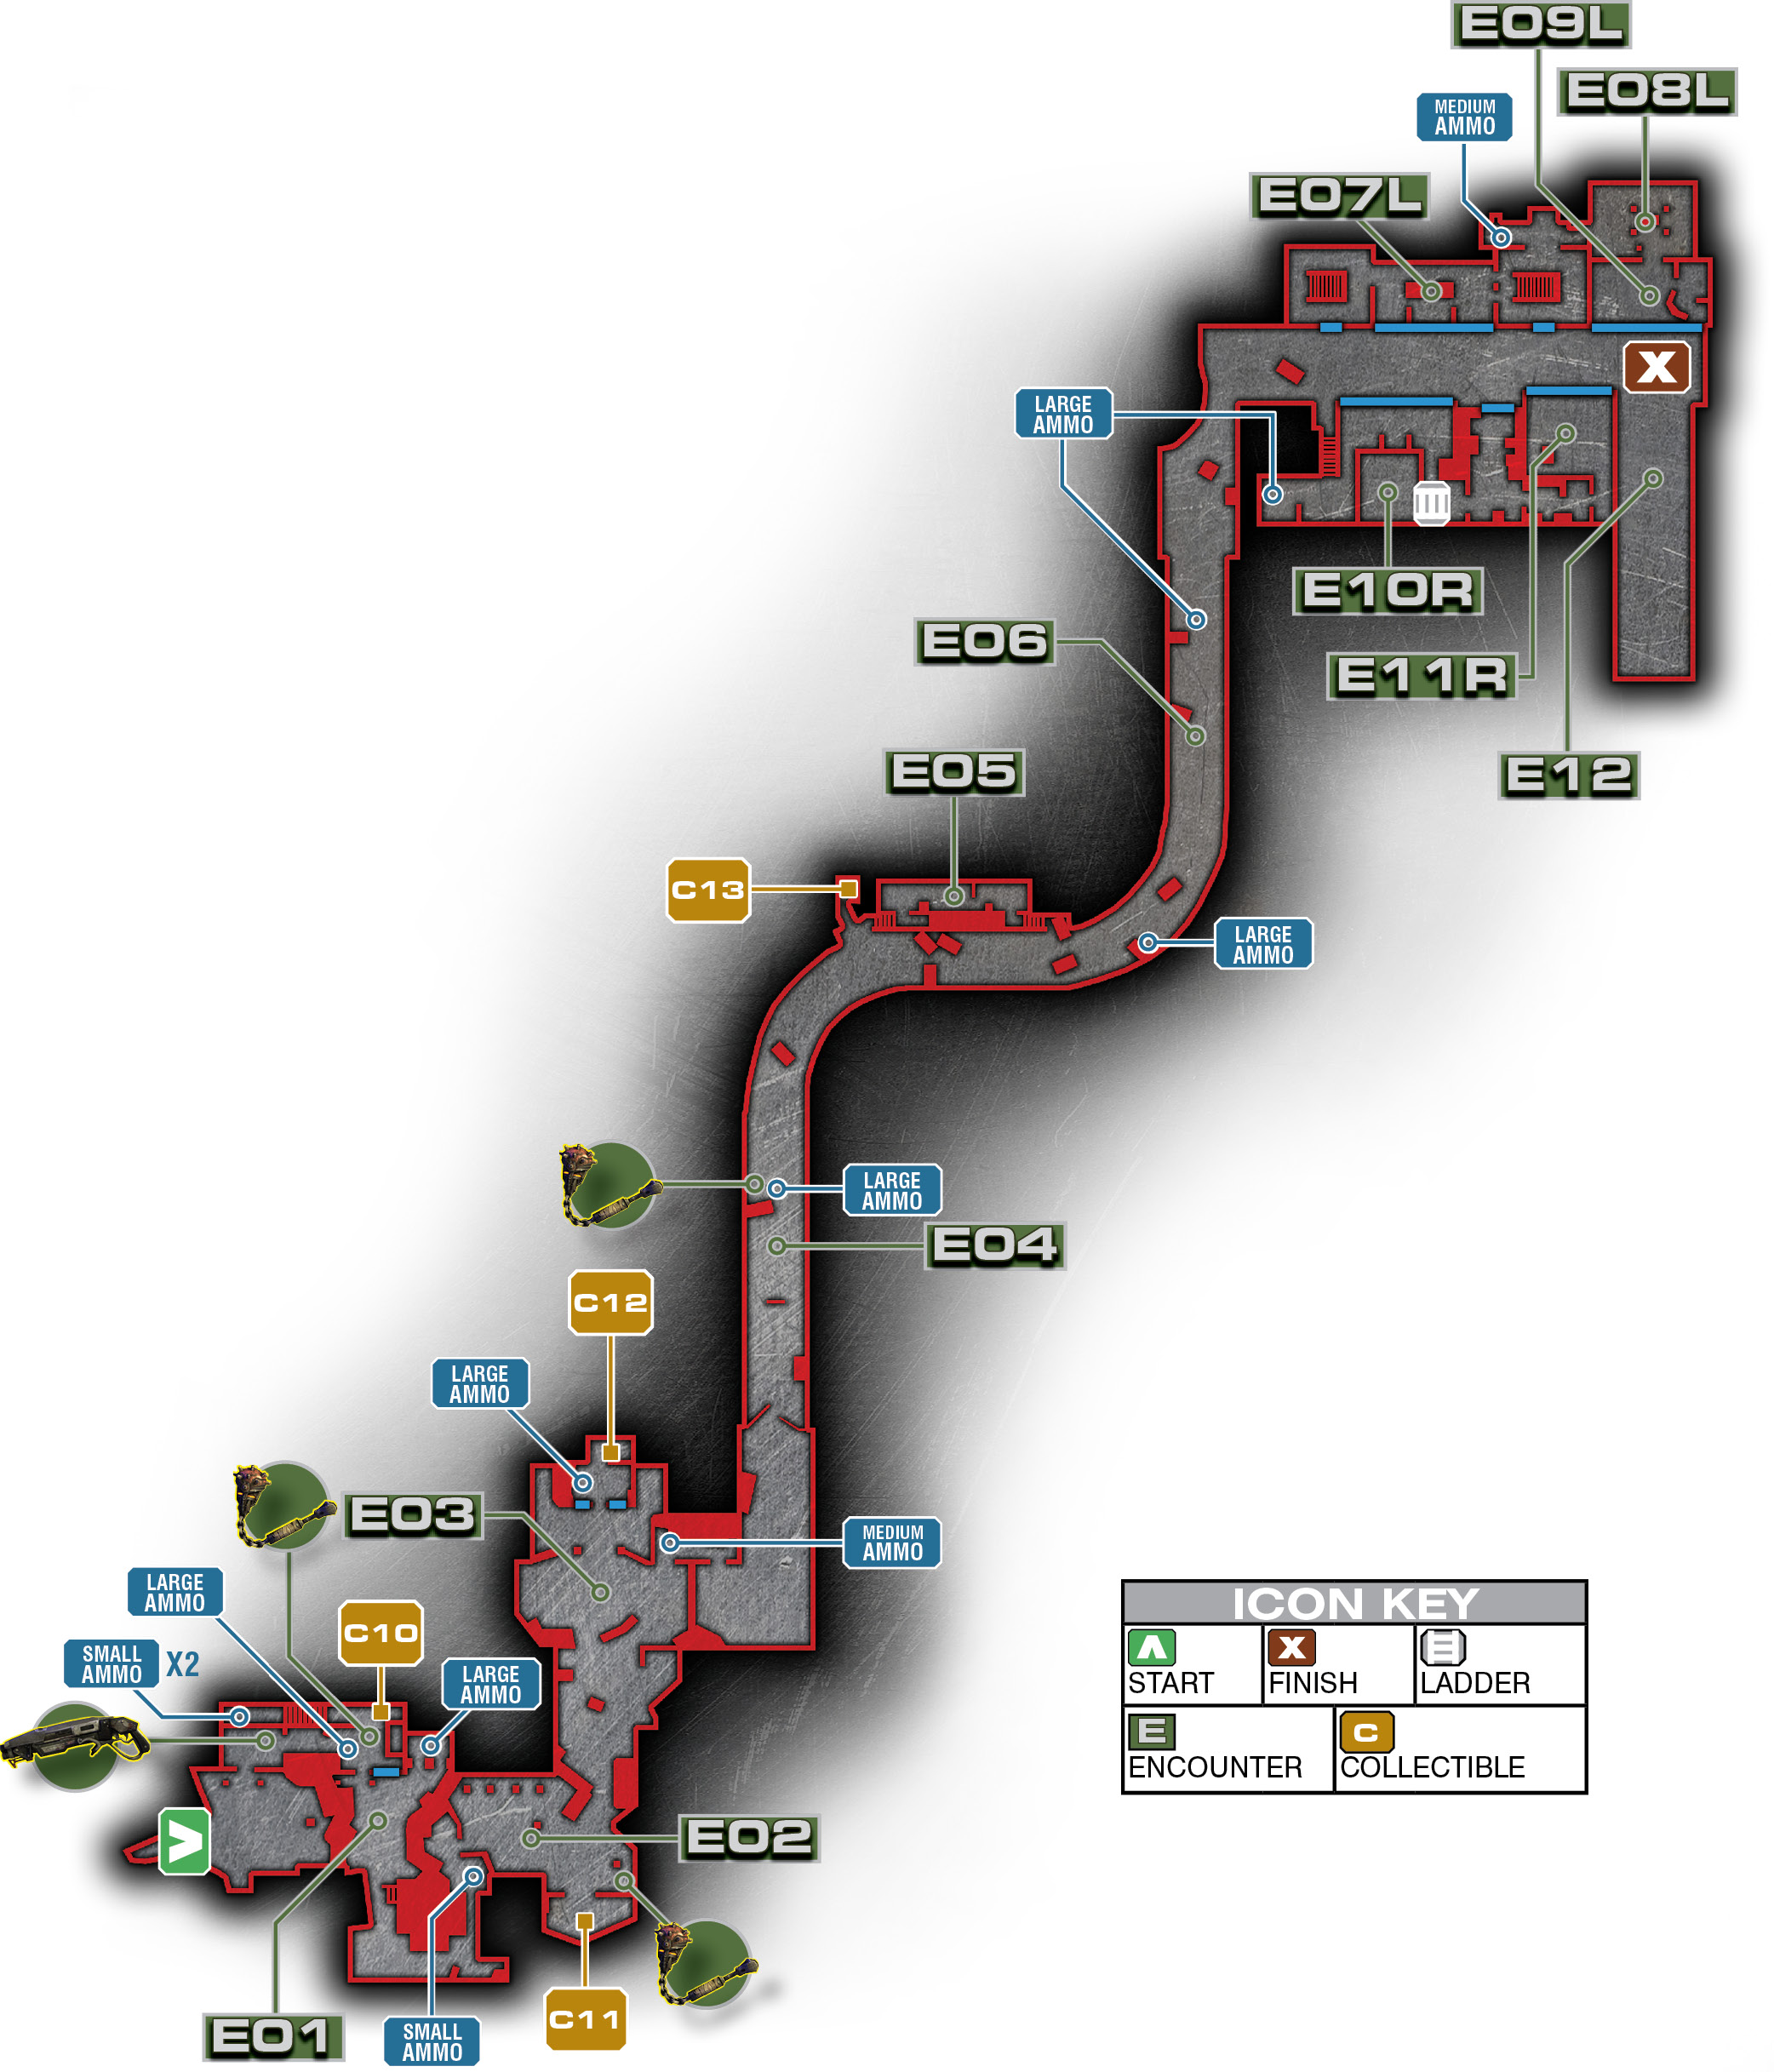
Encounter 01
ENEMY PRESENCE: Tickers
As your team moves into the ruined streets of Landown, Tai joins your squad from the wrecked remnants of his Rig…and his squad.
The town isn’t heavily fortified, but Locust threats are definitely present. Make your way into the building across from your start position and check upstairs for a collectible. Then head back downstairs and proceed through the building to get into the open street outside.
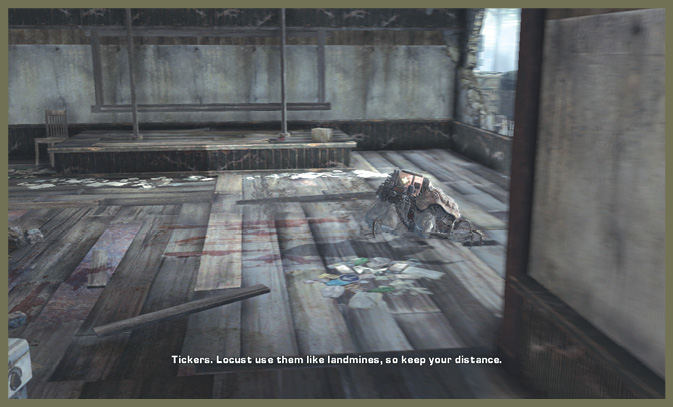
As you go through the bottom floor, you catch your first glimpse of the Ticker. These agile Locust creatures have giant bombs strapped to their backs, and they are all too happy to rush your position and detonate.
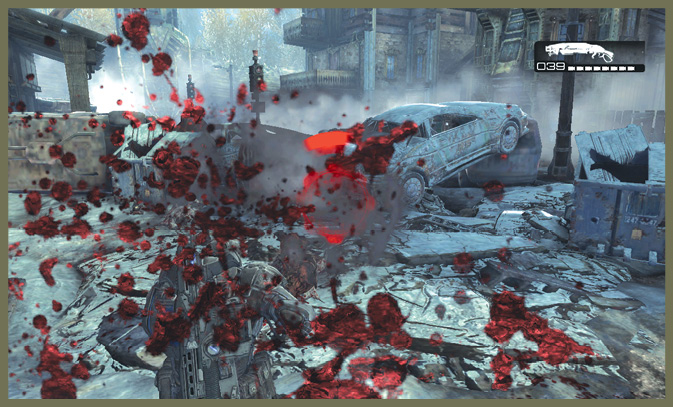
When you get out into the street, the Tickers attack in earnest. Use your Shotgun to take them out. If they get too close, either roll away or melee them to knock them back before they explode.
Once you clear out the bulk of the Ticker pack, a final Ticker blasts through a fence at the other side of the street. Take it out, and then go through the fence to reach the next part of the street.
Encounter 02
ENEMY PRESENCE: Tickers
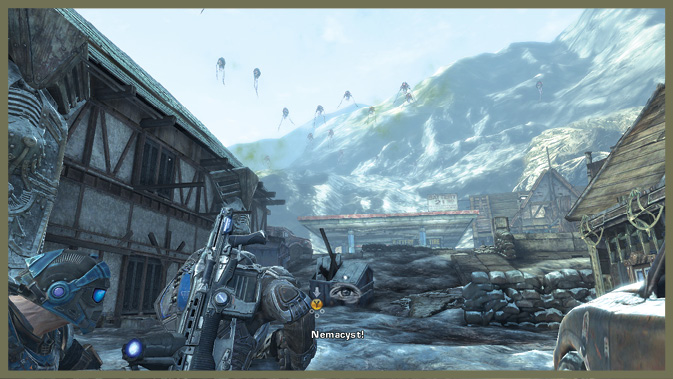
After you walk through the back alley and emerge onto the next portion of the street, be ready for another Ticker assault. You may want to hang back and let your squad mates take the brunt of the attack while you pick off the Tickers from the relative safety of the alley.
Once you clear the street, Control warns that the sky is filled with Nemacyst, meaning you won’t be getting any air support. Grab the collectible over in the monument area, and then proceed up the street toward the gas station.
Encounter 03
ENEMY PRESENCE: Drones, Grenadiers, Troika
The Locust have fortified this position at a rundown Imulsion station. Several Drones and Grenadiers are present on the ground, and a pair of Troika—one to your left and one ahead, atop the station—present a serious threat.
Stay in cover as you approach the fueling station. If possible, blow up the pumps when the Locust on the ground are near them.
Partway through the battle, a Nemacyst Mortar barrage comes down. Then a friendly Raven shows up and mows down the Troika on the roof, eliminating that unpleasant threat.
Finally, Baird and Cole roll by in their Rig, and a friendly Centaur crushes the Troika flanking you on the left, safely clearing your path ahead.
Check inside the station for another collectible, and then hop over the fence to the right of the station and move on.
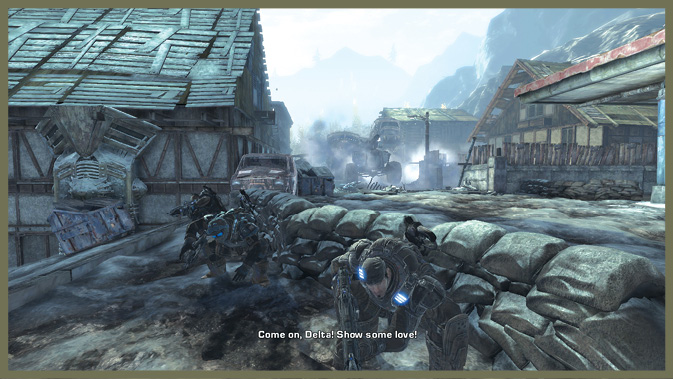
Encounter 04
ENEMY PRESENCE: Tickers
Past the fueling station, a dark and lengthy tunnel twists and turns toward your destination. Dizzy backs you up as you enter the tunnel, providing light from the Rig.
This is greatly needed, because shortly after you enter the tunnel, the Ticker parade begins. Small, organic bombs swarm out of the darkness to attack your squad.
Use the Shotgun, stay mobile, and use your teammates to sponge up some of the damage.
Remember to melee these creatures if they come up next to you and prepare to detonate.
Once you reach about halfway through the tunnel, a pile of wrecked cars blocks your path. Before you enter the side hall where Encounter 5 is located, be sure to check just before the stairs on the left for another small room containing a collectible.
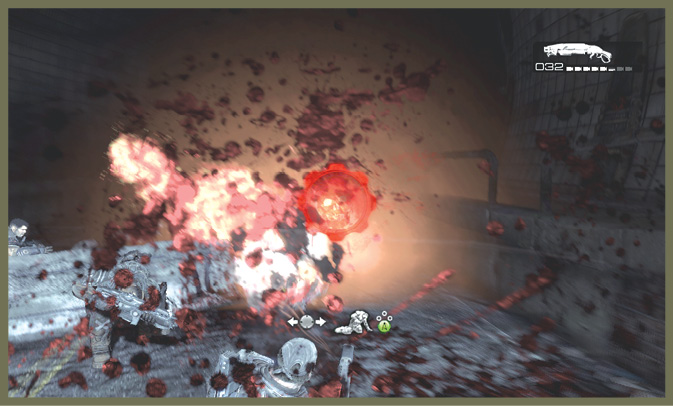
Encounter 05
ENEMY PRESENCE: Tickers
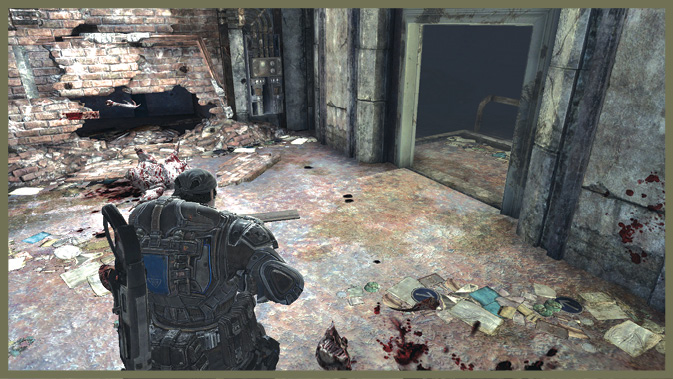
A pair of Tickers emerges from the hole in the wall at the end of this small hallway. Don’t go charging through unprepared!
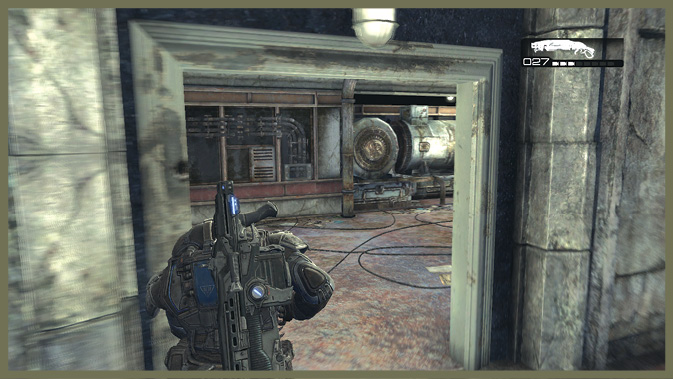
Encounter 06
ENEMY PRESENCE: Tickers, Reaver
Past the roadblock, more Tickers emerge from the darkness and attack your squad. Employ the same tactics that you’ve used to get this far, and you should soon see the light of day beyond the tunnel.
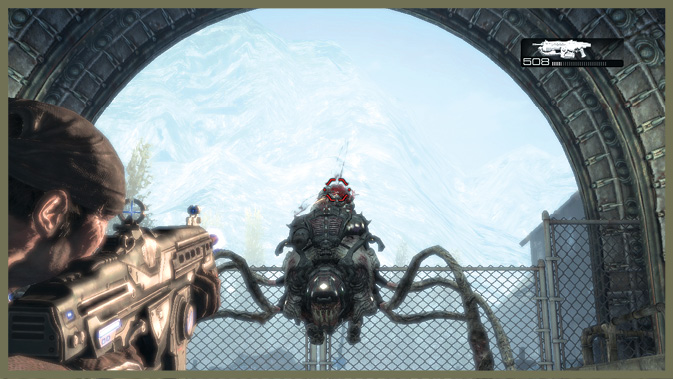
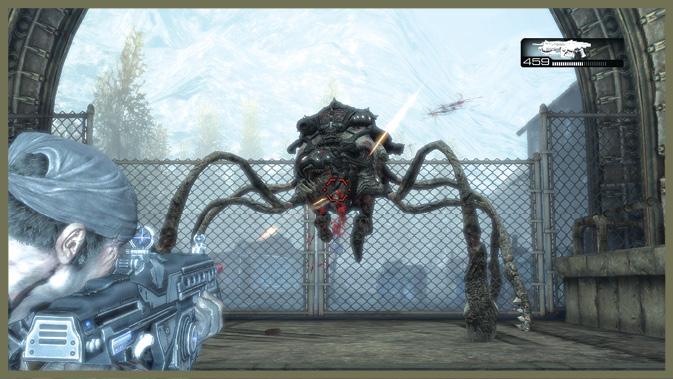
Don’t get too eager, though—as you move toward the end of the tunnel, a Reaver flies in and lands in front of your squad.
The Reaver is a nasty threat. The mounted riders can fire down on you and the Reaver itself fires
rockets. Plus, if it gets close to you, it raises one of its tentacles to strike, forcing you to move out of the way quickly.
Try to keep your distance and hammer the Reaver with fire. If you have any Frag Grenades left, use them here. If not, just be ready to back up from your cover should it approach too closely.
Once you eliminate the Reaver, exit the tunnel to reach your first path split. You can choose to head left into the hotel or right onto the rooftops.
These discrete branches always rejoin after a brief detour. In co-op play, you and your partner each take one of the routes. If you’re playing solo and you want to see them all, no problem—just replay the chapter and pick the alternate path.
Encounter 07
LEFT PATH
ENEMY PRESENCE: Drones
Inside the hotel, head upstairs and you are greeted by several unfriendly Locust Drones. Take them down, and then wait for Dom on the opposite roof. The door into the next building is sealed; you need Dom to blast it open with a mortar.
Wait for Dom to shell the building. When the door is blown off, you can head inside.
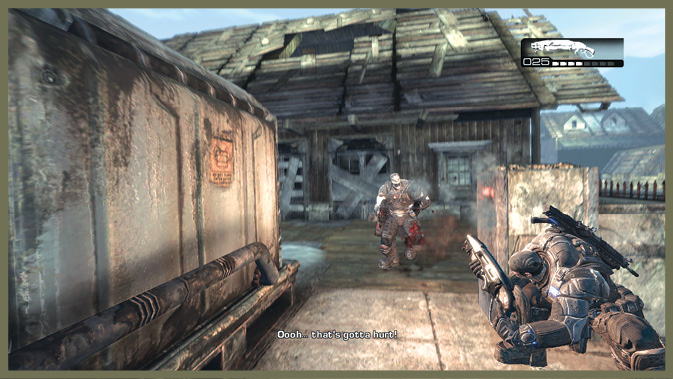
Encounter 08
ENEMY PRESENCE: Drone, Grenadier
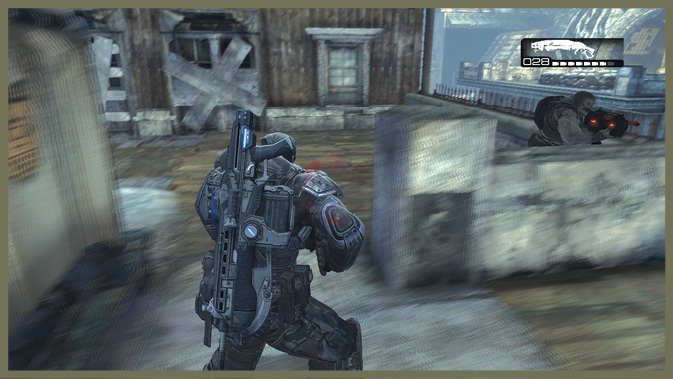
Inside the bombed-out building, a Drone and a Grenadier quickly confront you. Use the column supports for cover to eliminate them both.
When they’re cleared out, the door to the rooftop Mortar crew is on the right side of the room. However, you can actually shoot out through the windows rather than go through the door immediately.
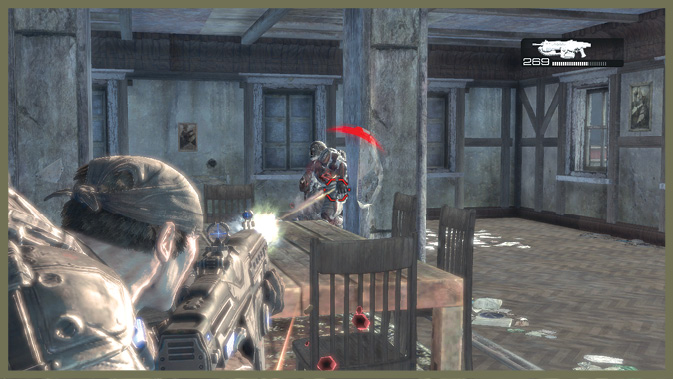
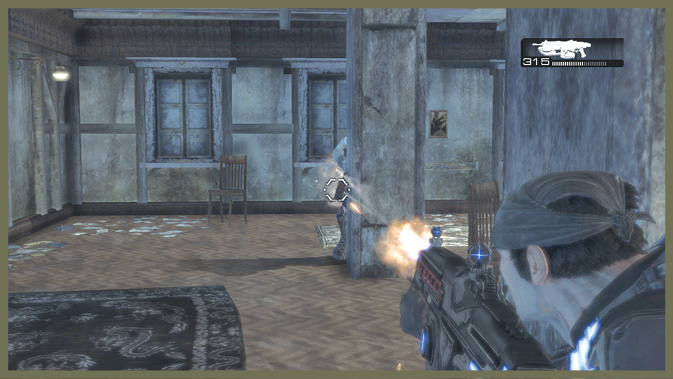
Encounter 09
ENEMY PRESENCE: Drones
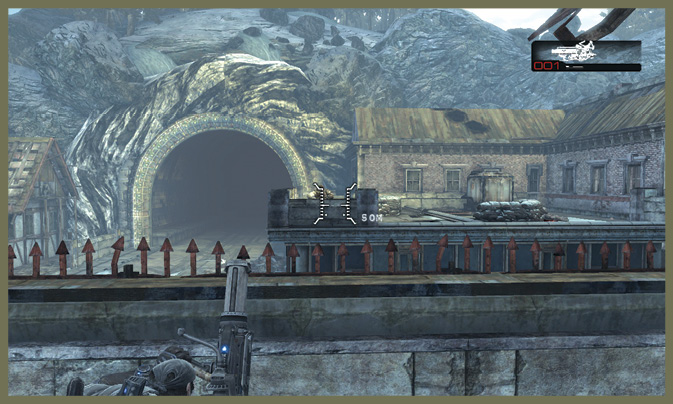
Kill the pair of Mortar-wielding Drones here, and then pick up the Mortar to finish off the Mortar Drones on the opposite rooftop. If you hear a yell of ‘Incoming!’ from your partner, be sure to dodge back inside the building—you don’t want to eat a full Mortar barrage.
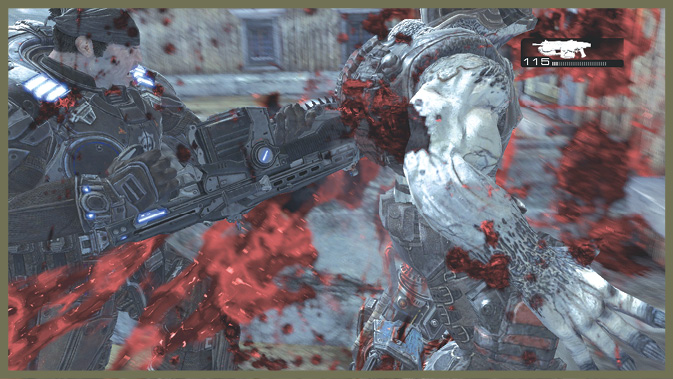
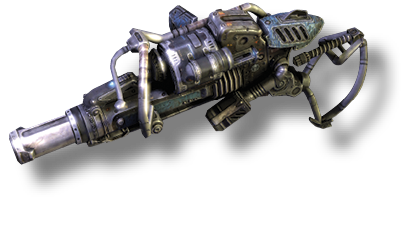 Mortar
The powerful Mortar is a difficult weapon to use on the move, as it is too bulky and cumbersome to carry long distances.
In exchange, the Mortar is ideal for assaulting large groups of enemies at a safe distance. It is devastating in open areas, where you can range your target with your first shot and then rain down destruction from above.
Firing the Mortar from the hip is a bit of a desperation move. It reloads far too slowly to be used up close. Take advantage of it for eliminating nearby groups, and then ditch it when you need to get moving again.
Encounter 10
RIGHT PATH
ENEMY PRESENCE: Drones
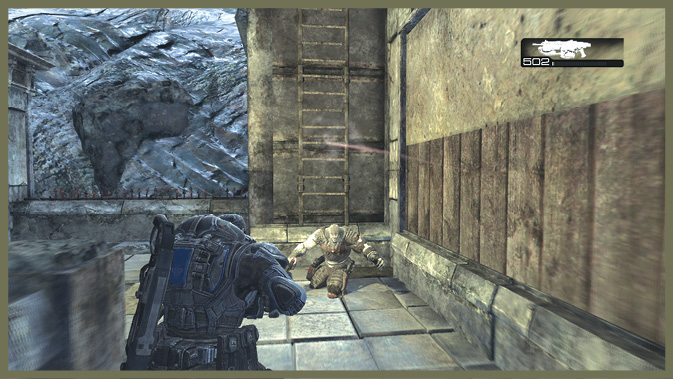
Taking the right path, you initially deal with a lone Drone that climbs down a ladder from the higher rooftop above. Eliminate him and then climb the ladder to find some ammo and a Mortar.
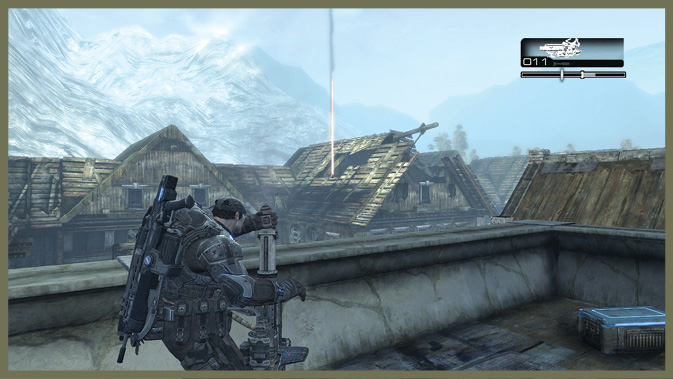
If Dom is still fighting over on the hotel roof, you can use the Mortar to shell the Drones there. If not, use it to blast open the building that blocks Dom’s path just across the street. Once he’s in, you can ditch the Mortar and climb back down.
Encounter 11
ENEMY PRESENCE: Drones
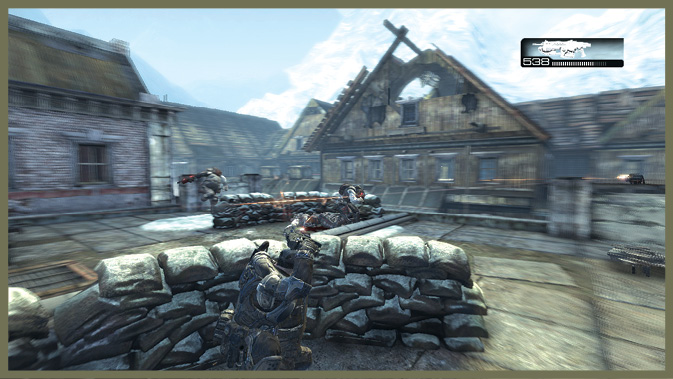
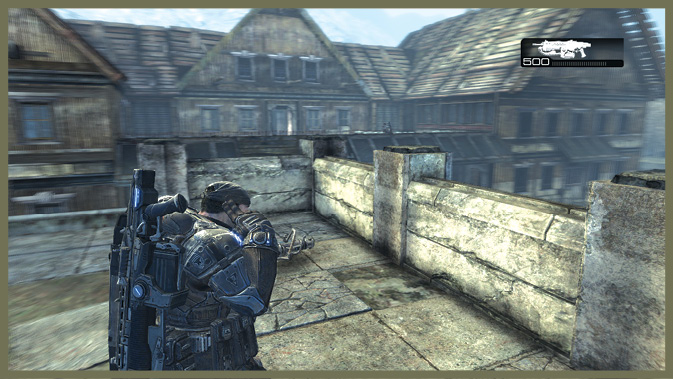
Jack rips the door here to allow you entry into the next building’s rooftop. Take out the Mortar Drones on the rooftop, and then finish off any Mortar Drones on the hotel rooftop if they’re still alive.
Encounter 12
ENEMY PRESENCE: Brumak
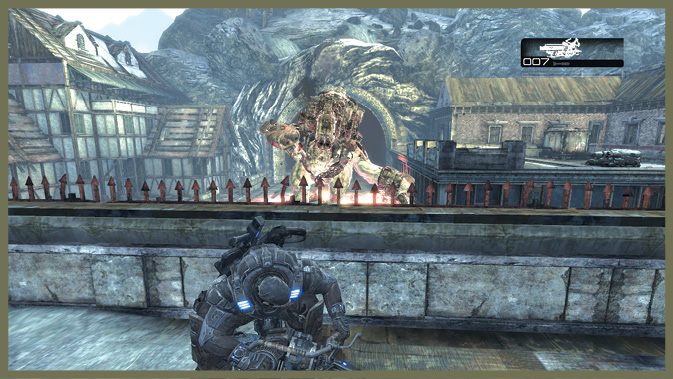
No matter which route you take in the preceding path split, you end up on a rooftop armed with a Mortar…hopefully with a spare nearby. This is important, because a mighty Brumak comes stomping out of the nearby tunnel a few seconds later!
You need to take down this threat before it can destroy Dizzy’s Rig, along with your chances of riding the Grindlift.
Shell it repeatedly with your Mortar. If you took the left path (hotel route), you may need to take cover as it comes out, because it fires a rocket barrage at the rooftop. On the right side, it usually ignores you, so you can fire more freely.
With two Mortars on either rooftop, you should have plenty of ammo to down this adversary. But if you run out, you can still use conventional weaponry to finish it off.
As long as you kill the Brumak before it gets to the street’s intersection and fires on the Rig, you can clear this mission successfully.