Gears of War 2 Guide Welcome Back!
Controls
Special Cover Commands
|
Action |
Command Sequence |
| Cover Slip | Press Forward while at the Edge of Cover, then Hold  |
| Swat Turn | While in Cover, Press Sideways Toward Another Piece of Cover, and then Press  |
| Cover Slam | Hold  while Approaching Cover in a Roadie Run while Approaching Cover in a Roadie Run |
| Cover Break | Press Away from Cover |
| Mantle | Press Toward Low Cover, then Press  |
|
Controller Command |
Function |
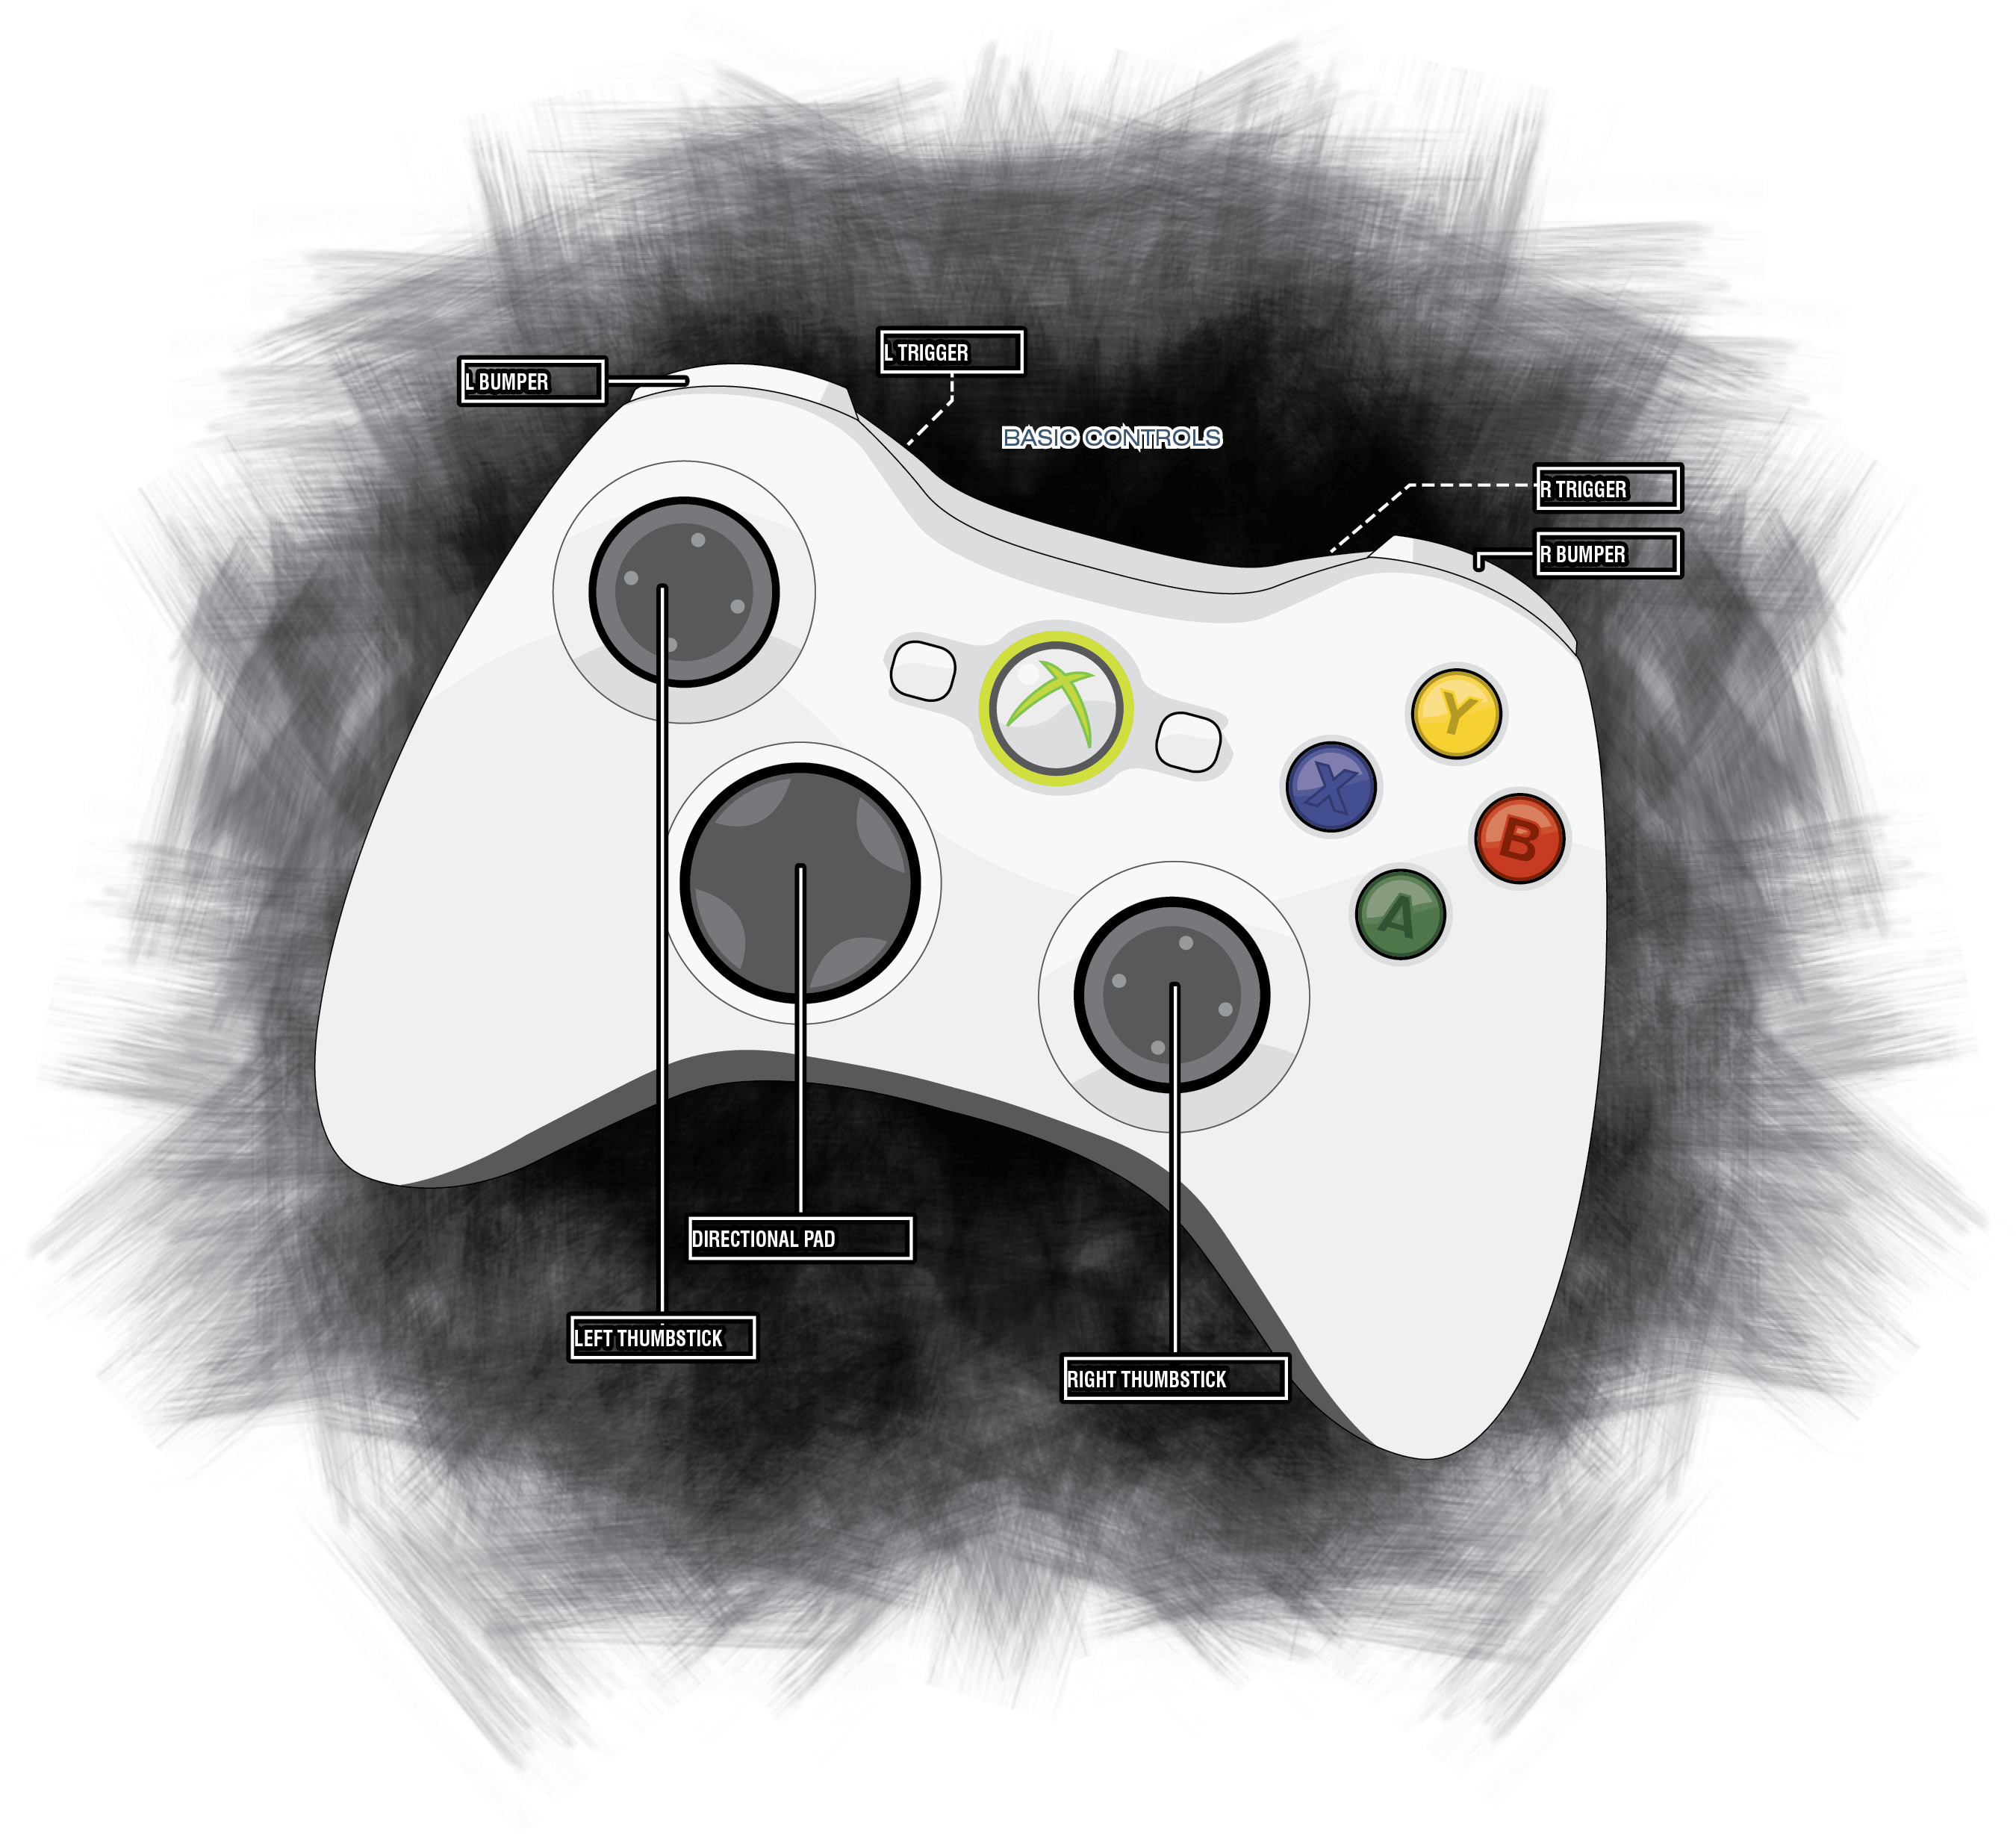
| L Trigger | Aim |
| R Trigger | Fire |
| L Bumper | Taccom (displays squad location and objectives in campaign) |
| R Bumper | Reload and Active Reload |
| Left Thumbstick | Move Player |
| Right Thumbstick | Look, Click to Zoom |
| Directional Pad | Select Weapon |
|
Controller Command |
Function |
 Button Button |
Roadie Run (hold) / Roll (press with Left Analog Stick) / Enter Cover (press near cover) / Pick up Meat Shield |
 Button Button |
Melee / Stick Grenade / Rev Lancer Chainsaw (hold) |
 Button Button |
Use / Interact / Curbstomp |
 Button Button |
Look at Point of Interest / Special Execution on Downed Enemy |
While in or out of cover, you can fire your weapon from the hip (blindfiring) or sight and take aim. Aiming from behind cover exposes you to enemy fire slightly, but it greatly increases your accuracy. In addition to using and shooting from cover, you must learn to move smoothly and swiftly from one position to another as the situation changes and new threats emerge from different directions.
Fallen rubble might provide a great defense against a pack of Drones swarming you from the front, but if an Emergence Hole opens up on your flank, you might as well be standing out in the open.
Long Range
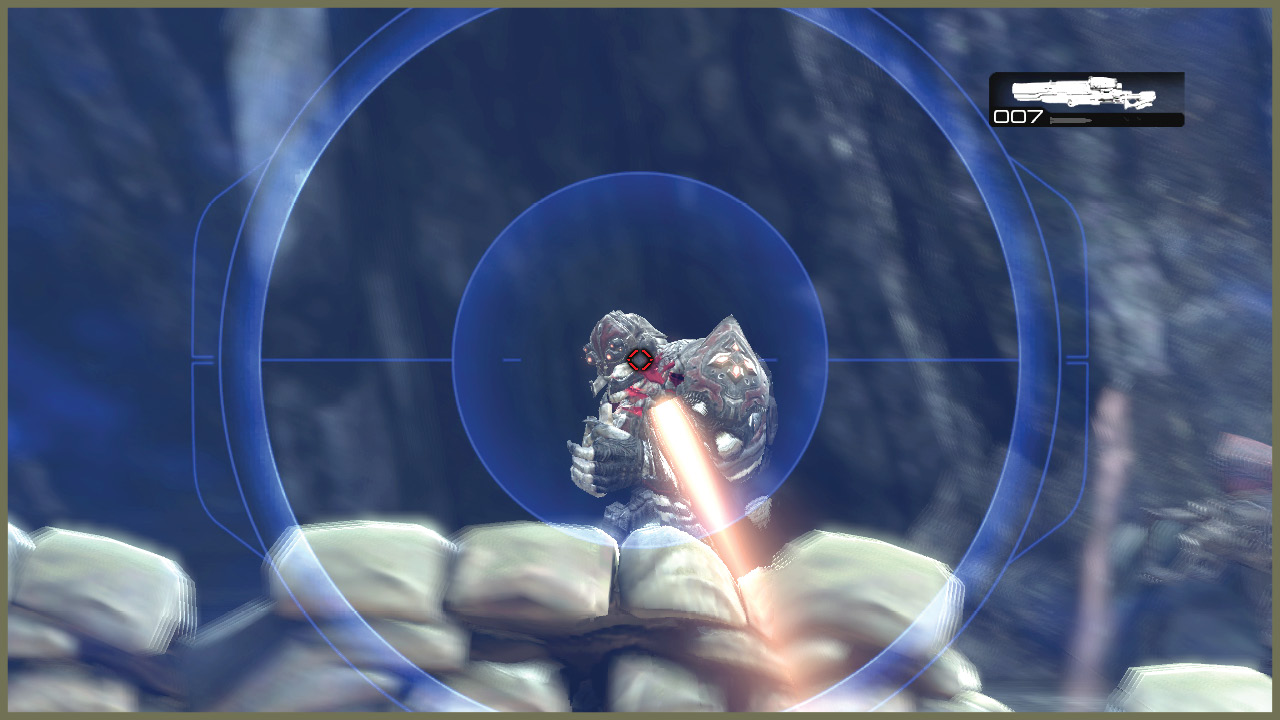
Fighting at a great distance is generally ineffective. It’s difficult to score hits at a distance with most weapons, and cover becomes more effective, as you cannot easily target small bits of exposed Locust. Furthermore, a lot of weapons inflict reduced damage or are simply ineffective at long range.
Fortunately, the Longshot excels at a distance, and some other heavy weapons can be fairly potent—the Mulcher, Mortar, and turrets all work well.
Of the more ‘standard’ weaponry, the Locust Hammerburst is generally a better long-range weapon than the Lancer. It can scope and fire in semi-automatic mode to deliver more damage per shot than the Lancer.
However, other than those exceptions, it’s usually not worth the ammo you waste firing at a distance, unless you really need to take down a specific target.
Instead, close to a range that’s suitable for the available weapons. Or even better, let your enemies come to you while you fire at them when they break from cover.
Medium Range
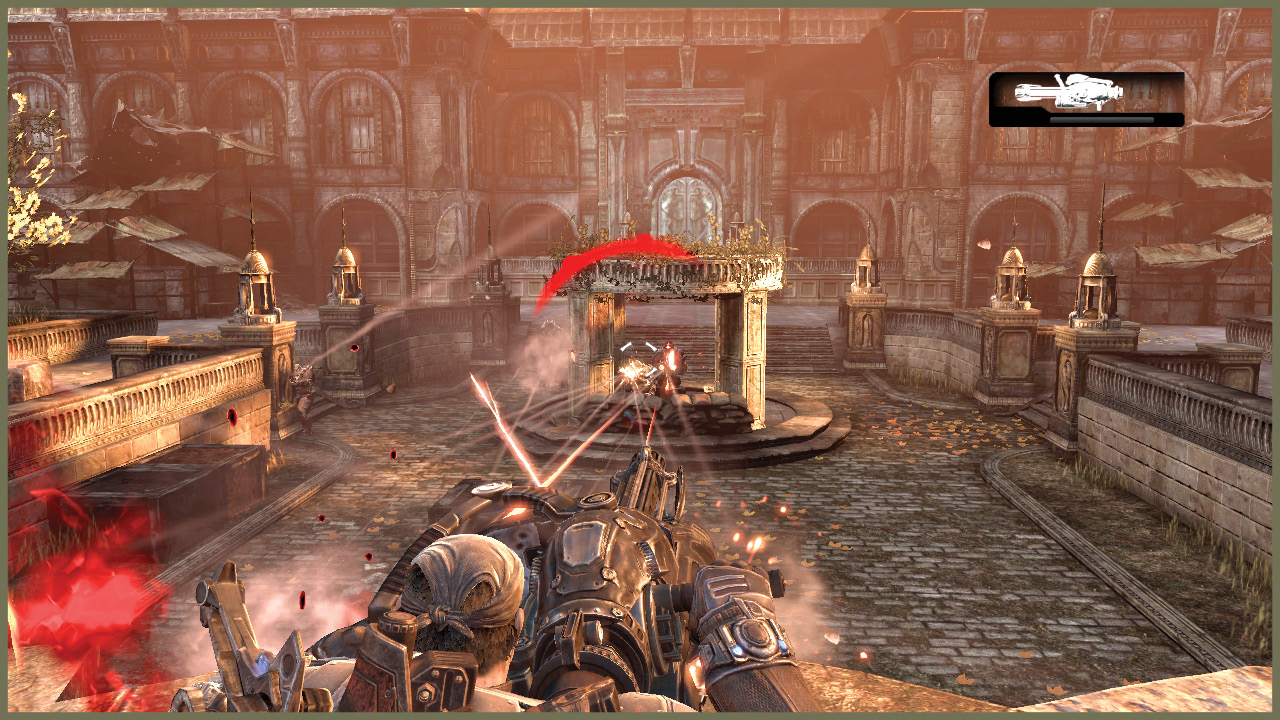
Medium range is the better zone for most weapons in Gears of War 2. At this distance, you can usually inflict optimal damage. But of course, the reverse is true, so you’re more vulnerable to accurate enemy fire as well.
Generally in the campaign, if you’re accurate, pick your weapons well, and heal up between attacks, you will do well at medium range even on the highest difficulty levels. This is good, because most combat in the game occurs at medium range!
Close Range
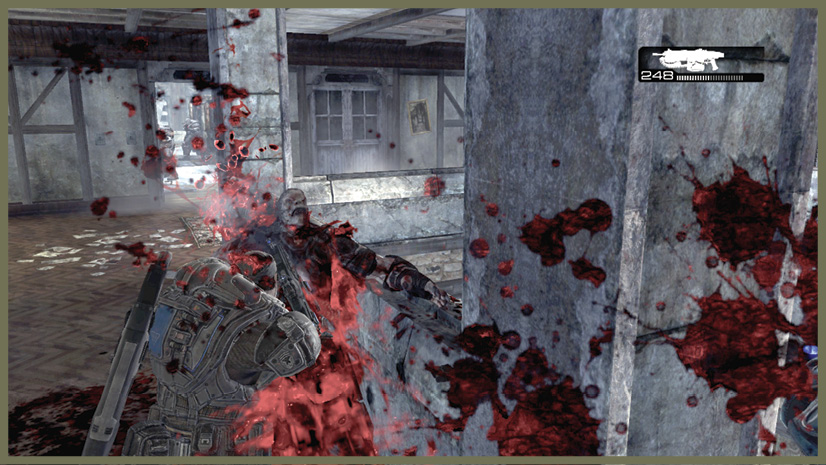
Close-range combat in the Gears universe is short, messy, brutal, and lethal.
A host of weapons can inflict instant death at close range, and plenty more deal grievous damage in seconds. Furthermore, most cover is ineffective at close range, so any conflict at this range tends to be over with in a hurry, one way or another.
Close-range combat in the campaign is generally not a good idea. The problem is that, while you are much more lethal, so are your enemies. And there are a lot more enemies than there are of you.
Close-range combat is a lot of fun, but when you’re fighting against several thousand Locust, the odds just aren’t in your favor. You might score that sweet grenade tag, but then that gibbed Drone’s five buddies get revenge on your exposed rear end in short order.
Of course, this varies somewhat depending on the difficulty level and whether you’re playing co-op. It’s also not quite so true in multiplayer, where going for a close-range kill can be a quick solution to remove an annoying target.
Close-range combat is nearly unavoidable in some situations. For these times, be sure to use appropriate weapons. The Shotgun works well, as does the Scorcher. Grenade tagging, melee hits, and the Lancer’s chainsaw are all highly effective at close range.
Active Reloading
Reloading your guns in Gears of War 2 is simple—run out of ammunition and try to fire again, and your weapon automatically reloads.
However, you can manually reload your weapon. And while your weapon is reloading, you can perform an Active Reload.
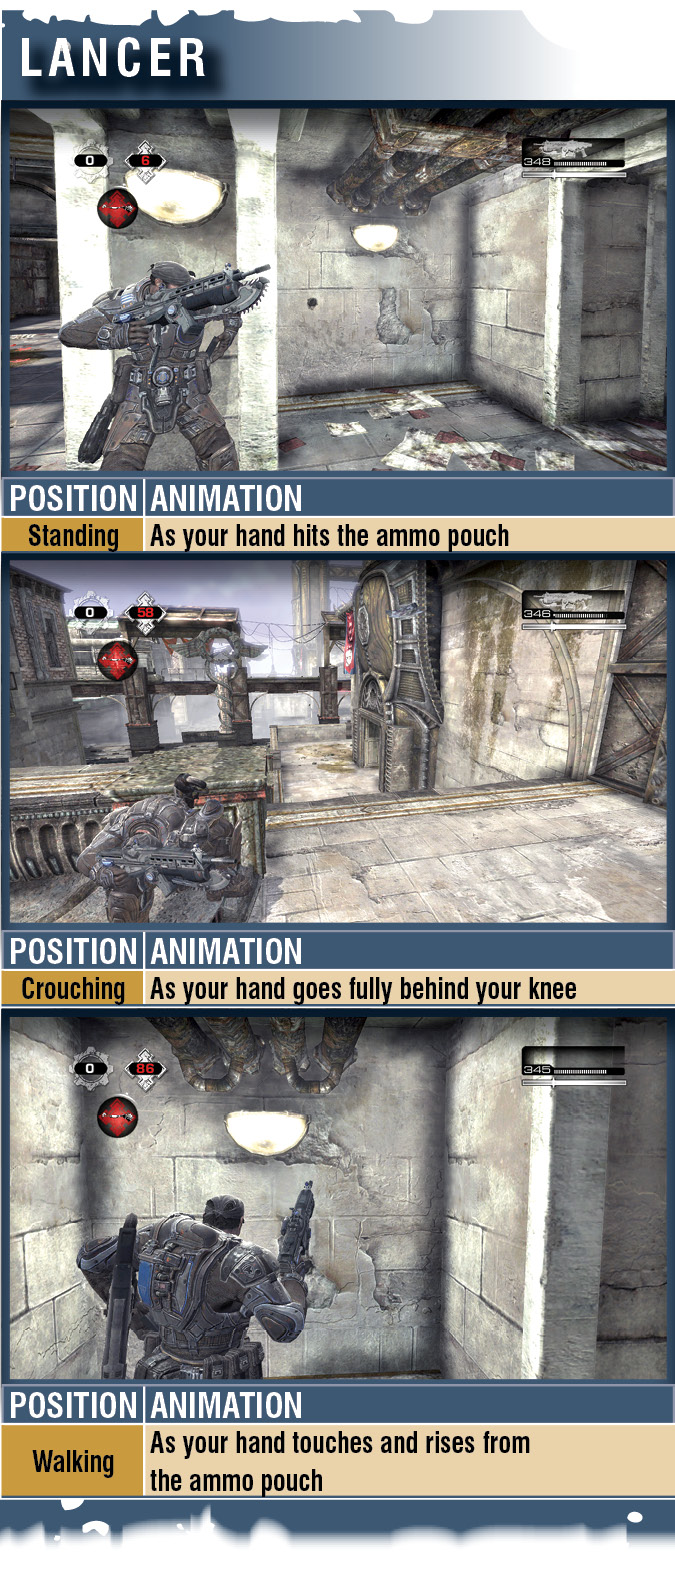
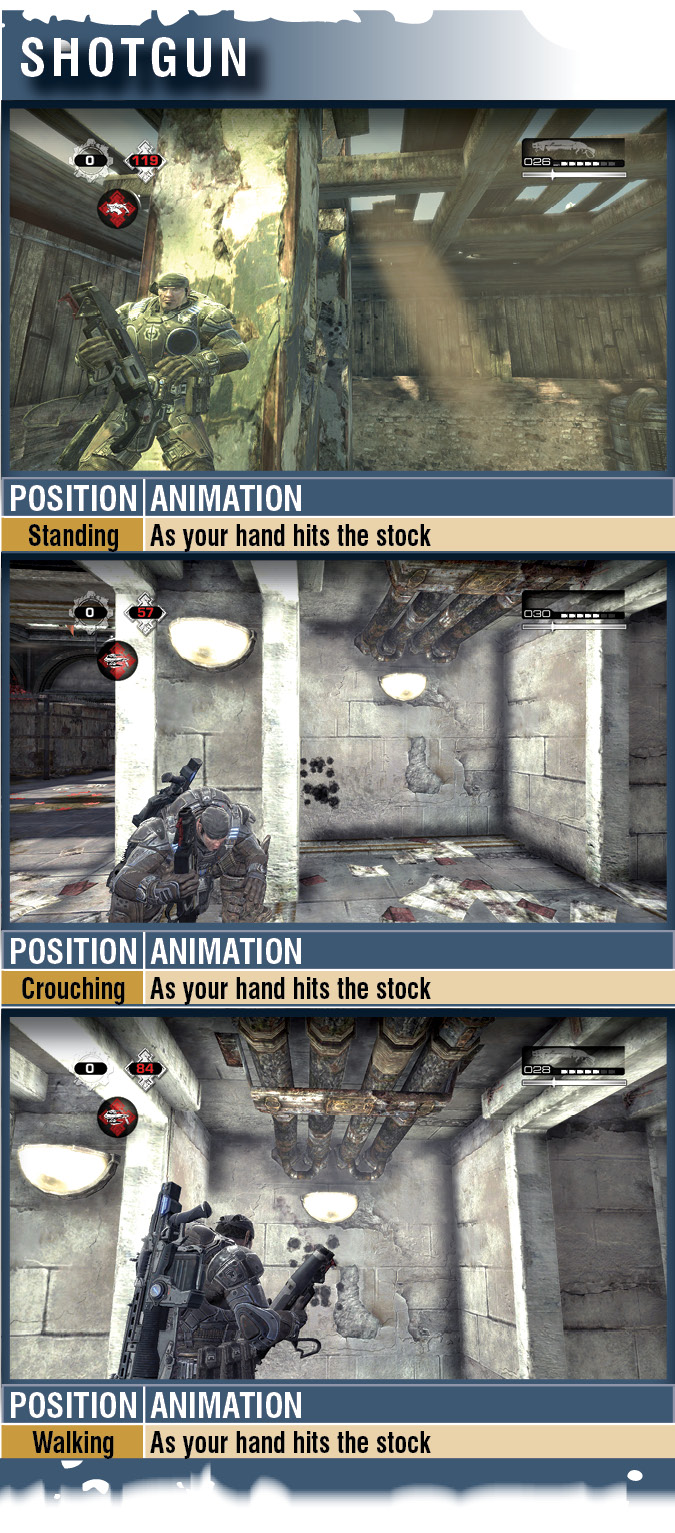
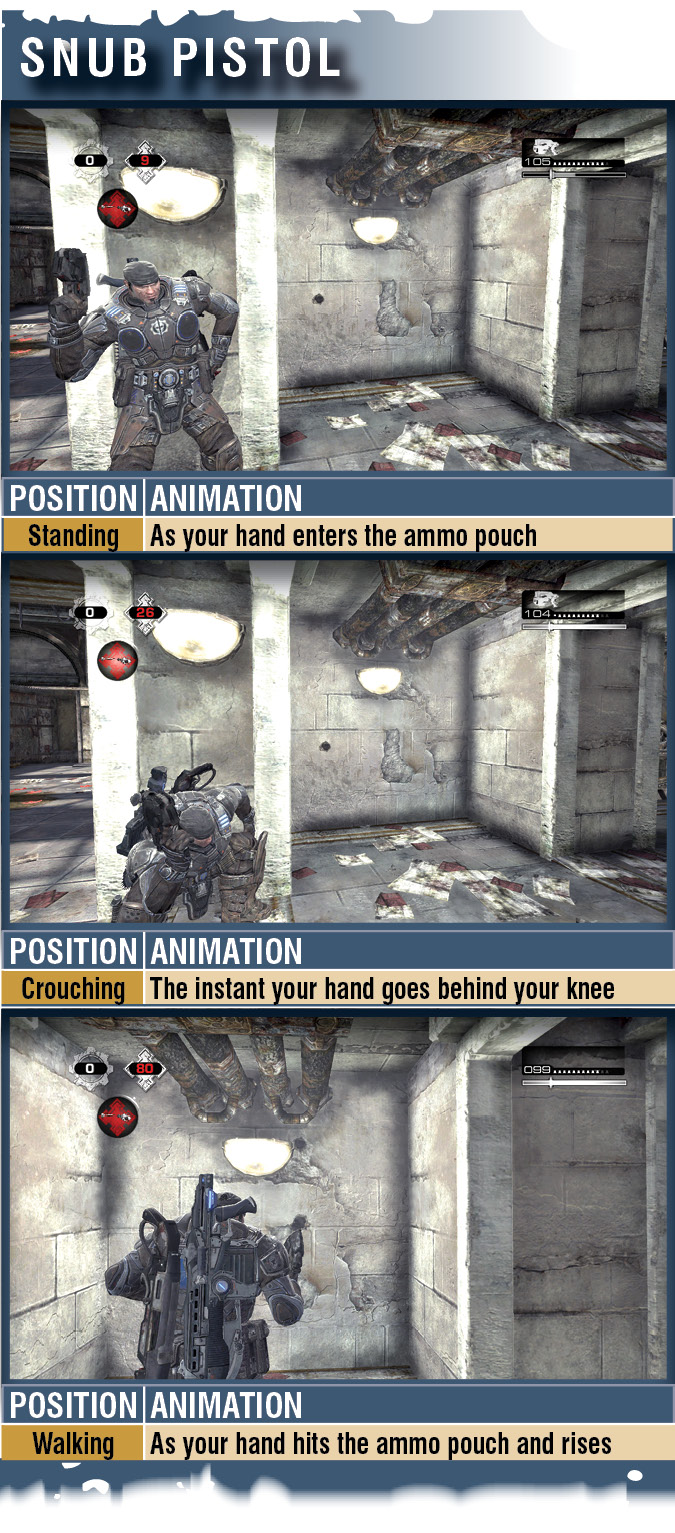
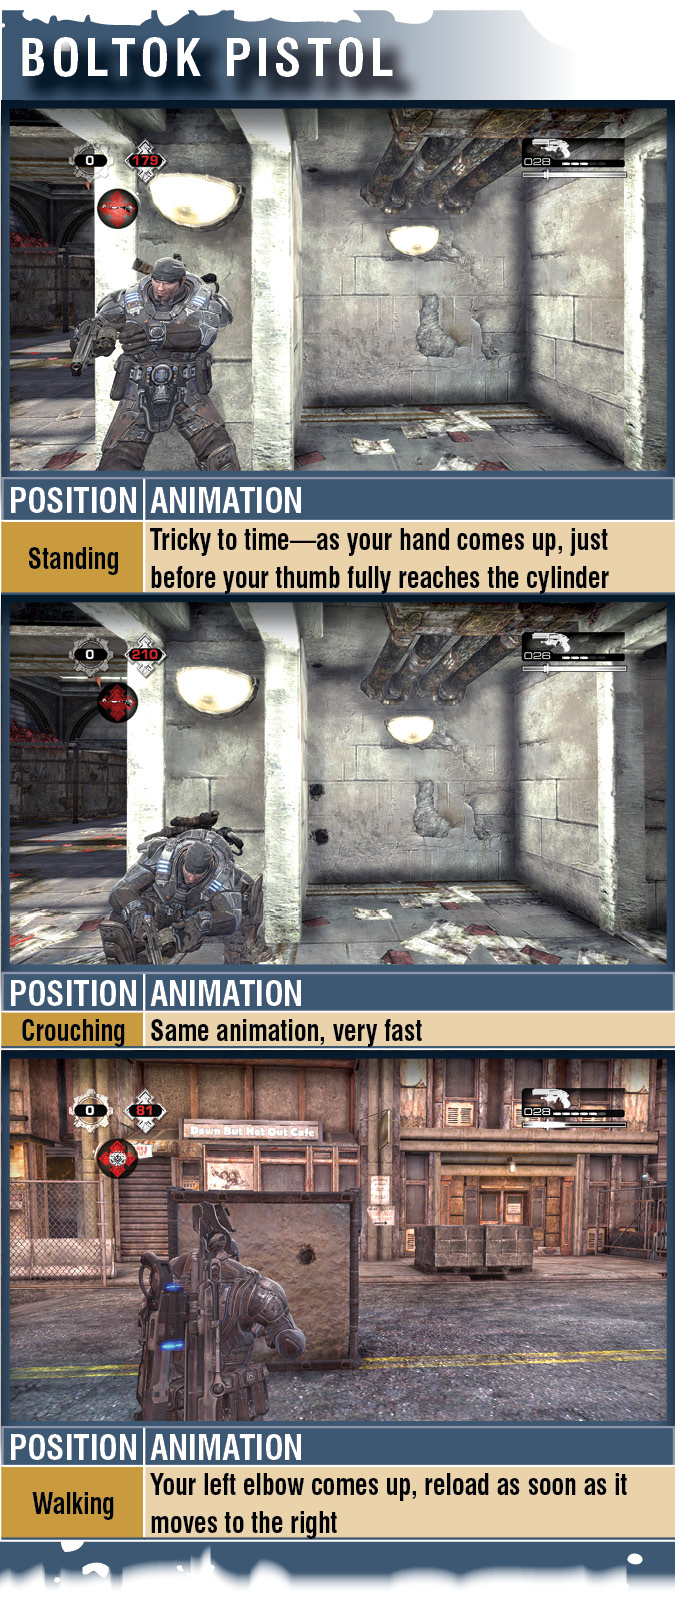
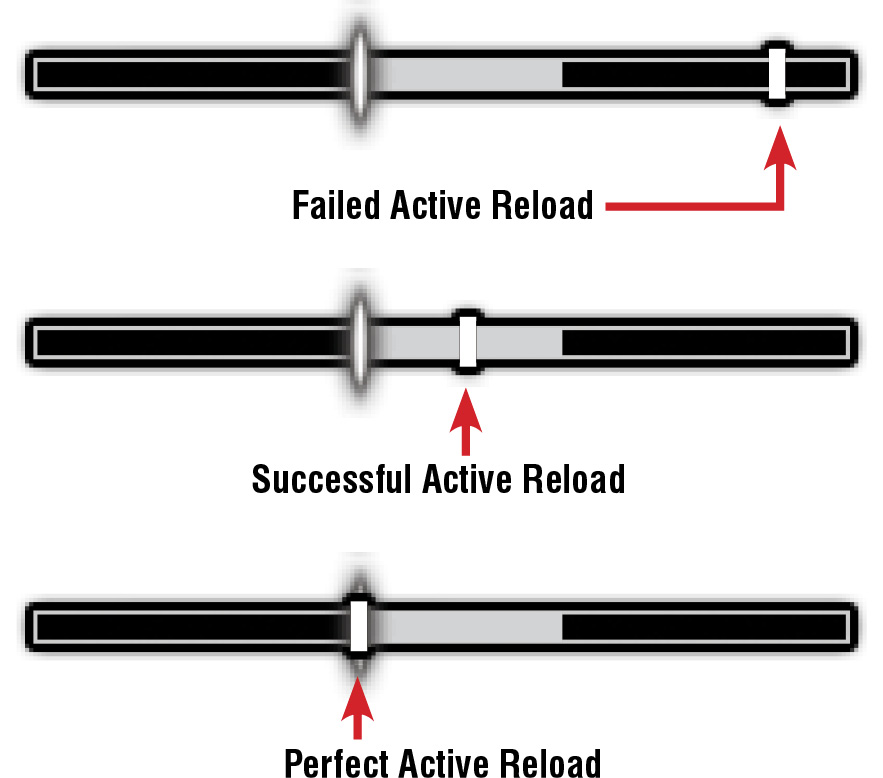
There’s a timing bar on your weapon indicator at the top-right of the screen. If you press the reload button a second time while the bar’s indicator is inside the narrow ‘active’ portion, your weapon reloads more quickly. See the following ‘Timing the Reload’ sidebar for greater detail on how to perform Active Reloads.
One important point: there is a certain element of risk involved in performing an Active Reload. If you attempt to Active Reload and miss the window of opportunity when you press reload a second time, you jam your gun, causing the reload to take even longer than it normally would if you had not attempted an Active Reload at all!
The timing for Active Reloading varies depending on the weapon, but performing a basic active reload is a fairly simple task for most weapons.
Beyond Active Reloading, one can perform a Perfect Active Reload. Do this by pressing the reload button a second time with perfect timing, while the indicator is on a very thin sliver at the start of the active reload bar.
A Perfect Active Reload has several benefits. First, because it counts as a ‘normal’ Active Reload at the earliest possible point, you get the fastest possible reload.
Second, and more importantly, every weapon in the game confers some benefit when it is perfectly reloaded. For example, the Scorcher gets a boost in range when you score a perfect active reload. Some simply give a slight damage boost, while others receive an upgrade for a short time or for a single shot.
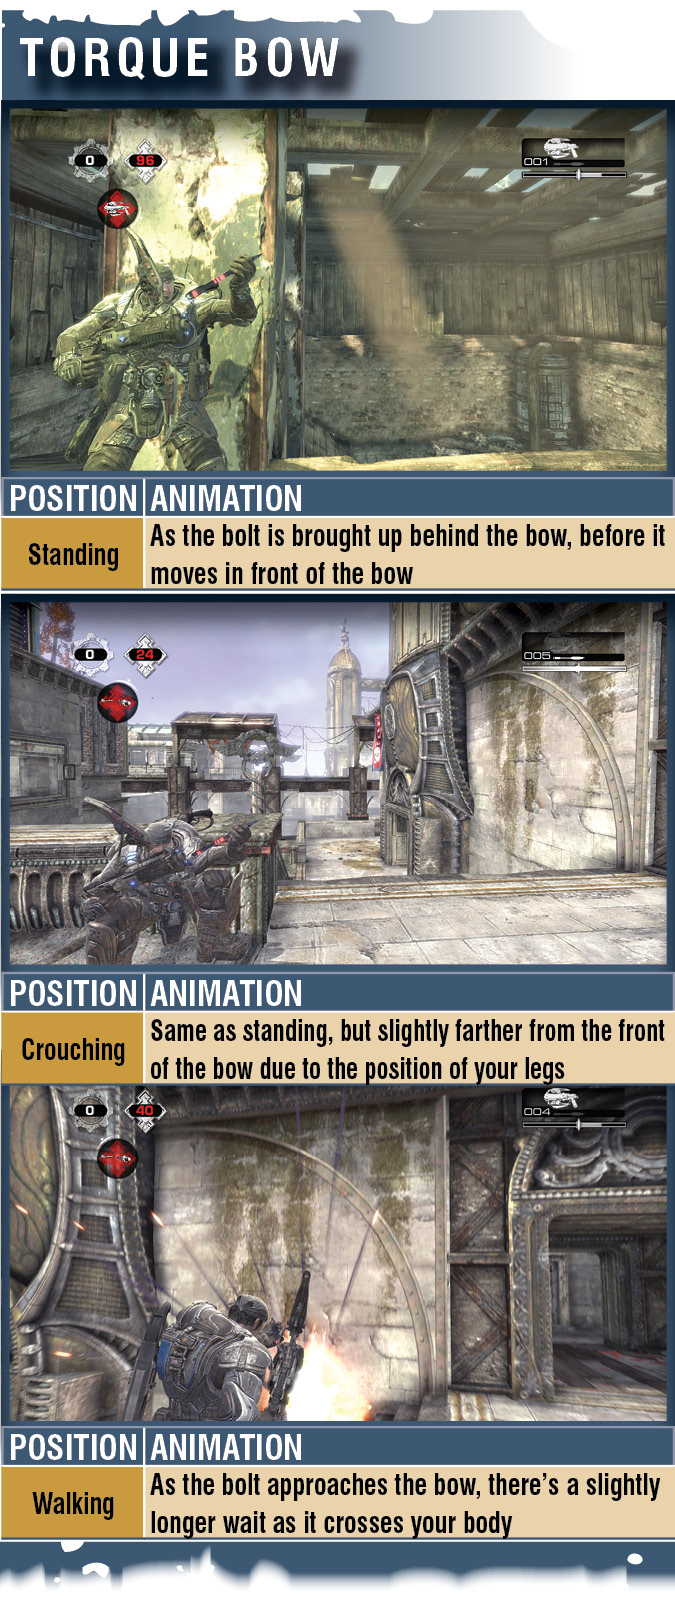
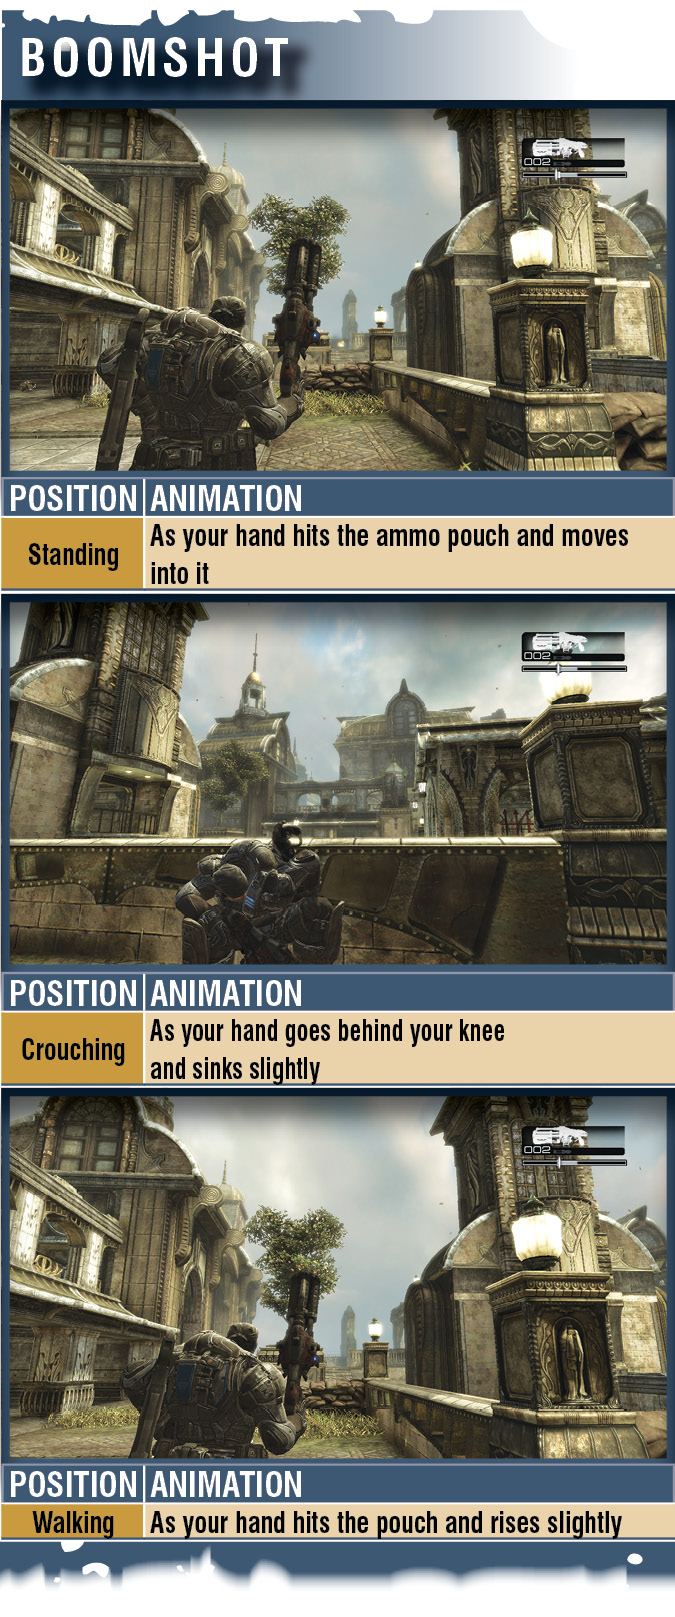
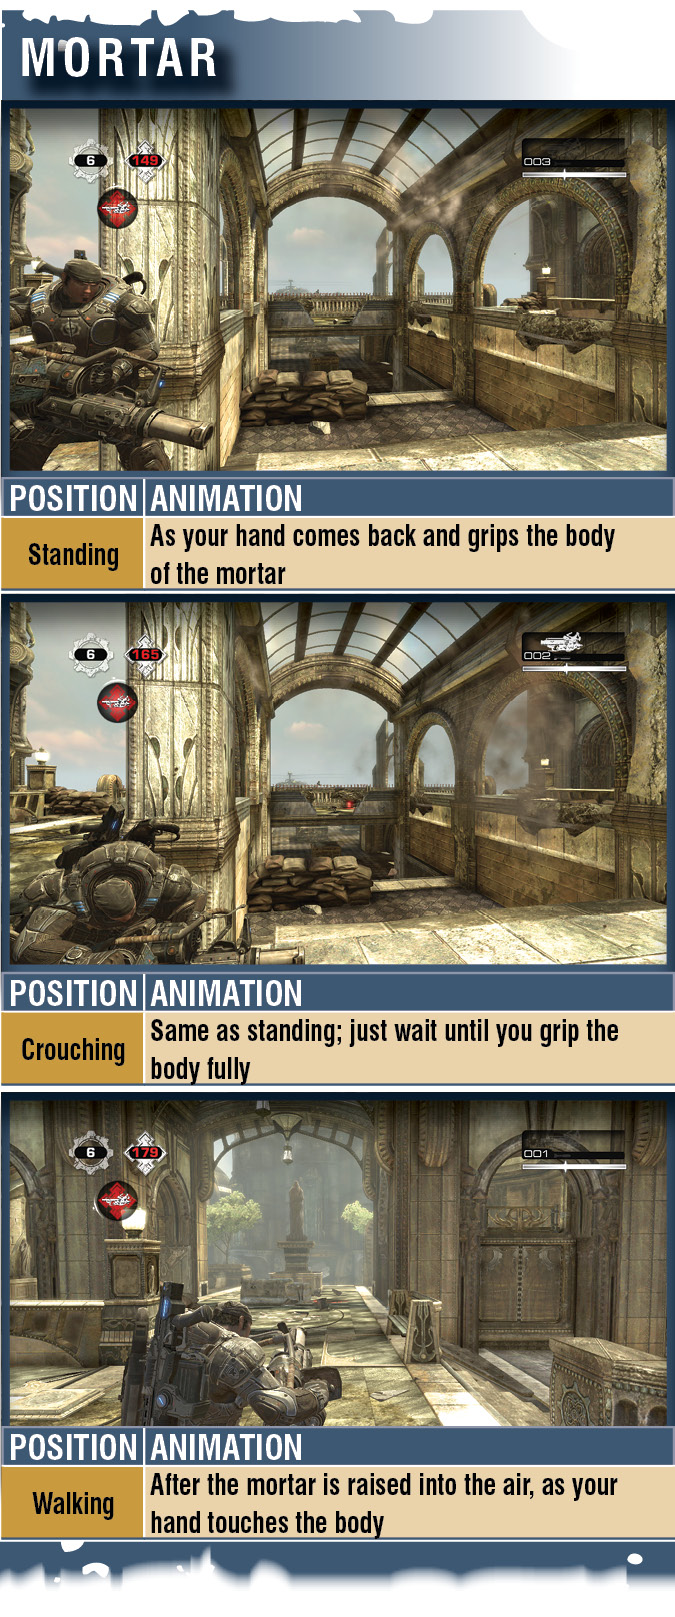
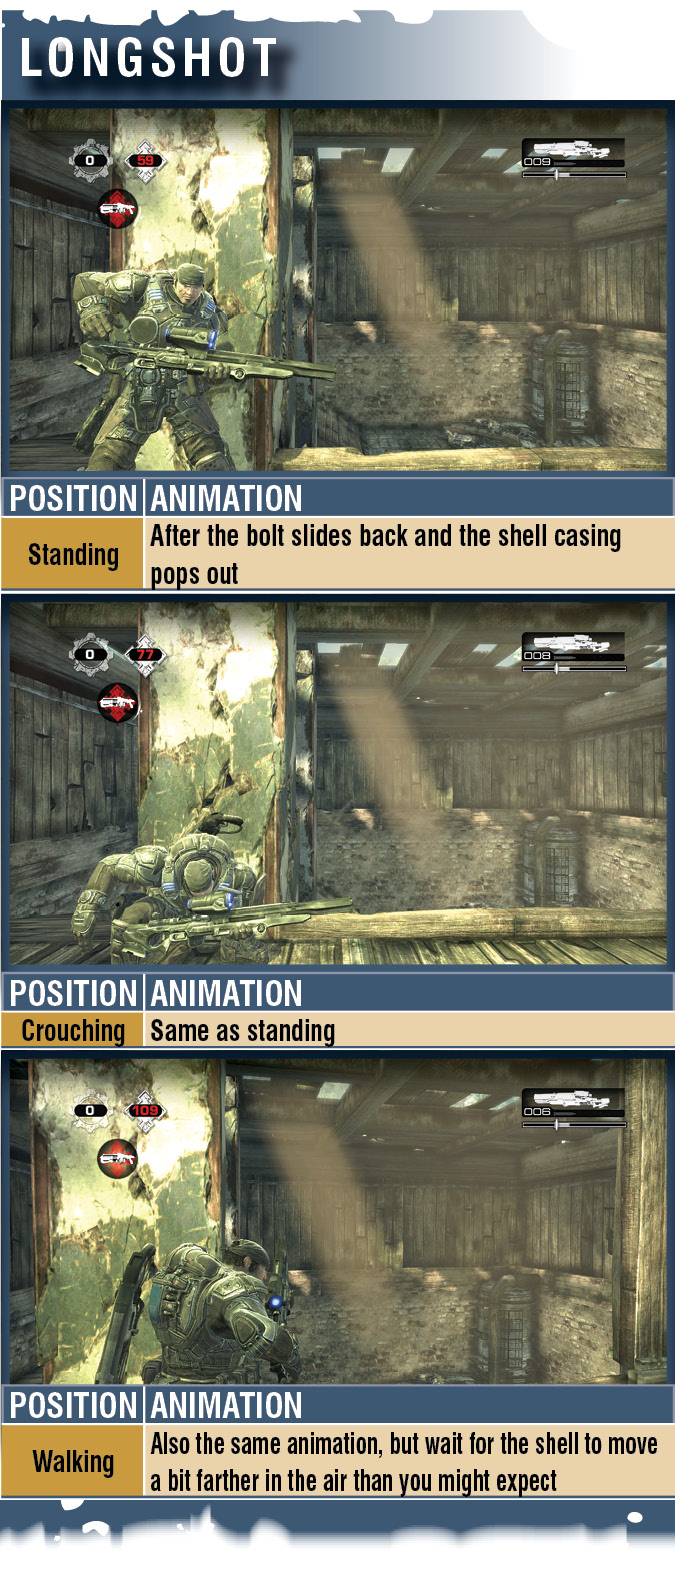
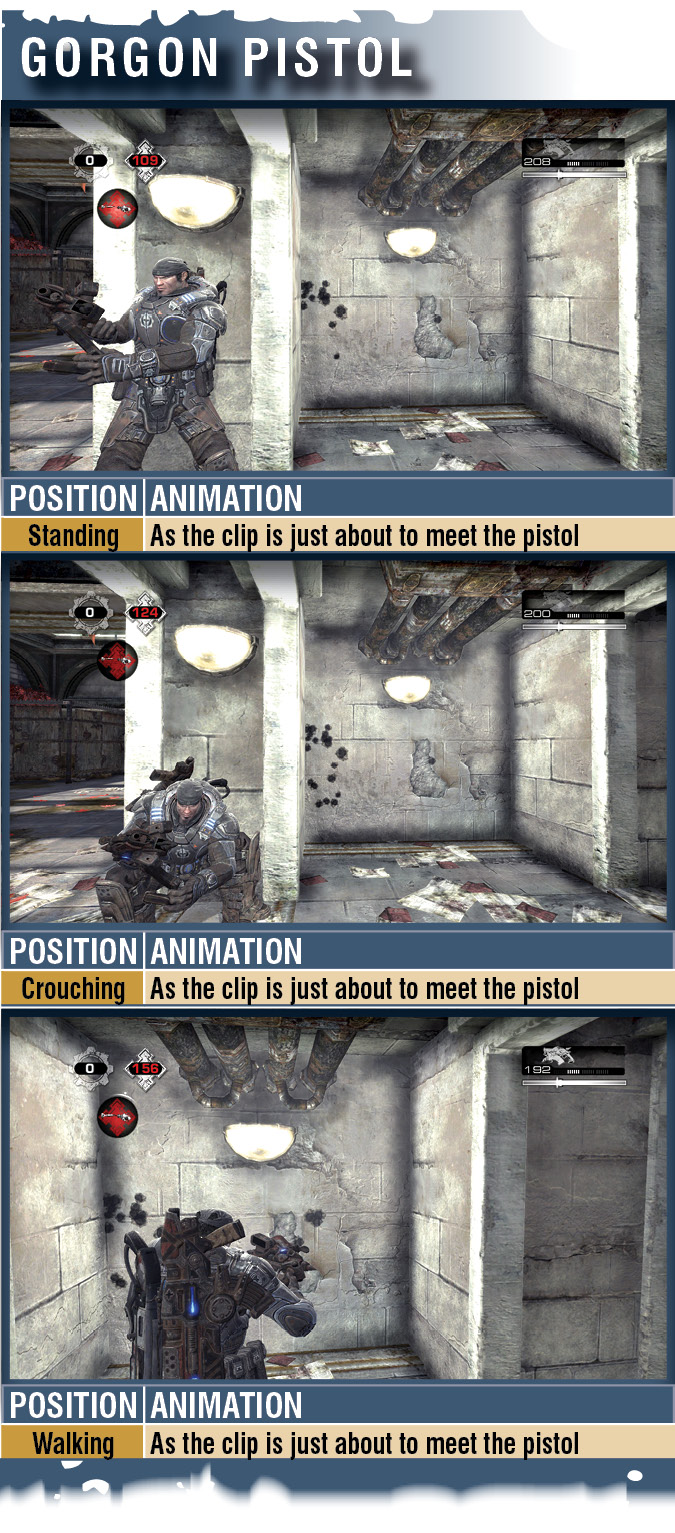
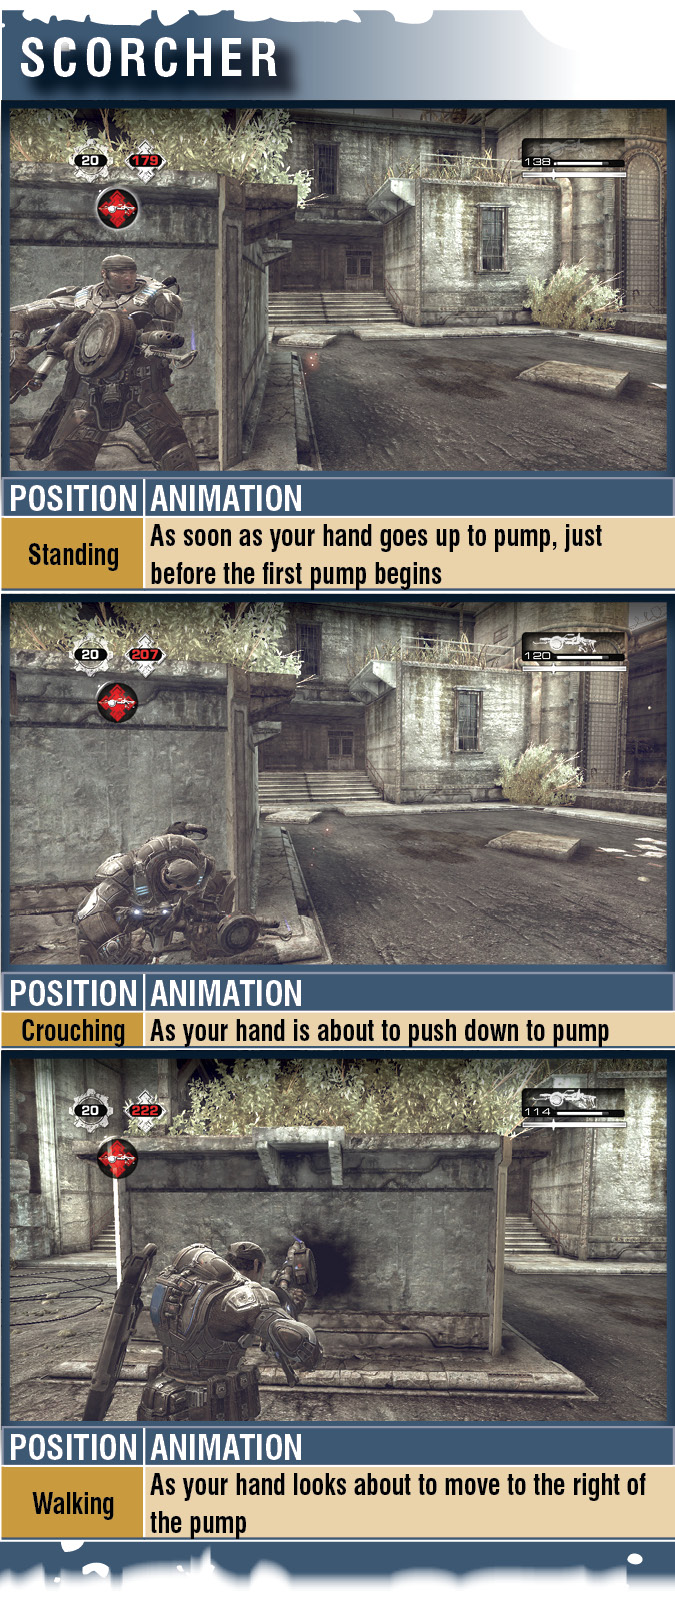
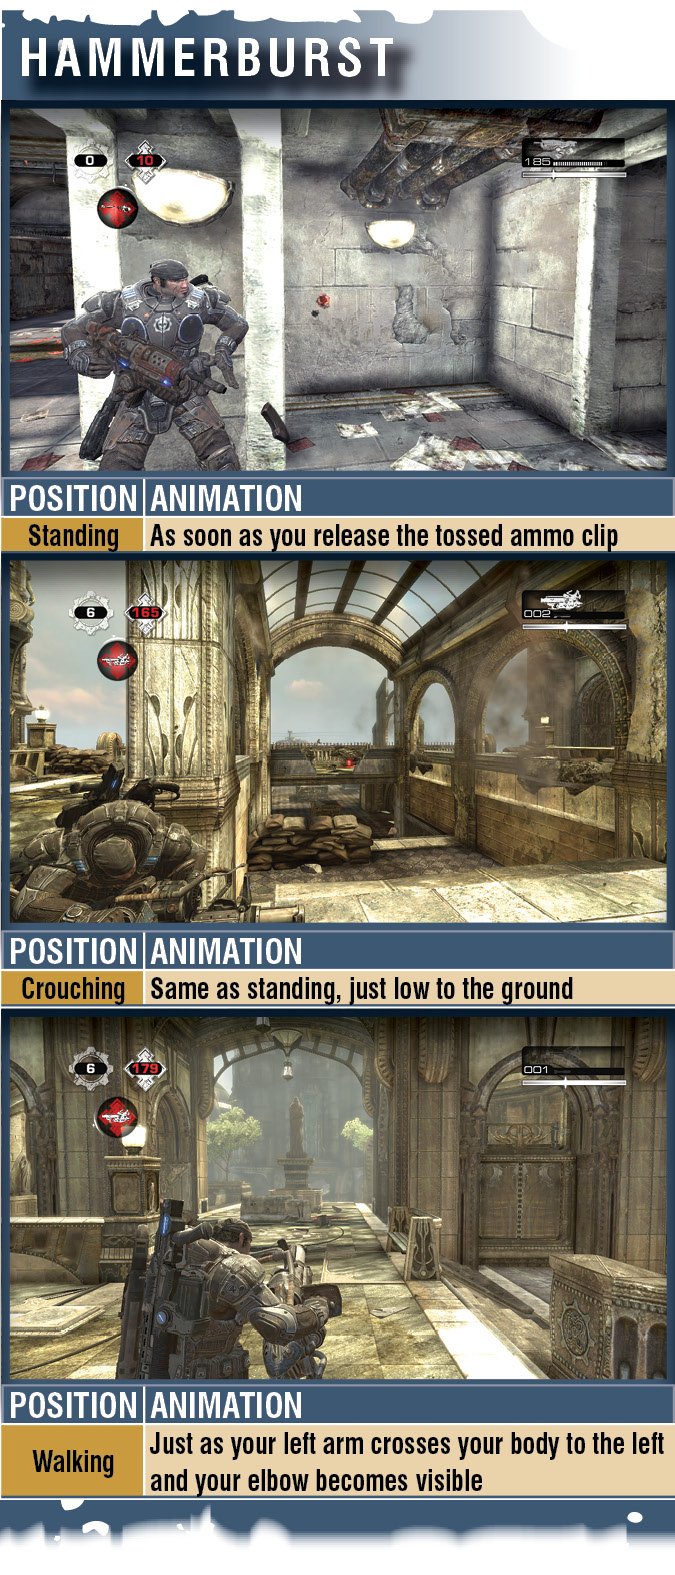
Visual Reloading
The following visual guide to all of the reloadable weaponry should help you identify the visual cues in various stages of movement. Some weapons have much more noticeable tells than others, but keep an eye on your character and use these images as practice aids. Static screen captures are no substitute for studying the in-game animation.