Gears of War 2 Guide ACT III: Gathering Storm
Chapter 4: Ascension
The databank at the New Hope facility has revealed that the source of the Locust may be located deep within Mount Kadar. Delta Squad sets out in their Centaur to reach the interior of the mountain, but Locust resistance to their intrusion is fierce.
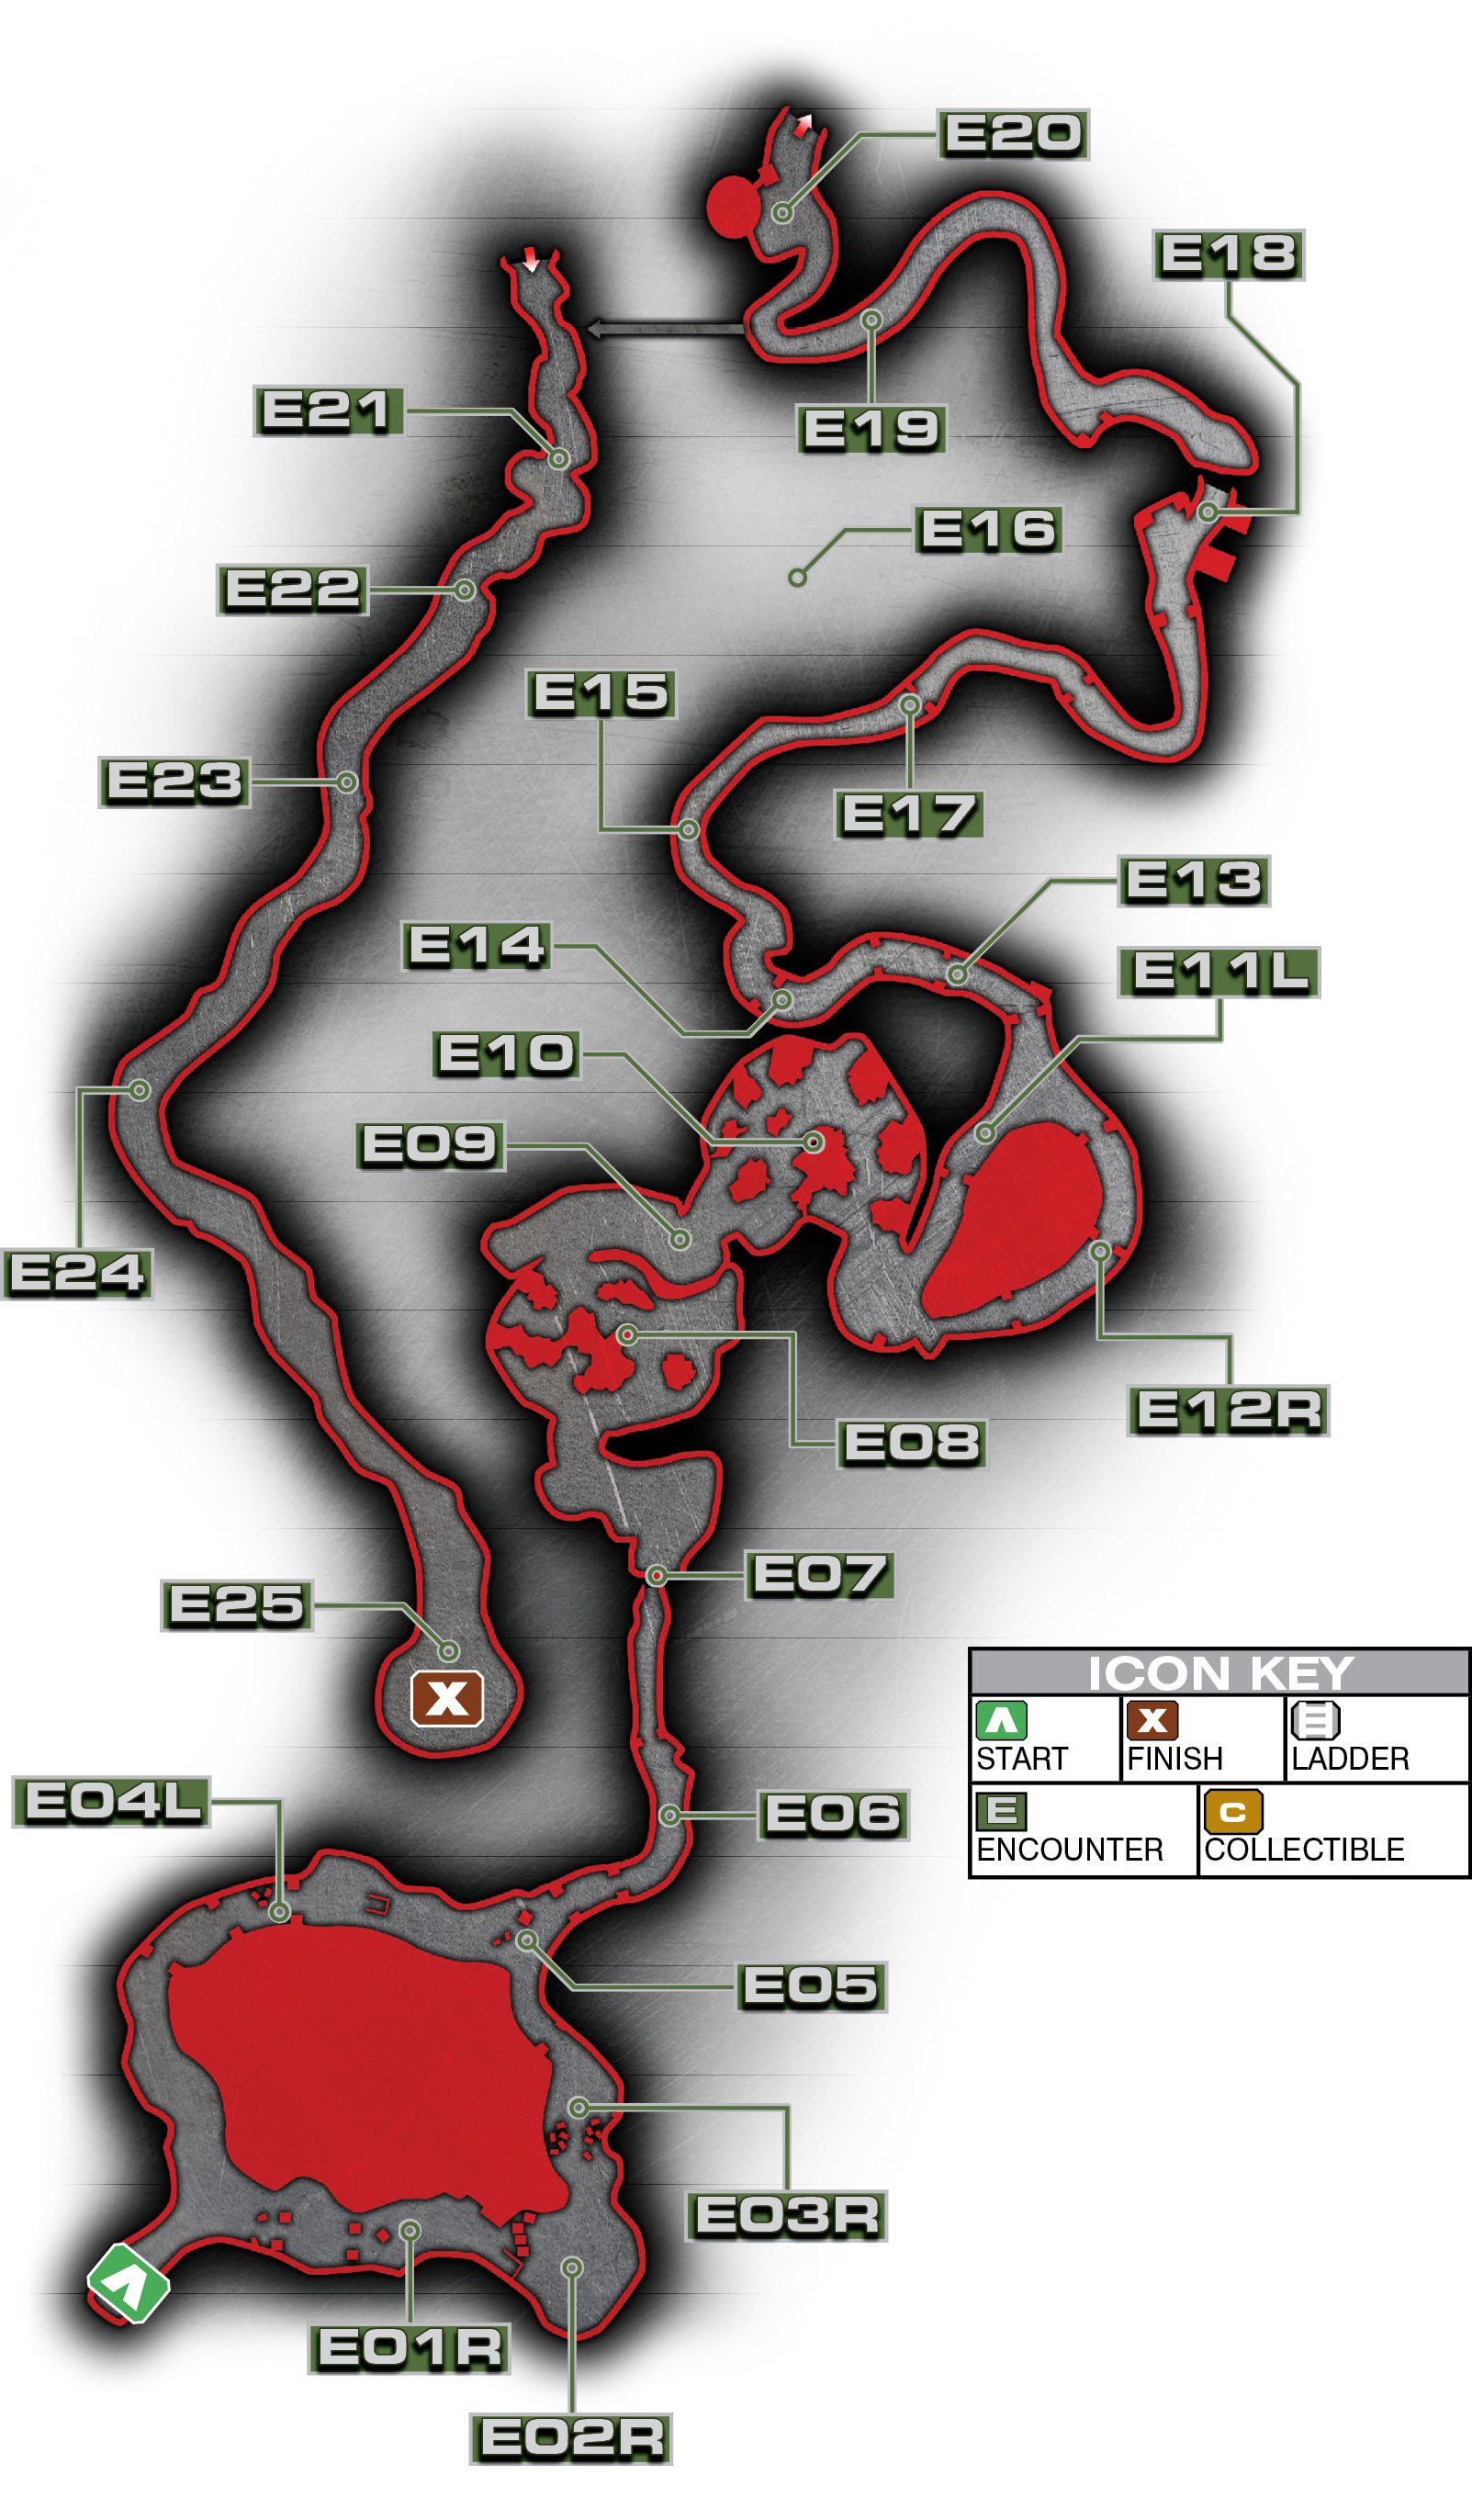
This mission is very different from the on-foot combat you’ve experienced up to this point. Instead, you get to raise hell in the Centaur. Your objective is simply to reach Mount Kadar, so you don’t get any rewards for taking the long route or clearing the map of all Locust presence. Keep that in mind while you pick your path through the passes leading to the mountain. This is doubly true on the higher difficulty levels. On Casual or Normal, you can fairly well blitz through the encounters. But on Hardcore or Insane, you need to eliminate priority targets quickly and hang back at a distance to avoid fire whenever possible.
Encounter 01
RIGHT PATH
ENEMY PRESENCE: Drones, Boomer, Troika
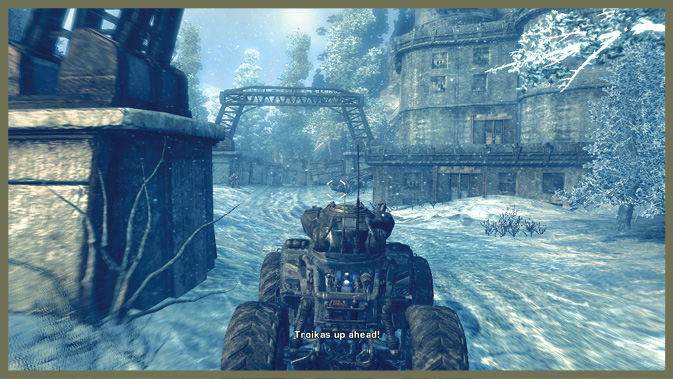
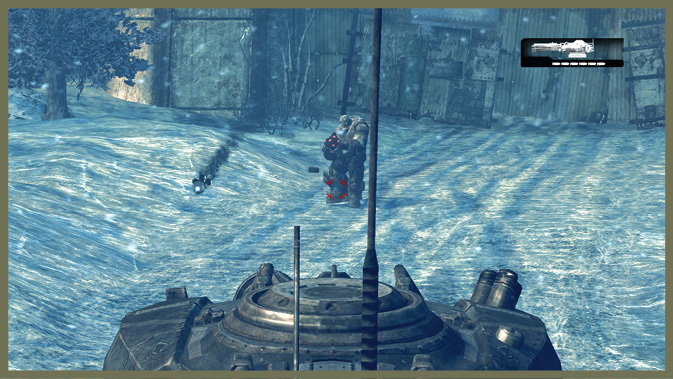
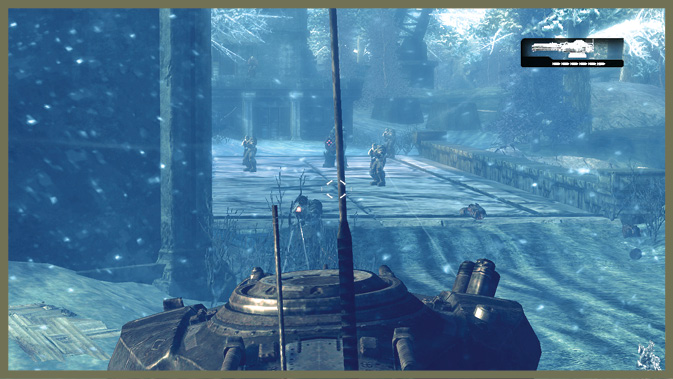
Your first encounter consists of an easily dispatched Boomer and then a barricade that you can blast open. Beyond it, Drones and a Troika provide you with some target practice.
Blow them away with the Centaur’s cannon, and then make your way across the bridge just ahead.
Encounter 02
RIGHT PATH
ENEMY PRESENCE: Reavers
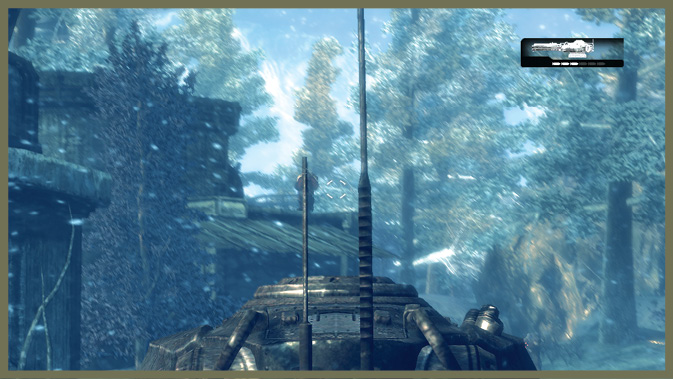
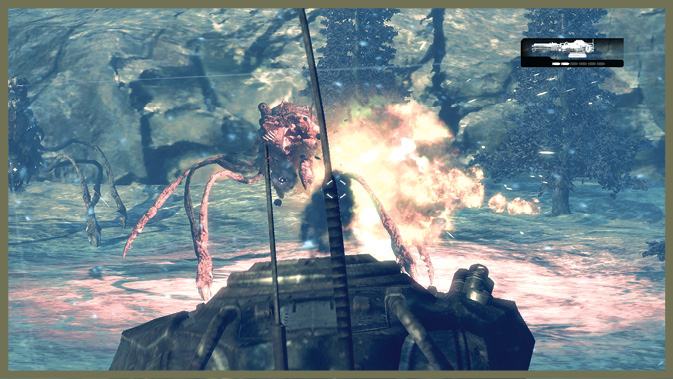
Boost-jump across the ramp on the right side of the road here. When you land, be ready for two Reavers that drop in. You may want to fire off a few shots and then do an Active Reload before you encounter them, just to have a slight edge in the battle.
Encounter 03
RIGHT PATH
ENEMY PRESENCE: Drones, Boomer
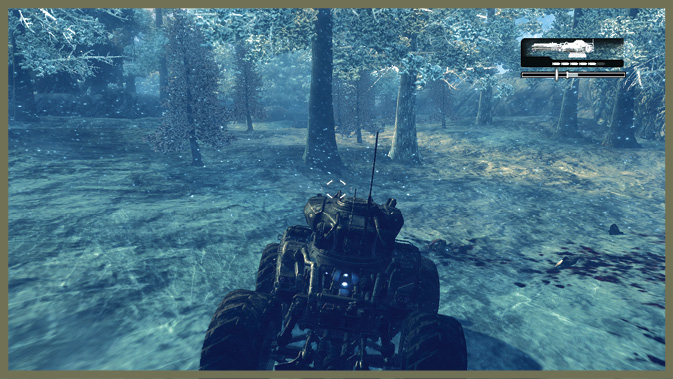
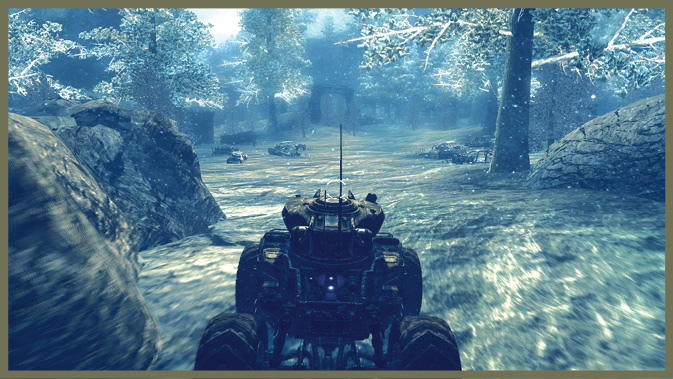
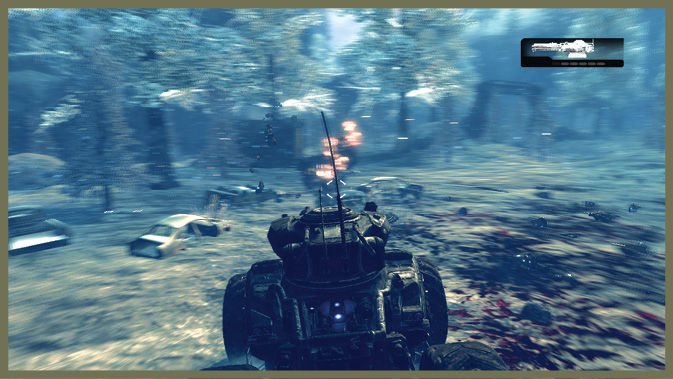
No special tricks in this encounter, swarms of Drones and a few Boomers litter the road. A few precise applications of the Centaur’s cannon, and they end up littering the road.
Encounter 04
LEFT PATH
ENEMY PRESENCE: Boomers, Drones, Troika, Reaver
If you take the left branch from the start point, you have only one encounter to deal with before the path rejoins the right split. But the enemy presence is more substantial than the smaller encounters on the right route.
In this case, treat the Boomers, Troika, and the Reaver as priority targets. Don’t pay much attention to the Drones—you can even run them down if you wish.
On the bright side, once you clear out this checkpoint, the road is clear to the next encounter.
Encounter 05
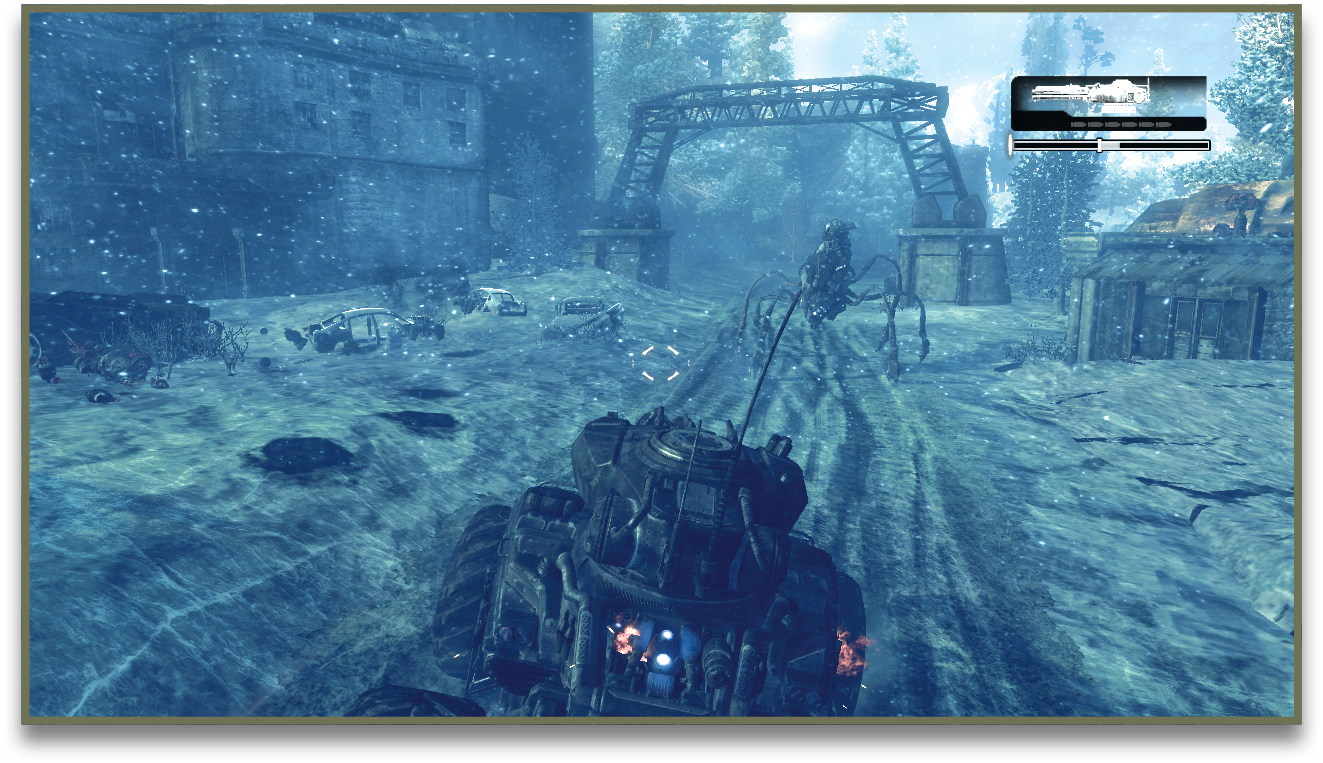
ENEMY PRESENCE: Drones, Troika
As the path reconnects the two split routes, a small Locust force opposes your ascent up the mountain. First take down the Troika up on the building. Then you can either dispatch the remaining Drones or simply ignore them and continue driving.
Encounter 06
ENEMY PRESENCE: Drones, Boomers, Troika, Reaver
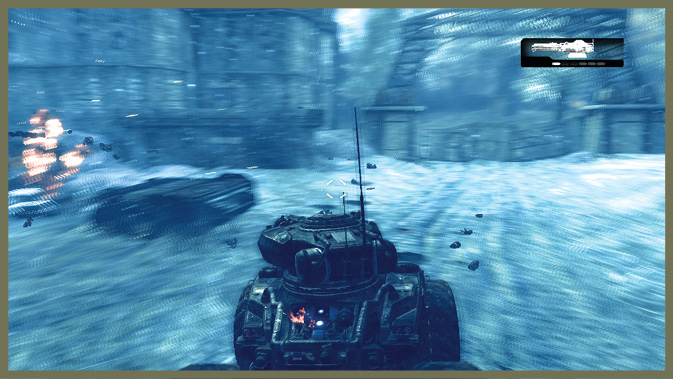
As you approach the building, a substantial Locust ambush faces you: multiple Boomers, a Troika on the building, and a Reaver, along with plenty of Drones.
Keep your distance and pick off the primary threats first. When little more than Drones remain, you can shoot through the barricade blocking the road and continue driving.
Encounter 07
ENEMY PRESENCE: None
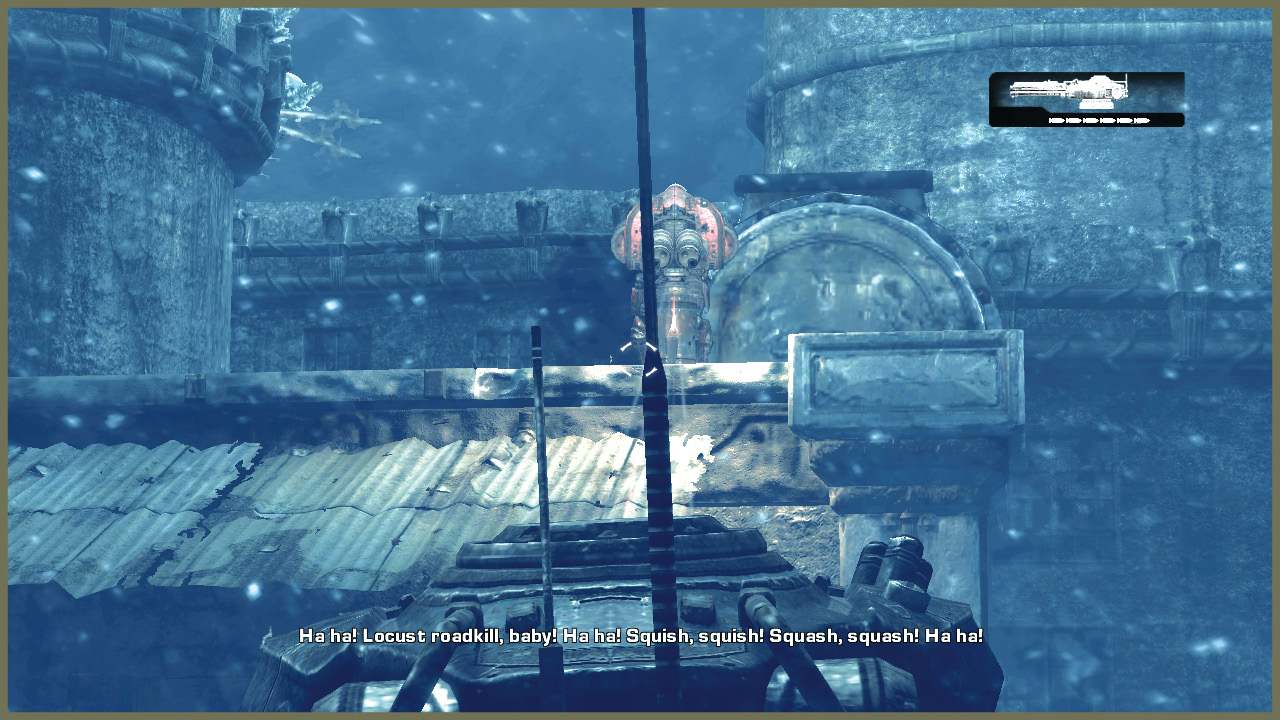
No enemies here, just a sharp drop! Boost and fly over the edge to land in style.
Encounter 08
ENEMY PRESENCE: Nemacyst
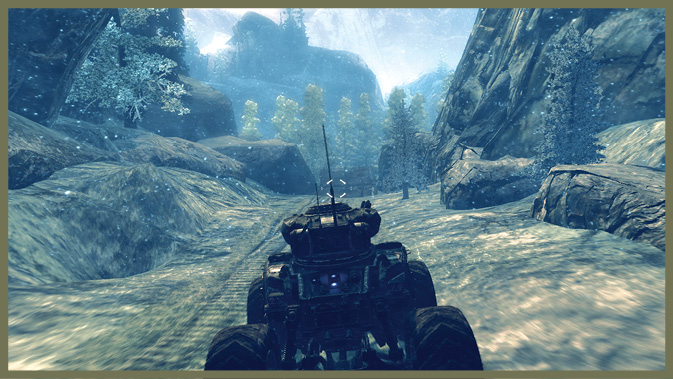
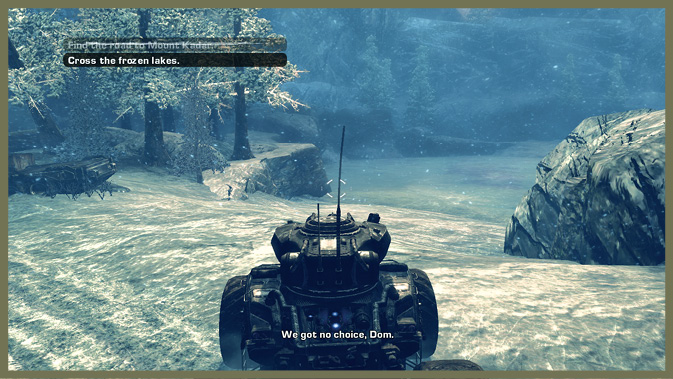
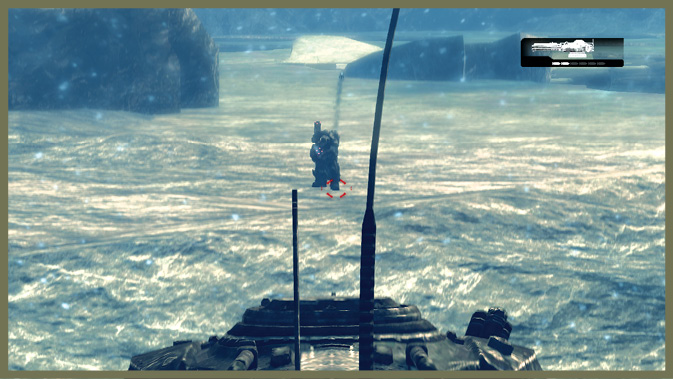
Your next obstacle is a frozen lake. Carefully, slowly drive out onto it. As you do, Nemacyst mortars blast holes in the ice! As long as you take it slow, you can navigate between the holes and come out on the other side. Check the map for a glimpse of how the holes end up covering the lake.
Encounter 09
ENEMY PRESENCE: Reavers, Nemacyst
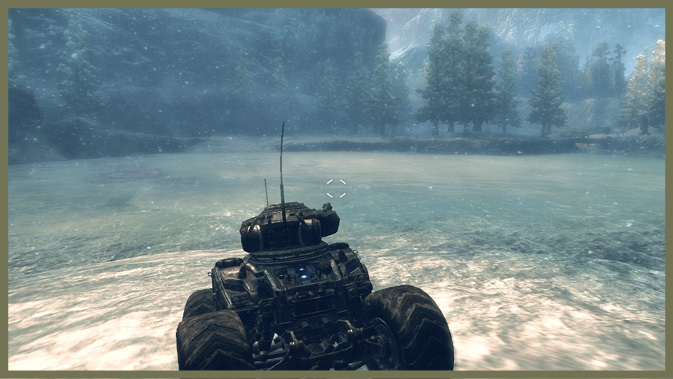
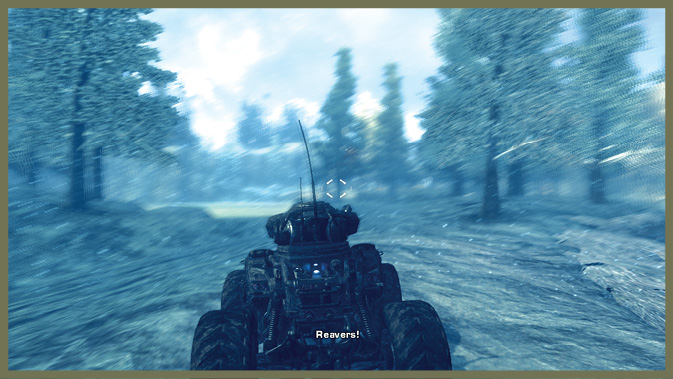
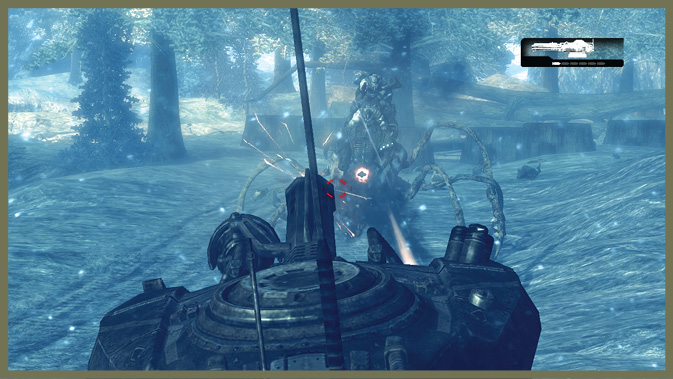
Getting across the lake provides no rest, as two Reavers drop onto the narrow strip of land between the first lake and another just ahead.
Down them both before you attempt to move on—you can’t cross the lake safely with Reavers firing on you.
Encounter 10
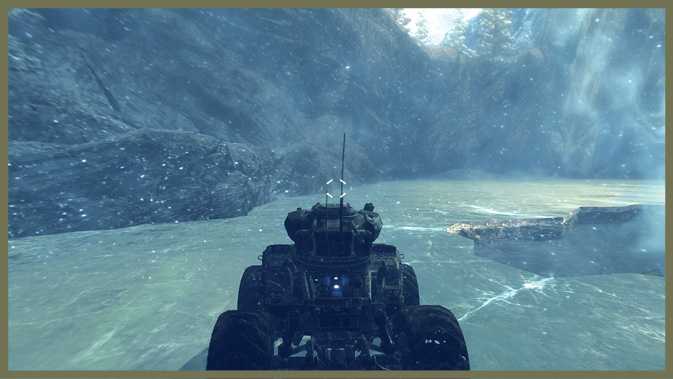
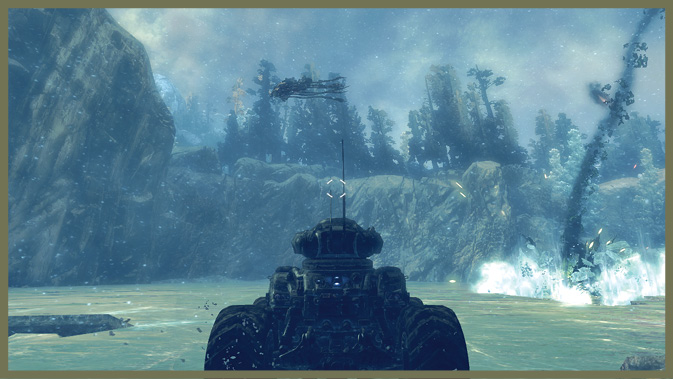
ENEMY PRESENCE: Reavers
Another frozen lake, but this time you have to deal with Reavers dropping in on you as you try to cross. Keep an eye out for them. When they swoop in to land, greet them with thunder from the Centaur’s cannon.
Encounter 11
LEFT PATH
ENEMY PRESENCE: Reavers
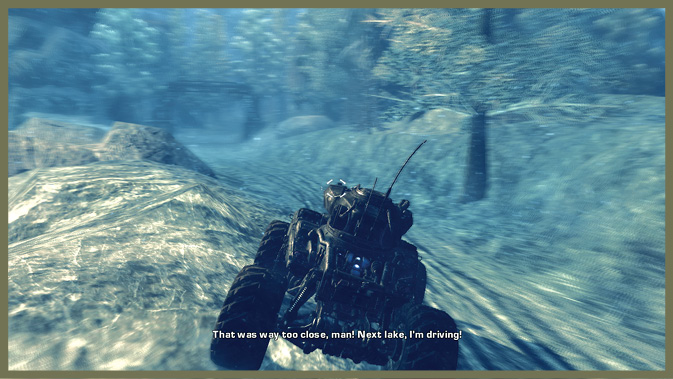
The left route is more direct, but you have to deal with a pair of Reavers as you drive up the road. Focus your fire on one, then down the second as the first one falls.
Encounter 12
RIGHT PATH
ENEMY PRESENCE: Boomers, Reavers
If you follow the right route at the branch here, you must dispatch a few Boomers near the building and then jump a gap out onto a stretch of road.
There are two Reavers past the jump. Because this route is a bit longer and has more enemies, there’s little reason to go this way.
Encounter 13
ENEMY PRESENCE: Drones, Troika
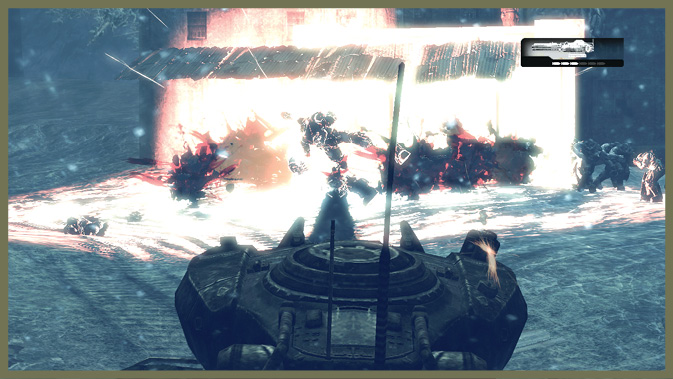
Regardless of which path you take, they both end up here. You must blast out a barricade in the road to continue.
Then blow out the Troika protecting the split in the road. Drones swarm the area; you can blow them into small Locust chunks or simply drive over them.
Encounter 14
ENEMY PRESENCE: Reavers
Two more Reavers drop in as you make your way up the mountain trail. You should have plenty of practice dealing with them by this point—take them out and keep moving.
Encounter 15
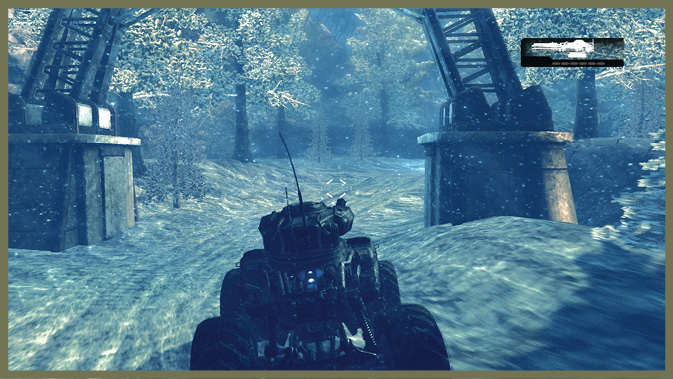
ENEMY PRESENCE: Reaver
A single Reaver here isn’t a major threat. Blow it apart and continue driving up the road.
Encounter 16
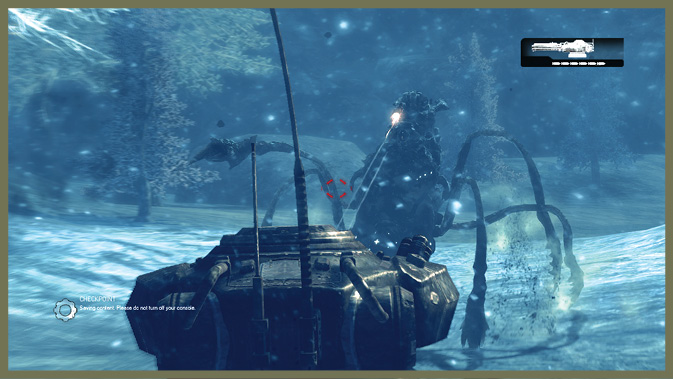
ENEMY PRESENCE: Seeders, Nemacyst
A rare encounter with Seeders, presumably these were the ones launching Nemacyst to the ice lakes. They’re both perched on a distant ridge. Shoot them down before you continue up the road.
Encounter 17
ENEMY PRESENCE: Reavers
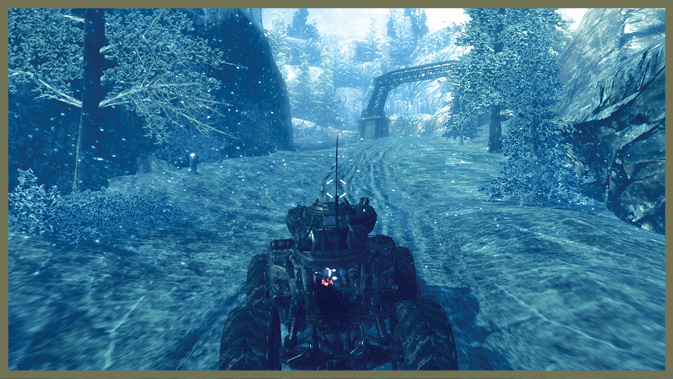
Another pair of Reavers attempts to stop you here beneath this icy bridge. Blow them apart and drive under the bridge to continue.
Encounter 18
ENEMY PRESENCE: None
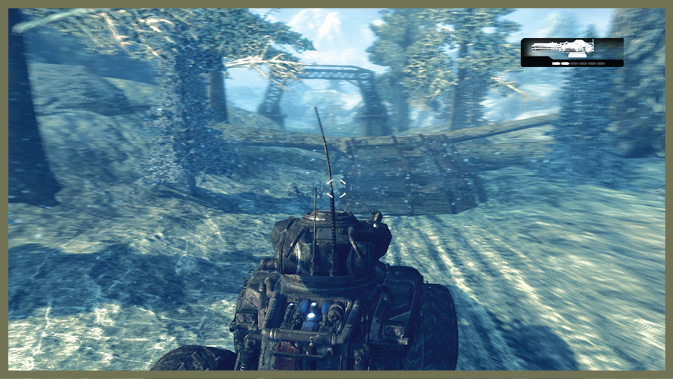
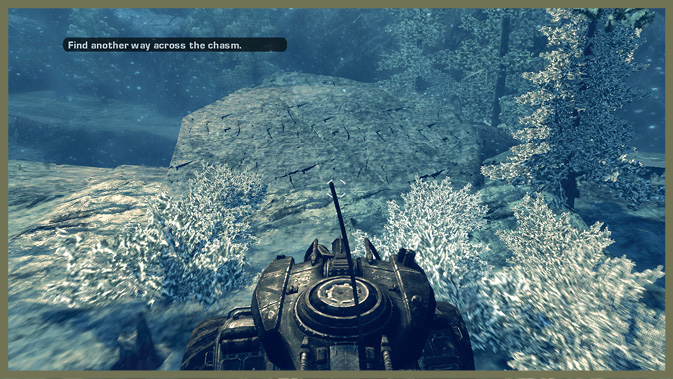
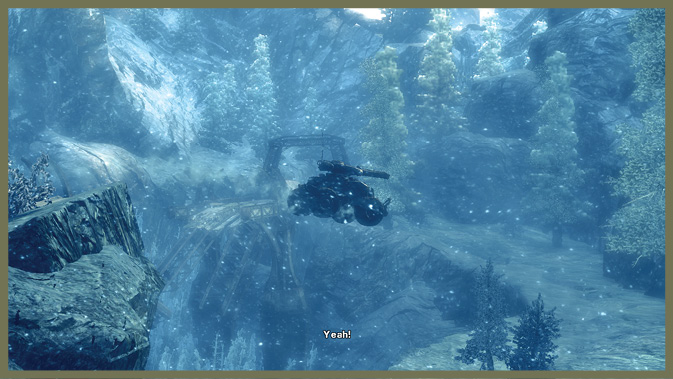
There aren’t any enemies here, but there is a tricky jump. The main bridge across this chasm is destroyed, so you must take advantage of a small ramp to its right.
Before you do, you can run over the trees in front of the ramp to clear a straight path. Then drive back up the road to reach full speed. Boost as you approach the ramp and make sure you’re going straight. If you do this properly, you should land safely in one piece on the other side.
Encounter 19
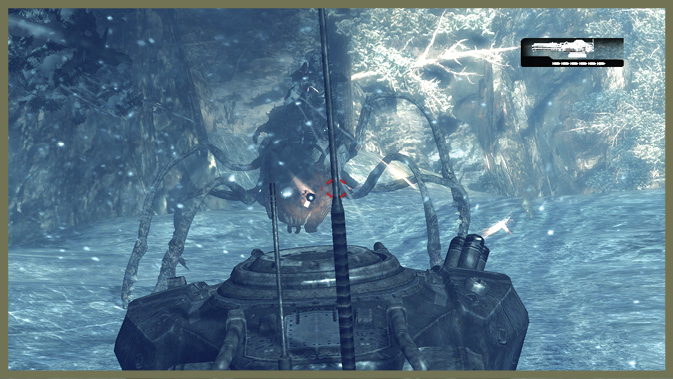
ENEMY PRESENCE: Reavers
You’re getting near the end of the road, and the resistance gets slightly tougher. Two Reavers hit you on the road, and a final one is up on the ridge to your right as you drive up the road. Take your time driving so you don’t have to deal with all of them at once.
Encounter 20
ENEMY PRESENCE: Drones, Boomer, Troika, Reavers
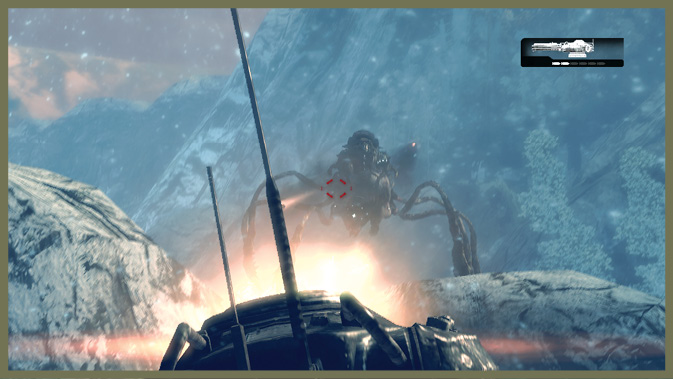
As you approach the tunnel that leads into Mount Kadar, you must pass this final Locust stronghold. As you approach it, you face Reavers, mounted Troika, and Boomers on the ground, as well as a healthy dose of Drones.
Prioritize the Reavers as you edge up to the facility, but don’t rush in. Try to snipe as many targets as possible from the mountain road before you close the distance.
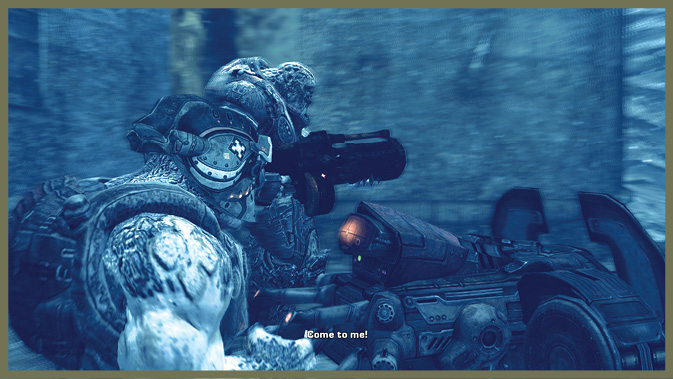
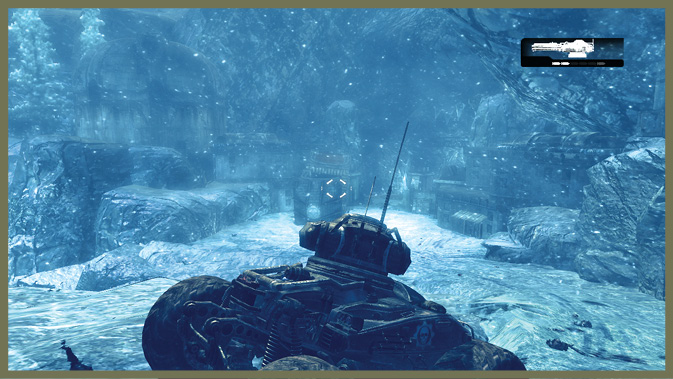
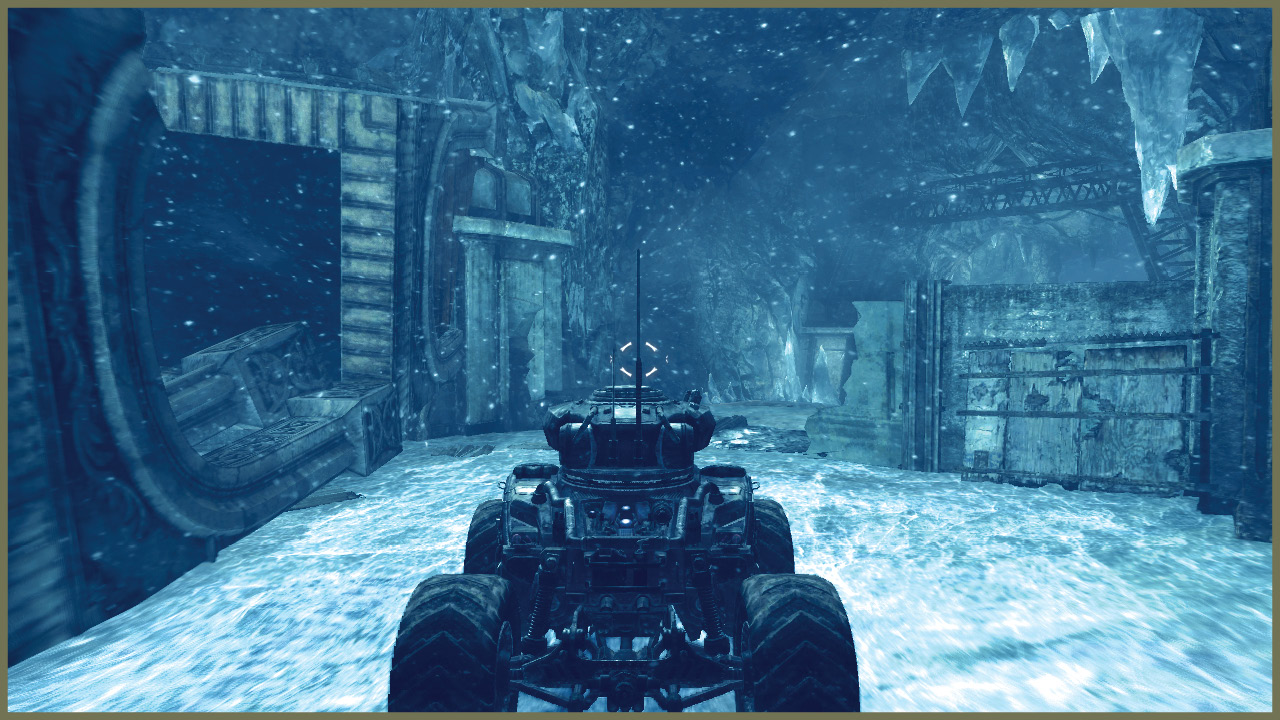
Once you down the major threats, you can blast the tower to the left of the gate blocking access to the mountain tunnel. As the gate falls, your path into the heart of Mount Kadar opens; drive into the darkness.
Encounter 21
ENEMY PRESENCE: Corpser
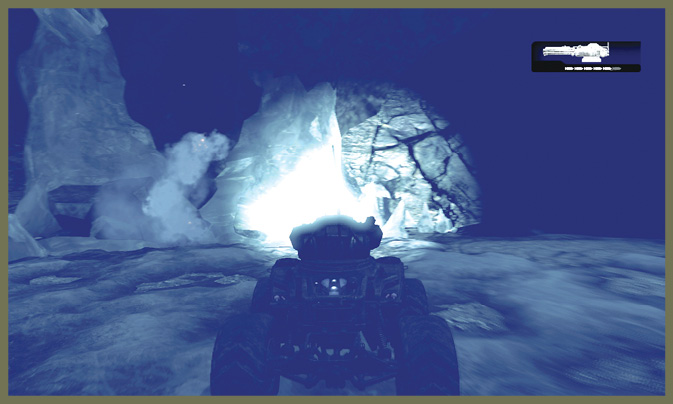
As you enter the tunnel, it begins to dim until the lights are gone. The Centaur’s lights provide some illumination, but it is still a gloomy venture.
As you get near the wall at the back, a Corpser bursts through, menacing you only a moment before withdrawing. This opens a route deeper into the mountain—follow it!
Encounter 22
ENEMY PRESENCE: None
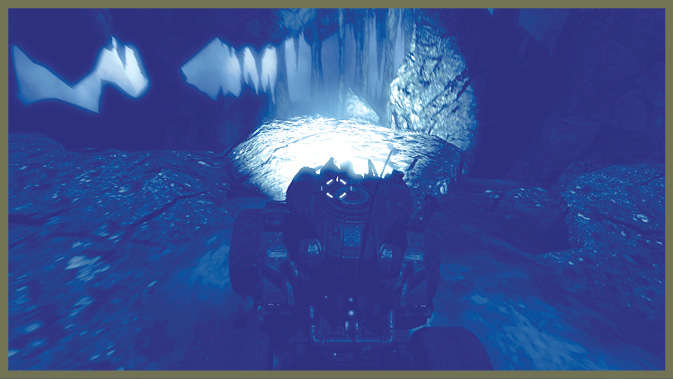
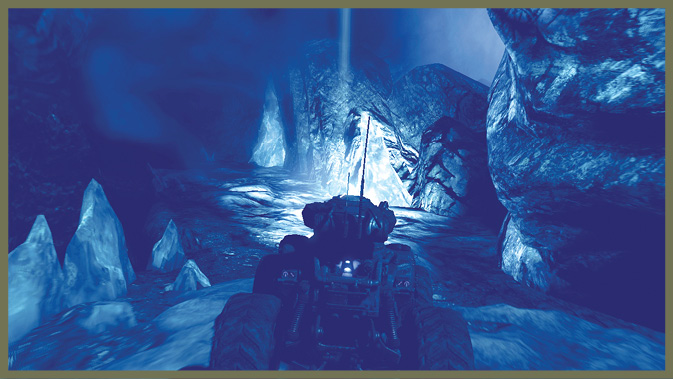
A steep drop from your level to a lower passage makes for a bumpy drop. But there’s no danger here, so just keep moving.
Encounter 23
ENEMY PRESENCE: None
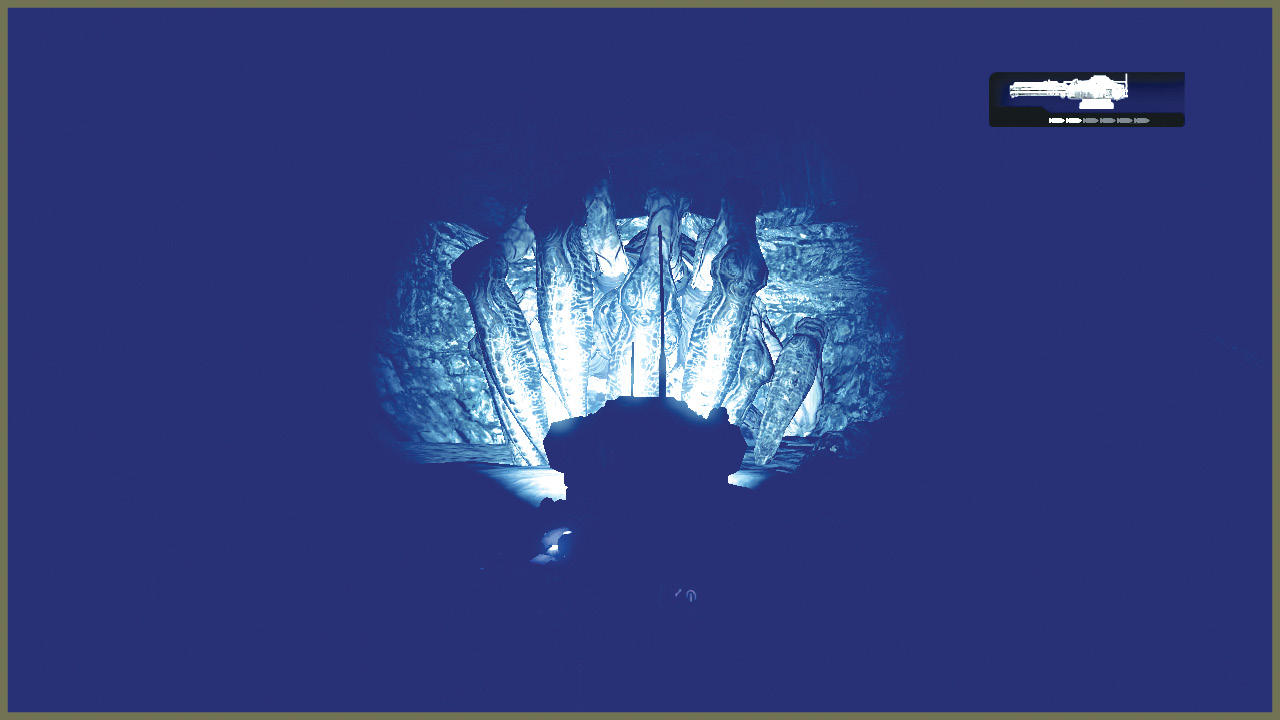
Another drop, this one is hard enough to make the Centaur’s lights flicker. After you reorient and continue moving, you can see an unpleasant sight: a Brumak stomping along, parallel to you on the right side. As it tramps along, some of the rock columns to your right collapse. Carefully drive under the arch that remains.
Encounter 24
ENEMY PRESENCE: Corpsers
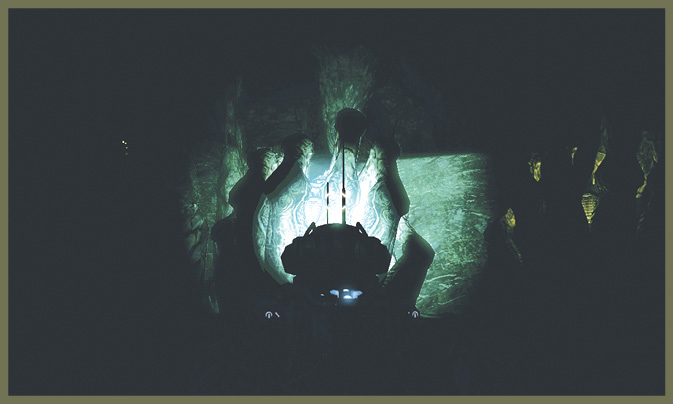
A long drop here slams and shocks the Centaur, knocking the power out…along with your lights. The gleaming light of a Corpser’s eyes is not a comforting sight.
The instant the power comes back, target and fire! Three Corpsers surround you, and you need to eliminate them quickly. Aim for the Corpsers’ faces to kill them swiftly.
Encounter 25
ENEMY PRESENCE: Brumaks
If the Corpser encounter wasn’t bad enough, the grand finale when you arrive in this cavern is not one, but two Brumaks. They aren’t happy to see you on their turf.
You have plenty of room to maneuver in the large cavern where they attack. Be sure to keep your distance, and take any opportunity to mess with their line of sight.
If at all possible, focus your fire on one of the two Brumaks. This cuts down on the incoming fire you receive.
To gain a small edge, you may wish to empty the Centaur’s ammo load and then perform a Perfect Active Reload before you engage here.
Once you take down the Brumaks, you must make a final long jump to finish this chapter and penetrate deeper into Mount Kadar!