Gears of War 2 Guide ACT III: Gathering Storm
Chapter 3: Rude Awakening
Reactivating the computer systems has had an unintended side effect. The creatures within the stasis chambers have begun to wake up…and they aren’t friendly.
You must fight your way back out to the Centaur, where Cole and Baird are waiting, and escape the facility with a new destination in mind: Mount Kadar.
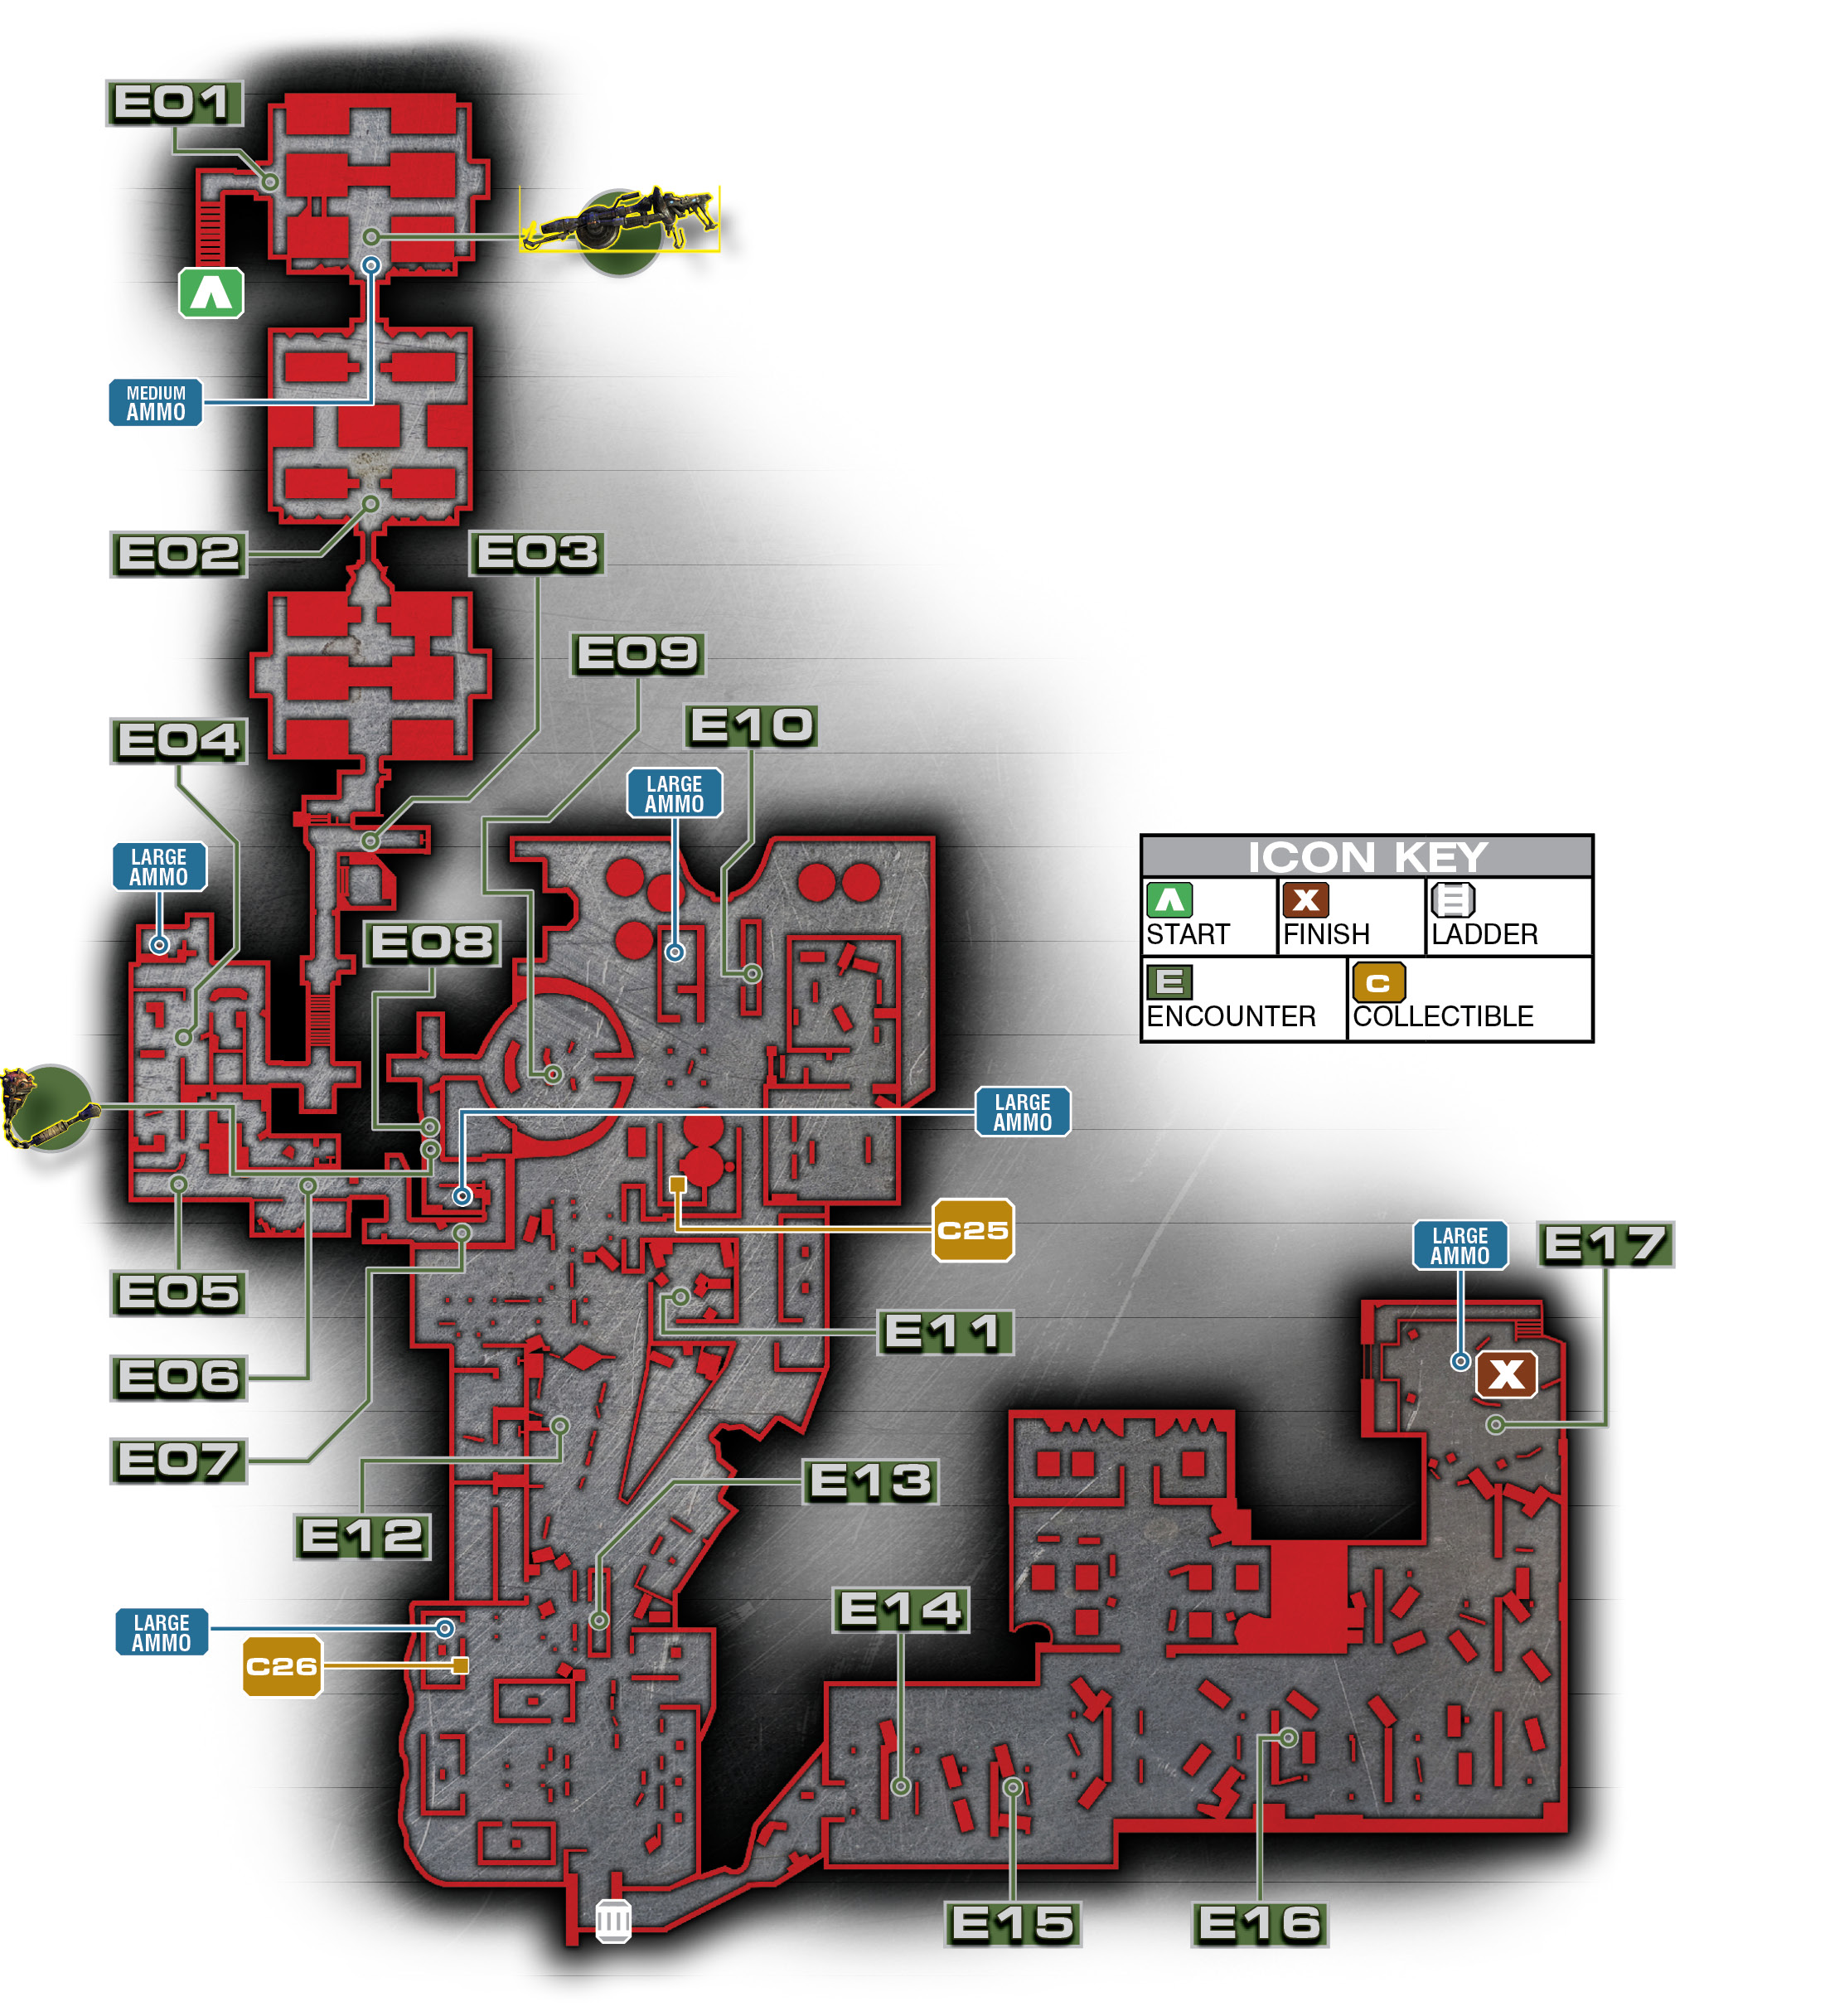
Encounter 01
ENEMY PRESENCE: Sires
Unintended consequences or no, the things contained within the stasis chambers have awakened. As you exit the computer room, it quickly becomes clear that they are aggressive and dangerous.
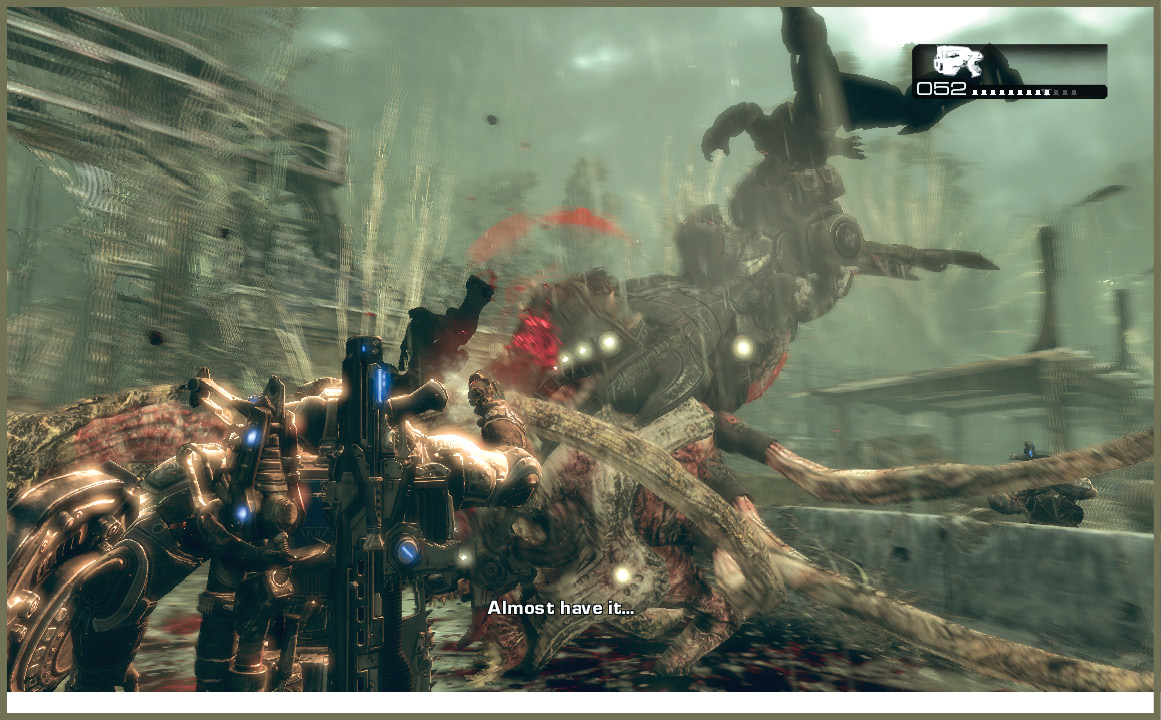
The only bright side to the mass of emerging teeth and claws is that these beings are a threat only at close range in melee combat. They’re also soft, fleshy, and perfect for ripping to shreds with the Lancer chainsaw bayonet.
You can shoot them down. But they frequently stand right back up and come after you again! The safest way through is often simply chain-sawing every one in sight until the area is clear.
They’re fairly quick, but you can Roadie Run and fire on the move to down them if you’re simply moving from area to area. There is a medium ammo box to the side of the door that leads to the next encounter.
Encounter 02
ENEMY PRESENCE: Sires
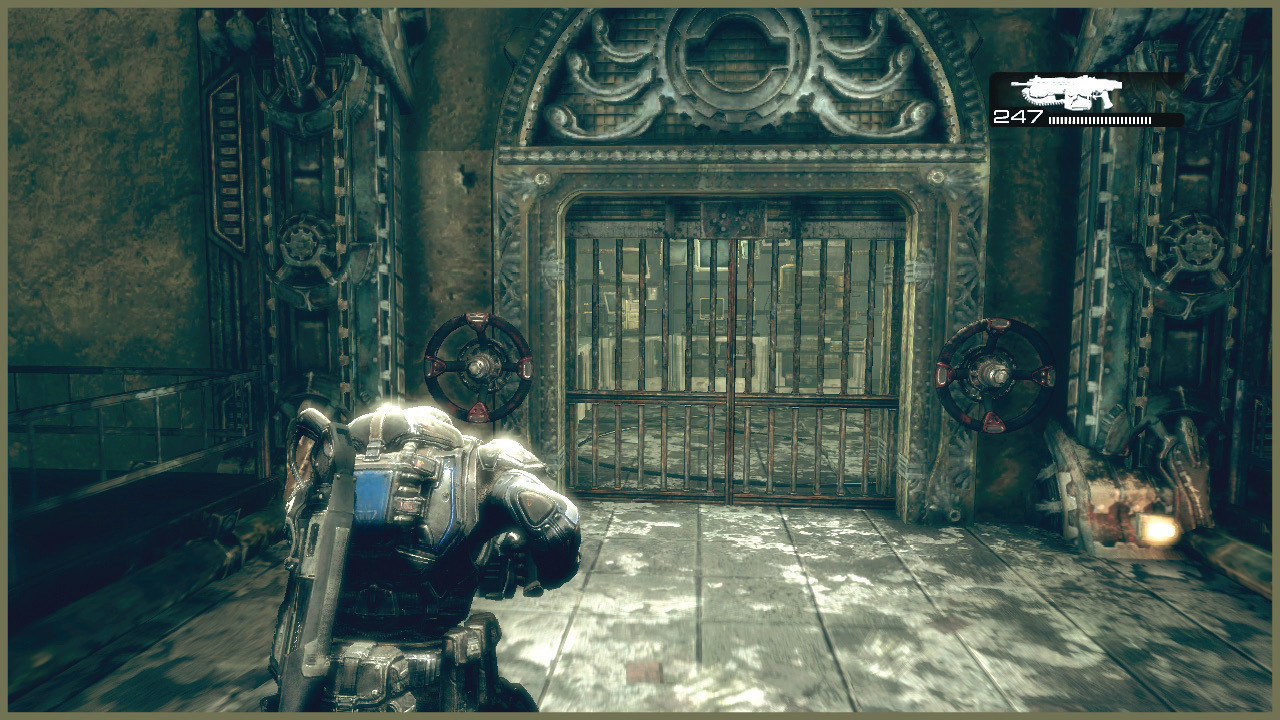
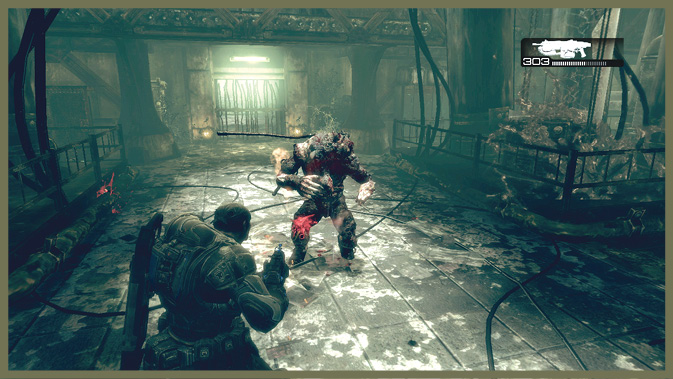
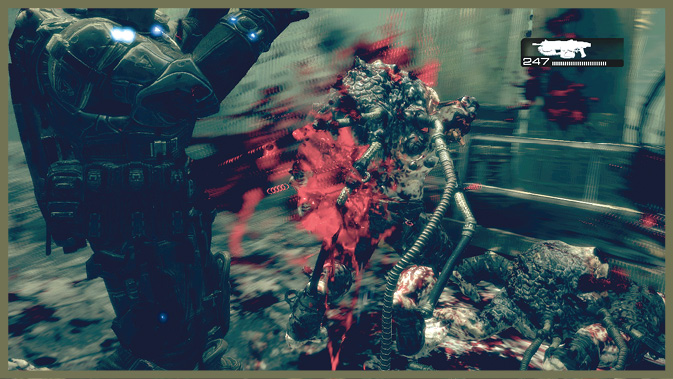
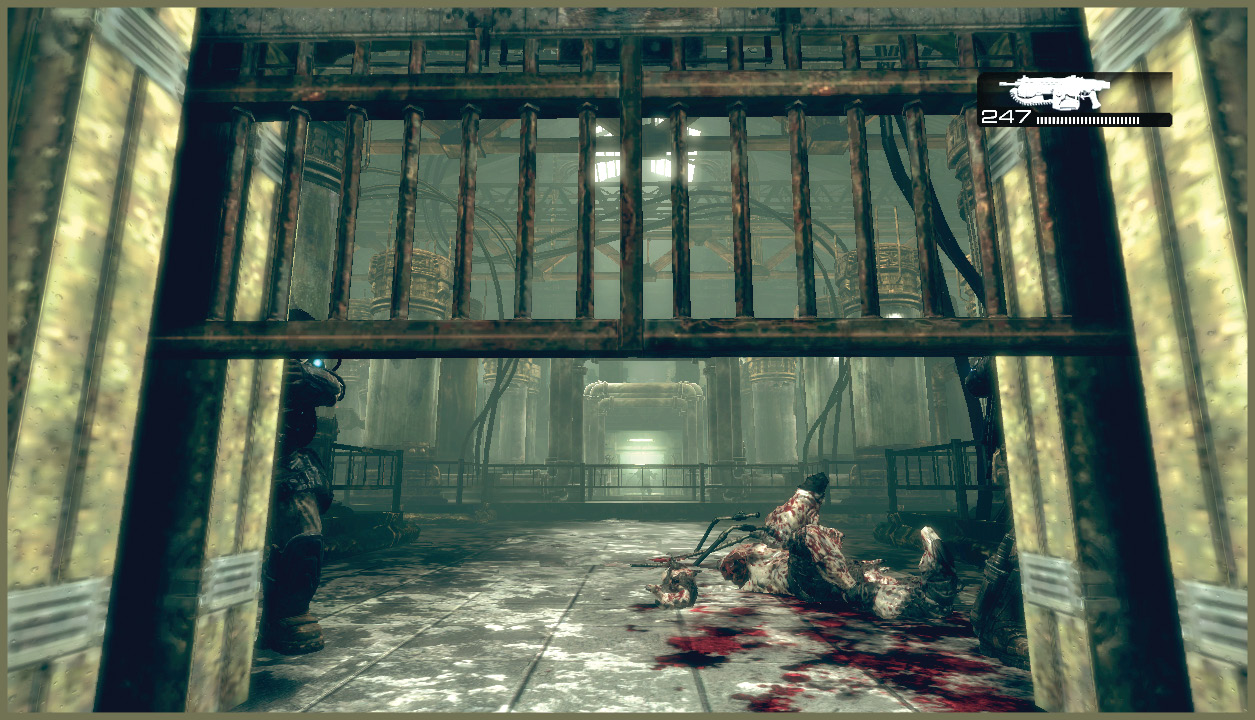
Before you enter the next room, there is a flamethrower and a medium ammo box to the left.You don’t have a choice about fighting in this next room. There’s a sealed gate, and two wheels must be turned to open it. Because you and Dom both must operate the wheels, you must first exterminate the creatures in the area before it’s safe to open the gate.
Fight near the doorway and chainsaw as many of them as you can. When the area is quiet, open the door and continue.
While this excitement carries on, a storm brews outside—a razorhail storm. This vicious atmospheric threat is just as dangerous as the creatures attacking you inside the facility. The blowing storm brings a rain of tearing shards from the sky. Baird and Cole are pinned down, and getting back to the Centaur will be problematic.
Encounter 03
ENEMY PRESENCE: None
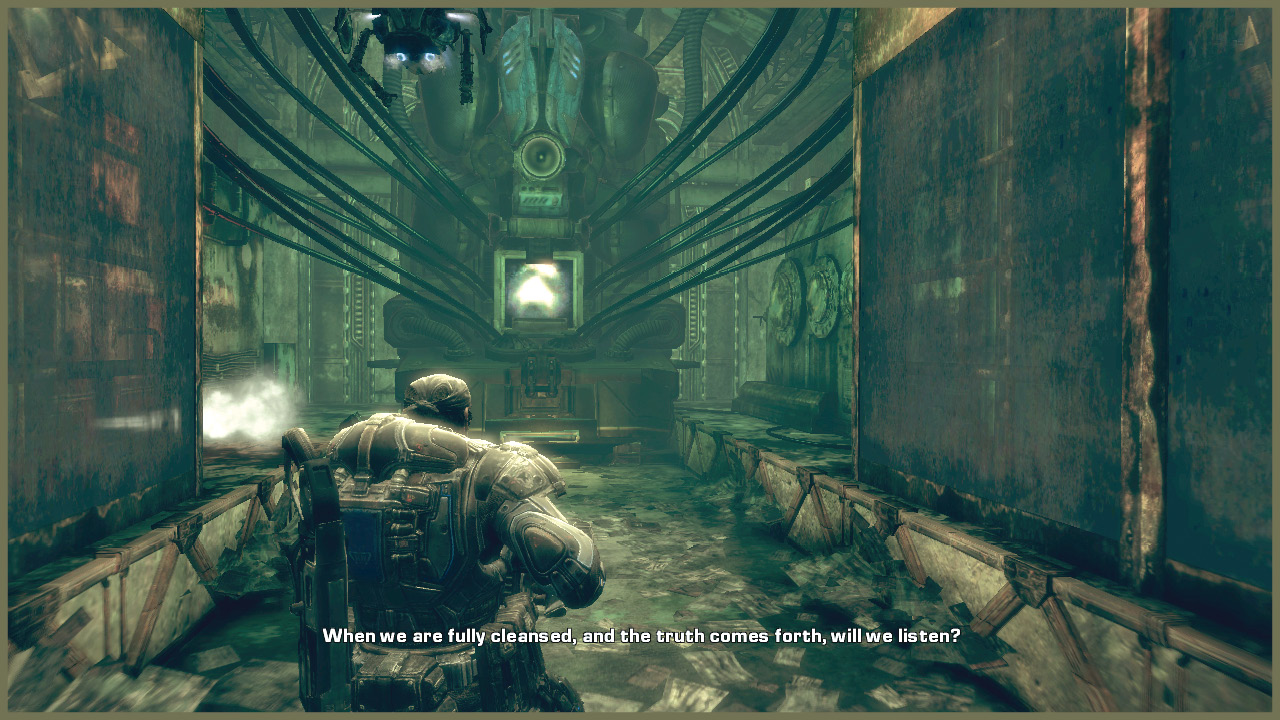
You reach the heart of the security system in this room. The Niles AI must be shut down, as he’s acting against your team. You can’t have a rogue AI causing problems while you’re dealing with everything else. Find the main switch inside this room and shut him down.
Encounter 04
ENEMY PRESENCE: Drones, Flame Grenadiers
After you leave behind the computer center, a new threat arises. Locust forces have arrived at the facility. As you enter this room, the vanguard of their force smashes through the wall. If you need it, this room contains a large ammo box
This is your first encounter with the Scorcher-wielding Grenadiers. These flamethrower-brandishing foes are a dangerous threat in close quarters—exactly where you’re forced to fight them here!
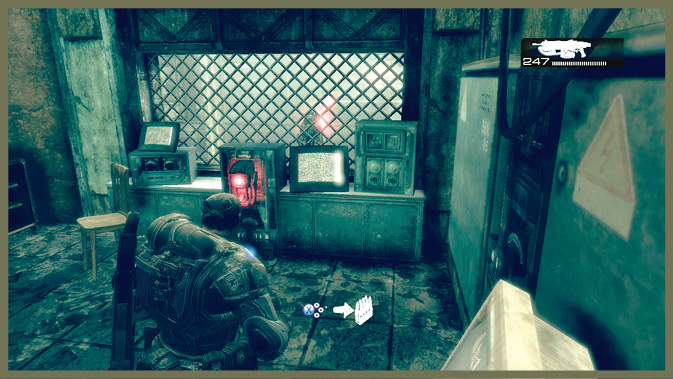
However, there is a tactical advantage you can employ. Check the back room for a switch that controls the security turrets in the room where the Locust arrived. Turn it on and watch the fireworks. Then flip it off so you can safely leave the room.
Encounter 05
ENEMY PRESENCE: Drones, Flame Grenadiers
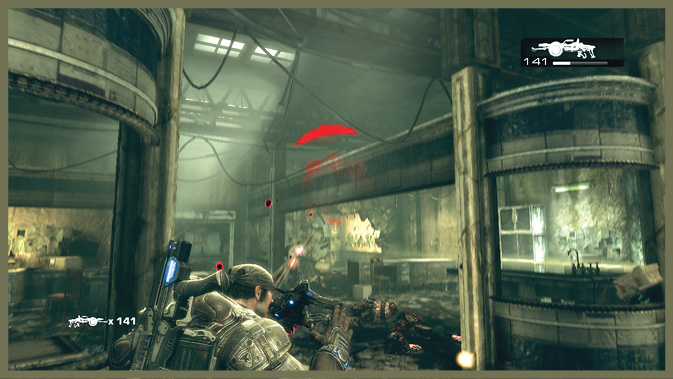
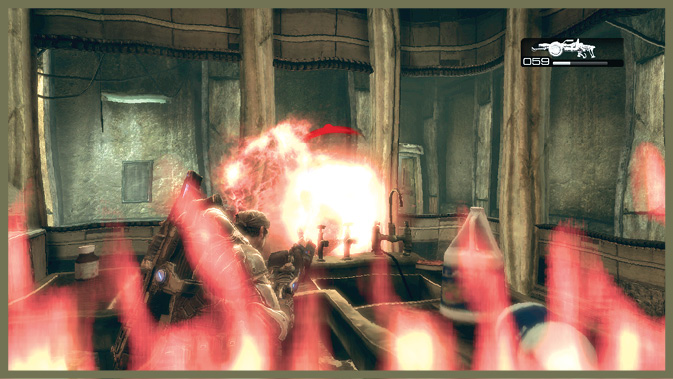
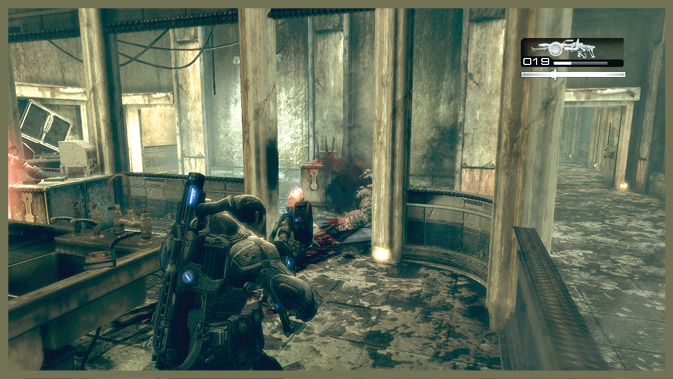
More Drones and Scorcher users here; keep your distance and focus fire on the Scorcher wielders first. They’re more dangerous than the Drones. If you like using the Scorcher, use this opportunity to stock up on ammo from their dropped weapons.
Encounter 06
ENEMY PRESENCE: Drones, Flame Grenadiers
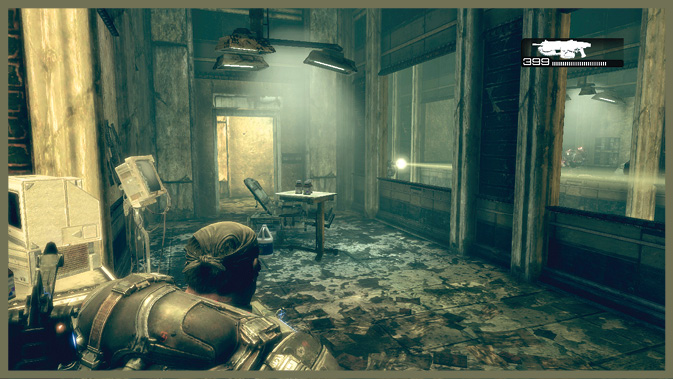
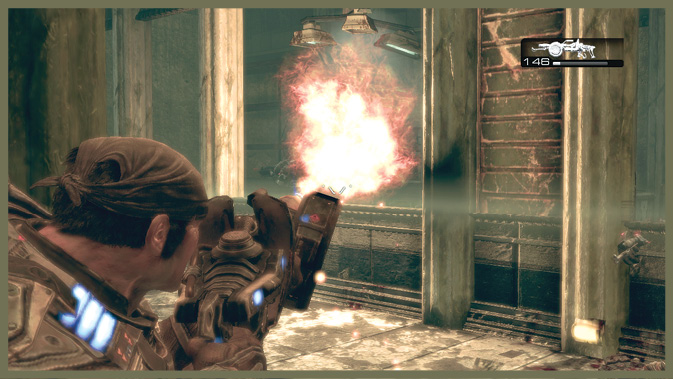
The next room has a nasty ambush, featuring more Drones and Scorcher Grenadiers in the hall. This makeshift battlefield is made up of three parts: your side of the hall in a few rooms, the central hallway, and the opposite rooms. Each area is exposed to fire through windows.
More critically, a security turret in the central hall makes passing through the middle hazardous. You can turn this to your advantage. Rather than engaging in head-on conflict with the Locust here, sneak around into a back room on your side. Find a switch and pull it. The security turret drops down from the center hall, and a new one pops up over on the Locust side!
With the help of the turret, you can easily clear out the remaining Drones and continue down the hall.
Encounter 07
ENEMY PRESENCE: Drones, Flame Grenadiers
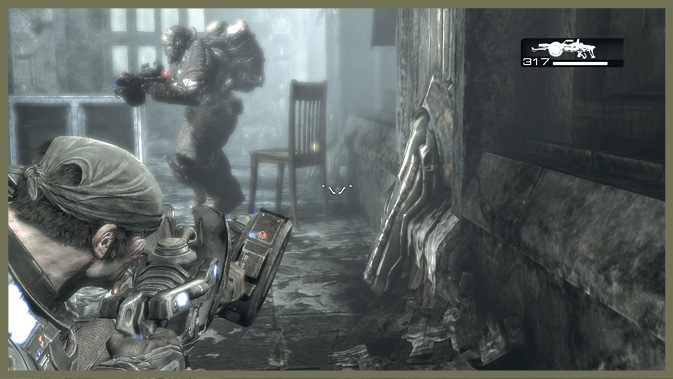
A Drone and a Scorcher Grenadier lie in wait down this hall, making for a brief fight. Keep your distance, pick off the Scorcher user first, and then keep moving.
Encounter 08
ENEMY PRESENCE: Drones, Flame Grenadiers
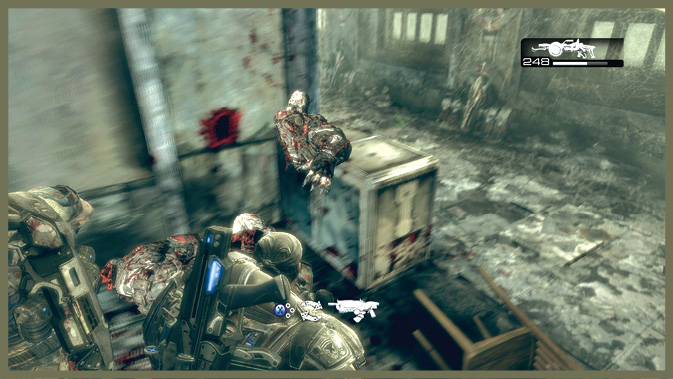
The exact same battle calls for the same remedy—hang back and take down your foes from cover at a distance.
If you’ve picked up a Scorcher of your own, there’s one point worth mentioning: going after Scorcher-wielding Grenadiers is not a recipe for success. You eventually end up badly burned no matter how you engage them.
Encounter 03
ENEMY PRESENCE: Grinder, Flame Grenadiers, Drones
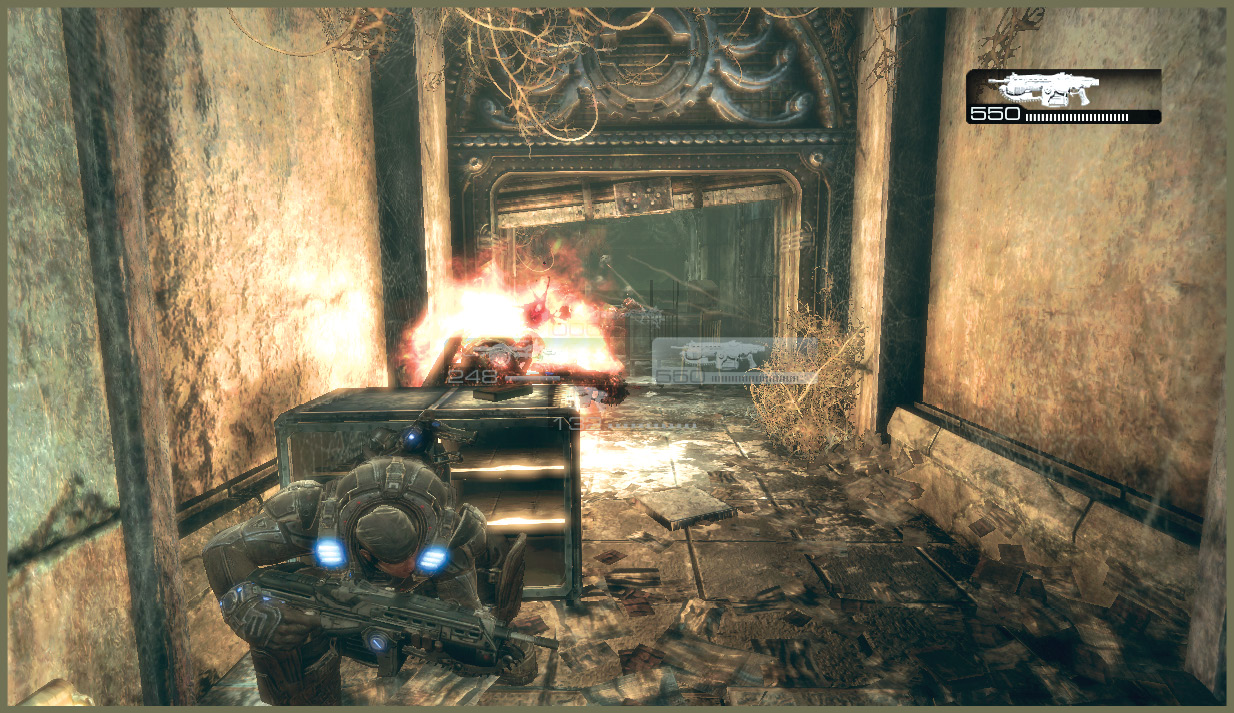
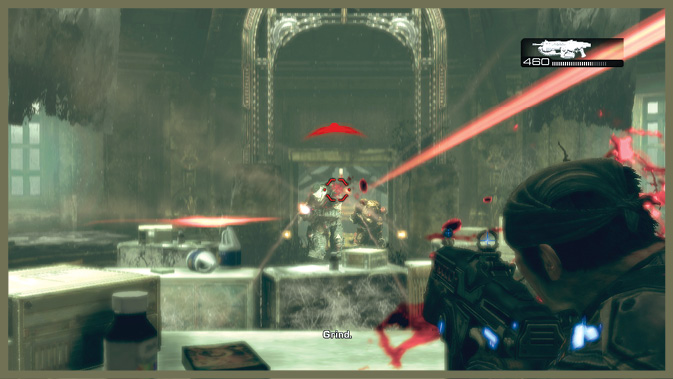
As you enter this sizable room, a larger Locust force comes in from the door that leads outside. There are Drones, Flame Grenadiers, and a Grinder in the mix.
Quickly take cover and try to pick them off. You don’t have to actually kill them all. After a short time, the glass ceiling breaks under the battering from the razorhail storm. This inclement weather makes quick work of the Locust out in the middle of the room!
Encounter 03
ENEMY PRESENCE: Drones, Grinder
Once you get outside the facility, the razorhail storm’s full force and fury become apparent. Walking directly back to the Centaur is not an option, at least not without the storm cutting you to ribbons.
You must exploit the scant cover afforded by the ruined buildings and the rusting train hulks in the yard.
Before you get moving, head into the nearby building to pick up the collectible, and then hop into the train.
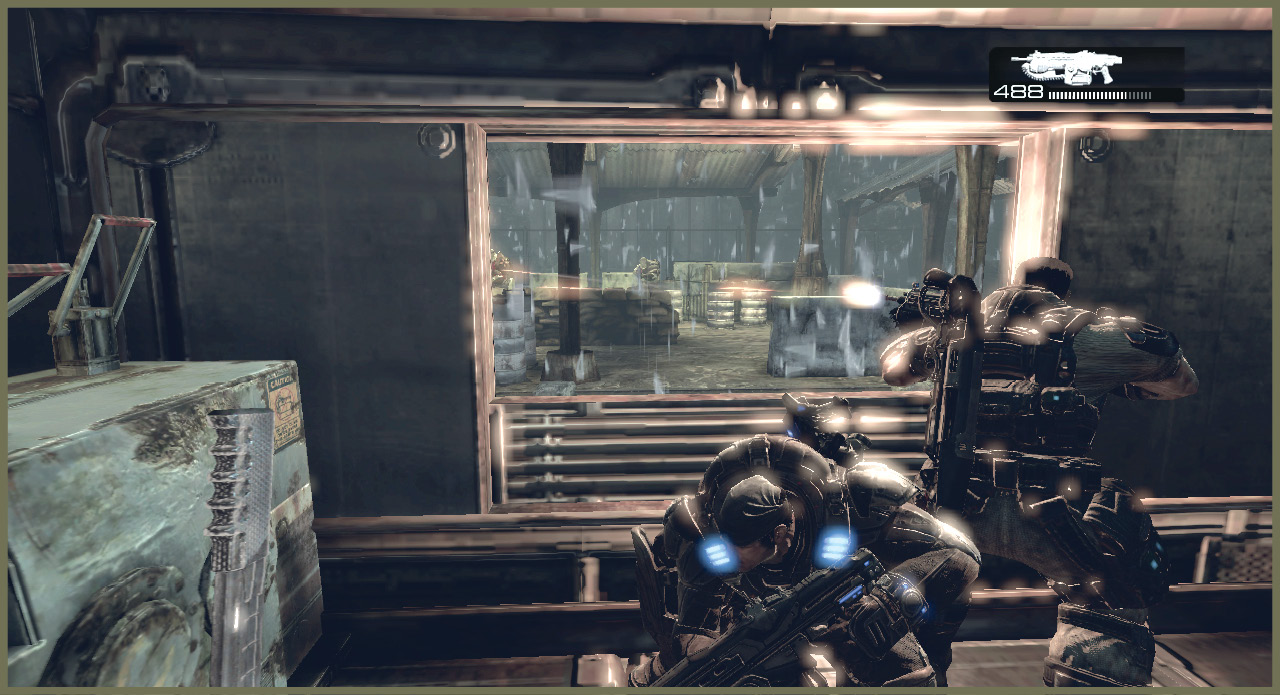
Inside the train car, you can pull the lever to get it moving. As you do, several Drones arise from an Emergence Hole outside the train windows. As the train car moves, you also pass a Grinder and more Drones. None of this is a problem, though; just keep your head down until the train reaches its destination.
Encounter 11
ENEMY PRESENCE: Drones, Snipers
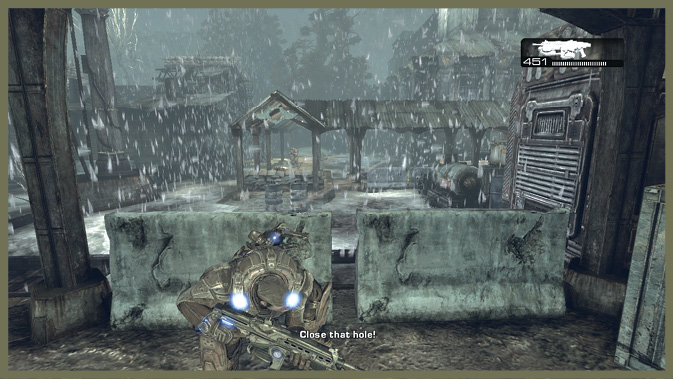
Once you disembark the train at the covered platform, you’re safe for the moment. That is, until you step forward and an Emergence Hole appears out in the open.
Several Drones and Snipers arise from the hole and take up positions under a covered walkway. Two waves of Locust originate from the hole if you don’t close it.
There are a few ways to deal with this situation. You can stay put and try to pick them off from a distance, or you can move down the covered walkway and try to flank them—it’s comprised of several sharp L turns.
In either case, once you deal with the hole, use the walkway to reach the next building safely.
Encounter 12
ENEMY PRESENCE: Drone, Sniper
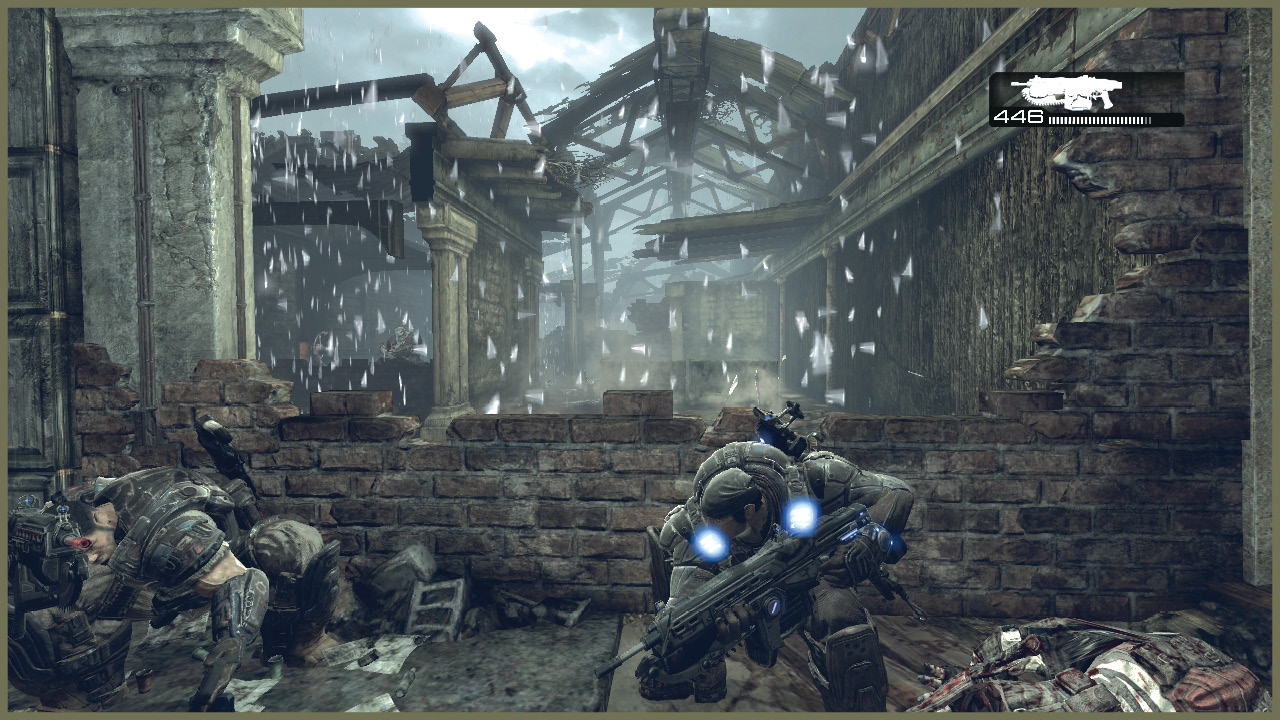
There are two Locust inside the garage building: a lone Sniper and a single Drone. Deal with the more dangerous Sniper first.
Once you deal with the Locust inside, turn the wheels on the garage doors to move them up and thus provide cover from the razorhail.
You can move from door to door this way until you reach the last door, which is outside the garage and covered by several Drones outside. Take them down, and then use the last garage door to reach the next train car.
Encounter 13
ENEMY PRESENCE: Drones, Boomer, Grinder
Once you’re past the garage, be sure to stop in the nearby building to pick up the collectible. There is also a large ammo box in this building.Then hop onto the second train car.
Inside, pull the lever to get your ride moving. You pass several groups of Drones, a Grinder, and, of greater concern, a Boomer. You can easily avoid the Drones and Grinders by keeping your head low in cover, but the Boomer can hurt you with splash damage. Concentrate your fire on him as the train car moves.
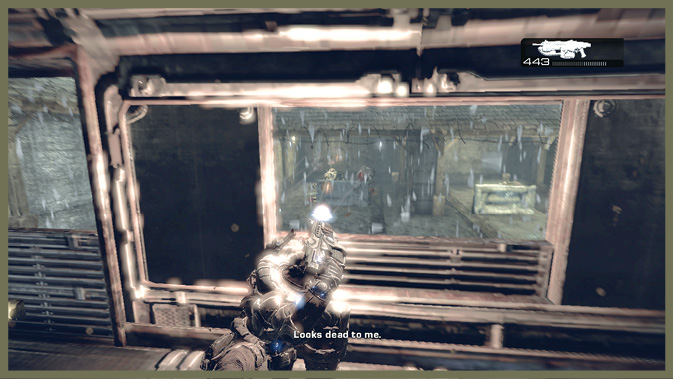
When the train ride ends, you can climb up a ladder to a covered walkway. It leads back to the courtyard out in front of the facility—you’re nearly home!
Encounter 14
ENEMY PRESENCE: Drones
Back down in the courtyard, a series of covered areas leads back toward the Centaur.
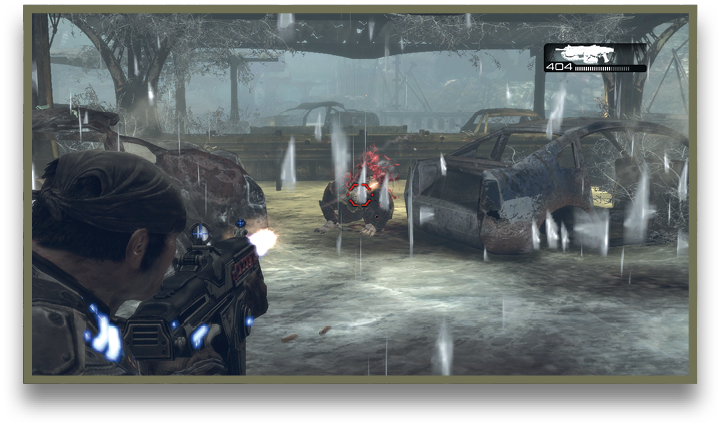
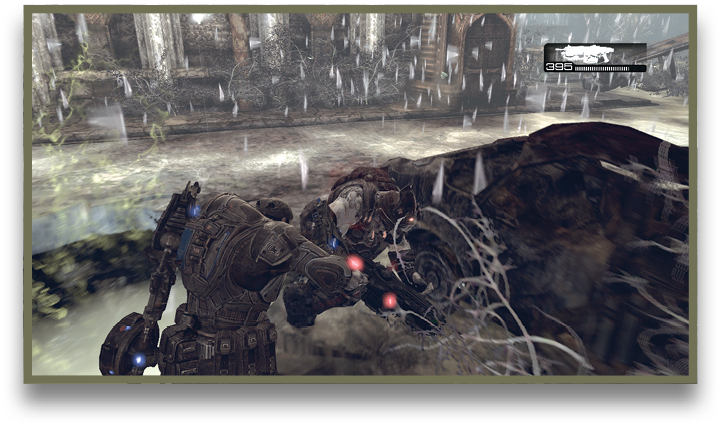
As you reach the first, an Emergence Hole opens, spewing forth Drones. Use the plentiful cover in the area and take them down. Or simply grenade the hole if you have any frags handy.
Encounter 15
ENEMY PRESENCE: Drones, Maulers
Sprint from the safety of the covered roof, get past the razorhail, and reach the next bit of cover. When you reach it, another Emergence Hole opens and more Drones rise to attack.
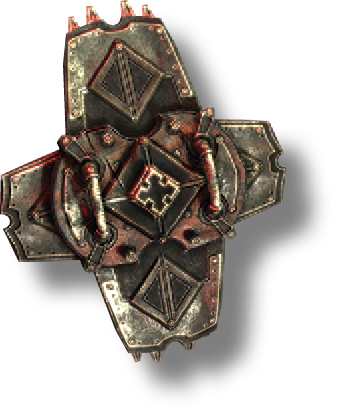
The Drones are just a sideshow. Shortly into the battle, a pair of Maulers shows up. These massive Boomer-sized Locust wield close-range explosive flails and carry the powerful Boomshields.
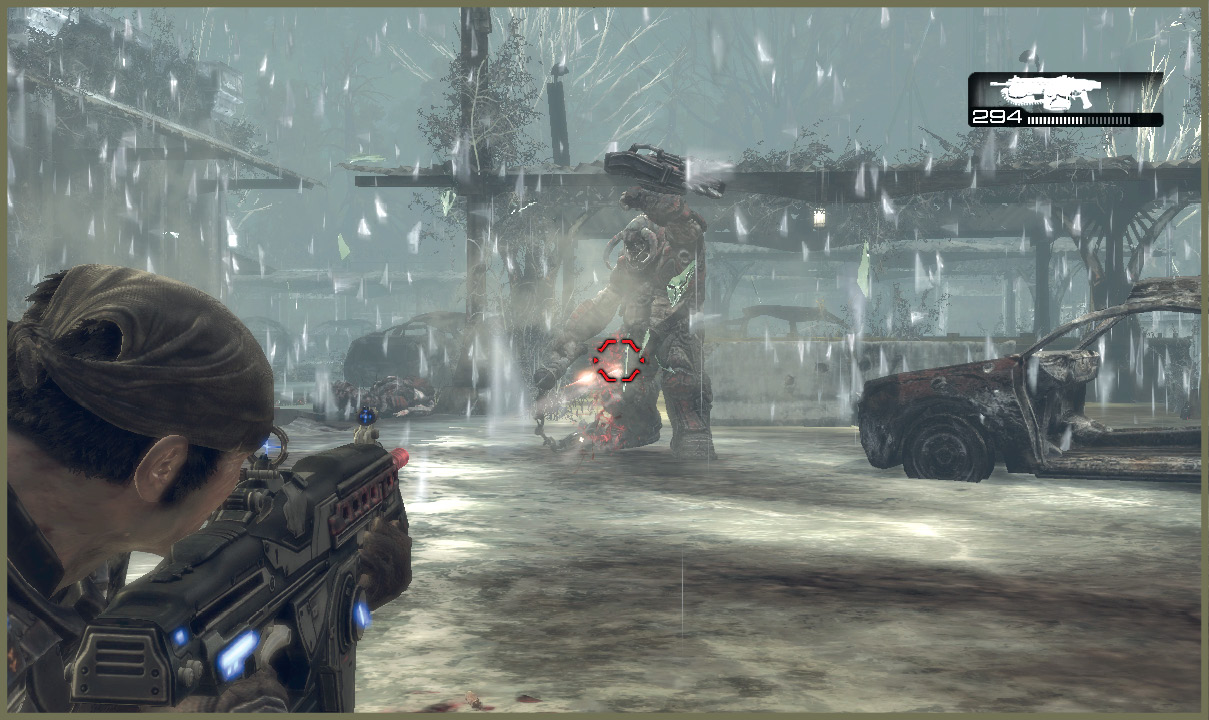
Normally, the Boomshields provide almost perfect frontal defense for Maulers. But in this case, they use them as mobile protection from the razorhail!
Take advantage of this momentary weakness, concentrating all of your firepower on the Maulers when they show up.
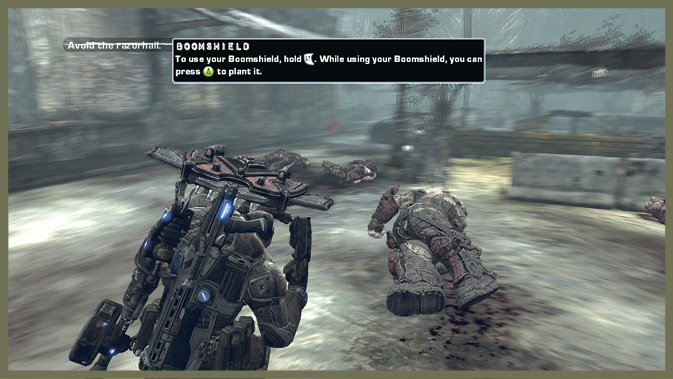
Once you down the Maulers, you can sprint out and pick up one of their Boomshields. Then you can easily walk in the razorhail with the shield over your head.
 Boomshield
While not strictly a ‘weapon,’ the Boomshield is nonetheless a very powerful defensive tool. Much like a meat shield, you can use the Boomshield to block fire from the front.
However, unlike a meat shield, the Boomshield does not wear out. You can continue using it for as long as you like. You’re still restricted to pistol-class weaponry, but you can move more quickly.
One last thing: the Boomshield can be planted as static cover and then picked up again. This lets you to bring your heavier two-handed weapons to bear and still enjoy the benefit of mobile cover when you need it!
Encounter 16
ENEMY PRESENCE: Drones
Your next fight is nearly a freebie. Use your newfound Boomshield’s awesome protective power against the Emergence Holes that spring up here. The Drones that come out don’t have the firepower to penetrate the shield, and you can take them down easily and safely.
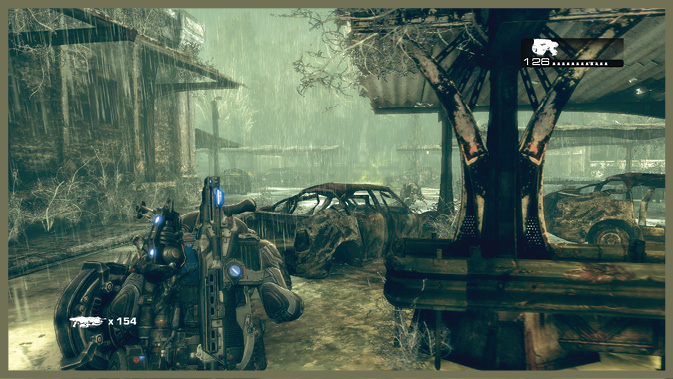
As the razorhail dies off, your path to the Centaur is clear, and you can proceed without danger from the storm.
Encounter 17
ENEMY PRESENCE: Reavers
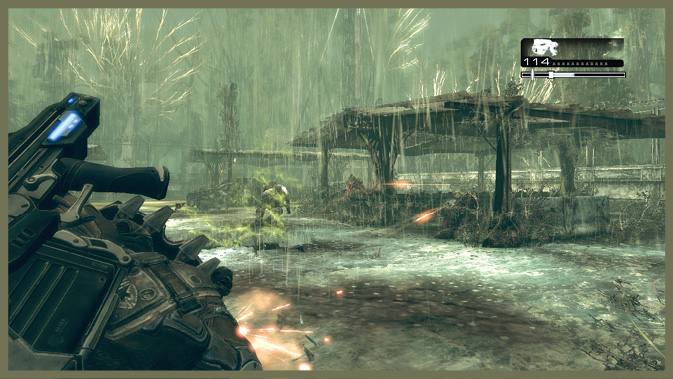
Last stop. Once you reach the Centaur, Baird has to work on repairing it from the damage caused by the storm. This would be fine…if Reavers didn’t show up!
Two Reavers come after you here. Your Boomshield is still plenty useful to block their shots. You may simply want to plant it and use it as stationary cover so you can break out your heavier weapons.
Be careful about letting the Reavers get too close to you. You don’t want them spearing you with their talons, whether you’re behind hard cover or Boomshield cover.
Once you deal with the two Reavers, Delta sets off in the Centaur for a new destination.