Gears of War 2 Guide ACT II: Denizens
Chapter 1: Scattered
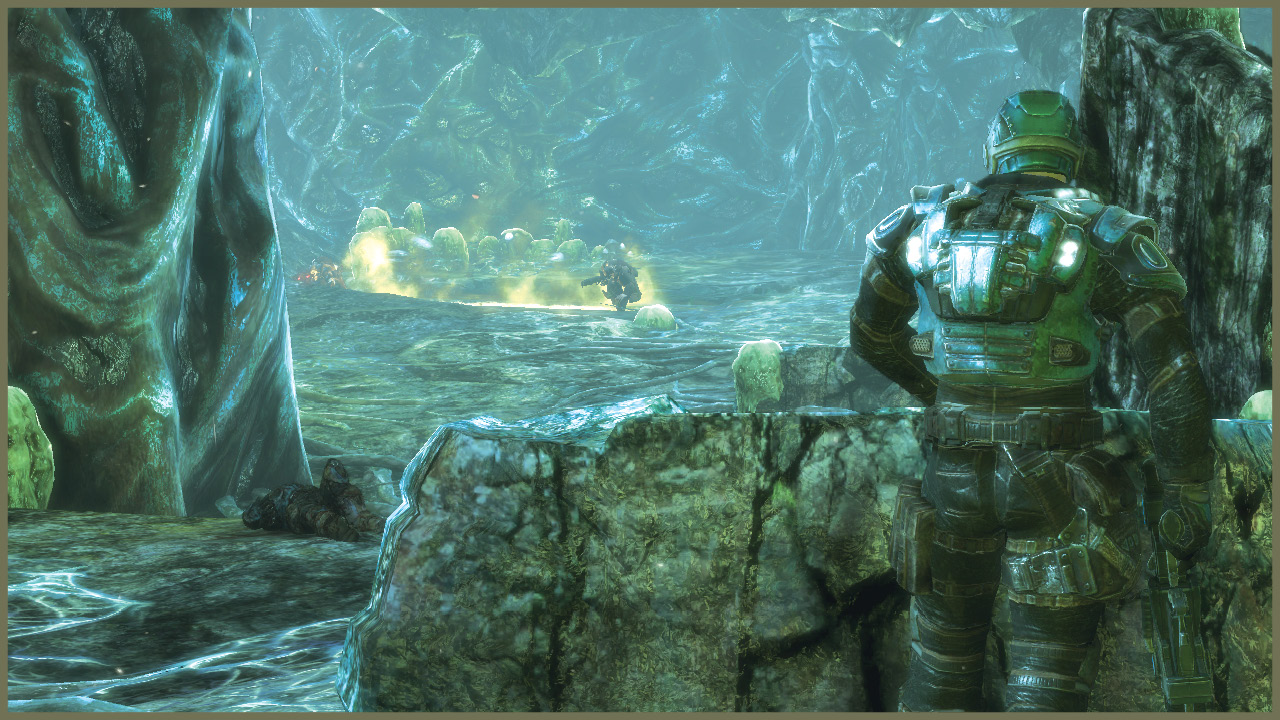
The Grindlifts slam home and COG forces disembark, beginning the siege on the Hollow beneath Landown.
This is the first concentrated assault that COG troops have made against the Locust on their home turf, and many unsettling discoveries await you beneath the surface.
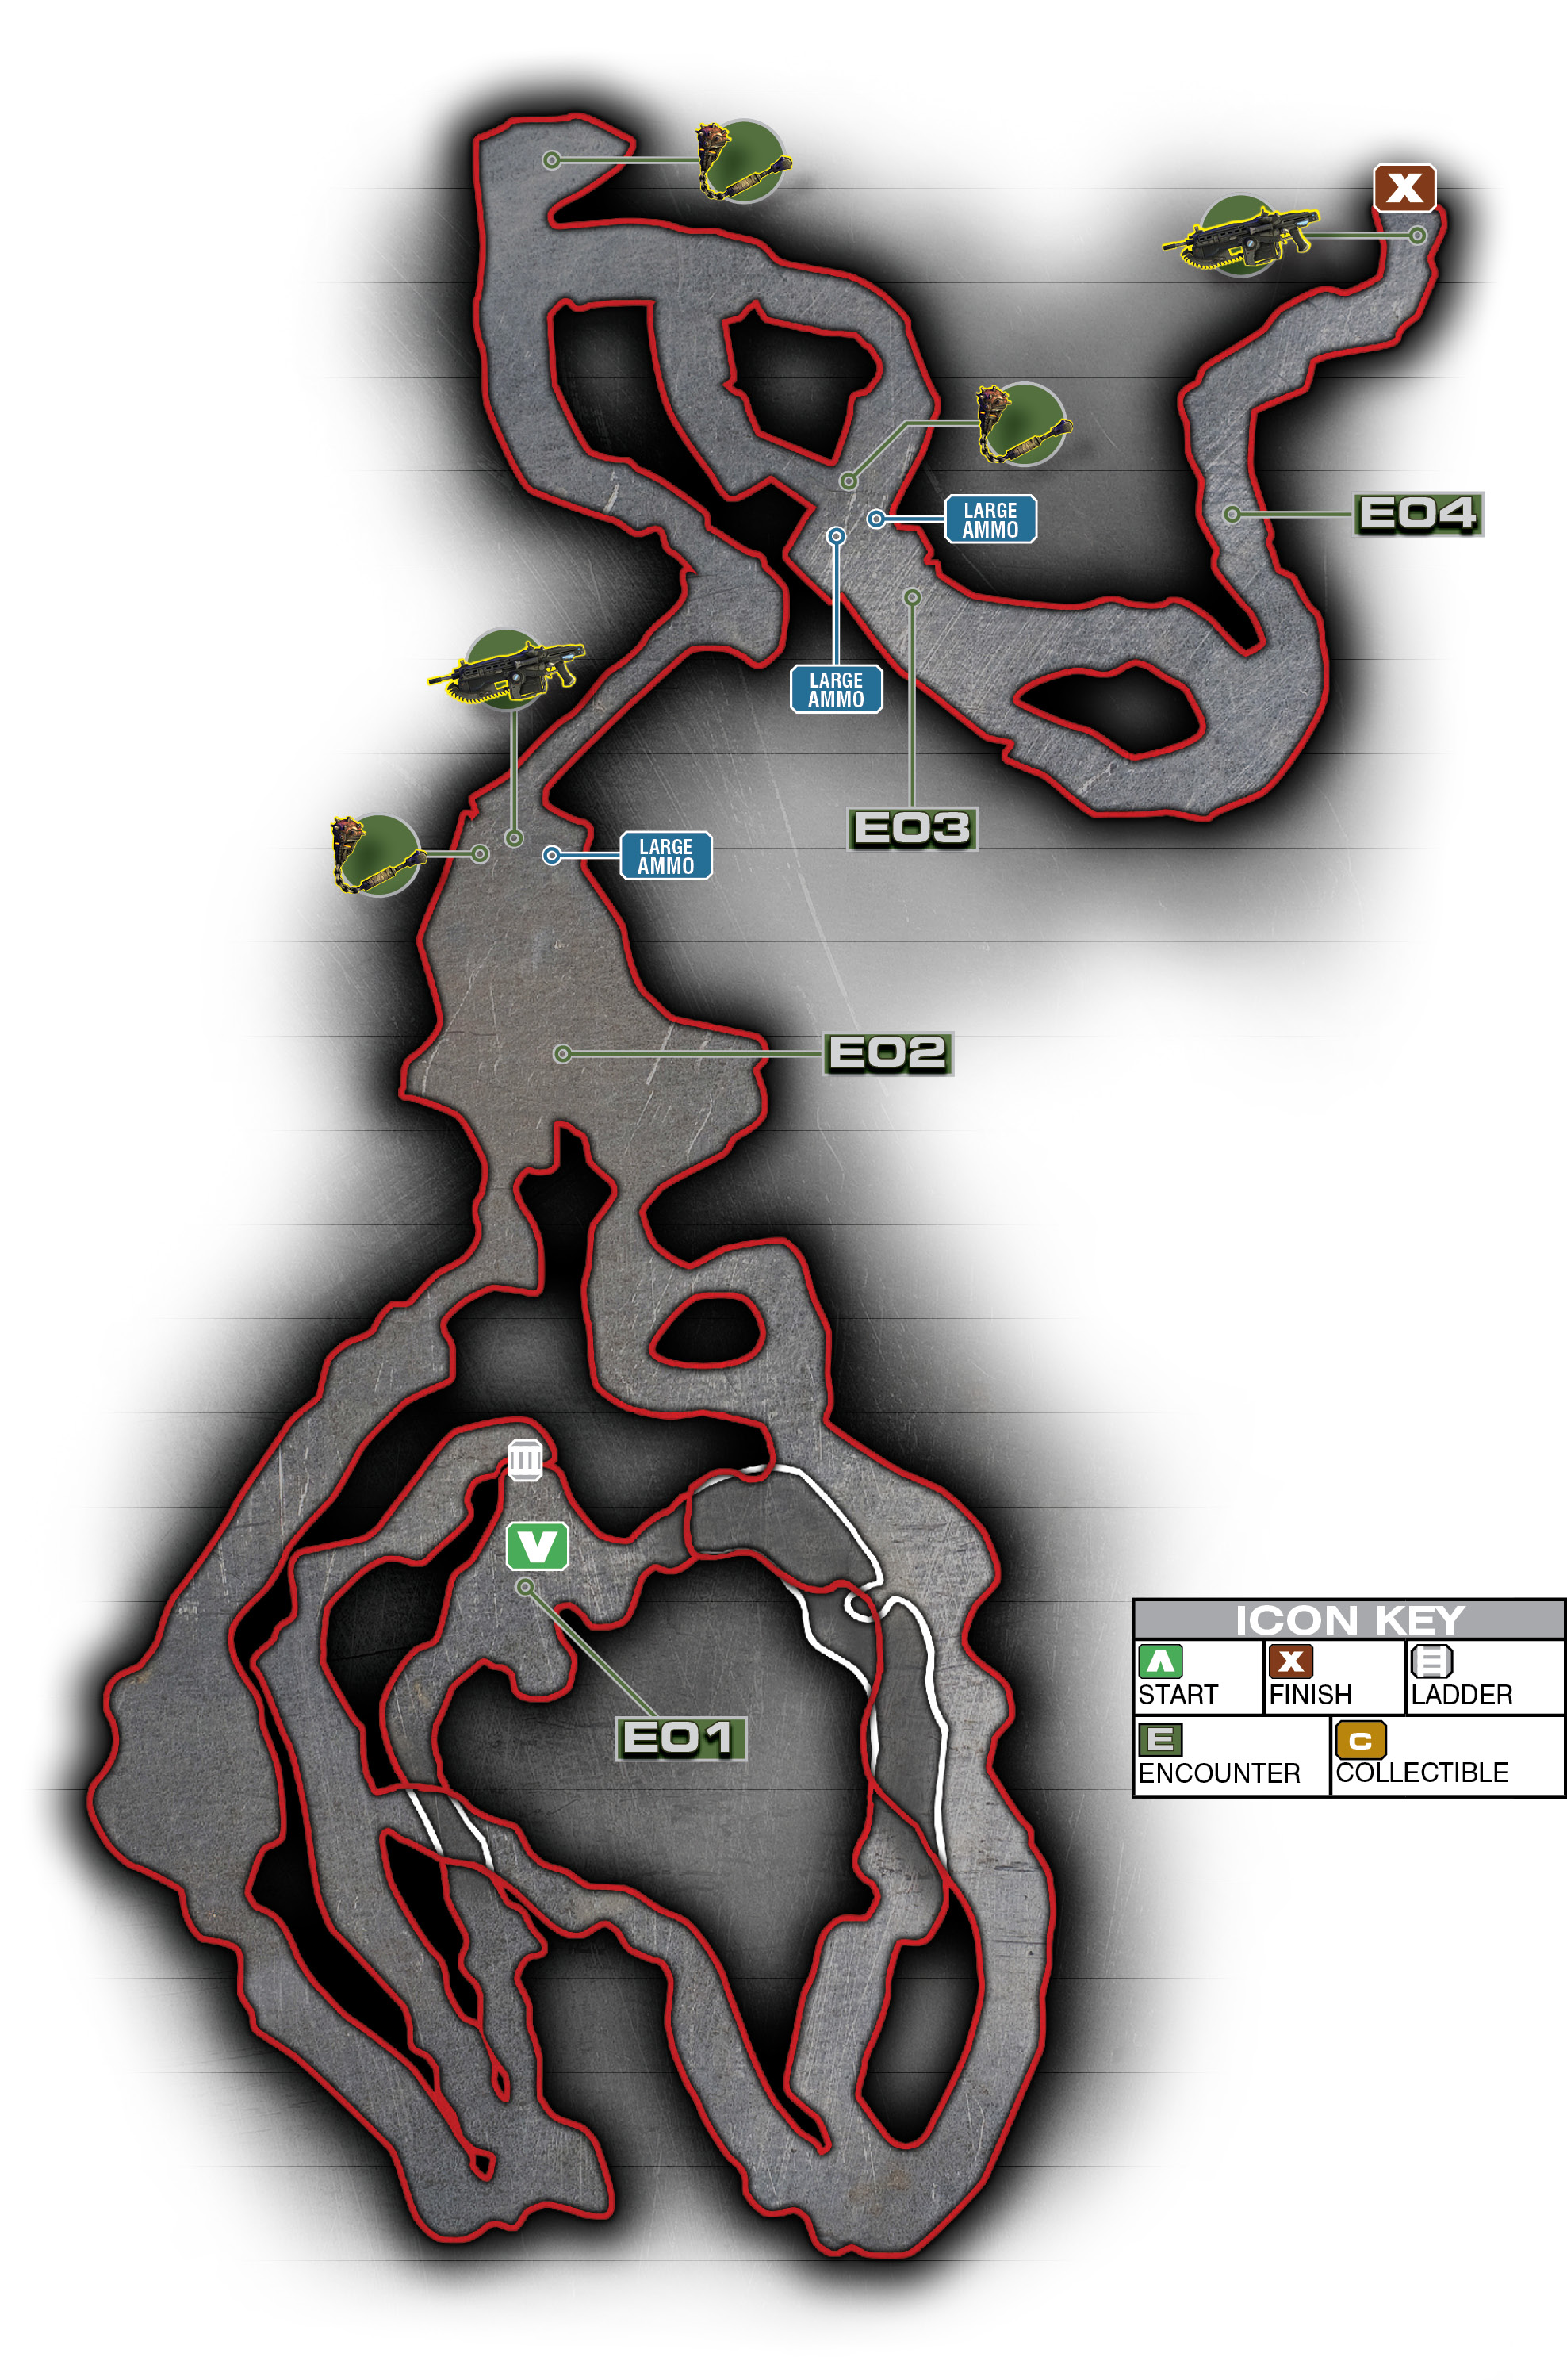
Encounter 01
ENEMY PRESENCE: None
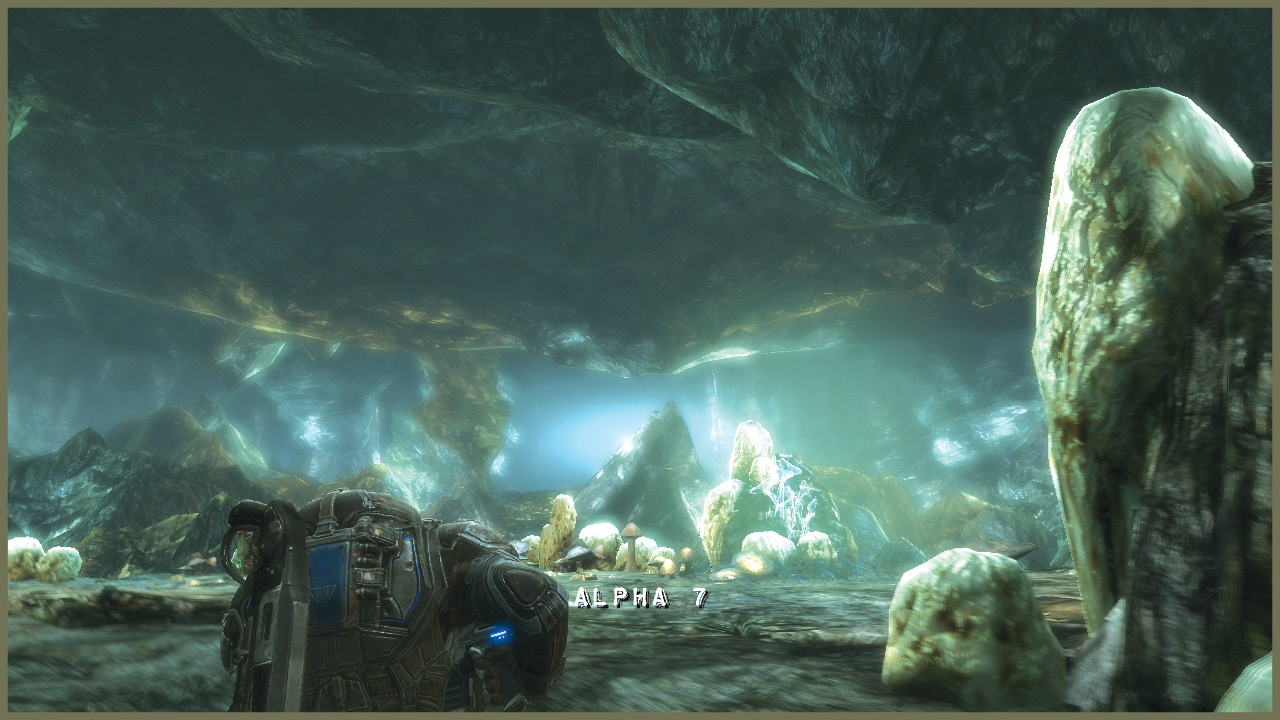
As the Grindlifts pound their target area, it quickly becomes apparent that most of the Gear assault teams have been scattered—including your own! Carmine radios in for assistance, and you set out to rescue him.
From the Grindlift with Dom, you can actually follow one of three routes: left, right, or up the ladder. All three eventually wrap back around and lead to the same point—some vines through which you have to bash or cut to reach Carmine’s position.
On the way to the vines, you run across several Gear assault teams landing in their Grindlifts or, in one case, simply plowing through the ground near you. Move quickly, because Carmine needs your help.
Encounter 02
ENEMY PRESENCE: Drones, Grenadiers, Tickers
When you reach Carmine, only a small group of Drones are attacking him. Clear them out from behind, and then move up to meet Carmine.
The next rendezvous point is about 30 meters away…through solid stone. Marcus gets Jack to repair and refit one of the Grindlifts for digging duty. While he does so, two Emergence Holes open and a wave of Drones and Grenadiers attack.
You must hold off the Locust while Jack makes the repairs. Concentrate on the Grenadiers, identifiable by their lack of helmets. You don’t want them flinging grenades at your position.
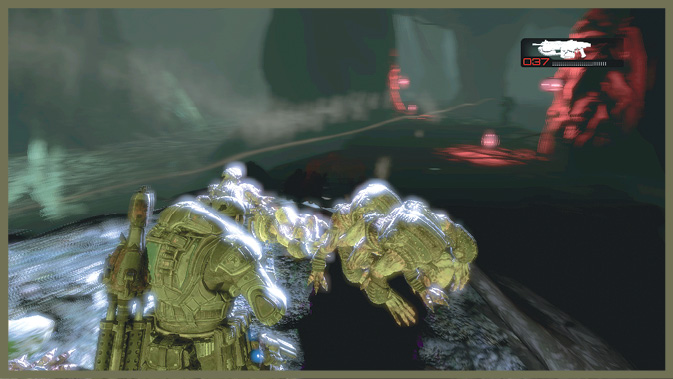
Once you down the first wave, a pack of Tickers attacks. Be ready to knock them back with melee attacks, and roll away from them if they get too close.
Encounter 03
ENEMY PRESENCE: Drones, Tickers, Grenadiers, Boomers
Past the freshly dug hole in the wall, you encounter Omega Squad in a desperate struggle against Locust forces.
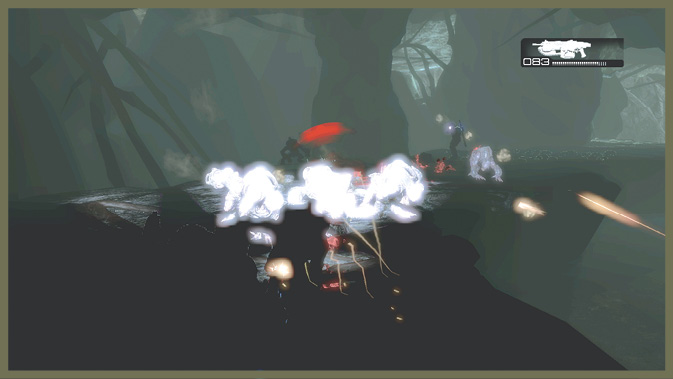
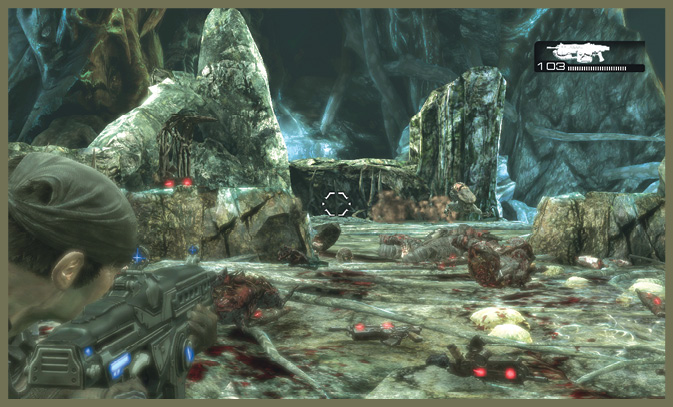
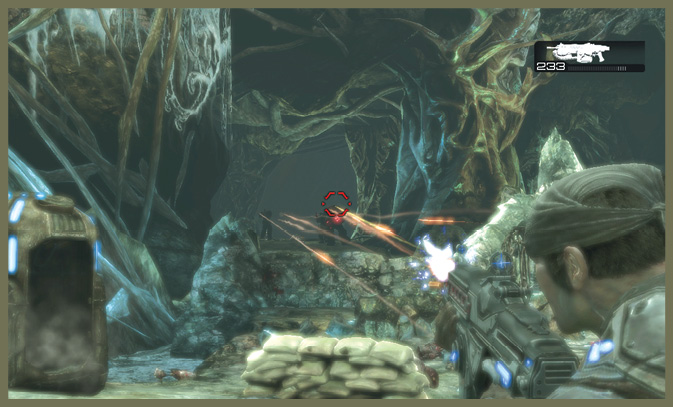
Quickly make your way down the path to their position, and assist their squad against the Locust. Initially, you only have to contend with Drones. However, reinforcements soon arrive, including Grenadiers, more Drones, Tickers, and finally Boomers and Grenadiers.
Because the waves are staggered, you should have time to deal with each one individually. Keep your distance—there’s no benefit to being up close to the enemy position as more Locust pour into the small combat zone.
A few well-placed grenades also serve you well to take out a few of the clustered Locust. The Boomers arrive late, and you may be able to mow them down with concentrated Lancer or Hammerburst fire before they really have a chance to make their impact felt.
After you deal with the Locust, you can move past the ambush point and up into the darkened tunnel from which the Locust emerged.
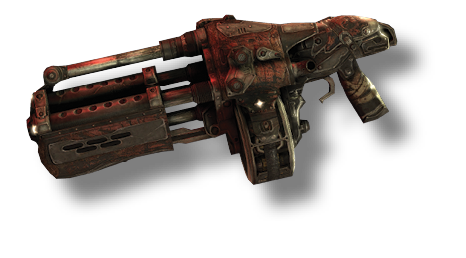 Boomshot
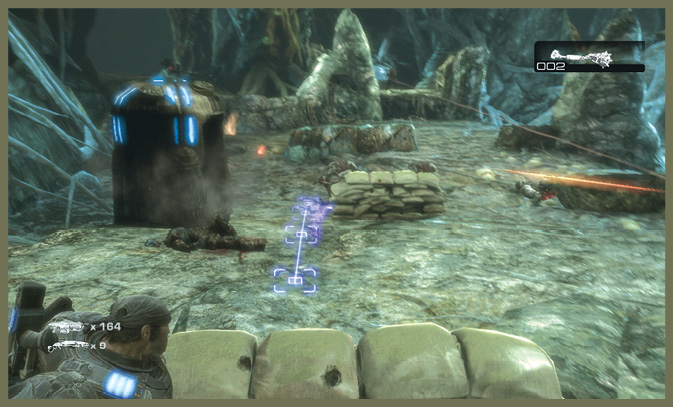
This is your first chance to grab the extremely powerful Boomshot. Ammo for this weapon is sharply limited, but keep in mind that you can find ammunition for the Boomshot in Locust ammo crates, which you frequently find within Locust territory.
Because the Boomshot is limited in ammunition, it’s usually best to use it up on the first even remotely dangerous opposition you encounter. Then toss it and pick up a secondary weapon that has more plentiful ammo supplies. Carrying it around for several chapters doesn’t do you any good if you don’t use it!
Encounter 04
ENEMY PRESENCE: Wretches
The darkened passage is infested with Wretches. Try to stay near the light of the glowing plants or Jack’s spotlight to take them out safely.
When you reach the end of the trail, you can chainsaw (or bash) your way through some viny overgrowth into the next portion of the cavern and the game’s next chapter. There’s a Lancer on the ground near the vines if you feel the need to switch, but it isn’t necessary for cutting through.