
Gears of War 2 Guide ACT IV: Hive
Chapter 3: Hornets’ Nest
After your excursion to assist Dom, you both head out along the Locust highway to reach Nexus—the source of the Locust leadership. Nexus is an amazing sight, but it is a very unfriendly area. Locust resistance really kicks up in this chapter, and it only gets tougher as you progress toward the end of the act.
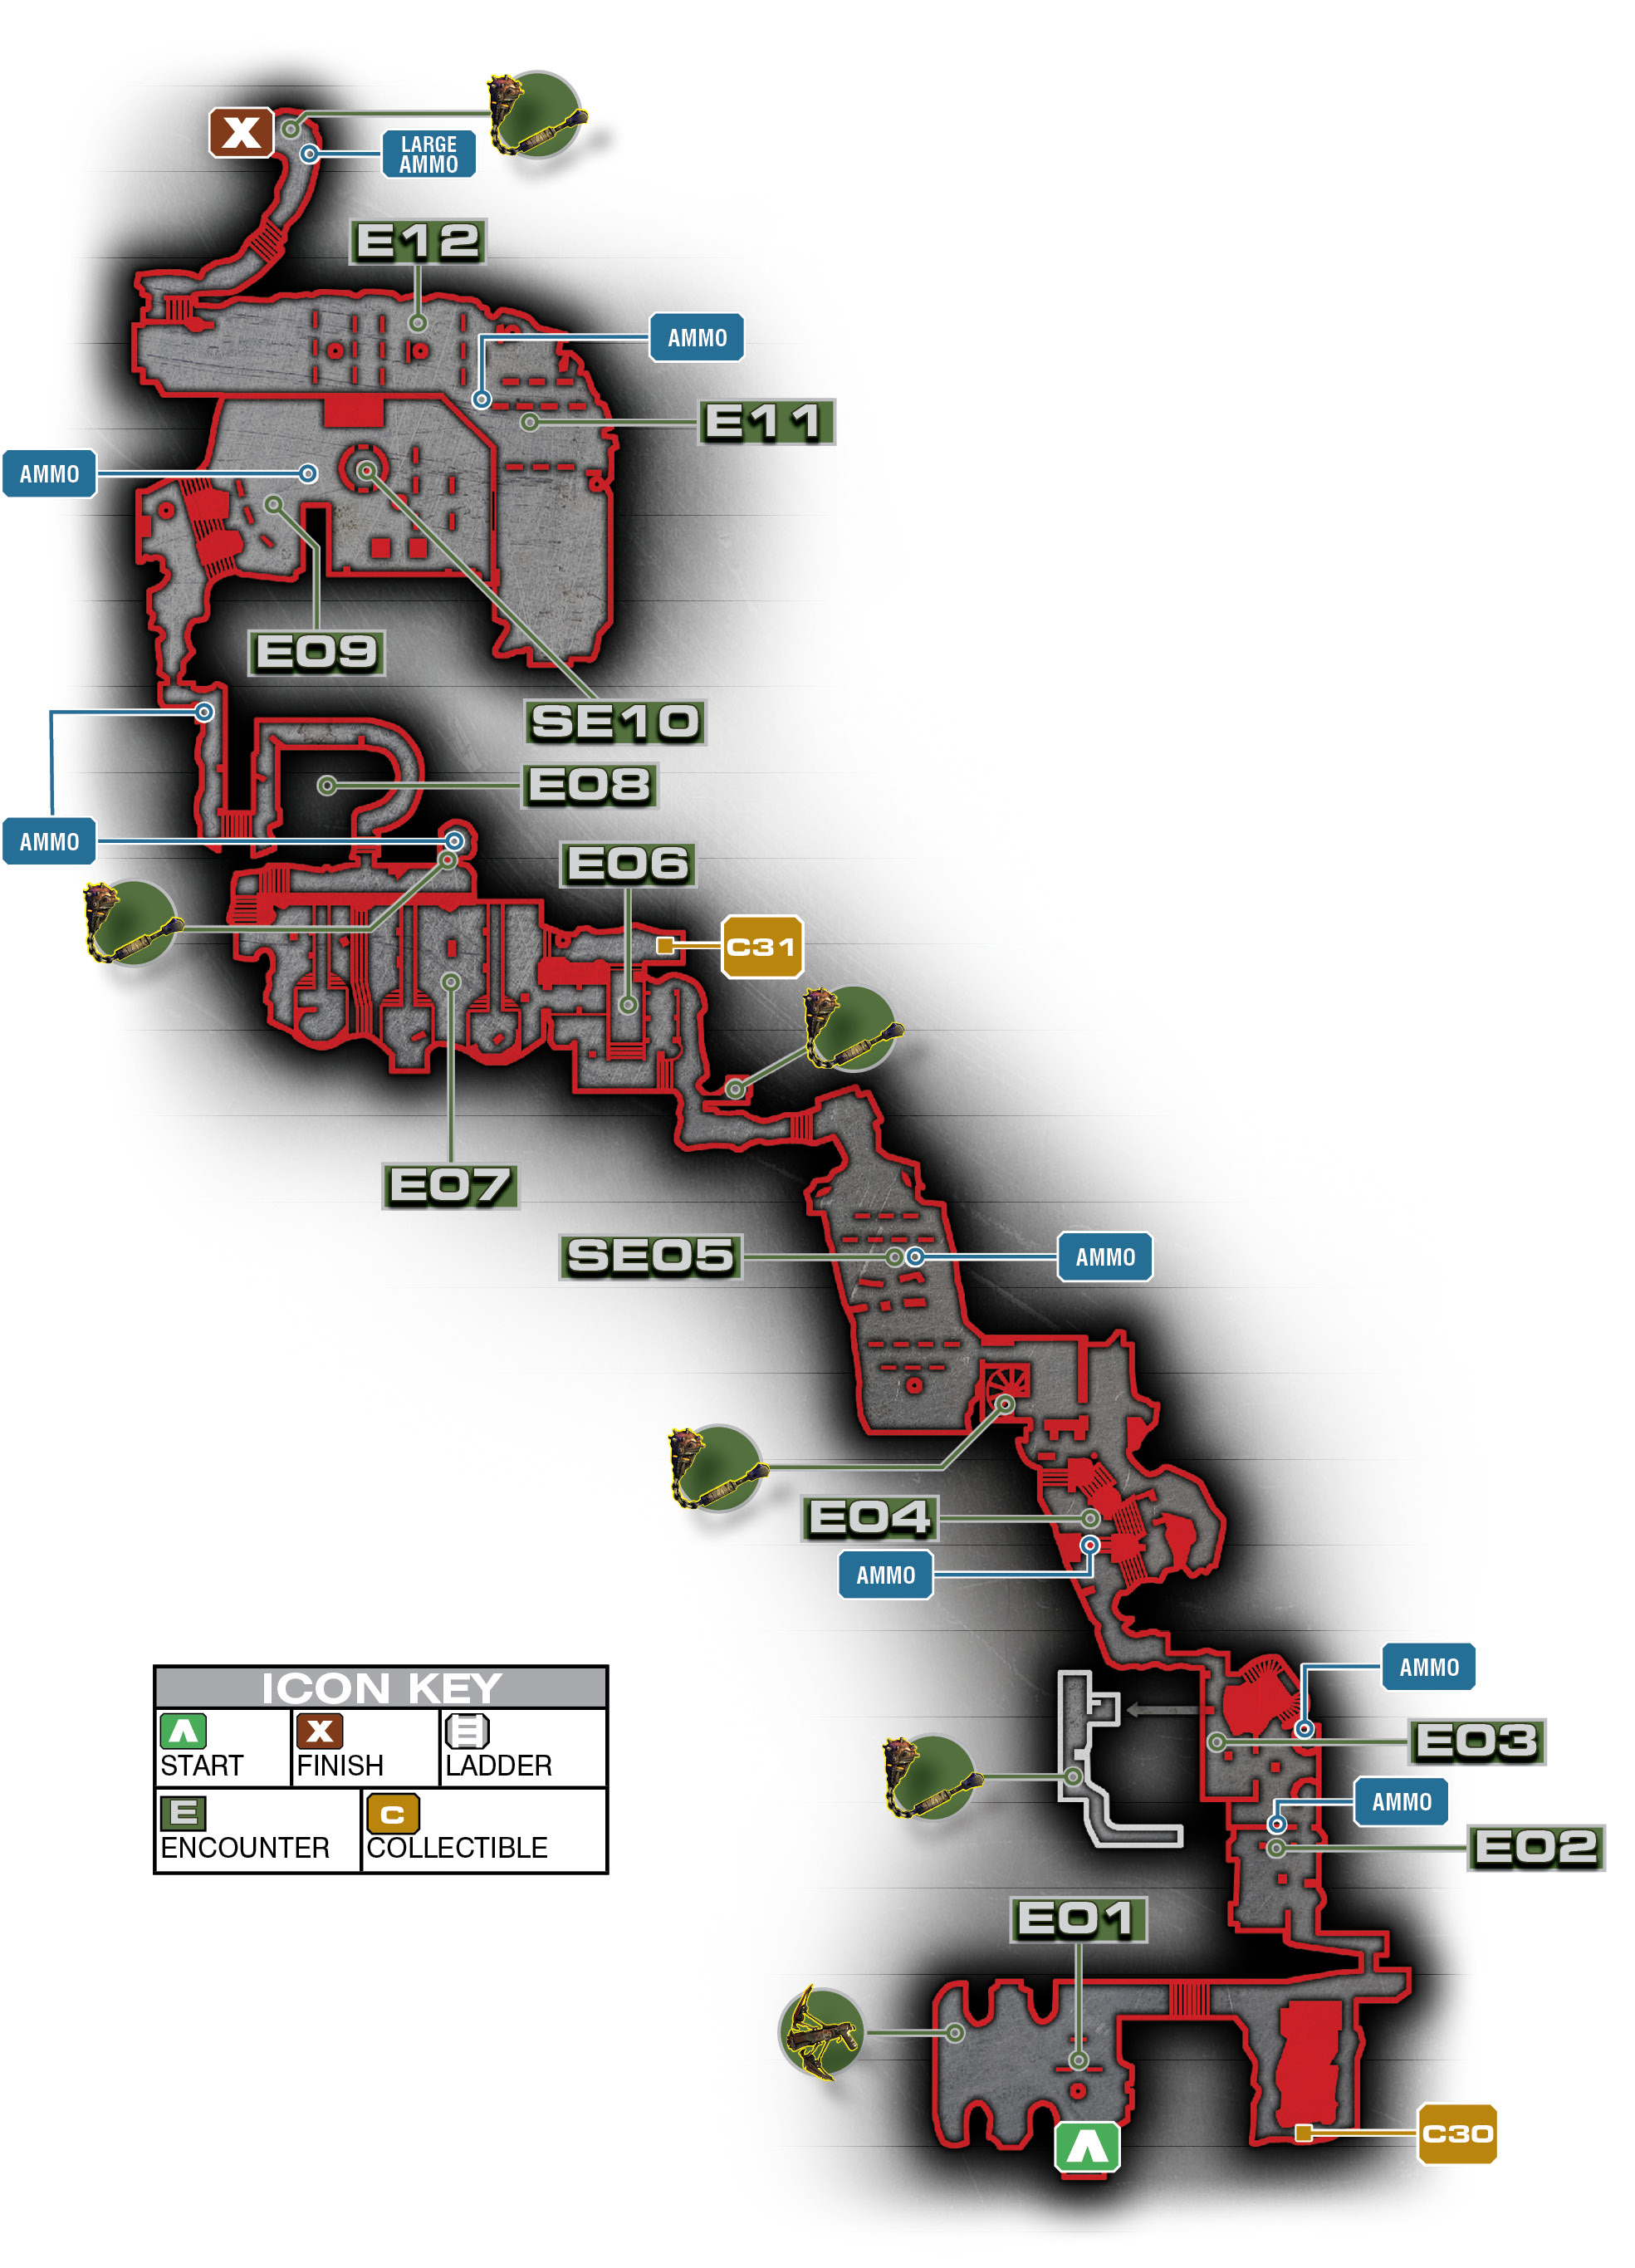
Encounter 01
ENEMY PRESENCE: None
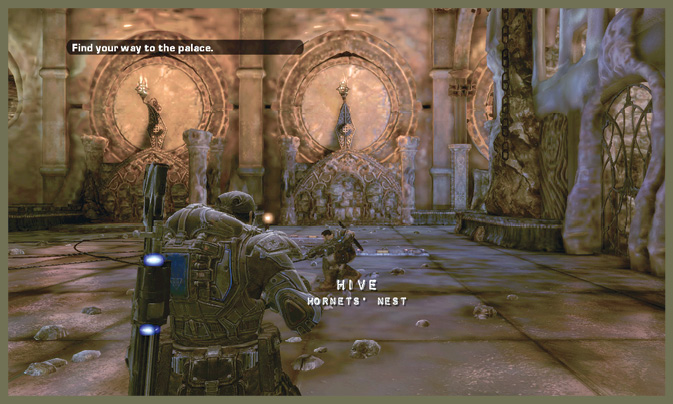
Your arrival at the heart of the Locust presence in Nexus provides some impressive vistas. However, no one here is friendly, which spoils the ambience.
You must work your way through the Locust grounds here, with your sights set on the largest, most impressive building in the ‘city,’ the Locust palace.
The starting room provides a useful lesson—pull the lever just in front of you and watch as low walls rise up from the ground. This pop-up, collapsible cover is a staple throughout the Locust areas for the remainder of the act, so get used to using it. In some encounters, the Locust can pull levers to lower your cover.
Encounter 02
ENEMY PRESENCE: Drones, Sniper, Theron Guard
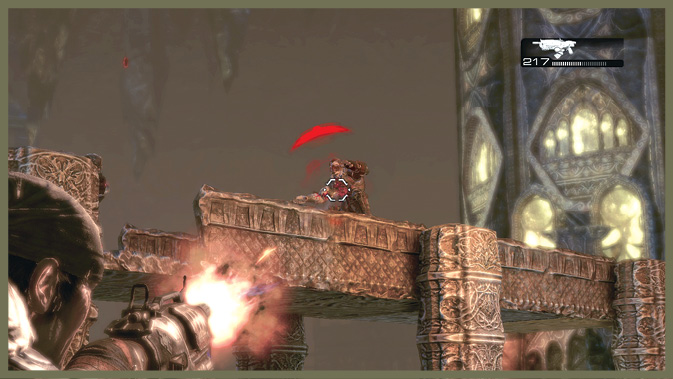
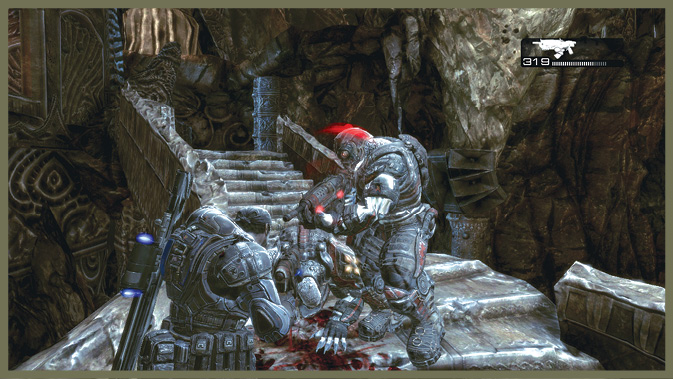
As you emerge into the open cliff-side area, you face your first real opposition. The small combat area has bits of cover scattered on the ground. There’s an elevated walkway with a bridge section that crosses just in front of you as you enter the area. In the distance, a spiral staircase wraps around a small tower: your path to the upper walkway.
Drones are on the bridge and a Theron Guard up in the tower also poses a threat. Try to take out the Drones before you advance, but keep an eye on the Theron. If you see the glow of his Torque Bow, stay under cover.
When you pass the bridge, more Drones emerge from a door behind the tower. Drones and a Sniper descend the tower’s spiral stairs.
Keep your distance, using the cover around the bridge section to pick them off. Once you deal with them, proceed into the tower and pull the switch to open the door behind the tower.
Encounter 03
ENEMY PRESENCE: Flame Grenadiers, Theron Guard
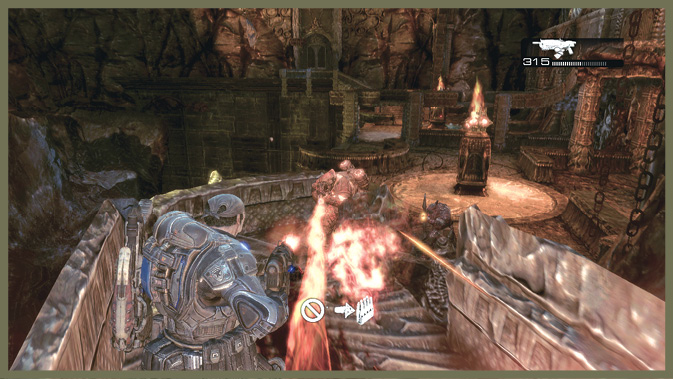
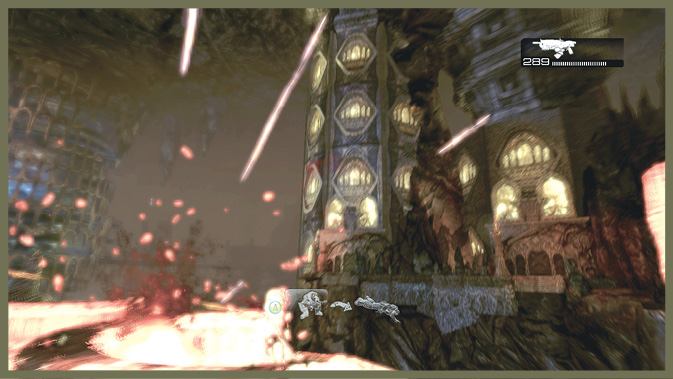
After you pull the switch, the door leading out of this area opens…but not without Flame Grenadiers and a Theron Guard to oppose you.
Stay on the upper level. You can even use the bridge that overlooks the ground level to pick off these foes with ease. Don’t descend the stairs just yet; remain outside the flame-throwers’ range.
Encounter 04
ENEMY PRESENCE: Drones, Grenadiers, Bloodmount
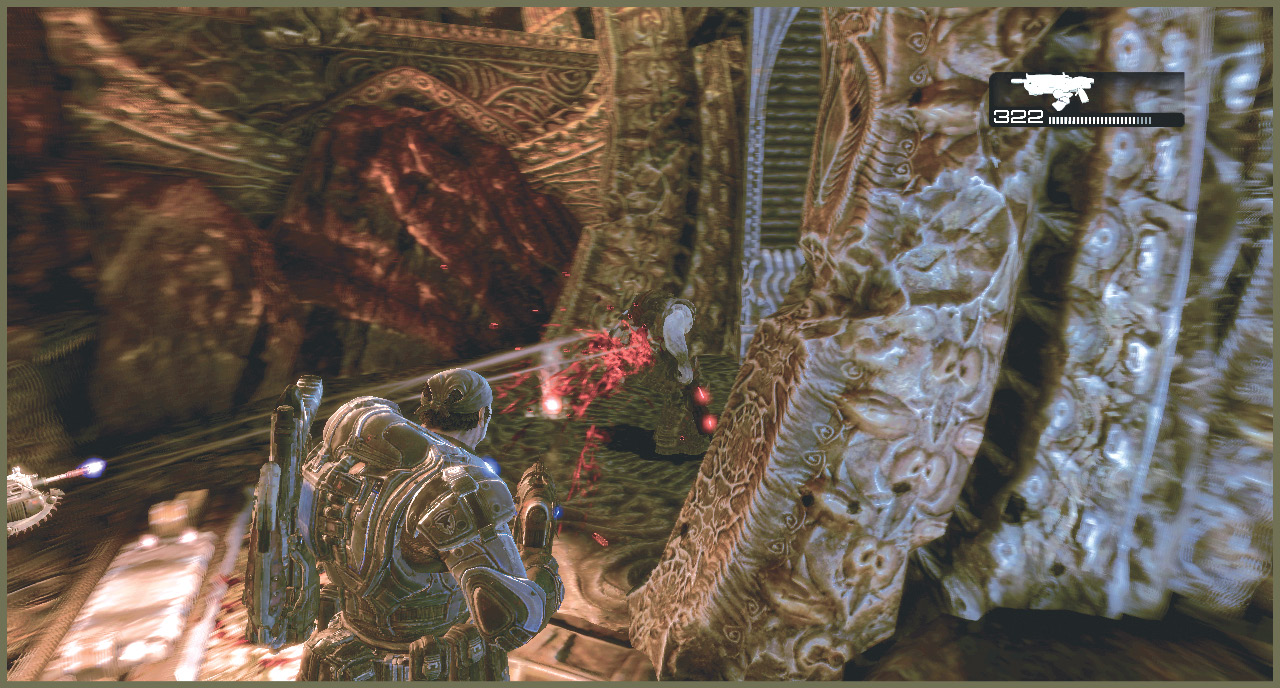
Past the door, you’re still out on the cliff-side, this time on a series of terraces connected by shallow stairs. As you enter this area, you will find an ammo box. Your first concern is a Bloodmount. Deal with it before the other Locust—Drones and Grenadiers—become a problem.
There’s actually some pop-up cover here, along with a lever that can lower it. Its position is such that moving forward to lower it isn’t especially helpful.
Once you clear the area, head inside the building. You have to fight your way through this Locust complex’s interior to get closer to the palace.
Encounter 05
ENEMY PRESENCE: Drones, Snipers, Reaver, Grinders
As you emerge from the cliff edge, you encounter your first really substantial battle. You reach a wide-open courtyard with pop-up cover on each end. Quickly move over to ‘your’ side (the closer area of cover) and pull the lever there to raise more cover. The courtyard’s opposite end is too far to reach, as Locust Drones and Snipers quickly infest the area.
As you fight, a Drone emerges on an upper ledge to the right as you face the enemy forces. It attempts to pull a lever to lower your cover. Don’t let this happen! Make him a priority target and take him down.
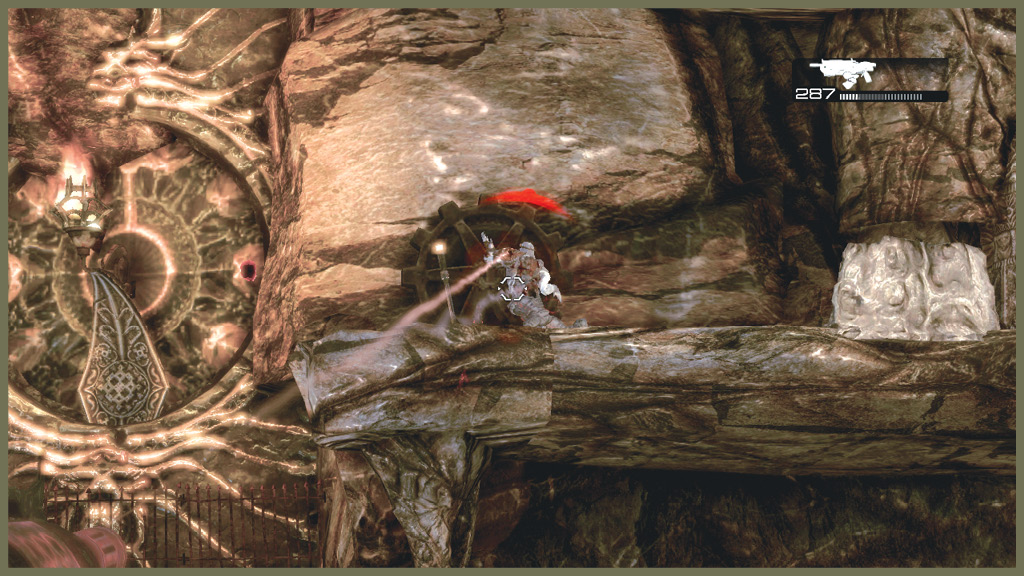
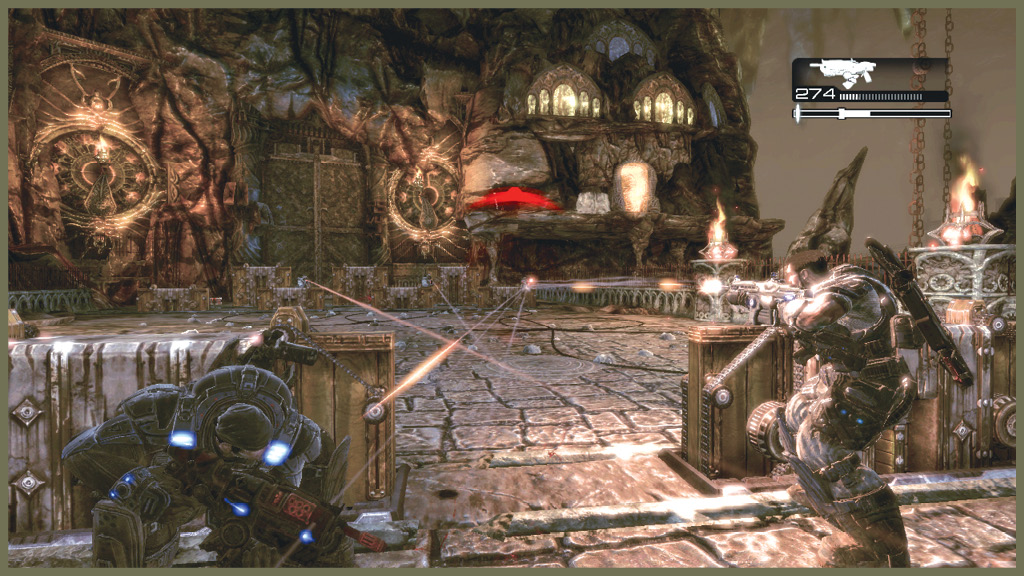
After you solve that problem, a Reaver landing in midfield is your next challenge. If you can take it down before it closes on your position, no problem. Just make sure you don’t stay in place if it approaches and tries to spear you.
A bit later in the battle, another Reaver flies by, knocking over a pillar and creating a mess of cover in the center of the killing field. This gives you enough protection to start pushing forward to break the Locust defensive line.
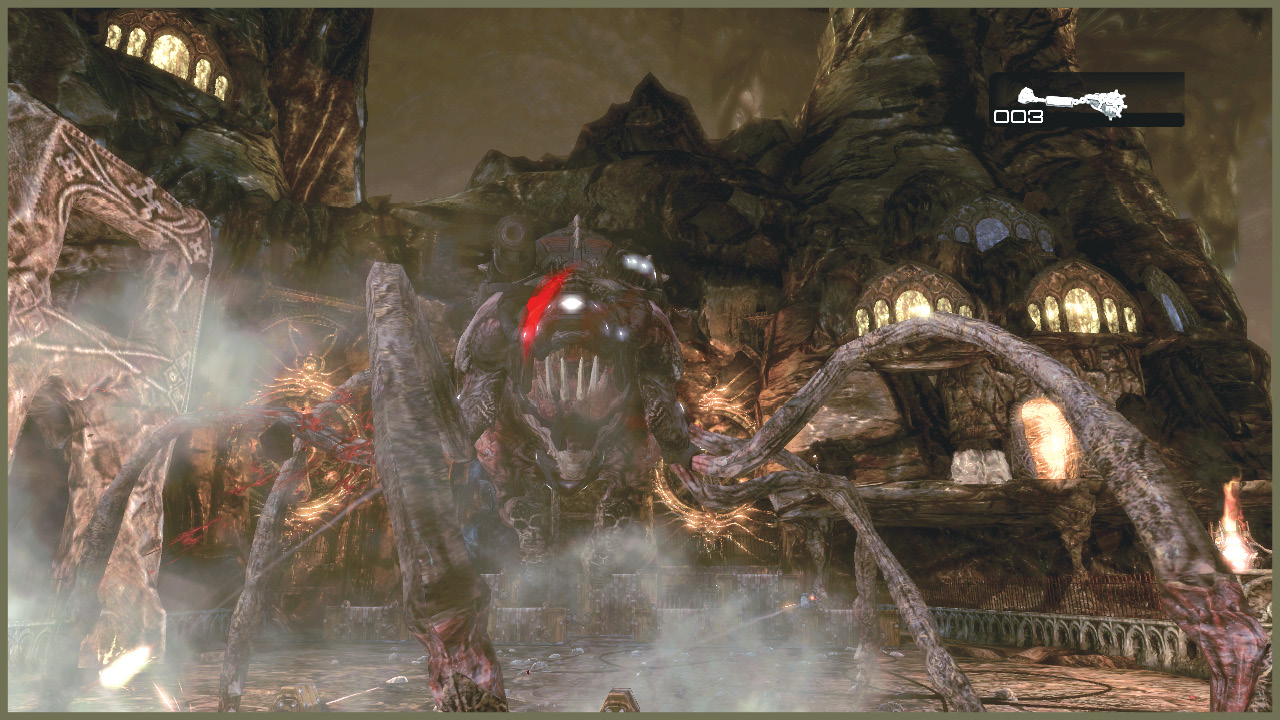
As you push forward, a large pair of doors opens and two Grinders move out. Stay in cover and take them down before they get close enough to threaten you. The Mulchers they drop can come in handy in the next area. However, see the note on the collectible in Encounter 6—you can’t take the Mulcher if you’re trying to get the collectible there.
Encounter 06
ENEMY PRESENCE: None
This small room is curious. It’s basically a transition to the next chamber.
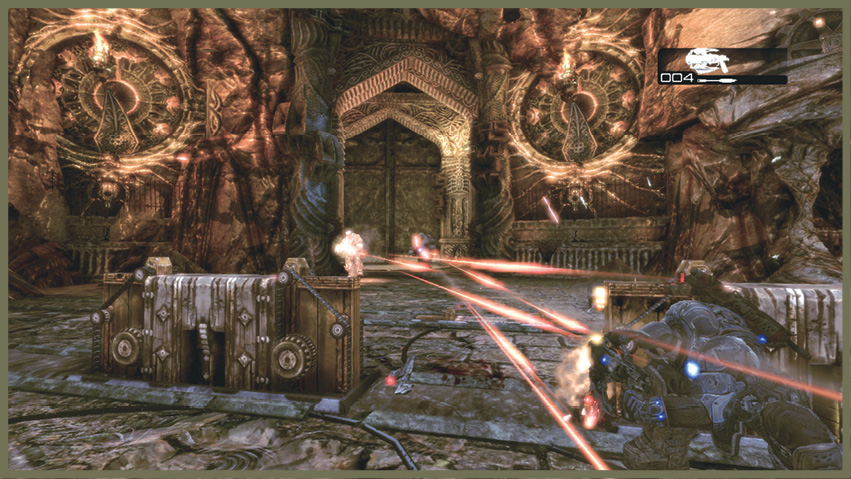
It’s worth noting that the Troika in the collectible room is very helpful for the next chamber. So, even if you aren’t concerned about the collectible, running into its room is still tactically advantageous.
If you don’t want or need the collectible, bring along a Mulcher from the previous room. It serves nearly as well as the Troika for mowing down the Locust in the next room.
Encounter 07
ENEMY PRESENCE: Drones, Butchers, Flame Grenadiers, Grenadiers
This curious chamber turns out to be a Locust feeding room. Butchered Rockworms reveal at least one part of a Locust healthy diet.
You also get to meet their chefs, massive Boomer-sized Locust wielding cleavers! They aren’t particularly dangerous unless you let them get close to you—they can kill you in two chops!
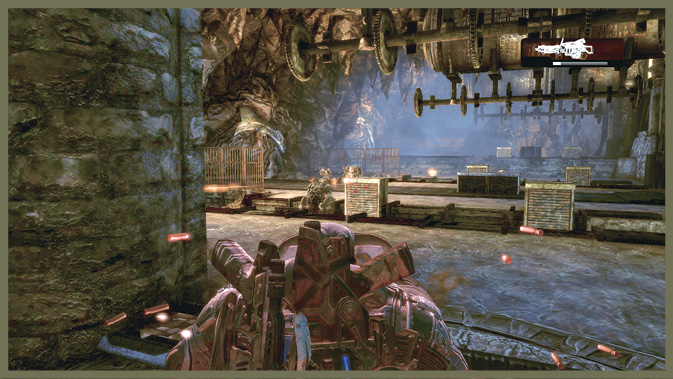
The other opponents are more familiar: Drones, Flame Grenadiers, and Grenadiers. The ‘feeding channels’ create helpful, ready-made trenches along this room’s length. If you’re packing grenades it’s easy to toss one into the gap with a few Locust.
Encounter 08
ENEMY PRESENCE: Flame Grenadier, Drones, Butcher
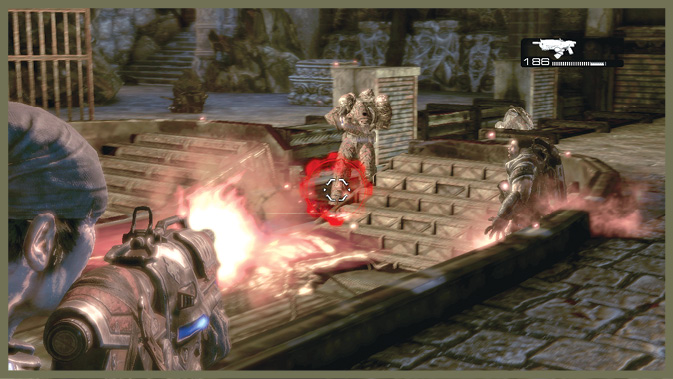
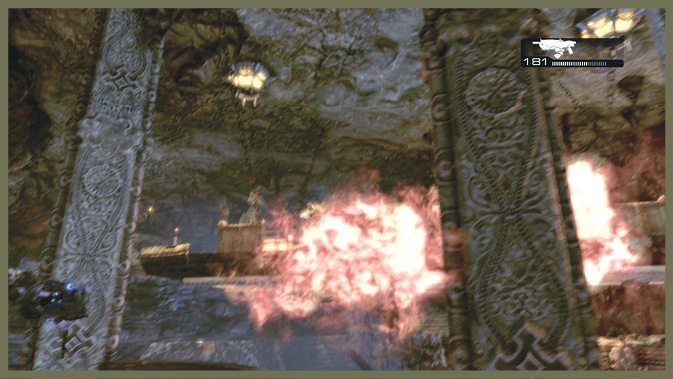
As you emerge from the feeding room, you arrive at the meat grinding room. There’s a large set of grinding gears at the room’s base, around which a walkway spirals to an upper level. There is an ammo box and Frag Grenades past the entrance to the grinding gear room.
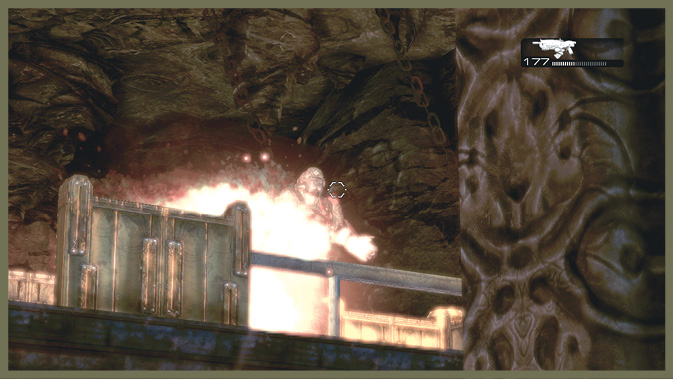
A flimsy wooden bridge projects directly out over the gears, and a few Locust are standing on it… Target the Locust explosives on the bridge. Or, if you can manage it, shoot the backpack that the Flame Grenadier on the bridge is wearing. Hitting either target causes the entire bridge to collapse, sending the Locust down into the grinder.
Beyond the few Locust on the bridge, you have to deal with some Drones and a Butcher on the walkway. Drop the bridge first, and then stay under cover to pick them off from a distance. There is an ammo box on the way to Encounter 9.
Encounter 09
ENEMY PRESENCE: Drones, Grenadiers, Sniper
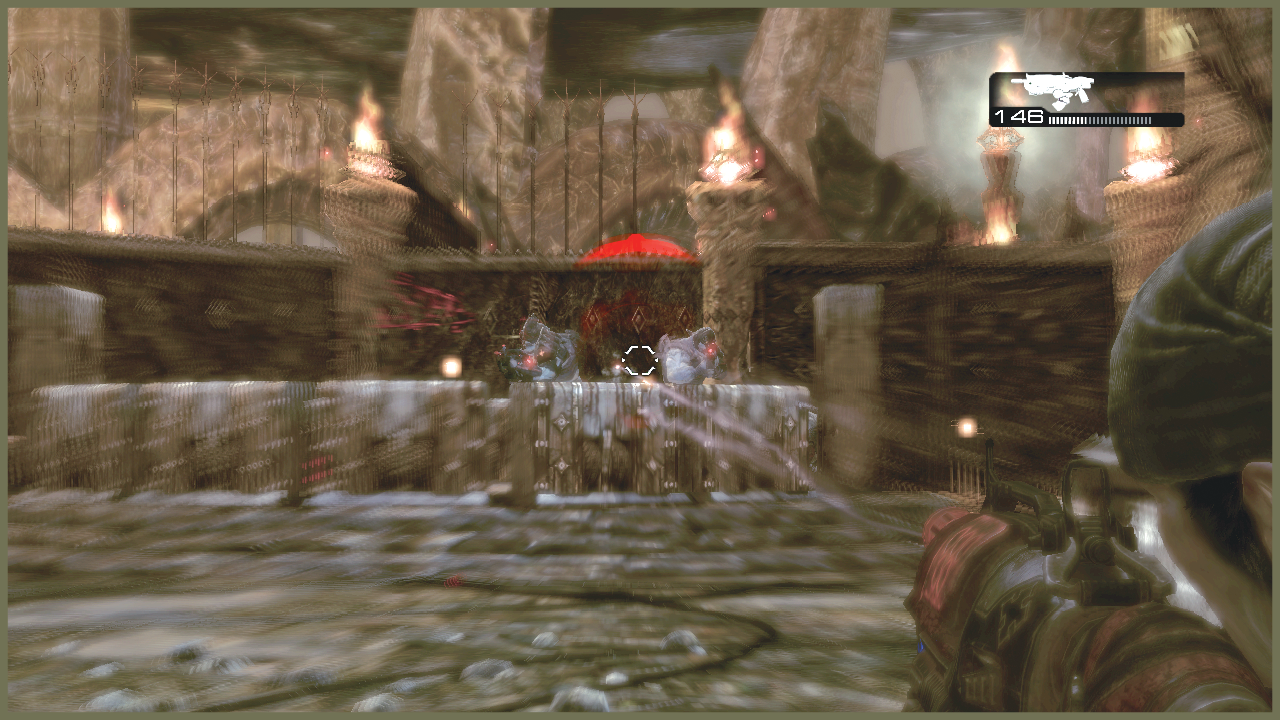
When you emerge from the Locust feeding chambers, you come out into a large, wide-open area. You can pull a lever here to raise some cover. The initial opposition is fairly mild—some Grenadiers and Drones. However, be careful of the Sniper that is also part of this encounter. Don’t worry, it gets tougher. Mop up the opposition and then move out into the open yard’s center.
Encounter 10
ENEMY PRESENCE: Drones, Grenadiers, Snipers, Tickers, Reavers
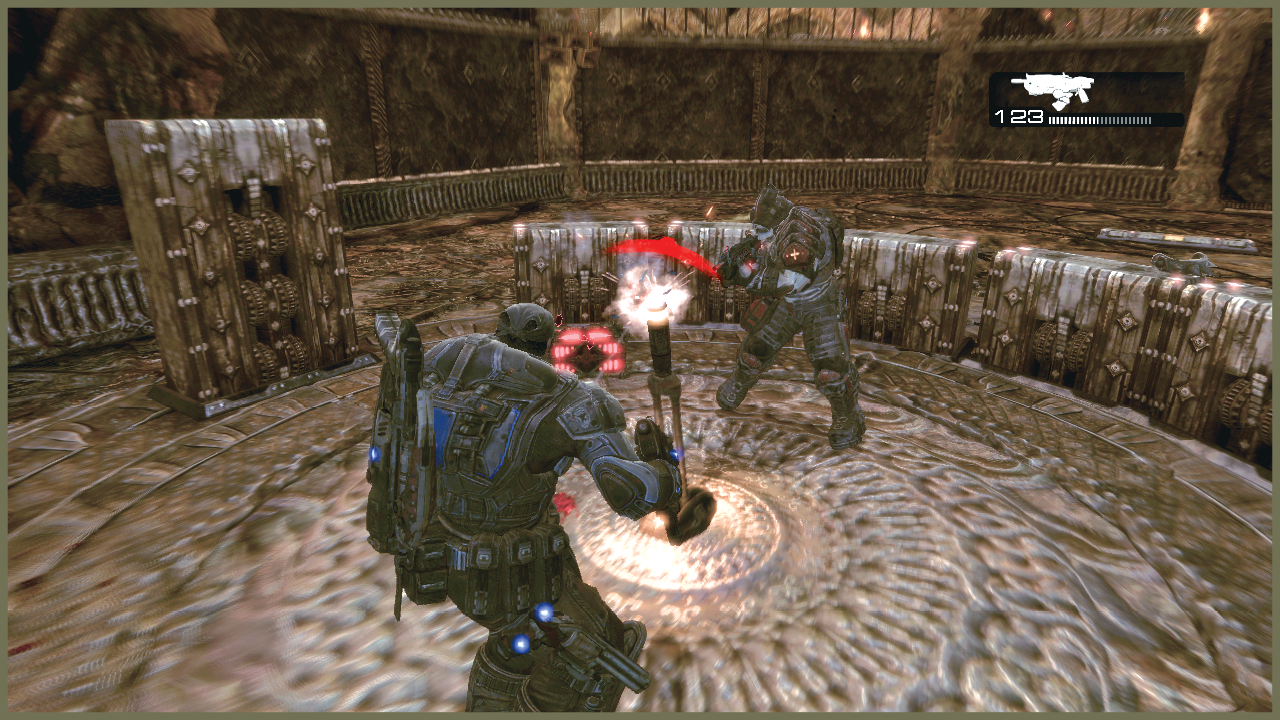
The yard’s center is deep enough in Nexus for Jack to transmit the positional data to begin a Grindlift assault. You must hold off Locust forces in waves as Jack transmits the position.
A circular area of cover is in the center of the yard. You can move around inside it and deal with threats from all sides.
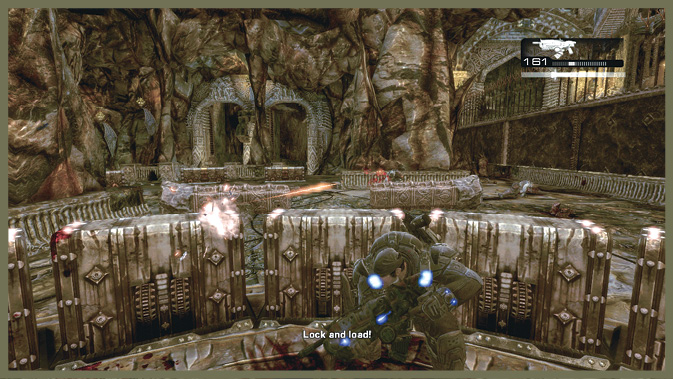
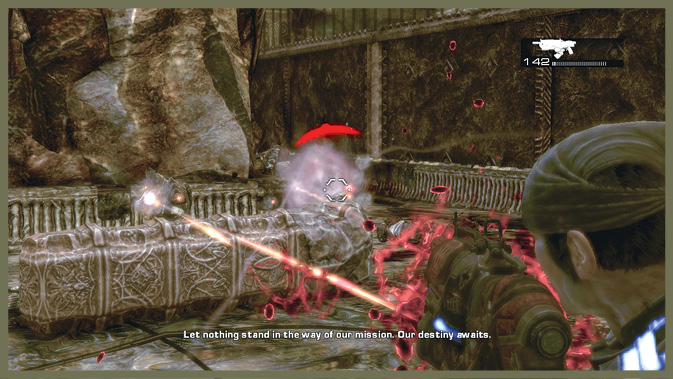
Once Jack starts transmitting, you’re in for a fight. The initial wave consists of Drones, Grenadiers, Snipers, and Tickers. There aren’t any magic tricks to this fight. Don’t go saving ammo for your heavy weapons, and use your grenades liberally.
As you fight, you may catch Reavers flying by overhead. If you have even a moment to breathe, try to send some fire up their way. The Reavers are surprisingly vulnerable in the air, and any damage you inflict helps when they finally land. Landed Reavers can put you in a sticky situation. You may very well have to evacuate the central area to avoid getting stabbed by Reaver talons.
Another wave of Drones follows the Reaver assault. Finally, the wall at the other end of the room drops and a Drone armed with a Mortar appears. Don’t give him a chance to shell you. Rush him, take him out at close range, and grab his Mortar.
Encounter 11
ENEMY PRESENCE: Drones, Grenadiers
Once Jack completes the transmission, the COG assault on Nexus begins. While Grindlifts dig through the roof and plummet into Nexus, you must keep moving to find a way into the palace.
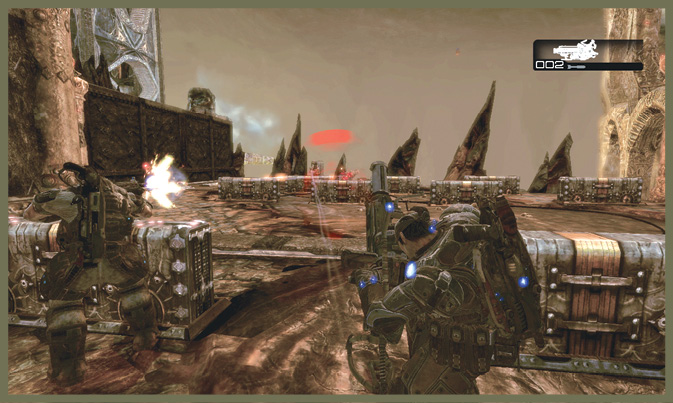
An open yard is just beyond the wall that opened for the Mortar-using Drone, again near the cliff edge. Pull a lever out here to raise some cover. Another wall drops down, revealing Mortars and Grenadiers.
Use your Mortar to pop them—they’re at roughly half range from the first cover. But watch out for a single Mortar Drone. Quickly shift positions if you see him fire. When you clear this fight, grab his Mortar and lug it along to the next encounter.
Encounter 12
ENEMY PRESENCE: Drones, Grenadiers, Tickers, Grinders
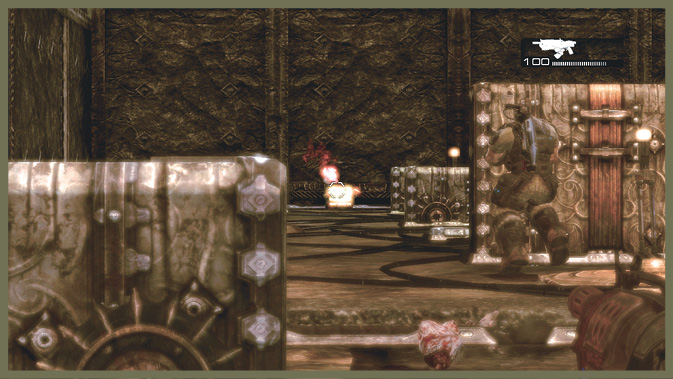
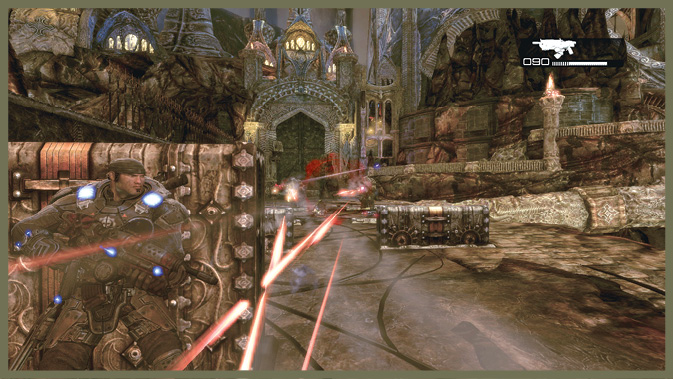
This outdoor area’s final section consists of another open yard and another lever to raise pop-up cover. In the distance, Drones and Grenadiers come at you, accompanied by some Tickers. Note that one of the Drones is armed with a Mortar. You can use nearby Locust explosives to thin out some of the onslaught. In combination with your Mortar, you should be able to down them fairly quickly.
More of the dropping walls are in the distance. When the last one drops, Grinders emerge. Be careful about using the Mortar on them. Taking a shot exposes you for a while. If you’re still at a distance, give it a try. If not, stay behind cover and take shots when they aren’t hosing you down with bullets.
When this battle concludes, you can climb some stairs at the yard’s edge. A pleasant surprise greets you—Cole and Baird have made the drop successfully and Delta is reunited. Grab the nearby ammo and grenades, and drag a Mulcher along. Then head up to the gondola and flip the switch. The gondola can take you directly across the yawning gulf to the Locust palace.