Gears of War 2 Guide Locust Databank
The Locust
The seemingly unending Locust Horde has brought ruin and desolation to the surface of Sera and despair into the heart of humanity.
The Gears of the Coalition of Ordered Governments are the last bastion of defense against the Locust. If the war is to be won, it will be won by the Gears.
To defeat your foe, you must know your foe.
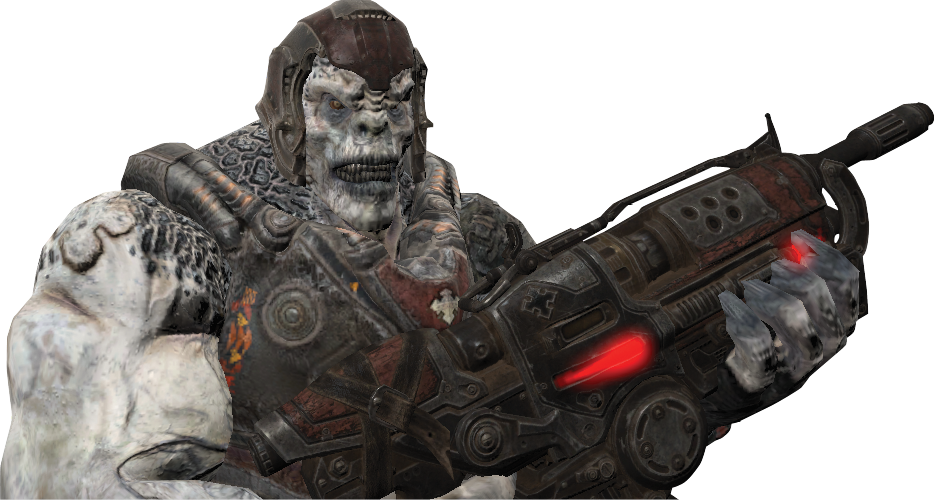
DRONE
The Locust Drone (referred to as ‘Grubs’ by the Gears) is the basic foot soldier of the Locust Horde. They are brutish foes, but they’re cunning enough to use cover and teamwork effectively. Drones frequently attack in sizable numbers, meaning that you need to watch out for flank attacks.
It’s best to deal with Drones at medium or long range, where most of their weaponry is only moderately dangerous, and you aren’t at risk of getting overwhelmed by their numbers.
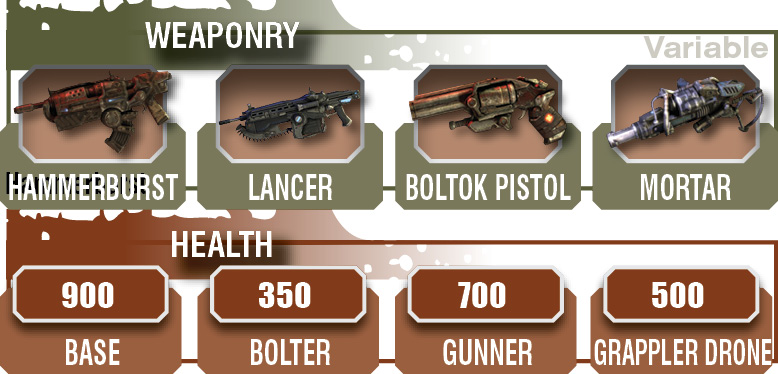
Drones have by far the largest variety of subtypes. Beyond normal Drones, you can expect to encounter the following variants: Grappler Drones that can swing hooks up to reach you in elevated positions; Bolter Drones armed with a Boltok that move more quickly but have less health; and occasionally, a Drone armed with a Lancer, a Mortar, or manning a Troika. All of these are more dangerous than the normal Locust soldier that uses a Hammerburst.
Vitals
Cover
Drones use cover much like Gears do, hiding out and occasionally taking aimed shots or blindfiring. They are reasonably mobile, and you can expect to see them shift their position from wherever they emerge to advance on your team’s location.
Beware of getting caught out in the open if Drones are pushing on your position. You can get cut down quickly if you’re targeted by several Drones at once.
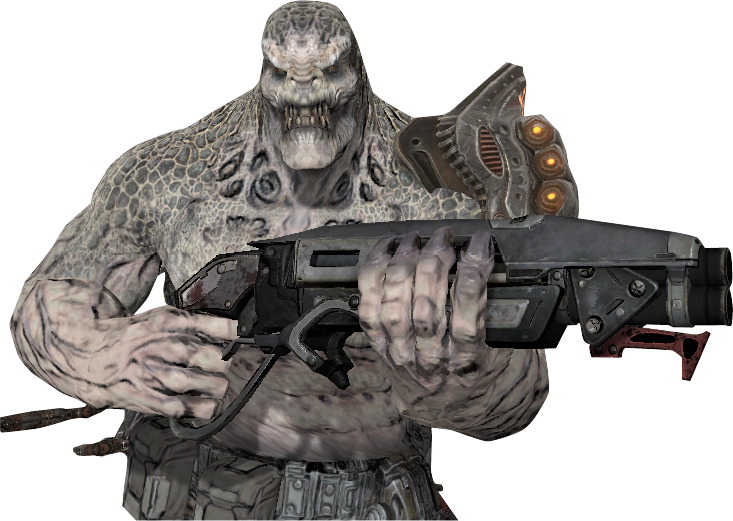
GRENADIER
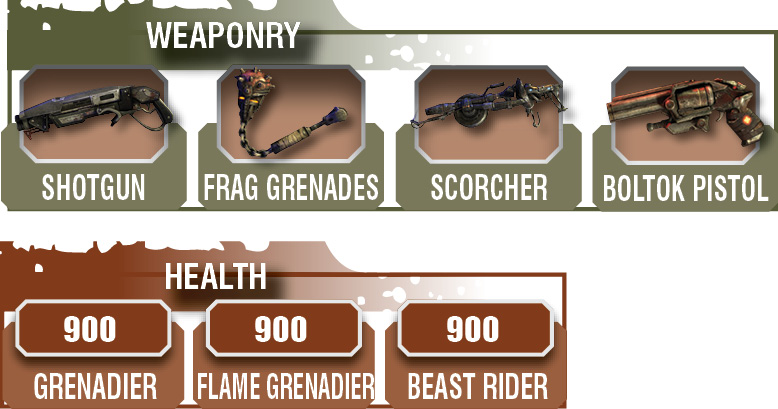
Grenadiers are a Drone variant, but they are dangerous enough that they warrant special attention. Grenadiers are one of only two types of Locust that use grenades with any regularity.
Grenadiers can drop Frag Grenades for you, but they don’t always drop grenades. Be sure to check their bodies after you finish them off.
Despite their name, Grenadiers don’t always continually fling grenades at you, but they can and will, and this is especially dangerous on higher difficulty levels.
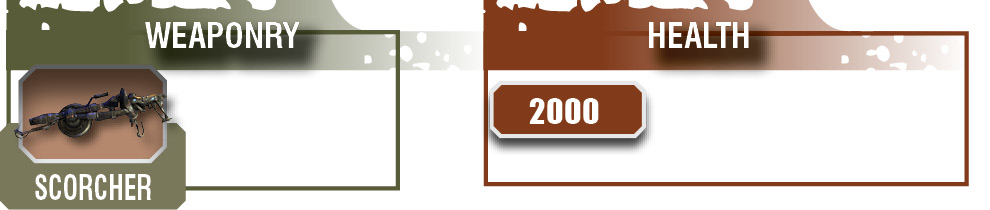
You can usually spot Grenadiers at a distance due to their lack of chest armor—their pale flesh makes them stand out. Grenadier variants include the Flame Grenadier, which carries the Scorcher, and the Beast Rider, that usually drives Reavers and Bloodmounts.
Be sure to shoot the fuel tanks that Flame Grenadiers carry. This is one of the best tactics for dealing with this enemy type.
Vitals
Cover
Much like Drones, Grenadiers use cover fairly well. However, unlike most Drone types, Grenadiers are very dangerous to you when you’re in cover.
Make them priority targets if you can’t easily retreat to safer ground should they toss a grenade your way.
SNIPER
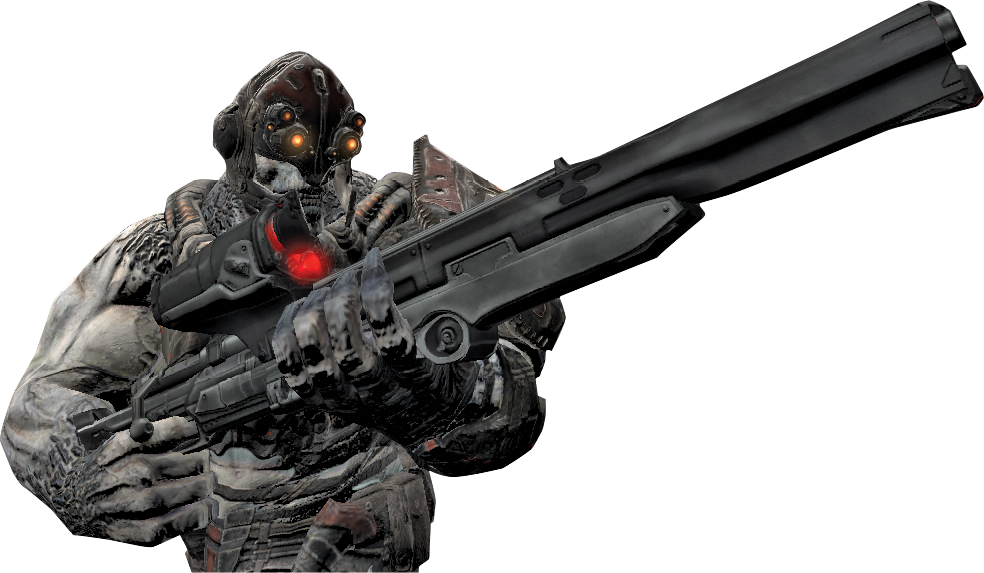
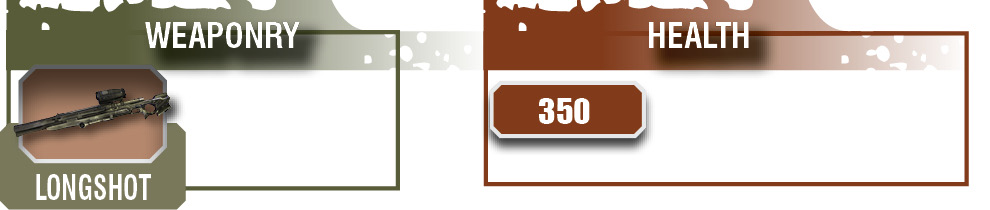
Drone Snipers are, as you might expect, Drones armed with Longshots. They are very dangerous opponents if you lack long-range weaponry of your own. Fortunately, they are fairly weak. Upon death, a Sniper provides you with a Longshot as long as you can get to its body safely.
Keep an eye and an ear out for Snipers. They aren’t extremely common, but they do show up throughout the campaign, and they should always be a priority target on the battlefield.
If you can’t kill them immediately, see if you can fight off the other nearby Locust from behind cover to prevent the Snipers from getting a bead on you. It’s always better if you can focus on Snipers without fear of getting munched on by a Bloodmount or blasted by a Boomer.
Vitals
Cover
Snipers tend to stick to cover, and they are dangerous to you even when you’re in cover. If you’re behind low cover and move or reload, you just might get shot.
Snipers are always dangerous when you aim around cover or walk in the open. To reduce the chance of taking a direct shot, try to minimize your time away from cover or aiming when Snipers are around.
KANTUS
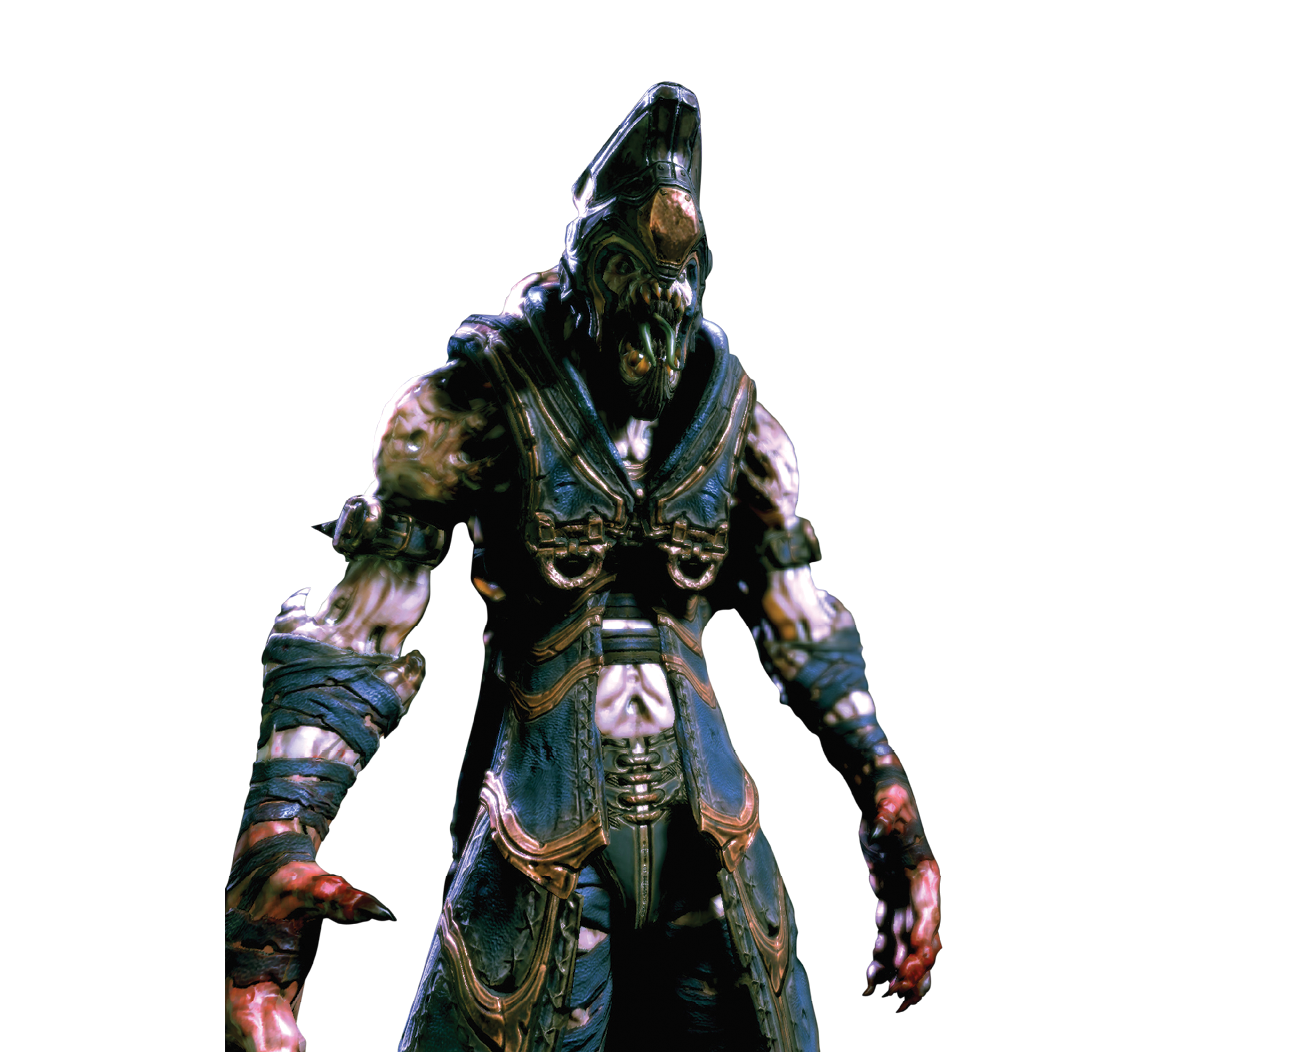
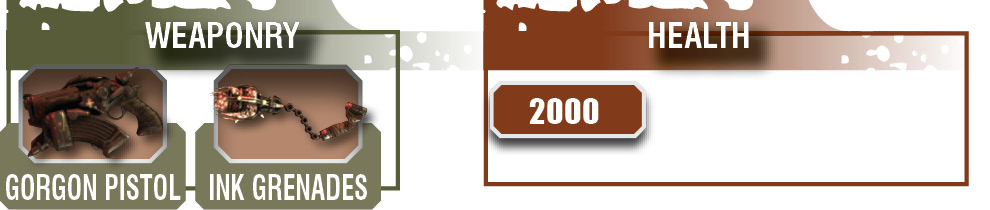
Kantus are a very special type of Locust, almost priest-like. They are armed with a pistol and can throw potent Ink Grenades. But their special abilities make them more dangerous than the weapons they carry.
First, Kantus can raise downed Locust, restoring them to full battle effectiveness. This means that Kantus must be your primary target in any mixed engagement. If you don’t prioritize them, you’ll see downed Drones stand right back up and rejoin the battle.
Kantus can also scream to summon Tickers. This can transform a standard battle into a very unpleasant one. Try to take them down at a distance before they can get close and compromise your cover.
Finally, the Kantus’ scream can knock you down at close range, so getting into a short-range fight is not advisable.
Vitals
Cover
Kantus tend to stay out of cover, but they are also fairly mobile. They like to keep their distance from you—all the better to raise downed Drones and summon Tickers. Picking them off with distance weaponry works well.
Kantus can be a serious threat to your cover, as the Ink Grenades they toss render whole areas unusable for several seconds. You may occasionally get lucky enough to find Ink Grenades on their bodies, though they don’t always drop them.
THERON GUARD
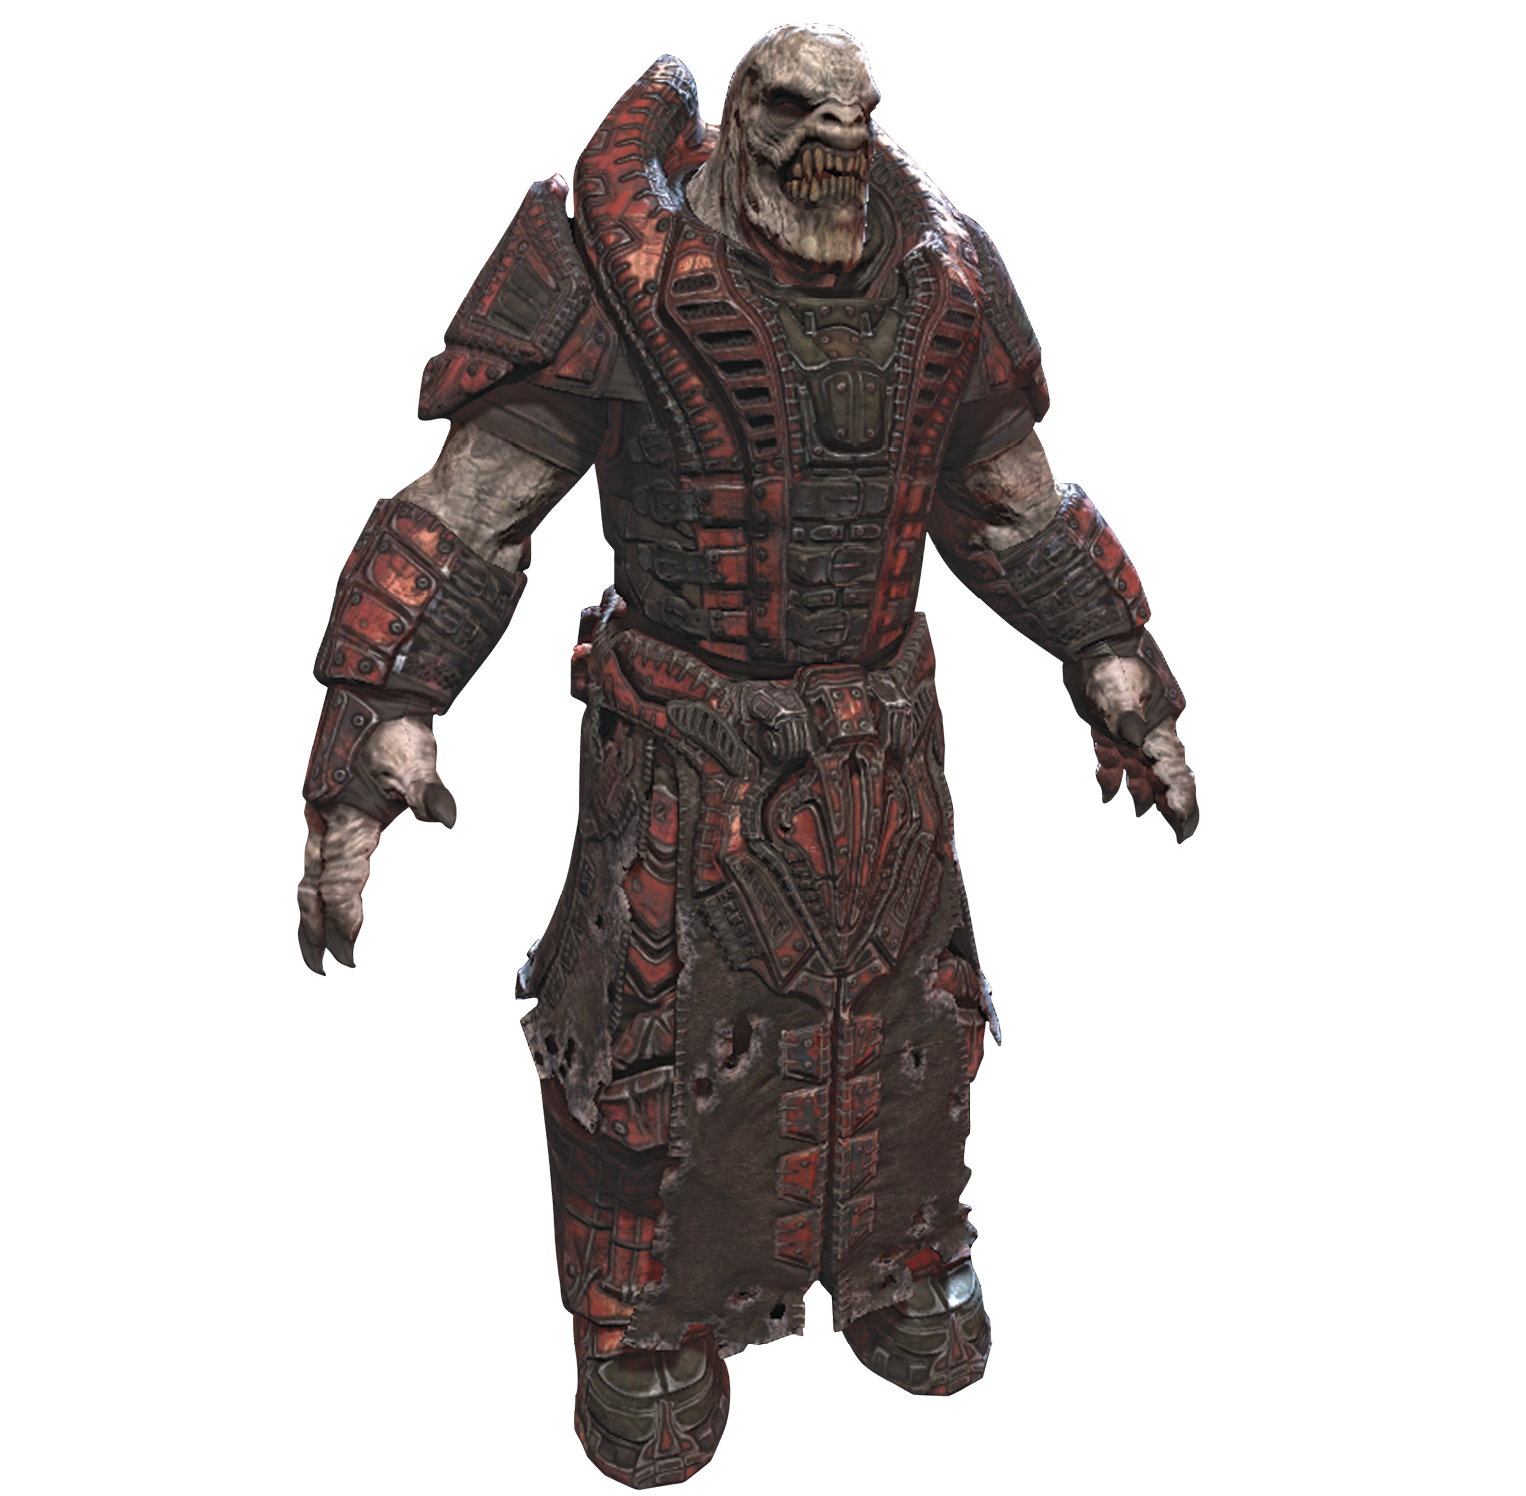
The powerful Theron Guards are elite Drone droops, often armed with the lethal Torque Bow.
Theron Guards behave much like Drones, but they are tougher and tend to have nastier weaponry. They are all around harder to deal with than regular Drones. Don’t be stingy with your heavy weapon ammo when they’re around.
Vitals

Cover
Theron use cover very well, and they can be extremely dangerous if they’re armed with Torque Bows. Watch for the telltale glow of a charged bow shot, and stay fully behind cover until it discharges.
PALACE GUARD
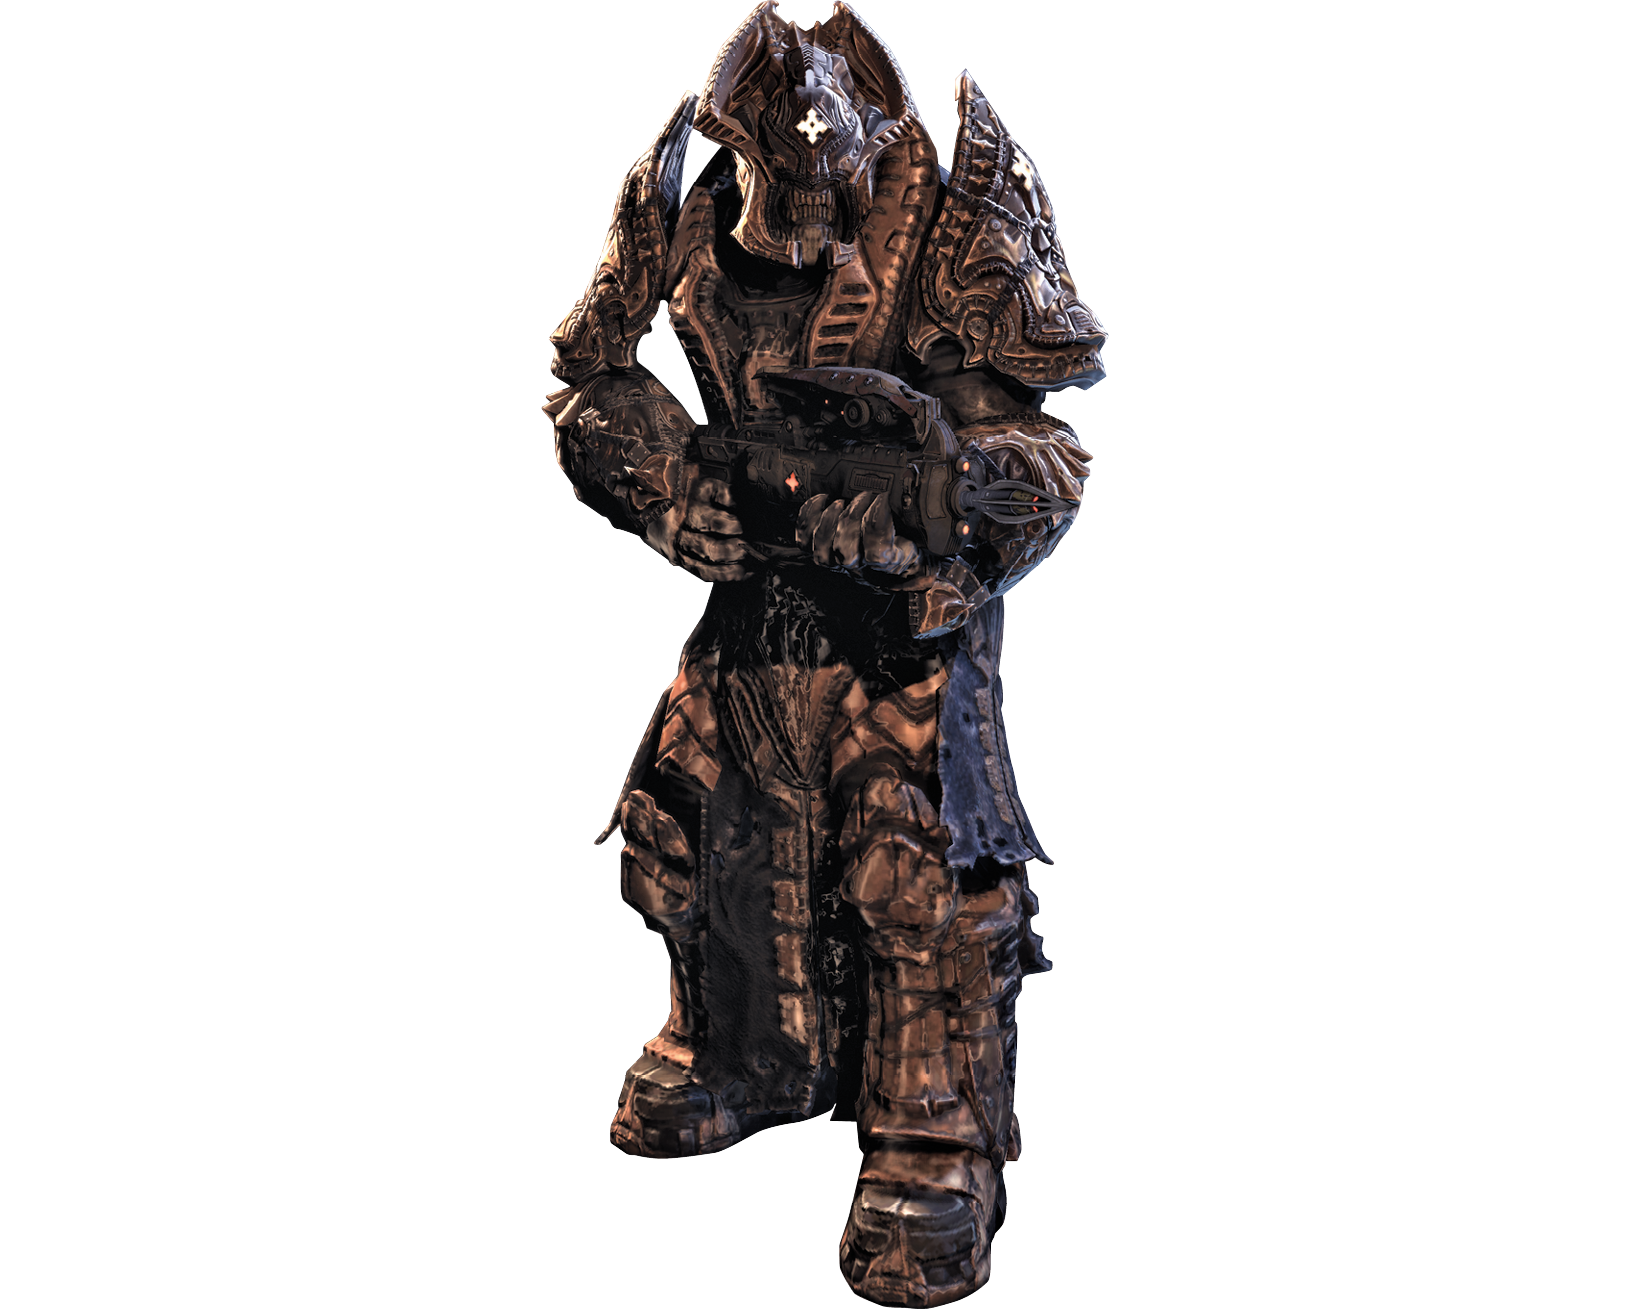
You encounter Palace Guards in only one portion of the game, which is good, because they are easily the toughest normal Locust troops.
Other than their increased health, Palace Guards are otherwise very similar to Theron Guards…and just as dangerous. Even more menacing, some Palace Guards ride Bloodmounts.
Vitals

Cover
Nearly identical to Drones and Theron Guards, Palace Guards use cover effectively.
MAULER
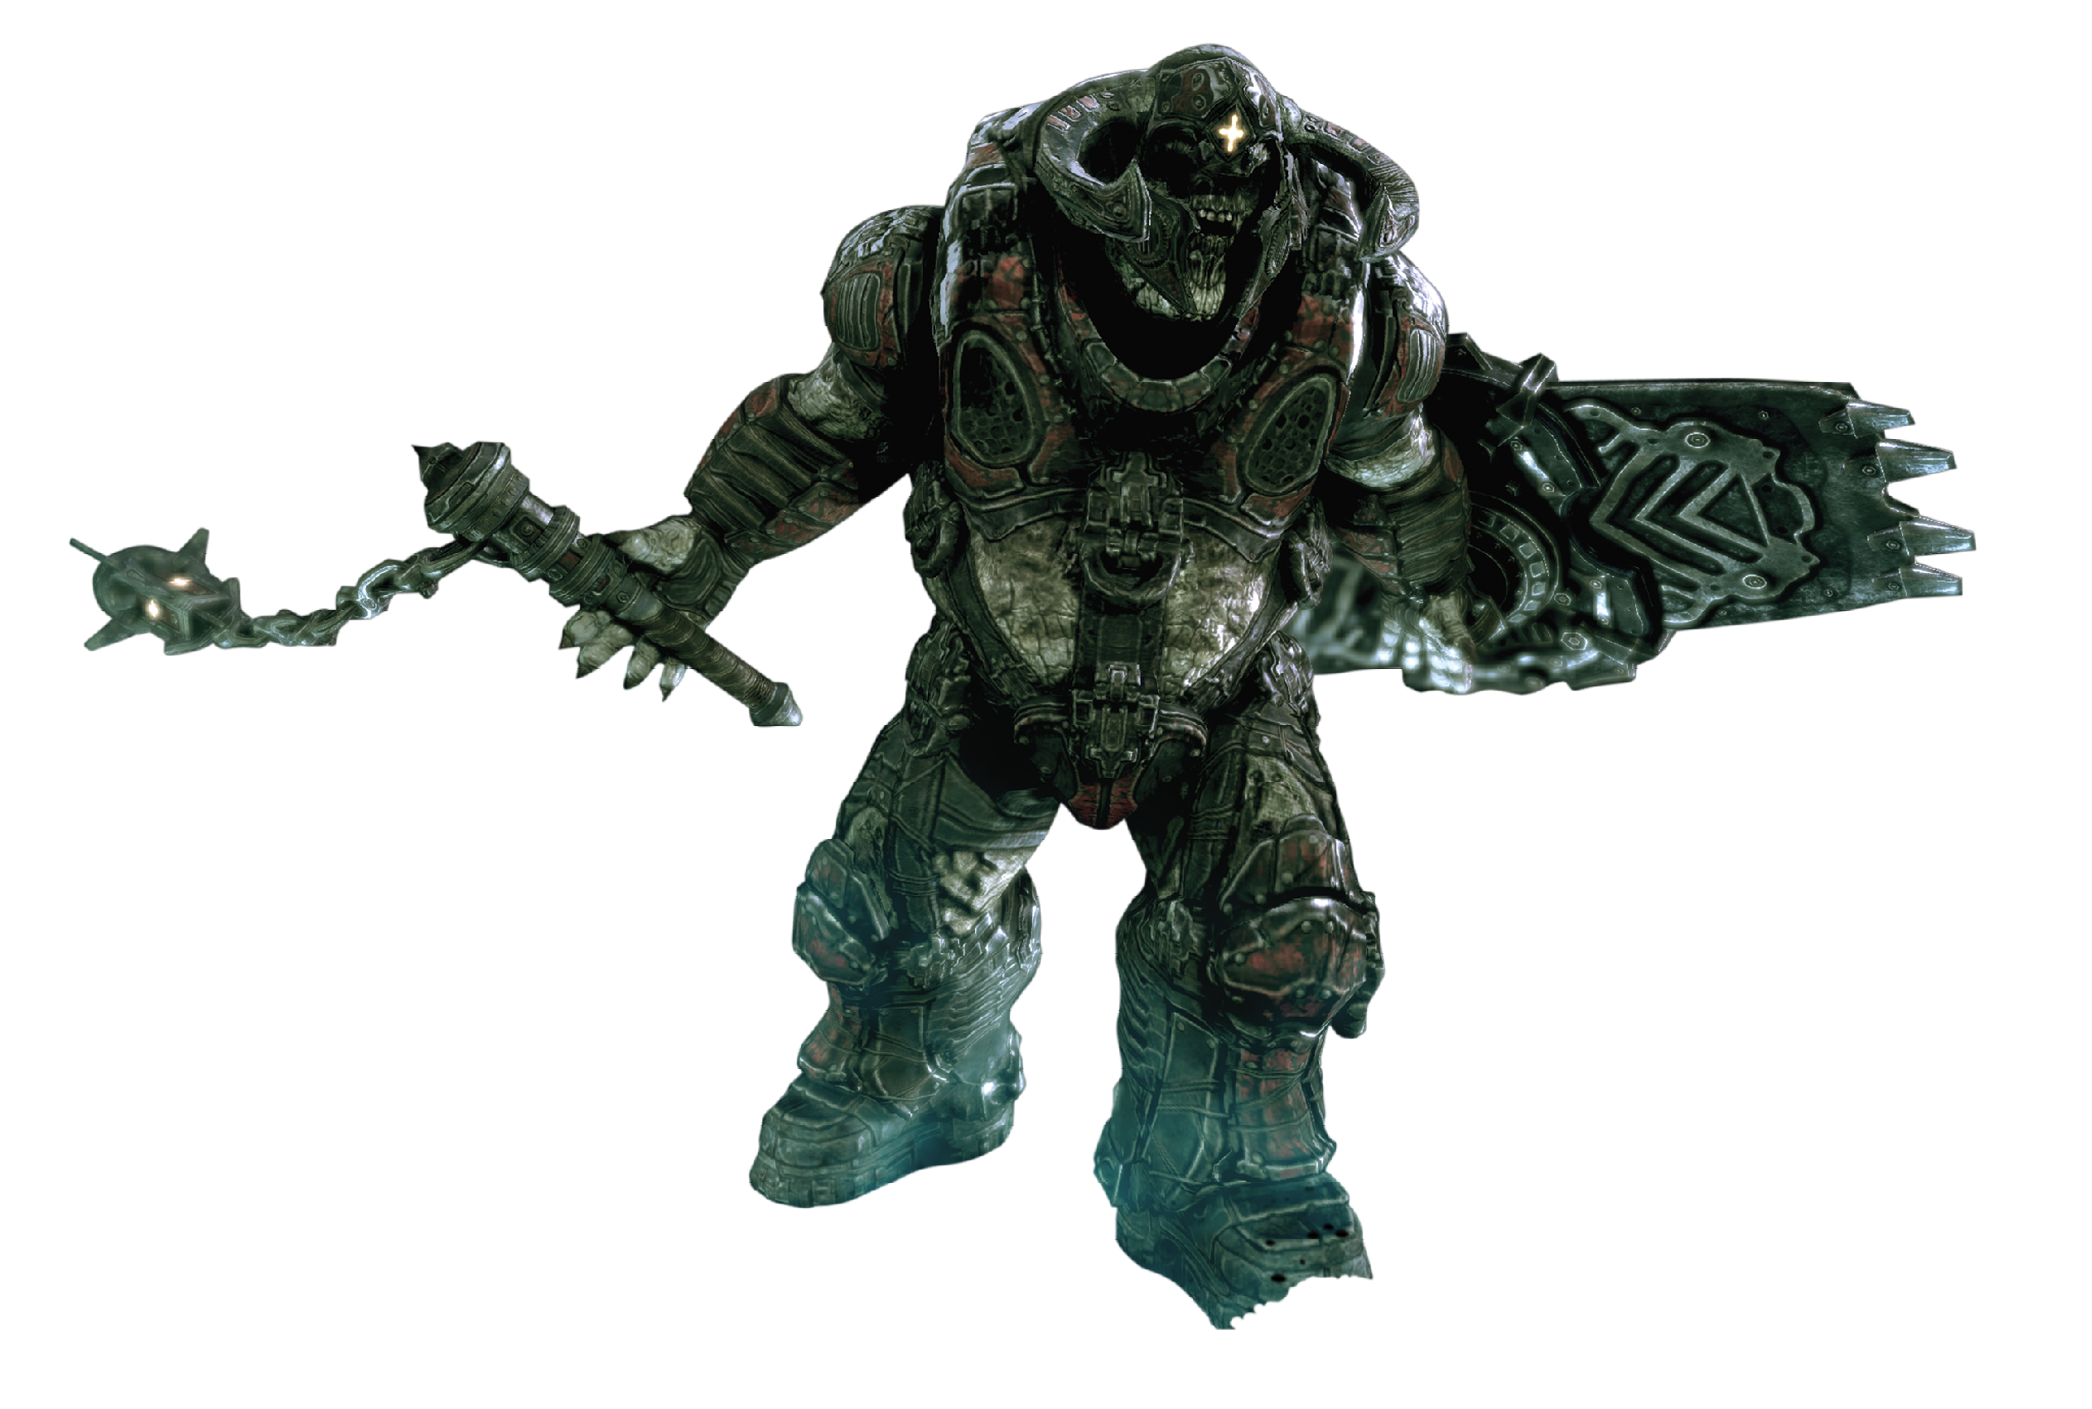
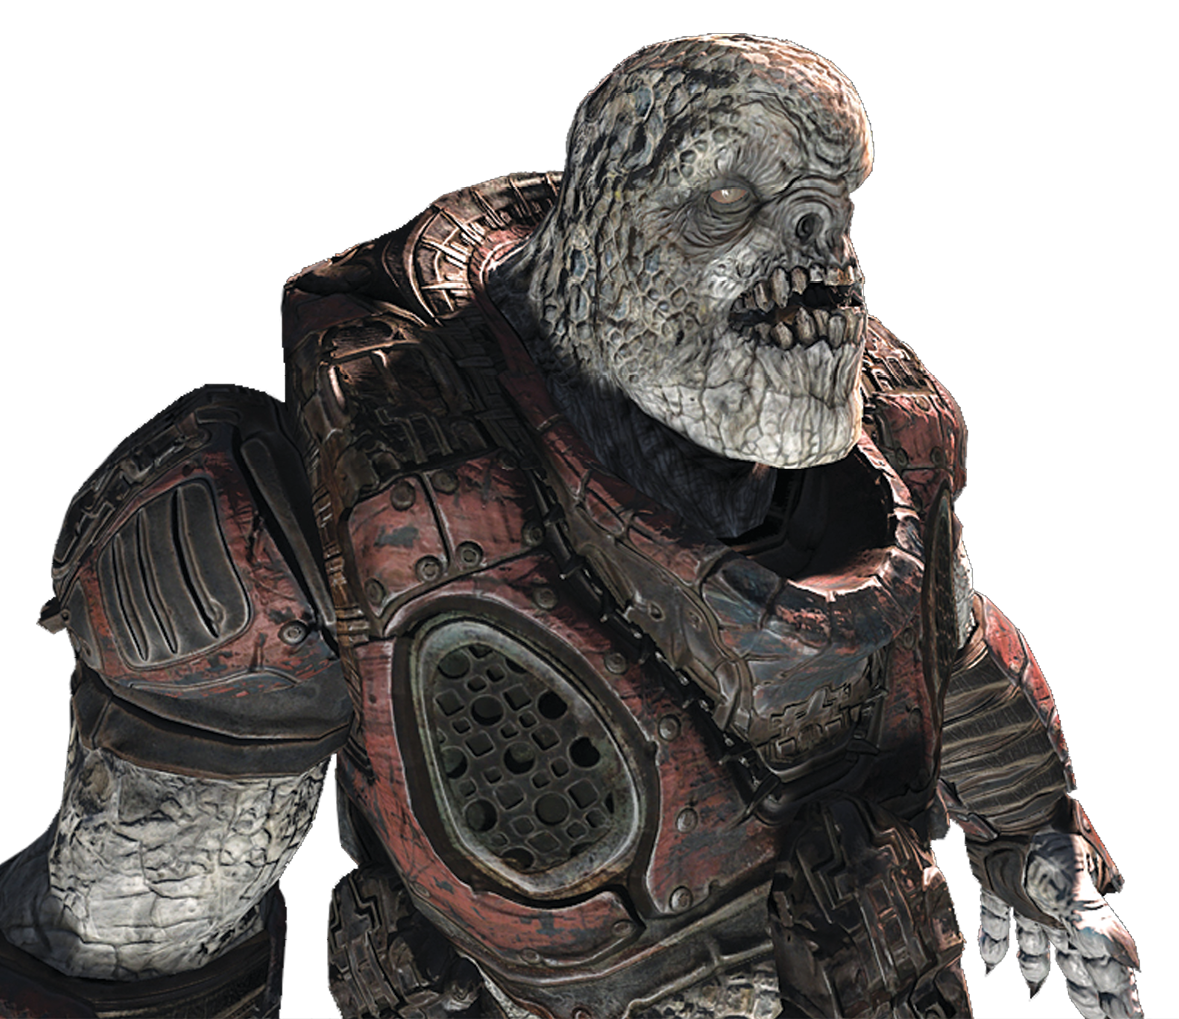
A Boomer-sized Locust, the Mauler is a large, aggressive, and comparatively fast-moving Locust shock trooper.
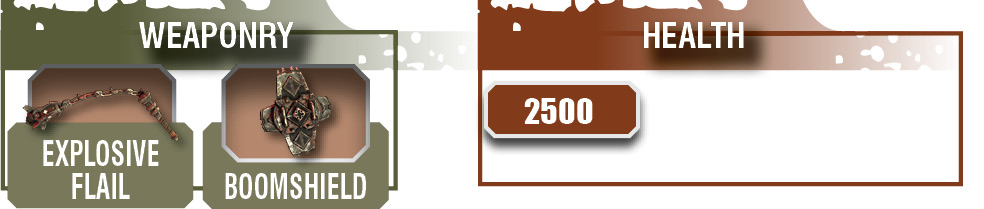
Maulers are armed with a flail that explodes on impact and knocks you off your feet. They also carry a Boomshield that can soak up frontal fire. Maulers can be a serious pain to exterminate.
To down a Mauler, wait for it to lower its shield, and then hit it with strong, single-shot weaponry. You can use Grenades, the Longshot, Boomshot, a Shotgun, or even a Boltok in a pinch. Rapid-fire weaponry tends to be somewhat less effective, as the Mauler can keep its shield raised, blocking much of your damage output.
If you need to slow down a Mauler, but can’t deal with it immediately, fire at it to force it to raise its shield. This slows it down for a few seconds while it guards itself.
Whatever you do, don’t let a Mauler get close to you. Its flail is short range only, but it is lethal up close. Even if the explosion doesn’t kill you, getting knocked on your butt with other Locust nearby can certainly ruin your day.
On the bright side, killing a Mauler leaves a lovely reward in the form of the powerful Boomshield.
Vitals
Cover
Maulers ignore cover, but they are a serious threat to you behind cover. Once they’re up close, cover will not help you.
Try to take them out before they can force you to break from cover and possibly expose yourself to other nearby Locust.
BOOMER
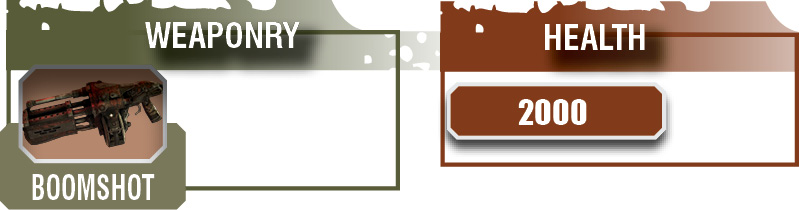
The mighty Boomer and his ever-present Boomshot returns, and it is a serious menace.
The Boomer can take you down in a single shot if you aren’t careful. Duck whenever you hear them yell “BOOM!” You have a split second to get out of sight before the Boomshot projectile impacts. You don’t want to be in the open and drawing fire when Boomers are stomping around.
Boomers are disturbingly tough, so don’t spare your heavy weapons or grenades whenever you spot one.
Occasionally, you encounter the rare Flame Boomer variant.
These walls of meat are dangerous foes, as they possess the durability that Flame Grenadiers lack. They are relatively slow, but you have to take them down before they close with your position. An undamaged Flame Boomer at close range can put you in a very unpleasant situation if other enemies are around. Be sure to shoot the fuel tanks that Flame Boomers carry. This is one of the best tactics for dealing with this enemy type.
Killing a Boomer is usually cause for celebration, as you can put the Boomshot it drops to good use, quickly executing key enemies for the next several encounters.
Vitals
Cover
Boomers scorn cover, marching toward you and cackling as they unload with their heavy weaponry. For your part, get behind nice, solid cover whenever Boomers are near—they’re too dangerous to risk exposing yourself.
BUTCHER BOOMER
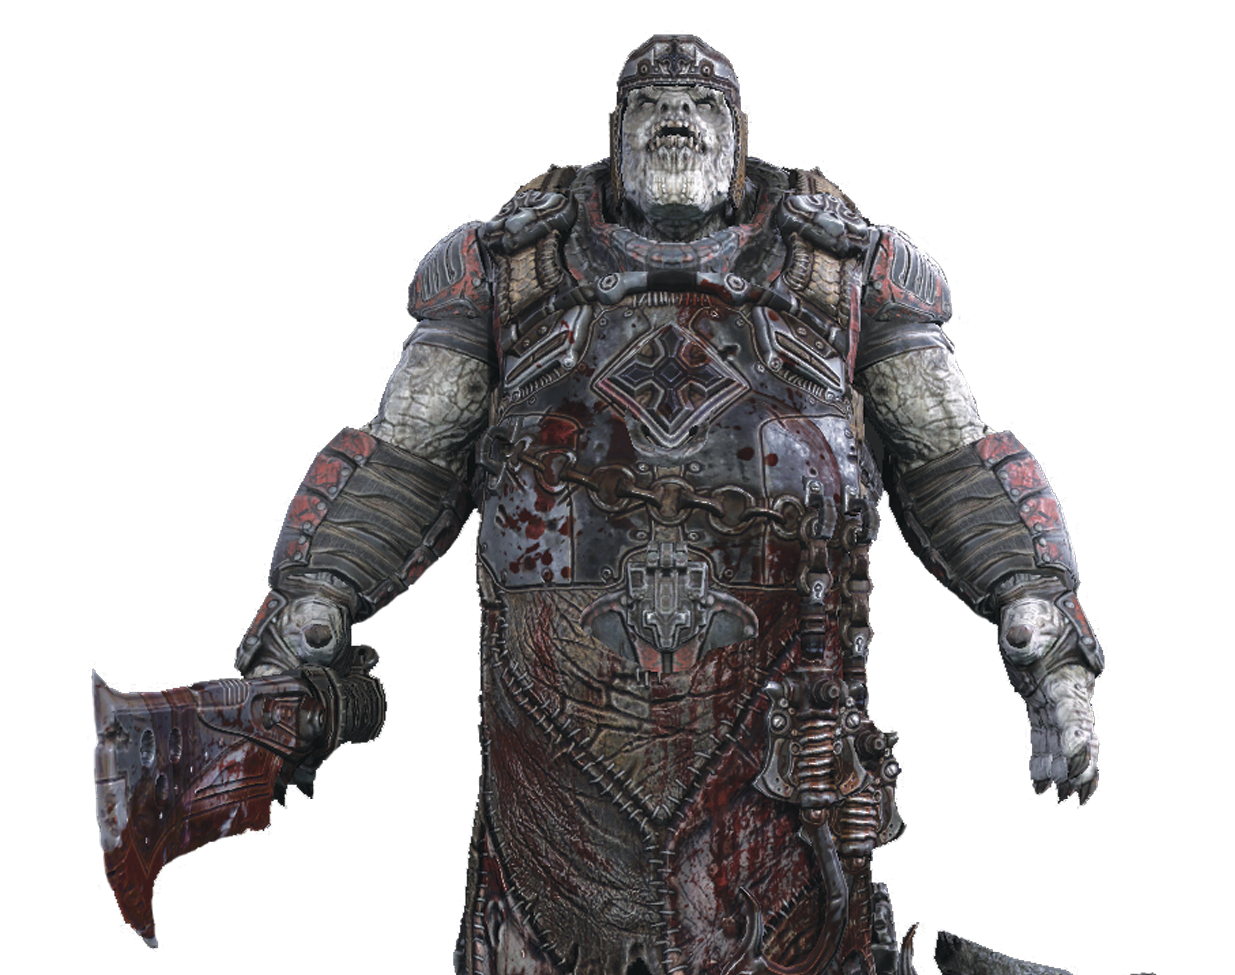
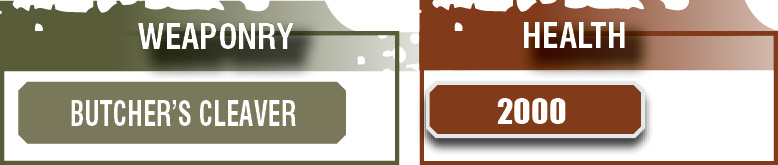
The singular Butcher is a very rare and unusual type of Boomer. Encountered deep in the heart of Locust territory, they provide an insight into Locust dietary habits. Unfortunately, they’re not as interested in sharing culinary secrets as they are in splitting you apart with their massive cleavers.
Armed with only their close-range weapon, Butchers aren’t serious threats as long as you down them before they get close. While their melee attack is brutal, you can actually survive one hit. But don’t let them get that close in the first place; down them at a distance!
Vitals
Cover
Like the rest of the Boomer family, Butchers have no interest in cover. Instead, they attempt to close the distance and attack with their meat cleavers.
FLAME BOOMER
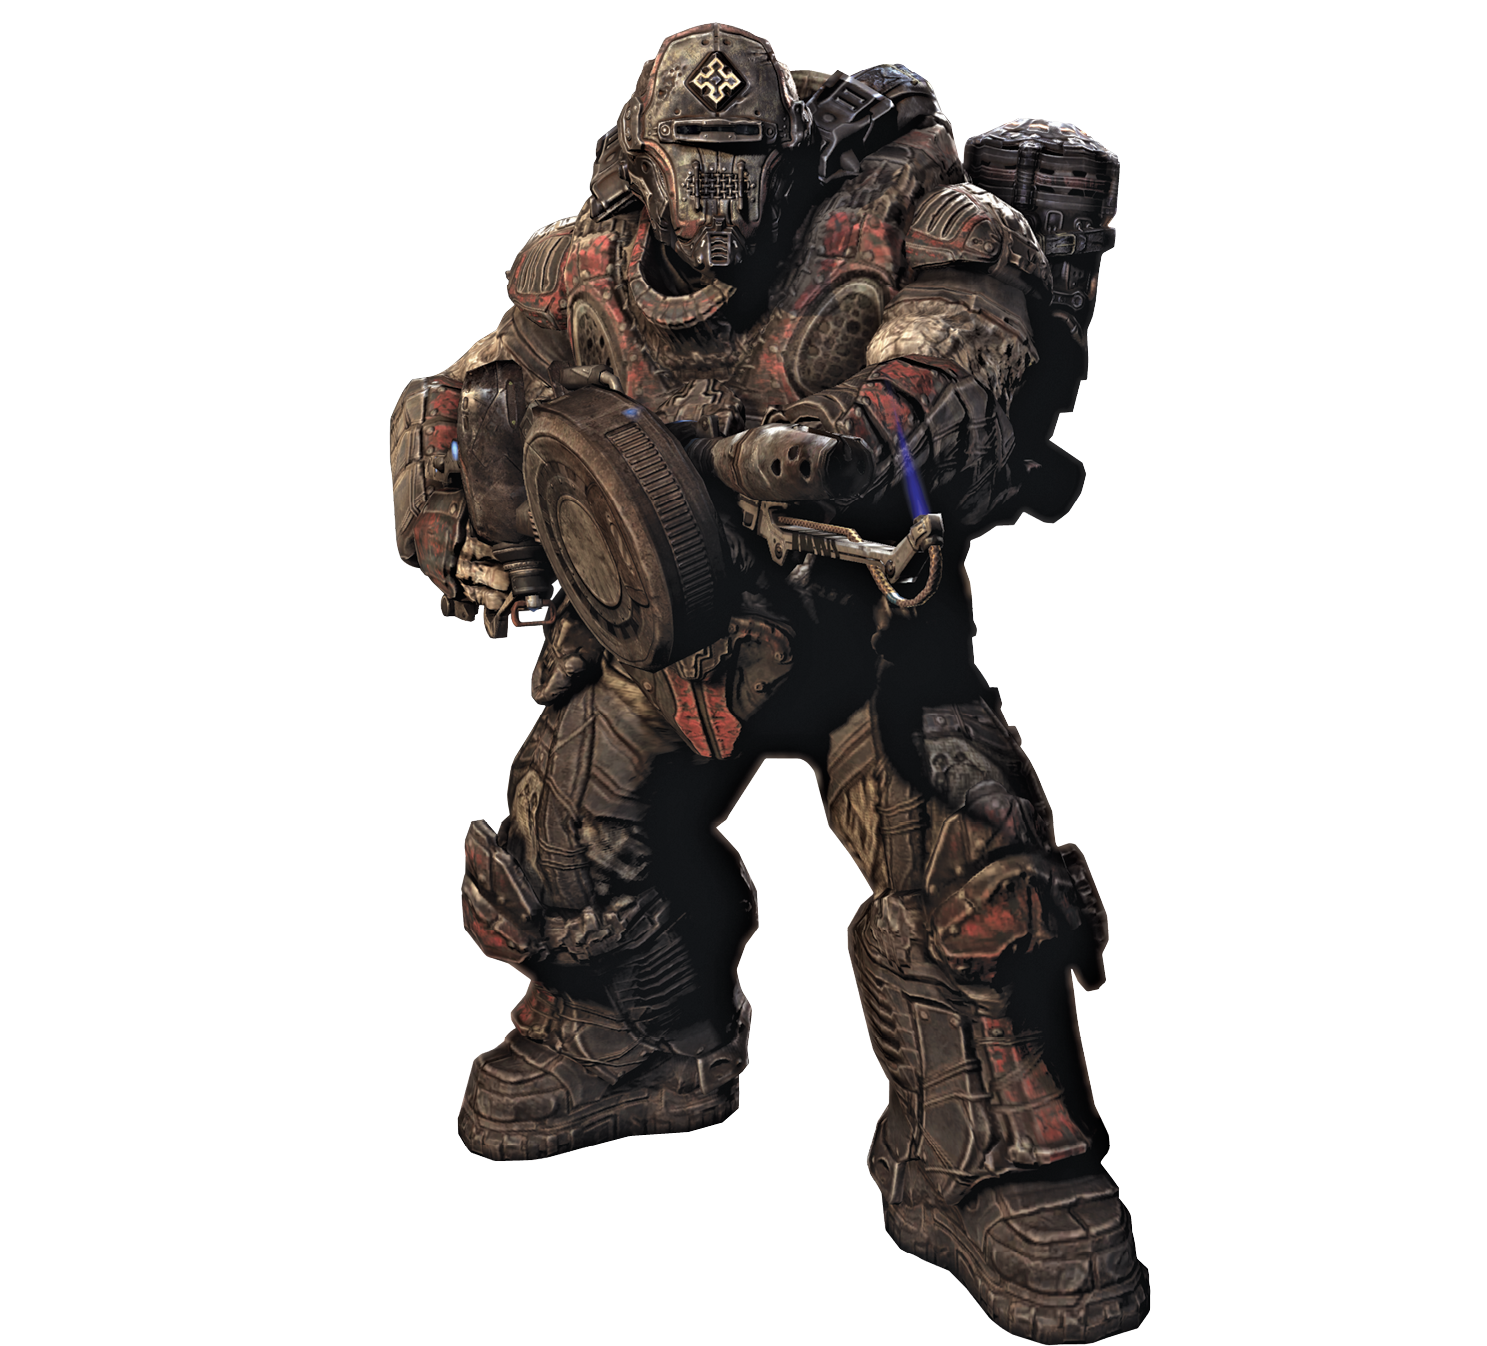
The rare Flame Boomer is a nasty pyro-enhanced type of Boomer. While they lack the long-range punch of the Boomer or Grinder, Flame Boomers compensate with the danger of their advance. When a Flame Boomer appears, taking it down at range is vital. If it gets into close range, you’re guaranteed to get incinerated.
Flame Boomers are just as tough as their Boomer brethren, but you can usually take them down before they become a threat. Just make sure you don’t mistake a Flame Boomer for a Flame Grenadier at a distance! Their lumbering march and larger target profile should clue you in to the greater threat.
Vitals
Cover
Like Boomers, Flame Boomers ignore cover. They march implacably toward your position, seeking to bring their close-range flamers to bear.
BLOODMOUNT
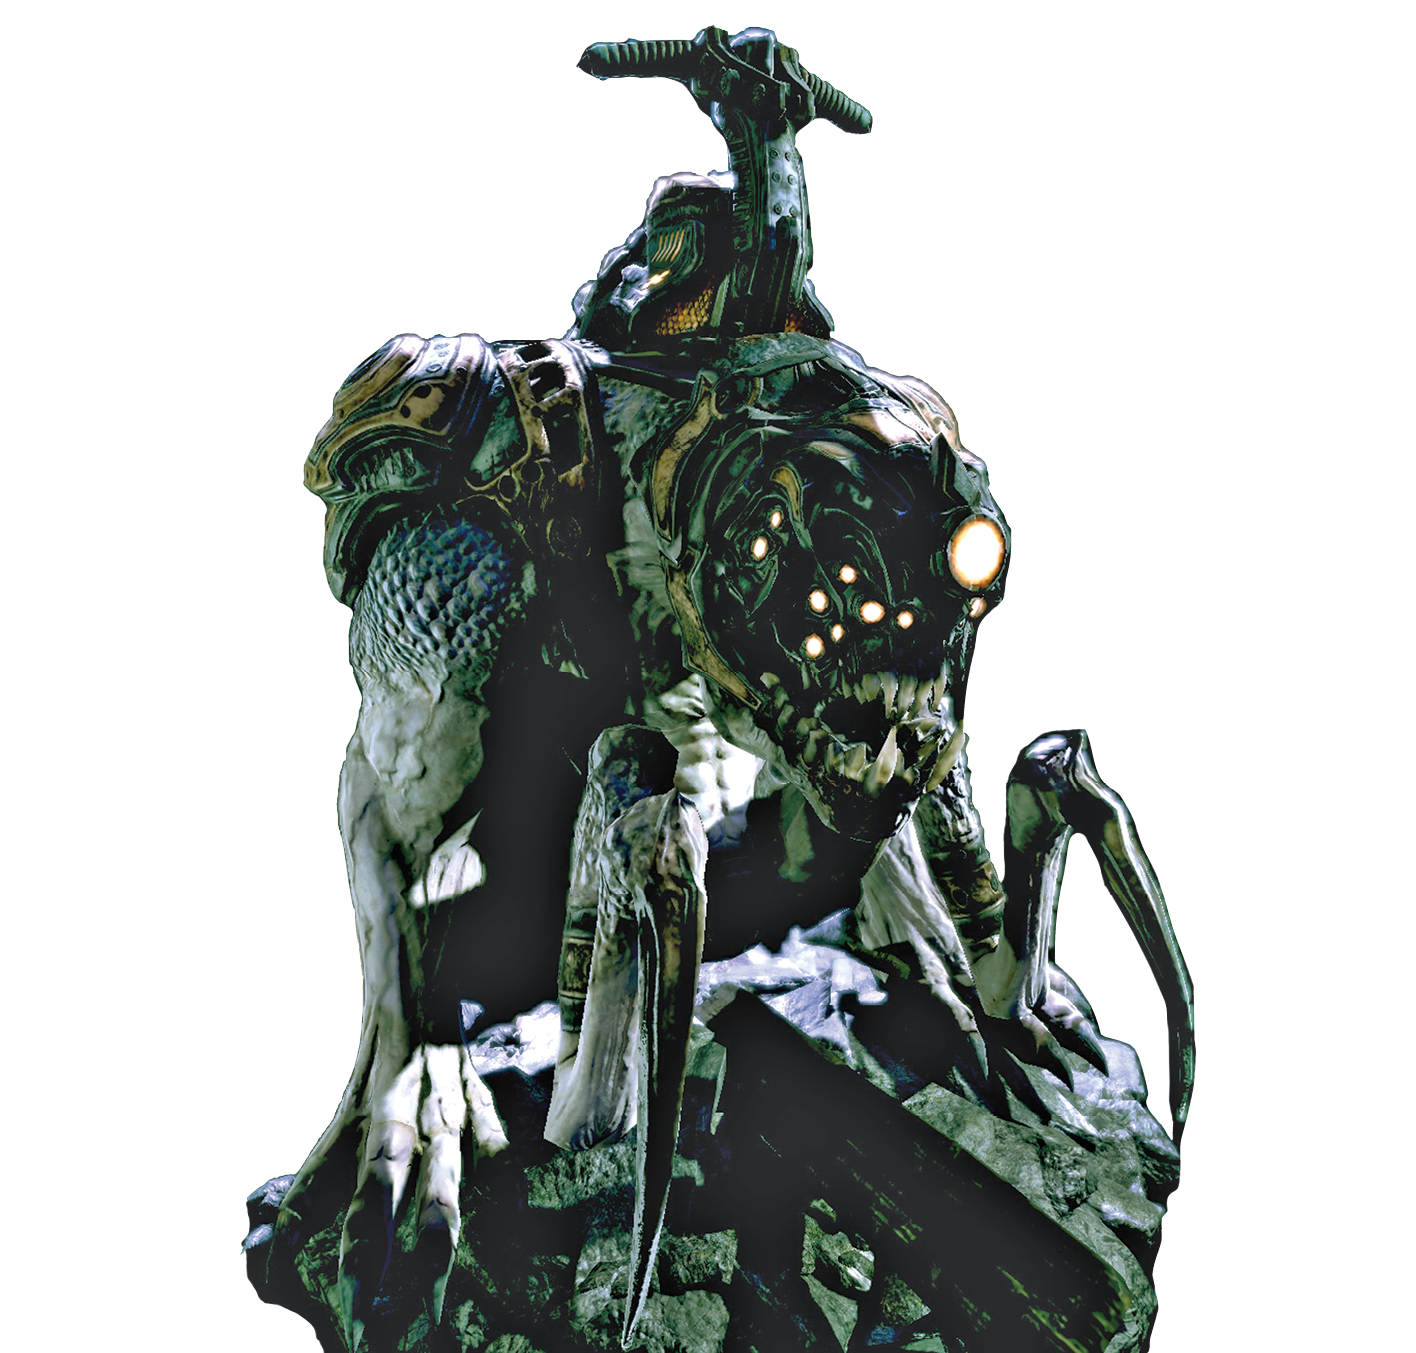
Thankfully, the Bloodmount is a fairly rare Locust beast. This creature is usually ridden into battle by a Beast Rider Grenadier and occasionally by stronger Locust, such as the Palace Guard.
The Bloodmount is dangerous for a few reasons. First and foremost, it can stab you with it’s small legs. Also, it likes to come at you behind cover. This can put you in the same unpleasant situation that a Wretch rush does with other Locust in the area.
Second, the Bloodmount’s rider has the benefit of an elevated position. This can make low cover a lot less safe when the Bloodmount closes on your position.
Try shooting the Bloodmount in the face to daze it and make it pry off its helmet. The time it and its thrown rider spend in a stunned state can give you time to finish them off.
You can shoot the rider off the Bloodmount, but doing so won’t save you. The Bloodmount continues its pursuit, and you don’t want its vicious maw anywhere near you.
Vitals

Cover
The Bloodmount generally ignores cover, but it is fast moving and can easily force you to break cover when it gets close. Any time you spot a Bloodmount and you have some distance on it, try to take it out as quickly as possible.
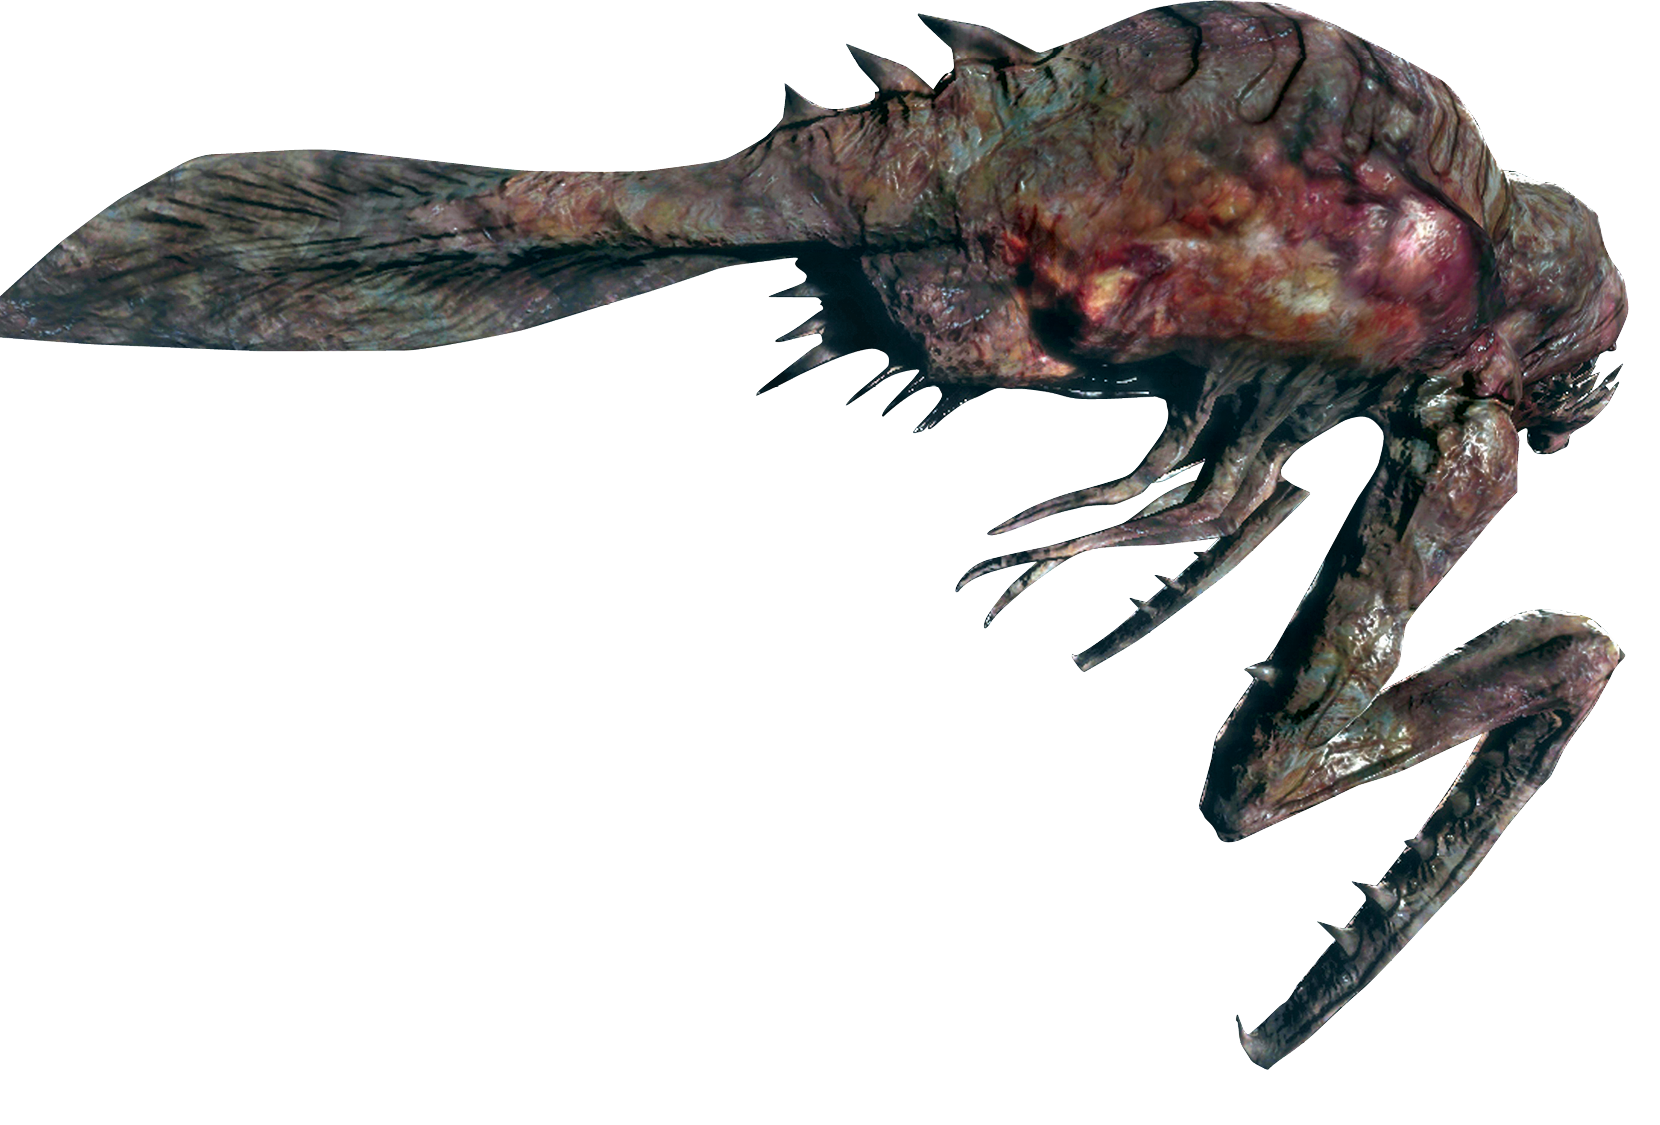
NEMACITE
The Nemacite is a very rare enemy, encountered only in one very specific part of the game. These strange creatures are all fangs and spikey bits, but they are exceedingly weak.
Even hip fire from a Lancer can down them, which is good, because they tend to attack in packs. Fire on the move and deal with them much like you would a pack of Wretches.
Vitals

Cover
Nemacites ignore cover, aggressively rushing toward you and your squad mates.
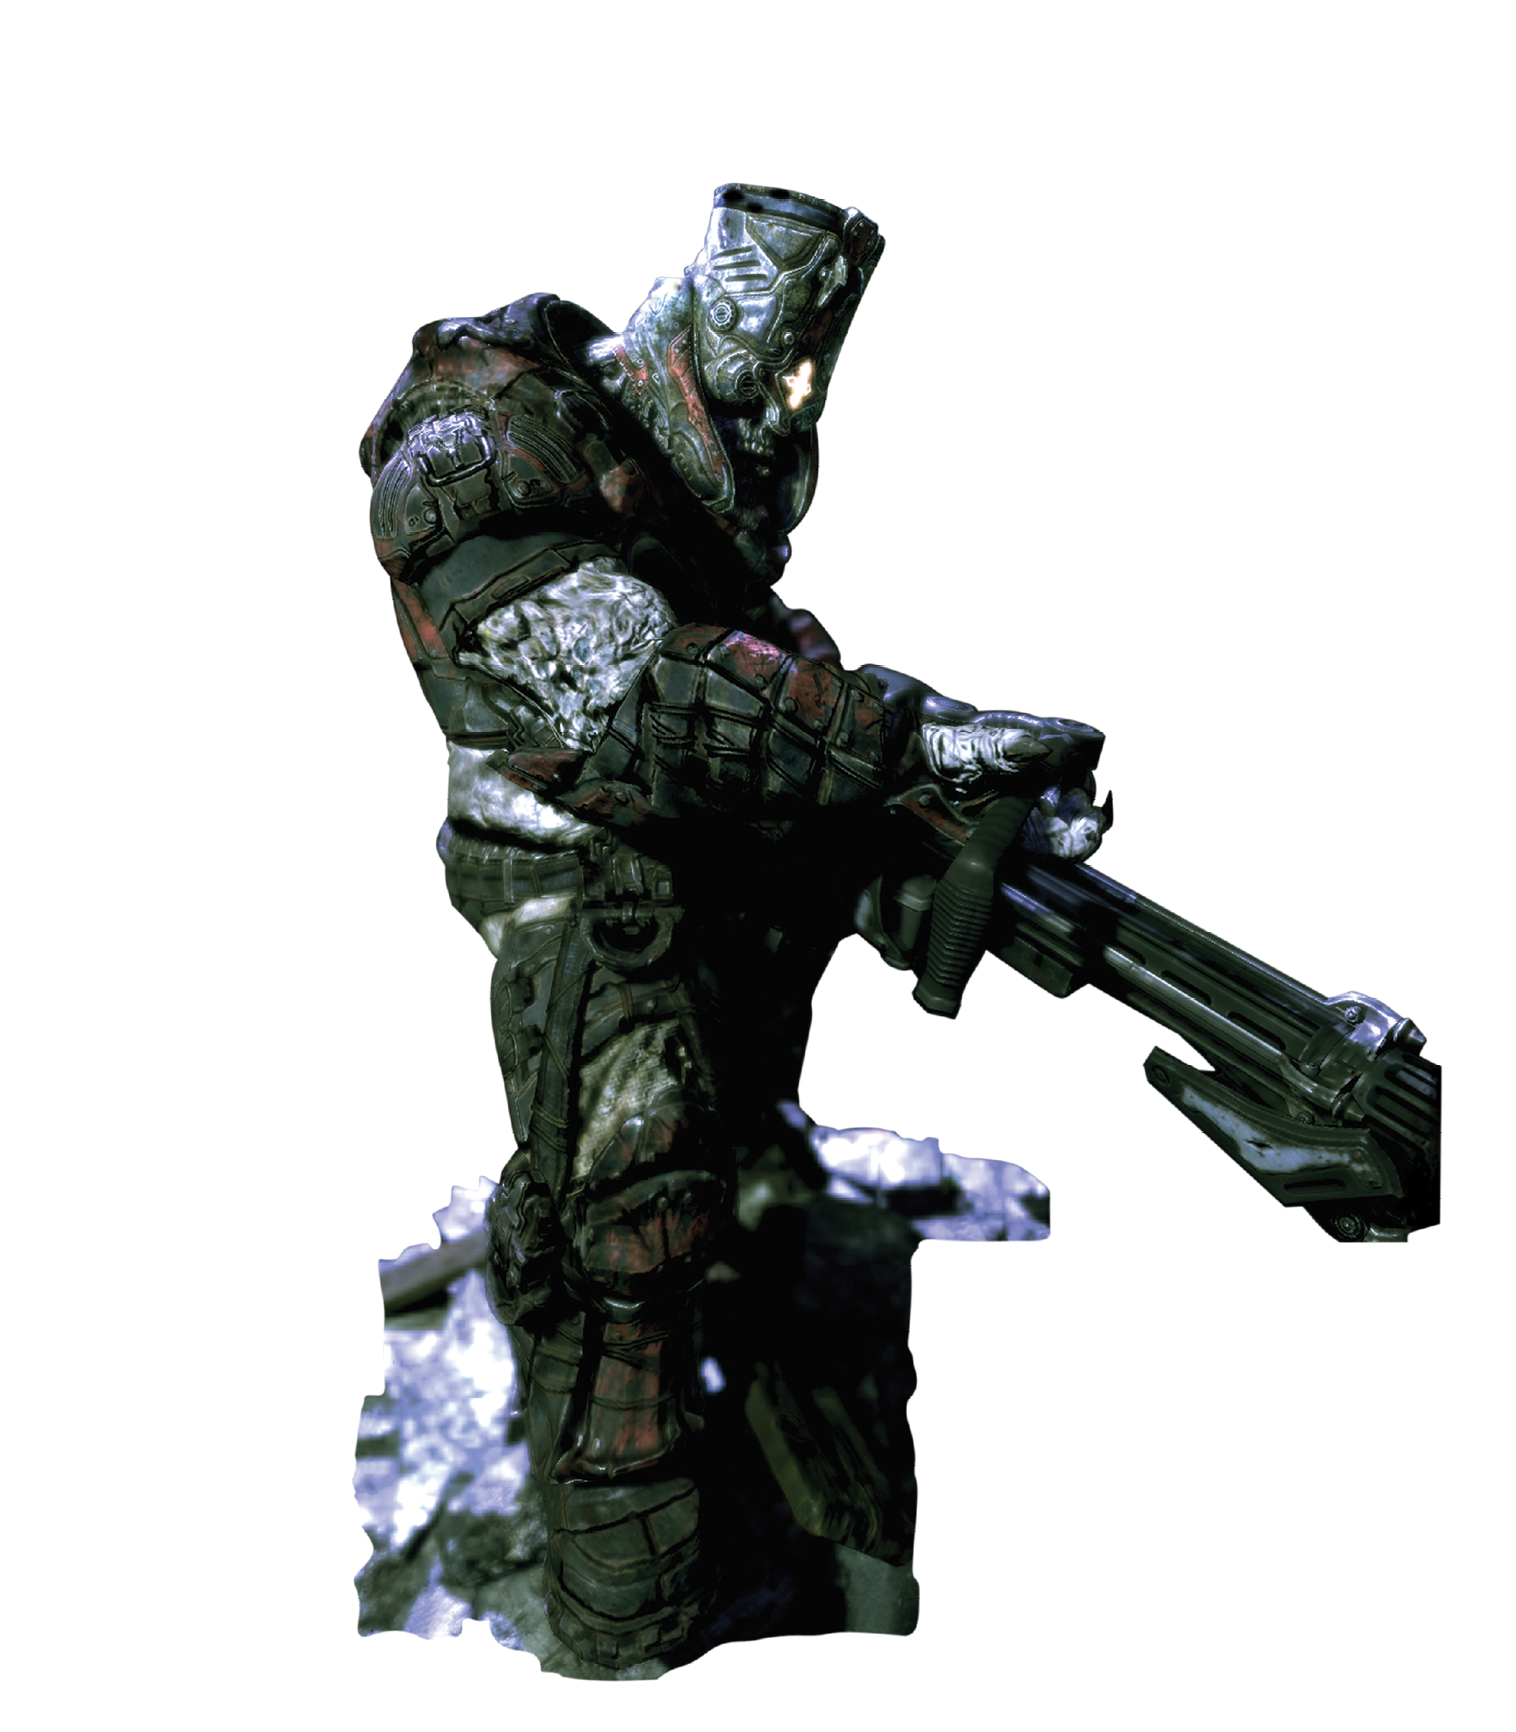
GRINDER
Grinders are a special type of Boomer armed with the lethal Mulcher minigun. Like Boomers, they love to yell, “GRIND!” This is your signal to duck and stay behind cover.
Grinders unload with their Mulchers for a few seconds and then pause. Hit them hard during this gap, because it is totally unsafe to expose yourself when they’re firing.
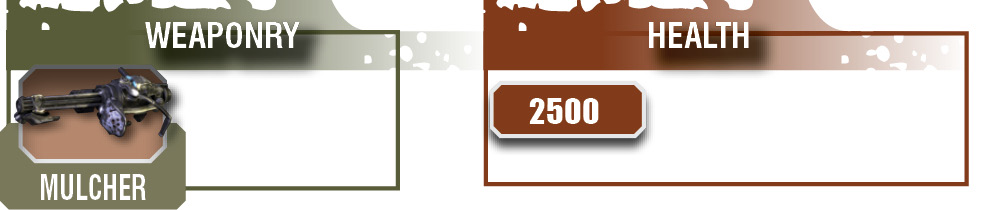
Downing a Grinder leaves a grand reward; the Mulcher it drops is a very, very powerfulheavy weapon.
Vitals
Cover
Much like their Boomer bretheren, Grinders are uninterested in using cover, preferring to stay out in the open and unload with their Mulchers.
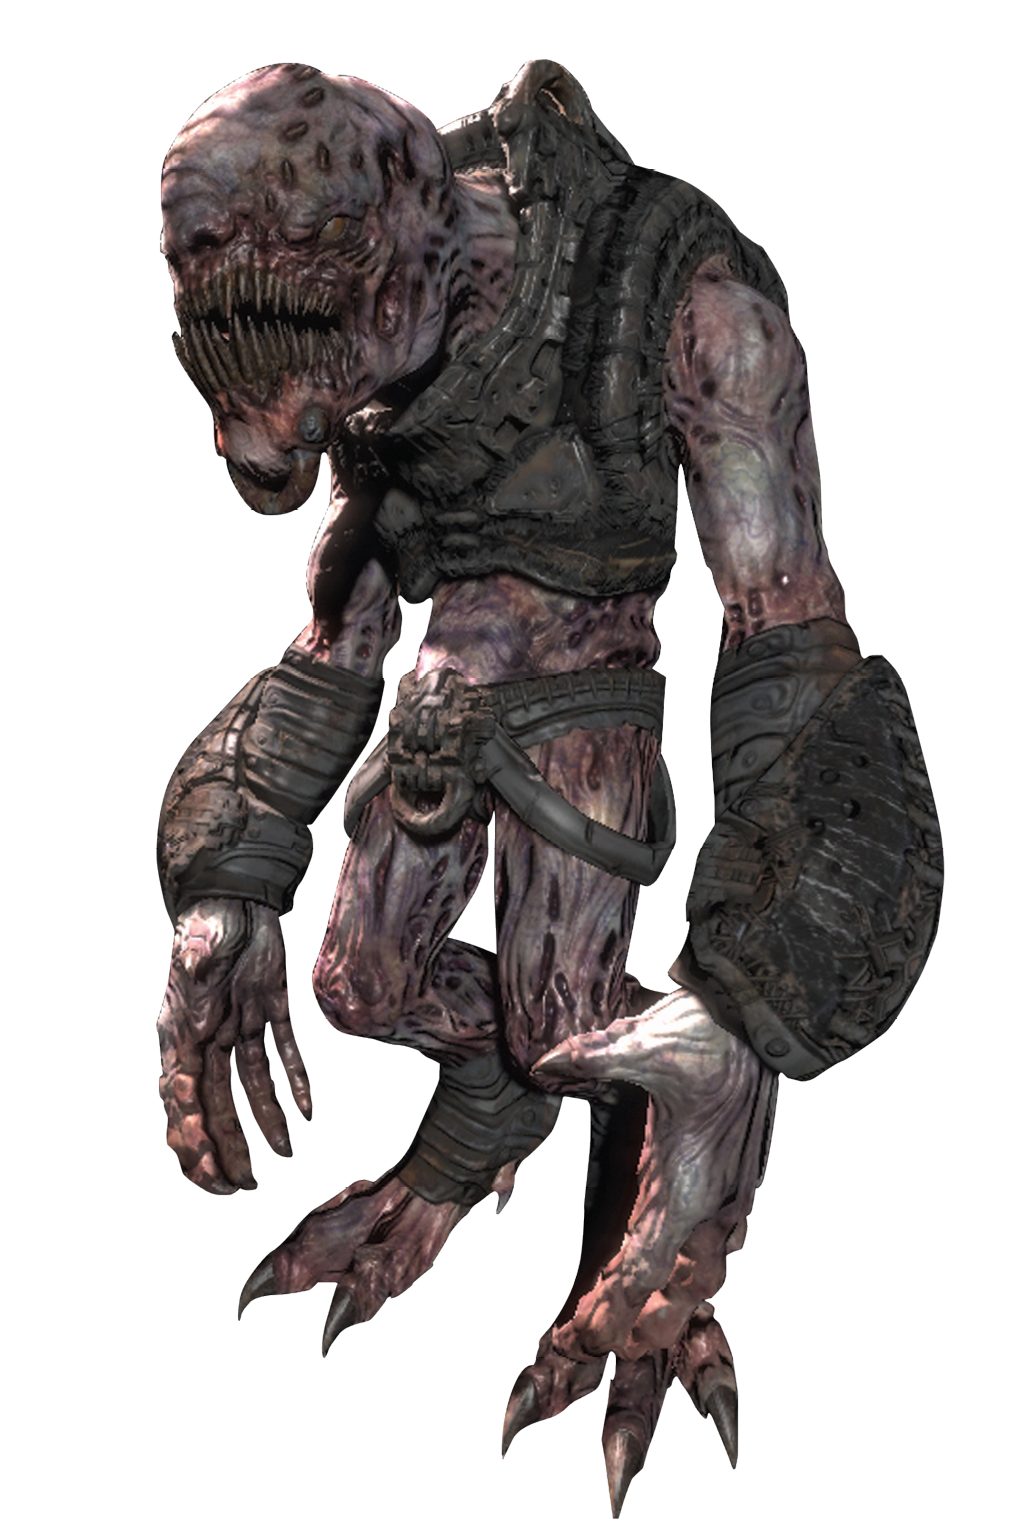
WRETCH
The feral Wretches are weak and degenerate Locust, but they are still dangerous. Wretches move quickly and aggressively advance on your position, forcing you to break cover and deal with them up close.
It’s best to deal with Wretches on the move, using weapons like the Shotgun, the Scorcher, or even a Lancer from the hip.
Be careful when large packs of Wretches attack. It’s to avoid getting surrounded, lest you take a punishing beating at the hands of the pack.
Vitals

Cover
Unfortunately, Wretches are aware of cover, and they use it fairly well to close on your position. They also like to hop over low cover quickly and can close on your position with surprising speed.
Because they have a low target profile and move fast, dealing with them at a distance is harder than it might seem. This is particularly true when they lie in wait and ambush you already at close range.
TICKER
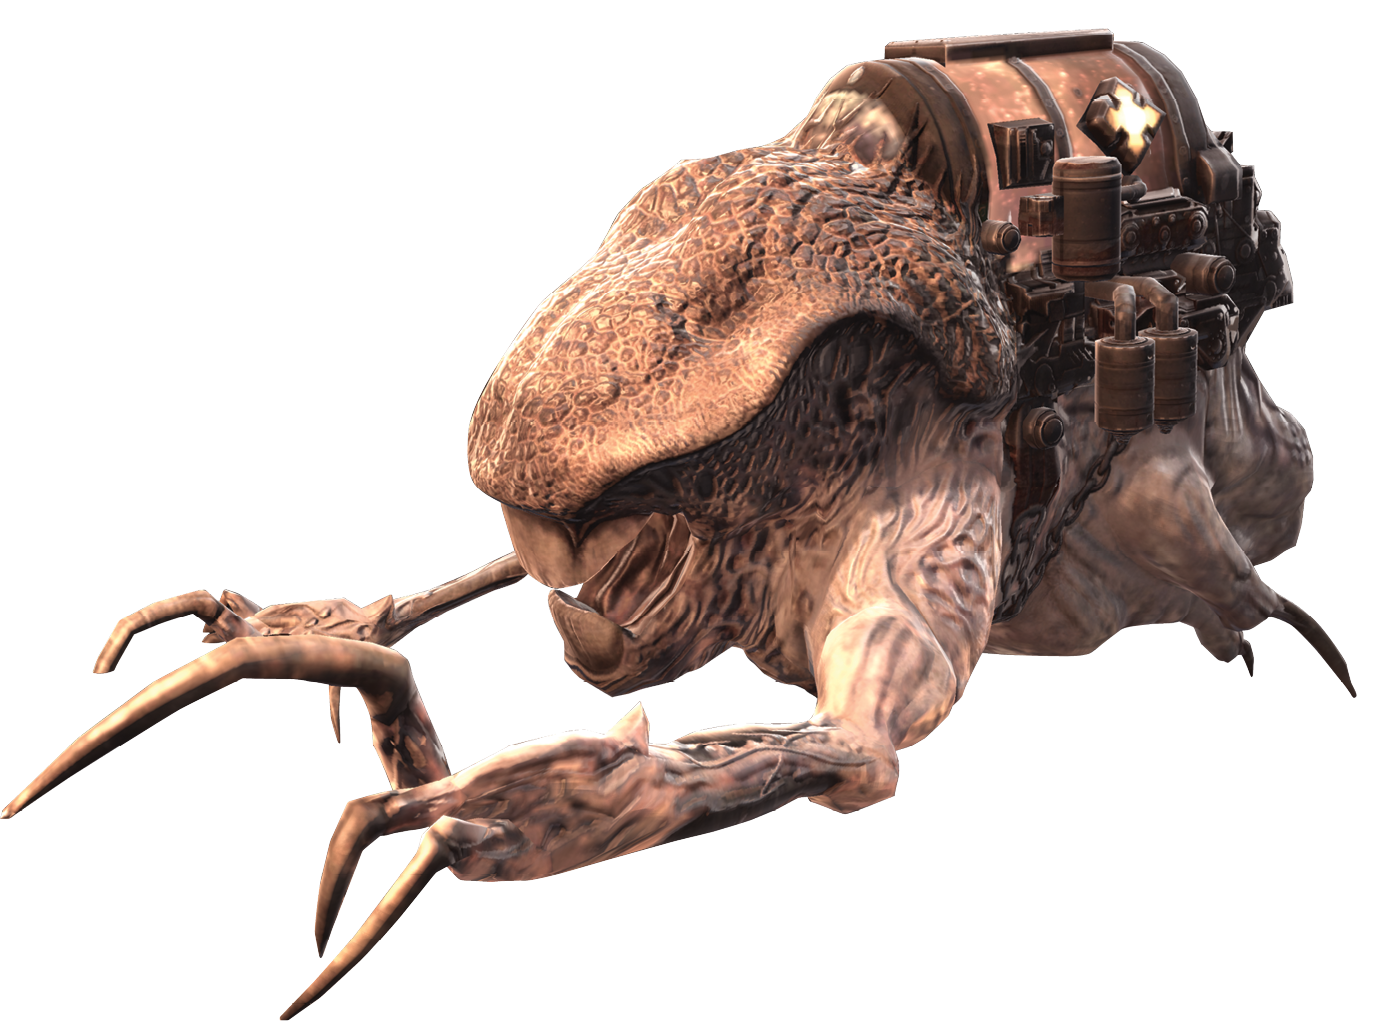
The Locust Ticker is an organic mine, a literal walking (or scuttling) bomb.
Tickers rush your position and then stop to begin their internal combustion. Before they explode, you have a brief second to hit them with a melee strike, knocking them back through the air. This is very useful to avoid a punishing blast.
Ticker detonations can stun their explosive brethren, and take out any other Locust forces within range. If you have the chance, knocking a Ticker back into a nearby Locust’s face is a satisfying and effective tactic.
Vitals

Cover
Tickers use cover in a very irritating and dangerous manner They scuttle quickly from cover to cover like cockroaches, often staying completely out of view, thanks to their low height.
Once they get close enough, they abandon cover and rush your position to detonate. Be prepared for it. Either kill them on the move with a Shotgun or concentrated fire, or be ready to melee them back when they get too close.
SEEDER
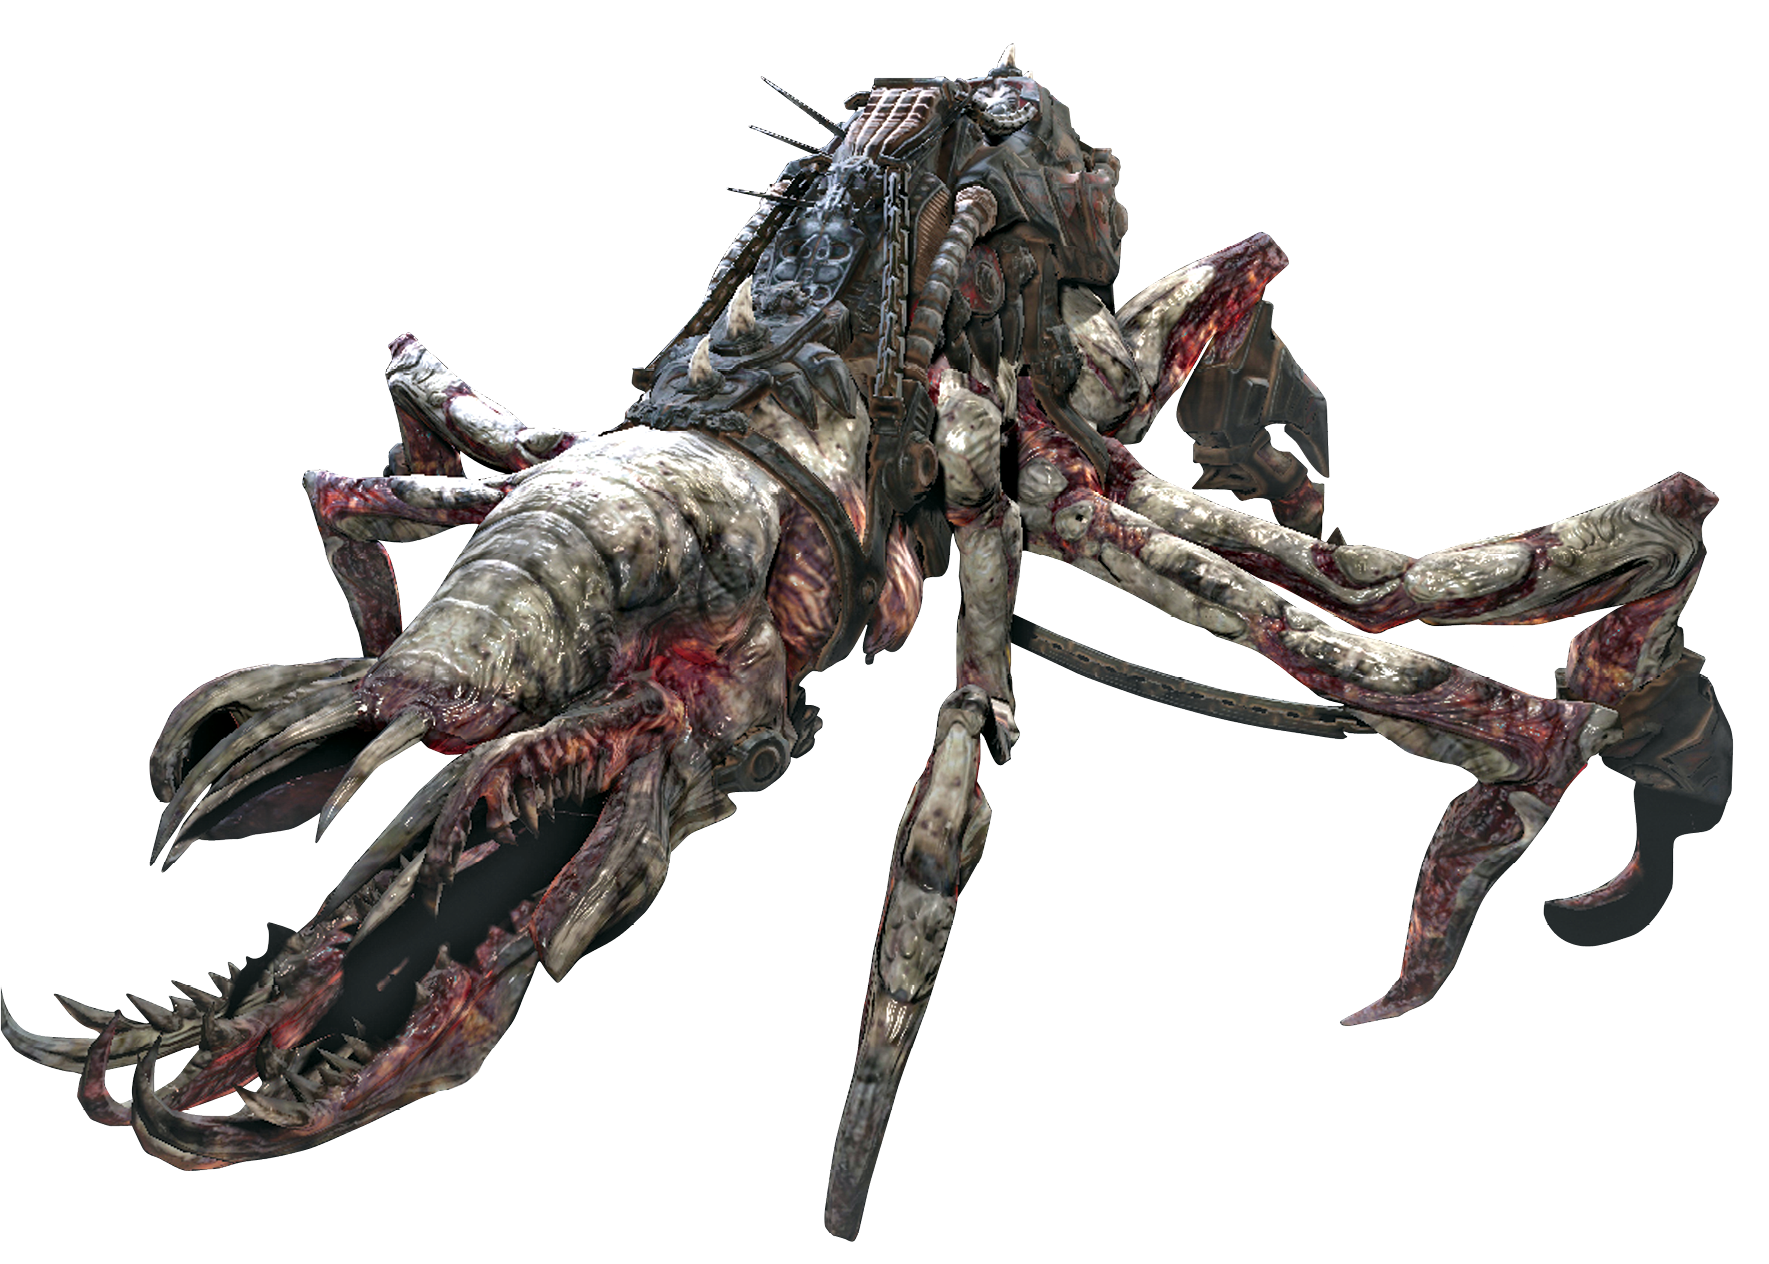
The Locust Seeder is a very rare opponent in the campaign. They are more of a threat for friendly COG forces, acting as mobile jammers that interfere with troop communications.
Seeders aren’t ‘armed’ in the traditional sense, but they can launch Nemacysts as living mortars, making them a threat to both infantry and vehicles.
Vitals
NEMACYST
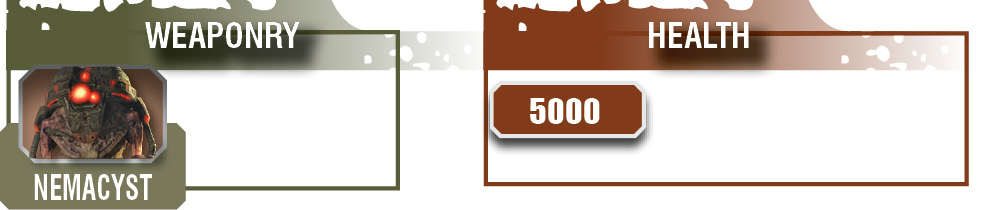
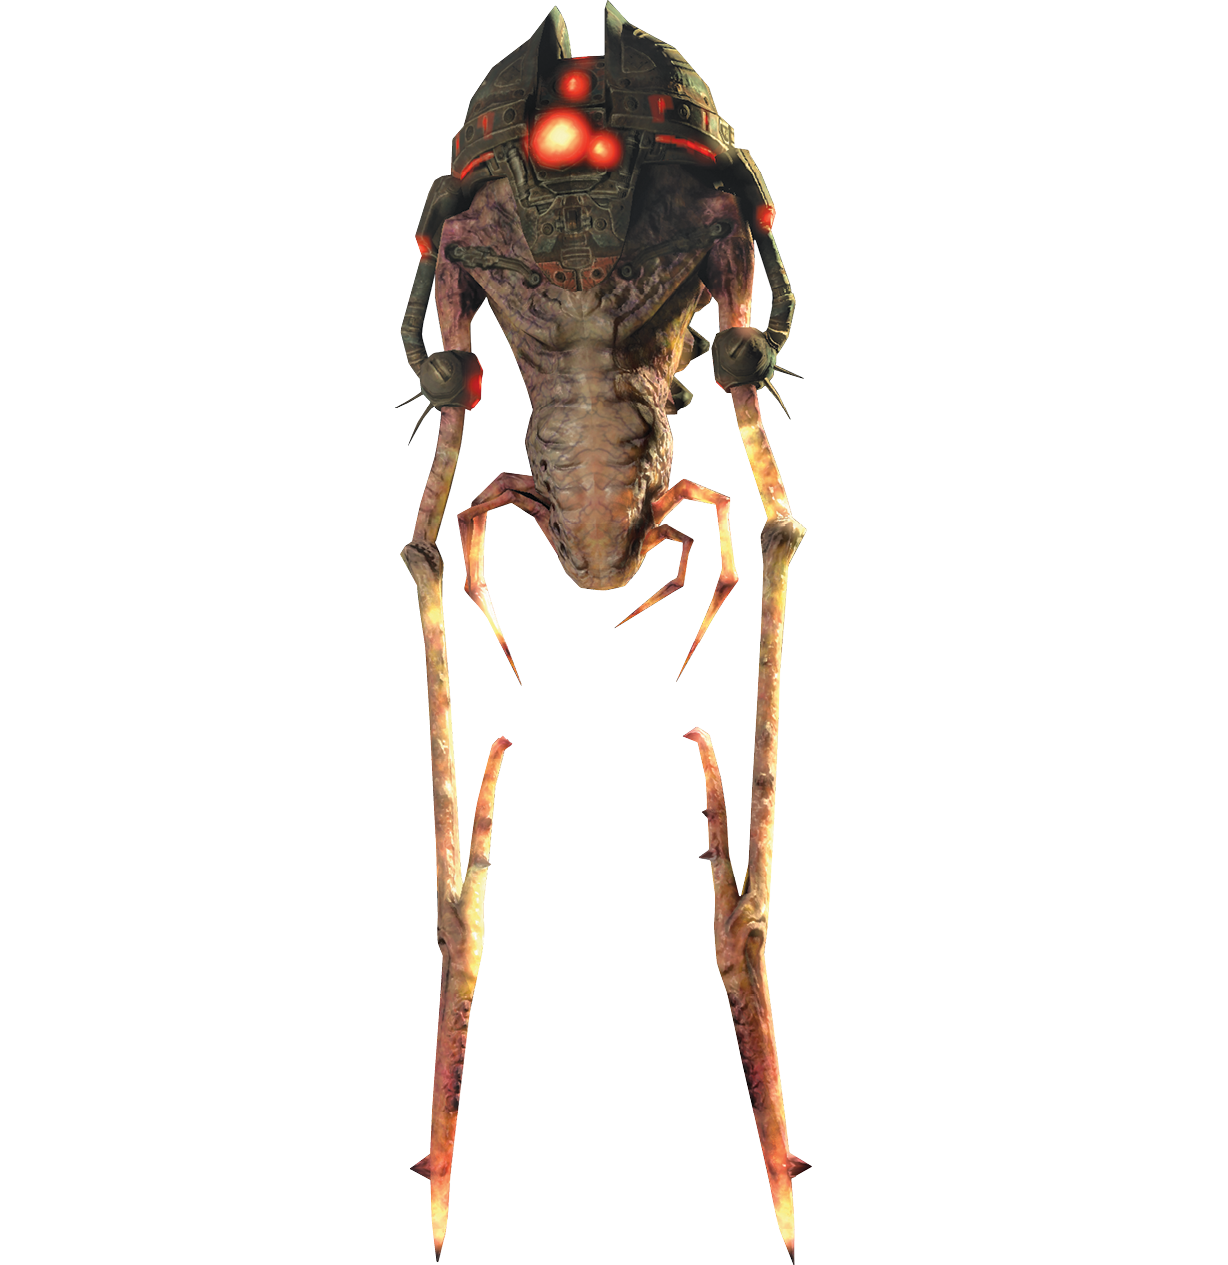
Nemacysts aren’t an enemy in the traditional sense, but there are moments in the campaign when you must destroy these floating bombs.
Nemacysts can float or fly quickly, and their darting movements make them difficult targets. Fortunately, they are very weak, and any automatic weapon fire can down them easily.
Vitals

REAVER
The mighty flying Reaver is a serious threat and a distressingly common sight on the battlefield. Reavers strafe ground positions from the air, blasting them with rockets from a distance.
However, Reavers now often land on the ground and approach, firing rockets while their riders suppress you with shots from their elevated perch.
This is bad enough, but it gets worse. If a Reaver gets close enough to you, it attempts to stab you with its talons—and it can do this over low cover!
Whenever Reavers are around, give them your full attention, and unload with the strongest weaponry you have. You can use Grenades against them on the ground—don’t hold back!
You can kill their riders, but it’s usually not worth the time. Take down the Reaver, and the threat is removed completely.
Vitals

Cover
Reavers don’t use cover, but they do nullify cover in a very dangerous way. Not only can their pilots fire at you from their greater elevation, but the Reaver itself is a dangerous weapon against you in cover. No matter where you are, if a Reaver starts getting close to you, back off!
BRUMAK
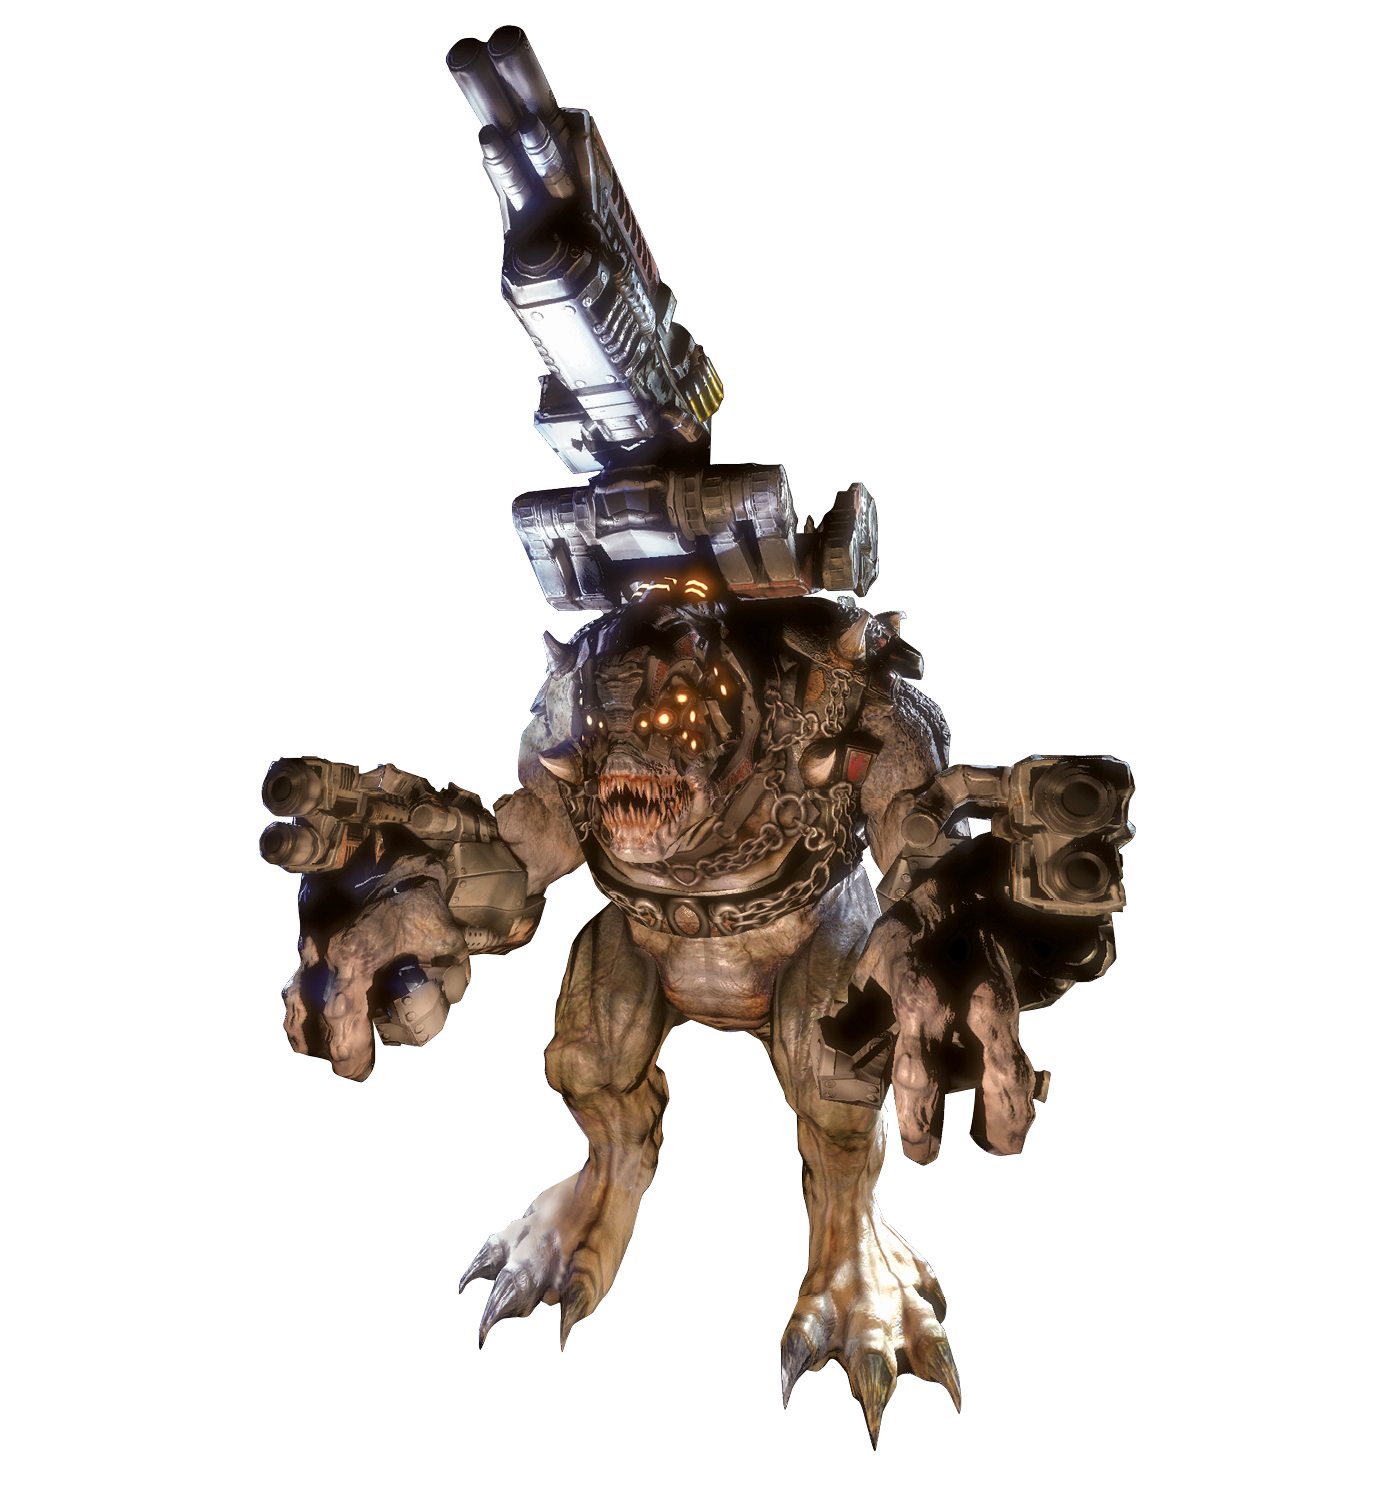
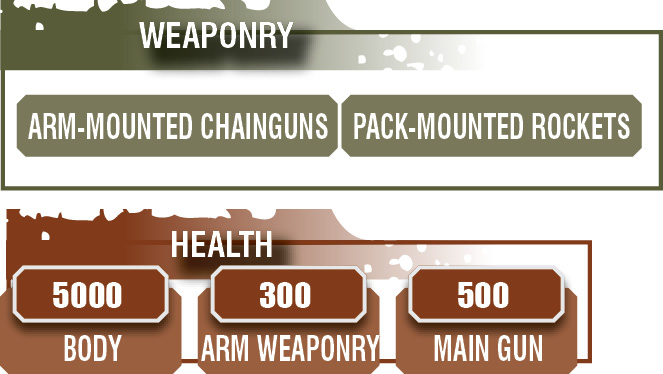
The mighty Brumak is the Locust version of a siege engine and a main battle tank all in one. These bipedal monsters are equipped with twin arm-mounted chainguns and a shoulder-mounted rocket pack.
Thankfully, direct conflict against Brumaks is fairly rare. When you must face them, it’s usually with the benefit of serious heavy weapons.
You can blow off their arm or back weaponry. However, in most encounters with them, you’re better off simply focusing on their bodies and taking them out as quickly as possible.
Vitals
Cover
Brumaks don’t use cover. As for your cover, find some and stay out of sight if you’re forced to deal with one of these monsters on foot.
CORPSER
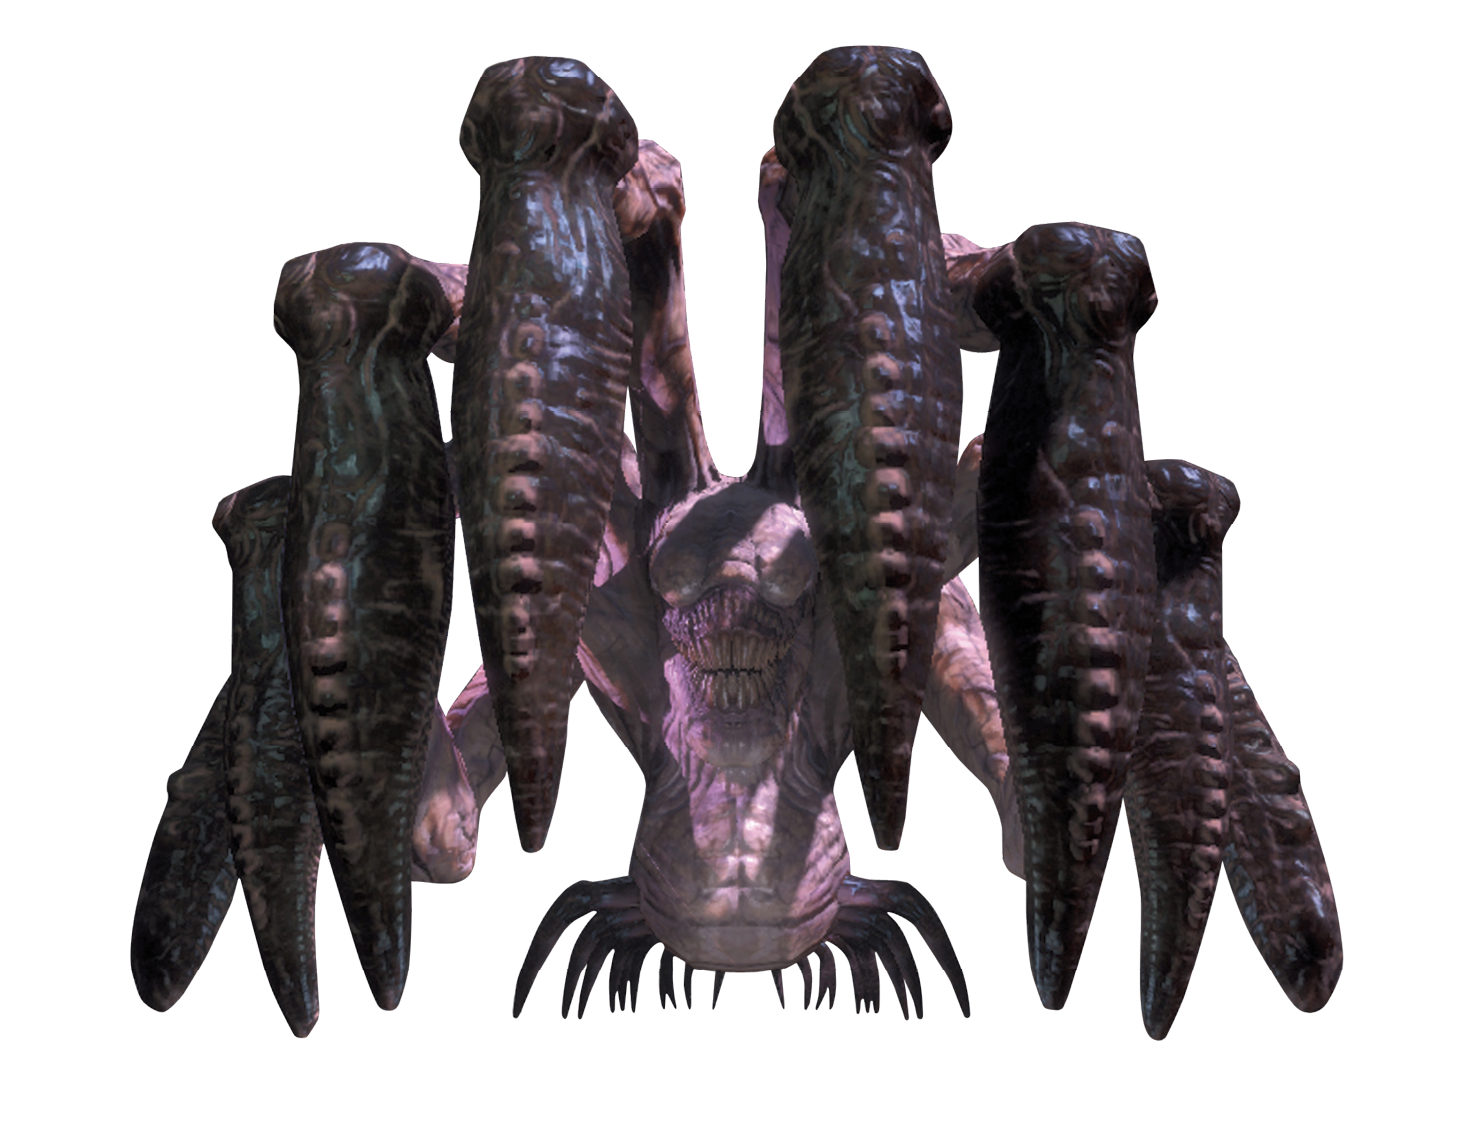
The Corpser is as much a tunneling machine for the Locust as it is a biological weapon. The Corpser rarely engages in direct conflict with COG forces, but it can be a serious danger to vehicles.
You don’t have to deal with the Corpser directly on foot, but you do have a few run-ins with unfriendly Corpsers during the campaign. Fortunately, in situations where you have to fight, you ride in a powerful vehicle.
Vitals

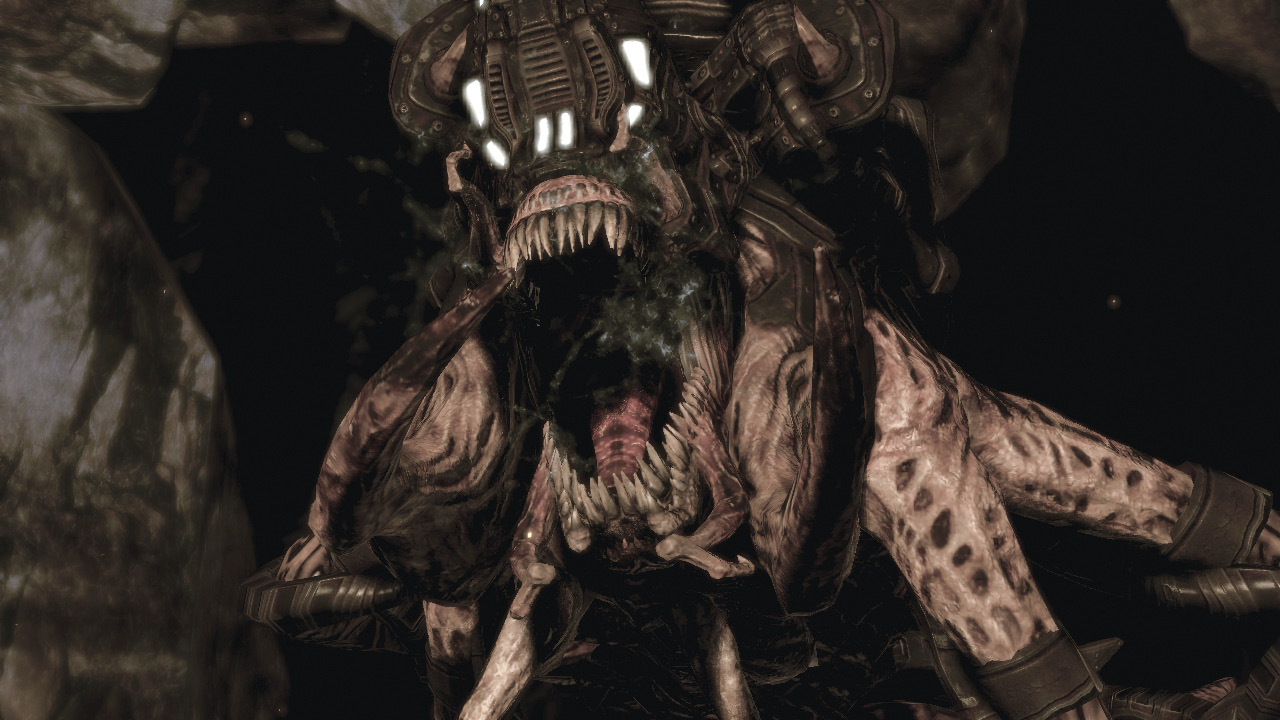
HYDRA
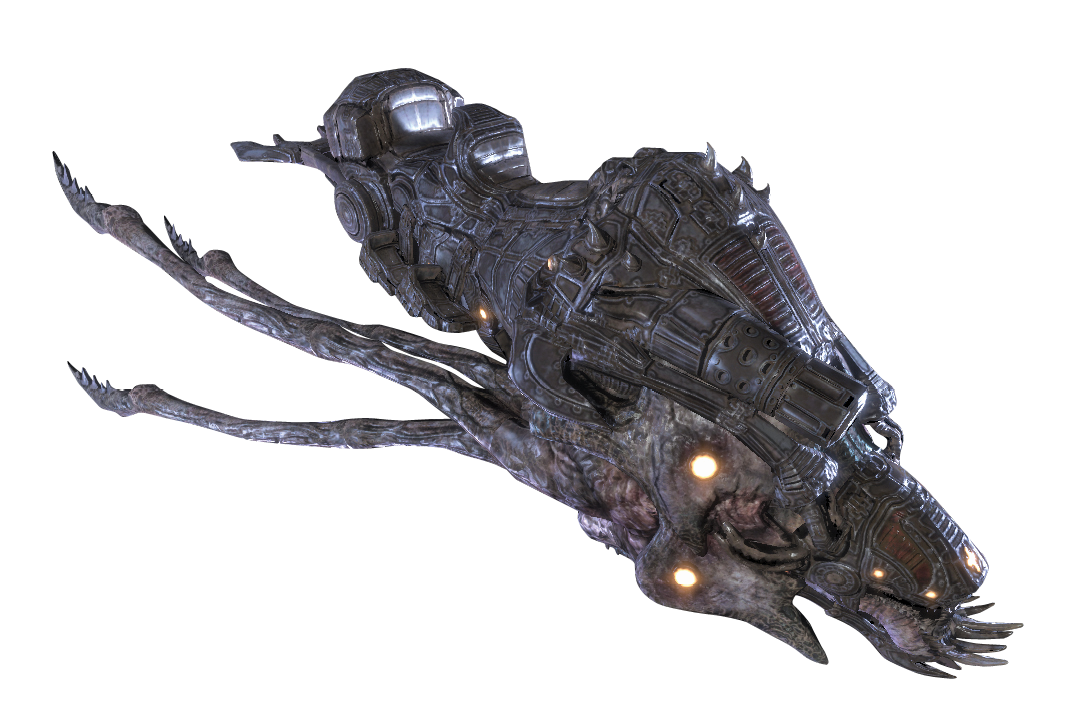
Skorge’s mutated Reaver mount, the Hydra appears a few times during the story, but you eventually must face it in direct battle.
Your encounter with the Hydra takes place over the course of an entire chapter. It is a lengthy and grueling aerial duel, as Skorge chases you on the back of the beast.
Vitals

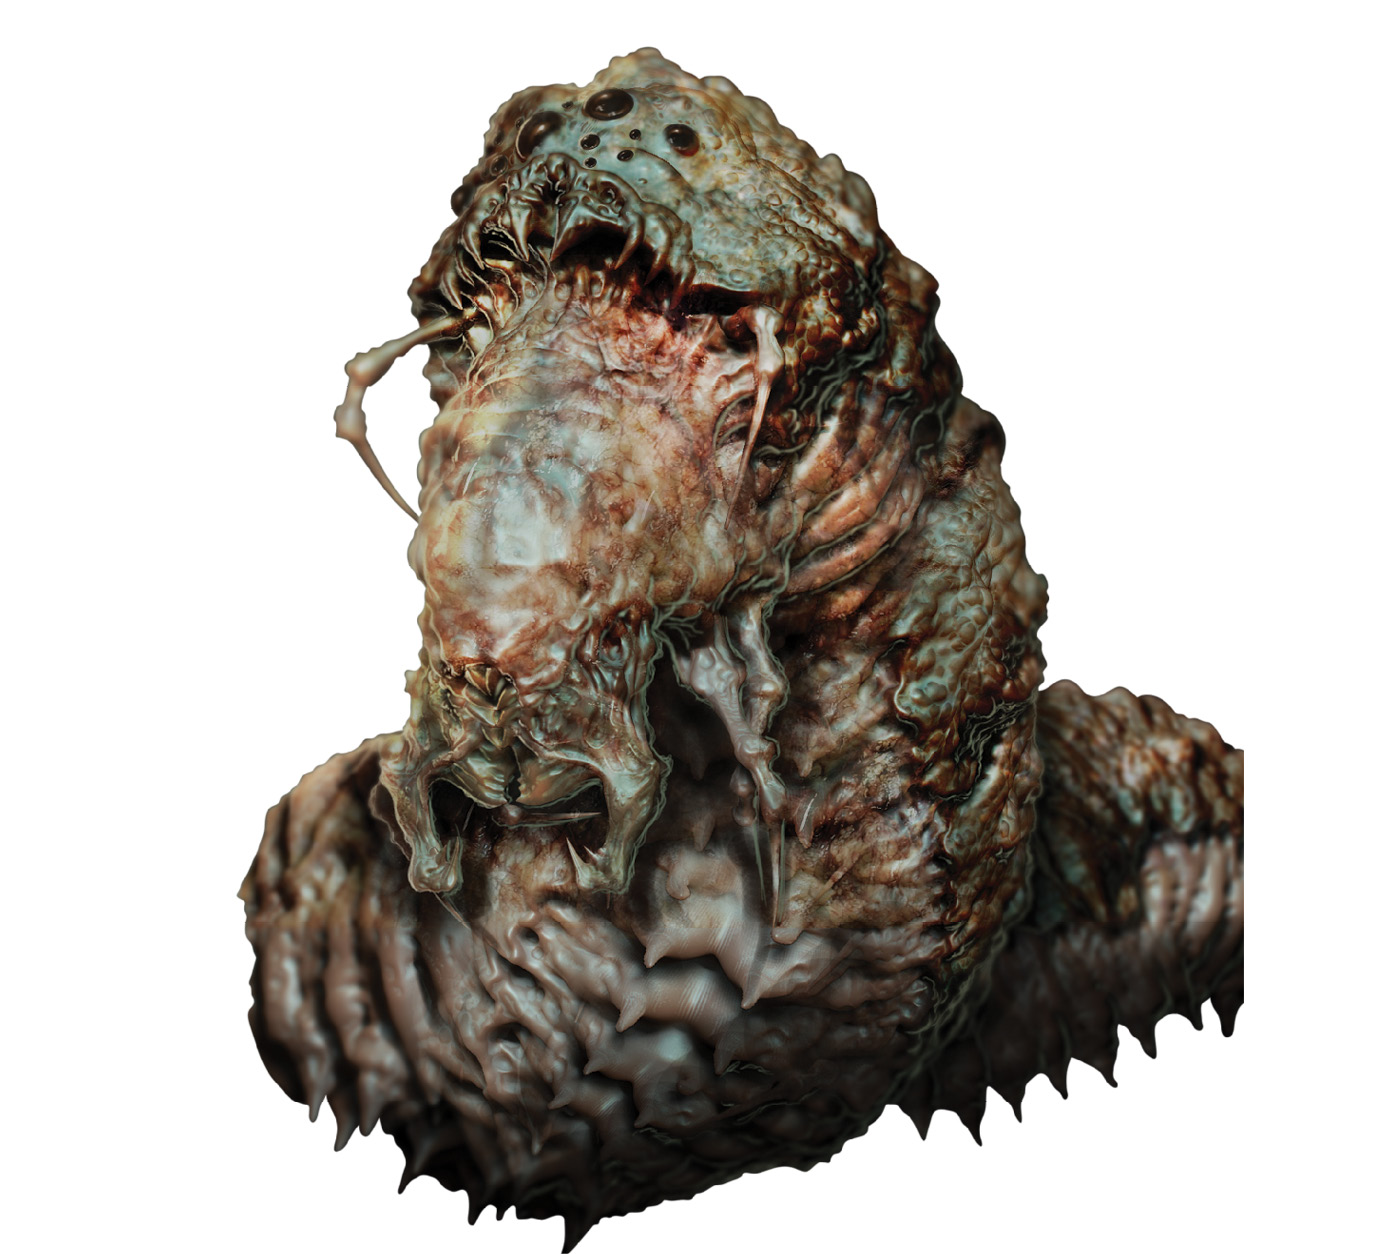
ROCKWORM
Rockworms are an unusual subterranean life form. You encounter them when you are forced below ground to confront the Locust on their home turf.
These crawling, armored worms are generally docile creatures, but don’t get in front of them when they’re moving—they can and will take a bite out of you!
Otherwise, Rockworms are not a threat. They can actually be a useful asset on the battlefield, thanks to their incredibly sturdy rock hide.
Rockworms are also apparently a Locust food source, as you encounter Locust butchering pens at one point in the campaign!
Vitals

Cover
Rockworms don’t use cover, Rockworms are cover. The thick, rocky hide that protects the Rockworm can just as easily shield you and your squad mates!
Whenever you see a crawler nearby, you can slam into cover on its hide and move along with it as it crawls through the area. You can mantle over it too, even while it’s shuffling around.
Rockworms don’t move particularly fast, so they can be very helpful in situations where no ‘normal’ cover is present.
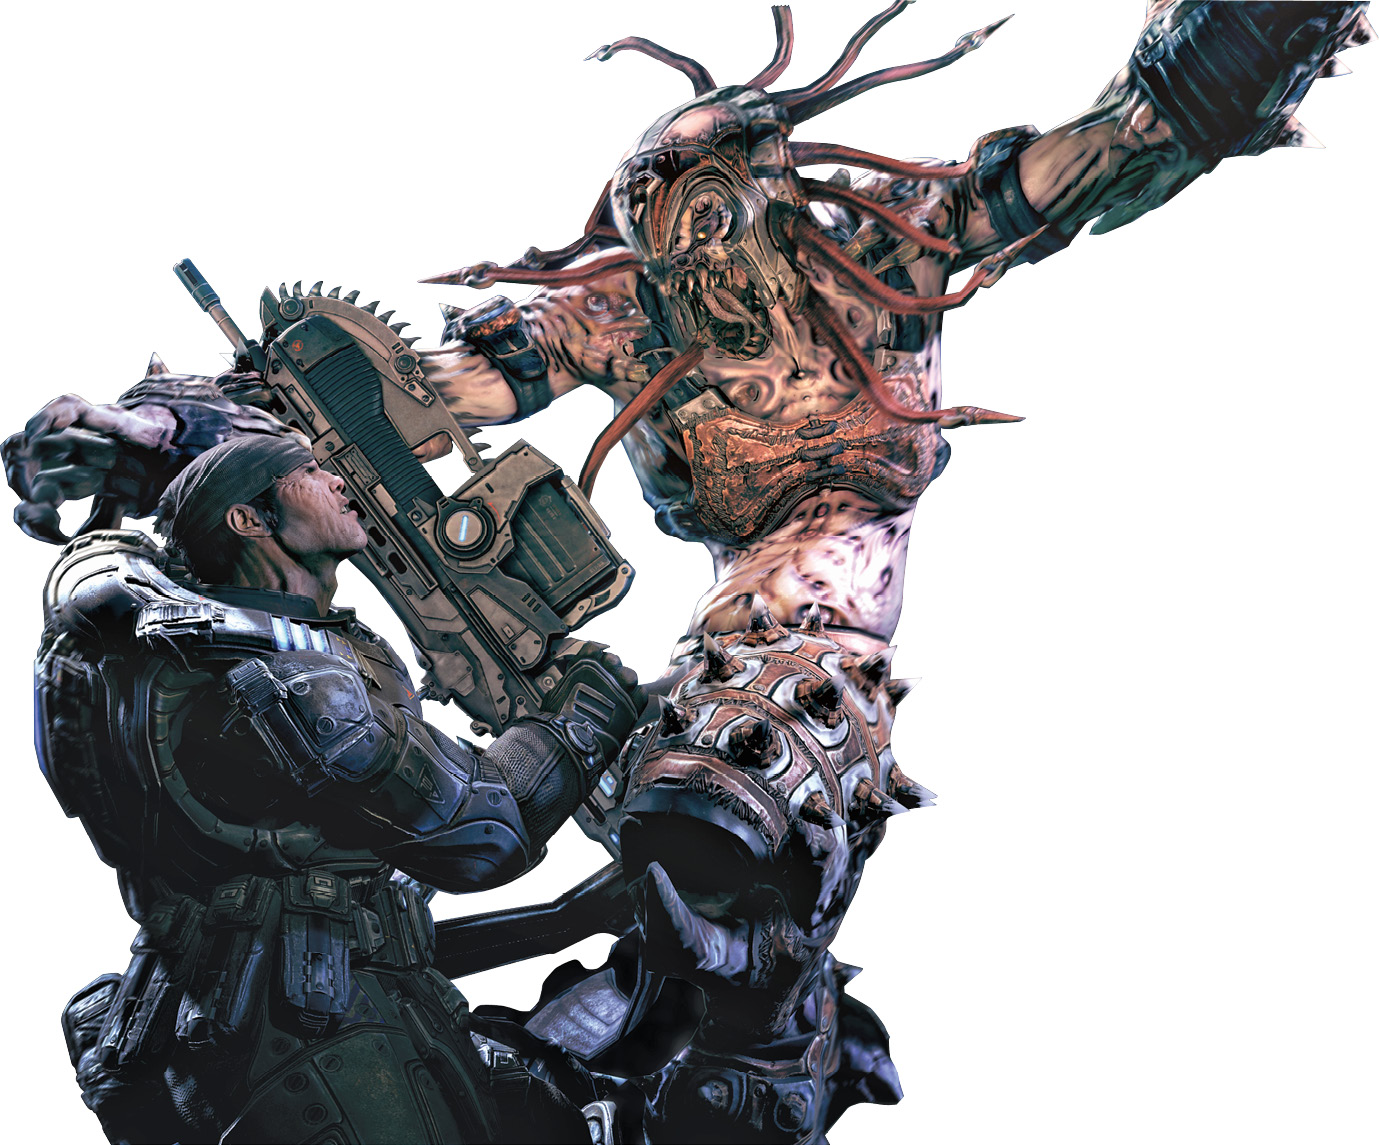
SKORGE
Skorge has a very special place in the Locust hierarchy, acting as hatchet man for the Locust Queen. You encounter him fairly early in the story, but you don’t get a chance to (literally) lock blades with him until much later in the game.
You encounter Skorge as a boss battle at only one point in the game, though he makes other appearances during the story. He does not go down easily!
Vitals
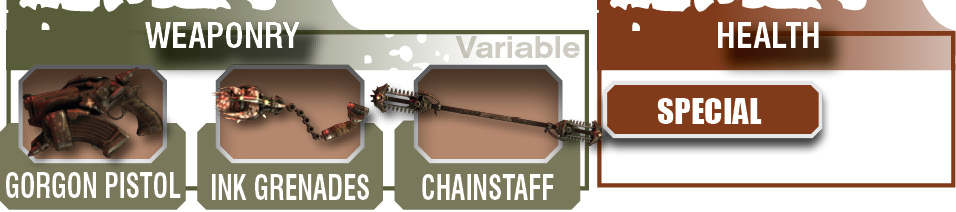
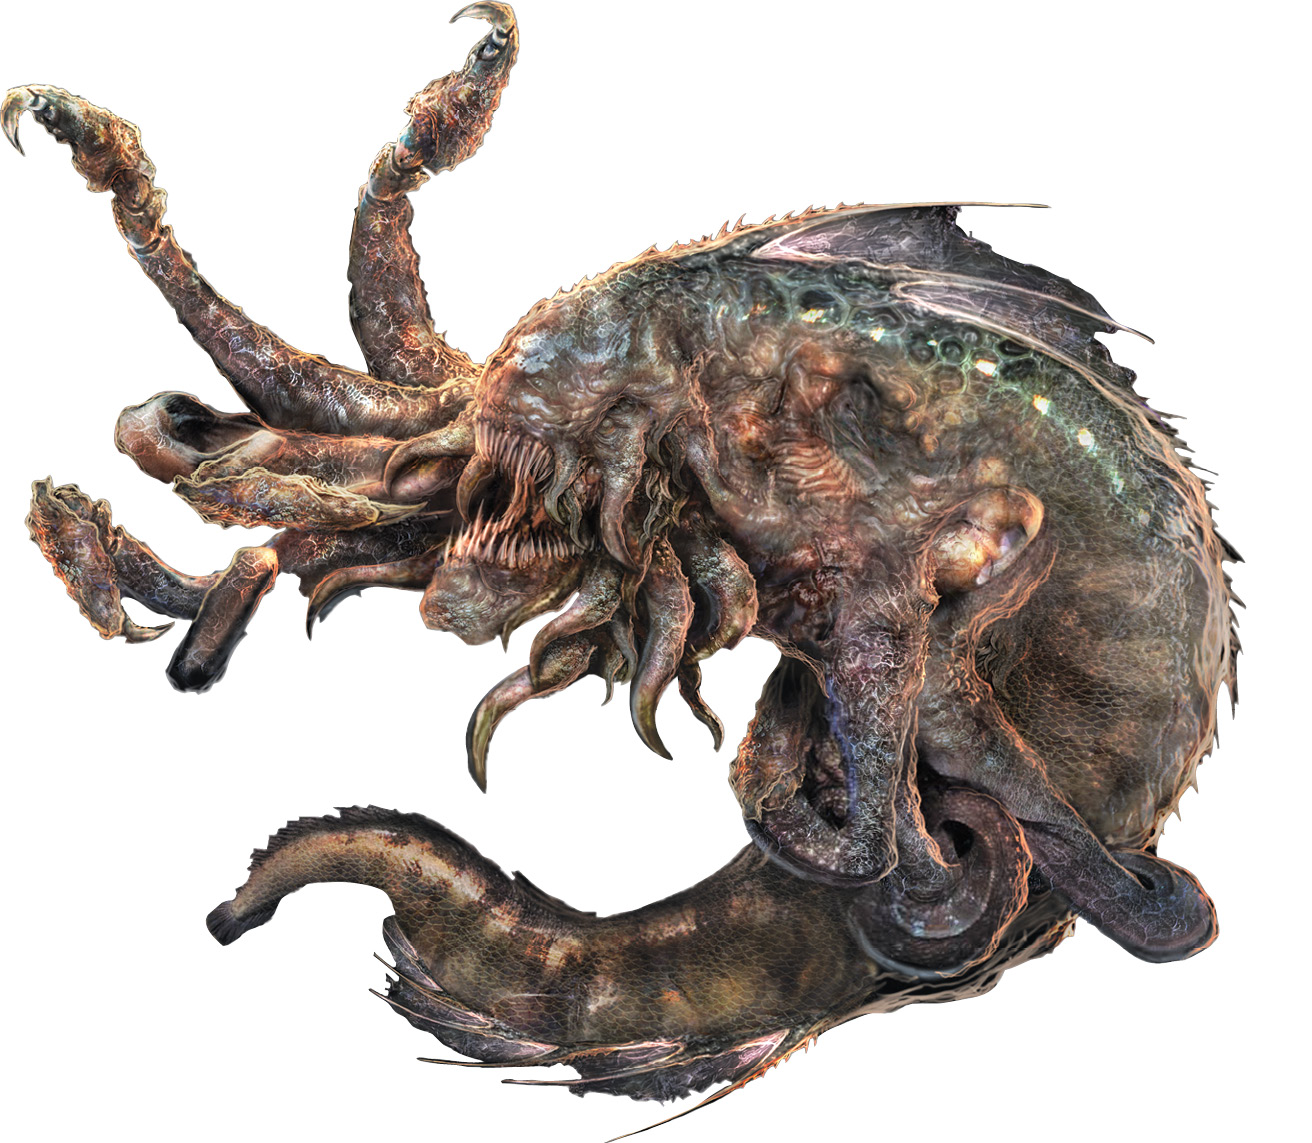
LAKE MONSTER
The massive Lake Monster is a dreadful underwater beast. When you encounter it deep beneath the ground, you are in for a dangerous struggle.
Traditional weaponry cannot harm the Lake Monster, so you must devise more innovative methods to drive it off…
Vitals