
Gears of War 2 Guide ACT IV: Hive
Chapter 4: No Turning Back
The perilous gondola ride across the chasm from Hornet’s Nest leads you here, the palace’s upper reaches. Somewhere within, the Locust Queen lies in wait. But first, you must penetrate the defenses guarding the approach to the palace itself.
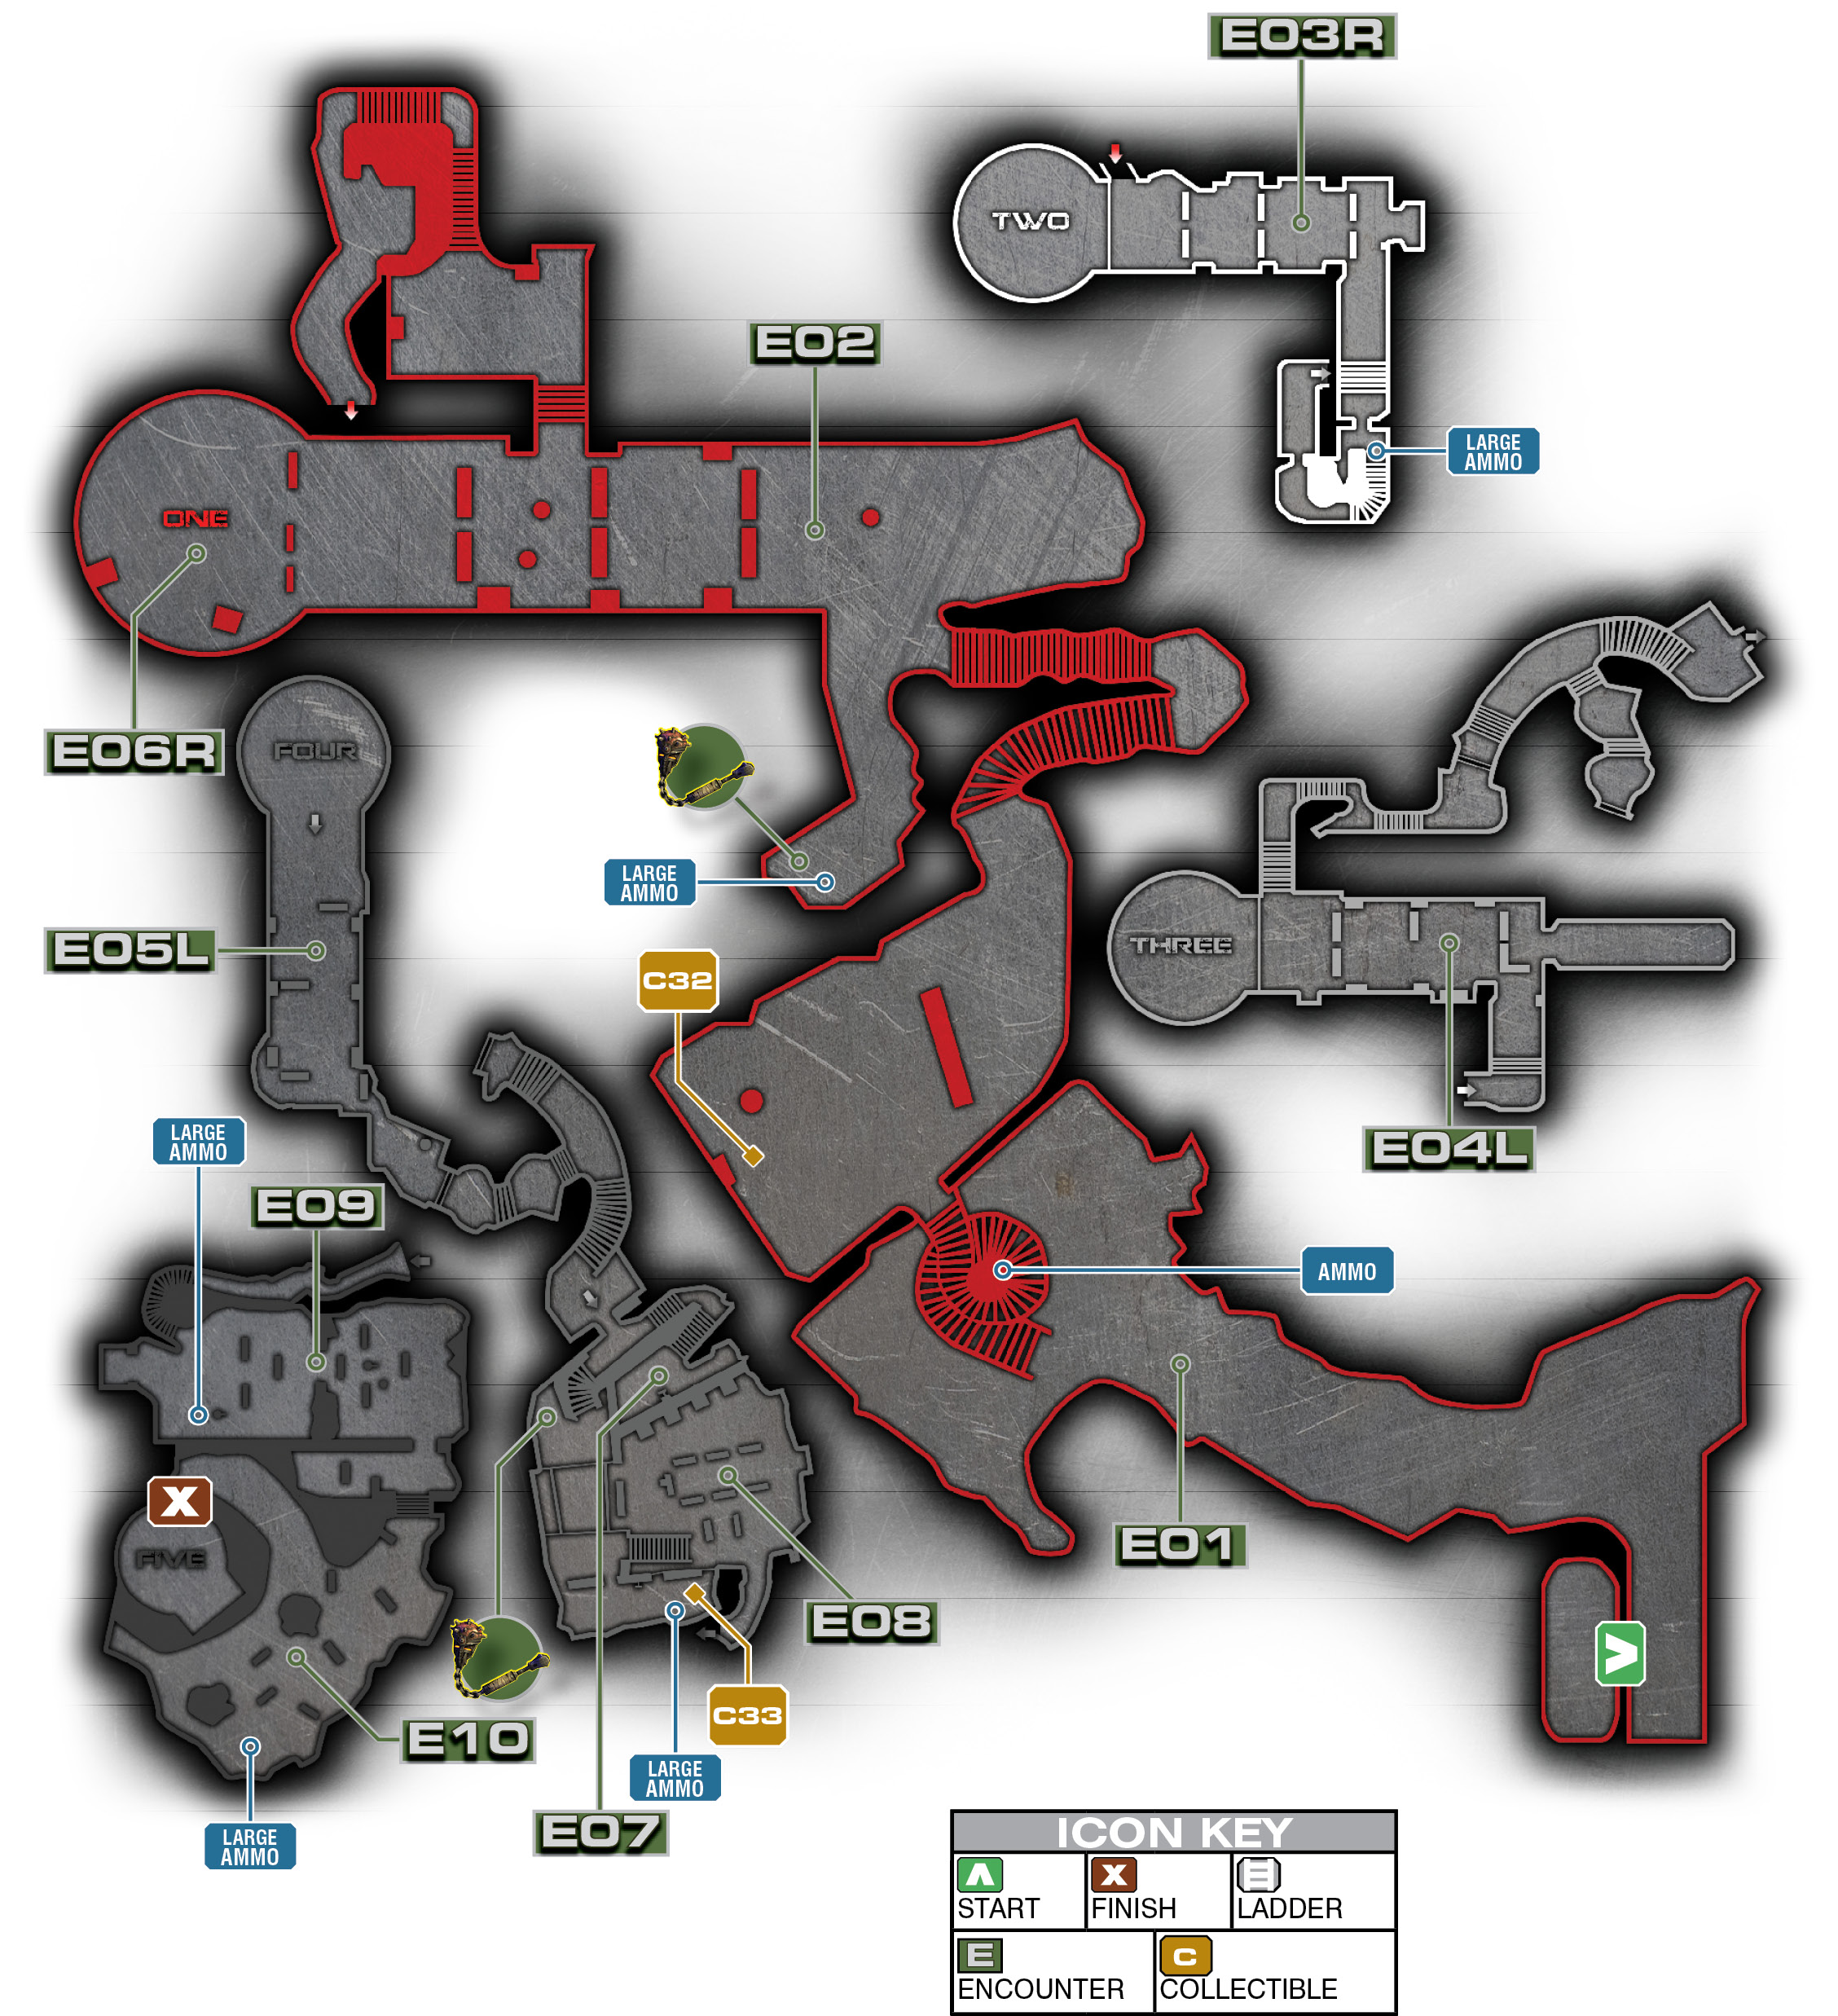
Encounter 01
ENEMY PRESENCE: Reavers, Drones
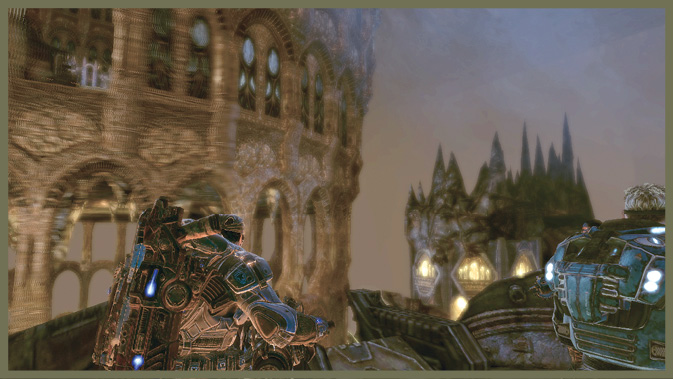
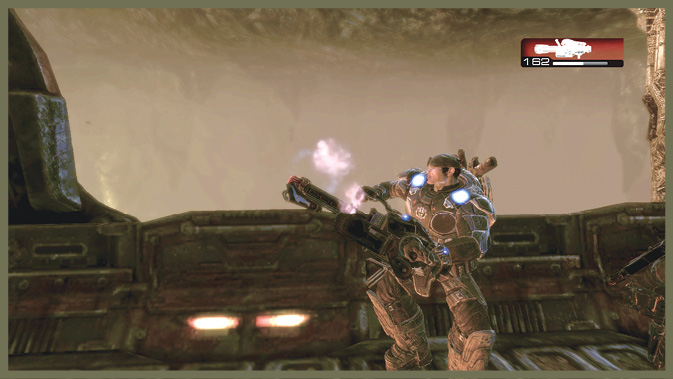
Once you board the gondola that leads into the palace heart of Nexus, your approach does not go unnoticed. The Locust respond in force.
First you must eliminate waves of Reavers attempting to bombard the gondola in which you’re traveling. Hit them at a distance, before they get close enough to damage the gondola. You get a visual prompt the first time they show up.
After you deal with the Reavers, a second gondola comes alongside, and you must eliminate the Locust onboard. As your gondola gets damaged, you can hop over quickly to finish the trip in your hijacked ride. Two Reavers show up after you jump onto this gondola. There is an ammo box under the spiral stairs after this encounter.
As you arrive at the palace proper, you must begin to work your way into the belly of the beast, where the Queen lurks.
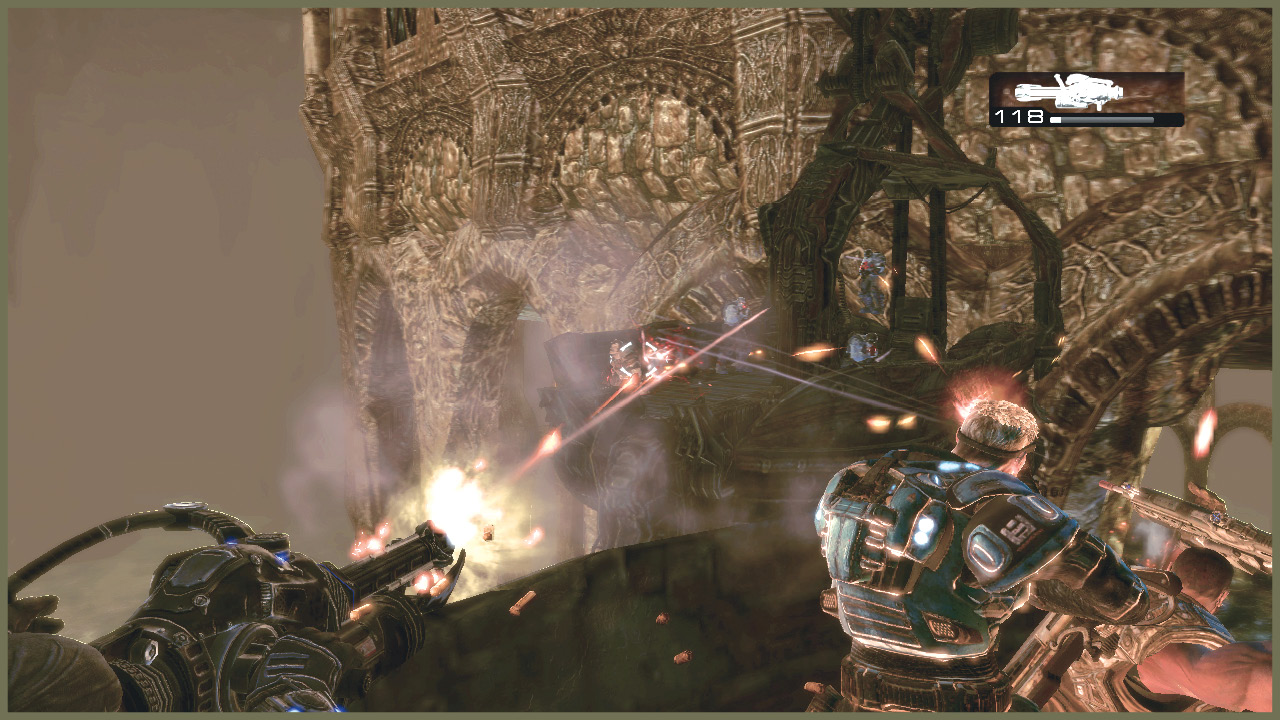
Encounter 02
ENEMY PRESENCE: Kantus, Grenadiers, Troika
From the upper level, you come to a path split, where you must descend into the palace. Both routes lead down, so it’s just a matter of how hard you want the descent to be.
However, before you can go down, you have to deal with the Locust forces here. There’s also an annoying Troika in the distance. Hit the lever to summon some pop-up cover. Use it to move forward and engage the Locust. When your teammates distract the Troika, you can run forward and flank it or you can lob a grenade beside it.
When you clear the platform, descend the steps to the right and pull the lever. Doing so triggers a branch choice: left down the stairwell or right onto the lift with the Troika. The Troika lift is considerably easier, which is handy if you’re playing solo on a higher difficulty. The Stairwell route serves up a lot more straight combat.
Encounter 03
LEFT PATH
ENEMY PRESENCE: Kantus, Grenadiers
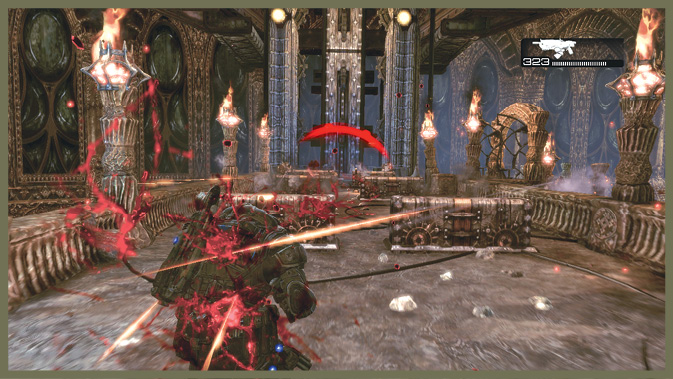
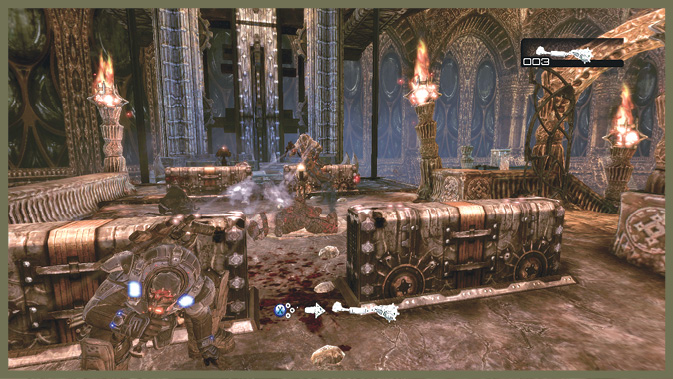
Use the Locust explosives on the platform to aid in the fight. The heavy firepower from the Troika as Baird and Dom come down on the elevator should make this a fairly easy battle. Just don’t rush past the cover with an active explosive near you!
Encounter 04
LEFT PATH
ENEMY PRESENCE: Boomer, Grenadiers, Kantus
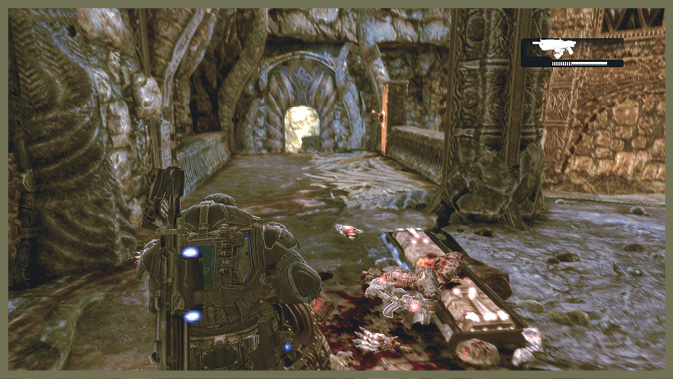
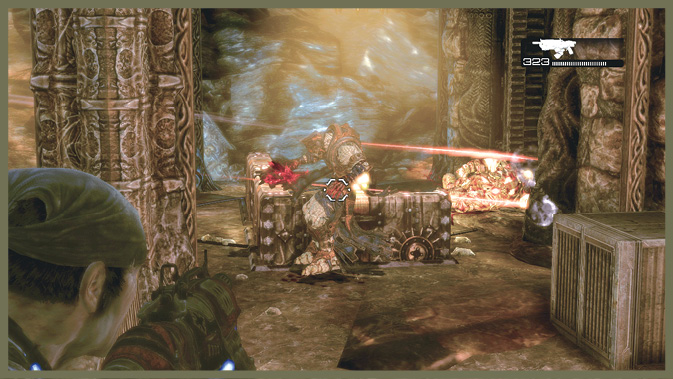
You face slightly tougher enemies here. But again, as you approach from above, hang back and let the Troika soften the forces before you approach them. The two Boomers in particular can be dangerous. Just don’t stick your head up when they loudly bellow “BOOM!”
Don’t miss your chance to pick up the Boomshot here. The Locust ammo packs in this area provide Boomshot ammunition—and Torque Bow ammo, for that matter.
Encounter 05
LEFT PATH
ENEMY PRESENCE: Kantus, Grenadiers, Grinders
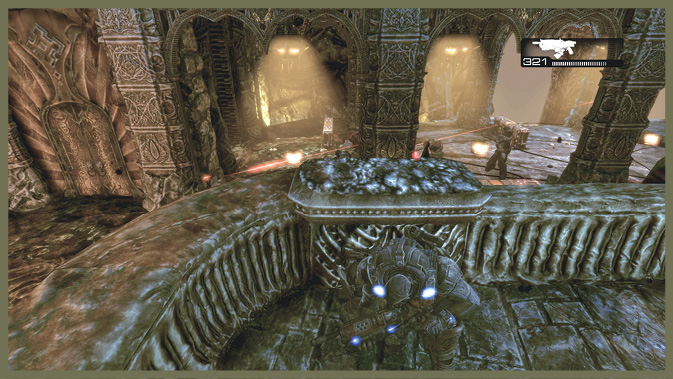
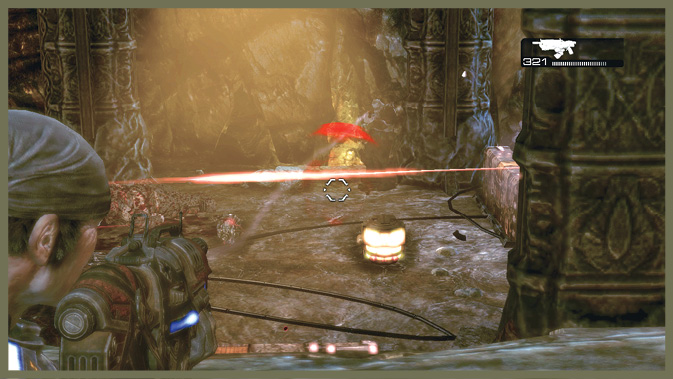
Last stop. Stay in cover on the staircase as the elevator comes down. When the Locust turn their attention to the Troika elevator, pop up and hit them with flanking fire.
Encounter 06
RIGHT PATH
ENEMY PRESENCE: Kantus, Grenadiers, Grinders, Boomers
The Troika route takes you past each floor with all of the enemies in front of you. It’s still a safe and fairly easy route to take. The Troika gives you supreme firepower. The ready explosives on each floor give you an added punch to take down the Locust groups that emerge to oppose you.
Dom flanks the Locust on each platform as he moves down to flip each switch. His actions allow you to get through this section fairly quickly despite the heavy enemy resistance.
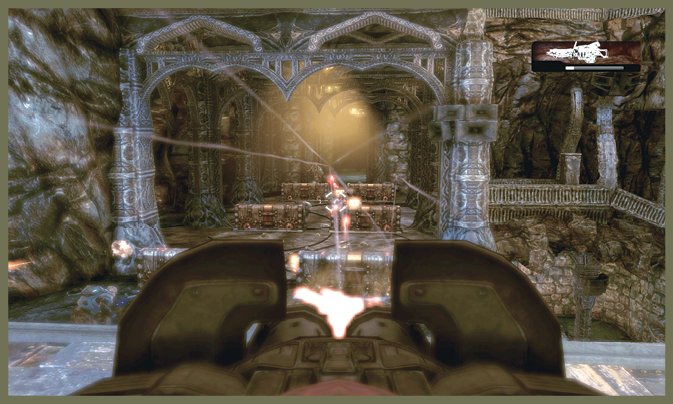
No matter which route you take down, the switch at the end of the platform on the right path (Troika elevator) opens both doors to the next area. Once you trigger it, both parts of Delta can meet in the next hall.
Encounter 07
ENEMY PRESENCE: Drones, Grenadiers, Kantus, Boomers
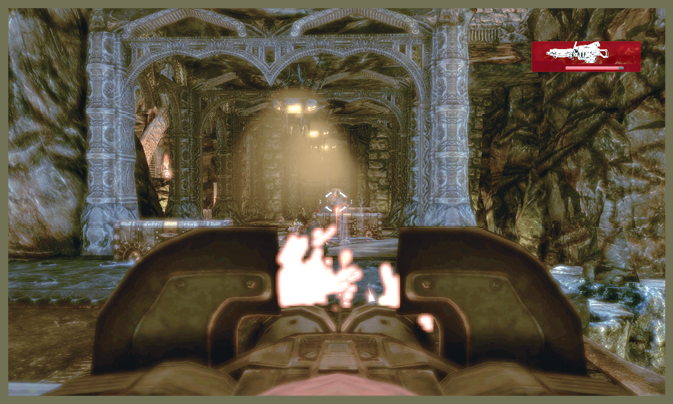
Grab the ammo before you enter this area and then get ready. A large pack of Locust who just fought off a group of Lambent occupy this room. Fortunately, Delta Squad has the elevation advantage, and you can fire down on the Locust, nullifying most of their cover advantage.
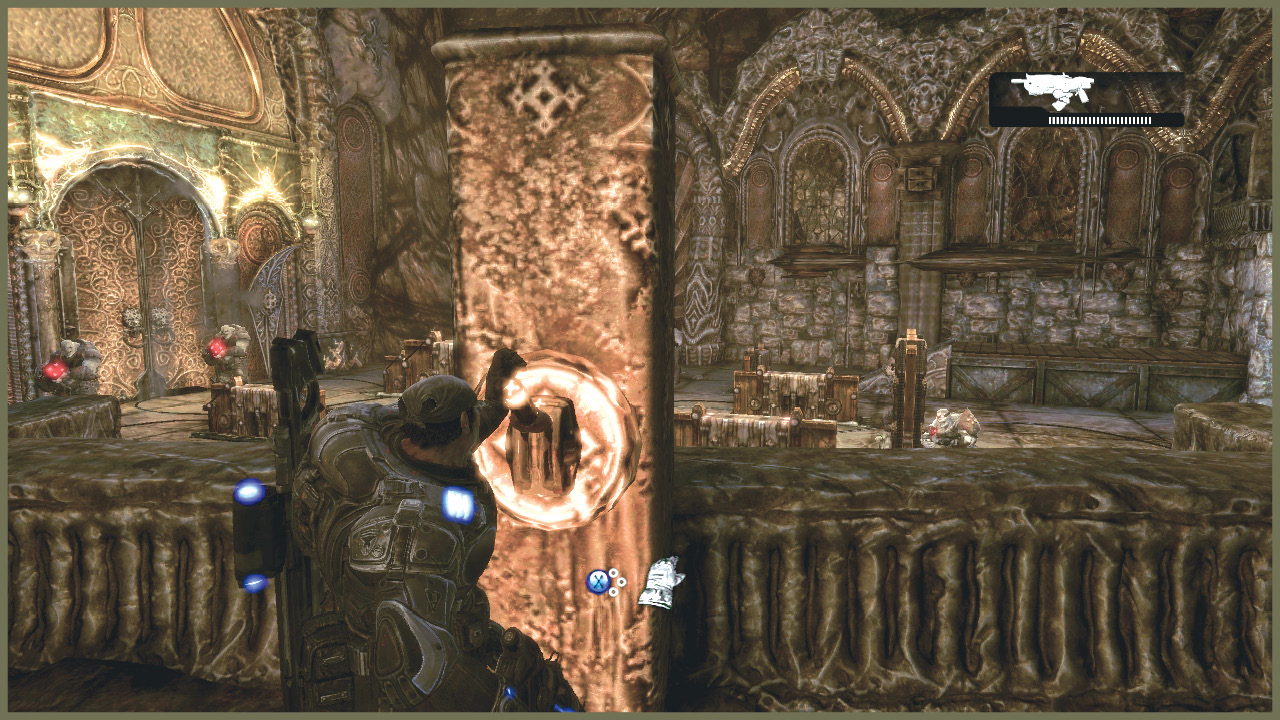
Once you clear out the Locust, pull the lever on the ledge to extend a bridge across the room. Don’t miss the collectible across the bridge.
Grab the collectible and yank the lever on the wall to raise a set of stairs connecting to the bridge to the ground floor below.
Encounter 08
ENEMY PRESENCE: Grinders, Grenadier
Once you’re down on the ground floor, Delta takes a moment to prod the possibly toxic remains of the Lambent on the ground. There isn’t much time to discuss the autopsy, as a pair of Grinders emerges from a large set of doors at the end of the room.
After you down the Grinders, a Grenadier bursts through a door at the side of the room. Take him down to clear your route into the next area.
Encounter 09
ENEMY PRESENCE: Flame Grenadier, Drones, Kantus
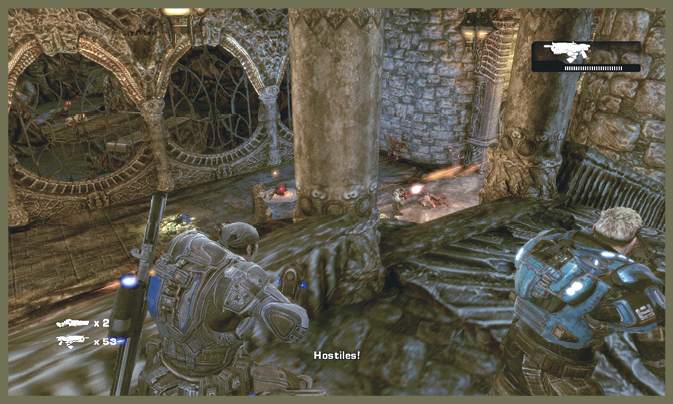
As you come down on this room from above, there are only a few Locust to exterminate. If you dragged along a Mulcher from the Grinders in Encounter 8, this should be a quick and bloody clearing.
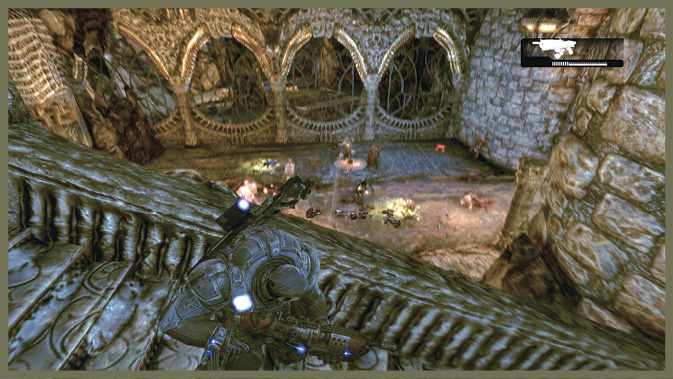
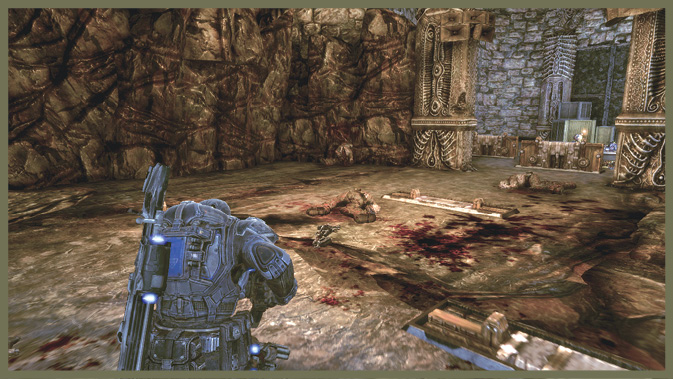
Regardless of what you use, clear the room and follow the splattered Lambent trail into a rocky cavern beyond the two rooms filled with pop-up cover.
Encounter 10
ENEMY PRESENCE: Maulers, Kantus, Palace Guards
As you enter the cavern, an elevator arrives with a very nasty cargo: two Maulers, a Kantus, and two Palace Guards armed with Torque Bows.
Use the available cover. If possible, exploit the Locust explosives in the area to help your cause. It’s worth using any grenades you have on hand during this fight. As you deal with the Kantus and the Palace Guards, ‘tap’ the Maulers with fire just to force them to raise their shields and slow their movement.
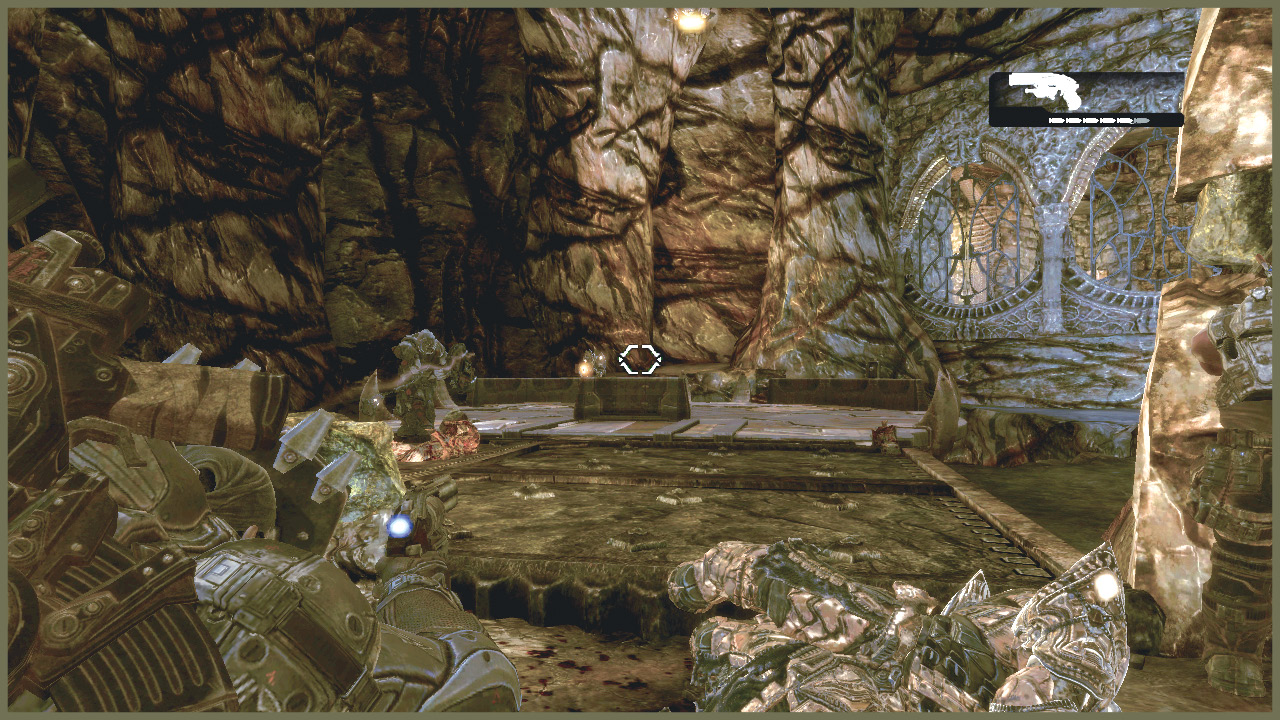
After you down the Locust, grab one of the Mauler’s Boomshields and hop on the elevator to trigger a cut-scene and reach Chapter 5. You’re drawing ever closer to the palace and the Locust Queen within.